

May 20
The AI Sky Replacement tool in Luminar makes it easier than ever to do sky replacements in your photographs. And while most of the blending and masking are taken care of in the tool, you may still need to make some creative decisions.
These can ensure that your new sky improves your image and keeps it looking as realistic as possible.
Use a sky with similar lighting
Pay attention to the direction of light, location of the sun in the sky or the time of day. If you are going for realism, you'll want to make sure that the sky you are using fits your existing image. For example, you wouldn't want to put a deep orange sunset in an image that was originally photographed on an overcast day. Nor would you choose a photo with the sun in the sky when the light is obviously coming from a different direction.

In the above image, the original photo (not shown) was created on an overcast day with no blue sky. There is no harsh sunlight, and the scene is evenly lit. Replacing it with a blue sky, as visible in the image on the left, doesn't quite fit with the scene. There is too much "bright blue" in the sky. This adds vibrance that doesn't exist in the foreground, even when you don't know what the original photo looks like.
The sky on the right, however, fits better, and the small amount of blue in the sky still works with this scene. It's more likely that you would get the kind of sunlight that is lighting the subjects from a partially overcast day. The new sky is realistic but still adds a bit of color that was missing from the original.

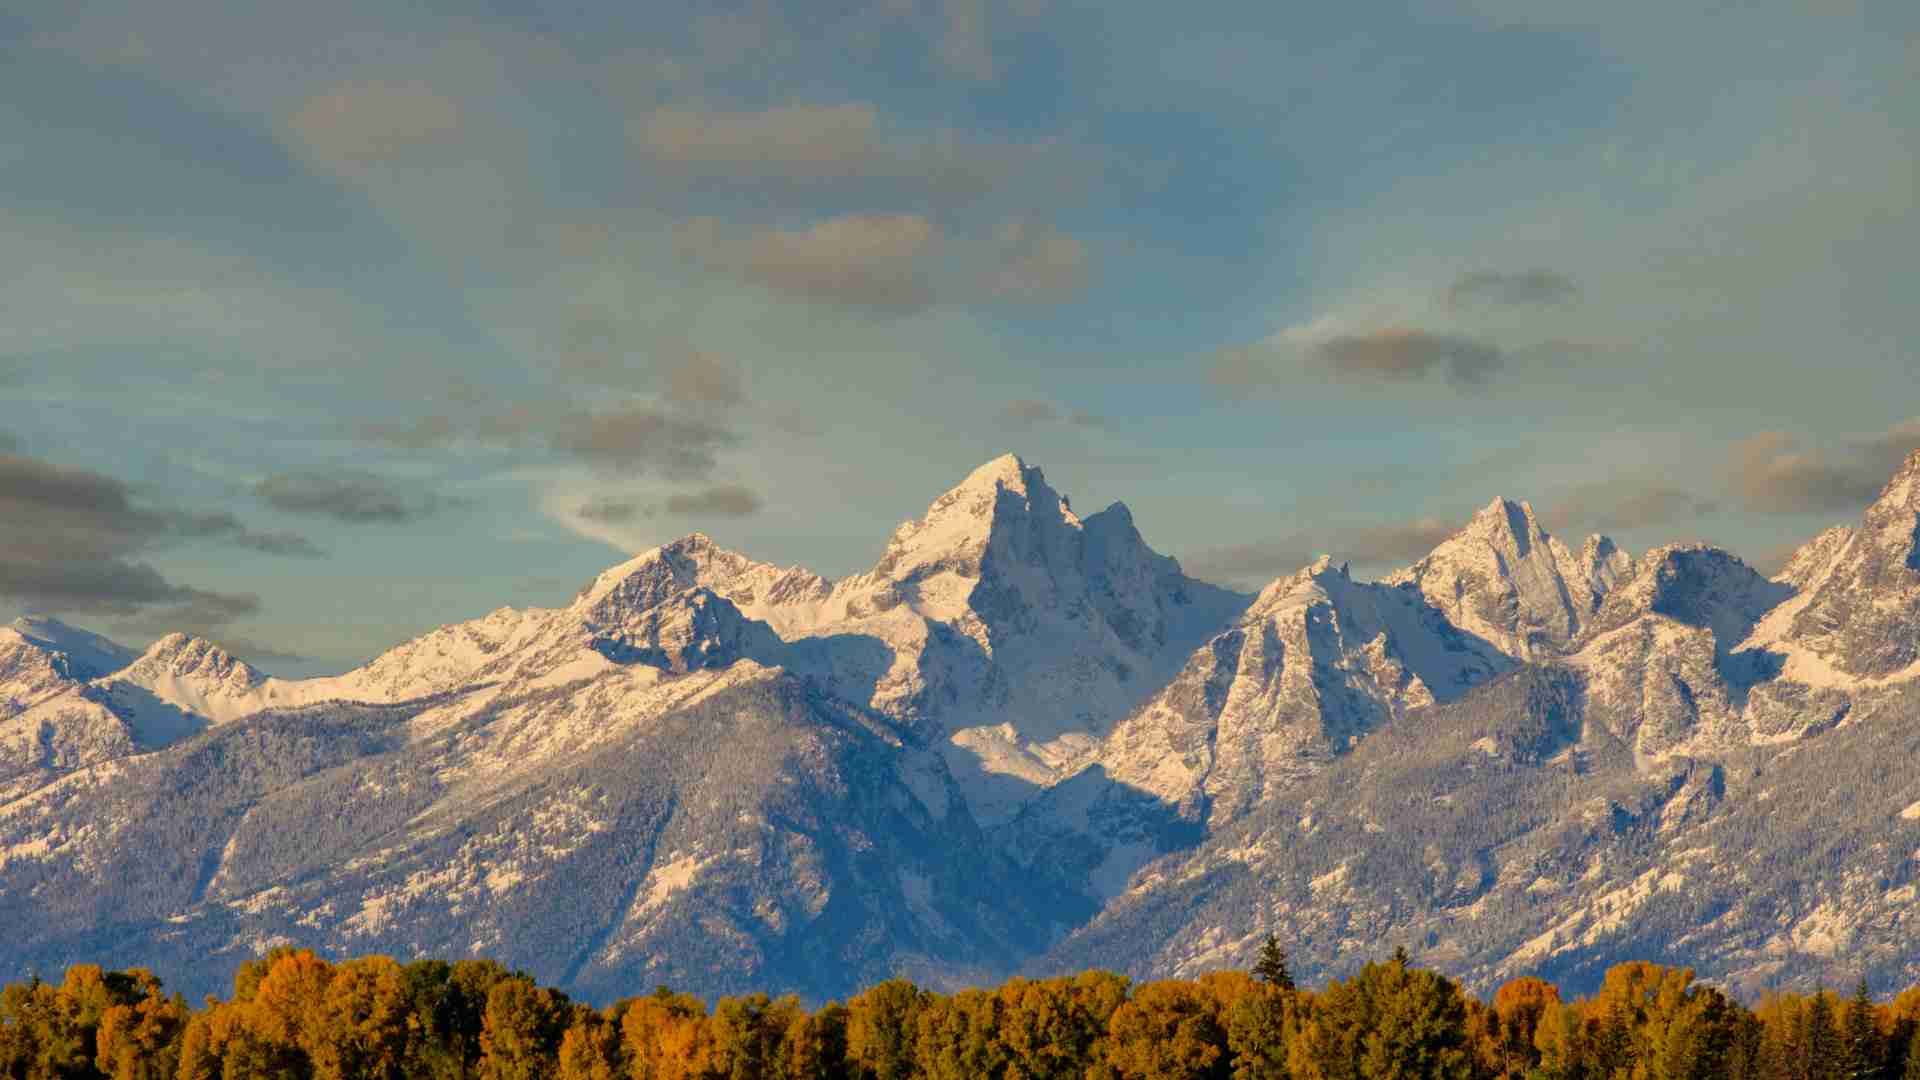
The above example shows that sun placement in a sky replacement is essential. The original photo (not shown) has a clear blue sky with no clouds. If you look at the light on the large rock (Haystack Rock in Cannon Beach, Oregon),you can see that the light is on the left of the rock, and the opposite side is in the shadow. This tells me that the sun was to the left of the scene, off of the camera.
In the image on the left, the sky replacement has the sun in the background. This is not realistic for the lighting in this scene. The image on the right, however, has a more ambiguous sky replacement. Because the sun is not in the sky and there is bright sunlight hitting the clouds, it makes this overall scene much more realistic to the viewer.
Match the replacement sky to your image with sliders
Luminar does a good job of relighting your entire image to help blend everything with the sky. However, you may still need to make some manual adjustments, and that's when the sliders in the AI Sky Replacement tool come in handy. (To access many of these settings, make sure that you have the Advanced Settings button active.)


Sky Defocus: When your original image has an out-of-focus background, you will definitely want to use the Sky Defocus slider. This allows you to match the sky's blur to the original background.


Atmospheric Haze and Sky Exposure: You may need to match your replacement sky with the amount of brightness and contrast you have in your image. The Atmospheric Haze slider will reduce the contrast in the sky and make it slightly brighter, which helps when your existing image has a touch of haziness in it. The Sky Exposure slider decreases or increases the amount of brightness in a photo.
I find that these two sliders go well together, so I will often use them simultaneously. In the above example, the sky I added to this image was too bright for the existing scene, which is slightly hazy and misty. So I first increased the Atmospheric Haze slider, which decreased the contrast but also made the sky brighter. To compensate, I also decreased the Sky Exposure slider to bring it all together.


 Sky Temperature: If the subject in your image looks too warm or cool for the sky you just added, you may need to use the Sky Temperature slider to adjust accordingly. In the above image, the bald eagle was photographed with the sun adding a golden light to the bird. The sky I added is much too cool (blue) for this scene. I compensated by increasing the Sky Temperature slider until it matched the bird's color more appropriately.
Blend it all together with the Film Grain tool


It may seem counterintuitive to add grain to your photos. Still, when working with composite images, it does a great job of hiding the discrepancies between the two images. In the bald eagle image, when zoomed in close, you can see that the grain quality of the original image is very different than the grain in the sky overlay. There's somewhat of a "grain halo" surrounding the bird, which is undesirable in a photo and a clear sign that it has been manipulated.
The best way to correct this is to add grain to the overall photo using the Film Grain tool, accessible in the Creative tools category. In the above images, I zoomed in to 300%. This is so I could clearly see the grain. This allowed me to make adjustments to the Film Grain tool to cover the differences while adding the least amount of grain necessary. This still makes a photo look grainy, but it covers up the strange grain patterns that can sometimes emerge when doing composite work.


The AI Sky Replacement tool in Luminar is my go-to when I want to swap/add a brand-new sky to my photographs. The tool makes it so easy but also allows for a lot of customization — including using downloaded or your own photographed skies — to perfect the look in your unique photographs.
 If you would like some free sky overlays to play with, I have a free sky pack on my website! Please click here to access this free download, which includes both the JPEG files as well as an easy-to-install Looks pack for Luminar 4.


