Jun 07
Sky Replacement is a technique that has been around for years. Even classical photographers in the film era used various tricks to replace the sky in the photos to make it more dramatic.
In today’s world, sky replacement is an essential technique, because of so many restrictions on travelers. In many national and state parks, or other popular tourist spots, the opening hours are from dawn to sunset. Yet, every photographer is longing for a beautiful blue hour, or, if lucky, some stars in the fresh blanket of a night sky.
Whatever the reason, there are also times when it is simply fun to add mood to the image by replacing the sky. Existing techniques used to accomplish sky replacement in Photoshop require patience and a lot of skill.
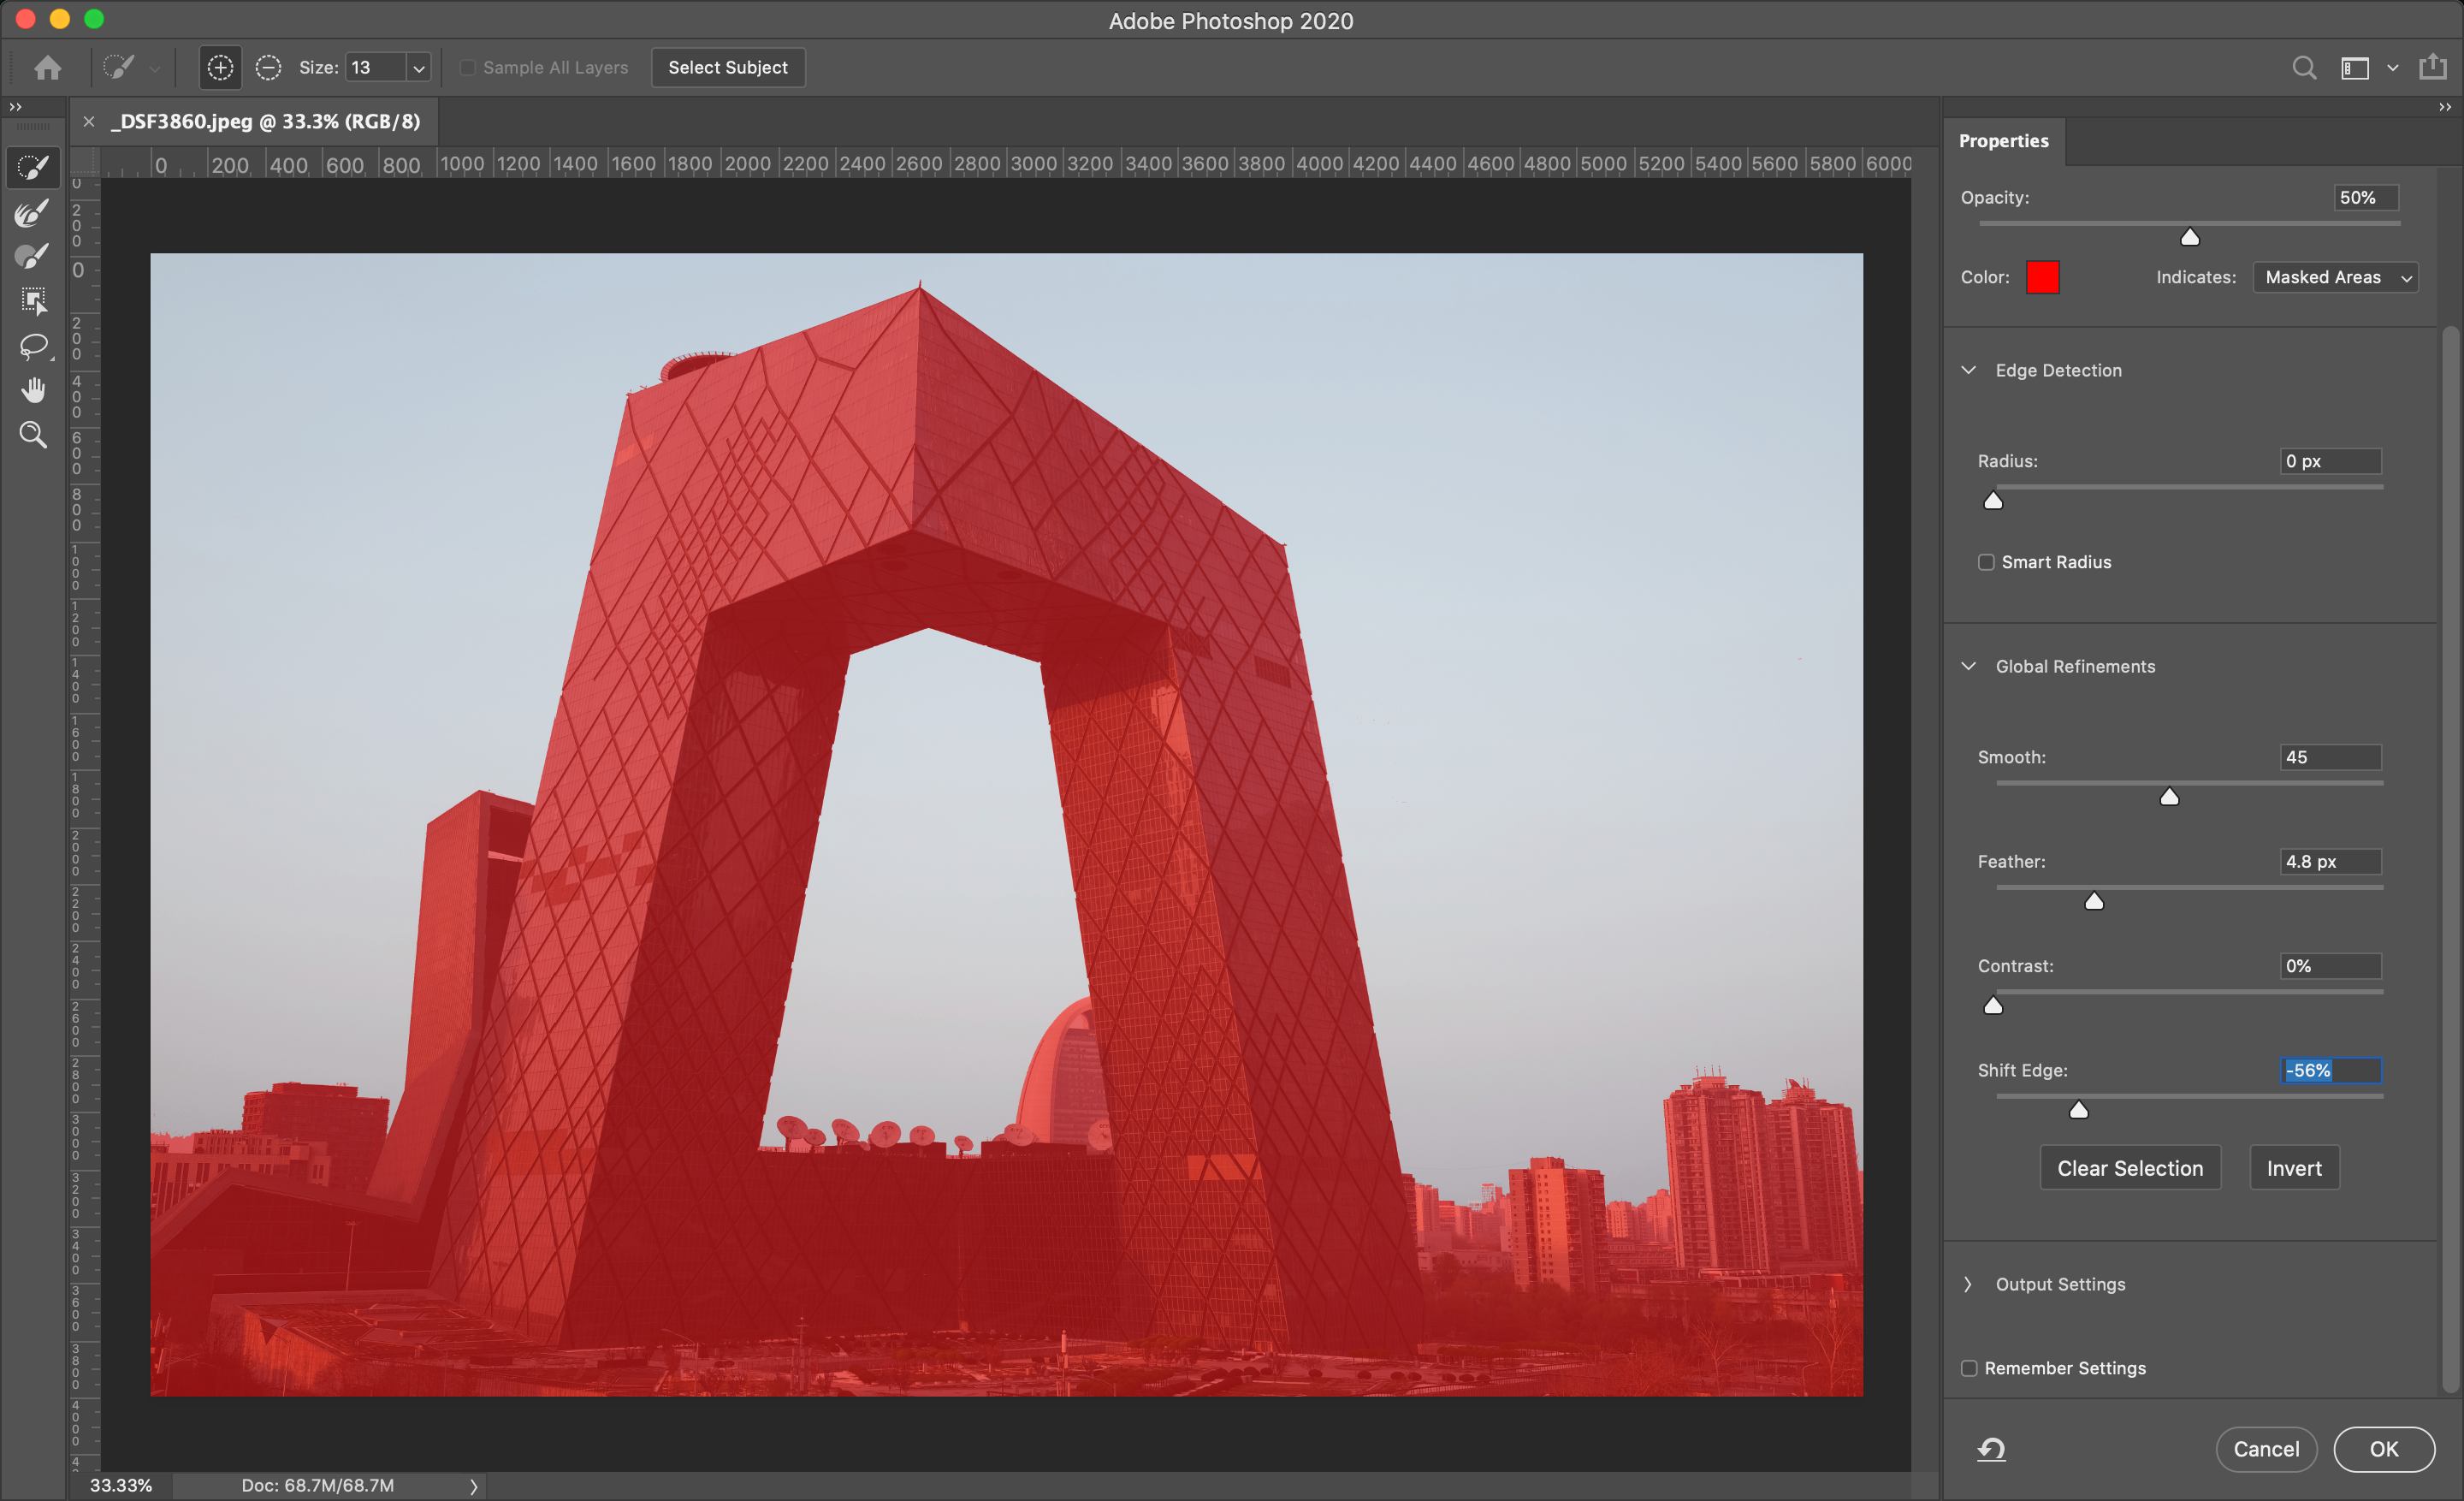
Even in a photo with simple shapes, like the one below, we need a perfect selection. We can make a selection by using the magic wand tool.

Then, we would create a mask by using “select and mask” to ensure sky replacement can be filled into a sky image.
The obvious problem is matching the colors and tones, as well as making sure that sky replacement has a tight fit, often by painting pixels by hand. Even with all the tools like Levels, Vibrance, Color Balance and Curves, making adjustments in order to match the tone and the colors never felt quite right.

That’s why it feels so much easier to use Luminar as a plugin in Photoshop to do the sky replacement. This way, I can avoid excessive masking adjustments or having to manually match the tones.

When Luminar loads up as a plugin, in the Creative tab, choose AI Sky Replacement and select “Load Custom Sky Image.” I have found a few beautiful sky photos in a free Pexels Creator Pack, so the sky placement is fast and straightforward.


A few useful tools are available to make sky replacement perfect are:
- Horizon Blending — marks how smooth the transition at the horizon will be. A higher value is often more photo-realistic.
- Horizon Position — allows to shift the positioning of a sky replacement above or below the horizon.
- Relight Scene — my favorite feature of the sky replacement. The AI automatically relights the entire photo to match, even on your own photos of skies.
- Sky Global — this affects how the texture is mixed into the scene. A higher value will increase the amount of new sky that is added.
There are also a few advanced settings, which are explained in more detail in the Luminar user guide.
Once you’ve done with the sky replacement, it’s easy to return to Photoshop for any final adjustments, such as turning it into a good looking oil painting with an Oil Paint filter.
I found that even if I don’t end up using sky replacement, I can use the sky replacement feature as a research tool by trying to imagine what a particular spot would look like in sunrise, stormy or clear night sky conditions. This inspires me, and I hope it will inspire you as well, to continue experimenting and getting out there to take more photos.


