

Aug 03
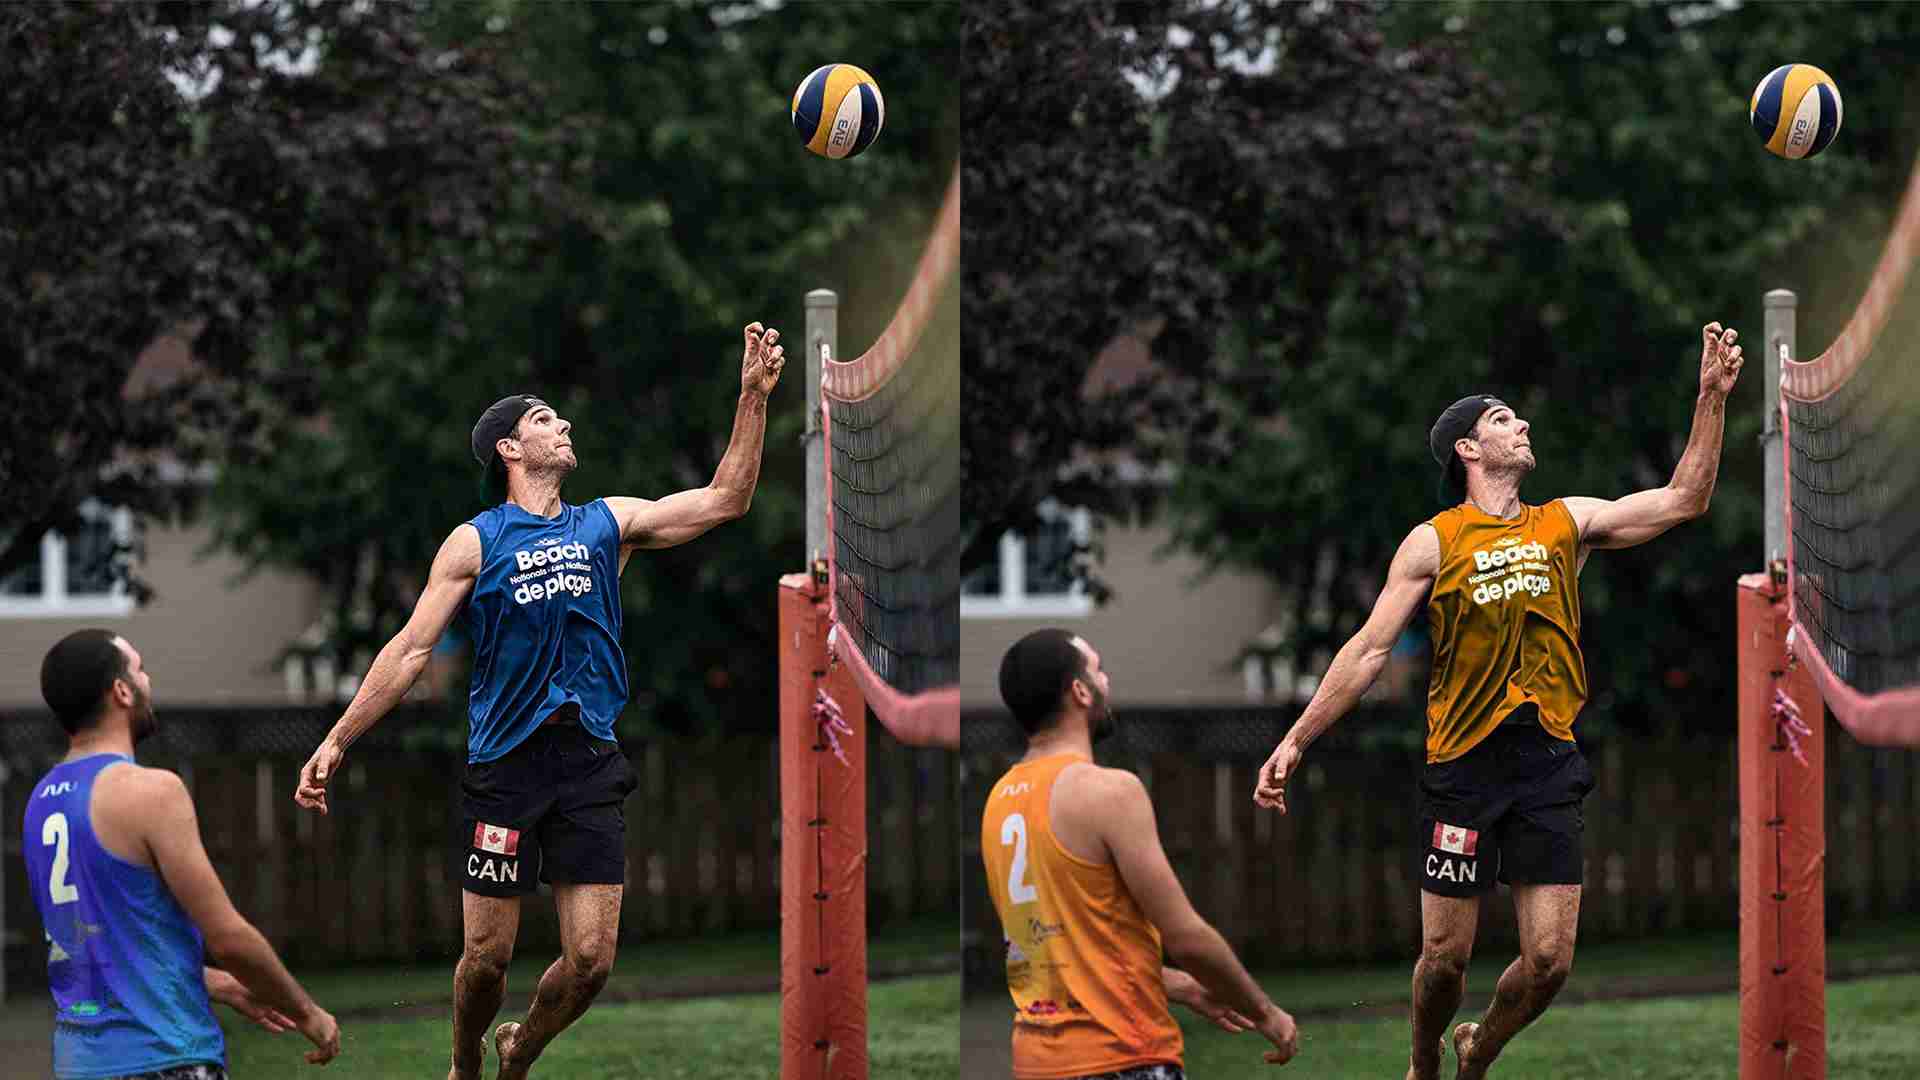
Looking to change the colors of a specific object - rather than the ones of an entire scene? Learn how to easily is it by using the masking brush!
What is a masking brush?
The masking brush is an editing technique that consists of painting an adjustment layer over a precise area of your image. It is very useful for many creative purposes, like changing the colors of an object, without affecting the rest of the image.
How to add a masking brush?
In Luminar 4, this option can be found by clicking on the Edit Mask button at the bottom of any tool panel (except for the Light tool).

Four options are being offered:
- Brush
- Radial Mask
- Gradient Mask
- Luminosity
 Let's see you incorporate it seamlessly into your editing workflow!
First, create an adjustment layer
Once you've targeted the object whose colors need to be changed, open the Color tool (found under the Essentials group) and apply the color modification. You might have to access the Advanced Settings and play with the Hue, Saturation, Luminance, and Hue Shift in order to get the desired results.
Please take note that this WILL change colors of your overall image - and it might start to look weird or funky. Be reassured, everything is non-destructive (as for all adjustment layers) and we'll fix this in a minute. For now, just focus on your object until you get the color you're looking for


Now, paint the layer on your object
Once you've got the desired result, click the Edit Mask button and select the Brush tool. A new tab will appear on the top of the workspace. These Brush options allow you to change the size, softness, and opacity of your Brush. You can also Erase if needed.
 Start painting your object with the brush. The adjustment will disappear from the overall image and be applied only on the brushed zone. You will see exactly where the effect is being activated: Painted areas are visible mid-process with a transparent red mask.
To quickly see where the entire mask is being active, clicking on the small eye icon to toggle on and off its visibility.
Once you're happy, click Done (the blue button at the top right of the tab) to exit the Brush tool and go back to your regular editing.

You're good to go!
And that's all there is to it! Pretty simple, right? This technique works for anything: From changing the colors of a flower to an eye shadow or a lipstick to the hue of a sky or an entire building!


This example has been shown by using the Color tool but there are many other creative ways to change the colors of an object.
Once you get the hang of using editing masks, go ahead and try it with other tools like Color Enhancer, Photo Filter and Split Toning tools (these ones are found under the Professional panel). Your only limit is your imagination!


