
Apr 27
Looking to add more punch to your B&W photos? Here's how to create kick-ass black and whites! The secret is to use a few tools to get the job done.
Let's explore the process of creating a kick-ass black and white photo with Luminar.
Pick a good candidate
Reality is, not every image turns out great in black and white. Look for pictures where subjects stand out from the background. In this example, the subject is darker and creates a silhouette effect. The opposite, with a lighter subject with a darker background, can also make a great black and white.

Convert to black and white
Let's get a black and white photo right away.
Step 1: Open an image in Luminar.
Step 2: From the Essentials category, choose the B&W Conversion tool to envision what the final result will look like.
Step 3: Click Convert to B&W. It makes editing much more efficient than converting later in the process.
Step 4: For a more personalized look, play with the Luminance sliders of each color zone to make specific areas darker or lighter.

Add more contrast
Contrast is useful as it modifies the dynamic range in a photo (the difference between the light and dark areas). There are multiple tools available to increase contrast. You can stick to a single one or combine a few of them, depending on the result you're looking for.
Here are some variations available in Luminar 4:

Light tool
Essentials category > Light > Highlights/Shadows/Whites/Blacks controls
Move these four sliders to increase or decrease the contrast.
You can also experiment with the Smart Contrast control.

Curves tool
Essentials category > Light > Curves controls
The Curves controls are found in the Advanced section of the Light tool. The left extremity affects the shadows. The right extremity affects the highlights. To enhance contrast, place the mouse on one extremity of the curve and pull it towards the center. As it is a non-destructive process, you can easily try different combinations until you find what suits your needs best - just with like any other tool.

Advanced Contrast tool
Professional category > Advanced Contrast
This is perhaps my favorite way to increase contrast. You can independently increase or decrease the Highlights, Midtones, and Shadows values.

Dramatic tool
Here's an extra (secret) step. Go back to the Creative category and add the Dramatic look. This tool adds even more contrast and brings a little something extra. I use it all the time to create my sports grit look.
Add structure & details
Two powerful tools are available in the Essentials category: AI Structure and Details Enhancer. Combine them for maximum impact. This adds a 3D effect and brings the subject to life.
Hint: I paint a mask with the Brush tool only on my subject when I want the background to remain as smooth as possible.
Save your kick-ass Look
Once you're happy with the final result, save your new Look. This will allow you to use it for any future purpose.
Step 1: Click on the Looks button on the top left of your screen to open the Looks browser.

Step 2: Then click the "Save a New Look" on the bottom right.

Step 3: Rename your Look in the "Luminar Look Name" pop-up window with a descriptive name.

The saved Look will now be available in your "User Luminar Looks" for future edits.

Of course, two photos never look alike. The light, composition, and exposure greatly vary from one another. The saved Look might not be optimized for every situation. With Luminar 4, you're never stuck with a Look. You can ALWAYS apply it and go back to ANY of the tools to tweak it as little or as much as you like! The use of AI-based tools though will help a Look automatically adjust to each image.


Enjoy it for the rest of your life
Here are a few examples of other black and whites edits I've created with this single Kick-Ass B&W Look. With tweaks that took under 10 seconds to make, I've been able to use it with different types of photography.


I opened the shadows to get more details on the dog.


I've significantly enhanced Details and Structure.


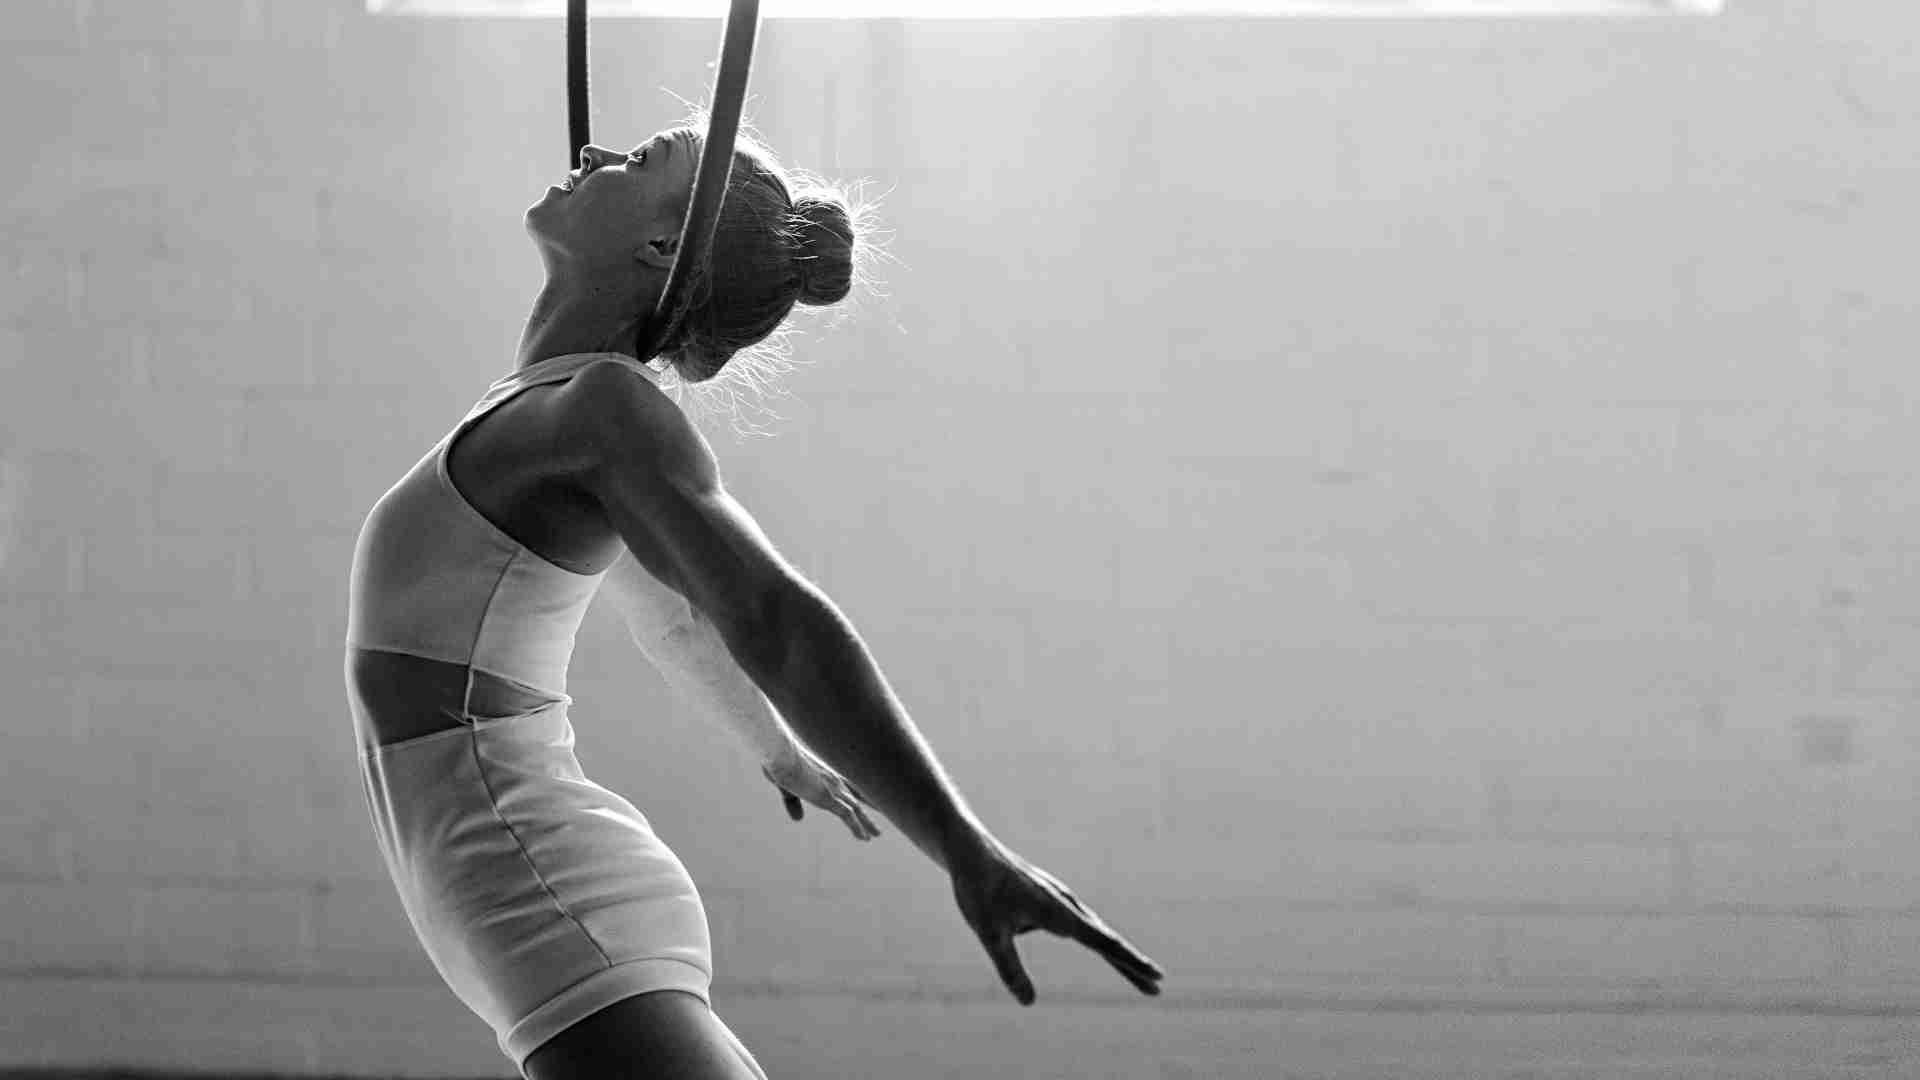
I slightly increased the Whites and the Highlights to make the athlete's face stand out a little more.
I hope these tips on how to create kick-ass black and white photos will spark your creativity, help you get eye-catching images, and save time in your editing workflow!
While we have you, we want to thank you for visiting Skylum Photo Academy, and present you with an offer of an extended 30 day free trial of Luminar:


