Luminar User Guide
Luminar User Guide
Using Workspaces
Workspaces are an innovative way of working with your photos. By using one of our built-in workspaces (or creating your own) Luminar can quickly adapt to the photo editing tasks at hand. By tailoring which Filters are visible, you can speed up editing tasks with a guided workflow.
What are Workspaces?
Each workspace is a customized group of filters. With the pre-built workspaces these have been selected for specific types of photos. You’ll find that using Luminar’s purpose-built workspaces offer uniquely tailored tools which achieve great results quickly.

Changing Workspaces
Switching between workspaces is easy, just click the Workspace drop-down menu at the top of the Filters controls. You’ll find six preset workspaces to make things easier.
- Clear Workspace. Removes any Filters from the image as a blank starting point.
- Professional. A robust set of filters for imaging professionals who want greater control over exposure, color, and details.
- Quick & Awesome. Uses the speed of the Enhance AI filter for quick adjustments. Also offers control for Saturation, Vibrance, and Clarity. A good workspace for quick edits.
- Essentials. A general set of recommended filters for most image types.
- Aerial Photography. Designed for making drone photos look their best. Easily overcome the challenge of small sensors and vibration to get crispy and colorful photos.
- B & W. A set of controls well-suited for black and white conversion and contrast.
- Landscape. A set of filters to enhance skies and foliage in a photo.
- Portrait. A collection of filters well-suited to adjusting portraits of people.
- Street. A workspace designed for enhancing gritty and urban imagery.
Saving a Custom Workspace
Once you’re familiar with Luminar, you may find that there are certain filters you prefer working with. You can easily adapt a workspace to match just your needs.
- To start, click the Workspaces drop-down menu and choose Clear.
- Click the Add Filter button to browse all available Filters. You can scroll through the list or click on a category to narrow your search.
- Continue adding Filters to the workspace that you’d like to use.
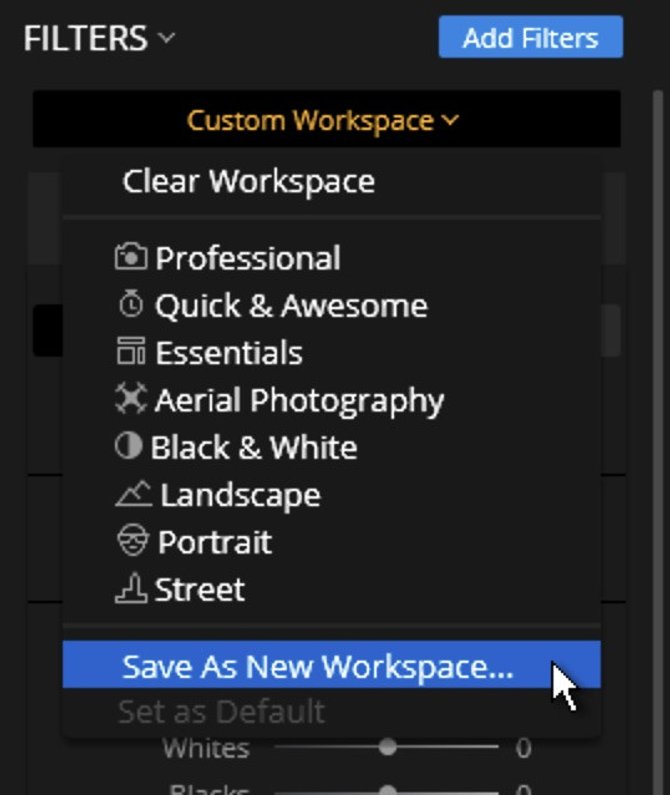
- When satisfied, click the Workspace pop-up menu and choose Save As New Workspace….
- A dialog will pop-up at the top of the window asking you to name your workspace. Give it a descriptive name to help you remember which situations to use the workspace.


If you ever need to modify a workspace, that’s easy too. Just choose File > Show Workspaces Folder.
Setting a Default Workspace
If you’ve created a custom workspace that you want to use most often (or like a built-in workspace),you can easily set it as the new default.
- Choose a workspace that you’ve created or one of the built-in presets.
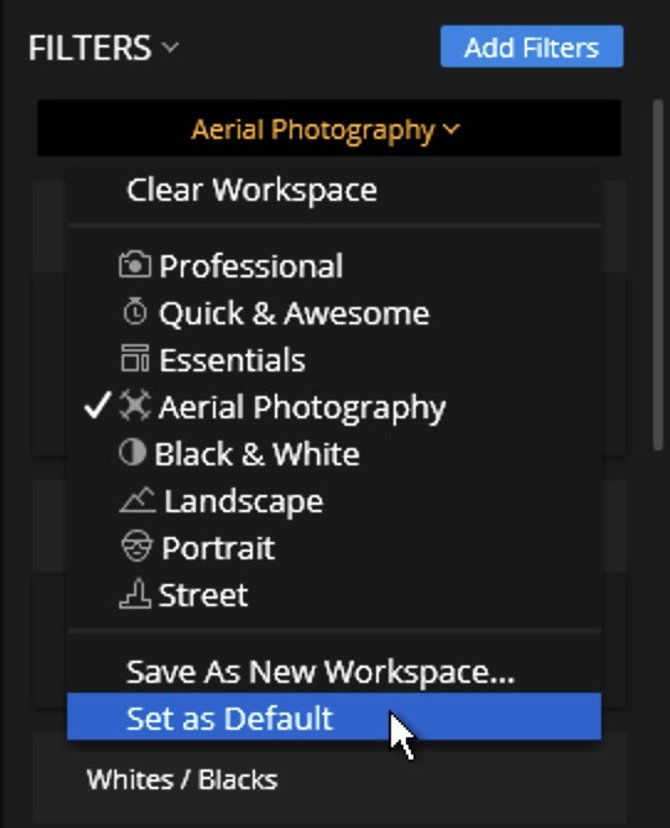
- Click the Workspace pop-up menu and choose Set as Default. The next image you open (and all after that) will use this new workspace.
- Use the new default Workspace to quickly improve your images using your favorite filters.

Download the full
Luminar 2018 User Guide for Windows in PDF Format
You may Also like
Have any questions?
Contact Us Help our product become better for you.
Take this survey for a chance to win an amazing prize!
Or learn more here