Here are 5 features to ensure you’re getting the most from Aurora HDR.
Aurora HDR is a software packed with a rich set of incredible tools that let you create unique, dramatic, and beautiful images. In this article, we will delve into the software, offering a brief overview of HDR photography, a vital tool for photographers.
We'll also show you 5 awesome features you simply have to use to ensure you’re getting the most out of the software. Suitable for both amateurs and professionals, this software truly enables you to accomplish more with your photos than other HDR software!
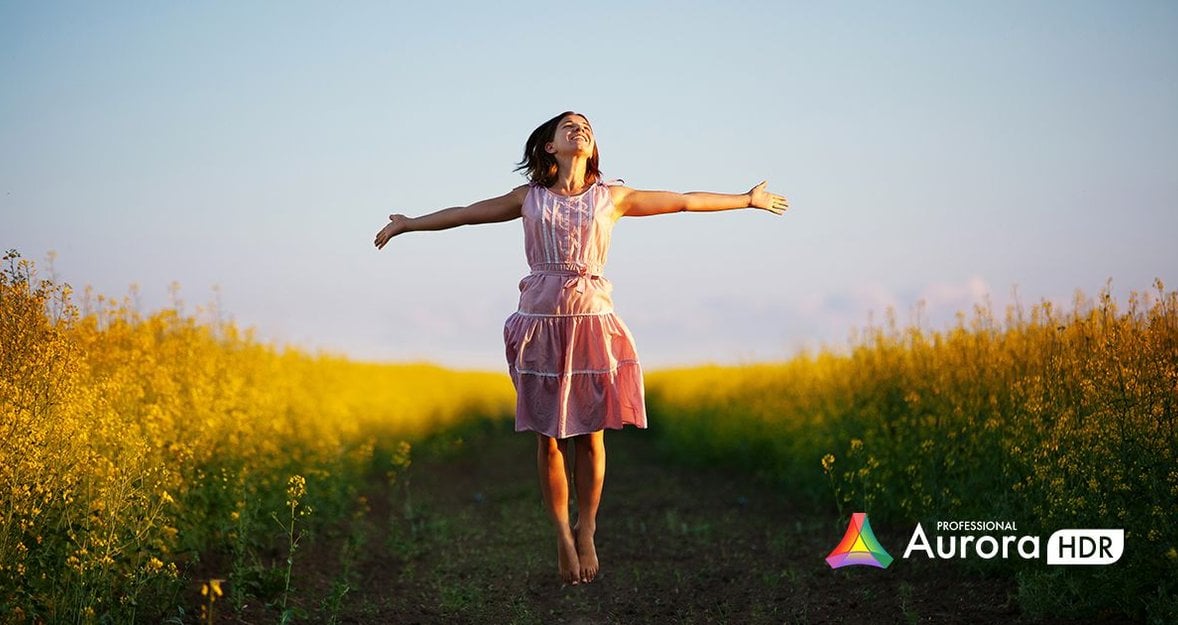
Aurora HDR Genesis
Aurora HDR is a joint project between Skylum and Trey Ratcliff to produce the most powerful, simple, and fast HDR photo editing software, available for both Mac and PC users.
Skylum is one of the world’s leading developers of consumer and professional photography software, serving Mac, Windows, and enterprise customers worldwide. Trey Ratcliff is the world’s most renowned HDR photographer, with over 16 million online followers and more than 150 billion views of his images. Besides fine art sales to collectors worldwide, he runs the #1 Travel Photography blog at www.stuckincustoms.com.
This synergistic partnership has developed Aurora HDR 2019, a software suite packed with every tool imaginable for creating high-quality, next-generation dramatic images. This version includes Aurora HDR Looks and video training developed by Ratcliff and other professionals, making it a comprehensive tool for photographers at all skill levels.
What is HDR
Now, let’s turn to the HDR concept and why it matters. High Dynamic Range (HDR) photography is a popular photographic technique designed to overcome the limitations of image sensors in digital photographs. This process utilizes multiple exposures of the same subject, each shot at different exposure values (“brackets”). Those brackets are then automatically merged into a single shot with a greater exposure range.
As we explore the essentials of Aurora HDR, let's now focus on practical tips and features that will help you leverage the full potential of this powerful software.
Feature #1: One-click Presets
Aurora HDR software comes preloaded with dozens of one-click presets that allow you to create every photographic style, from a completely fantasy-like image to a smooth realistic view of your most epic adventures. Why is this great? By using presets, you can create amazing HDR images in seconds, and then finalize them with your own creative flare using the most powerful controls in the industry! Often you'll get the result you won't even without further adjustments. And did we mention? You can create your own presets, as well as import presets made by other photographers.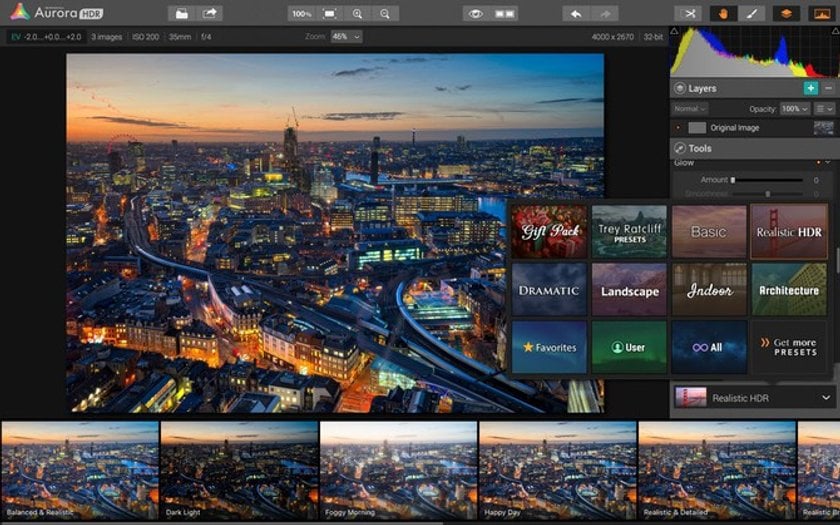
Feature #2: The Most Awesome Detail Controls
Love a detailed image and want to have complete control over the sensory explosion? Use the Structure panel to adjust the overall HDR look and the amount of detail and clarity revealed in your image. Why is it great? Our intuitive slider controls are totally easy to use and in a few seconds you can create as dramatic- or realistic-looking an image as you like!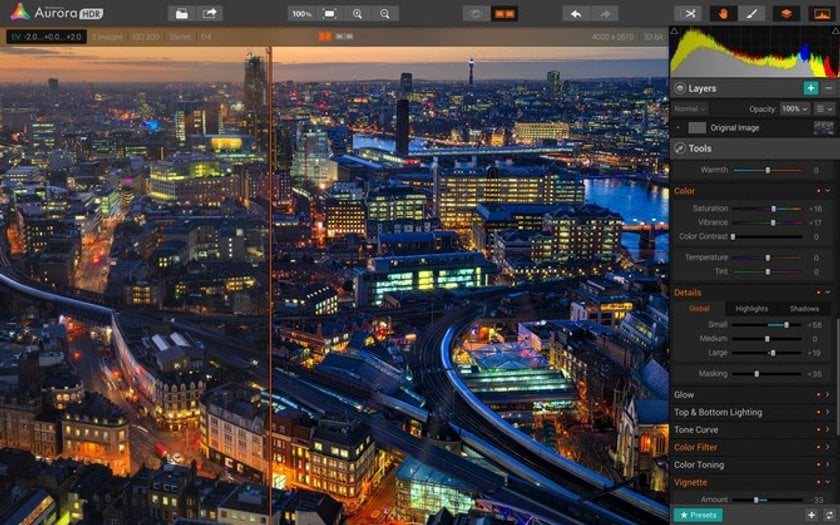
Feature #3: Selective Light Adjustments
One of the coolest features of Aurora HDR Pro is the ability to separately adjust the exposure levels on the top and bottom of your image. Cleverly named "Top & Bottom Lighting", this important tool gives you precise control using the digital equivalent of a fancy Graduated HD filter. Be sure to check out the Shift and Rotation sliders too for a completely custom look. Why is it great? You literally have the most powerful image processing engine at your fingertips that lets you affect just the area you choose. No special learning required.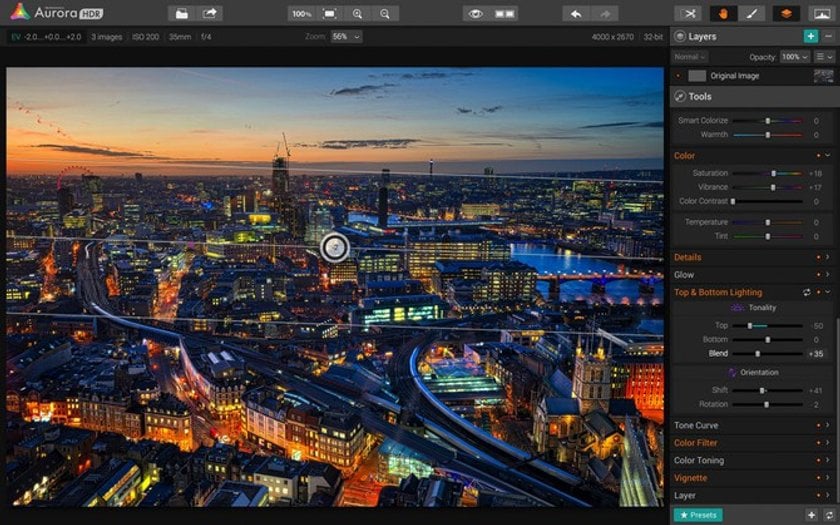
Feature #4: Layers of Goodness
Need more control over your editing? Unlike every other HDR software out there, Aurora HDR Pro lets you create and work with multiple layers to get the exact look and feel you want out of your HDR workflow! You can create luminosity masks, custom effect masks, texture overlays and use brushes to further selectively edit your photos. Even adjust the opacity of each layer! Aurora HDR Pro lets you Layer and Mask to your heart’s content, so take control! Why is it great? You get ultimate freedom to enhance the photo the way you want without jumping to other software. And this is what truly matters.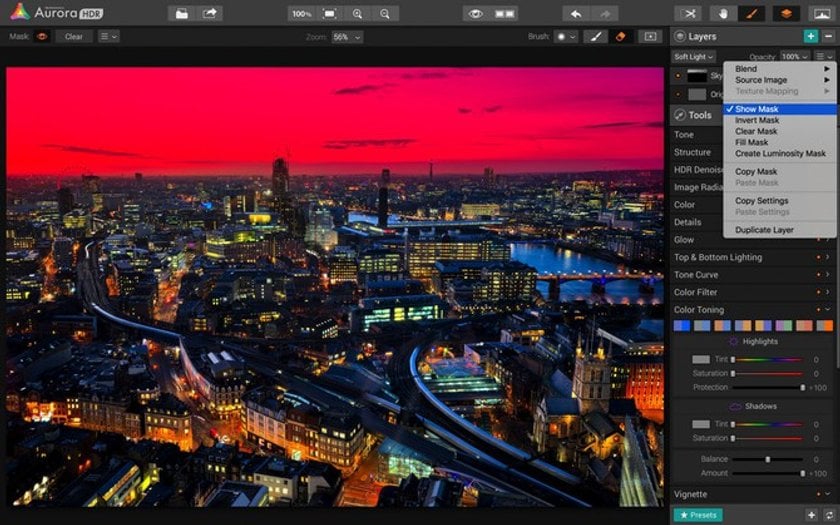
Feature #5: Tone Curve Magic
Lightroom and Photoshop users rejoice! One of the most powerful and familiar tools of both apps is nestled right into Aurora HDR - the Tone Curve control. For more advanced users who are comfortable manually adjusting tone and color of your images, this is as straightforward as it gets. Want more contrast? Easy! Want a brighter and more color-treated image? Just as easy! Why is it great? Your imagination is the only limit when you dig into manual adjustments, plus you have separate RGB curves to boot!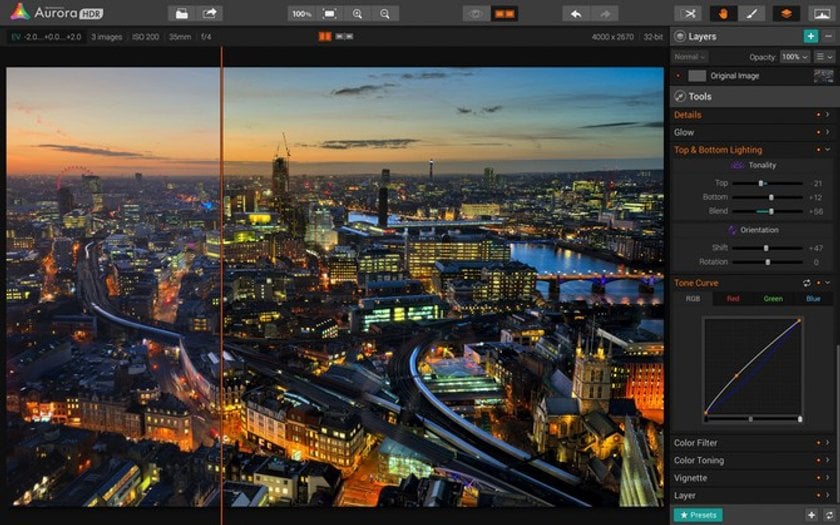
Extra Bonus Feature
We know we promised 5 killer features, but we just can't contain ourselves! Here's a few more to whet your HDR appetite:
Custom brush for selective editing
Plug-in support for Adobe Photoshop, Lightroom, Apple Aperture
Extension support for Apple Photos
Ultra-easy HDR noise reduction
Fantastic one-click luminance and color adjustments
There is more to love in Aurora HDR. If you haven't tried it yet, start making the most beautiful HDR photos in literally seconds.
If you are using Aurora HDR or Aurora HDR Pro already, tell us what your favorite tools are in the comments.