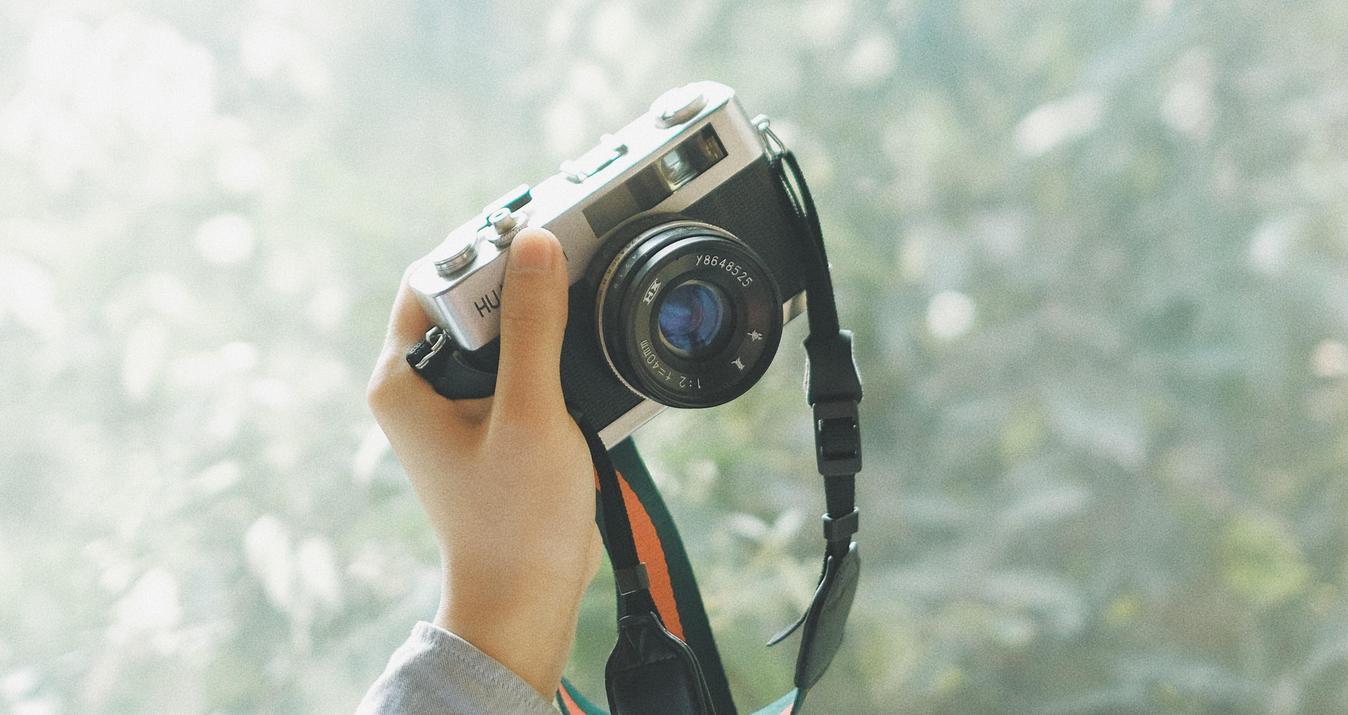
Picture this: a world where every click of your camera unveils a mesmerizing story, where the glow on your subject's face is like painting with light, and where you hold the secret to capturing emotions in a single frame. This magical world is unlocked by the enchanting realm of portrait lighting schemes.
Welcome to our guide, where we unravel the captivating art of portrait setups used by professional photographers. Whether you're a budding shutterbug or a seasoned pro on the hunt for fresh ideas, these five dazzling portrait lighting schemes will be your guiding stars on the path to portrait photography excellence.
Let's dive in!
Why Portrait Lighting Matters
 Picture a canvas where you're not merely an artist but also a magician, evoking emotions and stories through the interplay of illumination and shadow. This is the essence of portrait lighting. It's the art of crafting mood, accentuating features, and giving life to your subject. It's the distinction between an ordinary snapshot and a mesmerizing masterpiece.
Now, let's illuminate the path by understanding the different types of portrait lighting that serve as the foundation for creating stunning portraits:
- Natural: Embrace the sun's radiance, utilizing available daylight. It's often soft and flattering, making it ideal for outdoor photography.
- Artificial: When precise control is needed, artificial illumination steps in. Be it studio illumination, flashes, or continuous lighting, and this empowers you to sculpt illumination to your exact specifications.
- Ambient: Within indoor spaces or specific locations, ambient lighting establishes the portrait's ambiance. Recognizing its role in complementing your composition is crucial.
- Mixed Lighting: In situations with multiple light sources at play, understanding the delicate balance and harmonious integration of these sources is paramount for successful portraits.
Now that we've set the stage, it's time to explore these five impressive portrait lighting schemes that will truly illuminate your journey in portrait photography.
Replicate Studio Light in One Click
Discover Luminar Neo5 Impressive Setups for Portrait Photography
Now that we've laid the groundwork, it's time to explore lighting for portrait photography. Let's begin our journey with the first enchanting setup:
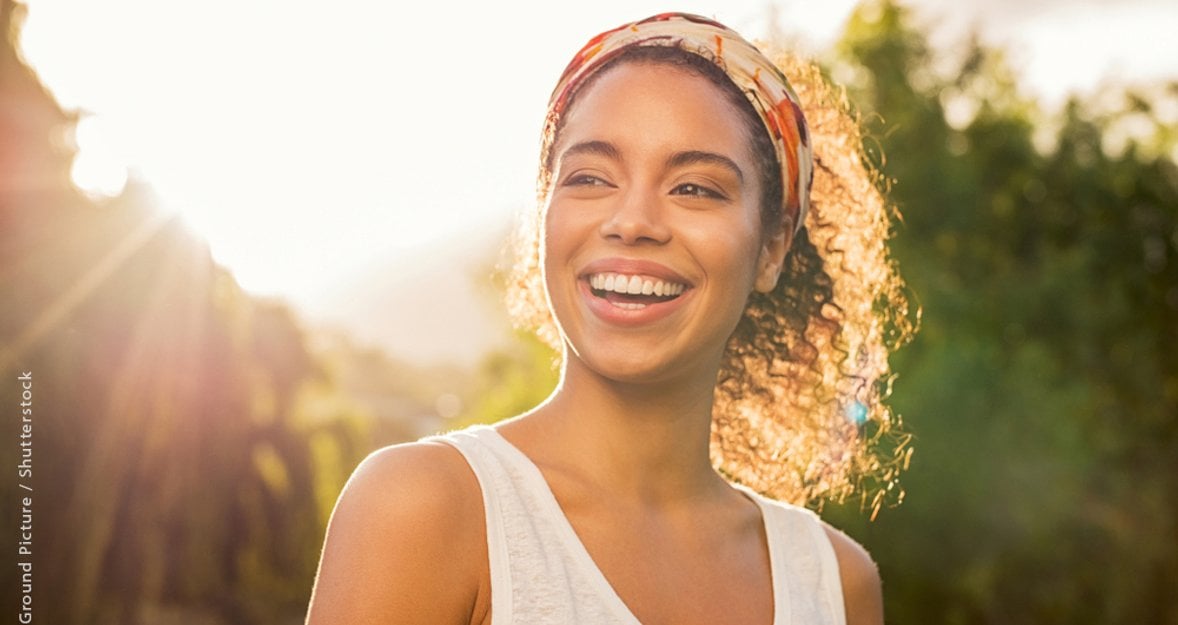
1. Natural Light Elegance
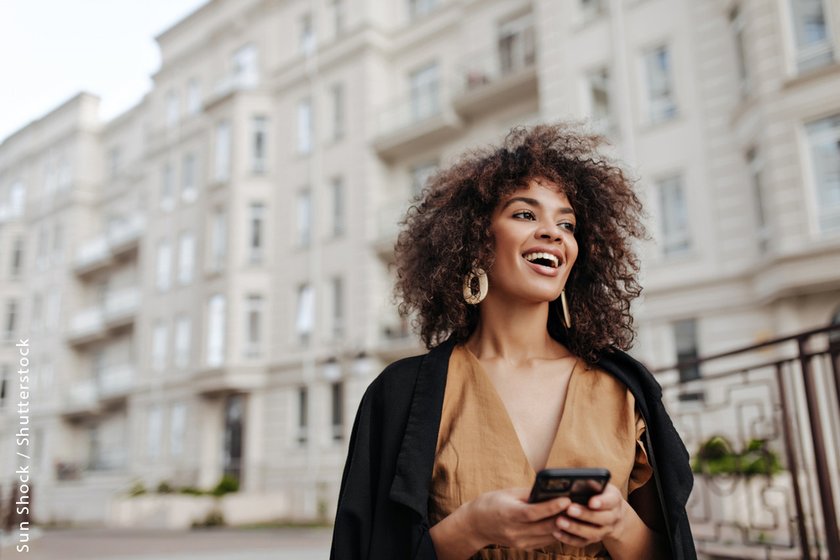 Imagine a painter's dream palette gently touching your subjects. To make the most of this setup:
Golden Hours
These are the moments shortly after sunrise and just before sunset, casting a golden, warm, and flattering glow. Plan outdoor shoots during these times for ethereal results.
Reflectors and Diffusers
Even in natural settings, you can enhance your photos. Reflectors bounce illumination, reducing shadows, while diffusers soften sunlight, creating a lovely, even radiance. If you want to find out more about diffusers, click here.
Shade Exploration
Shade offers soft, diffused illumination. Seek open shade spots or use natural elements like buildings, trees, or clouds to filter and soften sunlight.
Directional Impact
The light's angle on your subject influences mood. Experiment with side, backlighting, and front lighting to transform appearances.
Creative Elements
Natural items like leaves, windows, or curtains can serve as imaginative filters, casting intriguing patterns onto your subject's face.
Embrace natural light's elegance, considering these tips for captivating portraits in diverse outdoor settings and at different times of the day!
2. Classic Three-Point Lighting
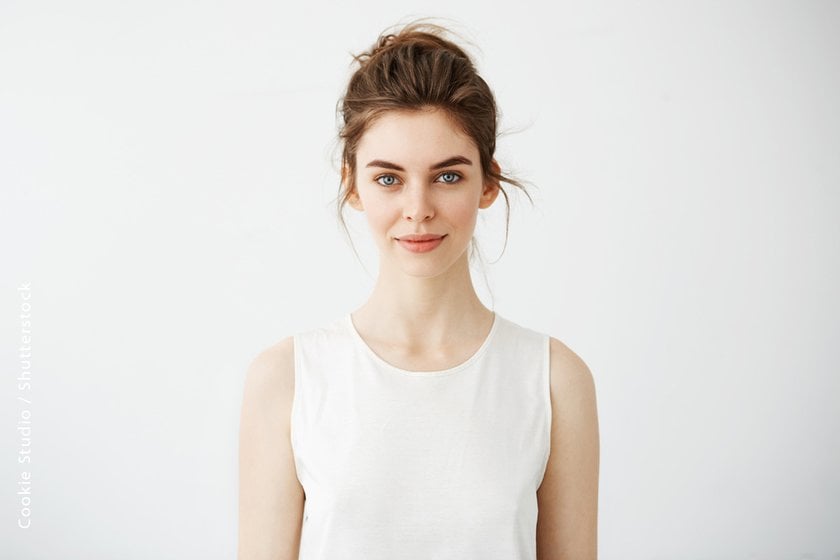 This setup is akin to the artist's brushstroke, allowing you to paint your subject with depth, dimension, and emotion. It revolves around a fundamental concept and precise positioning to achieve stunning results.
At its core, the three-point concept uses three primary sources:
- Key Light: The primary source sets the mood by illuminating features from a 45-degree angle to your subject's side, creating flattering highlights and shadows.
- Fill Light: Softens shadows from the key light, ensuring balanced exposure. Positioned opposite, it maintains depth without eliminating shadows.
- Backlight: Adds drama, separating the subject from the background, enhancing their presence by outlining their silhouette. Positioned behind and a bit above the subject, it creates a captivating separation.
Mastering this scheme empowers you to craft striking, memorable portraits!
3. Dramatic Rembrandt Lighting
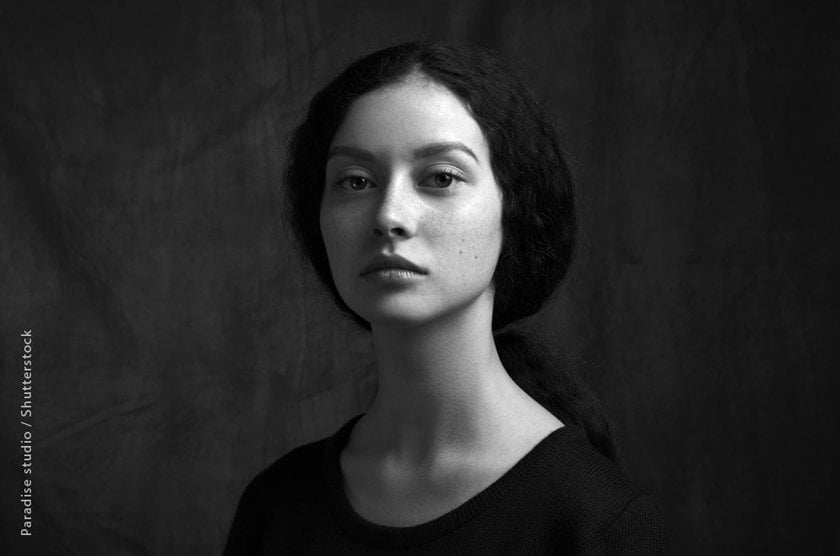 This scheme is like a stroke of genius on a canvas. It brings drama, mystery, and depth to your portraits through its distinct characteristics and precise positioning.
The Rembrandt scheme is characterized by a small, triangular patch of light on the subject's cheek, just below the eye on the shadow side of their face. Achieving this effect requires careful positioning:
- Key Light Placement: Position the key light to one side of your subject, approximately 45 degrees above their eye level. This placement illuminates part of the face while casting the other in shadow.
- Controlled Shadows: The opposite side of the face remains predominantly in shadow, creating depth and drama with an iconic triangular patch of light.
- Subtle Fill: While the Rembrandt setup thrives on shadows, this one softens shadows and retains detail without overshadowing the Rembrandt effect.
Regarding portrait lighting examples of this kind, Rembrandt himself frequently employed this scheme in his self-portraits, creating a profound sense of introspection and depth in his paintings.
In the glamorous world of Hollywood, stars like Audrey Hepburn and Cary Grant often graced classic portraits that employed Rembrandt’s technique to add sophistication and allure to their iconic images!
4. Softbox Magic
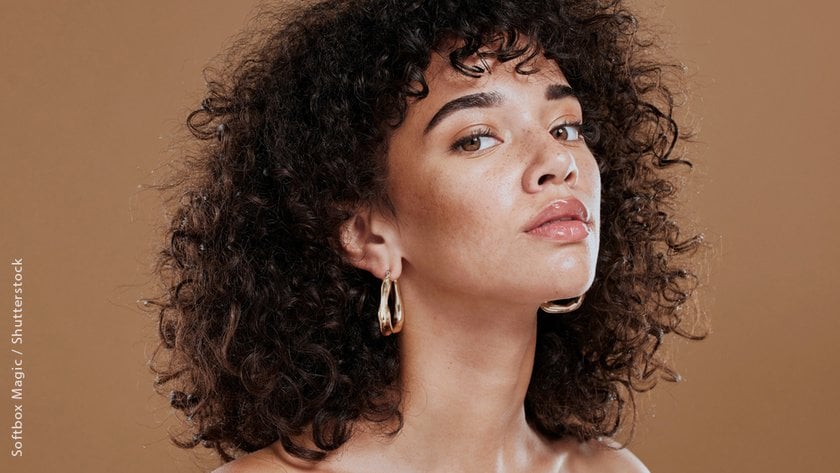 A softbox is like a magic wand that makes your subjects shine like stars. It is a handy tool that has the power to make your portraits look amazing and catch the eye.
Softboxes specialize in gentle, diffused illumination. Ideal for portrait photography, they eliminate harsh shadows, leaving your subject with a soft, uniform glow. The beauty of softboxes lies in their adjustability, allowing you to control brightness by altering their proximity to your subject or adjusting light intensity.
When positioning a softbox, consider its placement carefully. Gently position it to the side or a bit above your subject, depending on your desired lighting and shadow effects. To achieve the perfect lighting, make adjustments as you prepare to capture the photo. Modify the distance or brightness settings to achieve the desired look and ambiance for your shot!
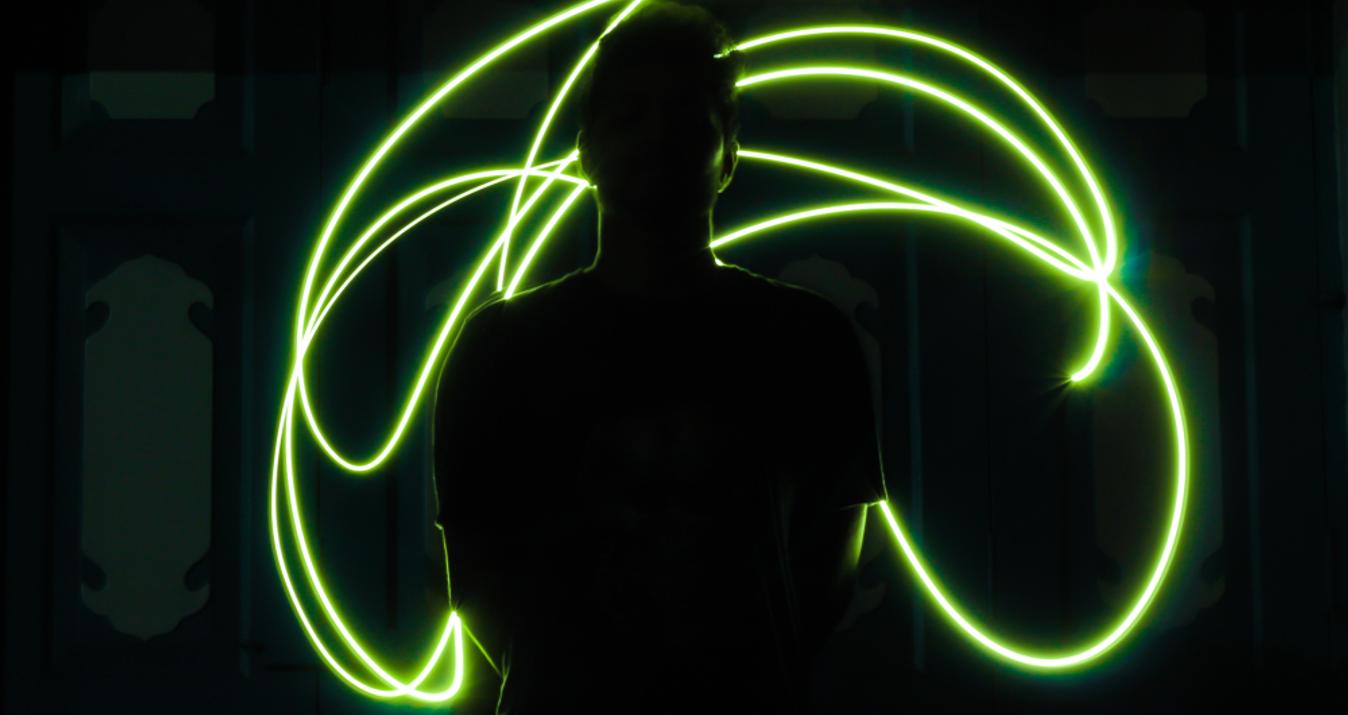
5. Creative Color Gels
 These gels are like the artist's palette, bringing vibrant, colorful life to your images. They are transparent sheets placed in front of your lights to cast different colors onto your subject and background, allowing you to set the mood because different colors evoke various emotions, from warmth with reds and oranges to calmness with blues and greens.
Also, you can express creativity by using color gels to match themes, create ambiance, or add a pop of color to your portraits.
To use them effectively:
- Place the gel in front of your light source.
- Experiment with different colors and combinations for unique effects.
- Balance colored illumination with other light sources for well-exposed images.
With creative color gels, you can paint your portraits with vibrant, emotional brushstrokes, adding a unique dimension to your photography and expressing your artistic vision with flair.
Studio Lighting Simulation in Luminar Neo
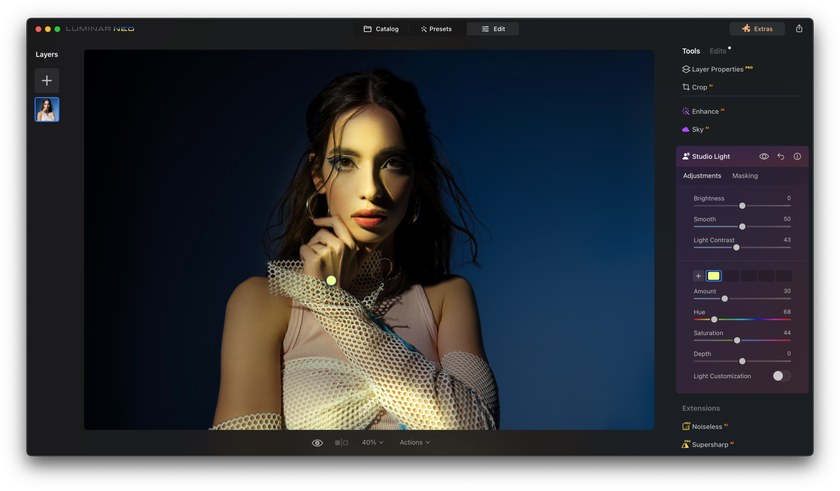 Luminar Neo is a powerful photo editing software that provides photographers with a versatile set of tools for enhancing and perfecting their images. One of its standout features is its ability to simulate and enhance studio lighting for portrait!
A 7-day Free Trial of Luminar Neo with No Obligation
Get it now!The editor brings the magic of studio lighting to your digital photos. With its user-friendly tools and presets, you can easily recreate the professional studio effects you desire. Whether it's soft and diffused light or dramatic Rembrandt technique, now you have the power to make your images look like they were captured in a studio.
Plus, you can fine-tune the intensity, color temperature, and direction of the virtual studio lights to match your creative vision. Say goodbye to the need for an actual studio setup – Luminar Neo gives you the tools to achieve stunning studio effects with ease!
Conclusion
Lighting is indeed your secret weapon! These five setups, coupled with an understanding of portrait lighting types, open doors to boundless creativity. From the natural elegance of the sun to the dramatic allure of Rembrandt's technique, each empowers you to tell captivating stories through your lens!
By delving into the art of illumination, you're unlocking the true potential of your photography. Your journey to mastering the best lighting for portrait photography is an ongoing one, enriched by experimentation and learning.
And with the powerful tools offered by Luminar Neo, you can further refine your craft. The magic of studio simulation, now at your fingertips, allows you to transform your digital images into captivating works of art.
So, here's to your photographic journey – may it be filled with captivating portraits, innovative techniques, and endless inspiration!
Happy shooting!