
Follow these basic rules for capturing fire backgrounds and gift yourself a chance to become a professional in this type of photography.
Since ancient times, humans have been close friends with fire. As we learn from the history books, our ancestors worshiped fire as a spirit of warmth and protection. And with the years, this bond has become stronger and stronger. Medieval people used flames to cleanse sins, and in the coming centuries fire was at the heart of the Industrial Revolution.

The whole history of humanity developed on the background of fire. And now, after all these millenia of close friendship and mutual respect, how is it possible to avoid the temptation to capture it with your camera? Especially when fireplace pictures provide so much opportunity to reveal your love and creativity! And, of course, the presence of flames always adds a magical atmosphere to shots.
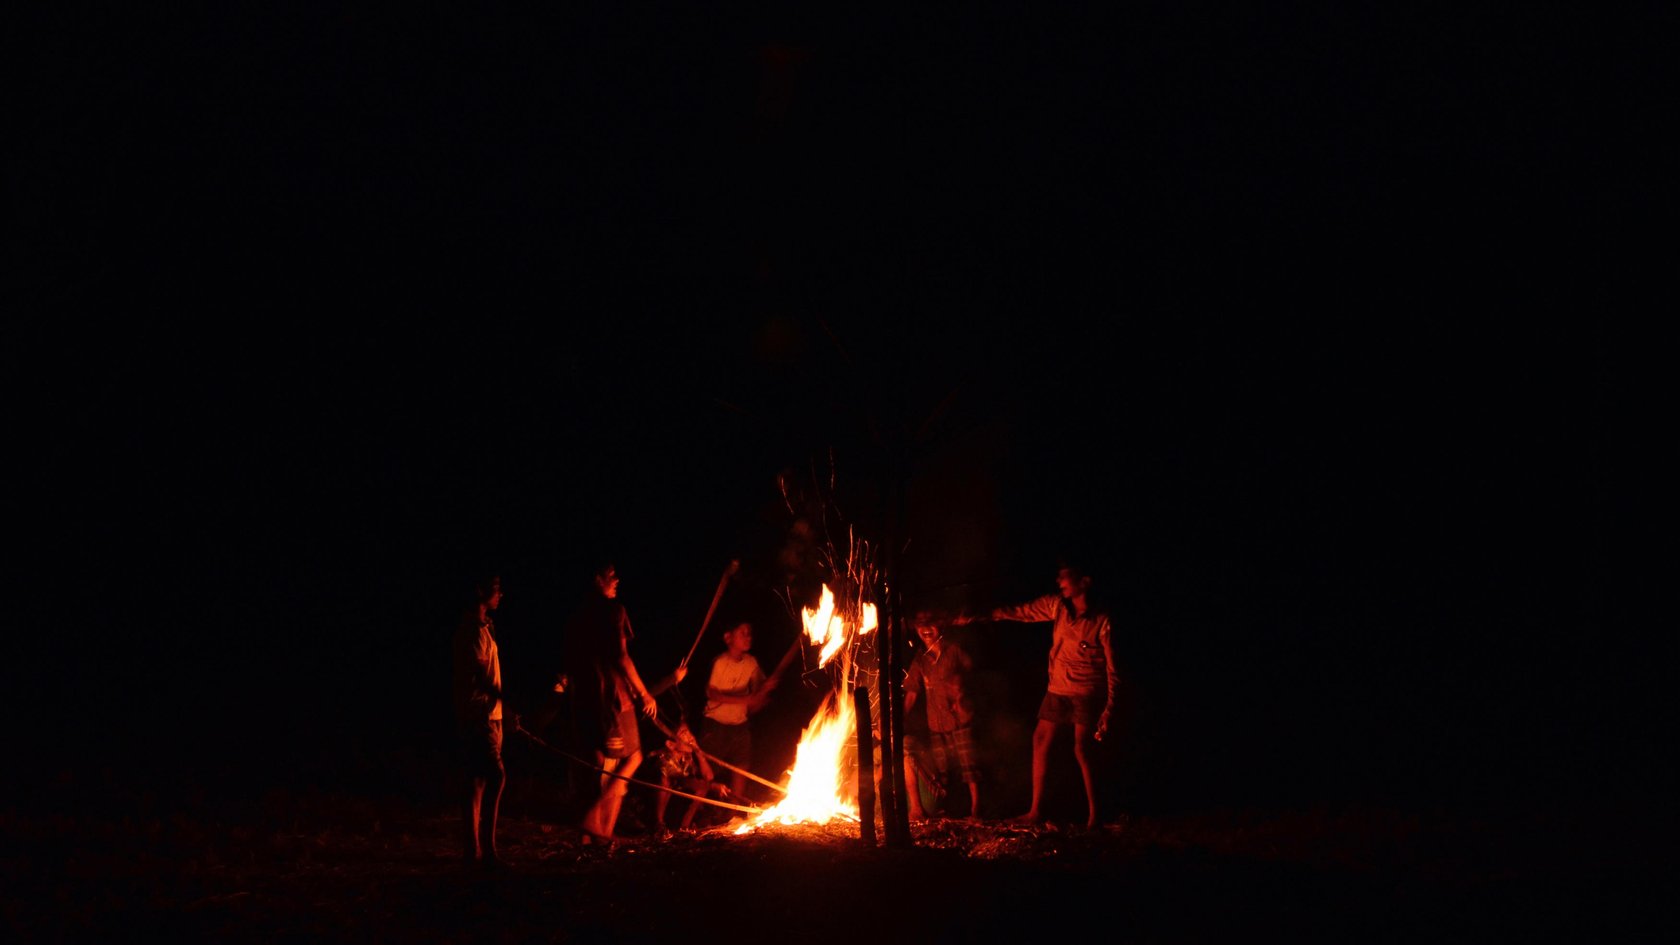
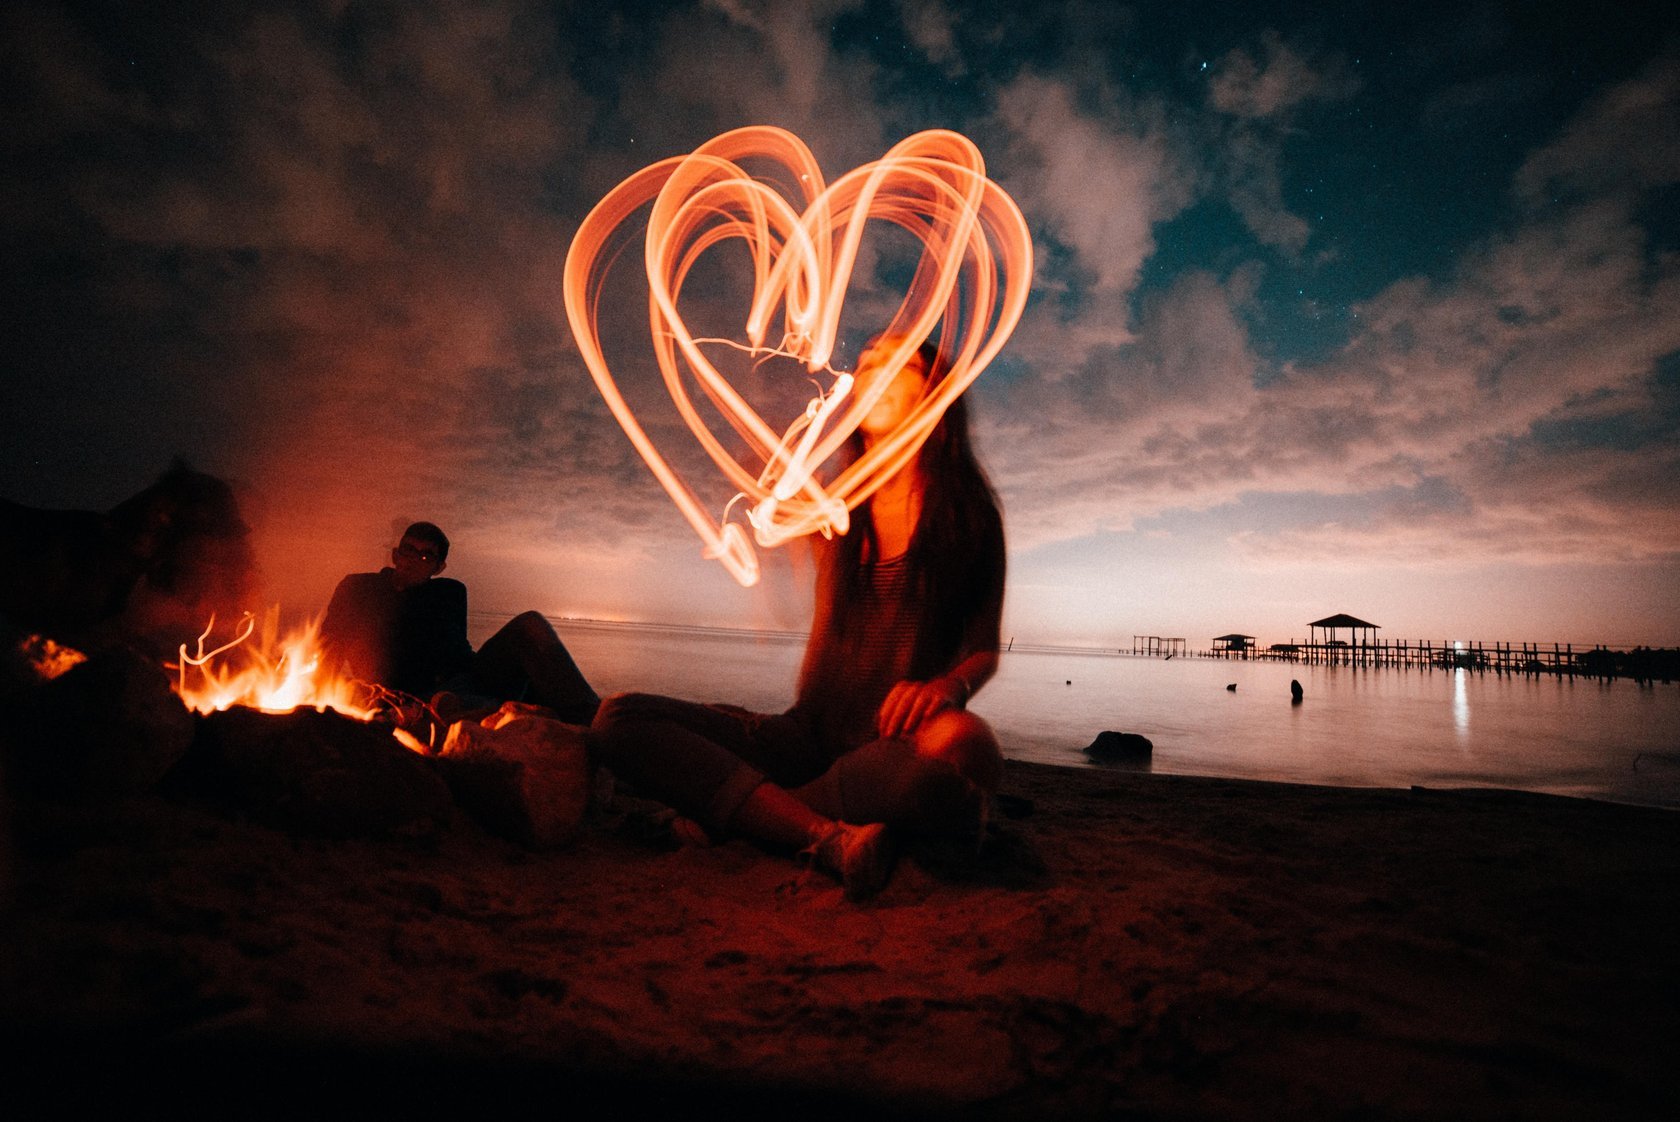
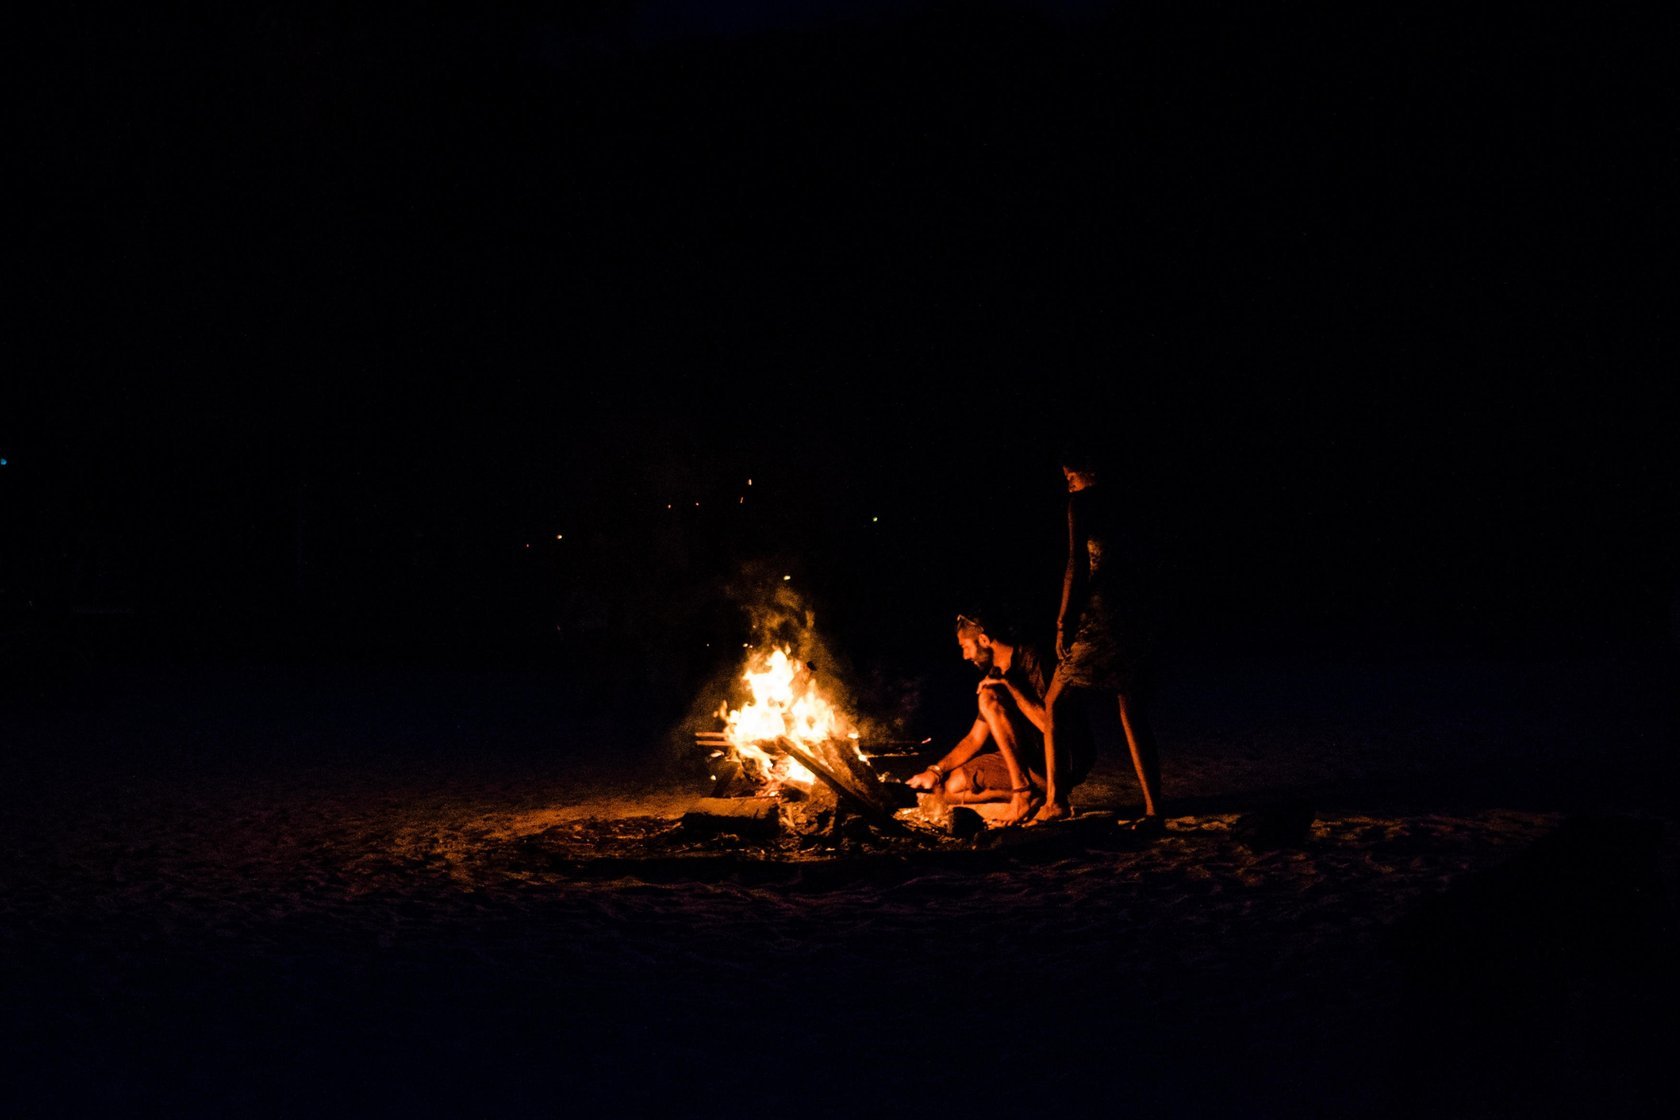
So don’t resist the temptation: try fire photography! There are some classic flame background images you can start practicing with right away. People love seeing romantic couples sitting in front of a bonfire, a bunch of friends laughing and sharing a late night barbeque, and lonely dreamers peacefully resting near the campfire after hiking in the woods. All these plots (and many more!) can be put in the center of your fire photography.
To capture these inspiring plots as beautifully as they deserve, check out this guide to fire background photos. You’ll find numerous tips, ideas, and recommended tools to make the best of your attempts at fire photography.
Fire background photography — what’s it all about? Isn’t it too dangerous?
Starting from amateur attempts to capture a fiery background with a candle, fire photography can turn into a profession you’ll master for the rest of your life. After that, you can join other professionals passionate about fire images — so-called fire photographers. These people know how to capture various types of flames; they work at sites of firefighting operations, take professional portraits against flame background, capture pictures of fire for any purpose, and even know how to create a fire animation.
By the way, photographing firefighting operations is the only true type of fire photography according to Wikipedia. So if you’re interested in working with a fiery background in a way that is approved by Wikipedia, you should aim at entering this sphere. And on your way to becoming a professional fire photographer, this guide will surely be helpful. It tells you how to get a proper start at making awesome fire backgrounds and contains tips relevant for professionals.
But what if your goal is just to learn how to make nice fire images without the ambition to participate in high-scale operations or turn fire photography into the love of your life? Don’t worry — this overview will be great for you too. You’ll find many useful tips on taking fireplace pictures like a pro without actually being a professional fire photographer.
So let’s start with the ground rules for fire background photography.
Above all, be aware of your safety!
Since childhood, we’ve been instructed that playing with fire is dangerous enough to cause severe damage to health and even take your life. And that’s true for fire photography too. To prevent tragedy at any scale, follow these basic safety rules that will help you safely get a fire background photograph:
- Be attentive to your equipment: the most expensive gear is frequently the main victim of heat, smoke, and flames.
- Check that there is proper ventilation in a room and open a window if it isn’t good enough.
- Prepare an emergency plan in advance of the photoshoot (in case something unpredictable happens while shooting fire images).
- Create a fire photography plan (what to capture, how long to wait, how close to come, etc.).
- No matter what, ALWAYS maintain a safe distance from the flames.
- While working with a big open fire, wear protective equipment.
Why long exposure is the best choice for capturing flame background moments
After you’ve ensured your physical well-being, let’s proceed to preparing your camera for working in long exposure mode.
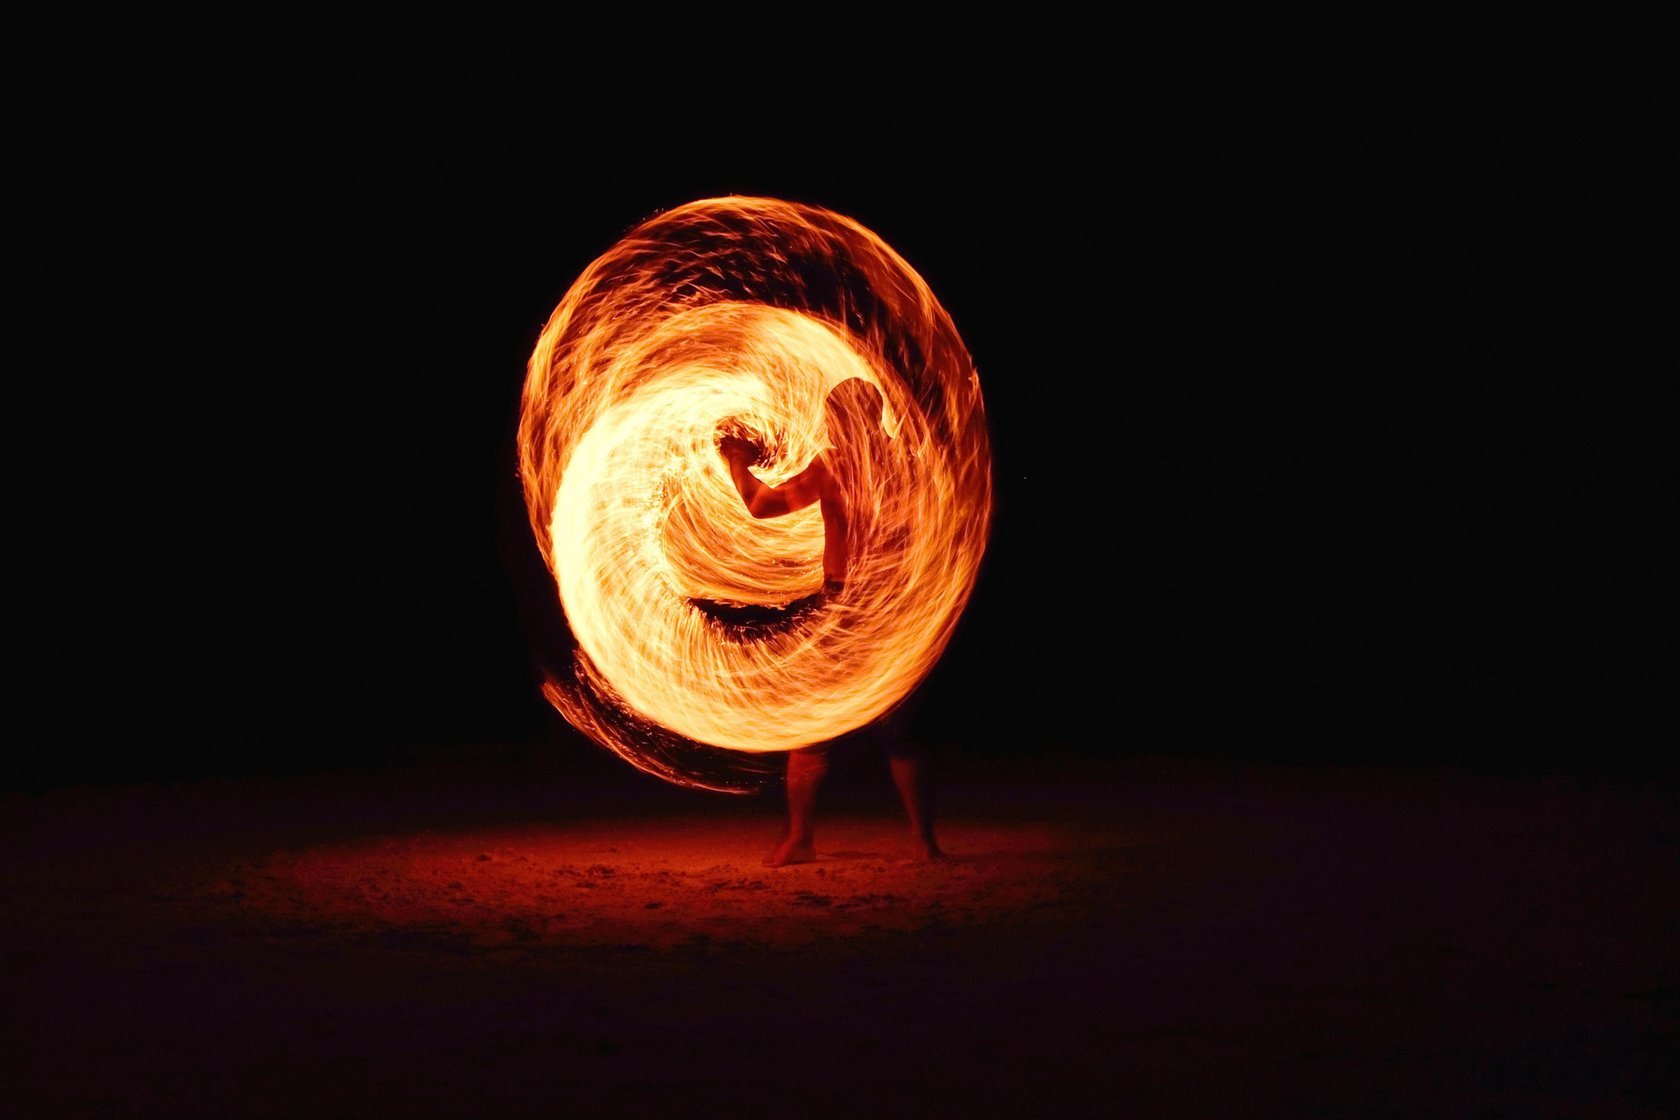
If you choose to shoot long exposures, any fire image will contain amazing details in addition to an overall balanced representation of the fiery background. Sparks, the gradations of a flame’s color, and sharp contours of objects and subjects near the fire will appear clearer than in reality. Sounds awesome enough to understand long exposure concept a little better, doesn’t it?
In long exposure mode, your shutter is open for a long period of time (from eight seconds to several hours) to capture all the hidden details. As a photographer, this gives you an opportunity to reveal routine things from a different perspective. In terms of fire photography, this means catching the mood, atmosphere, and scale of what’s happening — while simultaneously showing details like sparks and patterns of lighting that weren’t obvious at first sight. And, of course, it means searching for the proper balance between these two elements in a fire image.
To sharpen the effect of long exposure photography of any type, try Luminar Neo as your post-processing software. This photo color editor will give your fire background and fire animation images the wanted effects with AI-adjusted temperature tones and color accents!
How to manage settings on your camera for fire photography
Your main task is to create all the necessary conditions for long-exposure shots. Keep in mind that problems with low light are the greatest enemy of flame background photography. The lack of ambient light makes the fire backgrounds overexposed and ruins the composition — and you should be attentive to avoid this.
Auto mode surely won’t work for fire photography purposes. Putting your camera in manual mode is a must (along with a proper understanding of shutter speed). To adjust your camera settings correctly, use the rules for capturing a fiery background listed below:
- Before capturing a flame background, make sure you know the basics of shutter speed photography, the guiding properties of light, and how to take good pictures.
- Switch off the flash. Nothing spoils the beauty of a fire background as much as flash. Simply turn it off and make sure it won’t appear at any time during your photoshoot.
- Focus manually. This trick will help you overcome the poor performance of autofocus in the dark. Alternatively, you can try to back button focus. Digital Photography School recently published a great guide to using this option correctly.
- Choose the slowest shutter speed. This enables you to blur distracting motion and light from your image, letting you focus on the marvelous detail in front of the fiery background. Moreover, some fire backgrounds appear so beautiful that you’ll want to turn them into the main light source for the photoshoot. The closer you get to the fire image, the slower the shutter speed you’ll need. So all the warm highlights and soft shadows on a fire image reveal their best.
- Always aim for the lowest ISO (around 100–200).
- Set a mid-range aperture for a fiery background — something between f/8 and f/11. The last two steps become critical if you face problems changing the shutter speed manually.
In addition to the ground principles of this guide, it often happens that you should change the camera settings for different pictures of fire. For example, some nice foreground fire images need the fastest shutter speed, which contradicts step 4 of the principles for capturing fire pictures mentioned above. Consequently, you’ll already need a higher ISO and the widest aperture. In this situation, to overcome a narrow depth of field, focus on sharp contrasting edges.
In some cameras, the flash can be adjusted, in which case you can avoid switching the flash completely off. Alternatively, choose a more accurate flash level (from -3 to +3, commonly) for your needs.
In addition, there are two basic ways of getting the desired shutter speed. With Shutter Priority mode, you can achieve full control over the amount of time your camera will let in light. As a result, you can finely tune the shutter speed for your fire images for interesting experiments, while ISO and aperture are left to the camera’s automatic settings. In the opposite situation, capturing fire background images in Aperture Priority mode requires choosing the aperture and proper ISO, while the camera automatically adjusts the shutter speed for this combination to work. Feel free to increase the ISO if the result in this mode doesn’t satisfy your needs.
Finally, consider the patience of the person whose portrait you’re taking in front of the fire background. For some people, it’s simply impossible to sit still for five seconds, no matter what your camera wants!
In short, be creative and flexible while working with a fiery background – and be as unpredictable as a flame!
What is the most helpful equipment for making flame background pictures?
Among all the available gear for making fire images, a tripod is the top pick. For the purpose of capturing an awesome fire background, avoid the slightest sign of shaking. This will make your pictures sharp and engaging. And since you’re working in long exposure mode, the slow shutter speed will always require a longer time to concentrate on the subject. Due to all these factors, a tripod is a must for fire photography practices of any type.
Another piece of useful equipment is a remote shutter release. It will eliminate the problem of shaking that inevitably happens when you press the shutter button manually. As a result, your fire backgrounds won’t be blurry, and you’ll gain additional sharpness.
If you want to include fire as part of a general scene, you’ll surely need an extra lighting source (along with advanced skills in choosing the appropriate angles for shooting). For this type of fire background, dark surroundings work best. The additional lighting will create an awesomely sharp contrast.
How to work with props for fiery photography
The short answer is: don’t hesitate to adopt a creative approach.
One inspirational idea is to turn your props into characters. Matches, candles, firewood, the surrounding forest — all these things can serve as tools to represent your creative ideas.
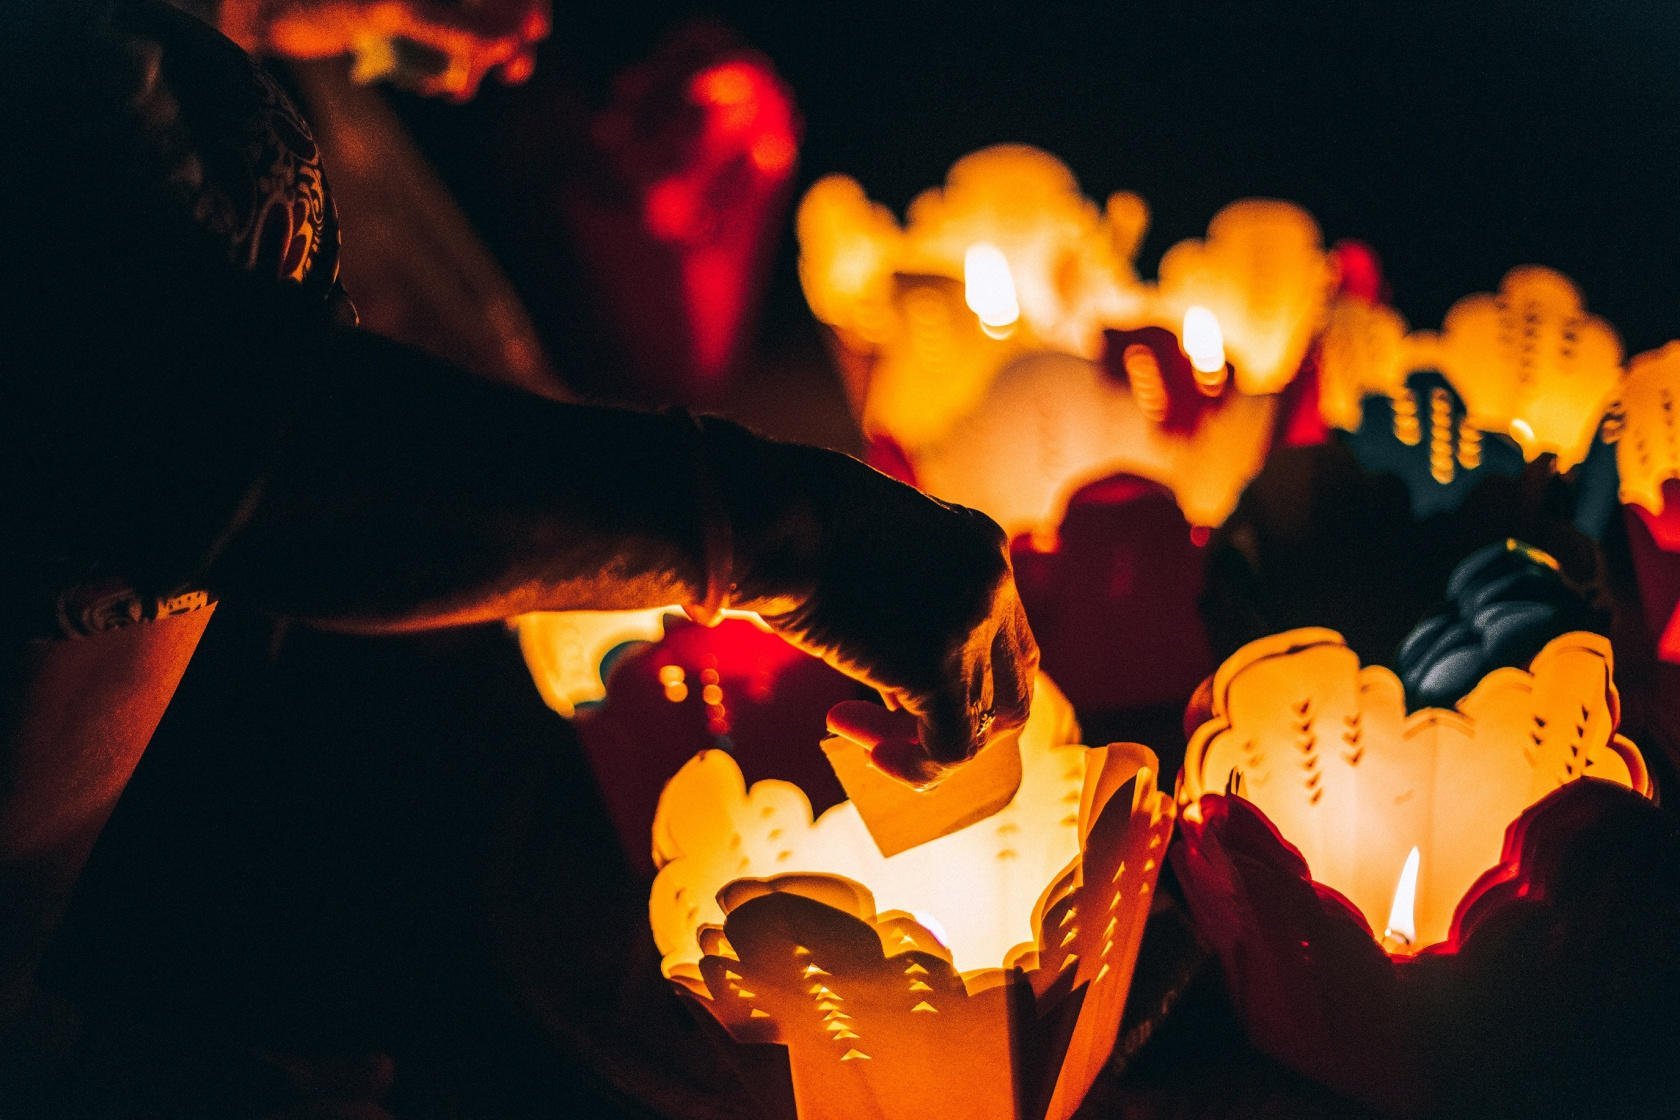
Also, you can craft the props you need by yourself. For example, a combination of a spray deodorant and a lighter can create a small controlled splash of fire for use as a flame background. But of course, be attentive to safety while doing this! Sometimes, it’s better not to risk and make pictures of fire of more tender forms. As an example, capture a portrait of a person carrying a candle.
In any case, always search for interesting angles and aim at telling a story through the photograph.
How to start taking fireplace pictures and have fun
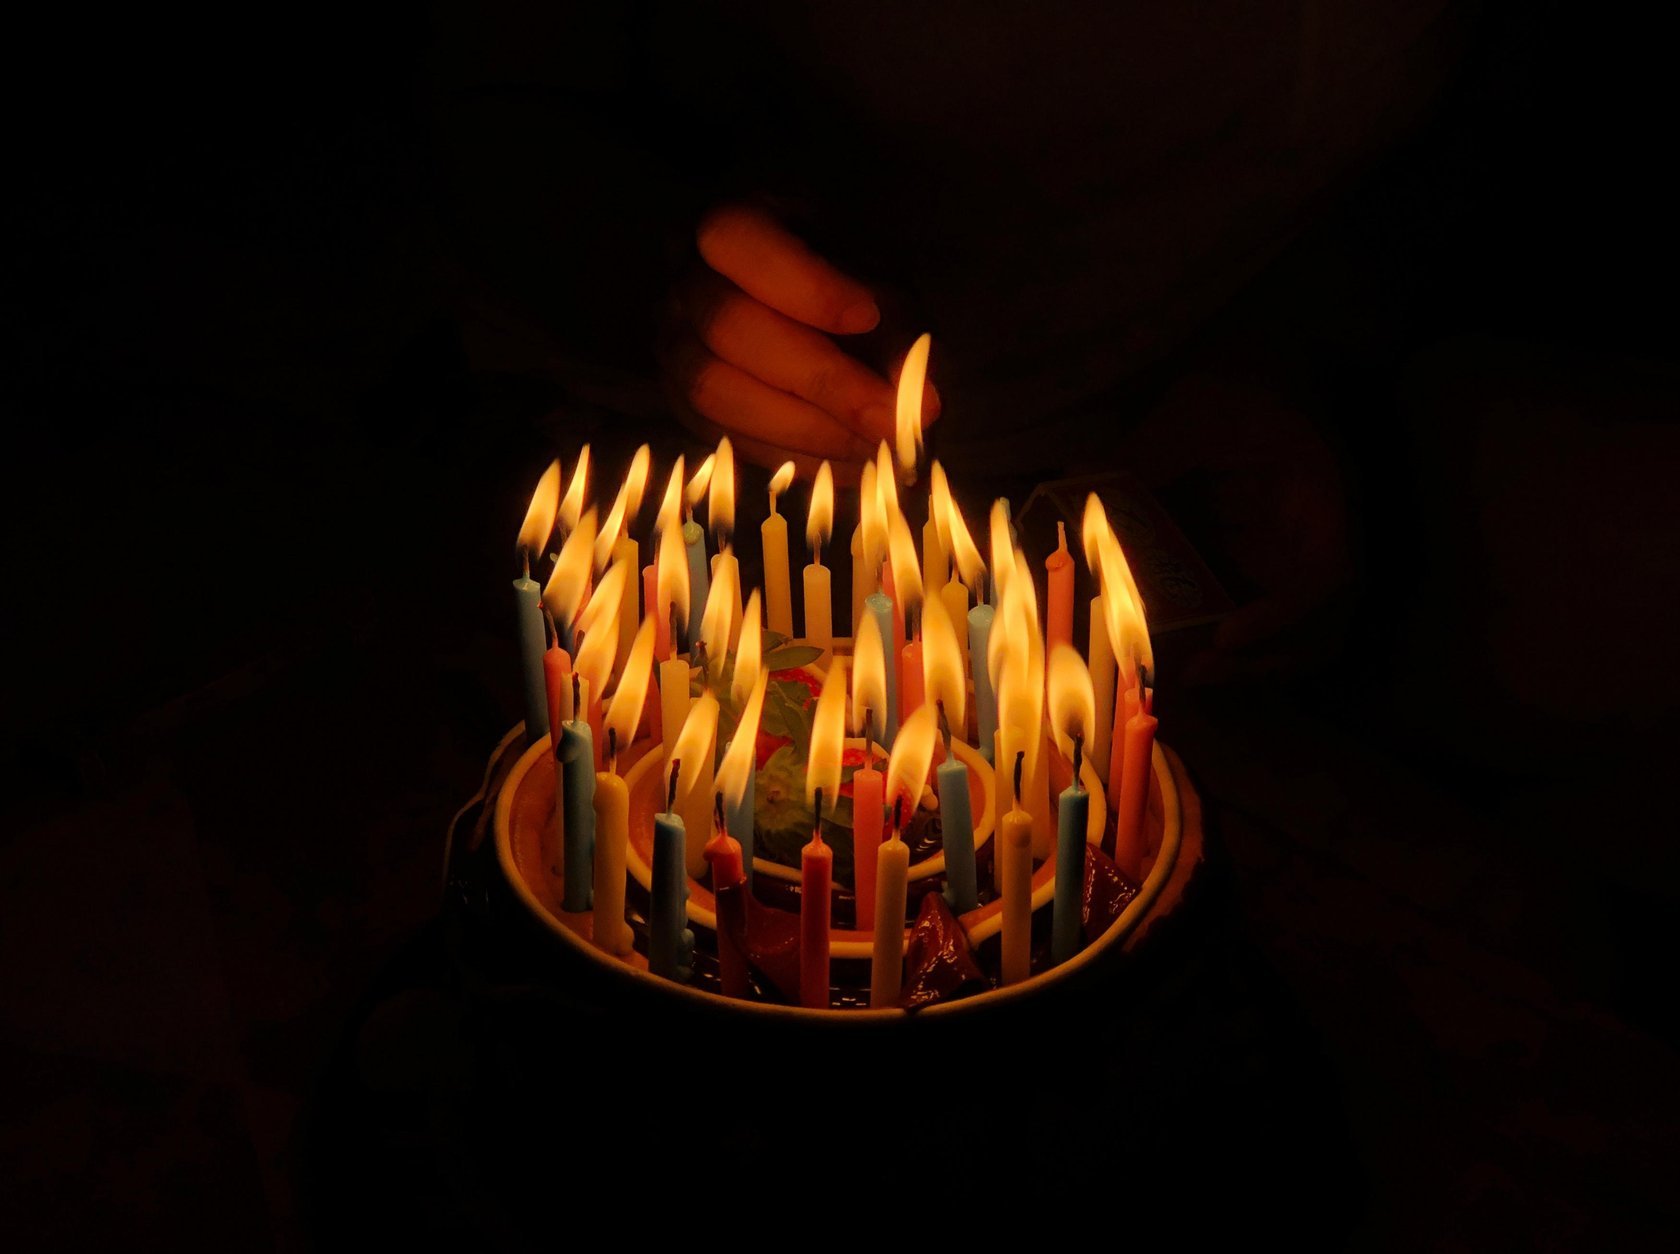
The best start to become a pro at fireplace pictures is practicing near a campfire. It’s truly worth trying, especially if you gather with friends who don’t mind having some nice portraits in front of a flame background and you have a really big long-living fire. Another nice beginning to fire background photography is playing with a candle. Both these exercises will enhance your skills not only working with the fiery background but also capturing flame as a main character.
For experiments with fire pictures, make sure that the flame background appears in a dark place and start shooting it at different angles using a tripod (or simply by putting the camera on a surface). For proper camera settings, use the guide on basic rules for fire background photography. But also, try to experiment with overexposing and changing the shutter speed. In the end, capturing fire images is an art, revealing your own style and creativity.
After gaining confidence in these two types of fire photography, you can proceed to capturing large fires. Here, you’ll need to strike a balance between your safety as a photographer and the dramatic effect of the fire image. For example, smoke adds a sense of volume to the shot but puts your gear at risk. So start shooting fire backgrounds by prioritizing safety, steadily and attentively shortening the distance.
In the end, the art of working with a fire background has two components. First, the ability to adjust camera settings to your idea. Second, the knowledge of proper distance between the subject and the flame for a great shot. To reach mastery in both of these dimensions, you should practice a lot. So just start — and don’t stop searching for perfection!
 How to create a fire animation

Watching fire is a truly meditative activity. Many photographers try to represent a fire background in motion. That’s why we couldn’t omit this aspect in this guide.
In fact, making a fire animation isn’t that hard. All you need is the proper software and several images of the same fire. For a classic way to make an animated flame background, you can use this simple guide for Photoshop:
- In the Timeline menu, select Create Frame Animation.
- Create several layers, then choose Make Frames from Layers.
- Decide on the duration for each frame separately.
- Decide on the number of loops at the bottom of the toolbar.
- After previewing, save and export a GIF.
For a more detailed and enhanced transformation of images into a fire animation, check out these instructions on Creative Cow.

In Luminar Neo, you can blend photos to create a marvelous fire animation. Specifically, it allows you to mix photo layers in different ways to create a sequence of harmonized images with fire backgrounds. Moreover, Luminar Neo contains a set of presets to beautify all your images. With these enhancements, you’ll get an outstanding fiery background result!
How to photograph fire: practical tips
How to make sharp and detailed fire images
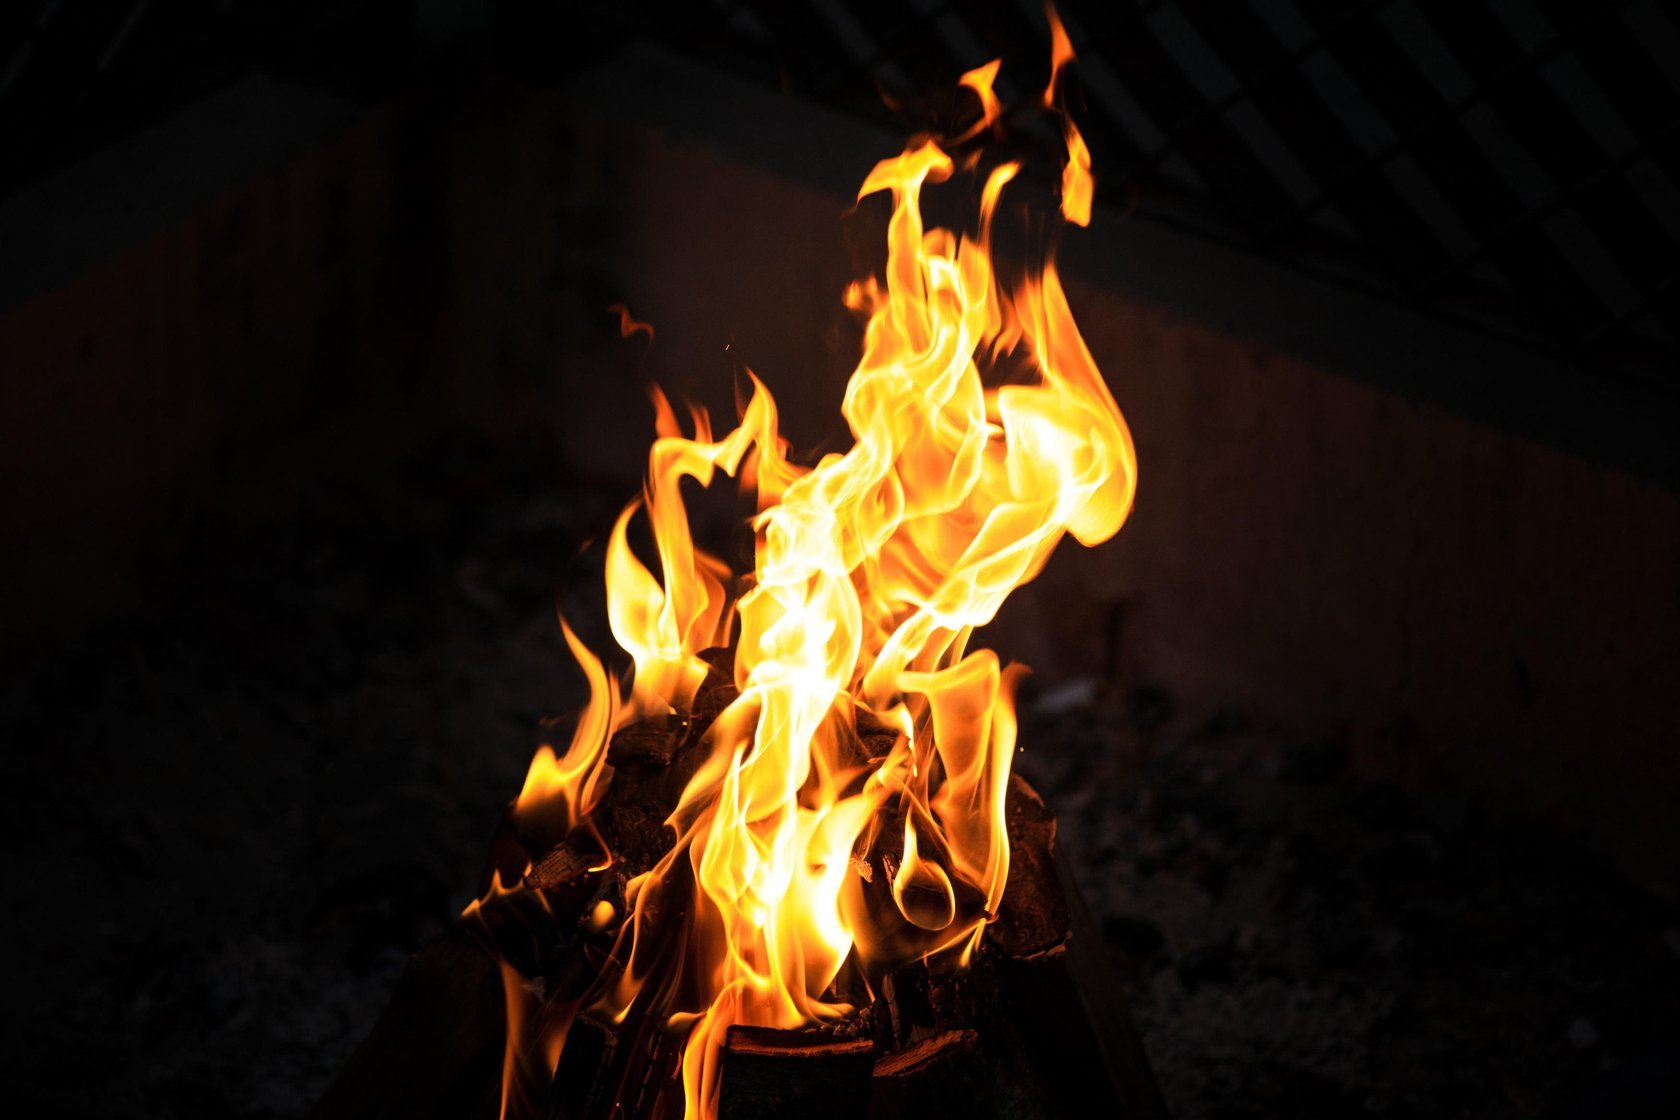
Fire is an incredibly beautiful subject of an image, with many possibilities associated with it. It's not just the fire photoshoot itself that is beautiful, but also the surroundings shrouded in the warm glow of the flames. This means that fire is not only an eye-catching subject but also an atmospheric source for fire portrait photography.
However, the flame can be difficult to capture in the right way. Photographers are confronted with the problem that the light source appears too bright in the images while the surroundings appear too dim. Such high contrast makes it hard to capture details in the highlights and fades of a composition.
We can give some useful safety tips on how to take images of beautiful fire correctly.
Watch out for safety
Like photography, fire can catch people's attention for a long time, but it is not harmless at all. It can be easy to get lost in the process when realizing photography ideas with fire, but you should always keep safety in mind. It is important not only to avoid injury but also to keep the flames under control. Put a bucket of water or fire extinguisher nearby to put out the fire and use a headlamp to find your way in the dark. We also recommend keeping an eye on the weather as strong winds can cause it to spread uncontrollably.
Choose the right equipment
How to photograph fire at night? The light from flames tends to be quite dim, so if you're using an amazing fire as a light source for nearby subjects, it's worth looking for equipment that's effective in low light. For example, the Canon EOS R6 is perfect for you – its ultra-sensitive 20.1 MP full-frame image sensor is designed specifically to capture high dynamic range scenes as well as compositions in low light.
A tripod, although not essential, can be very useful for shooting campfires and candles, as it allows you to shoot at slower shutter speeds and create a blurring effect for the flickering flames.
How to take blurry photos of fire
Making blurry fire photographs doesn't take much effort – it can be taking photos in motion or using quick-shoot mode but let`s describe how to create it technically, or make it online using different applications.
Blur in photos is a handy tactic that can be used for a variety of purposes:
- Create a bokeh effect. Used for adding emphasis to the photo, so the viewer's eye is focused on the model, not on the background. Makes the picture look more intimate.
- Creates a background for a collage image. The photo is completely blurred out to serve as a background for other photos.
- Mask for an unsuccessful background. The Blur Effect is used to hide an ugly background.
- Create the illusion of movement. Part of the background is blurred to show the dynamics of the objects.
How to take pictures of fire with no background
Fire as an accent
In shots like this, a photoshoot with fire is an element of large scenes. There may be some difficulty here because of the additional lighting, as we need to show the techniques for fire scenes directly. A key for creating such pictures is to set the excerpt to flames, but if you are not able to control the lighting of a scene then you need to look for angles where you can put the flames in a background that allows them to stand out. Of course, an even darker background is preferable, but any background that contrasts with the flames will do.
Fire as the main source of light
It can be an excellent source of light, giving deep soft shadows and warm tones. Longer shutter speeds, wider apertures, and high graphical fire photography settings are mostly the right choice for capturing scenes around a campfire. If you're close to a campfire, medium to fast shutter speeds is a good idea, as a subject will receive more light from the flame.
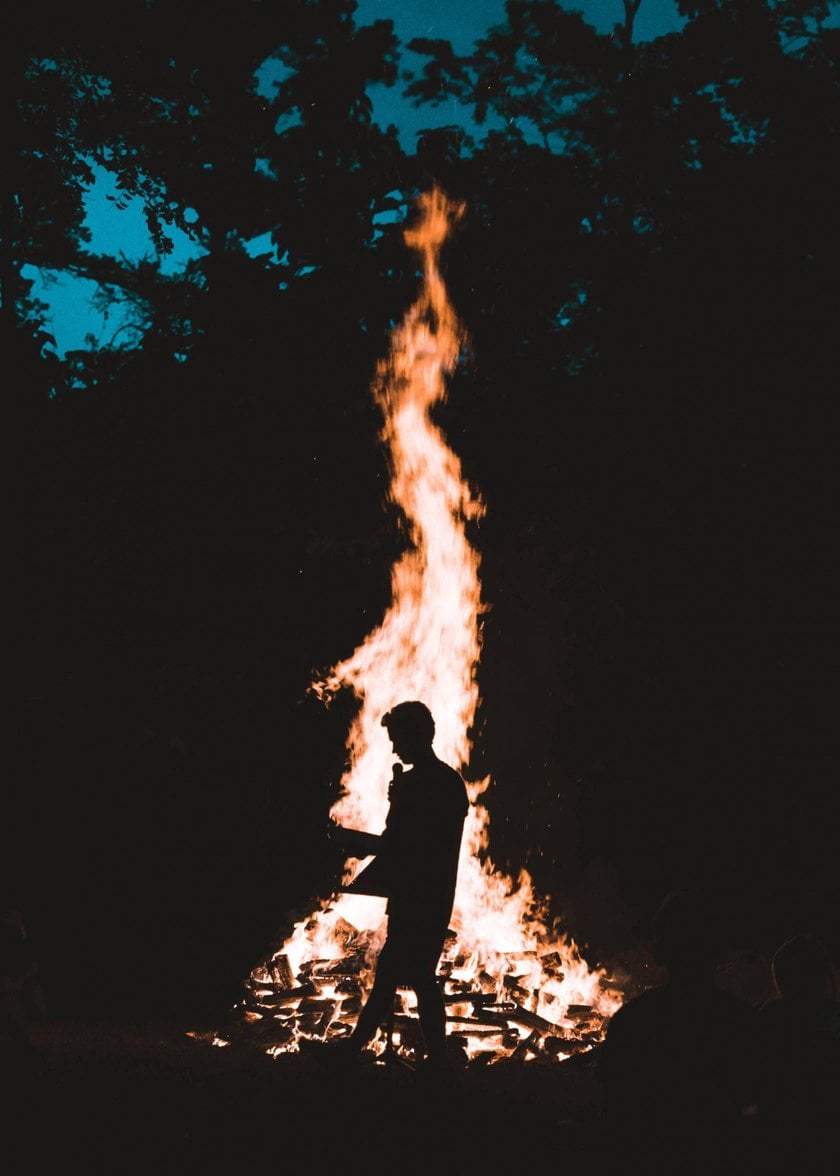
When using shallow depth of field, which is a cost of a wide aperture, try focusing on subjects that have sharp contrasting edges (silhouettes of stationary objects for example) rather than the main subject.
Powerful fire photography ideas
The whole point of them is to capture warm light created by candles. To do this, it's important to exclude all other light sources. The main reason for this is that flame light usually has a warm red or orange color, which can be dimmed if other light sources come into the frame.
There are some creative fire photography ideas for taking good pictures:
- Look for fire in unique places.
- Use a lighter to create a light leak.
- Take an adventurous photo in the dark.
- Take pictures of professional firefighters.
- Create contrast by using lots of candles.
- Use a wide aperture to create a bokeh.
- Capture detail with a zoom lens.
Remember if you feel the luck of thoughts about how to make images of flame – read fire photography tutorials.
Whenever possible, you should always use mixed lighting: natural and artificial. Such photos are always the most expressive and, if necessary, easier to edit in Photoshop, as you can easily separate the differently illuminated objects and process them separately.
Strong contrast in the presence of a large flame can only be used in silhouette photography. However, such an image is not problematic because an excerpt is set solely to the fire photograph.
Candles can form the basis of an atmospheric image, but they are also difficult to photograph as a vivid flame of a candle that does not illuminate its surroundings will be acceptable. This means that exposure to the flame photography will make the rest of the composition appear almost black, but exposure to the surroundings will make the fire appear lit. Also, it can give you some ideas on photographing at night without serious tools. Choose a priority setting depending on the result you want.
FAQ
How do you take good pictures of fire?
The fire photoshoot idea seems very simple. However, it can be very complicated. In order to photograph the fire properly, make sure the camera is set correctly. To take great pictures, you must be patient and willing to spend a lot of time mastering the skill.
There are some fire photography tips that can help to take good pictures:
- Experiment. To take great shots, you'll also need to experiment with the settings. Experiment with shutter speed for long exposure fire photography settings so you can take the best pictures.
- Photographing. Once you've framed and set up your camera properly, it's time to press the shutter button and take the picture. Once the photo is taken with your digital camera, you can then review and check that it looks right. If the image doesn't look perfect, you can take it again.
Why is taking photographs of a fire scene difficult?
Lack of light can cause the picture to show little detail.
Do professionals use Luminar Neo?
Certainly, many beginners and professionals use this photo editing software because it helps to change images in different ways so you can choose what is suitable for you. It uses artificial intelligence to edit photos quickly and easily. Once excruciatingly tedious processes are now reduced to the push of a few buttons. That is why you definitely need it.
Follow Skylum Software on YouTube // Get the latest videos, tips, and photography inspiration each week!