Discover how a gray card ensures your photos capture the true colors of the moment, a crucial step for any photographer looking to achieve color accuracy. Dive into our post to understand the simplicity and power of this tool and why it's essential for your photography toolkit!
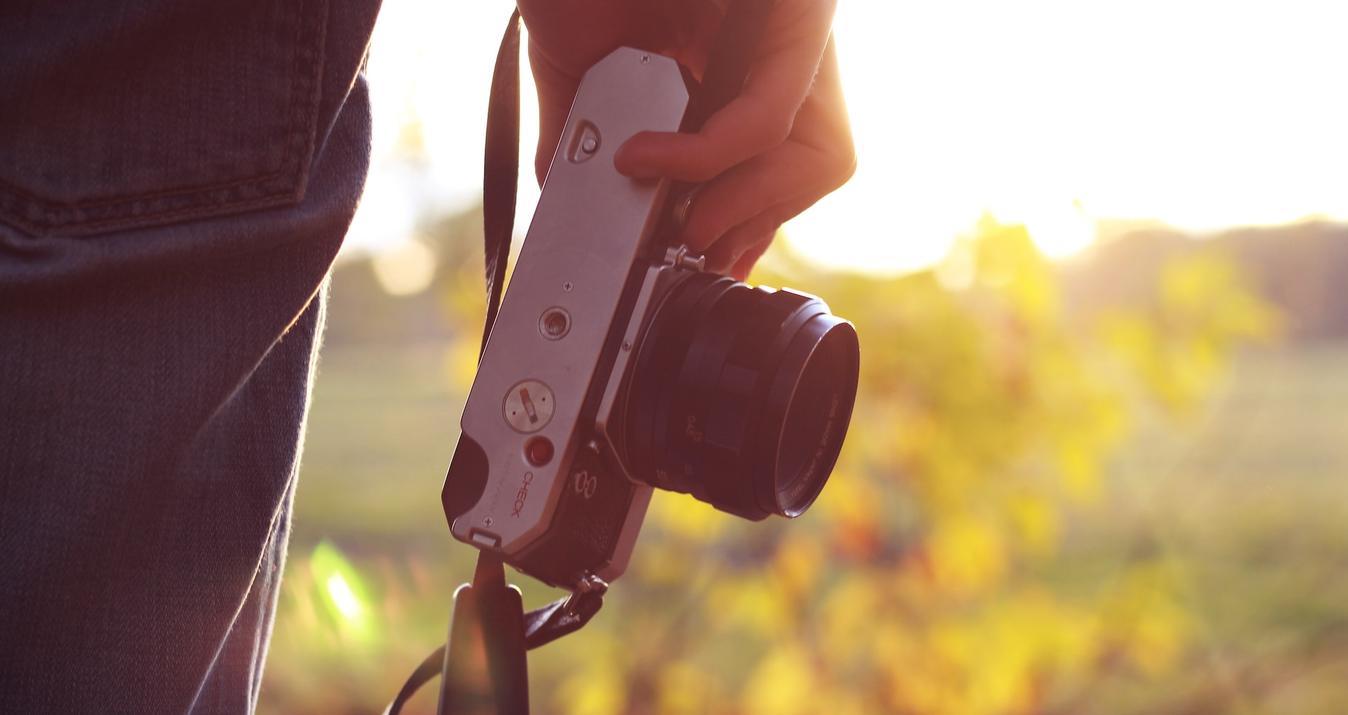
Photos sometimes miss the mark on color accuracy, making a scene or subject look off compared to how we see it in real life. Enter the gray card for white balance: a straightforward tool that ensures your photographs reflect true-to-life colors. It's all about helping your camera understand what white looks like under different lighting conditions. This understanding is crucial for keeping all other colors in your photos as accurate as possible.
This post is designed to show you the importance of a gray card in achieving precise color representation in your photography. We'll guide you through its use, making it clear how such a simple tool can significantly enhance the visual quality of your images. Let's explore the impact a gray card can have on your photography, ensuring your captures are as vibrant and true as the moments they represent!
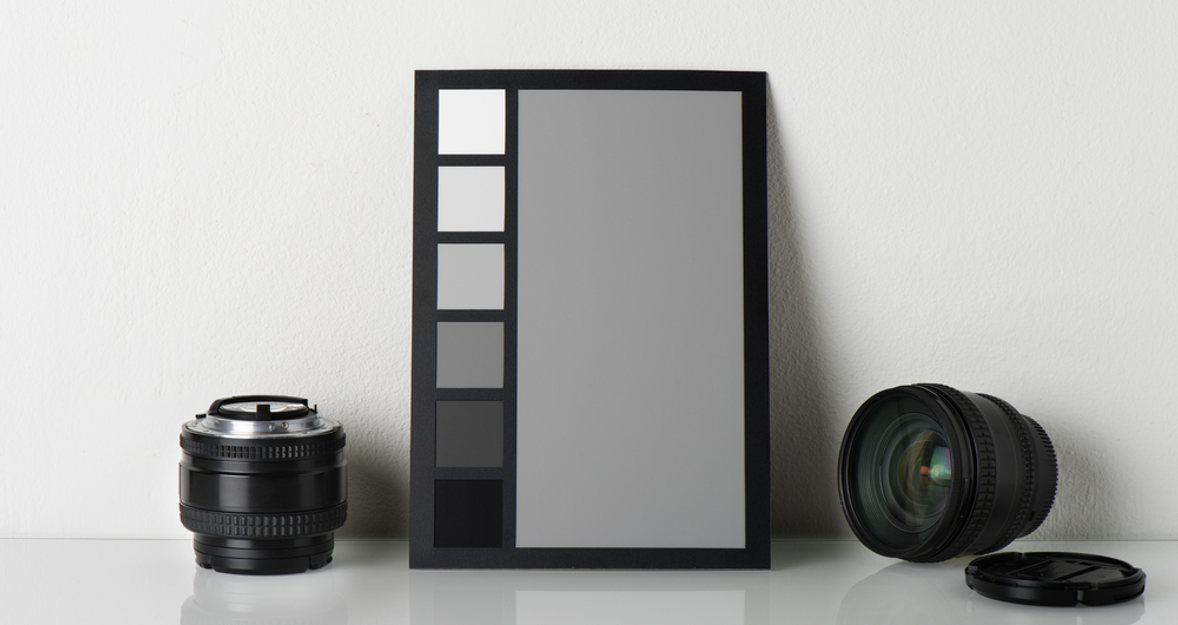
What is a Gray Card?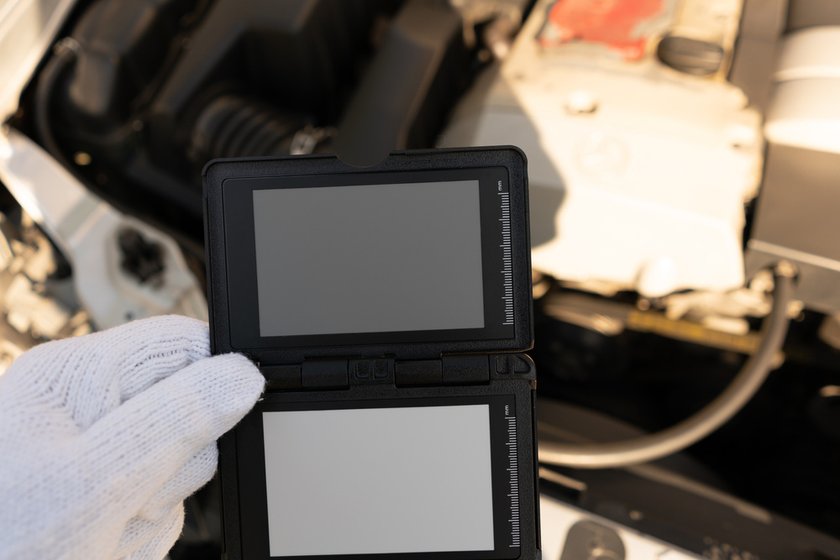

A gray card can be a big help for photographers aiming for color perfection in their shots. This tool is a neutral gray reference that helps in fine-tuning the balance of colors. Its magic lies in its simplicity: a card that reflects 18% of incoming light, the sweet spot that mimics how our eyes perceive light and color in most scenes.
Why is a gray card so crucial for photographers? Well, because it means accuracy. When you snap a photo with a gray card in the frame, you're giving yourself a benchmark for true color. It allows you to adjust your camera or editing software to align with the lighting conditions at the moment of capture, cutting through the misleading hues that different light sources can introduce!
Gray cards are not one-size-fits-all. They adapt to your needs. From compact, pocket-sized versions perfect for the roaming photographer to larger, foldable designs suited for the controlled environment of a studio, there’s a gray card for every situation. Their form may vary, but the objective is constant: to anchor your photography in reality, ensuring the colors in your images are as authentic and vibrant as the scenes you're capturing.
In essence, a gray card is your passport to images that burst with true-to-life colors, making it an indispensable tool in your quest for photographic excellence!
Advanced yet easy-to-use photo editor
Get Luminar Neo NowWhy Use a Gray Card?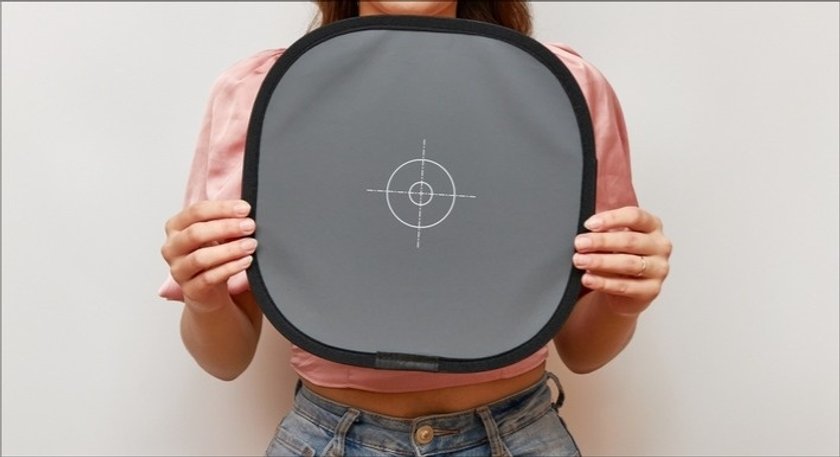

Relying solely on a camera's auto-white balance is like letting someone else guess the flavor of your coffee without tasting it. Sometimes, they get it right, but often, they miss the mark. The camera tries its best to interpret different lighting conditions on the fly, but this can lead to colors that feel off, turning what should be a warm sunset into a cool, distant scene or making indoor lighting give skin tones an unnatural hue.
Enter the 18% gray card, a simple solution to this complex problem. Imagine looking at the before and after images: one set looks like the filter with the tinted lens without the gray card, and the other with the gray card reference shows the scene as if you were standing there yourself. The difference is not only apparent; It’s transformational!
Professional photographers often share how the gray card has become an indispensable part of their toolkit. "Before the gray card, I was always wrestling with colors in post-production, trying to get them back to what I saw in the field," one might say. Another could share, "The 18% gray card saved my shoot under mixed lighting conditions, making post-processing a breeze and the final images more authentic."
Using a gray card means you're no longer leaving your colors to chance or spending hours trying to correct them after the fact. It's about control, consistency, and capturing the moment as it truly is. The 18% gray card is more than just a tool; it's a bridge between the reality you're capturing and the story you're telling through your lens!
Exclusive Tools of Endless Possibilities in One AI Editor
EXPLORE NOW!How to Use a Gray Card For White Balance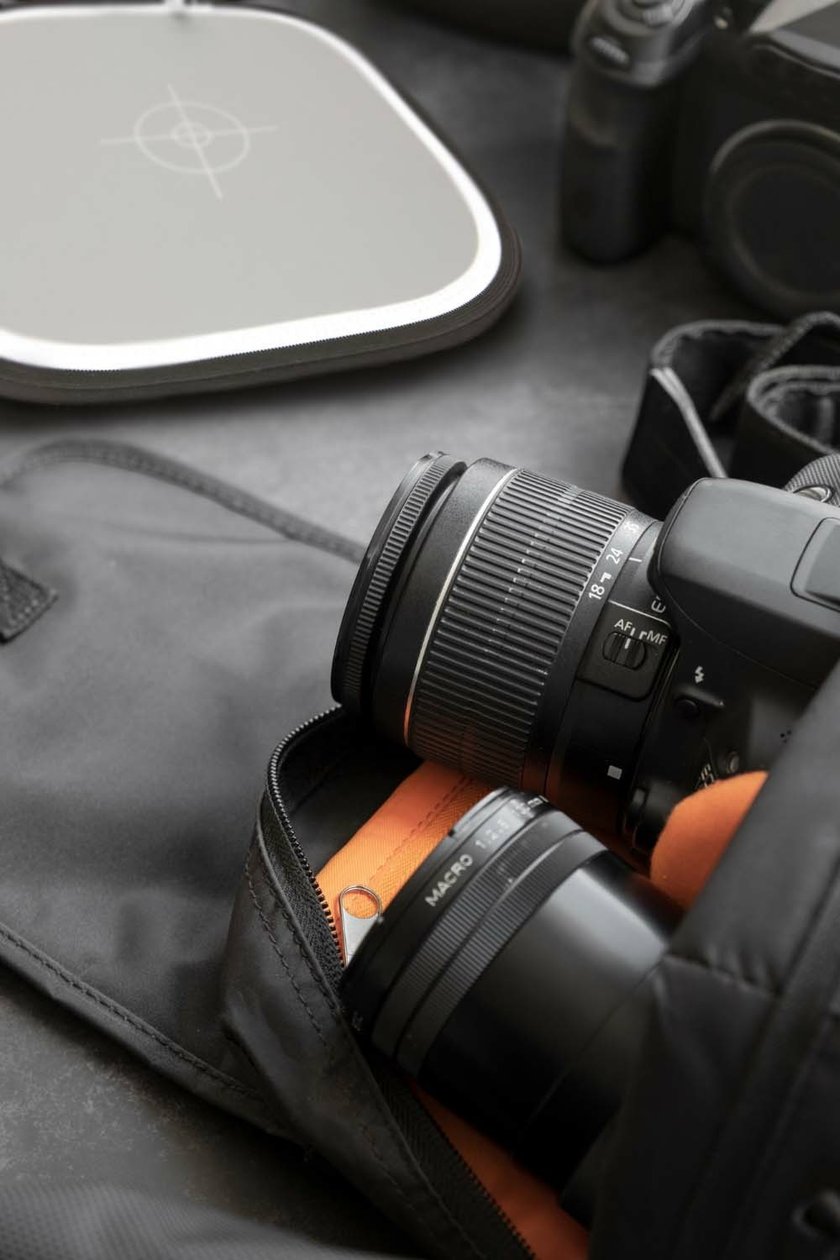

Here’s a step-by-step guide to making this tool work for you, turning good shots into great shots with realistic colors.
Setting Up Your Shot: Start by placing the gray card in the scene you’re about to photograph. It should be positioned facing the camera in the same light that’s illuminating your subject. Think of it as a temporary actor on your stage, one that stands in for a moment to help calibrate the scene.
Taking a Reference Photo: With the gray card in place, snap a photo. This isn’t your masterpiece but a reference, a key that tells you how to unlock true color later. Make sure the gray card is well-exposed and easily identifiable in this shot.
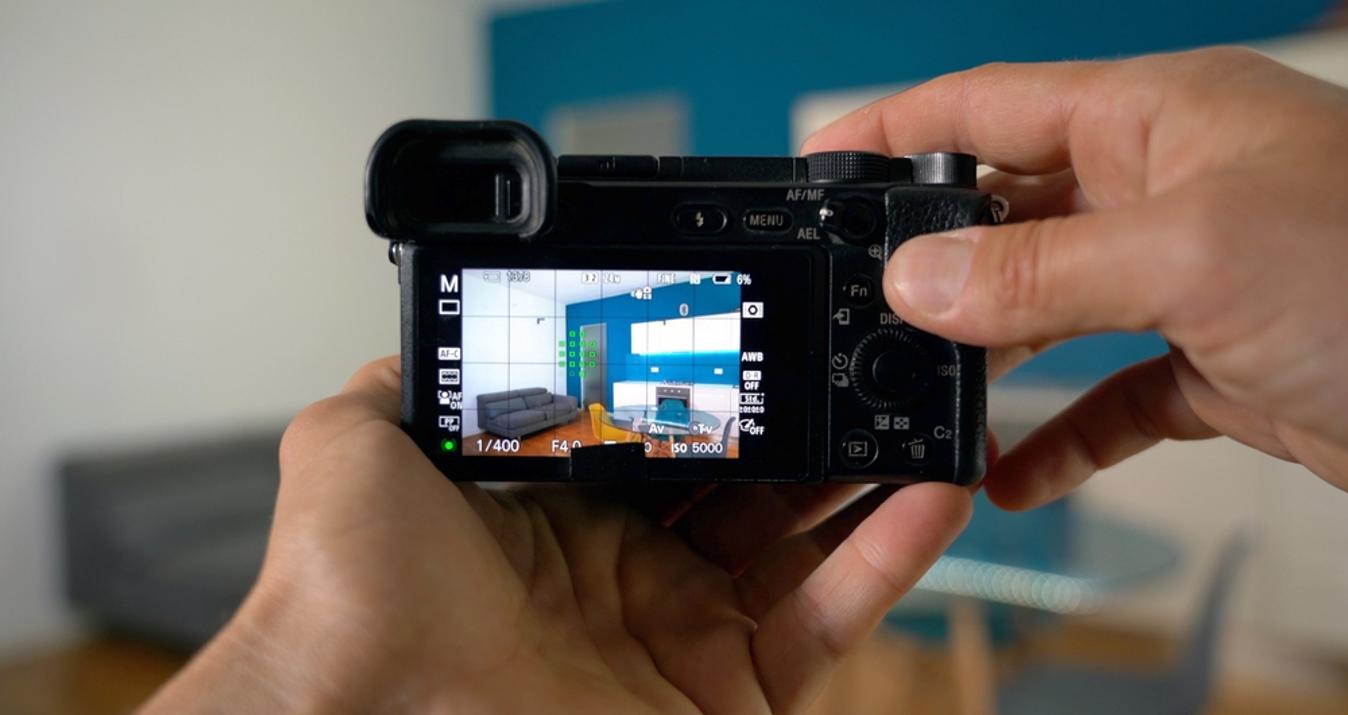
Adjusting Your Camera Settings: Now, with your reference photo taken, remove the gray card from the scene. Using your camera’s white balance settings, you can adjust according to the gray card's appearance in the reference photo. Some cameras allow you to do this on the spot, while others may require you to adjust the white balance in post-processing using the reference photo as a guide.
Tips for Best Results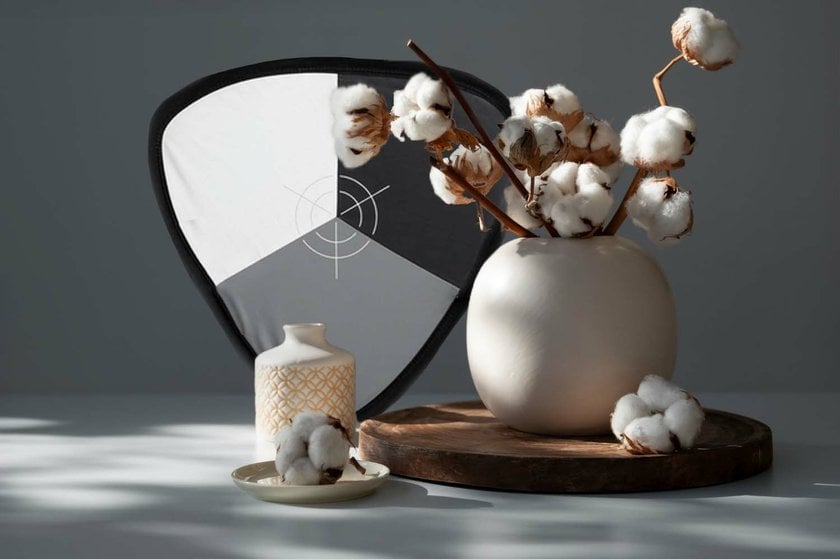

Lighting Conditions: Always use the gray card under the same lighting conditions as your subject. Light changes, shadows shift—consistency here is key.
Card Placement: Place the card as close to your subject as possible without disrupting the scene. This ensures the most accurate color calibration.
Practice Makes Perfect: Like any tool, the more you use a gray card, the better you’ll become at quickly integrating it into your workflow. Experiment with it in various settings to see how it best fits your style.
So, follow these steps and keep these tips in mind, and you’ll find that a gray card is an essential partner in your pursuit of capturing the world as it truly looks!
Post-Processing Based on the Gray Card with Luminar Neo
After using a gray card to get your colors right, Luminar Neo, an AI photo editor, is the next step to make those photos shine. It's packed with easy-to-use features, including a background color changer. This lets you swap out dull backgrounds for something more striking, making your main subject stand out!
Then there's the online photo enhancer, a powerful tool that cleans up your photos. It sharpens blurry images, fixes colors, and adjusts the lighting to bring out the best in your pictures. It's straightforward to use, giving your photos a professional touch with minimal effort.
Luminar Neo supports a variety of file formats, making it easy for editing tasks. It’s designed to be user-friendly, so whether you’re editing images for the gallery or your social media, it helps you get the job done faster and more efficiently. Your photos will look their best with the accurate colors from the gray card and the finishing touches from Luminar Neo!
Wrapping It Up

So, we've looked at how a gray card can make your photos' colors true to life, ensuring that what you capture is as close to reality as possible!
And with the help of Luminar Neo's editing tools, like the background color changer and online photo enhancer, you can polish your images to perfection. But there's more to learn in photography!
Curious about creating more depth and emotion in your shots? Check out our posts on "What are tones in photography?" and "What is balance in photography?" These guides will help you master the art of using tones and balance to take your photography to the next level!
With the right knowledge, including using a gray card and understanding tones and balance, you'll be on your way to capturing not just images but stories filled with color and life.
Happy photographing to you all!