One of the biggest disappointments for every photographer is when a picture turns out to be blurry. Every photographer needs to learn some basic tips on avoiding such an unpleasant situation in the future and what to do for the images to be clear and sharp.
Preventing negative consequences is always much easier than dealing with them post-factum. But unfortunately, it is not always possible within the realm of modern photography.
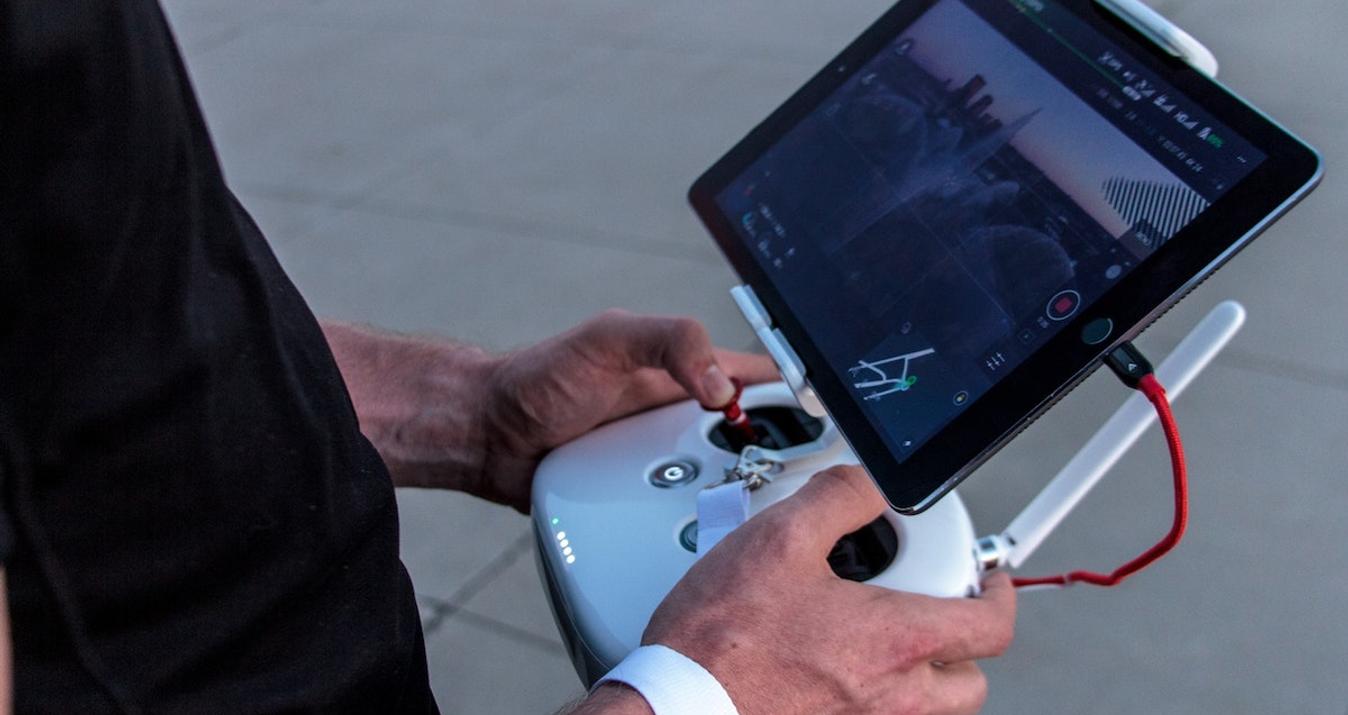
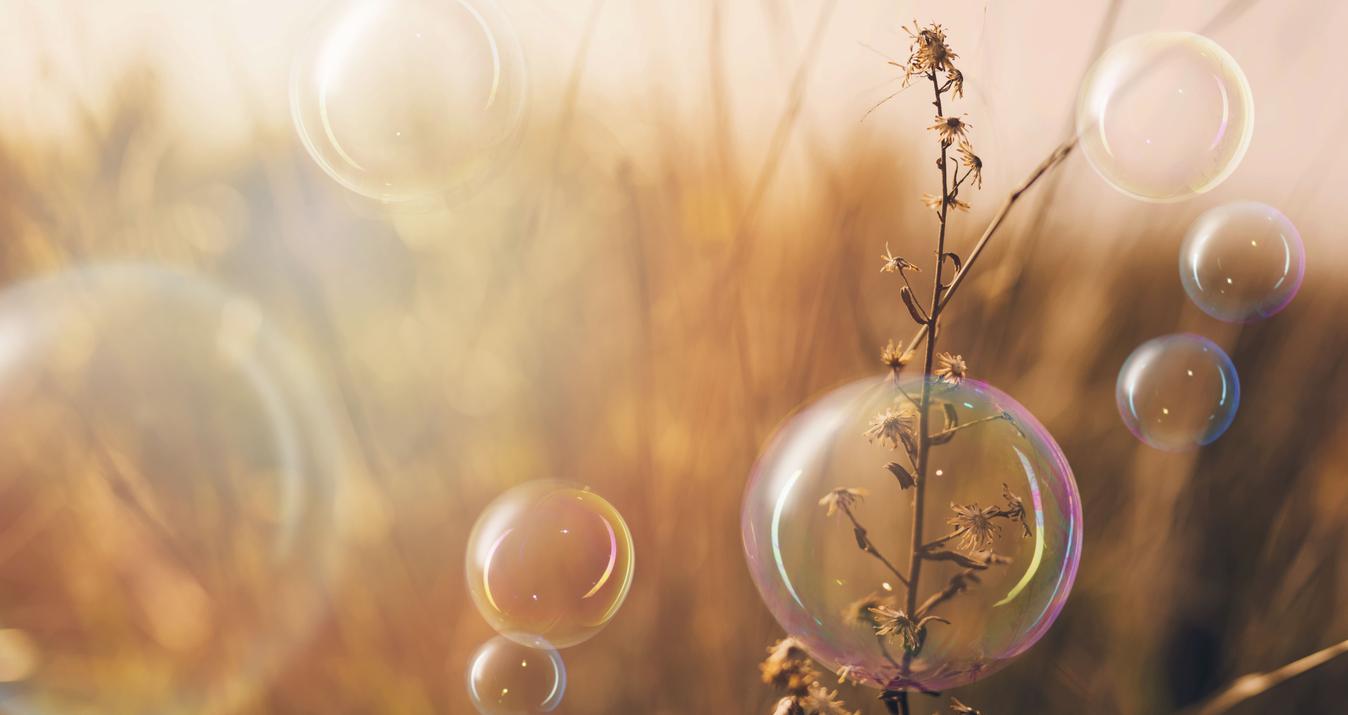
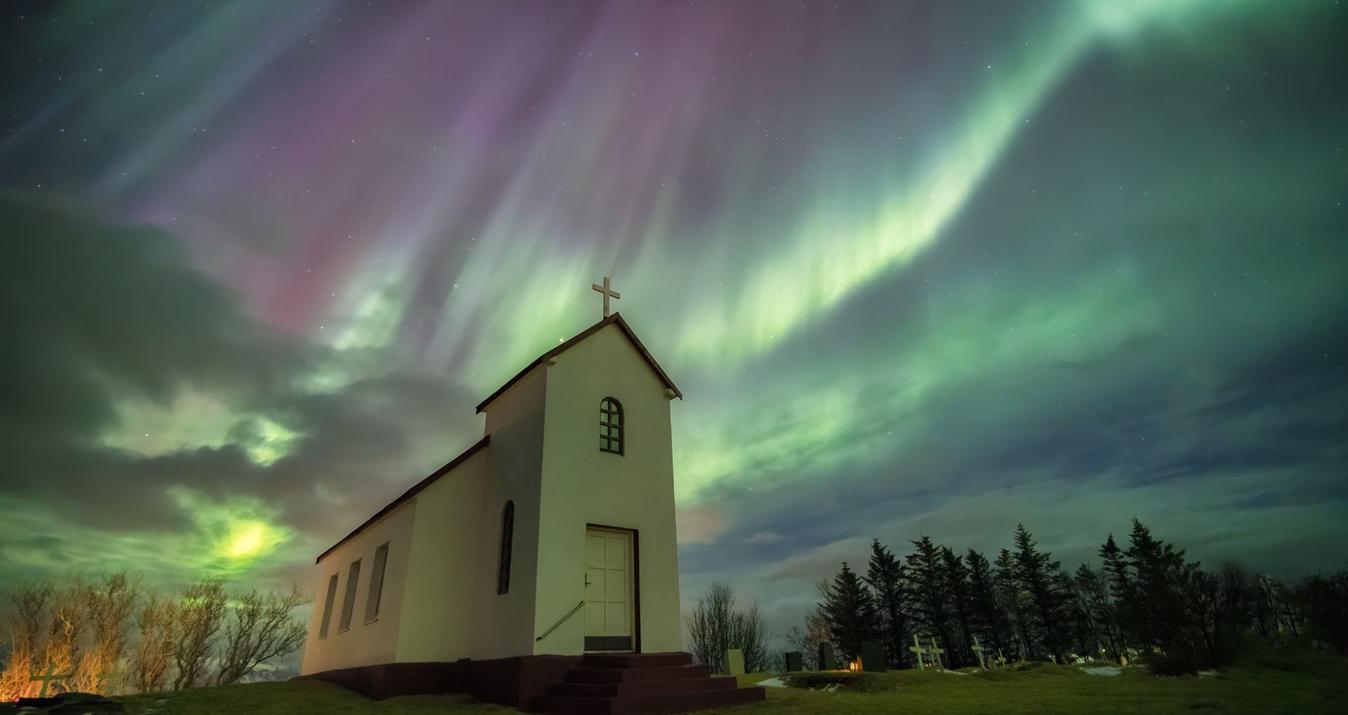
How to clarify pictures for those who capture landscapes in a certain season or daytime so the objects of nature will not wait for the photographer to take another shot? Is there a way to make a picture less blurry for wildlife photographers instead of repeatedly disturbing animals in their natural habitat? Can you make a blurry picture clear instead of attempting to match the schedules of your models once again for retaking their portraits?
The following article explains how to clear up blurry pictures. It provides five effective methods of sharpening blurry photographs and describes how to sharpen your blurry images during the post-editing process.
The article includes detailed step-by-step instructions on how to make photos less blurry using a profound AI-based photo editing tool called Super Sharp AI from Luminar Neo.
Bring Clarity to Your Photos with SupersharpAI
Experience Now5 Ways To Make Blurry Photos Clear

Here are a few general tips to make photos less blurry:
Adjust focus properly.
Use a wide-angle lens to avoid distortion and capture more stable images.
Use a larger aperture setting to allow more light and reduce blur.
Use a tripod to stabilize photos.
Use Luminar Neo’s SuperSharp AI to enhance sharpness.
These are short tips that you can use right away. However, for a more detailed understanding, we recommend reading the article further.
1. Adjust Focus and Depth Of Field

The first step in tackling a blurry image is to understand the reason for the blur on your picture. Often, blurry photos result from improper focus or a shallow depth of field. To remedy this, you can use photo editing software like Luminar Neo to adjust the focus on key elements of your image selectively. By sharpening the subject while slightly blurring the background, you can create a sense of depth and clarity that draws the viewer's eye to the intended focal point.
2. Use Techniques Of Image Stabilization 

Blur can also be introduced due to camera shake or movement while taking the shot. Modern cameras and smartphones have image stabilization features that help reduce this effect. However, if your photo still turns out blurry, you can use image sharpener online software tools to stabilize the image while editing. Luminar Neo, for instance, offers advanced stabilization options that can work wonders in sharpening your photos.
3. Customize Sharpness And Contrast 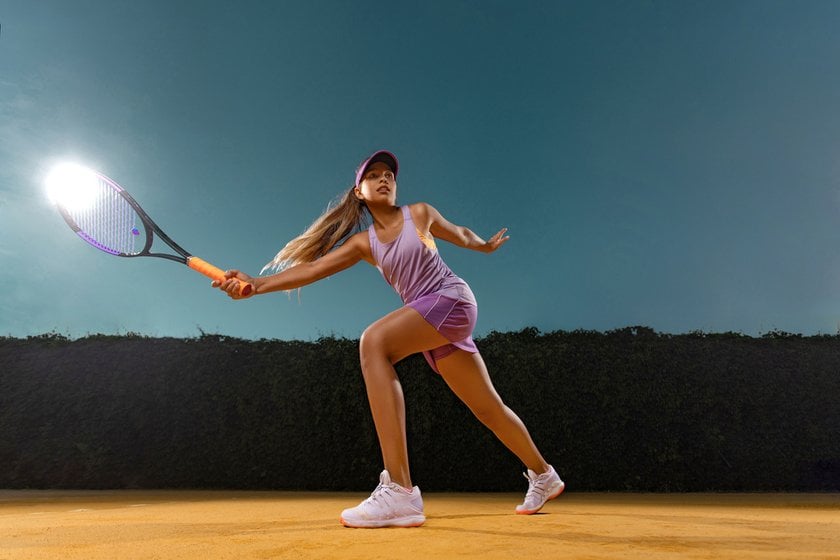

One of the simplest ways to make blurry images clear is by boosting contrast and sharpness. This technique can significantly improve the overall appearance of your photo. Luminar Neo's intuitive interface makes it easy to enhance these aspects with just a few clicks. By carefully increasing contrast and sharpness, you can bring out the finer details in your image, resulting in a crisper and more defined look.
4. Implement The Available Deblurring Algorithms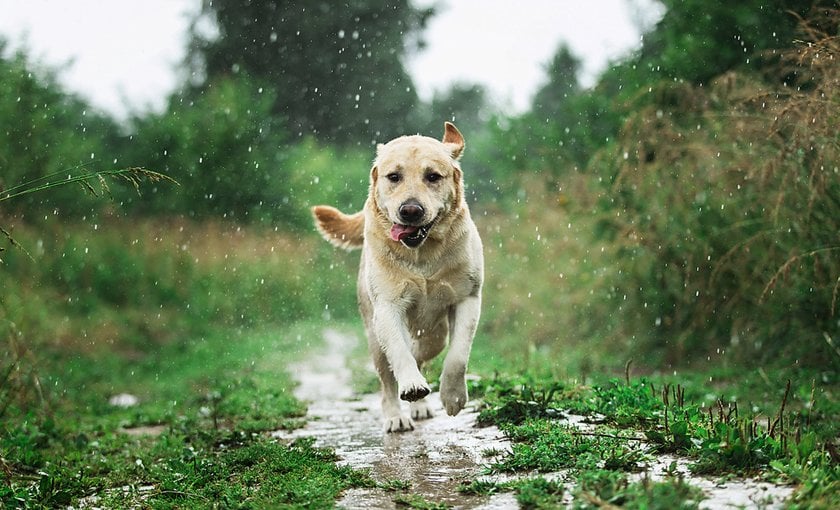

In recent years, deblurring algorithms have become a game-changer for photographers. These algorithms use complex mathematical processes to reverse the blurriness in photos. Many photo editing software, including Luminar Neo, now feature deblurring tools to analyze and correct the blur in your images, producing astonishingly clear results.Thus, to the often-asked question, 'Can you fix blurry photos with just a click?' the answer is now a resounding yes, absolutely.
5. Merge Multiple Exposures (HDR)

Combining multiple exposures can work wonders for situations where lighting conditions are less than ideal, such as low-light or high-contrast scenes. High Dynamic Range (HDR) photography involves merging shots taken at different exposure levels to capture a wider range of details. Luminar Neo simplifies this process with its HDR capabilities, allowing you to create clear and vibrant images even in challenging conditions.
Enhance Your Photography with HDR Merge
Get Started NowIn the following section, we will explore each of these methods in detail, providing step-by-step instructions on how to make your photos less blurry using Luminar Neo's powerful features.
How To Make Photos Less Blurry Using Luminar Neo
When it comes to blur correction, this means increasing the photo's sharpness, removing noise, and, in general, improving the quality of the picture. Previously, photographers had to spend hours of work to improve one image. Before the first photo editors appeared, it was generally possible to delete or leave a picture as it was.
We are fortunate to live in the era of the creation of Artificial Intelligence and its derivative products. It is quite a breakthrough and simplification of work for artists in photography. Correcting its quality and sharpness is extremely easy if you have a compositionally good shot. Here, Enhance AI and SuperSharp AI will be your loyal assistants. Watch a short video overview to understand exactly how it works:
To enhance the quality of your photos, both during the shooting process and in post-production, consider the following strategies:
Ensure precise focusing to achieve sharper images.
Opt for a wide-angle lens to minimize the chances of blurriness.
Select a broader aperture setting to add clarity to your photos.
Stabilize your camera with a tripod to reduce image blur.
Utilize "SuperSharp AI" tool from Luminar Neo for post-shoot adjustments.
Now, step by step, let’s learn how to make blurry pictures clear and make a huge difference in your photo:
Step 1: Import Your Blurry Picture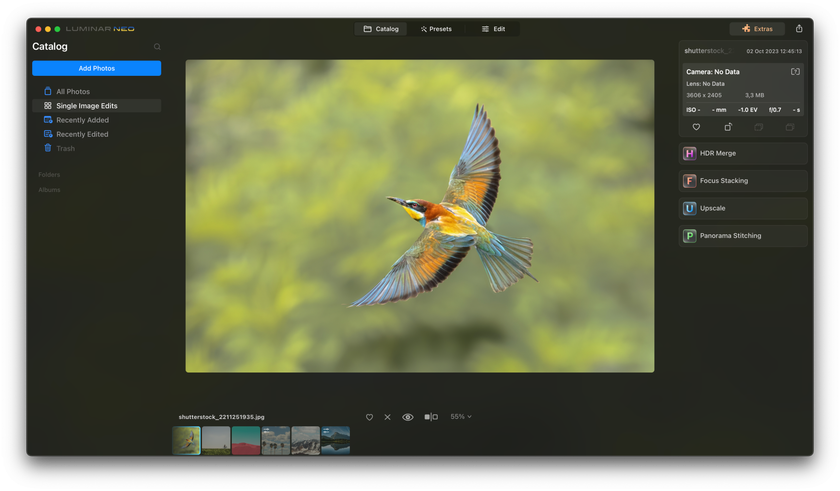

Begin by opening Luminar Neo and importing the blurry image you want to work on. To do this, click "File" and select "Open Image." Locate your image file on your computer and click "Open."
Step 2: Access The SuperSharp AI Tool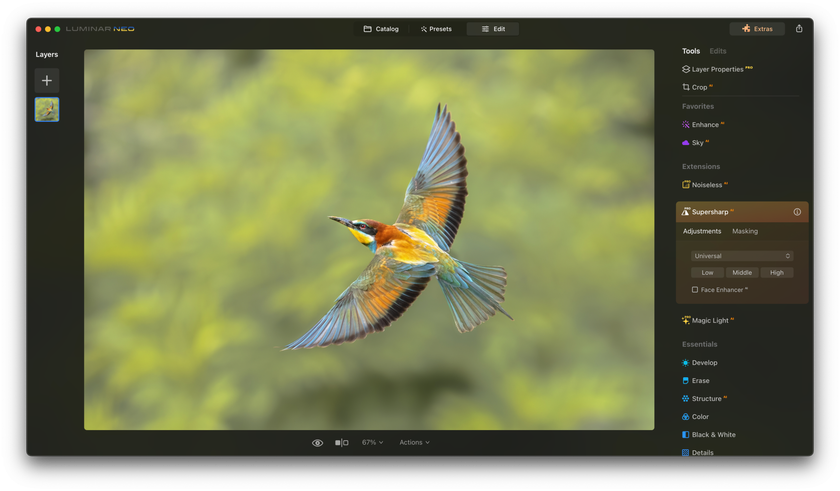

Once your image is loaded into Luminar Neo, look for the "SuperSharp AI" tool in the right-hand panel. This tool is a game-changer for enhancing image clarity and sharpness.
Step 3: Apply The SuperSharp Filter

Click on the "SuperSharp AI" tool to activate it. Luminar Neo's AI algorithms will instantly analyze your image and make automatic adjustments to enhance its sharpness and overall quality. You will notice that your image becomes much clearer after just one click.
Step 4: Fine-Tune Sharpness And Details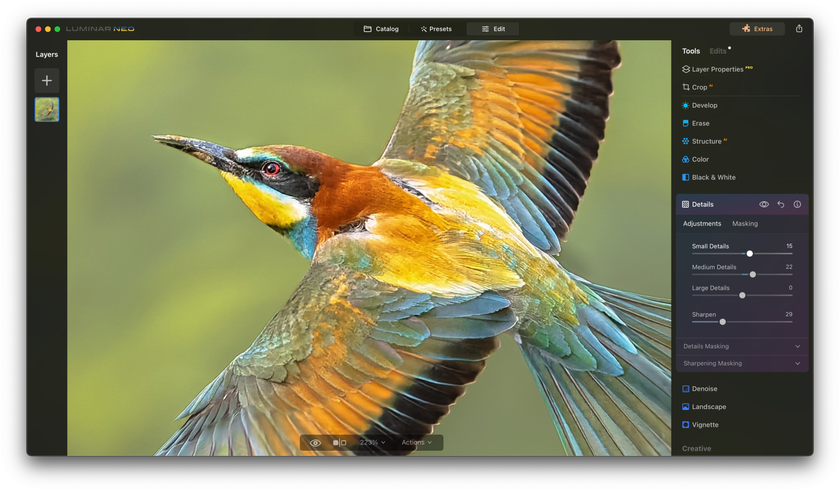

For more control over the sharpness of your image, you can further adjust the "Sharpening" and "Details" sliders in the SuperSharp AI panel. Slide these controls to the right to increase sharpness and highlight finer details in your photo. But keep it balanced and try to use this feature sparingly, as too much sharpening will ruin your image instead of fixing it.
Step 5: Work With Masking 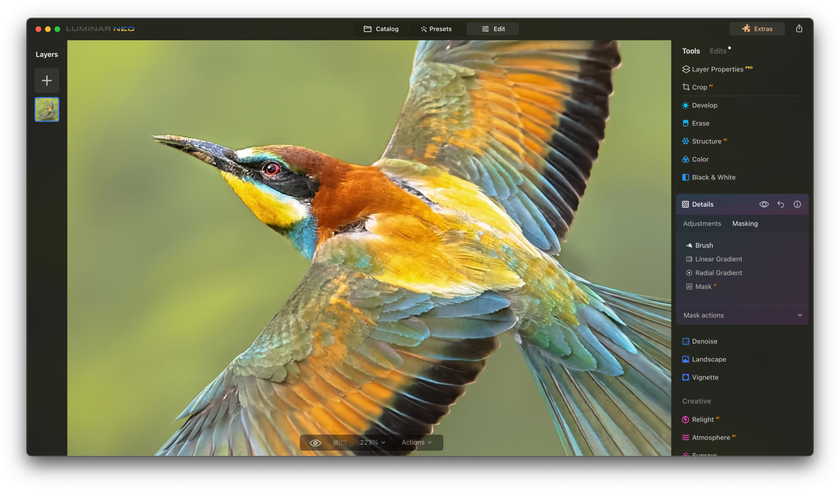

Luminar Neo's masking feature allows you to apply enhancements to specific areas of your image selectively.
Use the masking brush to make your subject pop and keep the background less sharpened. Click on the brush icon, adjust the brush size, and paint over the subject in your photo. It will create a mask that isolates the subject from the background, so you can keep enhancing the object separately without affecting the whole picture if you do not need to.
Experiment with different settings and masking techniques to achieve the desired clarity while preserving your images' natural look.
Step 6: Adjust The Masking Parameters
After creating the mask, you can fine-tune the masking parameters by adjusting the "Amount" slider. Increase the amount to apply the sharpening effect more strongly to a particular area you want to mask. Usually, it is the main subject of your picture. The image background remains unaffected in this case.
Step 7: Preview Your Changes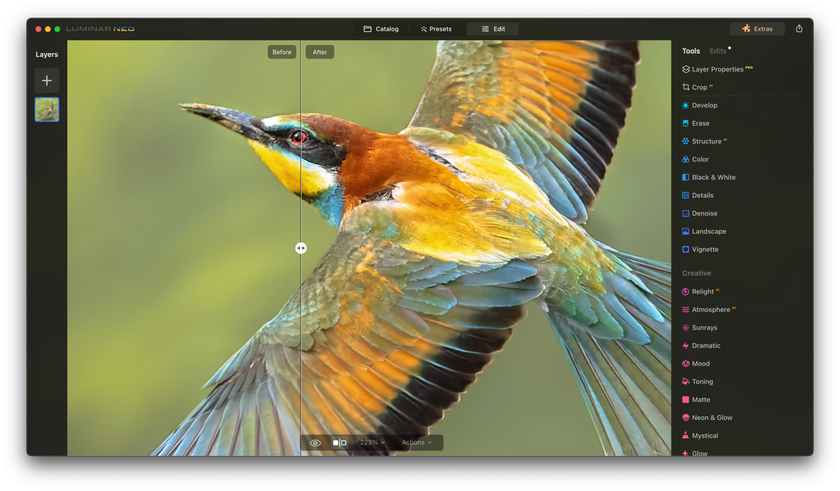

As you adjust, previewing your changes by toggling the "Before/After" view is essential. It makes it possible for you to compare the original image with an edited one and to see whether everything is done properly and whether the picture needs further adjustments to look better, or it would be better and easier to cancel the changes and start the whole editing process anew.
Step 8: Save Your Enhanced Photo
Once you are totally satisfied with the results of the photo sharpening work, click on "File" and select "Share to" to save your enhanced image. Luminar Neo allows users to choose quality settings that most comprehend their needs. You are also free to select the image file format that works best for you.
A 7-day Free Trial of Luminar Neo with No Obligation
Get it now!Bottom Line
Now, you know how to make a picture not blurry.
We explored techniques such as adjusting focus, utilizing image stabilization, enhancing contrast and sharpness, employing deblurring algorithms, and merging multiple exposures through HDR photography. When executed skillfully, these methods can breathe new life into your photographs. Incorporating these methods into your image-capturing routine will easily turn you into a master at rescuing even the blurriest of pictures.
When it comes to making your pictures look better in general and less blurry in part, the final result profoundly depends on good photo editing software. This article, in part, focuses on the outstanding editing abilities of an AI-based photo editing tool called Luminar Neo. This cutting-edge photo editing software offers various powerful tools, including the game-changing SuperSharp AI and Enhance AI, which can instantly boost the clarity and sharpness of your images with remarkable results.
Our step-by-step guide on making photos less blurry in Luminar Neo demonstrated how accessible and effective the image sharpening process can be. Luminar Neo empowers you to rescue your pictures from blurriness, from importing your image to fine-tuning sharpness and masking.
FAQ
How to Make an Image Clearer?
To make an image clearer using Luminar Neo, start by opening the program and importing the blurry image. Once your photo is loaded, find the "SuperSharp AI" tool in the Adjust panel. Use the "Sharpening" and "Details" sliders to enhance the image’s clarity and sharpness. Adjust until you're satisfied with the level of clarity, and then save your work. This process is straightforward and can significantly improve the sharpness of your image.
How to Make a Picture Unblurry?
To unblur a picture using Luminar Neo, follow these steps:
Open Luminar Neo and upload the blurry picture you want to fix.
Head to the ‘Adjust’ panel and select the ‘SuperSharp AI’ tool.
Adjust the ‘Sharpening’ and ‘Details’ sliders to enhance the image’s sharpness.
Observe the changes in real-time, and once satisfied with the clarity, save your edited image.