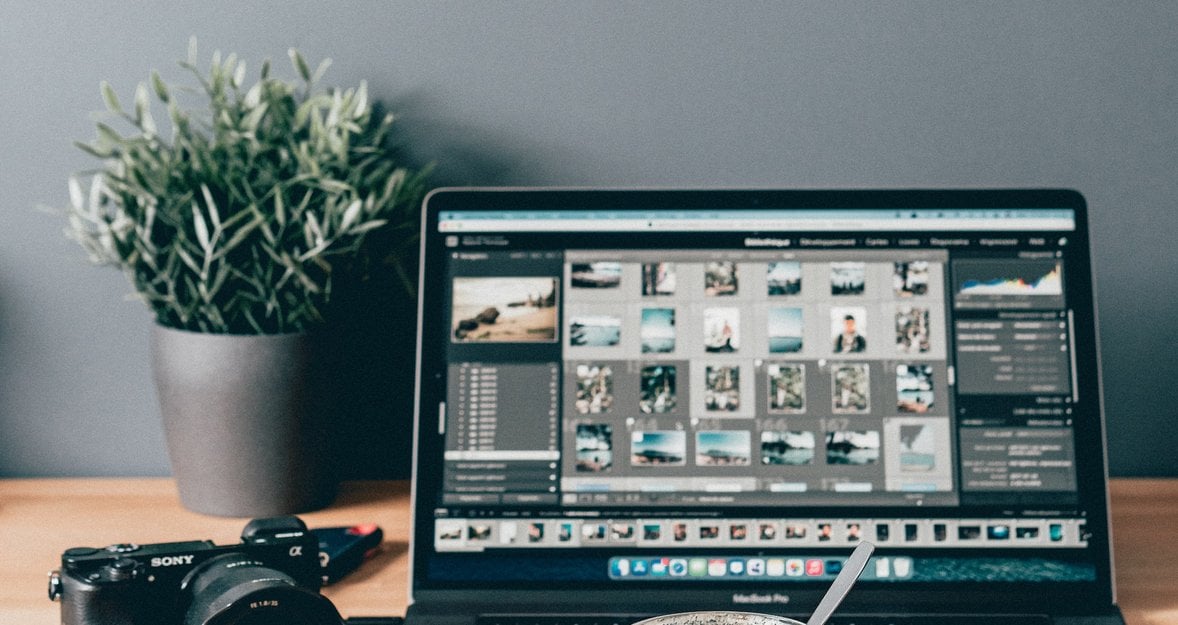
Photography is about capturing the perfect moment and bringing it to life through editing. With the right tools and techniques, you can transform an ordinary photo into a work of art. But editing can be time-consuming, and it's important to have a workflow that is both efficient and effective. That's where customizing the interface of your editing software comes in.
Luminar Neo is a simple yet powerful photo editing tool that offers a range of features and tools to help you enhance your photos. However, with so many options available, it can be overwhelming to navigate the interface. Customizing Luminar's interface can help you to save time and streamline your editing workflow. Here are some tips on customizing Luminar's interface for a faster editing experience.
Select Your Most Used Tools and Add Them to Your Favorites

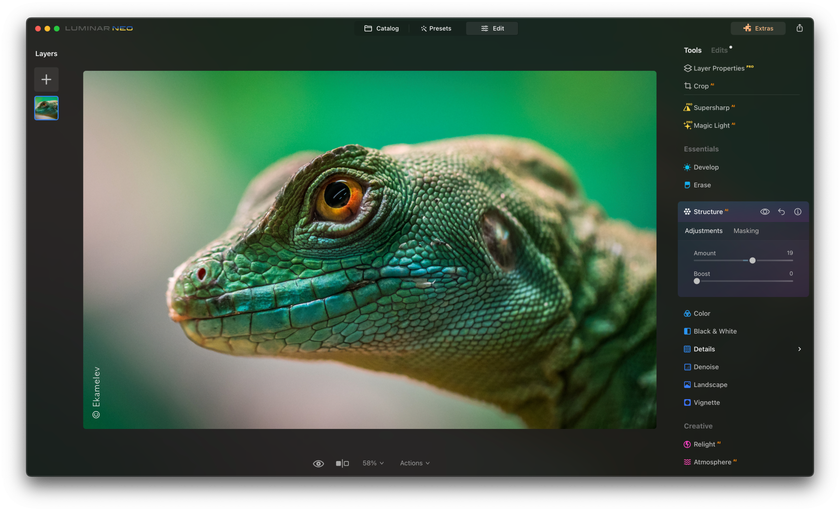
Luminar is a user-friendly picture editor, which offers a wide range of tools, and not all of them will be relevant to your editing needs. To personalize your interface, start by selecting the tools you use the most and adding them to your favorites. To do this, right-click the tool and select "Add to Favorites." This will add the tool to your Favorites panel, accessed from the top of the interface. Now, you can quickly access your most-used tools without searching for them in the various categories.
Remove Tools from Favorites
Similarly, if you're not using certain tools as much as you thought, you can easily remove them from your Favorites panel. To do this, right-click on the tool and select "Remove from Favorites." This will remove the tool from your Favorites panel, but it will still be accessible from the relevant category.
Collapse Categories
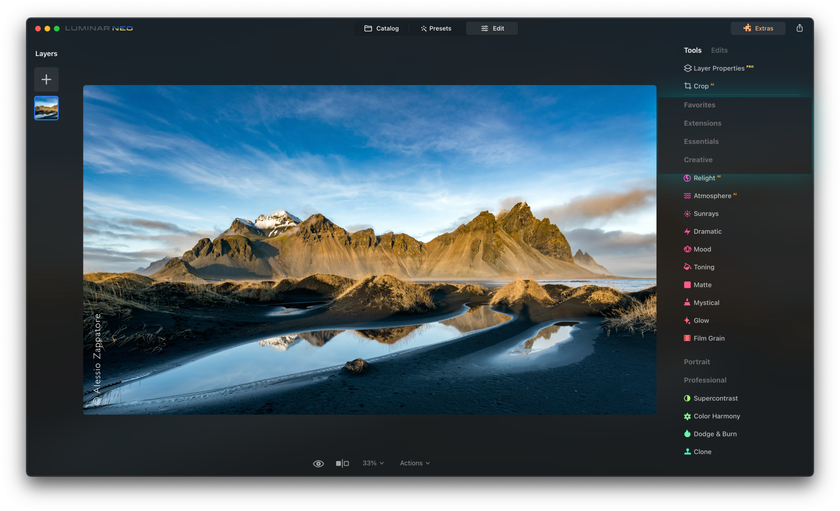
Another way to keep your interface clean and organized is to collapse categories you don't use often. For example, if you rarely use the "Creative" category, you can collapse it by clicking the arrow next to its name. This will hide the category, making it easier to find the tools you use most often.
Conclusion
Customizing Luminar's interface is a simple way to streamline your editing workflow. By selecting your most-used tools and adding them to your Favorites panel, removing tools you don't need, and collapsing categories, you can create a personalized interface that fits your editing needs. With a customized interface, you can spend less time searching for tools and more time creating stunning photos.