
Jul 11
Are you looking for improved portraits with less work? Luminar offers amazing results with significantly less effort.
This faster workflow is made possible with AI technology and happens to be extremely easy to use. Whether you use Luminar as a standalone application, or as a plugin through Lightroom Classic or Photoshop, you can easily speed up your workflow with Luminar 4. Let's get started!
Start with the best-quality file possible
Starting off with a great, clean base in-camera sets you up for success. Here are two simple tips to help you get the highest quality photos for editing.
Use a low ISO
The lower ISO number you use, the less sensitive your camera is to the light. This means a higher ISO (like ISO 2500) will make your camera sensor more sensitive to light and will allow you to photograph in darker situations, but will also induce noise (bigger grains). A lower ISO (like ISO 100) has finer and less noticeable grains, resulting in a better quality image.
Use RAW file format
Most cameras have two main options when it comes to saving files: JPEG or RAW. A RAW file is a collection of data from your camera's sensor that contains a lot of details and information. A JPEG file is a compressed and lighter version. If you're looking to edit the best-looking images possible, I strongly recommend picking the former.
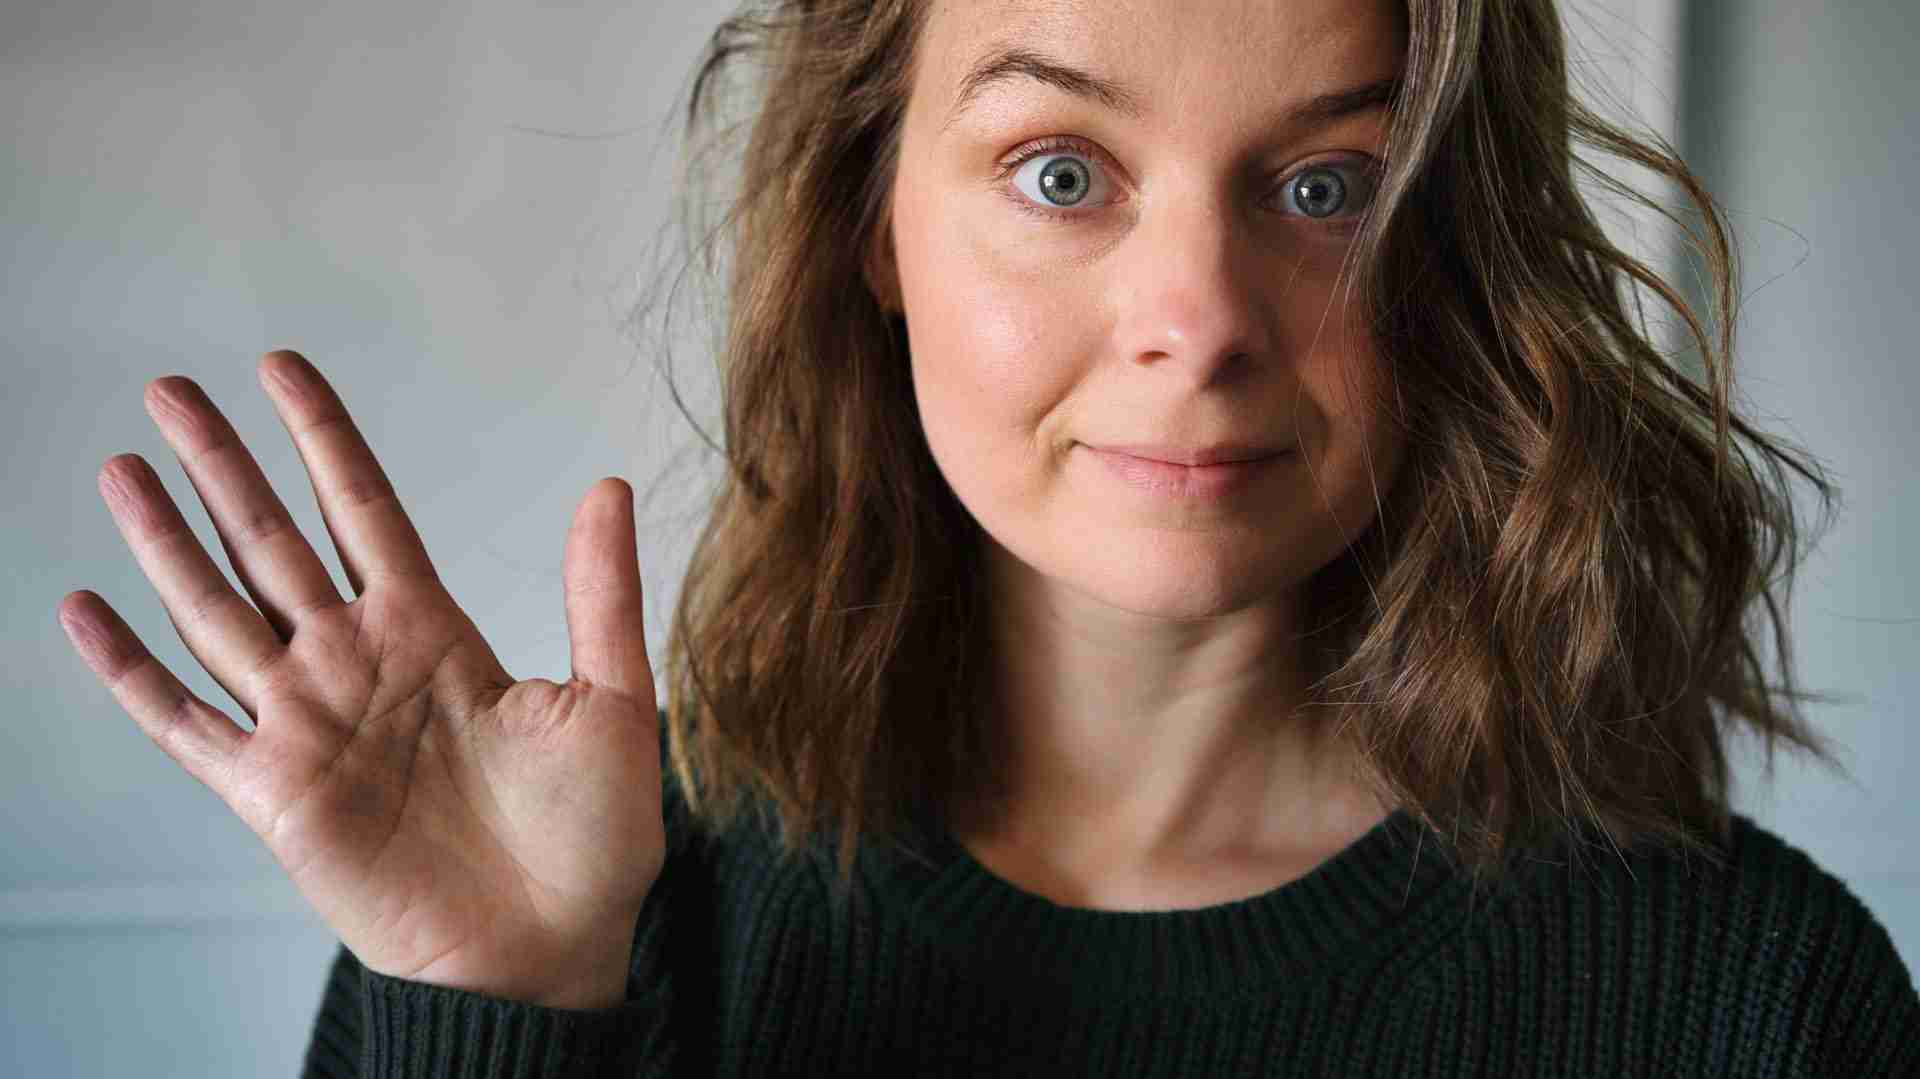
 This lady right here is perhaps the most demanding model I have to deal with. (Read: Myself.)
AI Enhance > AI Accent
The AI Enhance tool automatically analyses the image and corrects shadows, highlights, contrast, tone, saturation, exposure and details.
See how the exposure on my face and hair has instantly been corrected.


AI Structure
The AI Structure tool adjusts the image's details and clarity. You can either increase or decrease it depending on if you're looking for a sharper or smoother-looking photo. Interesting fact — the AI technology is content and human-aware, meaning it won't over-process certain parts.
You can notice how my hair and eyebrows now have more definition, whereas my skin remains completely untouched.


AI Skin Enhancer
The basics are looking good! Now's the time to put your attention to the portrait itself.
The AI Skin Enhancer tool has been created to analyze and enhance and retouch a person's skin automatically. You have complete control over how much or how little you want it to be. Usually, a little goes a long way.
Skin tells a story through its imperfections through its fine lines, freckles, acne and moles. These elements (whether they are desired or not by the model) are what makes them unique. I think this is something essential to keep in mind as we edit portraits.


I did a 100% zoom, so you could see the filter's subtle and beautiful impact.
AI Portrait Enhancer
Rather than having a single slider, AI Portrait Enhancer is, in fact, a collection of tools that are designed to help improve the primary features of a person's face. It includes many filters such as Face Light, Eye Whitening, Slim Face and Teeth Whitening.
This is the "longest" portion of this portrait editing technique simply because you have more choice and complete control over each of them.
For this image, I've used a combination of Eye Enhancer, Dark Circles Removal, Improve Eyebrows and Lips Saturation. These tools fine-tuned my overall look and made my eyes pop noticeably.


Create a Look
Make sure to save your settings as a new Look when you're happy with the final result. This will allow you to apply it to other single images or for Batch Processing. It's a great time-saver, plus it adds consistency to the style of your work.
Note: All Looks are very flexible and can be re-edited at any point. You're not stuck with this formula if you need to tweak for new purposes!
Plus, if you use Luminar as a plugin in Photoshop, you can apply the Look to your first photo, and then access Luminar's automatic plugin mode by choosing Filter > Luminar 4 from the top menu in Photoshop. This will automatically apply this Look without you having to click a button!


You are free to save your portrait as is, or add extra enhancements to stylize it furthermore. I've thrown in some additional contrast and warmth with the Santa Barbara LUT for the final image.
Less is more
Editing portraits should be easy, creative and fun. No one needs (or wants) to spend hours retouching a face. The key to achieving natural-looking results is to add a few subtle enhancements on top of another. These subtle enhancements, when realized with AI technology, can significantly reduce time editing. Ultimately ...
Less time at the computer = more time out to take photographs.
I'm not really good at math, but this equation sounds pretty interesting to me!
What do you think?


