如何使用手動模式拍照
七月 09, 2025
這份攝影技巧速查表將為你提供幾乎適用於所有手動模式攝影技巧的絕佳起點。想要使用手動模式拍照嗎?試試我們的手動相機設定速查表吧。
您是否一直想知道如何模糊或定格動作、為人像創造柔和的背景以及捕捉虛化?您是否一直想拍出令人驚豔的夜空或學習如何用光線繪畫?也許您曾想過如何拍出完美的黃金時刻、日落或日出照片。也許你在尋找拍攝風景與城市景觀的理想鏡頭,或想了解拍攝美食與音樂會時的正確設定。
有了這份《攝影入門速查表》,你將能輕鬆掌握以上所有攝影技巧。請記得,這些曝光設定並不適用於所有光線條件,但它們是一個極佳的出發點。只要你學會曝光三角理論,就能在手動模式下靈活調整設定。當其中一個變數改變,其他至少一個也必須隨之調整。嘗試與實驗,是學習攝影最有趣的方法之一。
先進但易用的相片編輯器
立即取得 Luminar Neo什麼是攝影的手動模式?
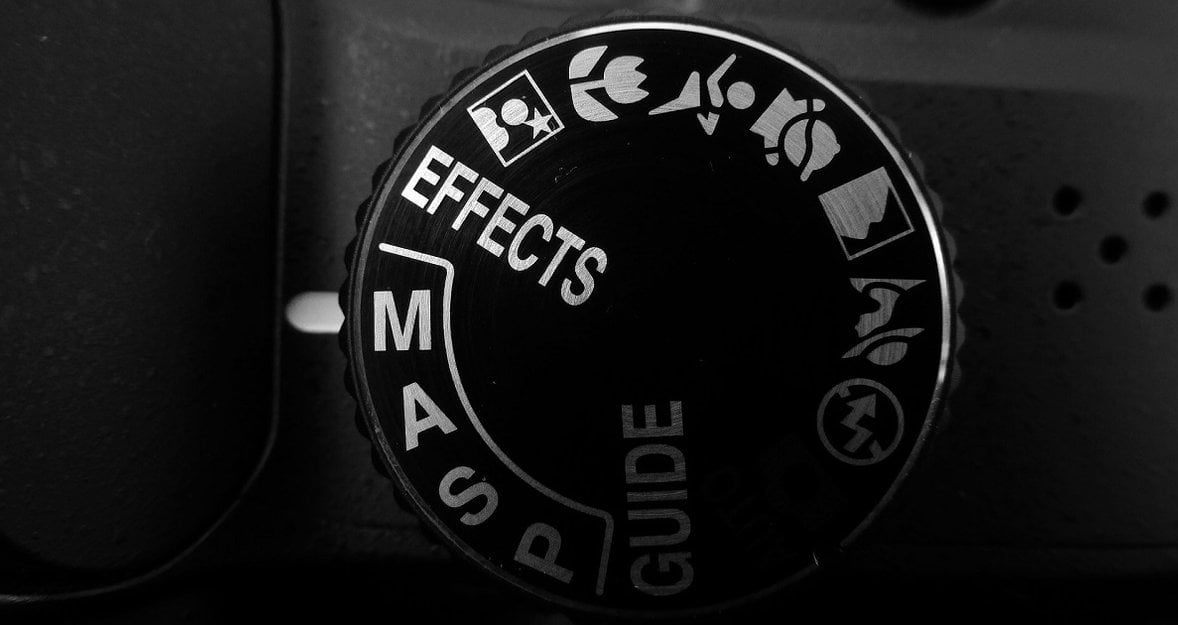
攝影中的手動模式,是讓你完全掌控所有相機設定的操作方式。若想有效運用它,你需要具備曝光三角的基本知識。這種模式存在於所有數位單眼相機(DSLR)、可更換鏡頭相機,以及部分進階的高階隨身相機中。
在手動模式中,每一項設定都可以彼此獨立調整,這也賦予你最大程度的相機操作彈性。一旦掌握了手動設定,你便可以自豪地稱自己為專業攝影師!
當然,讓相機自動處理所有設定是個誘人的選擇。但首先,那樣你學不到什麼;再者,所拍攝的照片將會是相機「認為」該有的畫面,而不是你真正想要的。手動設定則讓你全面掌控影像,也能在實作中更深入理解攝影的基本原則。
使用手動模式,你可以精確控制進入相機的光線量,進而決定照片是偏暗還是偏亮。你可以加入創意效果、凝結動態物體,當然也能掌控散景的呈現。
如何使用手動模式:三步驟流程
首先,你需要理解一個基本概念——曝光三角。相機有三個設定元素,決定多少光線進入感光元件:快門速度、光圈與ISO感光度。這三者構成曝光三角的三邊:
- 設定光圈。光圈越大,進入感光元件的光線就越多(反之亦然)。光圈以 f 值來衡量。依鏡頭不同,光圈值可從 f/0.7 到 f/22 不等。f 值越小,光圈開得越大,光線就越多地進入相機。
- 設定快門速度。這是按下快門鍵後快門開啟的時間長度。快門開得越久,感光元件接收的光線越多,照片就會越亮。快門速度以時間分數表示,例如 1/100 的快門比 1/10 更快,也就是快門打開的時間更短。快門開啟時間越長,越容易捕捉到移動,導致影像模糊。
- 設定 ISO 感光度。ISO 是指感光元件對光的敏感度。ISO 值越高,元件越敏感,照片也會越亮。多數相機從 ISO 100 開始,可逐步提高。提高 ISO 值會讓畫面出現顆粒噪點,甚至在極高的 ISO 下,影像銳利度也可能下降。然而,在低光環境中,高 ISO 是拍攝的關鍵。
因此,使用手動模式能帶來更多創意掌控、在複雜光線下的精準測光,以及更深層參與照片創作的過程。
手動模式對初學者來說可能令人卻步
無論是新手還是專業人士,所有認真學攝影的人都能從手動曝光設定中獲益。事實上,這是讓照片呈現你真正想法的最可靠方式。
當攝影師了解光圈如何影響影像,以及曝光測光有多容易出錯時,他們就會意識到在許多情況下,手動曝光設定是不可或缺的。同時,熟悉手動模式也有助於在選擇使用半自動或全自動模式時,更加有效地運用這些功能。
相機是一項為滿足你需求而設計的工具。攝影的本質,是光線在感光介質上的呈現,因此學習曝光對理解相機操作至關重要。
隨著時間推移,攝影會變得更直覺——因為一開始的慢速思考與選擇,會讓你之後更快速地完成。尋找主體、測光、設定曝光、對焦、按下快門,然後繼續下一張——這就是手動模式的節奏。
另外,不要忘了影像後製的重要性。由人工智慧驅動的相片編輯器如今大受歡迎,為攝影師與愛好者提供了強大的影像強化與創作工具。例如 Luminar Neo,就是一款功能強大的 AI 照片編輯器,不僅能進行細緻修圖,也能釋放你的創意潛能。
先進但易用的相片編輯器
立即取得 Luminar Neo攝影新手推薦相機設定
我們先從定義「曝光三角」的三個要素開始:ISO 是相機感光元件對光線敏感度的衡量指標。ISO 值越高,感光元件所需的光線就越少;ISO 越低,則需要更多光線才能達到正確曝光。光圈(Aperture)是鏡頭開啟的大小。數值越小,光圈越大;數值越大,光圈越小。快門速度(Shutter Speed)則是快門開啟與關閉的速度。1/2000 秒的快門非常快,而 1/15 秒的快門則慢得多。在調整這些變數時,你可以隨時查看相機的測光表,以確定適當的曝光設定。如果覺得入門困難,可以參考我們的相機設定速查表。
手動模式與手動對焦並不相同
對焦模式是相機調整影像銳利度的方式,主要可分為兩種:
- 手動對焦(Manual Focus):攝影師手動旋轉鏡頭上的對焦環,自行決定畫面中哪個區域對焦。常用於主題明確的攝影或微距攝影。
- 自動對焦(Auto Focus):由相機自動選擇對焦物體。
許多初學者會混淆手動模式與手動對焦,但如你所見,這兩個概念在相機設定中是完全不同的。
實踐手動相機設定
當場景中沒有太多動作,例如狗狗或小孩奔跑時,光圈往往成為手動模式中的首要考量。假設你的主體能夠靜止,選定你想要的光圈後,再用快門速度與 ISO 來調整進光量。以下是手動模式的拍攝流程:
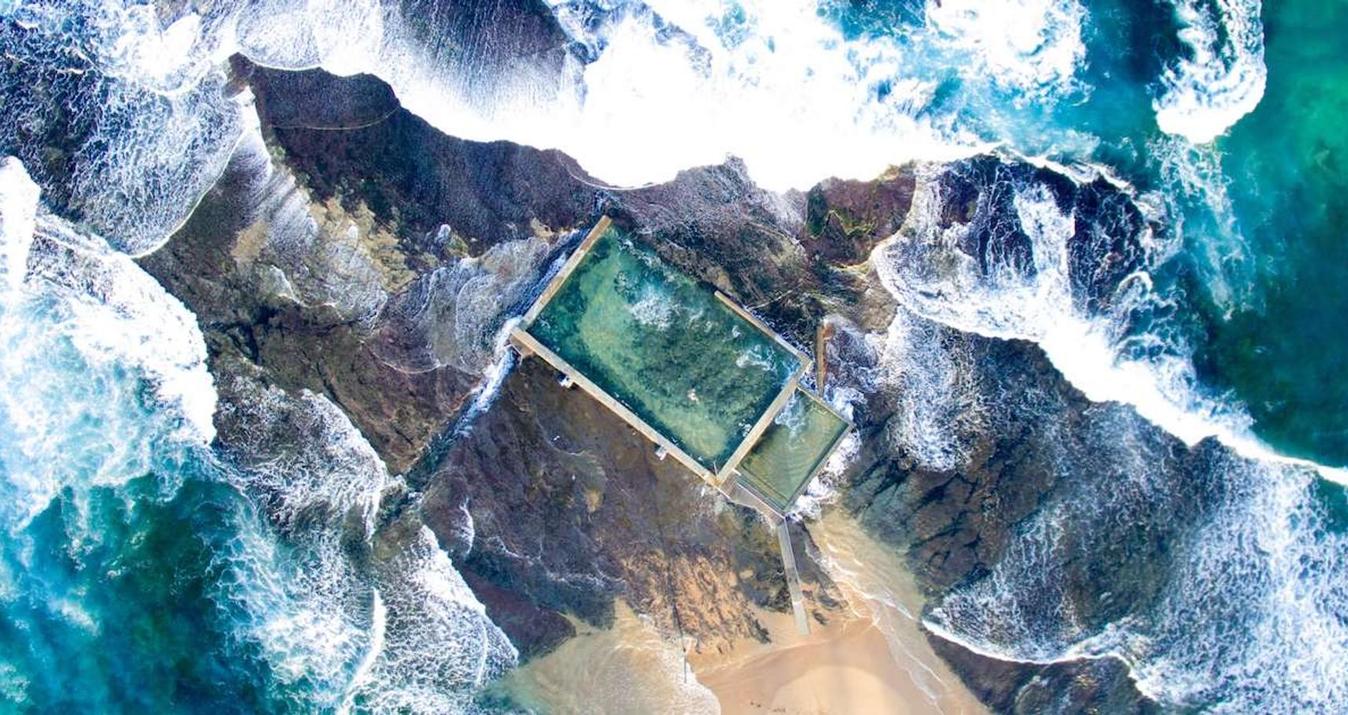
- 看看您的拍攝對象,不論是人或風景。哪些應該對焦,哪些應該模糊?相機手動設定中的小光圈會增加景深,這意味著大部分前景和背景都會對焦。使用小光圈拍攝的目的是在模糊前景和背景的同時,保持對焦主體的銳利。
- 考慮光線情況。相機的曝光表會告訴您應該設定什麼快門速度,這才算是正確的曝光。透過改變光圈或快門速度來增加或減少光線,直到您的照片看起來更好為止。
一旦找到正確的曝光(可能與相機曝光錶認為適當的曝光不同),請檢查光圈範圍。找出鏡頭從最小光圈到最大光圈的界限。您也可以使用我們的相機設定指南。
光圈優先模式非常適合在自然光線下拍攝,或當您想在連續光線下拍攝時使用。初學者也可以使用快門優先模式。這是一種半自動的拍攝模式,您可以設定快門速度和 ISO,而相機則會設定光圈。
拍攝手動模式的終極技巧與訣竅
只要配合我們的相機設定速查表,你就能邁向專業之路!

學會手動相機設定,是精通各種攝影技術的最佳方式。一旦你掌握曝光三角的關係,就再也不想回到自動模式。這張《攝影入門圖表》設計目的,是幫助你開始動手拍攝。記住,它只是一個參考方向,真正的成果來自實際練習。
手動攝影的最終建議
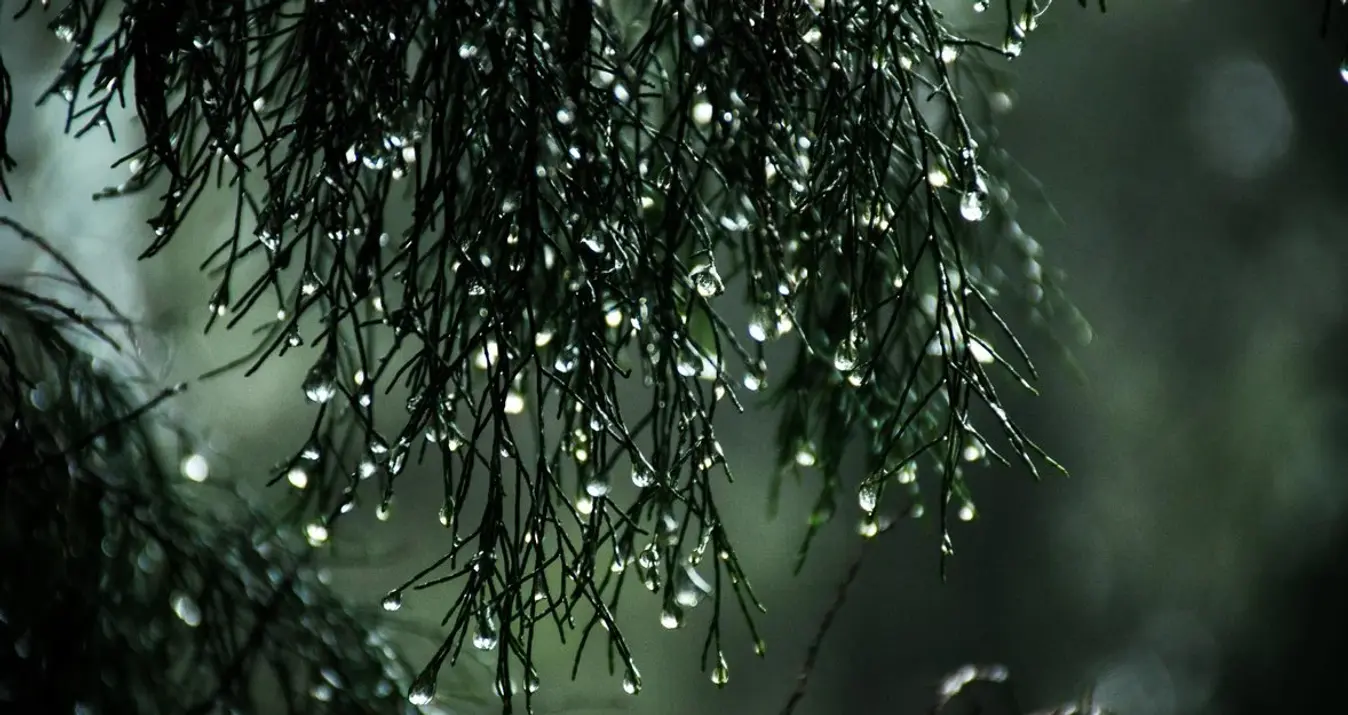
無論你是想捕捉流水模糊的美感,還是熱衷於深夜拍攝星空,熟練掌握曝光三角都是學習攝影的關鍵。試著從調整光圈或快門速度其中之一開始,觀察其對另一變數的影響。很快你就能駕輕就熟,掌握各種攝影技巧。下次當你想拍攝壯麗風景,或創造一張背景模糊的人像時,不妨回頭參考這份攝影速查表,讓每一次快門都充滿創意與掌控。
先進但易用的相片編輯器
立即取得 Luminar Neo在 YouTube 上關注Skylum Software // 每週獲得最新的影片、秘訣和攝影靈感!