Freeze The Flow: A Guide To A City Long Exposure Photography
May 03, 2024
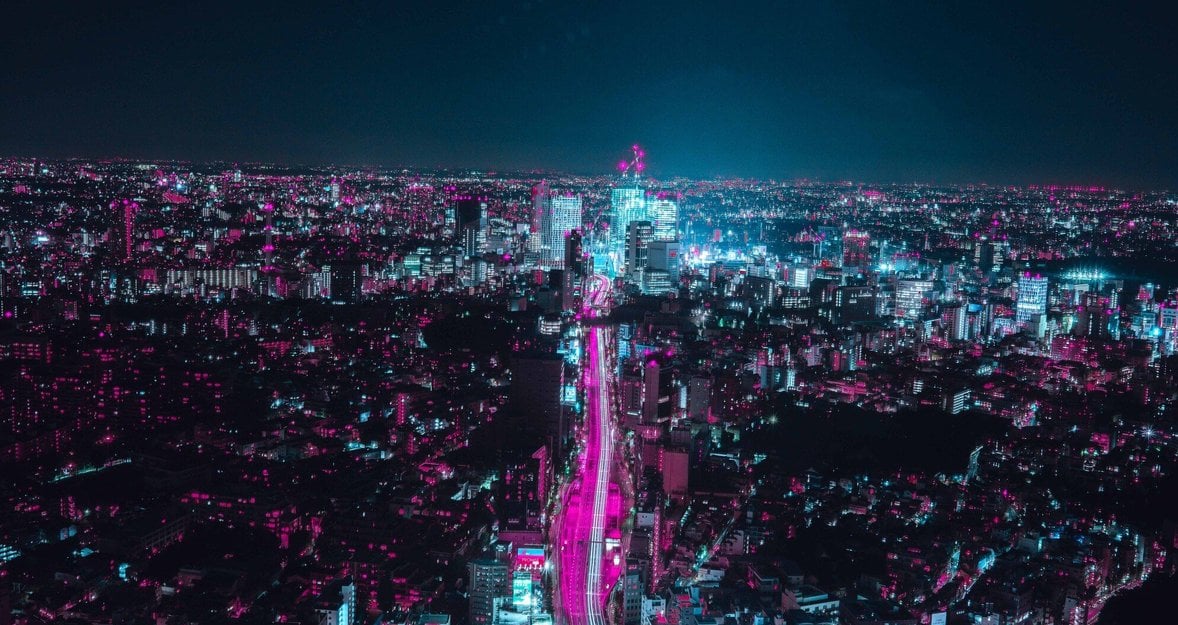
Discover the art of long exposure photography and learn how to freeze the vibrant hustle and bustle of city life into mesmerizing still images with this practical guide on techniques, equipment, and settings.
How can we capture energy and movement in a still photo? To capture the hustle and bustle of the city could be challenging with a single click. However, by adjusting your shutter speed, we can open up the shutter for an extended period, allowing us to record the dynamic movement of light. This technique captures mesmerizing patterns of car lights as they weave through the city’s roads.
Long-exposure photography is extremely fun with an added layer of excitement as you wait for your results to appear. In this guide, we will explore the best equipment, settings, and tips to help you capture stunning, time-bending photographs that vividly tell the story of a city in motion.
Understanding Long Exposure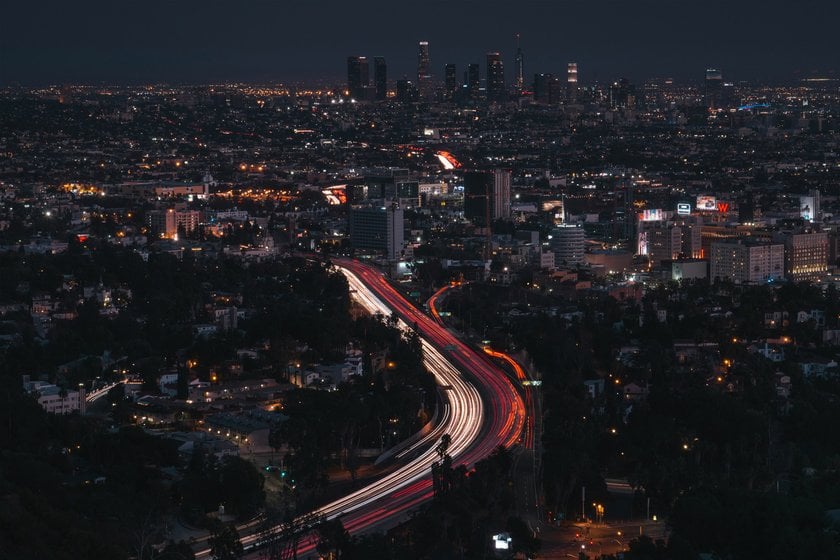
At its core, long-exposure photography captures a blend of both stationary and moving elements within the same frame. Moving objects blur or smear, creating effects that are invisible to the naked eye. For instance, in a long exposure photo of a cityscape, buildings will appear sharp and unmoved, while the tail lights of cars stretch into bright, continuous streaks as the camera records their motion.
The process is straightforward: your camera's shutter opens to allow light to pass through the lens onto the camera sensor. The duration for which the shutter remains open is determined by the shutter speed setting. Shutter speeds can vary widely, from extremely fast (such as 1/8000th of a second) to much longer durations that can even extend to hours, depending on the desired effect and the lighting conditions. For long exposures, the shutter speed is set to slow enough that moving elements begin to blur, capturing and accentuating the flow of motion in the scene.
Just in case you are alarmed at the thought of standing by your camera for hours on end for a great cityscape shot, don’t worry–those lengthy exposures are typically used for astrophotography. We’ll discuss recommended settings for urban long exposure photography soon.
Essential Equipment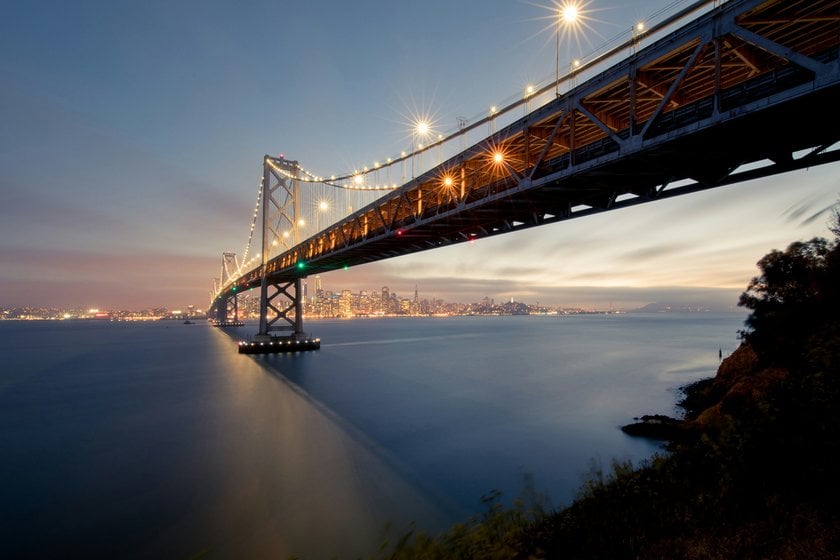
Before diving into the specific settings for long exposure photography, it's crucial to have the right equipment to ensure a strong start. Here are the essentials:
1. Tripod
A tripod is a necessity. With the shutter remaining open for extended periods, even the slightest camera movements can blur your photos. A sturdy tripod ensures that your images remain sharp and well-detailed.
2. Remote Shutter Release
To further minimize camera shake, a remote shutter release is highly recommended. This tool allows you to trigger the shutter without physically touching the camera, eliminating any potential movement caused by pressing the camera’s shutter button.
3. Neutral Density (ND) Filters
In environments where light intensity can lead to overexposure during long exposures, ND filters are invaluable. They reduce the amount of light entering the lens, allowing for longer shutter speeds without compromising the exposure of your shot. For more targeted control, especially when only part of your scene needs to be darkened, Graduated Neutral Density (GND) filters can be used. These filters provide a smooth transition from dark to light, helping to balance the exposure across the image.
With the right equipment at your disposal, you will be well-prepared to tackle the challenges of long exposure photography. We need to keep the camera as steady as possible, minimising shake and blur in our shots. If you don’t have a tripod handy when inspiration strikes to take a long exposure image, look around for sturdy surfaces around you. Fence posts, outdoor furniture or even the roof of your stationary car can serve as effective makeshift supports.
Advanced yet easy-to-use photo editor
Get Luminar Neo NowCamera Settings and Techniques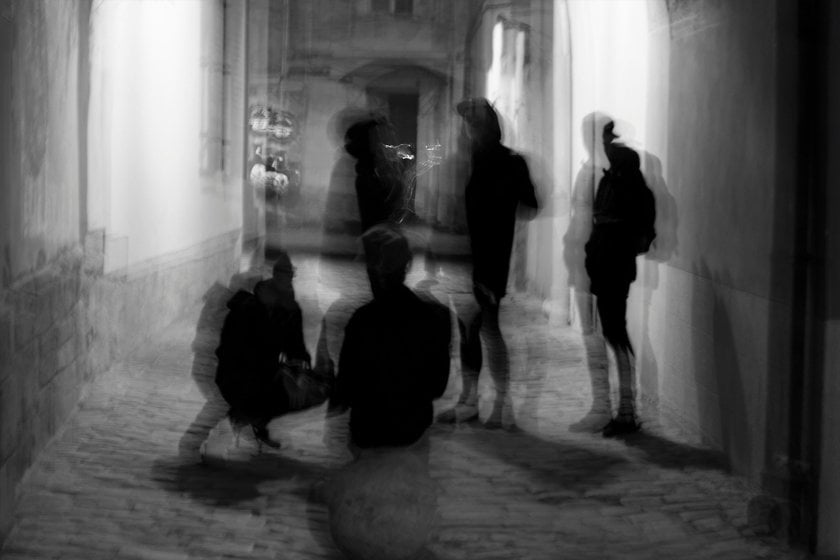
Mastering the art of long exposure photography requires not only the right equipment but a solid understanding of the appropriate camera settings. To gain precise control over your camera, you’ll need to switch to manual mode. This mode allows you to independently adjust shutter speed, aperture, and ISO. If you are unfamiliar with manual mode, check out this handy guide to learn more.
Shutter Speed: The essence of long exposure photography is controlling the shutter speed. Begin with a shutter speed of 10 to 30 seconds based on your desired outcome and the amount of light available. Since the exposure begins the moment the shutter opens, it’s crucial to keep your camera perfectly still for optimal results
Aperture: Set your aperture for the desired depth of field whilst ensuring that your image is well-exposed. With longer shutter openings, you have the freedom to explore smaller apertures (larger f-numbers), which are ideal for achieving greater depth of field in cityscape shots.
ISO: For clean shots, keep the ISO to a minimum whilst also ensuring that your image is well-exposed. With the ISO set between 100 and 200, you can keep noise to a minimum while providing enough sensitivity for long exposures.
Focus: Since manual focus gives you control and minimises the need to touch the camera during exposure, it is preferable over auto-focus, especially in low-light conditions where auto-focus may struggle to locate the subject accurately.
Testing and adjustments: Long exposure photography requires patience and precision. Use test shots to assess your results and fine-tune your settings accordingly. Make sure your highlights are not over-exposed and that noise levels are acceptable.
As you become more familiar with your settings, begin experimenting to discover unique effects and perspectives. Remember to take test shots and review your results, ensuring they look great in camera before packing down your equipment.
Creative Approaches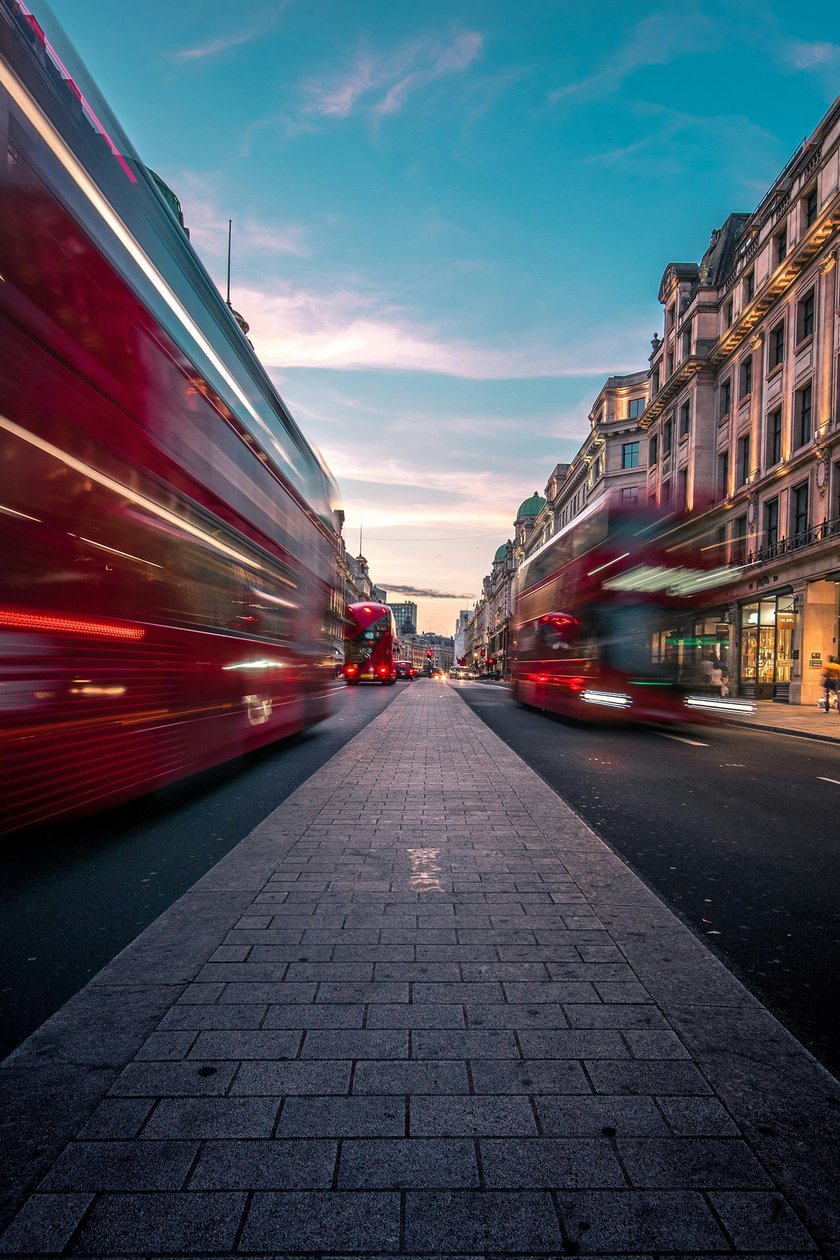
Long exposure photography opens a new range of possibilities that aren’t achievable with standard settings. By using this technique, you can effectively capture the energy and movement of your subject, recording the passage of time in a single shot. Here are some creative approaches to try out for yourself:
Light Trails
This technique is often what comes to mind when thinking of long exposure photography. Choose a vantage point that offers a clear view of the city at night, ideally with roads weaving between buildings. As vehicles move, their headlights and taillights will leave behind colourful, flowing trails of light. These light trails visually map the city’s traffic system illustrating the pulse of the city.
Ghostly Figures
Using longer shutter speeds to create ghostly figures is another compelling technique. By opening your shutter just long enough, you can capture the blurred images of people moving through an area with heavy pedestrian traffic. This not only captures the city's energy but adds a mysterious or surreal quality to your scene. Position your camera in bustling squares, busy streets, or along walkways. Typically, the shutter should remain open for about a second or so, depending on the available light.
Exclusive Tools of Endless Possibilities in One AI Editor
EXPLORE NOW!Reflections
Puddles offer the opportunity to provide a highly unique perspective of city scenes. With a short shutter speed, reflections in puddles will appear distorted as the wind affects the water’s surface. However, by extending the shutter speed, the reflections will eventually become quite vivid and undisturbed. This technique allows us to capture perfect reflections of buildings, bridges and other urban structures. To maximise the visual impact, align your shot to include both the subject and its reflection, creating a stunning mirrored effect.
Clouds
Long exposure photography isn’t just reserved for the evening. During daytime, particularly on cloudy days, you can use this technique to capture the movement of clouds across the sky, creating silky smooth textures above the urban landscape. This approach transforms what might otherwise be dull, grey skies into a dynamic backdrop, adding a sense of energy and motion to your cityscape shots. To ensure your image isn’t over-exposed, you will need to select a very small aperture and low ISO whilst extending the shutter speed. This may require some experimentation but will yield very interesting results.
Lakes and Canals
As mentioned with puddles, long exposure techniques to other bodies of water can deliver fantastic results. Consider using a longer shutter speed for cityscape shots including lakes, rivers or canals. This approach will smooth out the water’s texture, creating a serene and glass-like surface. Aside from adding an interesting visual appeal, it will again add movement and energy to your image. This technique can transform a regular daytime cityscape shot into a unique composition.
The Bottom Line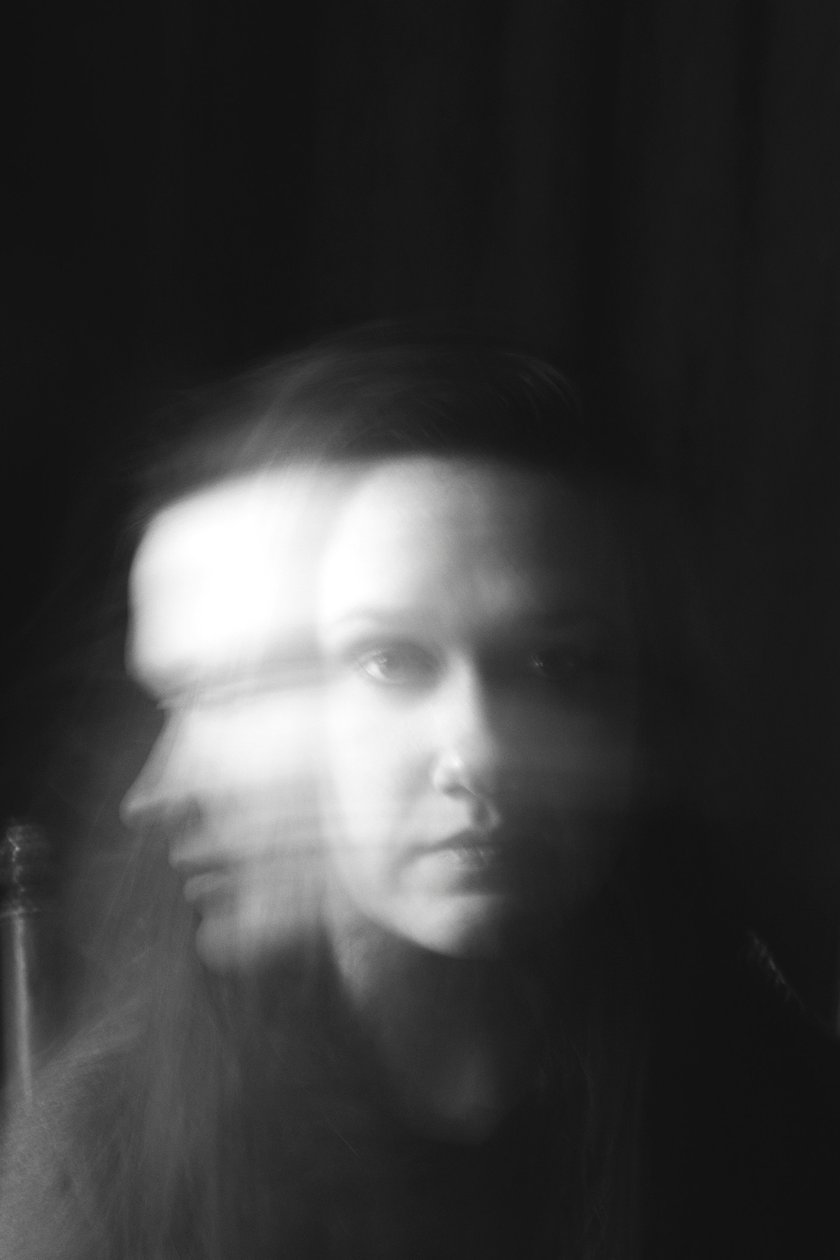
Long exposure photography offers photographers the chance to capture time in motion. Ordinary stills transform into images bursting with life and energy giving viewers a clearer sense of the city’s pulse. Whether it’s smooth, flowing trails of city lights, serene water surfaces, or sweeping cloud movements, long exposures allow you to capture and illustrate movement and change.
Whilst shutter speed is the dominant setting to consider for this technique, equal care should be given to aperture, ISO and manual focus. By balancing these settings, you ensure crisp, sharp images free from shake or blur. Essential equipment such as a tripod and remote shutter release are critical, as they help eliminate any camera movement during the exposure.
Long exposure photography certainly requires patience as you experiment with balancing your settings. However, once mastered, you will start to see magnificent results that look great on screen and in print. So grab your camera, head out to a fantastic viewpoint, and get started–just don’t forget your tripod!


