How to Head Swap in Photoshop
January 09
8 min. to read
 Swapped heads have been a hallmark of creative photo editing, enabling you to achieve striking transformations and craft captivating visual narratives. Whether you're a photography enthusiast, a digital artist, or a professional editor, mastering the technique of head swapping in Photoshop opens up a world of possibilities for your projects.
While Photoshop remains a powerful tool for this task and is one of the best photo editors for iPad, we'll explore alternatives like head swapping in Luminar Neo, giving you a well-rounded understanding of the process. Join us on this journey to become a head-swapping virtuoso in digital imagery.
How to Swap Heads in Photoshop: Step-by-Step Tutorial
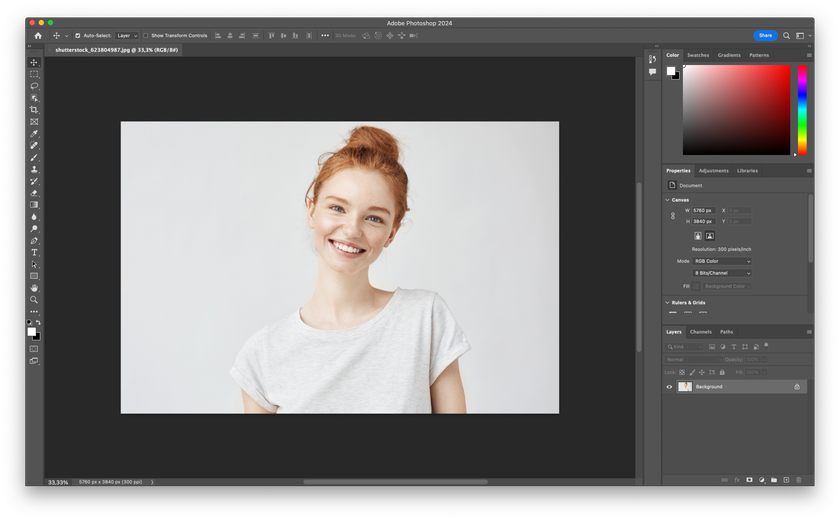
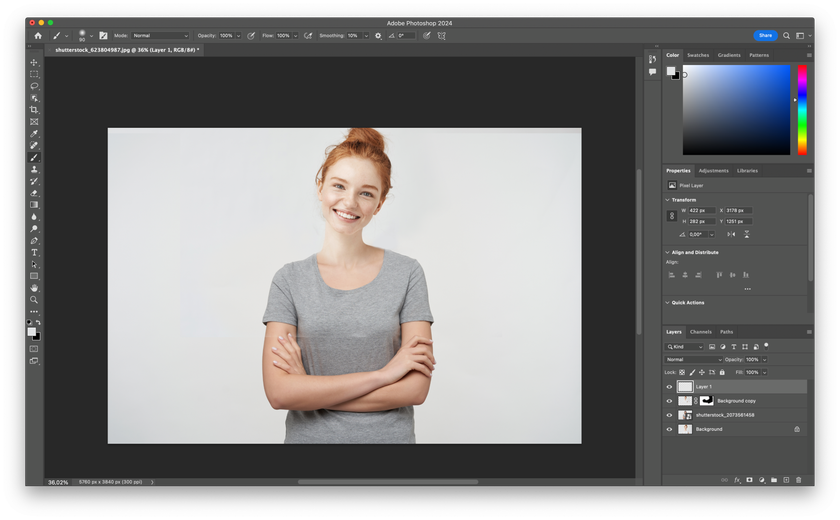
Changing a face or the whole head is not as easy as Flipping an image in Photoshop. But you can learn it quickly with a step-by-step guide on the prerequisites for a successful head swap or Face Swap:
Step 1: Understand the Difference
Distinguish between a photoshopped head and a face swap. The choice depends on your specific editing goals.
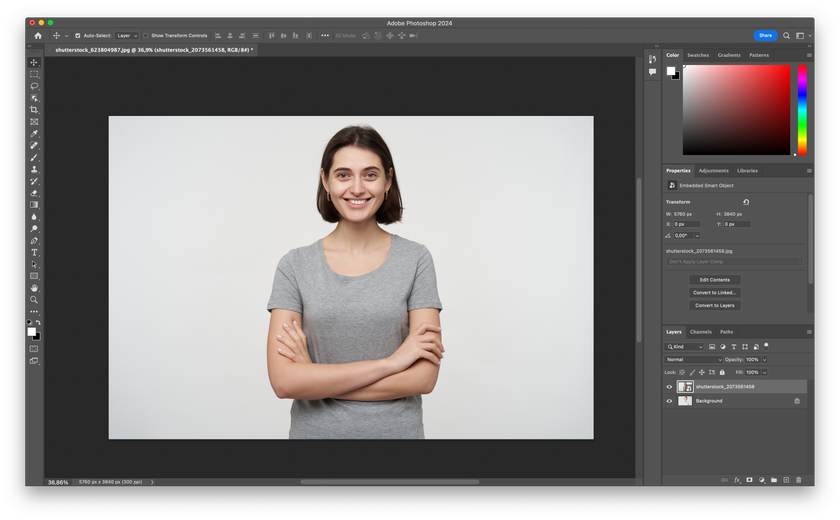
Step 2: Choose Suitable Photos
Ensure you have two photos of the same person taken under specific conditions:
The person should be in the same pose, with the face and hair fully visible (no obstructions).
Both photos should have similar lighting conditions (e.g., natural or artificial).
The photos' angle, distance, and perspective should match (frontal or profile views).
The person should have a similar hairstyle and neckline.
Opt for a neutral background to ease the blending process.
Avoid photos with strong lateral lighting, shadows, or highlights that differ between the two images.
Step 3: Check Head Size Consistency
Ensure that the size in both photos is approximately the same. Minor resizing can be done in Photoshop, but excessive alterations may result in blurry or unrealistic images. Maintain natural proportions for a convincing result.
Following these steps and adhering to these prerequisites will set the foundation for a successful swap. Consistency in the photos' conditions and details is key to achieving a natural and seamless transformation.
How to Do a Head Swap in Luminar Neo
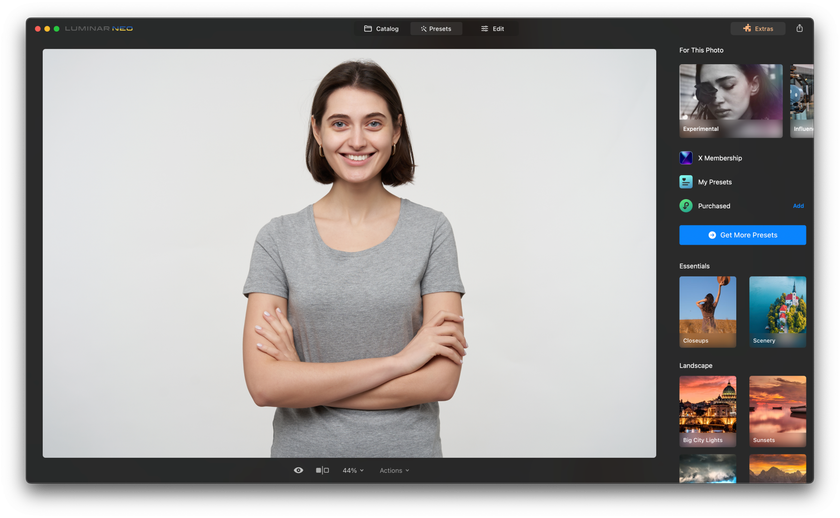
Here's a step-by-step guide on how to perform a head swap using Online Photo Editor Luminar Neo:
Step 1: Open the Base Image
Begin by opening the base image in Luminar Neo. It will serve as the foundation for the swap.
Step 2: Add a New Image Layer
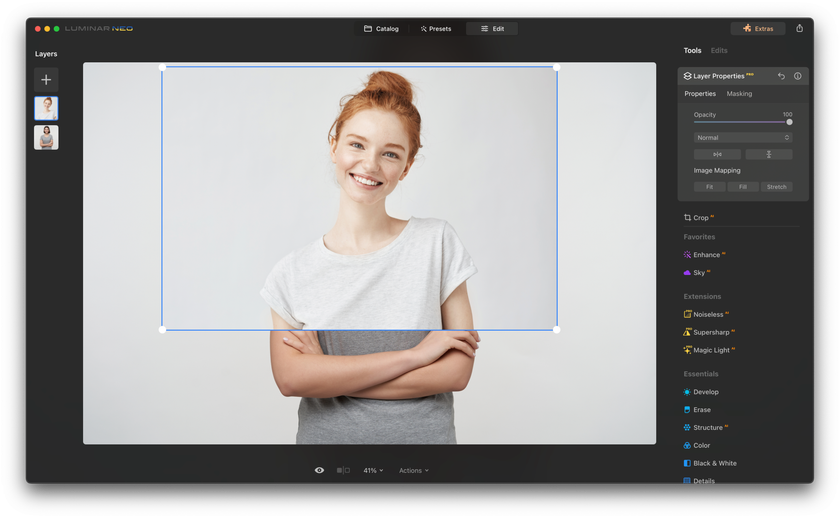
Select "Add New Image Layer" and import the image containing your preferred facial expression. Ensure that both pictures are of the same person and taken under similar conditions.
Step 3: Adjust Layer Opacity and Alignment
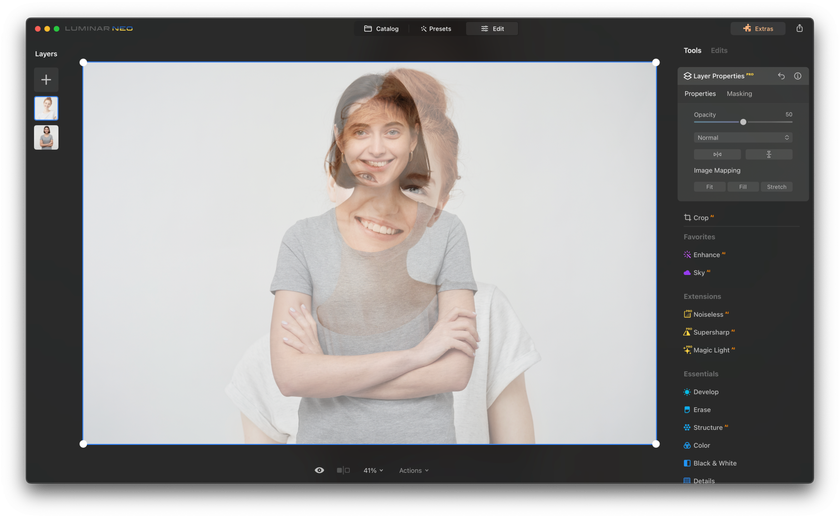
Set the opacity of the new layer to 25%. Align the two images so the faces are the same size and position. Select the new layer and access "Free Transform" from the Tools menu if they do not align perfectly. Resize and reposition the layer until the alignment is accurate.
Step 4: Restore Layer Opacity
Once alignment is complete, reset the new layer's opacity to 100%.
Step 5: Use the Brush Tool
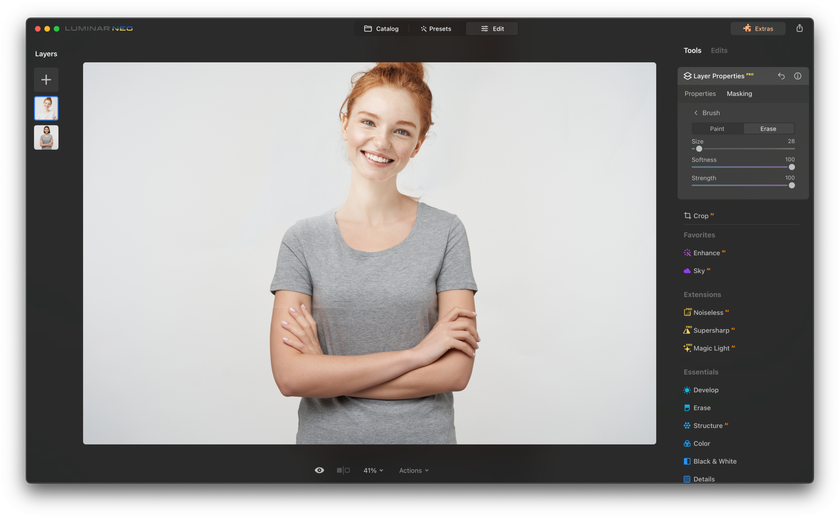
Select the new layer and choose the "Brush" tool. Adjust the brush diameter to suit your image. Use the brush to reveal the face from the new layer, blending it seamlessly with the base image.
Step 6: Make Necessary Adjustments
If you reveal too much of the new layer or need to make small refinements, select "Erase" from the Tools menu. Use this tool to remove any unwanted details.
That's it! You have successfully performed your photo in Luminar Neo. Now, you can further enhance your creation by applying one of the various Luminar Looks and adding the finishing touches that align with your artistic vision. For example, you can auto-edit photos to achieve your desired result and use the AI features to make your photo edits natural. Remove the background of an image in one click to perform the picture where you change any part of the human body. AI will make the picture as realistic as possible, and the changes will not be noticeable. In addition, it will take you only a few seconds without additional settings or manual corrections.
Final Touches

In this comprehensive body part replacement guide, we've explored the art of a complete character change, providing step-by-step instructions for creating seamless and engaging compositions. We've covered the prerequisite techniques and even compared them in Luminar Neo and Photoshop.
Armed with this knowledge, you're ready to embark on your journey of perfecting the craft of Photoshop head on body, achieving stunning and convincing results in your digital creations. In addition to mastering Photoshop head swaps, practice, and experimentation are key to honing your skills and unleashing your creative potential. As you continue to explore the art of photo manipulation, you'll discover unique ways to enhance your compositions and bring your artistic visions to life. Happy swapping, and may your digital creations continue to evolve and inspire!
FAQ
How to Swap a Head in CS5 Photoshop?
Use the selection and masking tools to separate the head from one image and place it onto another.
How to Get 2 Photos into Photoshop to Do a Head Swap?
Open both photos as separate layers, use selection tools to isolate the heads, and then drag one head layer onto the other to swap heads.
How to Easily Head Swap Photoshop?
Use selection tools to separate the heads, then copy and paste one head onto the other image.
How to Shrink Head on Head Swap Photoshop?
Use the Transform tool (Ctrl/Cmd + T) and adjust the head's size proportionally for a natural look.


