
Automatische upgrades
vernieuwing over 1 jaar voor $ 49 .00
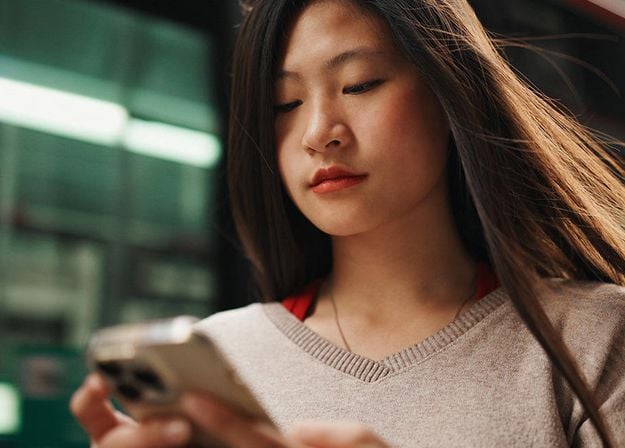
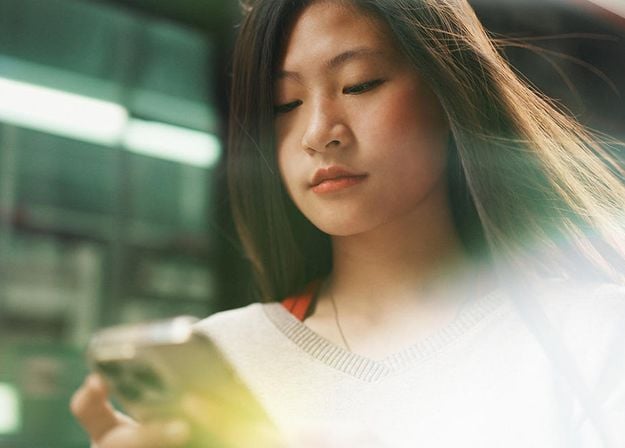
Ontworpen om automatisch je foto’s te verbeteren met slechts één schuifregelaar. De tool analyseert het beeld en past slim de helderheid, het contrast, de scherpte en de kleurbalans aan.
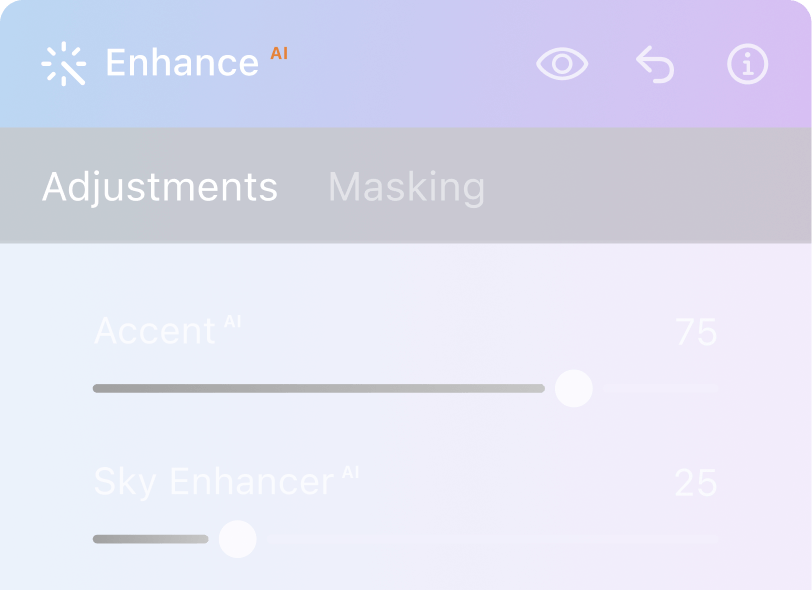

Eén schuifregelaar balanceert op intelligente wijze tot een dozijn fundamentele bedieningselementen, waaronder schaduwen, highlights, contrast, toon, verzadiging, belichting en details. Leg de basis voor verdere aanpassingen.
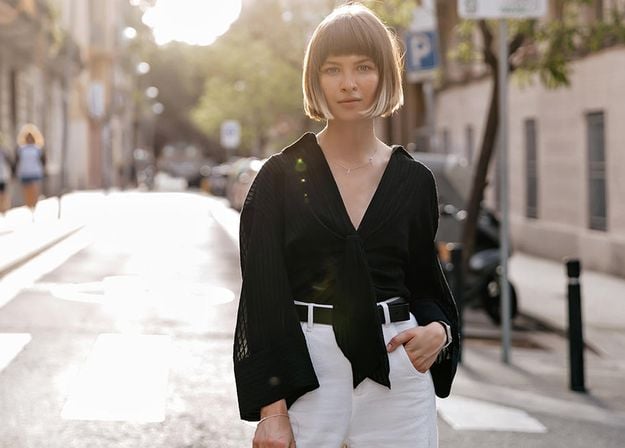
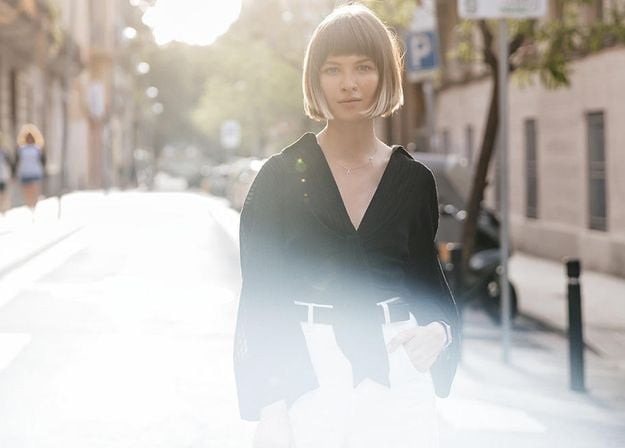
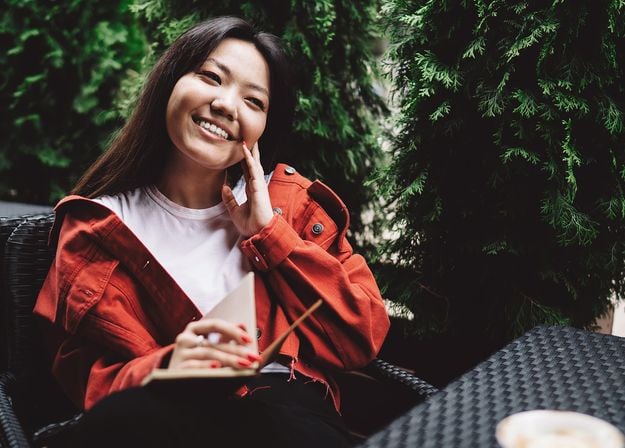
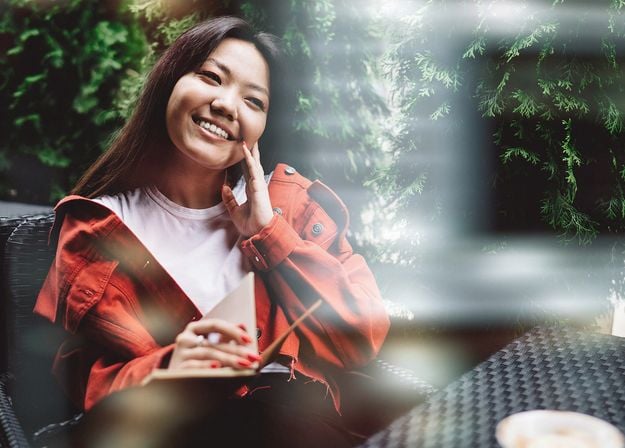
bekijk optiesVoeg eenvoudig levendigheid en contrast toe om uw foto's meer in het oog te laten springen. Trek elk onderwerp of detail uit de schaduw en laat het opvallen.
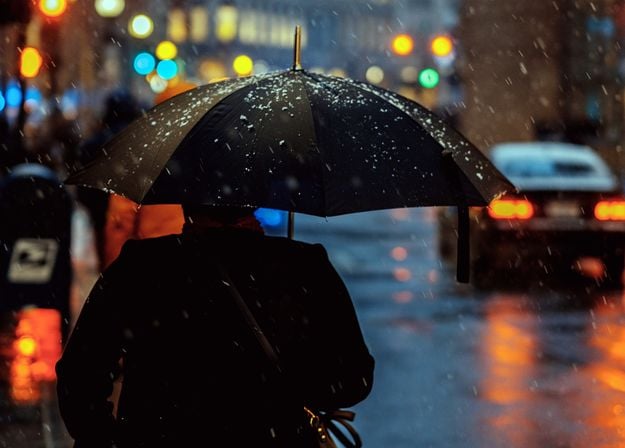
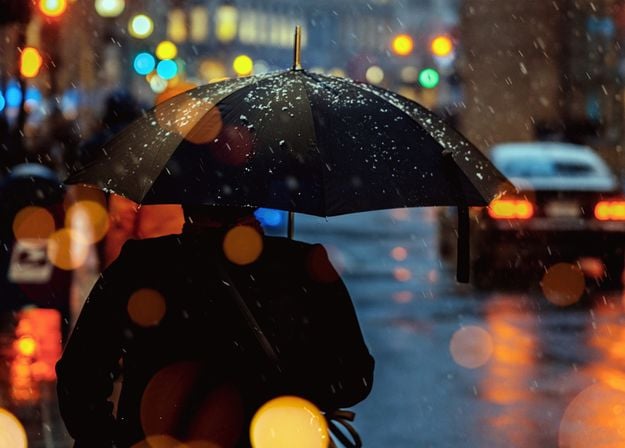
bekijk optiesHerstel details en verbeter de textuur van de lucht en wolken zonder kwaliteitsverlies met Luchtverbetering. U kunt de helderheid, het contrast, de verzadiging en de levendigheid selectief aanpassen.
bekijk optiesTil je bewerking naar een hoger niveau met de AI-aangedreven fotobewerkingstools van Luminar Neo.

Creëer een dromerig
bokeh-effect NIEUW

Maak de huid natuurlijk glad VERBETERD

Verbeter gezichtskenmerken VERBETERD

Breng oude foto’s tot leven

Voeg dimensionale belichting toe

Verbeter in seconden

Verwijder afleidingen

Vervang luchten direct

Vervang objecten naadloos

Verscherp elk detail
Verbeter in seconden

Onthul verborgen details

Verhoog het contrast

Corrigeer de compositie

Verfijn elke pixel

Verbeter de kleuren

Vorm licht en schaduw
Vervang luchten direct

Creëer het gouden uur opnieuw

Voeg realistische mist toe
Verwijder nevel

Verhelder met lichtstralen

Verdiep de avondtinten

Perfecte watertexturen
Verwijder afleidingen

Breid je scène uit
Vervang objecten naadloos
Breng oude foto’s tot leven
Verscherp elk detail

Verminder ruis met precisie

Vergroot zonder kwaliteitsverlies
Voeg dimensionale belichting toe

Voeg lichtgevende diepte toe

Kleurgradatie met gemak

Verlicht met neon

Voeg filmische textuur toe

Laag creatieve effecten
Creëer een dromerig
bokeh-effect NIEUW
Maak de huid natuurlijk glad VERBETERD
Verbeter gezichtskenmerken VERBETERD

Vorm lichaam proportioneel

Vervaag achtergronden prachtig

Voeg studiolicht toe

Vervang achtergronden eenvoudig

Verlicht met stijl

Combineer meerdere belichtingen

Naai brede panorama’s aan elkaar

Stapelfocusopnamen
Je speciale 10% korting verloopt over 15:00
$ 119 .00
$ 417 .00
Eenmalige betaling
Desktop voor Windows/macOS
Mobiele app voor iOS/Android/ChromeOS
Toegang tot de Creatieve Bibliotheek
100 Creatieve Add-ons
Luminar Neo video cursus
De snelle startgids voor Luminar Neo
Cadeau
Meest Populair
$ 159 .00
$ 477 .00
Eenmalige betaling
Desktop voor Windows/macOS
Mobiele app voor iOS/Android/ChromeOS
Toegang tot de Creatieve Bibliotheek
100 Creatieve Add-ons
Luminar Neo video cursus
De snelle startgids voor Luminar Neo
Cadeau
$ 179 .00
$ 546 .00
Eenmalige betaling
Desktop voor Windows/macOS
Mobiele app voor iOS/Android/ChromeOS
Toegang tot de Creatieve Bibliotheek
100 Creatieve Add-ons
Luminar Neo video cursus
De snelle startgids voor Luminar Neo
Cadeau
Betrouwbare ondersteuning, vertrouwd door onze gebruikers
Technische assistentie
9/10 Tevredenheidspercentage
4.7 Trustpilot
Je extra 10% korting wacht op je — kopieer de onderstaande code en gebruik deze bij het afrekenen, maar wees snel, hij verloopt over slechts 15 minuten!
15:00


Desktop voor Windows/MacOS en volledige toegang tot alle generatieve tools voor één jaar.
100 Creatieve Add-ons
Luminar Neo video cursus
Desktop voor Windows/MacOS en volledige toegang tot alle generatieve tools voor één jaar.
Mobiele app voor iOS/Android/ChromeOS
100 Creatieve Add-ons
Luminar Neo video cursus
Desktop voor Windows/MacOS en volledige toegang tot alle generatieve tools voor één jaar.
Mobiele app voor iOS/Android/ChromeOS
100 Creatieve Add-ons
Luminar Neo video cursus
100 Creatieve Add-ons
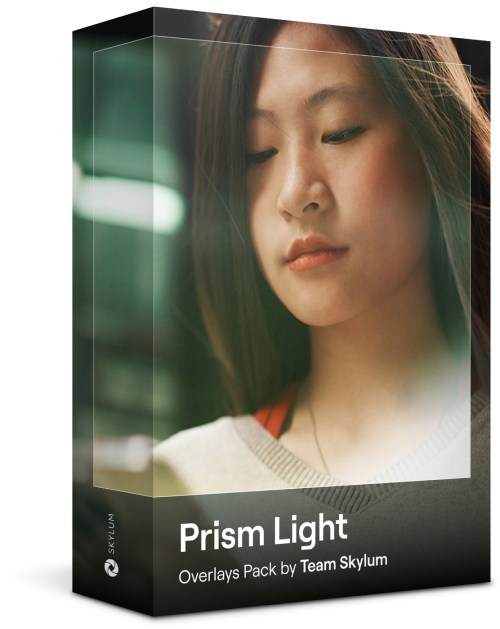
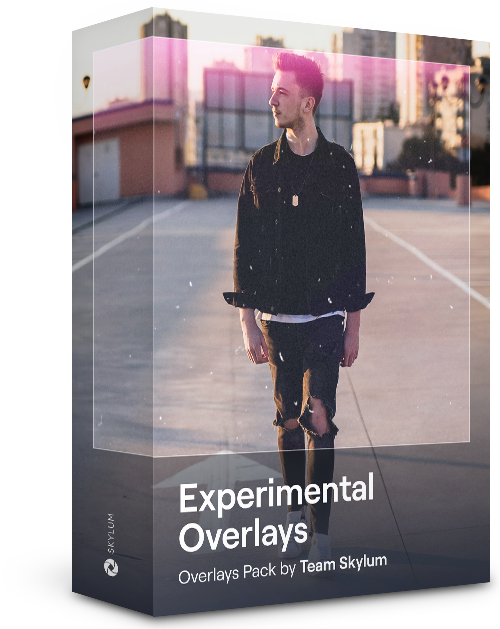


Maak sfeerbeelden met deze 10 Overlays in JPEG-formaat die glinsterende lichten en fakkels in verschillende kleuren bevatten. Zorg ervoor dat u ze gebruikt met Luminar Neo's Lagen en/of de Portret Achtergrond Verwijder-tool en experimenteer met uw foto's in elk genre. U kunt een interessant lichteffect toevoegen of het onderwerp op nieuwe manieren laten opvallen, allemaal met slechts een paar klikken. Tijd om het uit te proberen!
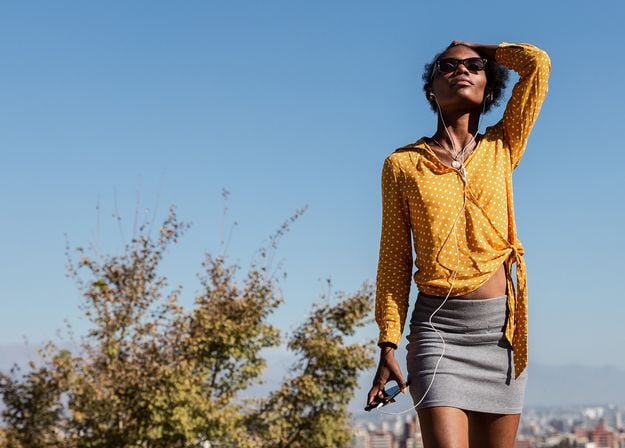
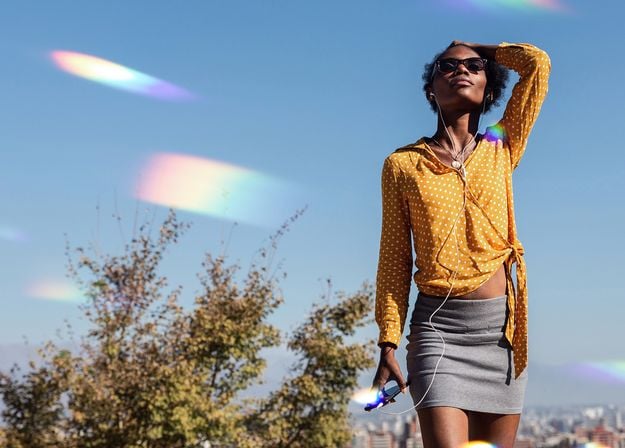


Zin om iets extra's toe te voegen aan uw foto's? Ontdek deze 10 experimentele Overlays in JPEG-formaat die u eenvoudig kunt gebruiken met de Lagenfunctie van Luminar Neo om elke foto om te zetten in een opname die in het oog springt. Kies uit 10 betoverende effecten in verschillende kleuren en vormen en creëer met een paar klikken een unieke sfeer. Van roze tinten tot gouden cirkels, u zult zeker een Overlay vinden die perfect is voor uw volgende meesterwerk.

_after.jpeg?q=80&w=625&h=448&resize=cover)


_after.jpeg?w=54&h=30&resize=cover)
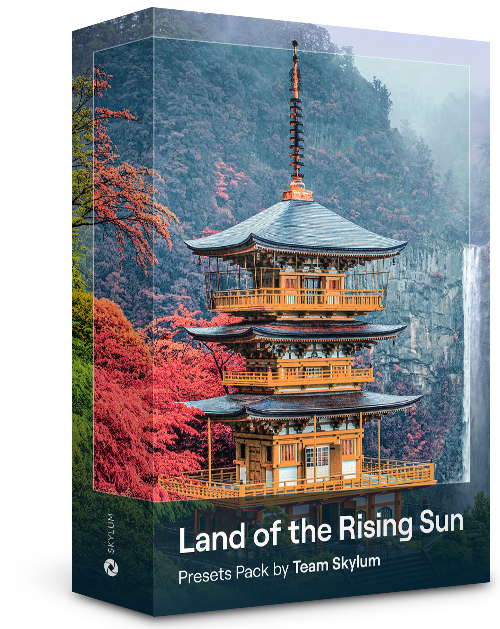
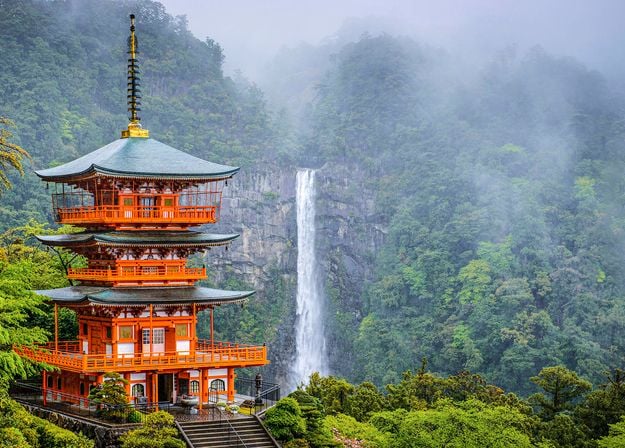
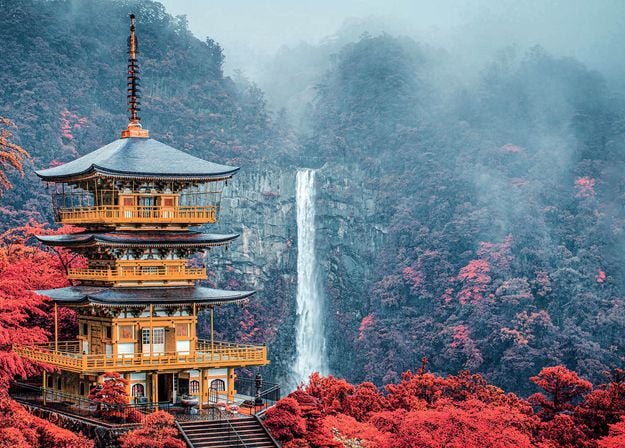
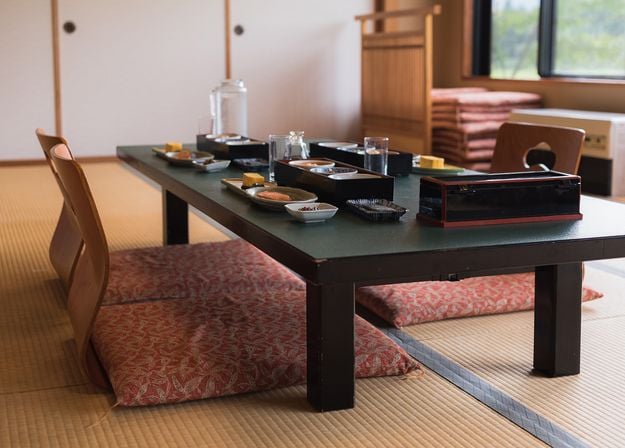
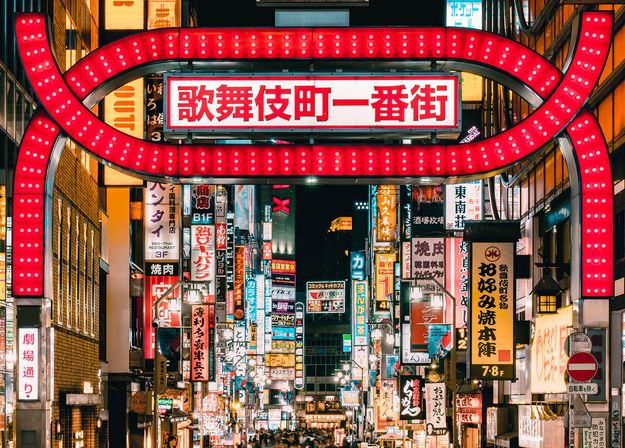
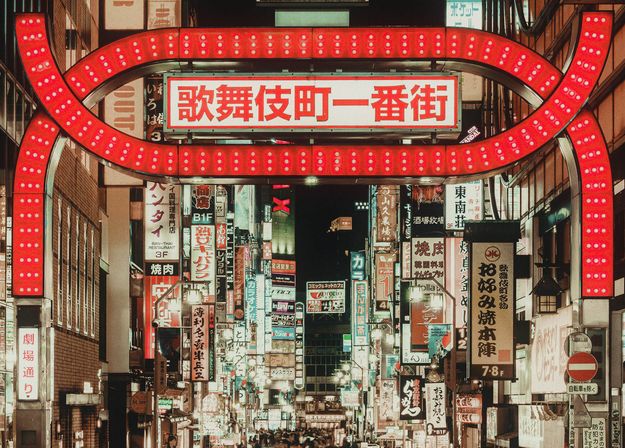
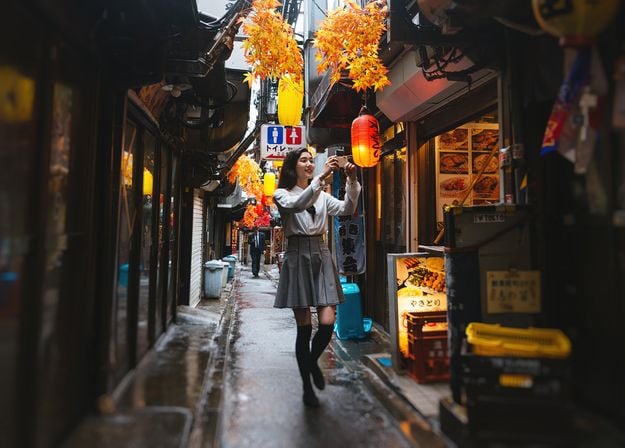
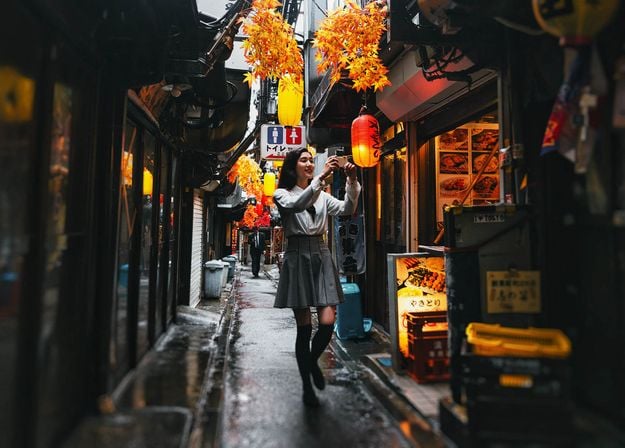
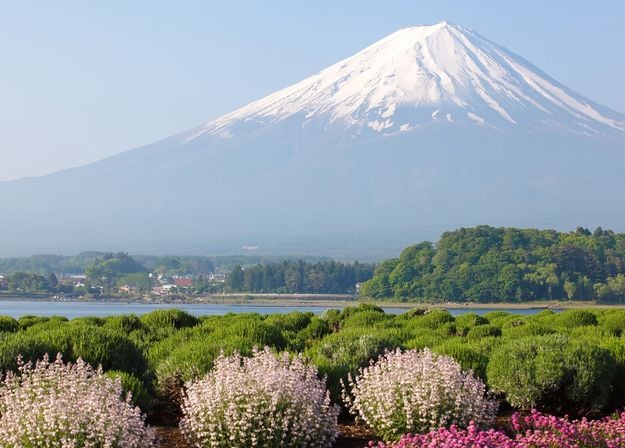
Verbeter foto's die u tijdens een reis naar Japan hebt gemaakt, of foto's waarvan u een sfeervol gevoel wilt hebben dat doet denken aan de Japanse stijl. Van landschappen tot iconische bezienswaardigheden en foto's van eten: dit pakket is ongelooflijk veelzijdig!
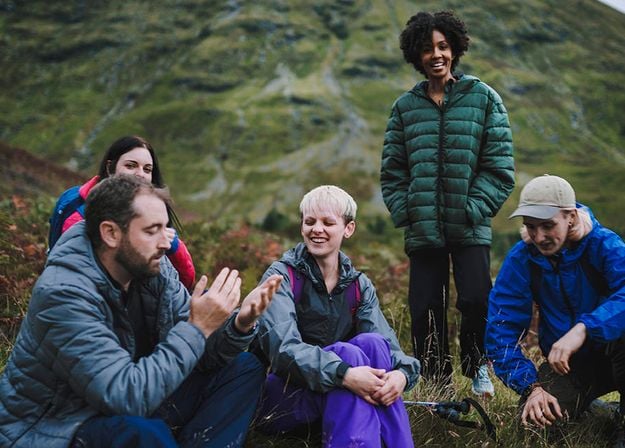
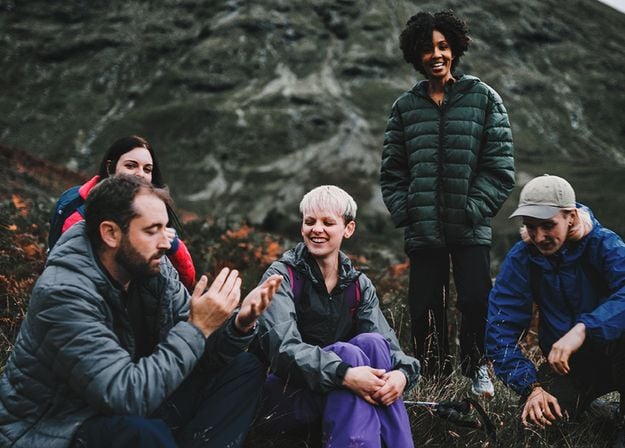
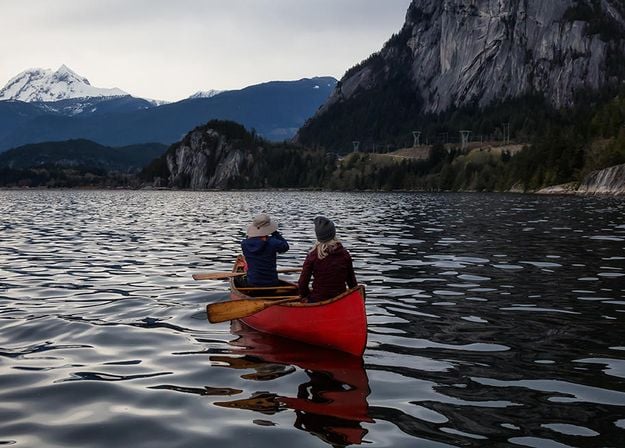
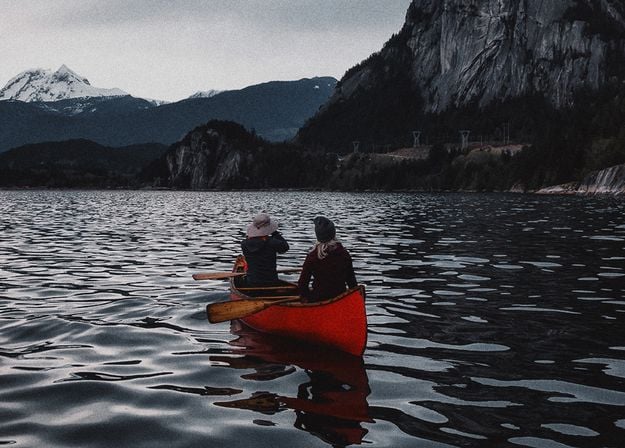

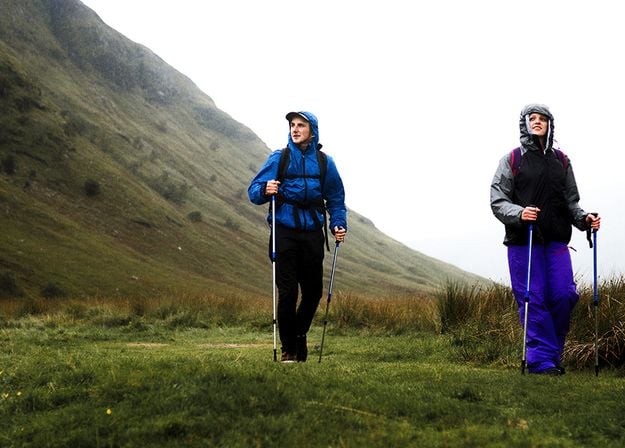
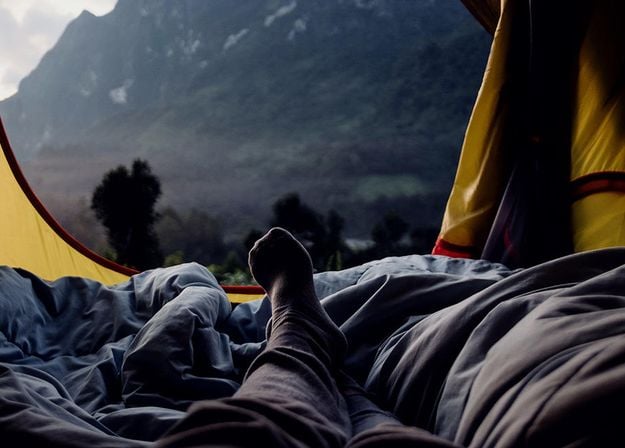
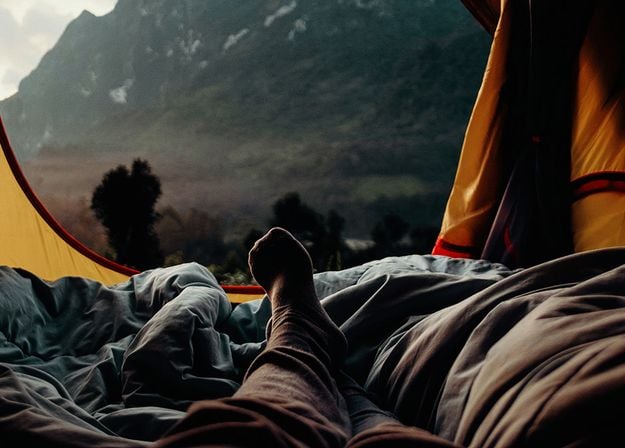


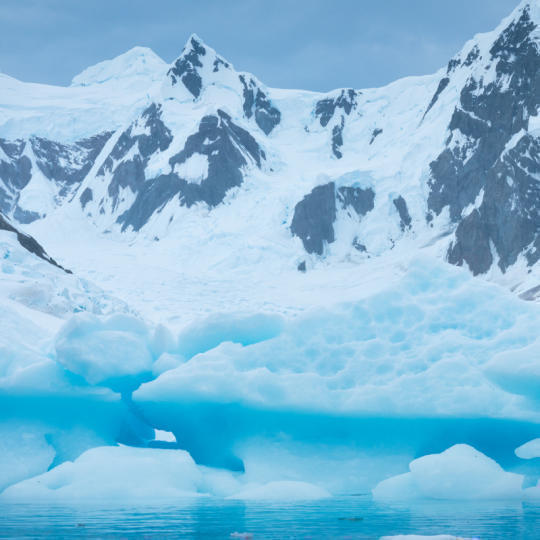
Deze 10 Voorinstellingen zijn ontworpen om uw kampeer- en wandelfoto's er op hun best uit te laten zien en geven uw buitenfoto's een natuurlijke, levendige uitstraling. Of u nu foto's maakt van majestueuze bergen of gezellige kampvuren, met één klik haalt u het beste uit uw foto's naar boven.
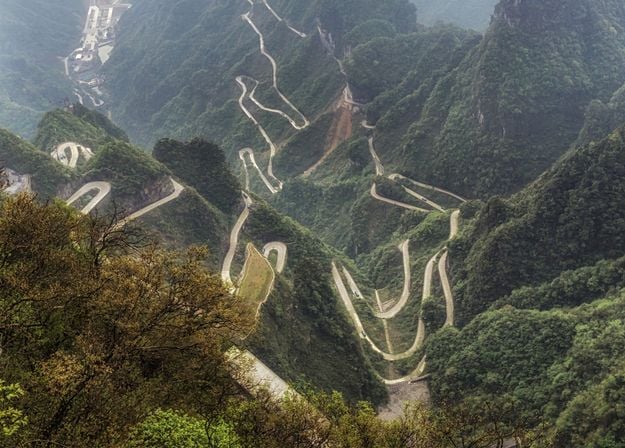
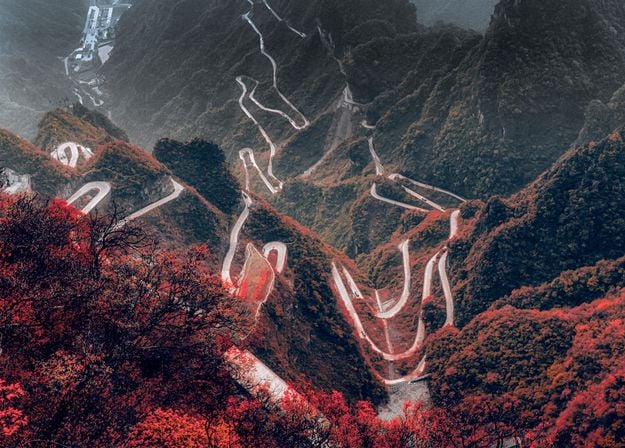
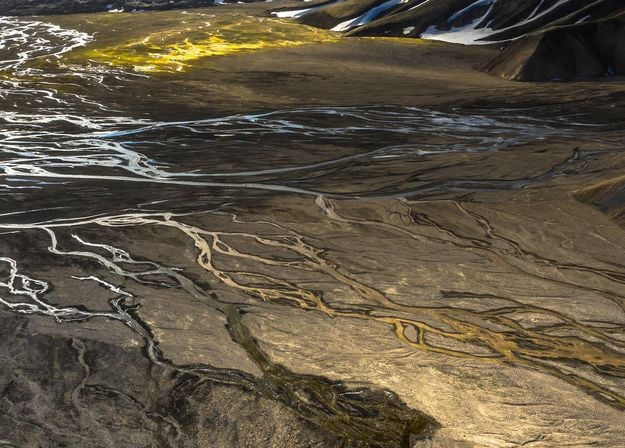
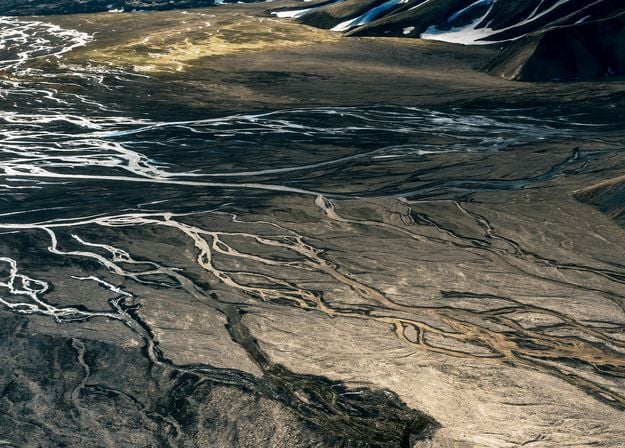


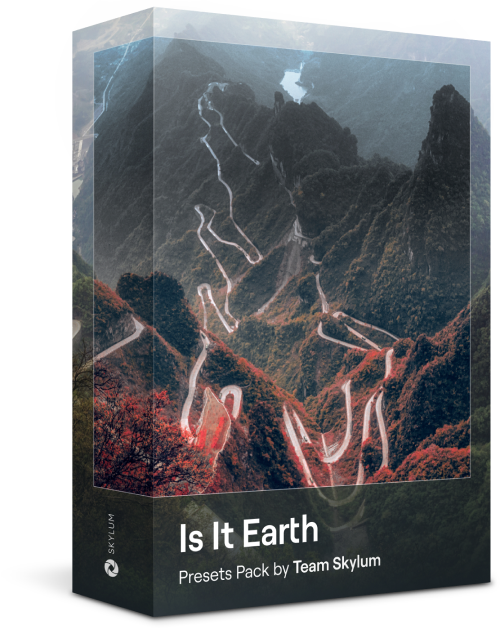
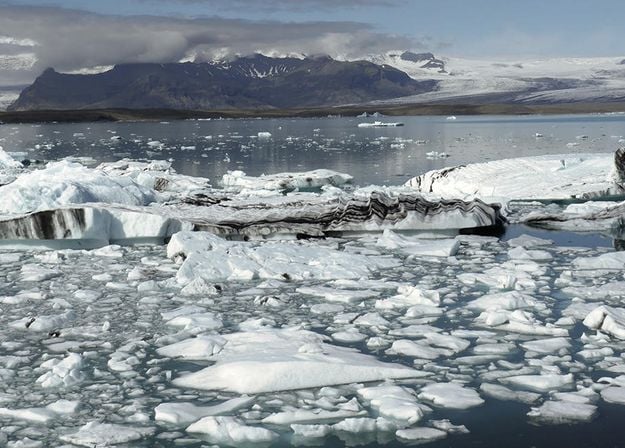
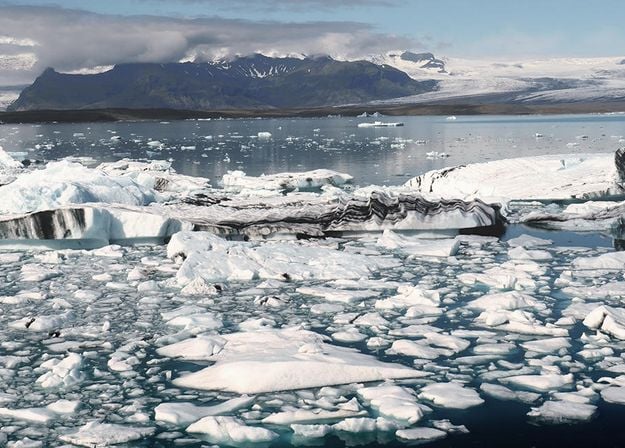
Is het nog steeds de aarde, of bevinden we ons op een buitenaardse planeet? Deze verzameling van 10 buitengewone Voorinstellingen is ontworpen om uw landschapsfoto's een etherisch, buitenaards gevoel te geven. Transformeer gewone landschappen in surrealistische scènes met levendige kleuren die onmiddellijk de aandacht van de kijker trekken.
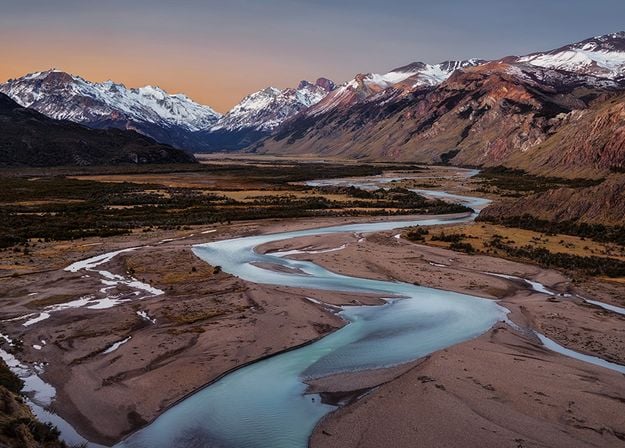
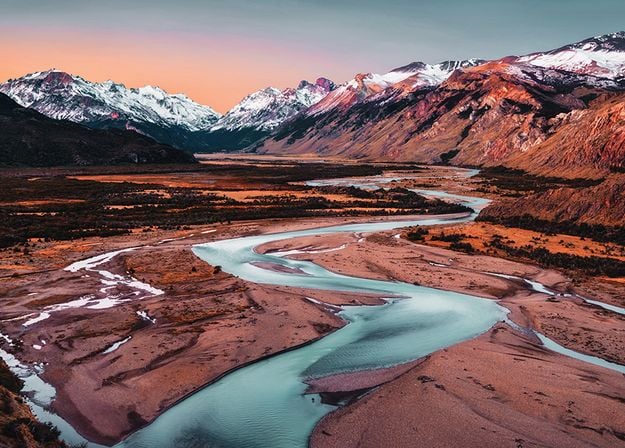
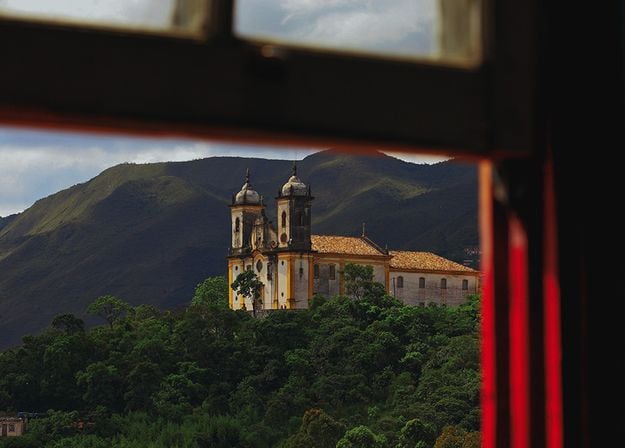
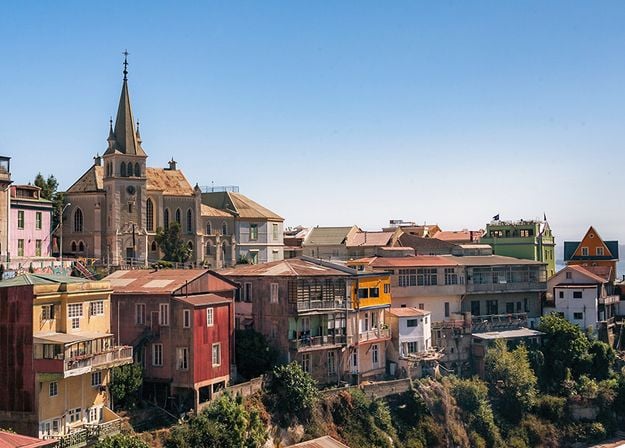
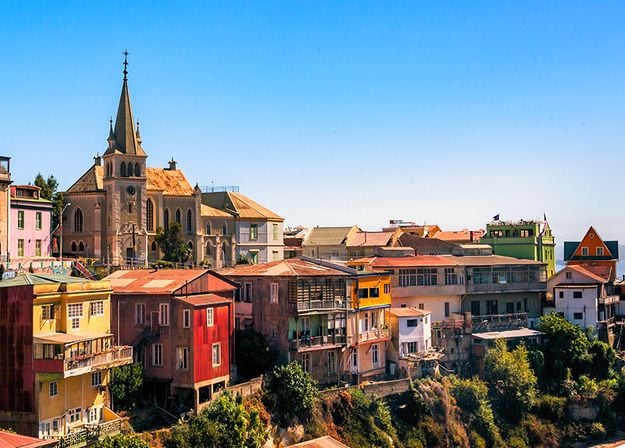
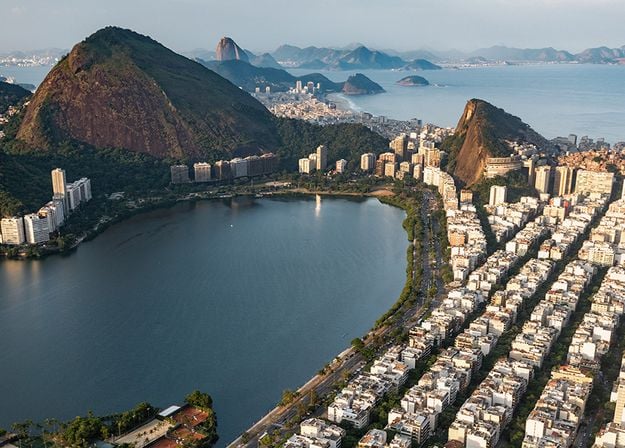
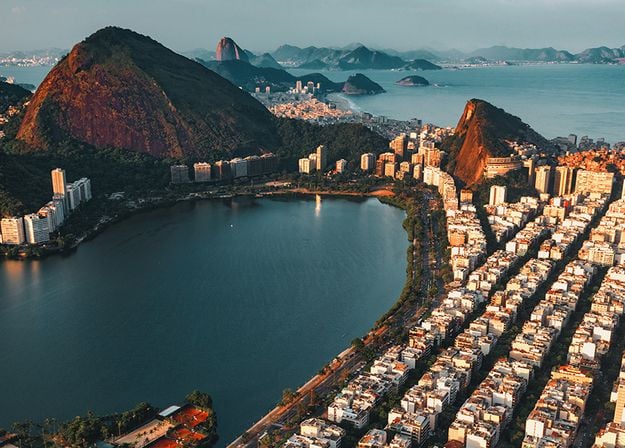
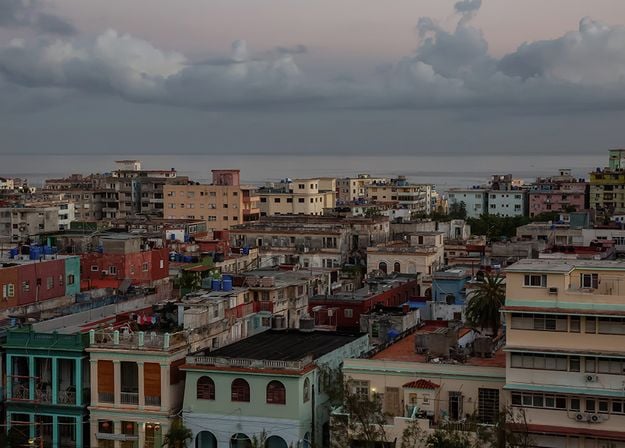
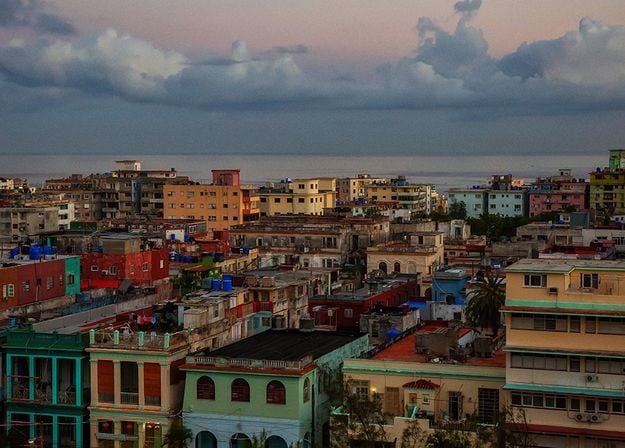


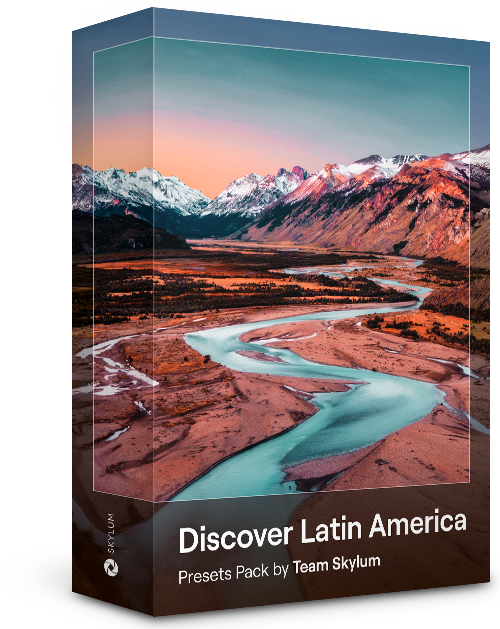
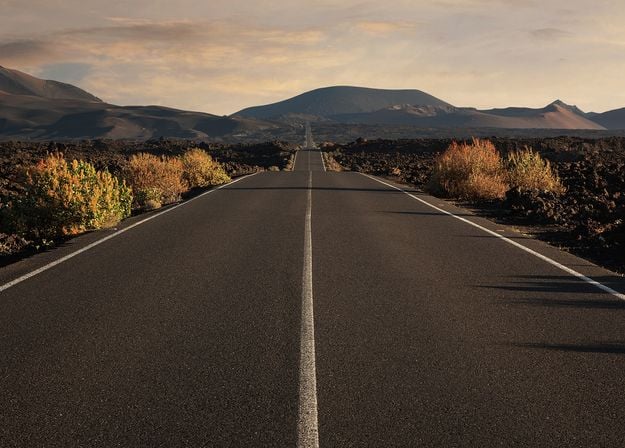
Ervaar het filmische gevoel dat elk van deze 10 Voorinstellingen aan uw foto's toevoegt terwijl u door de landen van Latijns-Amerika reist. Omarm de schoonheid en voeg wat flair toe aan uw foto's met deze reisvriendelijke collectie, ontworpen voor landschappen.

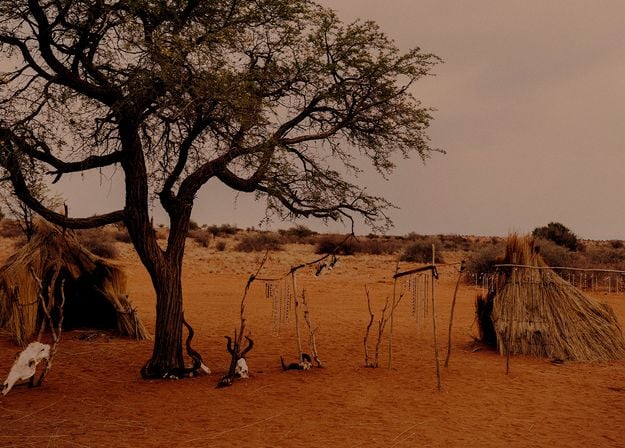

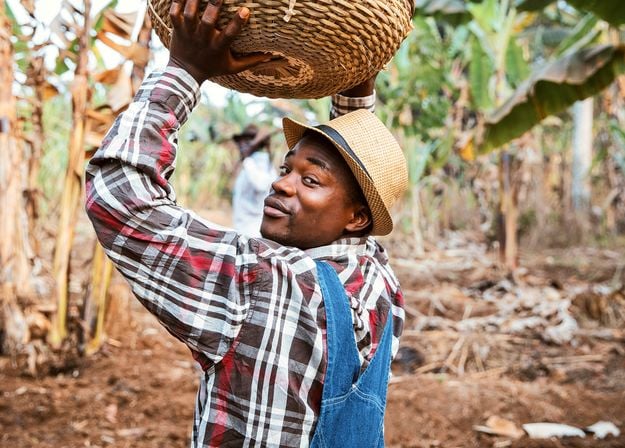
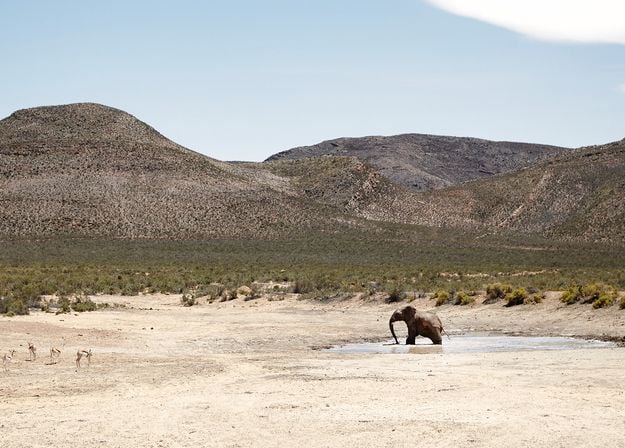
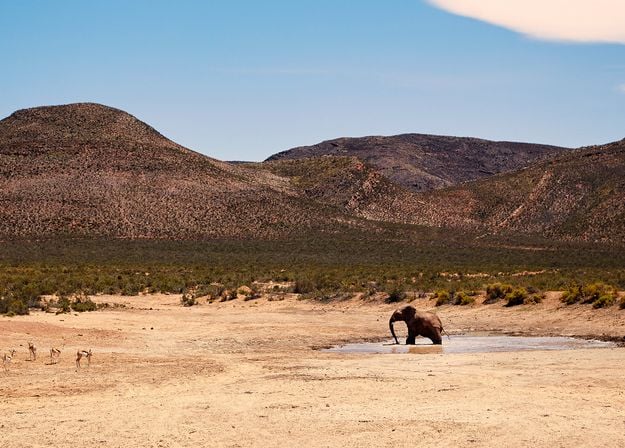


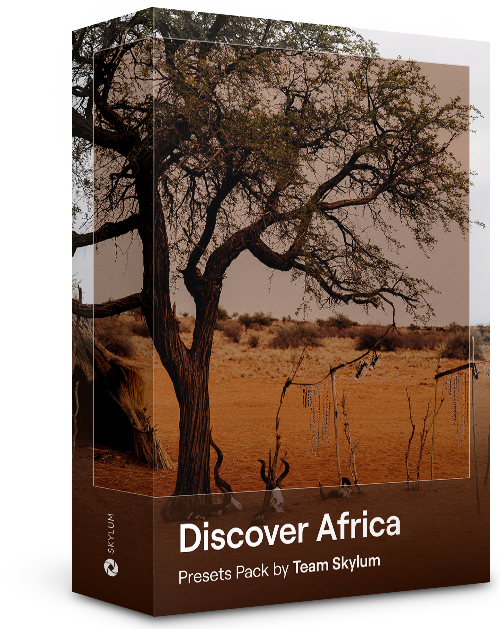
Dit pakket is gewijd aan het prachtige continent Afrika en combineert een verscheidenheid aan Voorinstellingen, zowel voor portret- als landschapsfoto's. Verbeter oriëntatiepunten, safarifoto's, architectuurfoto's en portretten van mensen die u ontmoet tijdens uw reizen door Afrika.
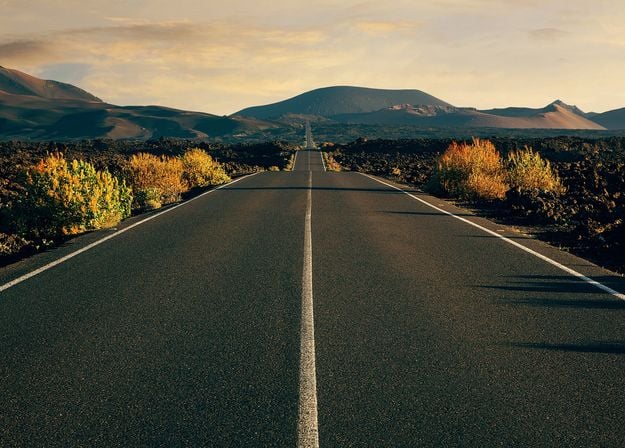
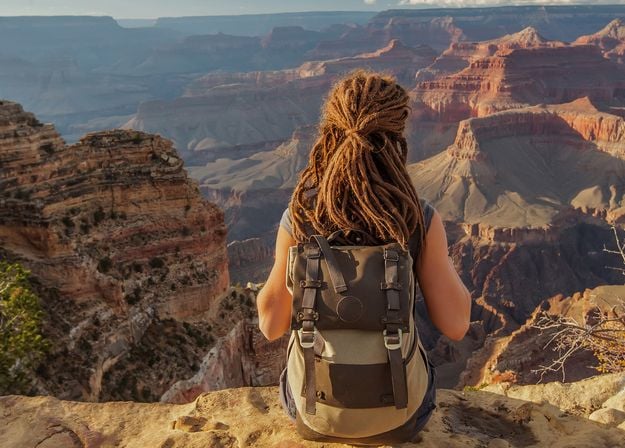


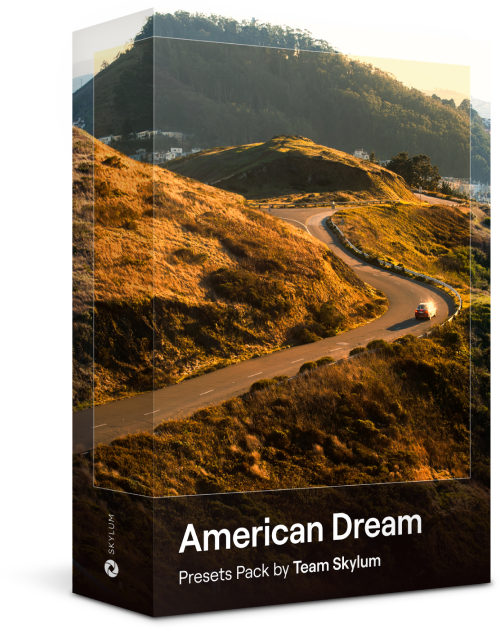
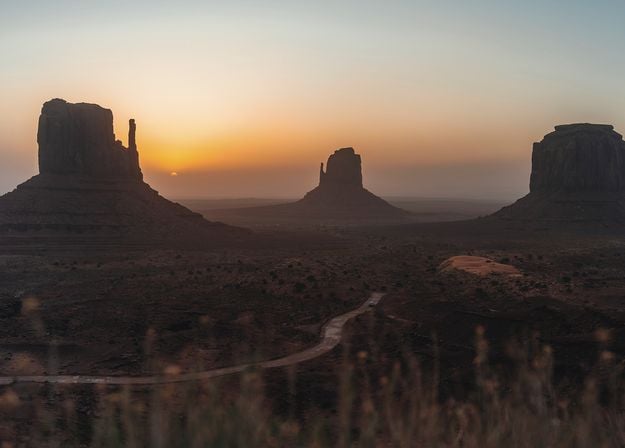
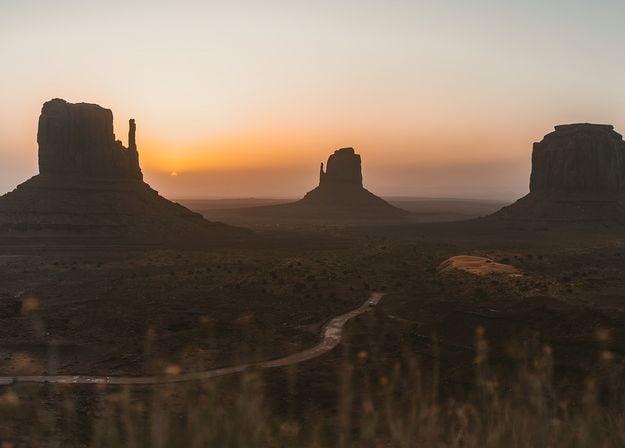
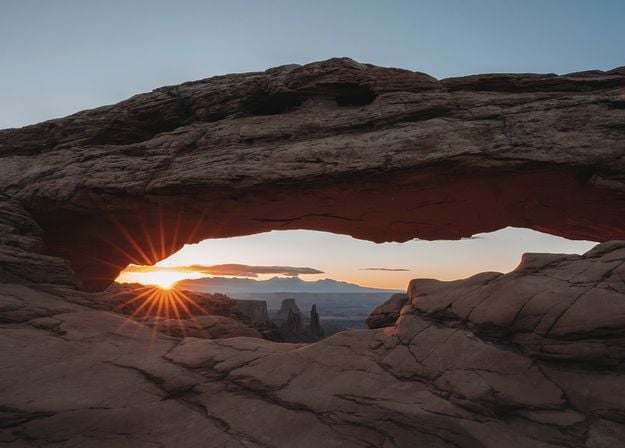
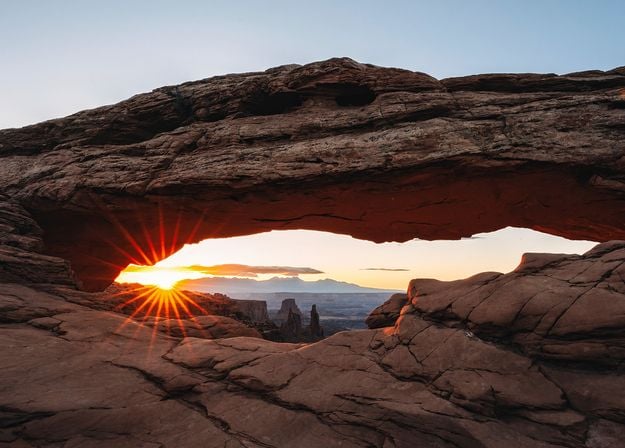
Maak fantastische foto's tijdens uw reizen door de VS. Verbeter afbeeldingen van oriëntatiepunten, nationale parken en algemene stadsgezichten van beroemde steden. Bereik verschillende verbluffende effecten met een paar klikken van deze 10 prachtige Voorinstellingen.


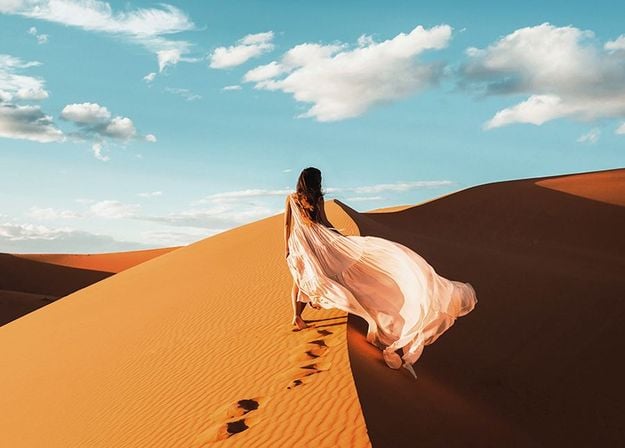
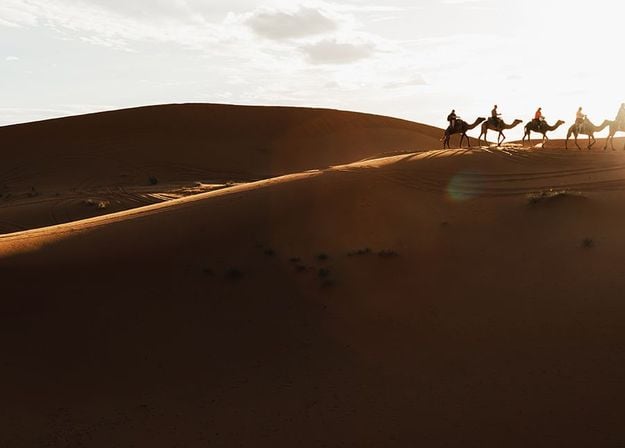
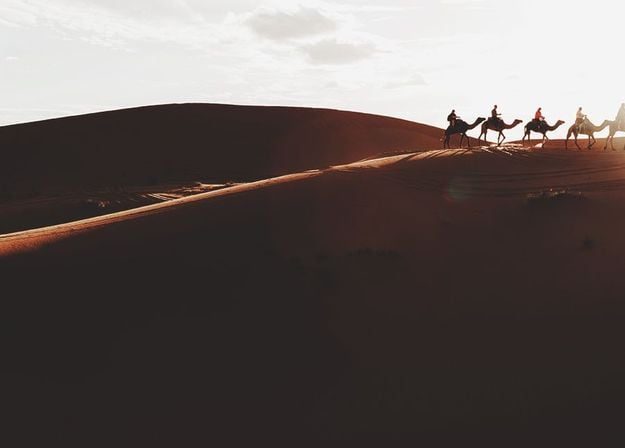


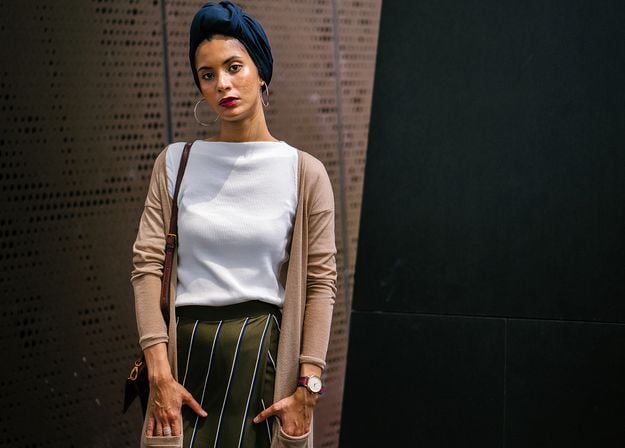
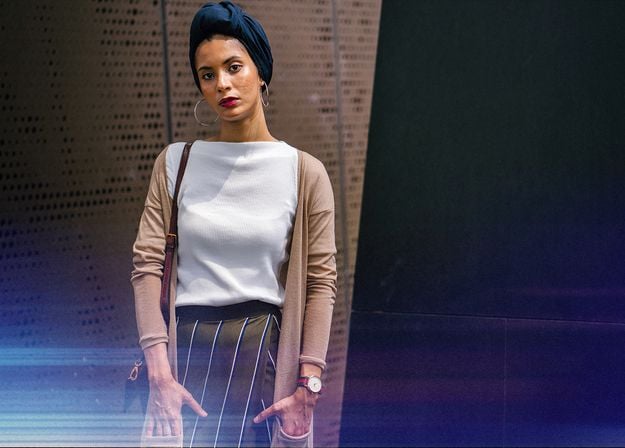
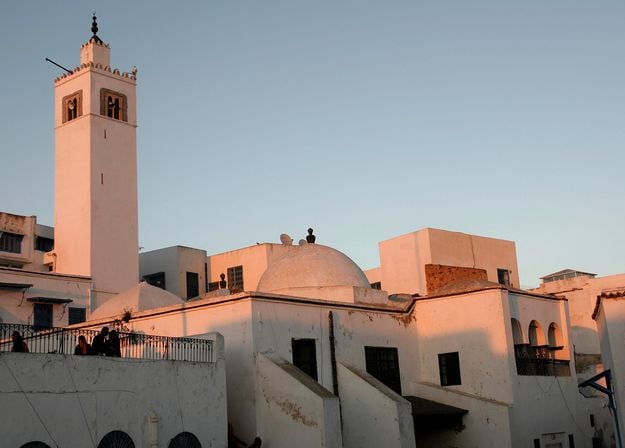
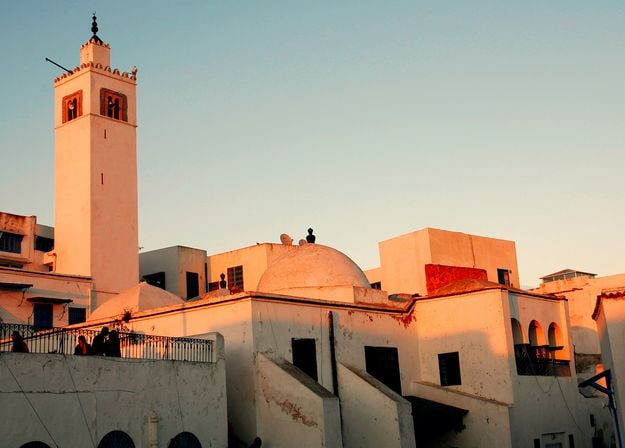
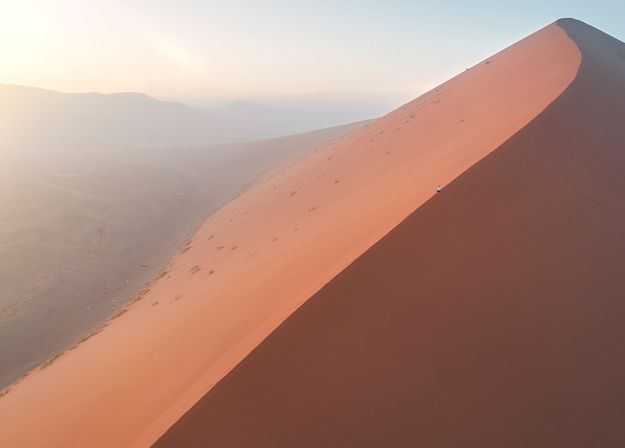
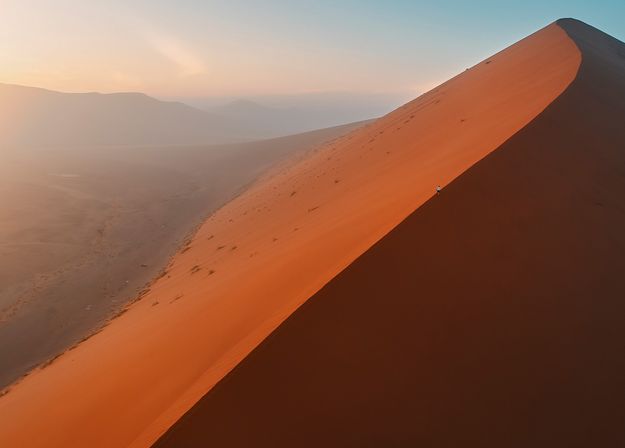
Deze verleidelijke verzameling van 10 Voorinstellingen is ontworpen om de mysterieuze schoonheid van landschappen, architectuur, straatstijl en natuur uit het Midden-Oosten naar voren te brengen. Warme tinten, diepgeel of blauw en goud: u zult zeker een Voorinstelling vinden die perfect is voor uw foto.
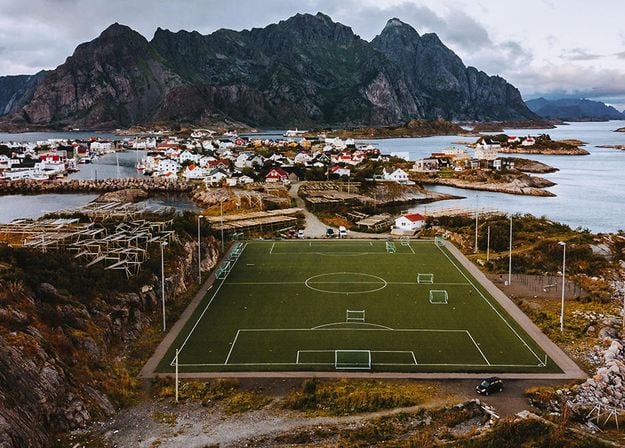
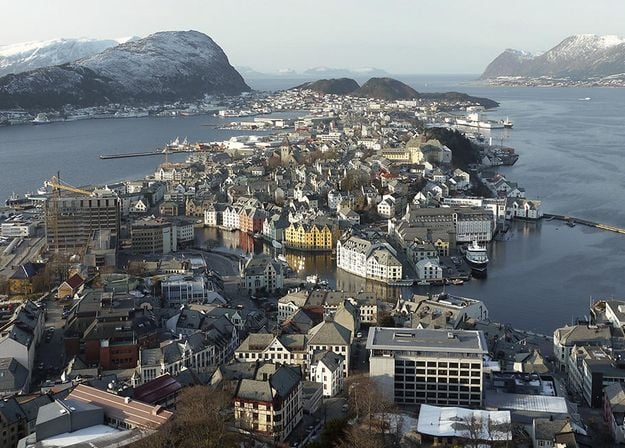
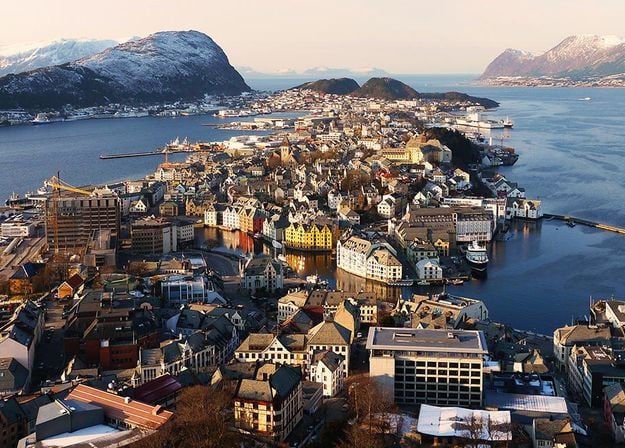
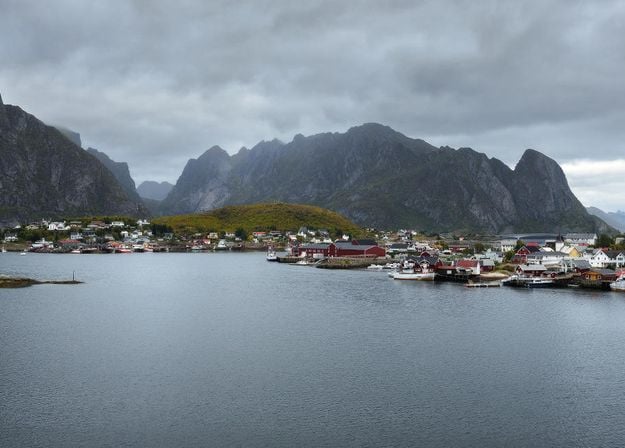
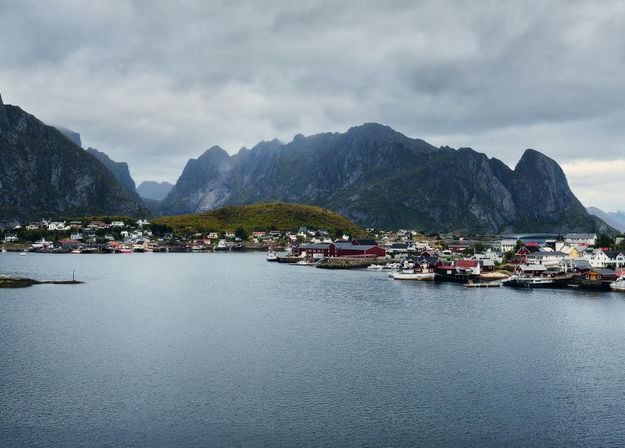
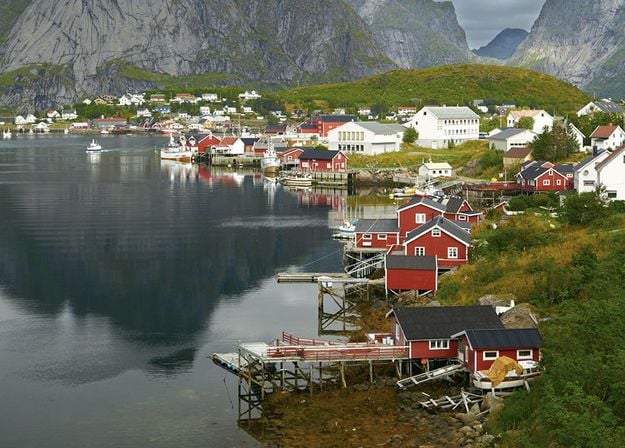


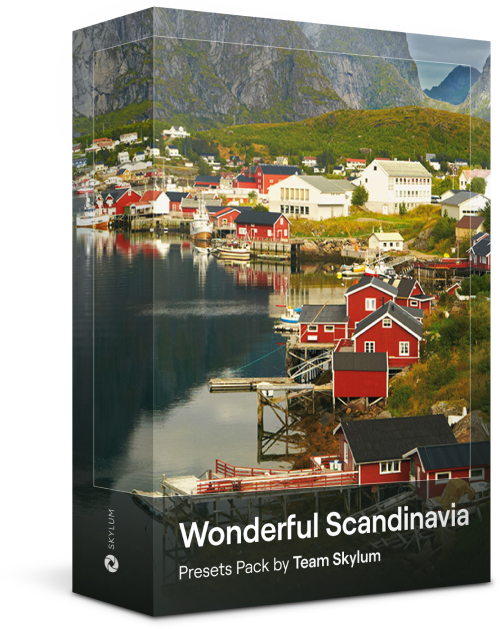
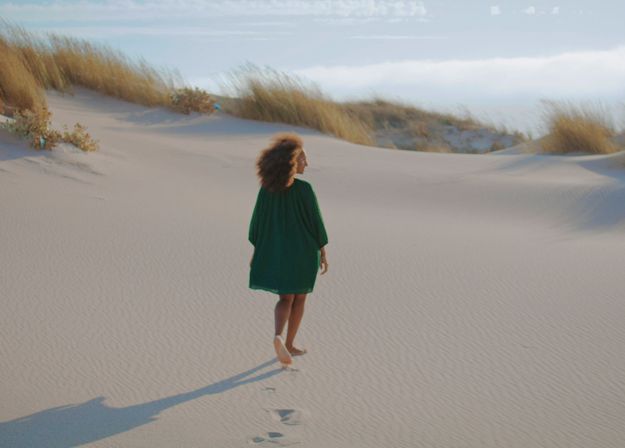
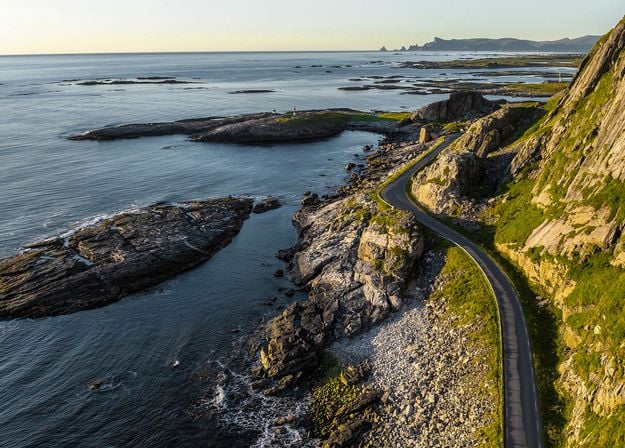
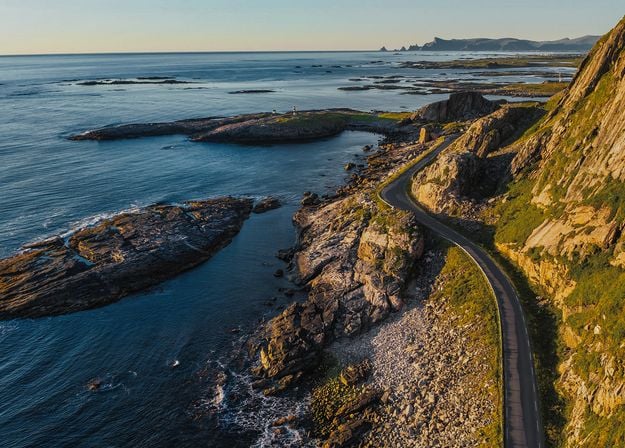
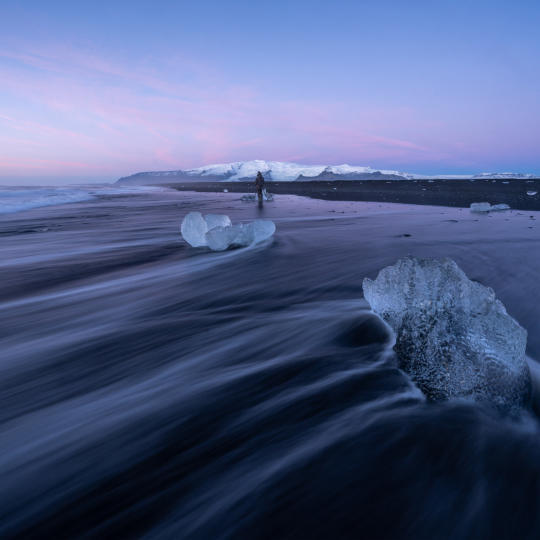
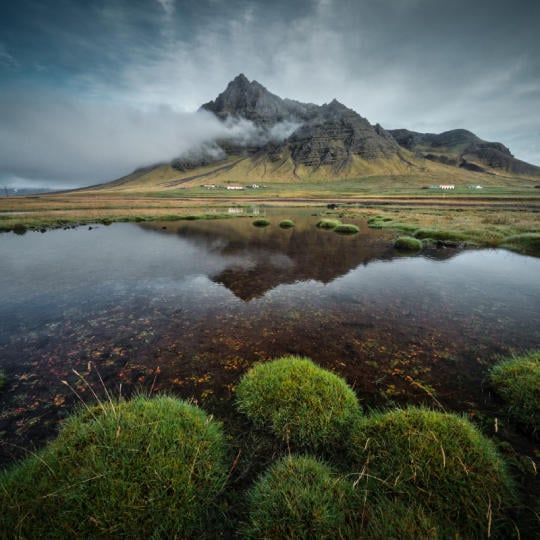
Ontdek deze prachtige verzameling van 10 veelzijdige Voorinstellingen die perfect zijn voor uw reisfoto's uit Scandinavische landen. Leg idyllische landschappen, natuurwonderen en gezellige architectuurfoto's vast die de Scandinavische sfeer ademen. Tijd om uw reistas in te pakken!
Luminar Neo video cursus
Creative Photo Editing Techniques in Luminar Neo
Inleiding en cursusoverzicht
Albert Dros stelt zichzelf voor en geeft een kort overzicht van wat u leert in deze fotografie en...
Inleiding tot Fotografie
Waar moet u op letten bij het maken van uw foto's om de beste resultaten te krijgen?
Basisbewerking
Albert introduceert de lay-out van Luminar Neo en de basisinstrumenten die u kunt gebruiken om direct geweldige resultaten te bereiken.
Geavanceerd Bewerken
Albert gaat dieper op het onderwerp in en laat u de meer geavanceerde tools in Luminar Neo zien en hoe u ze kunt gebruiken om uw foto's te laten opvallen.
Dramatische Bewerkingen
Wees creatief met uw foto's! Albert bewerkt een foto met creatievere hulpmiddelen om de dramatische aspecten ervan naar voren te brengen en er nieuw leven in te blazen.
Focus Stacking
Luminar Neo heeft Extensies waarmee u nog indrukwekkendere resultaten kunt behalen. In deze video leert u hoe u focus stacking gebruiktt met Luminar Neo's Focus Stacking Extensie.
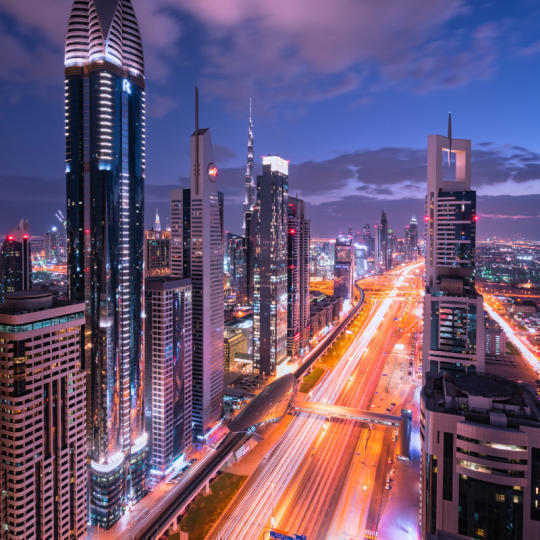
Stadsgezichten
Wat maakt of breekt een stadsfoto? Bekijk hoe u een foto uit Dubai transformeert van gewoon naar indrukwekkend.

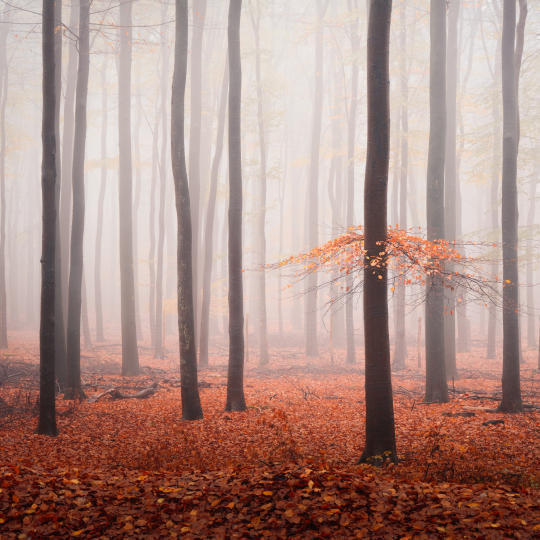
Bossen
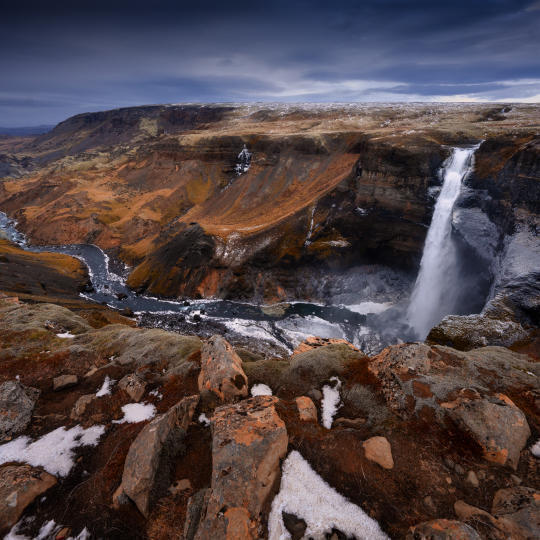
Ontdek welke Luminar Neo-tools Albert gebruikt om zijn indrukwekkende kenmerkende bosfoto's te maken. Hou uw ogen open voor Atmosphere AI, Sunrays en andere tools!
Voorinstellingen
Leer Voorinstellingen gebruiken om snel interessante kleuroplossingen in uw foto's te krijgen. Albert begeleidt u bij het gebruik van Voorinstellingen om nog mooiere bosopnamen te maken.
Samenvatting van de cursus
Krijg een korte samenvatting van alles wat u in deze cursus hebt geleerd. Veel plezier met creëren!
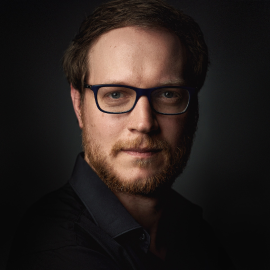
Albert Dros
FOTOGRAAF, SCHRIJVER EN LERAAR
Albert Dros is een Nederlandse landschapsfotograaf met een buitengewone passie voor het plannen en maken van unieke foto's. Vulkanen, zonsverduisteringen en unieke aspecten van de natuur trekken zijn aandacht. Hij gaat niet alleen voor een simpele afbeelding.
"Go big or go home" is his motto, always trying to add some unique element to his shots.
Zijn werk wordt wereldwijd erkend en hij is wereldwijd gepubliceerd in de grootste media.
Albert reist veel als foto-docent maar ook voor persoonlijke projecten. Maar zelfs in Nederland kan hij niet stoppen met fotograferen. Zijn inspiratie stopt nooit.
Dankzij de geavanceerde AI Verbeteren-technologieën beschikt u over meer dan een dozijn intelligente bedieningselementen die in harmonie samenwerken om de kwaliteit van uw foto aanzienlijk te verbeteren, waardoor deze er op zijn best uitziet met Luminar Neo.
Zeker weten! Enhance AI is super eenvoudig en intuïtief. Verschuif gewoon de schuifregelaar en zie de magie gebeuren. Of je nu een doorgewinterde pro bent of net begint, samen tillen we je foto's naar een hoger niveau met de AI Beeldverbeteraar!
Klopt! Verbeteren AI in Luminar Neo is speciaal ontworpen om intuïtief en gebruiksvriendelijk te zijn. Met slechts één schuifregelaar analyseert het je foto en past het slim de toon, kleur, contrast en details aan—zodat je zichtbaar betere beelden krijgt zonder dat je geavanceerde bewerkingsskills nodig hebt.
Accent AI gebruikt een hele reeks slimme aanpassingen om je foto er natuurlijk mooi uit te laten zien – met slechts één simpele schuifregelaar. Deze beeldverbeteraar vervangt traditionele instellingen zoals schaduwen, hooglichten, contrast en meer, en zorgt meteen voor een zichtbaar betere foto.
Verbeteren AI is onderdeel van Luminar Neo, dat je zowel als zelfstandige app kunt gebruiken als als plugin voor populaire bewerkingsprogramma’s zoals Adobe Photoshop en Lightroom. Zo kies je zelf of je Luminar Neo los gebruikt of het moeiteloos integreert in je bestaande workflow.
Zeker! De beeldverbeteraar is ontworpen voor allerlei soorten foto’s – van portretten tot landschappen – en haalt met één schuif beweging meer detail, kleur en licht naar boven. Of je nu een subtiele opfrisbeurt wilt of een drastische make-over, Verbeteren AI levert direct resultaat van professionele kwaliteit.
Om Verbeteren AI in Luminar Neo te gebruiken, open je gewoon je foto en schuif je de Verbeteren AI-regelaar naar rechts. De tool analyseert automatisch de inhoud van je beeld en past slim de belichting, het contrast, de details en de kleurbalans aan. Met de Accent- en Lucht Verbeteren-subsliders kun je de verbeteringen bovendien fijn afstemmen, zodat je zelf bepaalt hoe subtiel of opvallend het effect is.
Verbeteren AI in Luminar Neo is zonder twijfel een van de beste beeldverbeteraars van dit moment. Het combineert meerdere aanpassingen – zoals tooncorrectie, detailverbetering en kleuroptimalisatie – in één gebruiksvriendelijke tool. Of je nu werkt met landschappen, portretten of alledaagse snapshots, Verbeteren AI levert indrukwekkende resultaten met minimale moeite. Een topkeuze voor zowel beginners als professionals.