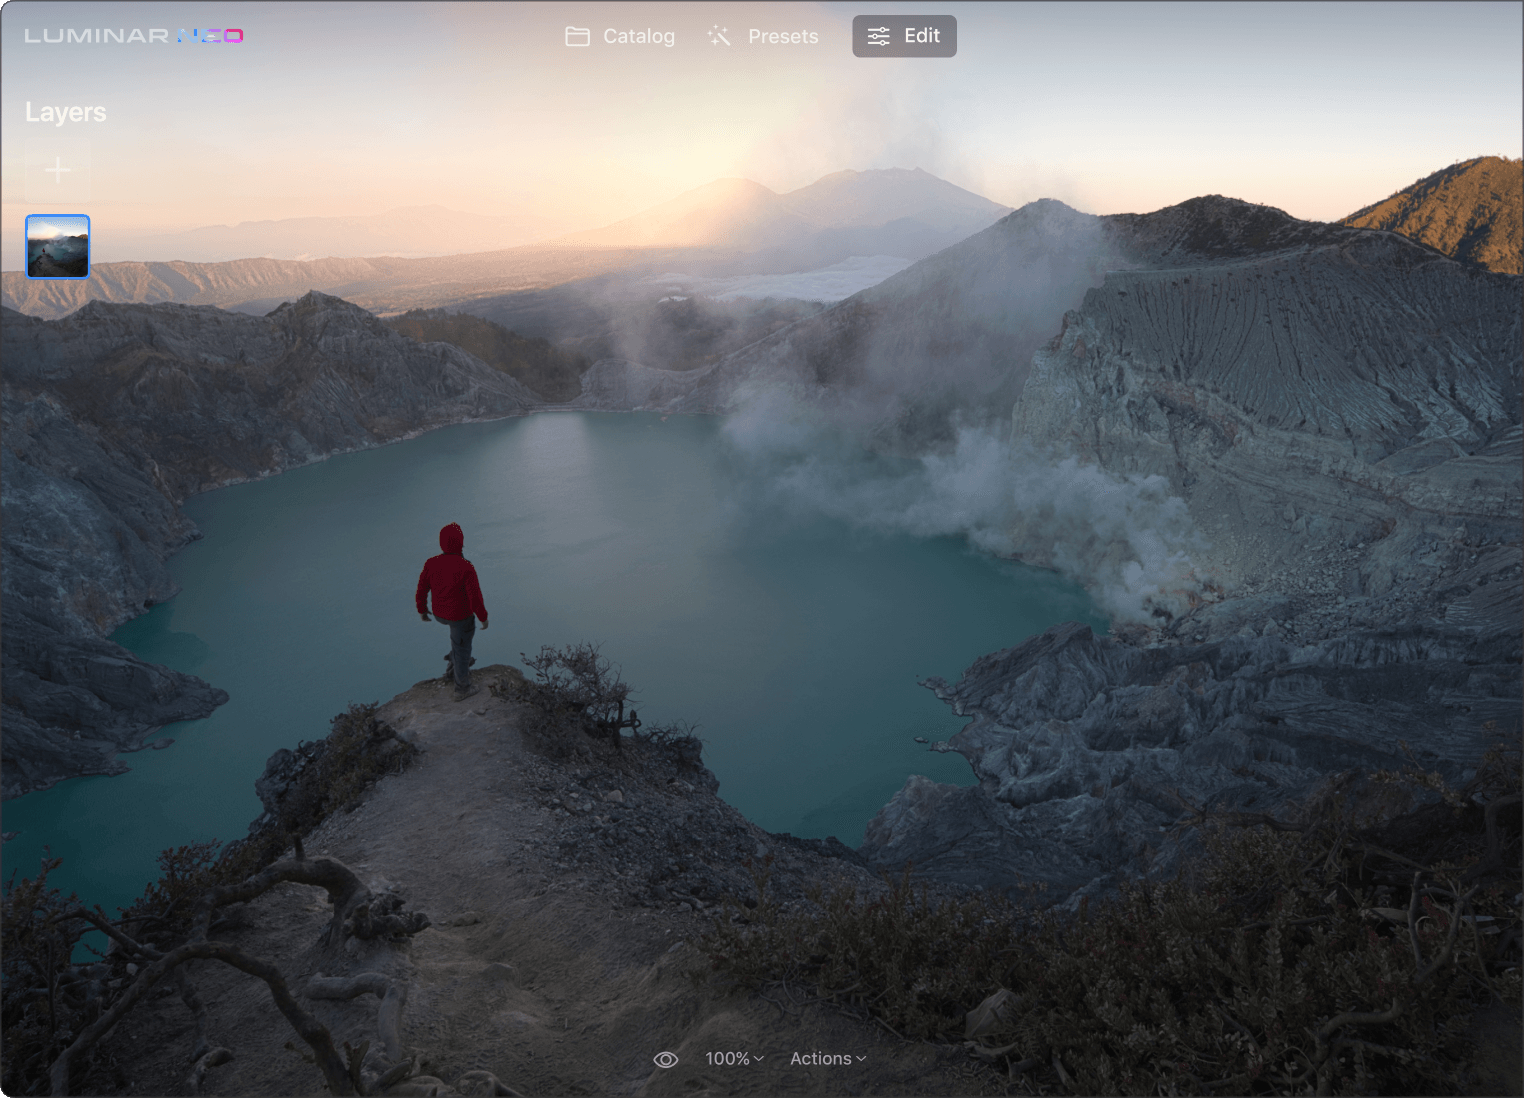
Perfecte contrast
versterker

Verhoog het contrast snel.
Pas highlights, middentonen en schaduwen afzonderlijk aan

pic
Pas highlights, middentonen en schaduwen apart aan met Supercontrast
Pas highlights, middentonen en schaduwen apart aan met Supercontrast(2)

Bekijk Supercontrast in actie

Pas eenvoudig contrastaanpassingen toe met de kracht van AI

Before After
© Sherwin Magsino
Before After
© Sherwin Magsino
Before After
© Jabi Sanz

Waarom heeft u een contrasttool nodig?

Maak uw foto's levendiger

Het aanpassen van het contrast is een geweldige manier om uw foto's te laten opvallen zonder extra foto-effecten.

Before After
© Sherwin Magsino

Corrigeer eenvoudig het contrast

Gebruik de schuifregelaars Highlights, Middentonen en Schaduwen om de hoeveelheid contrast in de highlights, middentonen en schaduwen te verfijnen.

Before After
© Sherwin Magsino

Stel de balans in als een pro

Met de drie balansschuifregelaars — Highlightsbalans, Middentonenbalans en Schaduwbalans — kunt u het middelpunt voor elke respectieve zone definiëren

Before After
© Jabi Sanz

Bekijk enkele andere coole Luminar Neo-tools voor fotobewerking

Laat uw creativiteit de vrije loop met kenmerkende AI-tools

Voor Na
© Cuma Cevik
Voor Na
© Maryna Yurlovska
Voor Na
© Thomas Karagiannis
Voor Na
© Javier Pardina

HemelAI

Portret met BokehAI

Opnieuw verlichtenAI

Wissen

HuidAI

6 redenen waarom Luminar Neo de beste fotobewerker voor u is

6 redenen waarom Luminar Neo de beste fotobewerker voor u is

Gemakkelijk te gebruiken

Voor iedereen toegankelijk dankzij een intuïtieve en gebruiksvriendelijke interface.

Gemakkelijk te gebruiken

De kracht van AI

Vervang luchten, verbeter landschappen en portretten, allemaal met AI-aangedreven tools.

De kracht van AI

Bewerkings-hulpmiddelen

Geniet van een breed scala aan tools, waaronder lagen, maskering en lokale aanpassingen.

Bewerkings-hulpmiddelen

Overal verkrijgbaar

Gebruik het op Windows, macOs of als plug-in voor Photoshop en Lightroom.

Overal verkrijgbaar

Veelvormige Voorinstellingen

Bereik snel resultaten op professioneel niveau en een consistent uiterlijk van al uw foto's.

Veelvormige Voorinstellingen

Continue verbetering

Ontvang regelmatig releases van updates en nieuwe functies.

Een applicatie & plug-in.
Voor Windows & MacOS

  • Krachtige afbeeldingseditor
  • 24/7 technische support
  • 30-dagen geld terug garantie
  • Luminar Insiders community
Bekijk Opties

Verbeter uw
Luminar Neo-ervaring

Pro-level Extensies op professioneel niveau bieden u nieuwe creatieve mogelijkheden

Verbeter uwLuminar Neo-ervaring

Magic Light AI

Manipuleer lichtbronnen met Magic Light AI

Magic Light AI

Superscherp AI

Stabilize your сomposition with Supersharp AI

Superscherp AI

Focus Stacking

Houd alles
scherp

Focus Stacking

Upscale AI

Pixel-perfecte
opschaling

Upscale AI

Achtergrond Verwijdering AI

Selecteren. Klikken.
Verwijderen.

Achtergrond Verwijdering AI

Ruisvrij AI

Maak het Ruisvrij.
Behoudt de details.

Ruisvrij AI

HDR-samenvoeging

Onthul ware kleuren

Veel Gestelde Vragen

What are the benefits of editing contrast in photos?

Supercontrast is perfect for precise tonal contrast and accent replacements. Select the tone you want to work on.

How does Supercontrast compare to other contrast enhancement tools?

Six AI controls allow for more definition in the highlights, midtones, and shadows for detailed images.

Can Supercontrast be used in combination with other photo editing techniques?

You can combine Supercontrast with other photo editing tools and techniques. Adjusting the contrast provides a base for your further editing steps. You can apply High Key or Portrait Bokeh to achieve high-quality results.

Does Supercontrast work with all image formats?

The Supercontrast tool in the Luminar Neo photo editor works on standard JPEG and PNG files, as well as on raw format images.

How can I get started with using a photo contrast editor to enhance my photos?

You can find Supercontrast and other powerful tools in Luminar Neo – a standalone app or a plugin for Lightroom and Photoshop.

How can I get started with using a photo contrast editor to enhance my photos?
How can I get started with using a photo contrast editor to enhance my photos?(2)

How to download and activate LuminarAI?

Your download links will be waiting for you in your Skylum account.

NOTE: Your LuminarAI purchase is linked to the billing email address you provided. Use that email to log in to your Skylum Account or, if needed, create a new Skylum Account tied to that email address.

  1. Visit the login page here

  2. If you already have an account, sign in with Google, Facebook, Microsoft, Apple, or your email and password.

  3. If you don’t have an account, you can create it here. Make sure to choose the same email used for the LuminarAI purchase. 

  4. If you have a Skylum account, but purchased LuminarAI using an email address not tied to it, you can merge your accounts into one in the My Software tab > Link my licenses section of your Skylum account. After that, please go to the inbox of your new email address and verify your email.

  5. In your account, you will see a My Software tab with all of your Skylum software, including LuminarAI.

  6. Find the tab with LuminarAI. Download LuminarAI by clicking the Download button. 


With LuminarAI we made the activation process easier and faster for you. There’s no need to remember your license number in order to use LuminarAI. Now you may activate LuminarAI directly from your account.

By default, all our software launches in trial mode when you first open it. When you start LuminarAI, you’ll see a window that prompts you to log in to your Skylum Account. 

To activate LuminarAI:


  • If you already have a Skylum account, sign in with a linked Google, Facebook, Microsoft, or Apple account, or sign in with your email and password.

  • If you don’t have a Skylum account, click Register and create a Skylum Account. You can sign up with a Facebook, Google, Microsoft, or Apple account, or you can sign up using your email and a password. 

  • If you have a Skylum account, but purchased LuminarAI using an email address not tied to it, you can merge your accounts into one in the My Software tab > Link my licenses section of your Skylum account. After that, please go to the inbox of your new email address and verify your email.

  • Congratulations! You’ve activated LuminarAI.

Still don’t see LuminarAI in your account? Our support team will help you with that.

What is LuminarAI?

LuminarAI is an all-new application and plug-in and the first fully AI-powered image editing software in the world.


While Skylum is well-known for building software that taps into artificial intelligence for great results, LuminarAI is entirely different. 


We built LuminarAI with artificial intelligence at its core. Artificial intelligence saves you time and effort. Before, traditional editing software was outdated. It was time-consuming and hard to learn. It required effort and skills to get satisfying results. With LuminarAI, you can create great-looking photos much faster. It’s perfect for anyone, of any skill level. 


While other companies use artificial intelligence as a catchphrase, LuminarAI is packed full of truly smart technology. LuminarAI features many AI tools that allow you to get more done in less time. Innovations like SkyAI, FaceAI, BodyAI, IrisAI, AtmosphereAI and more give your images a memorable style and a competitive edge. Without sacrificing quality, speed or creative options.

What are the system requirements for LuminarAI?

LuminarAI should work on your computer as long as it meets the following minimum system requirements. 


For Mac:

    • MacBook, MacBook Air, MacBook Pro, iMac, iMac Pro, Mac Pro, Mac mini, early 2010 or newer

      • CPU Intel® Core™ i5 or better

        • Memory 8 GB RAM or more (16+ GB RAM is recommended)

          • macOS 10.13.6 or higher. IMPORTANT: macOS 10.12 is not supported.

            • Hard disk 10 GB free space; SSD for best performance

              • Display 1280x768 size or better

              Starting from Update 3, LuminarAI runs natively on the M1 chip.


              For Windows:

                • Windows-based hardware PC with mouse or similar input device

                  • CPU Intel® Core™ i5 or better, AMD Ryzen™ 5 or better

                    • Open GL 3.3 or later compatible Graphics Cards

                      • Memory 8 GB RAM or more (16+ GB RAM is recommended)

                        • Operating System Windows 10 (only 64-bit OS) or higher. IMPORTANT: Windows 7 and Windows 8.1 are not supported.

                          • Hard disk 10 GB free space; SSD for best performance

                            • Display 1280x768 size or better

                            Are third-party plug-ins supported? (including Aurora HDR and Luminar 4)

                            In our other applications, third-party plug-ins are supported and send back the processed image as a new layer. 


                            One of the changes in LuminarAI is the switch from layers to a Local Adjustments tool and smart segmentation of our AI-powered tools. This is why there will be no third-party plugin support in LuminarAI. If you need to merge bracketed photos, we suggest using Aurora HDR in its standalone mode.

                            Can I use LuminarAI as a plug-in?

                            LuminarAI is a universal solution that can function both as a standalone editor and a plug-in.

                            Using LuminarAI as a plug-in, you’ll be able to bring creative and timesaving workflow to your host application. LuminarAI allows you to revolutionize the way you enhance photos but conveniently fits into your current workflow. 


                            LuminarAI can be used as a plug-in or extension for: 


                              • Lightroom Classic (starting from version 6)

                                • Photoshop (from version CS5)

                                  • Photos for macOS


                                  Does LuminarAI handle RAW files?

                                  Of course! LuminarAI RAW processing is based on our own powerful RAW engine. We regularly update our library and make our own improvements to provide perfect support for new cameras. You can check the full list of supported cameras here.

                                  Can I use other skies/textures/objects in LuminarAI?

                                  Yes, you can use your own sky textures and objects in LuminarAI.


                                  SkyAI will work with your own photos if they are in one of the following formats: JPEG, PNG and TIFF. Here are guidelines on preparing skies for best results. Augmented SkyAI will work with your own objects if they are in PNG format with the Alpha channel or JPG format with a fully black background.

                                  How can I get started with using a photo contrast editor to enhance my photos?(10)