October 03
11 min. to read
How To Create A Black And White Background With Luminar Neo
 In most cases, changing the background does not mean changing the surroundings of the main object. The decision of what should or should not be on the shot is usually made by the photographer before the camera clicks. The main question is how to change the image's background color so it won't distract the viewers from the main object in the picture but highlight it for them.
Minimalistic monochrome (black and white) backgrounds are the most popular among modern photographers because they let the vibrant colors of the main objects stand out and immediately catch the eye of the viewer. However, it is not always possible to capture an object on a black-and-white background from scratch. The photographers start looking for options on how to make background black and white, or to be specific, how to make the background black and white and subject in color.
It is when the modern AI-based image editing software enters the game, offering its helping hand to photography enthusiasts in need. The given article contains a comprehensive step-by-step guide on how to change the background color of a picture to make it black and white by means of the profound photo editing tool called Luminar Neo.
Redefine Your Photos with Black and White Filter
Try it Now
6 Easy Steps to Black and White Background with Luminar Neo
Step 1: Import Your Image 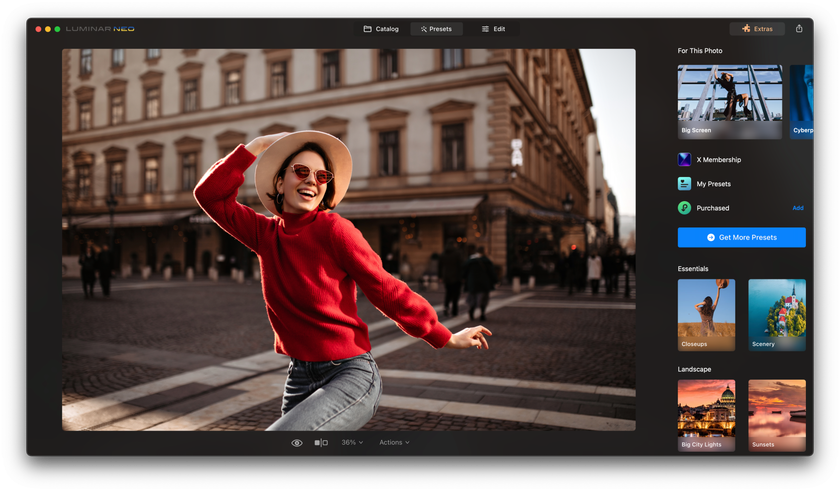

Launch Luminar Neo and import the image you want to work on. To do this, you should:
Click on the "File" menu.
Select "Open" to locate and open your image from your computer.
Once your image is loaded into Luminar Neo, you can move on to the next step.
Step 2: Select the Background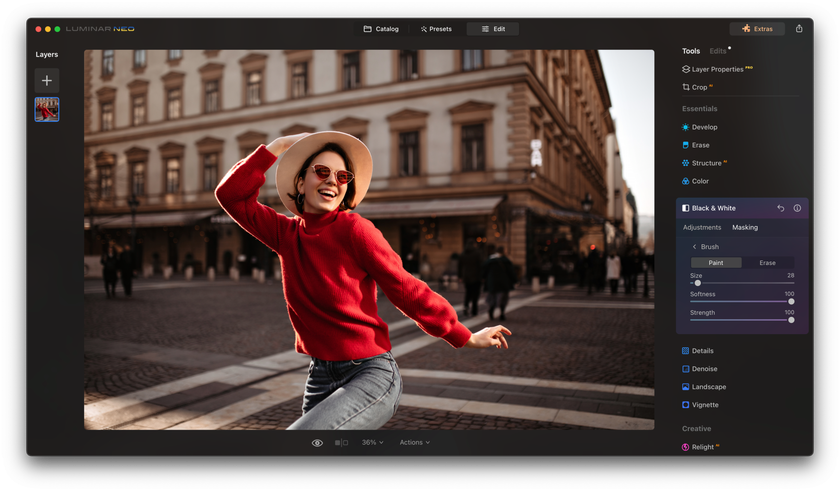

In this step, you will define the area you want to transform into a black-and-white background. Follow the instructions below:
Click on the "Edit" tab in the top toolbar.
Select "Local Masking" to access this software's wide range of masking tools.
Choose the "Brush" tool to start manually selecting the background. Adjust the brush size and hardness to the particular specific details of your picture. Brushes allow you to fine-tune your monochrome image with unparalleled precision.
Paint over the background region carefully. It would help if you did not bother much about accuracy at this stage, as further editing will refine the background.
Step 3: Apply the Black and White Effect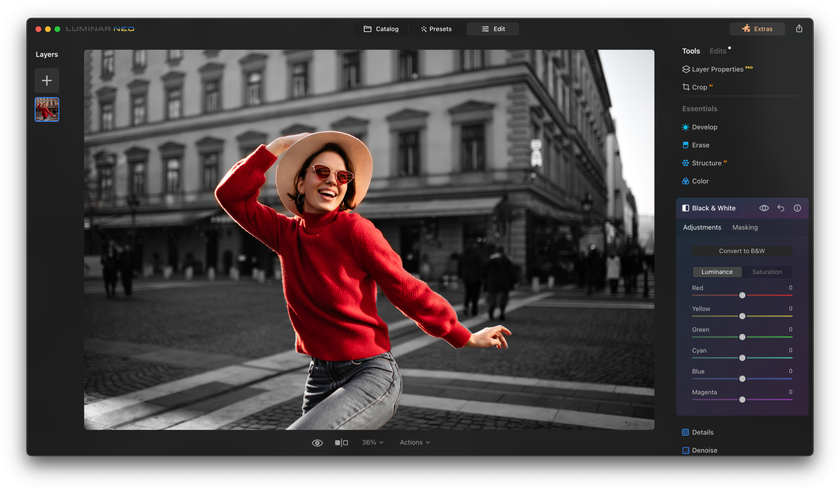

Now that you have isolated the background of your image, it is time to turn it into a captivating black-and-white canvas. Here is how to do it:
With the background still selected, click on the "Edit" tab.
Navigate to "Essentials" and then select "Convert to Black & White."
Instantly, your background transforms into a grayscale masterpiece while your subject retains its original vibrant color palette.
Step 4: Isolate Your Subject and Adjust the Color Settings
In this crucial step, we will ensure that your subject remains the vibrant centerpiece of your image. Use the following instructions:
Go back to the "Local Masking" tool.
Choose the "Brush" tool and adjust your brush settings to focus on your subject.
Carefully paint over your subject to isolate it from the black-and-white background.
To refine the selection, use the "Refine Mask" option to outline the edges of your subject precisely. It ensures a seamless transition between color and monochrome.
Step 5: Fine-Tune the Details and Contrast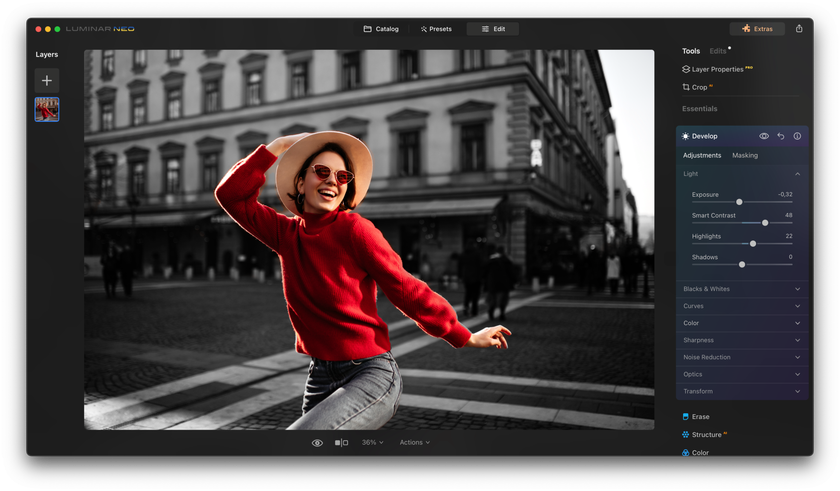

Now that your subject is beautifully preserved in color against a black-and-white backdrop let's enhance the overall impact of your image. It is how you are supposed to do it:
Head to the "Edit" tab once more.
Explore the "Essentials" panel to fine-tune the details and contrast. Adjust sliders like "Structure" and "Contrast" to achieve the desired level of emphasis and drama.
Feel free to experiment with other editing tools within the Luminar Neo software to enhance your image further. We will observe them in the following sections.
Step 6: Save Your Monochrome Masterpiece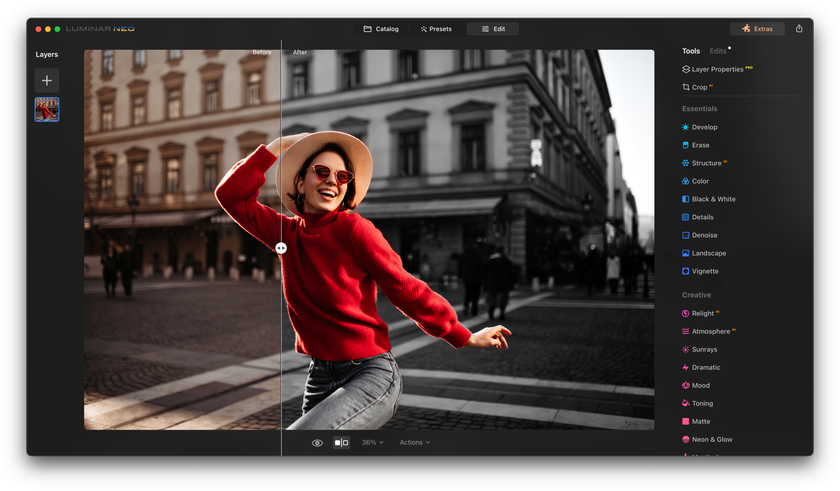

Once satisfied with the transformation, select "Share to" to save your image in your preferred format and resolution.
And that is it. You have a picture with a monochrome background. But it is not all Luminar Neo has to give you. In the following section, we will dive deeper into the additional enhancements that will bring pictures with a black-and-white background to a new level of artistry, and Luminar Neo will help us with it.
A 7-day Free Trial of Luminar Neo with No Obligation
Get it now!
Additional Photo Enhancements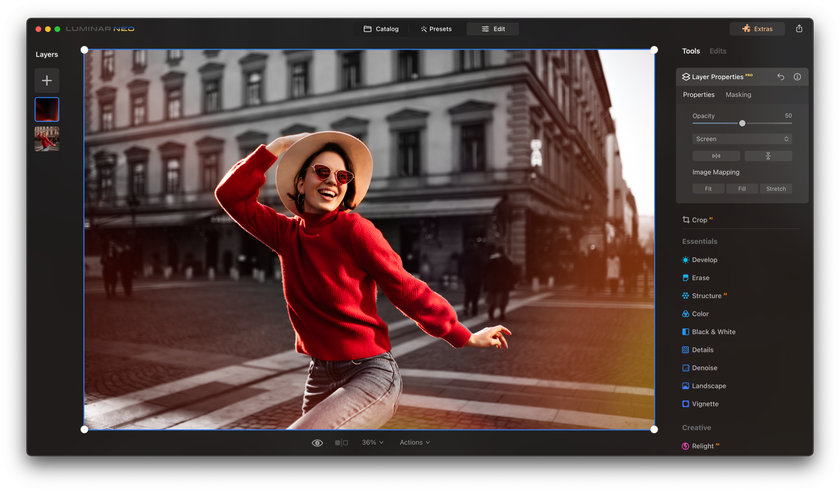

One of the most powerful features of Luminar Neo is its extensive collection of filters on the "Essentials" panel on the "Creative" sub-panel. Experiment with filters like "Mystical" for a dreamy ambiance or "Dramatic" to intensify shadows and highlights. Filters provide an excellent way to infuse mood and atmosphere into your monochrome compositions.
If you click "Texture Overlay" on the same "Creative" sub-panel, you can mess around with the textures of your image. Textures can add a tactile quality to your photographs, making them more engaging to the viewer. They can change the perception of your picture completely.
You can refine the color balance while your subject remains in color to create a captivating visual contrast. Explore the "Advanced" panel on the "Edit" tab and select "Color Harmony." Experiment with different color schemes to enhance your monochrome masterpiece's mood and storytelling aspects. Color grading can evoke specific emotions and add depth to your black-and-white background.
Luminar Neo offers a wide range of presets, instantly transforming your image with a single click on the "Presets" tab. Presets are a quick and efficient way to experiment with different looks and styles for your monochrome photographs.
Should we remember the capabilities of modern editors? Use AI to improve the quality of your photos after changing the background to add naturalness. In addition, with the help of various Luminar AI tools, you can develop your creative potential and always be one step ahead of your colleagues. Feel free to experiment and improve the editing process to make it easier, faster, and more enjoyable.
Advanced yet easy-to-use photo editor
Get Luminar Neo NowBottom Line
As we draw the curtains on this immersive journey into monochrome photography with Luminar Neo, it is obvious that the world of visual storytelling should have its rules but not limits. Armed with the knowledge and skills acquired through this comprehensive tutorial, you can transform your images into captivating works of art that transcend the concepts of time, color, and imagination.
The ability to change the background color of a picture, create mesmerizing black and white backdrops, and keep your subjects vividly colored is a creative superpower that empowers you to tell compelling visual stories. Luminar Neo, with its intuitive interface and powerful tools, serves as your trusted ally in this artistic endeavor.
We began by exploring monochrome photography's significance and its transformative potential. From there, we delved into the intricacies of Luminar Neo, ensuring you were well-acquainted with this exceptional software. We then embarked on a step-by-step journey, guiding you through creating breathtaking monochrome masterpieces with precision and finesse.
In our quest for mastery, we continued at the basics. We delved into advanced techniques that allow you to infuse drama, texture, color harmony, and selective edits into your monochrome compositions. Each step was a brushstroke on the canvas of your creative vision, resulting in images that evoke emotions, stories, and sheer awe.
As you continue your journey in monochrome photography, you should not be afraid to push the boundaries of your photographic creativity. Combining your artistic vision and Luminar Neo's powerful capabilities will lead to extraordinary results.
 >
>
