January 17
14 min. to read
How To Use LED Light For Portrait Photography
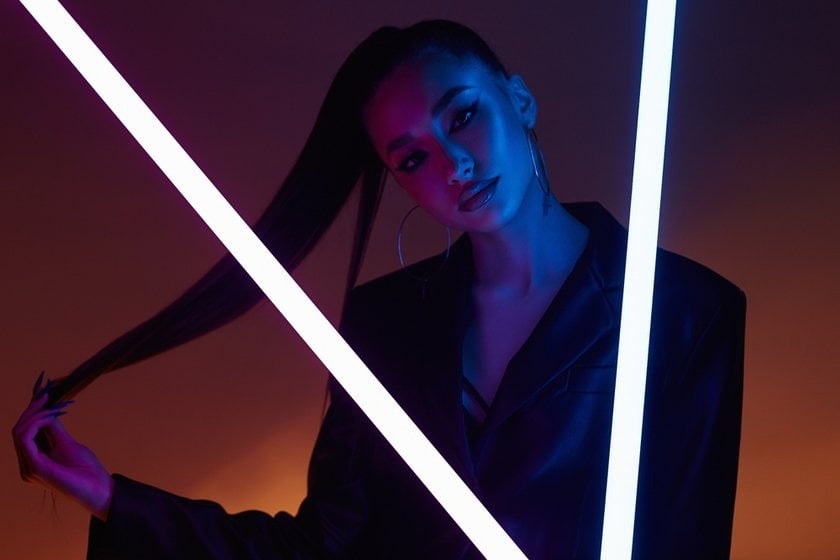
Modern photography is a complex and technological art form. Portrait photography requires even more attention. Professionals use additional tools and special lighting to make a portrait look alive. LED lights are indispensable in creating atmospheric portraits.
Lighting helps to make unique shots or spoil the whole work. Many are familiar with using natural light or flash, but not everyone knows how to use compact LED lamps to create portraits with soul.
Buying and switching on a lamp is not all you need for unique portraits. We'll cover the topic of using LED lights for photography, from installing LEDs to post-processing your photos. Try Luminar Neo’s Studio Light to add colorful lighting to your photos effortlessly.
Understanding the Buzz about LED
Light-emitting diodes are a novelty compared to traditional lighting solutions. Are LED lights good for photography? LEDs are characterized by their versatility. Instead of generating light through heat, they come to life when electricity passes through them, providing a steady glow that can be fine-tuned.
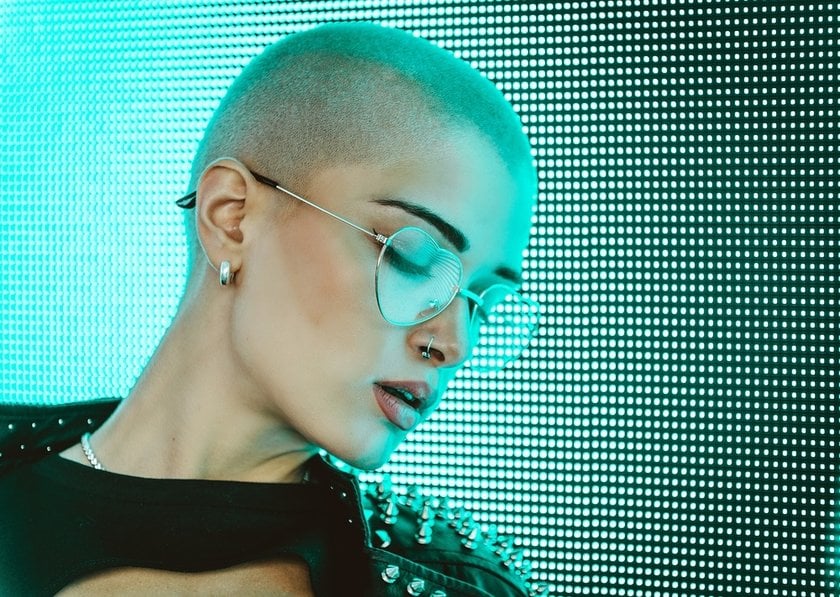
Such lighting is essential for portrait photography. With LEDs, the photographer can convey the mood of the shot simply by switching from bright to subdued light. Their longevity also provides economic benefits and environmental friendliness.
Compared to a flash or tungsten lamp, LEDs are reliable and adaptive. No more harsh flashes or erratic heat — just the right mood for every shot. Indoors or out, LEDs enhance the beauty of portraits.
Old vs New: What’s the Difference
Advances in technology are opening up new perspectives. For example, the rapid transition from film to digital. LEDs may seem unlike traditional tungsten or fluorescent lamps, but their advantages are undeniable:
They are long-lasting. LEDs have a longer lifespan, often exceeding 50,000 hours of use. In contrast, incandescent bulbs typically last 1,000 to 2,000 hours, and compact fluorescent bulbs can last up to 10,000 hours.
Flexible in customization. LED lights for still photography are available in a wide range of color temperatures, allowing you to create the right mood without using gels — thin sheets traditionally placed in front of lamps to change their color.
The change from traditional lamps to LEDs in photography has numerous advantages, stressing the changes and the development of the light source technology.
Setting the Stage with LED Lights
Imagine you are creating a mesmerizing portrait and your main tool is LED lights. How do you properly utilize all the possibilities of the equipment?
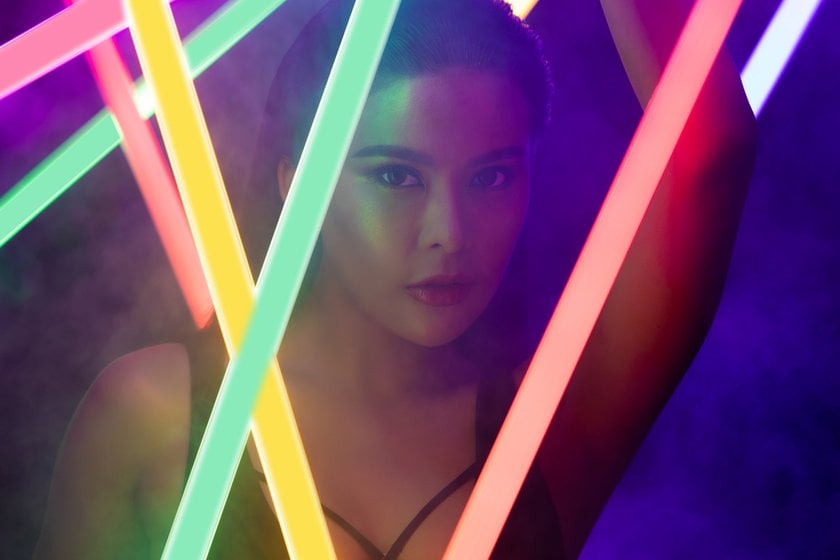
Aside from the functional aspects, LED lights open up room for creativity. Many LED panels come with adjustable color temperatures. Some can even operate in RGB mode. This makes it easy to mimic a sunset or a cool moonlit night.
The compact form factor allows you to experiment with the placement of the lights — backlighting, side lighting, or even embedding them in a frame for a unique look. For instance, LED light stick photography is a high-quality, affordable, professional lighting that serves as the main and supplementary lighting source. It is suitable for creating an artistic effect, highlighting backgrounds or shadows. Its unique shape allows it to be used in various hard-to-reach places, such as the interior of a car.
Stable brightness and variable intensity of LEDs provide a wide range of opportunities to play with shadows, allowing you to create contrasts and transitions, thereby setting the mood of the image.
LEDs are more than just a light source. They are tools that can redefine the art of portrait photography. Read on to learn how to apply various techniques and modifications in portrait photography.
Techniques for Positioning and Modifying LED Lights
When you use LED lighting during photography, its positioning is key. The positioning of the lighting equipment determines whether the work will be of high quality.
To learn how to position lights and read diagrams, you need to understand the different types of light. There are three main ones: drawing, filling, and backlight.
Drawing light is the main source that illuminates the subject.
Fill light emphasizes the shadows that the main light can cast.
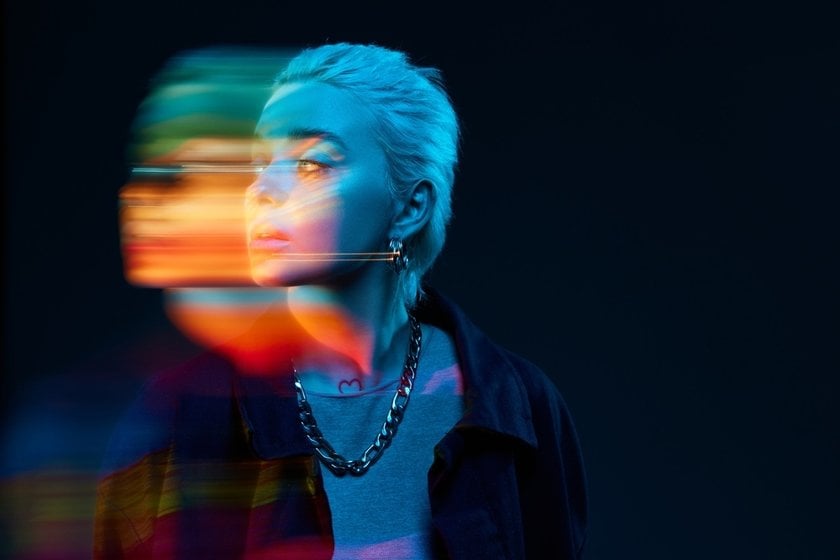
Finally, a backlight source illuminates the subject from behind, often creating a halo effect or separating the subject from the background.
In combination, these sources give depth and volume to a portrait. But it's not just the LEDs themselves. It's how you use them. The direction and angle at which they fall on the subject can dramatically change the mood and subject of the photo. Light falling from above can add drama to a photograph, while light from the side emphasizes texture and detail.
As you learn how to set up LED lights in photography, understanding the basics will allow you to change and adapt your lighting to achieve the desired effects. Every photograph is a canvas, and LEDs are your tools.
Using Modifiers with LED Lights
When using LED lights in photography, the light can be controlled to a certain tone that you want in the picture. That is where modifiers come into play.
Imagine you have a torch. If you shine it directly on something, it will be bright and intense. However, if you place something like cloth or paper in front of it the light will spread out and become more diffused. That's exactly what modifiers for LED bulbs do.
Popular Modifiers in Photography
Softbox. Represents equipment for adjusting, and softening the light emitted by LEDs, creating a soft and even light, beautifully enveloping the subject.
Diffuser. Acts similarly to softboxes but is more transparent. When placed in front of an LED lamp, it diffuses the light, creating a more ethereal and dreamy look.
Reflector. Unlike softboxes and diffusers that transform light, reflectors redirect light. They are used to reflect light away from the main source, filling in shadows and providing even illumination. If light is dominant in one direction, a reflector can be placed on the opposite side to balance and enhance the scene.
Depending on the desired result, you can soften or direct the LED. The softbox, diffuser, and reflector provide all the options to accomplish any task.
Find out more: Mastering Portrait Lighting Techniques
Adjusting LED Color Temperature for Mood and Atmosphere
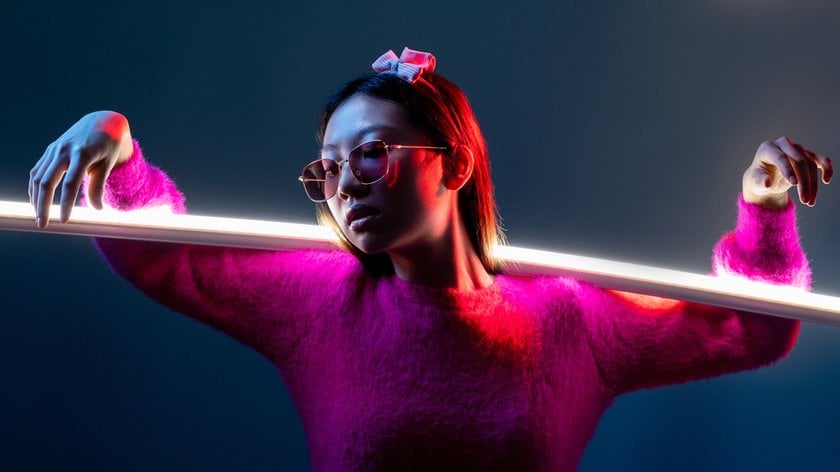
Photographers use LED lights; the color temperature setting sets the mood. Imagine a scale from the warm, cozy light of candlelight to the cool, bluish hue of an overcast day. This is the color temperature spectrum. By adjusting it, you can give your photo a feeling of warmth and coziness or coolness and remoteness.
Today, many LED lights allow you to fine-tune the color temperature. With adjustable panels, you can set the right mood quite easily. For golden sunlight, you need to increase the warmth. To create moonlight or overcast light, you need a bluish hue. LED panels provide photographers with a wide field of creativity. With the color temperature settings, it is possible to completely change the original character of portraits, giving each photo a unique mood.
Camera Settings to Complement LED Lighting
When using lighting subtly, you need to get the camera settings right. How to take pictures with LED lights means harmonizing the camera with the lighting. What you need to do:
ISO. This setting determines how sensitive the camera is to light. Because LED lights have constant brightness, you can choose a lower ISO, resulting in clearer photos with less grain or noise.
Shutter speed. Because LEDs provide a constant stream of light, adjust the shutter speed. This means you can choose how long the camera sensor is exposed to the light, resulting in either sharper photos or photos with deliberate motion blur.
Aperture. This determines the size of the opening in the lens, affecting the amount of light that is let through. LEDs adjust the aperture to control the depth of field, determining how much of the image is in sharp focus.
If LED lights are used with other natural or artificial light sources, they must be balanced. This may require changing camera settings or rearranging the lights to ensure even lighting.
An LED light photoshoot is all about balance. Adjusting the lighting and camera settings, shots are produced that will look stunning and convey the right mood and atmosphere. With Luminar Neo, you can get studio lighting in a few clicks.
Post-processing for LED Lit Photos
Taking photos with LEDs is just the beginning. To make the pictures as good as possible, you need to edit them. There are several techniques and tools, among which Aperty stands out for its versatility and simplicity.
Tweak the Bright and Dark
LED-lit photos can have intense highlights or deep shadows. Use the Neon & Glow editing tools to balance them out, ensuring that every detail shines.
Color Fine-Tuning
Sometimes, with LED lighting, colors can appear “off” — too cool or too warm. Adjust the color settings to bring back natural, pleasing tones to the eye.
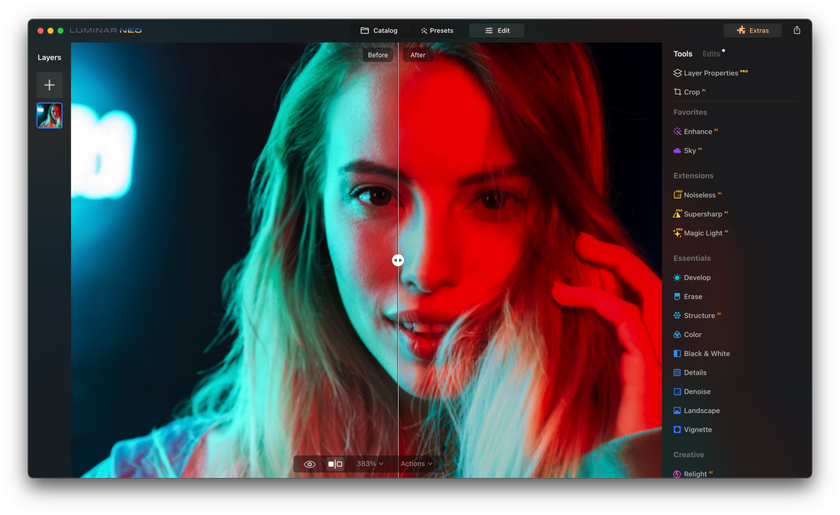
Luminar Neo's Magic Touch
If you have a Luminar Neo, try using Magic Light AI. The tool enhances light sources in your photos, emphasizing elements such as streetlights or car headlights. With controls like Intensity, Size, and Glow, you can quickly adjust lighting effects, including beam width. And masking ensures editing precision. You can make LED-lit portrait photos unique with just a few tweaks and adjustments.
Final thoughts
Light wand photography opens new horizons in the world of modern photography. LED technology provides a uniform and stable stream of light and a wide range of opportunities for creative experimentation, making each photo shoot unique. It is a way to express the photographer's vision, where every stroke of light is turned into an element of composition.
Flexible settings and the ability to integrate different color effects and adapt to specific conditions the freedom to experiment, whether it's portraiture, landscape, or abstract photography. The light wand helps to bring into the frame the image, the emotions, mood, and character of the moment.
![How To Use LED Light For Portraits [Full Guide] | Skylum How-to](http://media.macphun.com/uploads/authors/107/AnastasiyaShtanakova.jpg?w=10&h=10&resize=cover) >
>
![How To Use LED Light For Portraits [Full Guide] | Skylum How-to(2)](https://media.macphun.com/img/uploads/uploads/skylum/blog/macbook-for-promo.png?w=50&q=50)