January 19
13 min. to read
How to Crop an Image in Preview on Mac: Easy Guide
 What is Preview on Mac?
 What is Preview on Mac?
When it comes to photo editing Mac users usually have several options. For example, here is how to use the default Mac photo editor (Photos). Today, we will observe the picture resizing features of a built-in app Apple Macbook users rarely talk about in the context of photo editing. We will learn how to crop photos in Preview.
But before delving into the general information on how to resize an image on Mac and the specific tips on how to crop images in Preview, it’s better to observe what this particular tool is and what it does.
Preview primarily functions as a PDF file and picture viewer. However, it's a versatile tool that offers various editing functionalities; in part, the users can use Mac Preview to crop images. Below, we will show you how to prepare for cropping in Preview.
Crop and Reframe Photos Automatically with AI Assistance
Try AI CropPreparing to Crop Your Image in Preview

Before you crop your image on a Mac using the Preview app, consider a few essential steps. Understanding these will ensure a smoother editing process.
Firstly, ensure you have the photo you want to crop on Apple Preview saved on your Mac. Open the file. Navigate to the toolbar at the top of the window and click on the "Tools" menu icon.
From there, select "Adjust Size" if you want to view the current dimensions of your photo. If you're changing the image size for a specific purpose, decide whether to change the aspect ratio or dimensions. It will help you make more precise adjustments using Preview on your Mac during editing.
Finally, familiarize yourself with the tools available in the app. Consider reading the Preview user guide online, browsing all versions, and finding the one you want. Understanding how to use the cut selection tools and adjust the borders will make your Preview cropping experience more efficient.
Below, we present step-by-step instructions on how to crop your image in Preview.
Step-by-Step Guide: How to Crop in Preview

Here is how to crop images on Mac using Preview in 5 easy steps:
Step 1: Open the File
Launch the app and open the photo you want to work with by double-clicking the image file, using the "File" menu, and choosing "Open."
Step 2: Select the Crop Tool
Click on the "Show Markup Toolbar" button from the top toolbar. Once it's displayed, click the "Crop" button in the toolbar.
Step 3: Adjust the Selection
Click and drag to create a selection box around the portion of the image you want to keep. You can adjust the selection by dragging the edges or corners of the box to encompass the desired content you’re selecting. Flip it if you want.
Step 4: Crop the Image on Preview
Left-click "Crop" and adjust your photo.
Step 5: Save
Navigate to the "File" menu, select "Export," choose the format and location, then click "Save."
Now you know how to crop on Preview. The next step is to learn about some troublesome issues that might occur while using the Preview app on your Mac to crop images. Let’s find out how to crop a photo in Preview and minimize possible negative consequences.
Troubleshooting Common Issues When You Use Mac Preview to Crop Photos

Sometimes, users encounter problems while seeking a way to crop images in Preview. These issues may range from the inability to select certain areas to work with to unexpected changes in image quality. To troubleshoot these problems:
Ensure you use the latest macOS and Preview app version to access all the available features and bug fixes. Contact Apple Support if needed.
After cutting, some users notice unexpected changes in image quality, such as blurriness or pixelation. It may occur if the image resolution or DPI (dots per inch) settings are altered during cutting. To maintain image quality, cut it without changing the resolution or DPI. You can check and adjust these settings by selecting "Tools" > "Adjust Size" and ensuring the dimensions remain consistent.
In some cases, images might display in an unexpected orientation after cropping. If this occurs, choose the tools "Rotate Left" or "Rotate Right" from the Tools menu to adjust the image's orientation.
At times, users accidentally cut more than intended, resulting in the loss of essential content. To avoid this, carefully adjust the crop selection by dragging the corners or edges of the selection box. Use the zoom function to adjust the portion you want to cut precisely.
Preview offers an "Undo" function, but it might be limited, especially after saving changes. If you've cut a photo and wish to revert, use the "Command + Z" keyboard shortcut immediately after the crop. However, once you've saved the changes and closed the file, you may no longer be able to undo the crop. To maintain flexibility, duplicate the picture before cutting to have an original copy to revert to if needed.
Why Choose Luminar Neo for Advanced Photo Editing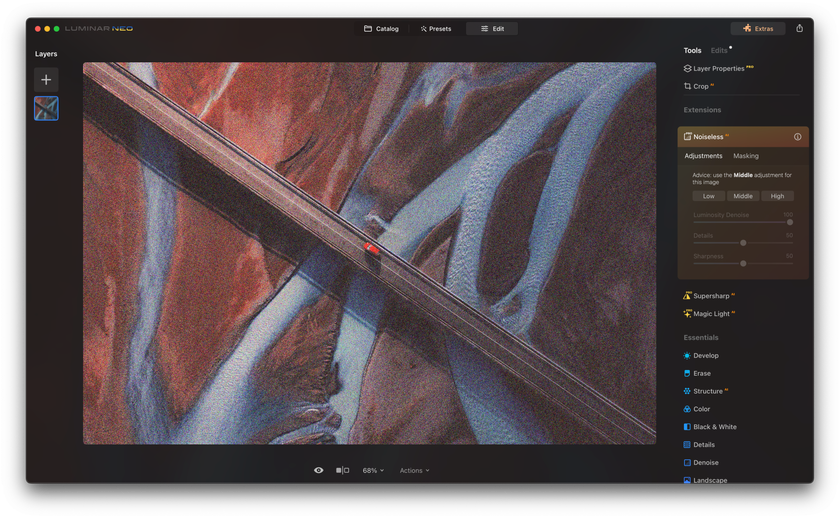

Luminar Neo is a Simple Photo Editor that does not compromise functionality. Its intuitive interface allows users to delve into advanced editing techniques without the complexity of professional-grade software. For MacOS users, this means having a powerful editing tool that seamlessly integrates with the operating system's environment.
Moreover, the Luminar Neo plugin for Photoshop augments the capabilities of Adobe Photoshop by integrating Luminar Neo's unique editing tools. This combination gives users who value Photoshop's functionality an extended range of possibilities by leveraging Luminar Neo's features within their familiar interface.
Luminar Neo's user-friendly approach and integration capabilities with MacOS and Photoshop make it a compelling choice for those seeking a robust yet accessible tool for advanced photo editing.
FAQs On How to Crop on Macbook Preview
How to Crop an Image in Preview on Mac?
Open the photo in Preview by double-clicking the image file.
Click the "Show Markup Toolbar" button.
Click the "Rectangular Selection" button.
Drag to create and adjust the selection box around the desired area.
Click "Crop" in the Tools menu.
Go to "File" > "Export," choose the format and location, then click "Save."
Can I use Preview to Crop Multiple Photos at Once?
Unfortunately, Preview has no feature to batch cut multiple photos simultaneously. Every single image should be cropped individually.
How to Crop Photos on Mac Preview While Maintaining the Aspect Ratio?
Hold down the "Shift" key while dragging the crop selection to lock the aspect ratio. It prevents unwanted distortion and ensures a consistent scale.
What If I Want to Use Preview to Crop Images, but The Program Doesn’t Let Me Do It?
Try opening and saving the image in a different format (e.g., JPEG, PNG) and then attempt to crop it again. Ensure the file on your Macbook is neither locked nor protected. Go to the "Tools" menu, select "Show Inspector," and check the image properties for sealing or permission settings.
Conclusion
In conclusion, mastering the art of cropping images using the Preview app on Mac can significantly enhance your photo editing capabilities. With the step-by-step guide provided, you now understand how to precisely crop pictures to meet your specific needs while utilizing the intuitive tools available in Preview.
However, as with software, troubleshooting common issues can be pivotal to achieving the desired results. By addressing the potential hurdles discussed in this guide, users can navigate through difficulties seamlessly and optimize their editing experience in Preview.
For those seeking more advanced editing options beyond cropping, Luminar Neo emerges as a standout solution. This MacOS-compatible software offers a simple yet powerful editing platform and a dedicated plugin for Photoshop users, expanding the creative horizons for photo enthusiasts and professionals alike.
Combining the insights shared in this guide with the versatility of tools like Luminar Neo, you can elevate your image editing skills, bringing forth visually captivating and refined compositions that showcase your unique artistic vision. Embrace the power of Preview and supplementary tools to unlock the full potential of your photographic endeavors on your Mac.
 >
>
