April 02
12 min. to read
How To Make A Photo Darker For Aesthetic Shots
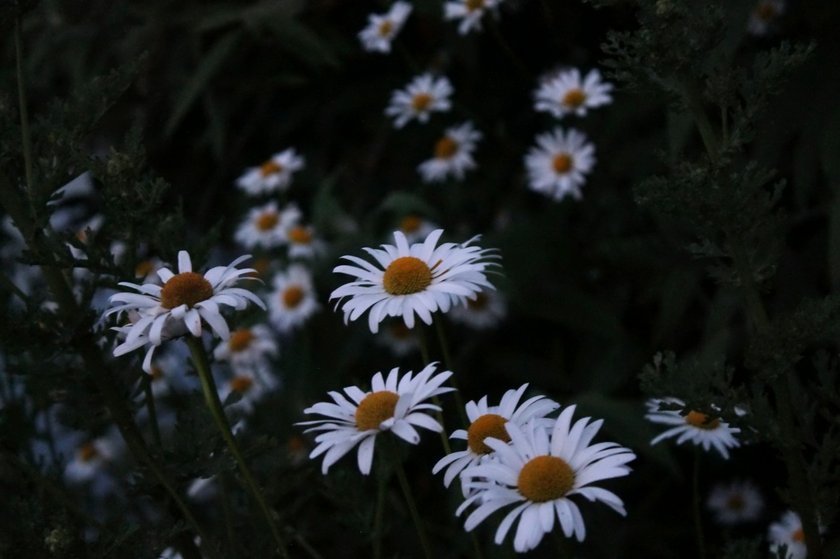 Snap pictures? Cool! But have ever dimmed them down on purpose? That twist can flip a plain pic into a jaw-dropper. Dark pics aren’t just different; they’re a whole vibe, making folks stop and stare.
Whether you’re a newbie clicking away or someone with a bunch of shots under your belt, getting into how to make dark aesthetic photos can really spice things up. We’re about to dive into easy-peasy steps to turn your shots moody and magnetic.
So, gear up your camera, and let’s dive into making your photos pop with a dark twist!
Understanding the Basics of Photo Darkening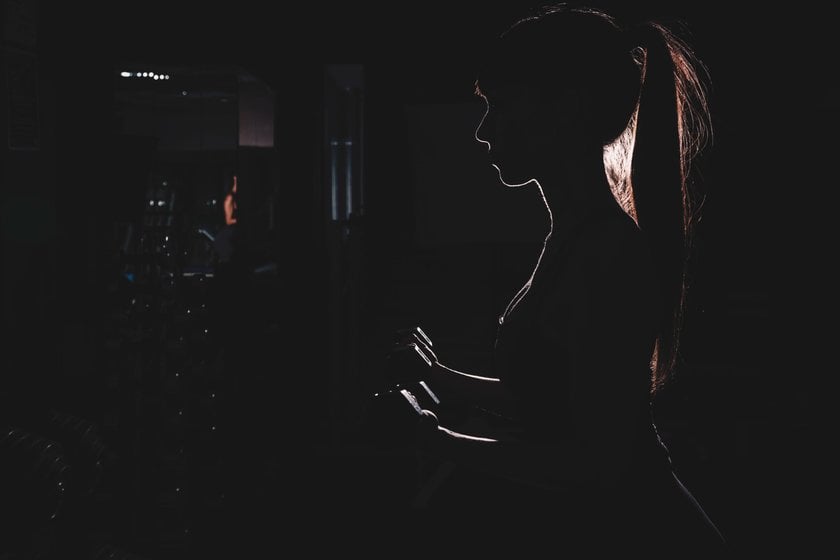

Let's break it down - what's the deal with darkening photos? Imagine taking your picture and turning down the lights, but in a way where everything gets more intense, not just dim. That’s what darkening a photo is all about. It’s about adding a layer of mystery, emotion, or drama!
Now, why would you wanna go dark? Picture this: a photo of an old, empty house during the day might look just fine, but darken that shot, and bam, you’ve got something that pulls you in, making you wonder what’s going on inside. Dark visuals have that power – they make people feel things like curiosity, suspense, or even a bit of spookiness. It’s perfect for when you want to give your pictures a bit of edge or set the mood for your story.
So, when to flick the dark switch on your shots? Anytime you want to dial up the emotion or get folks really looking at your work. Could be a gloomy day, a shadowy corner, or even a bright face with a dark background. It’s all fair game when you’re aiming to make an impact!
Learning how to darken a photo is your ticket to creating shots that stick with people, making them feel something deep down. And that is where the magic happens. Let’s get into how you can start turning the dial down on your pics and watch as they transform into something truly captivating!
Advanced yet easy-to-use photo editor
Get Luminar Neo NowTechniques for Darkening Photos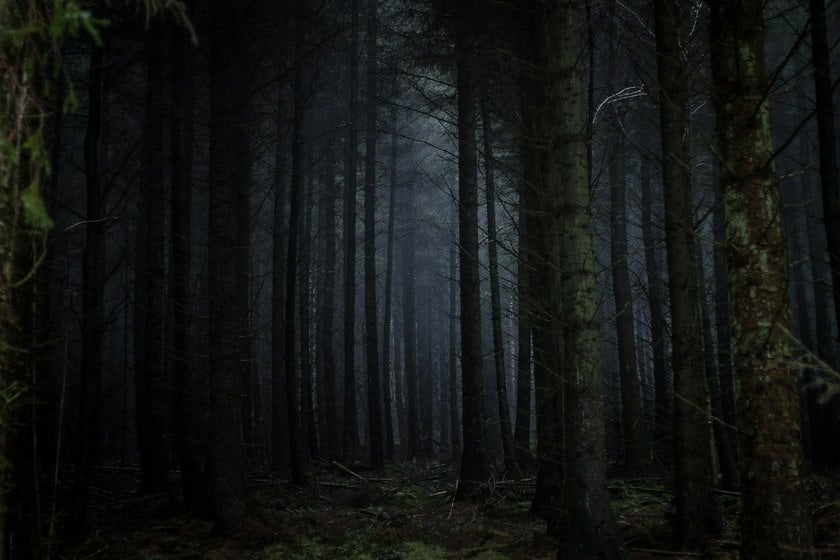

In-Camera Adjustments
Diving deeper with some numbers to guide you through the shadows. Let's get practical with ISO, aperture, and shutter speed settings to nail those darker shots.
ISO: Starting off, keeping your ISO low is key for dark shots without the grain. Think ISO 100-400 for outdoor or well-lit scenes, aiming for the lower end to keep things crisp. Indoors or in low light, you might creep up to ISO 800, but beware of the grain!
Aperture (f-stop): For that dramatic effect with a darker vibe, aim for a higher f-number, like f/8 to f/16. This narrows the aperture, letting in less light and focusing attention on your subject while the background fades into bokeh bliss.
Shutter Speed: Here’s where it gets fun. Slow shutter speeds like 1/60 or slower let in less light, perfect for dimming down your scene. But remember, too slow (say, under 1/30 without a tripod) and your photos are blurred. Keep it steady for that crisp shot.
When aiming for that perfect timing, the golden hours are your friends for outdoor shots, providing soft, diffused light. That’s roughly the first hour after sunrise and the last hour before sunset. But don’t overlook the “blue hour” for a naturally cooler, darker tone - that’s right before sunrise or just after sunset.
Here's a mini cheat sheet:
Sunny outdoors: ISO 100, f/16, 1/100 sec
Cloudy or shade: ISO 400, f/8, 1/60 sec
Indoor low light: ISO 800, f/4, 1/30 sec
Play around within these ranges to find what works for your scene. Remember, photography’s a bit like cooking - start with a recipe, then tweak to taste. Darker, moodier photos could be just a few adjustments away!
Post-Processing Techniques
Got that perfect pic? Well, there’s more you can do to make it pop. Next stop: editing land, where you can dial up the drama or mood in your shots.
So, here’s the scoop on Luminar Neo – it’s like your AI photo editing buddy that knows exactly how to darken a picture without making it look like you just turned off the lights. Slide the Exposure down a notch in the Light section, and watch your photo go from bright to just right, full of mood and attitude. Plus, playing with Shadows and Highlights means you won’t lose the good stuff in the shadows or the details that make your pic special.
Want to know how to make the background of a picture black? Easy peasy with Luminar Neo. It’s got this cool tool that kicks the original background to the curb and swaps it in for a classy black one. Perfect for when you want your main star – yeah, that’s your subject – to hog all the limelight without any background noise cramping its style.
And if you’re aiming for that blackout background of a photo, Luminar Neo is your go-to. Zap away the old backdrop with its smart AI tools, then switch it up with a deep, dark background just by tapping a few times in the Layers section. It’s like giving your photo a whole new vibe that screams 'Look at me!' Changed your mind? Hit undo, and bam, everything’s back to square one!
Creative Tips and Tricks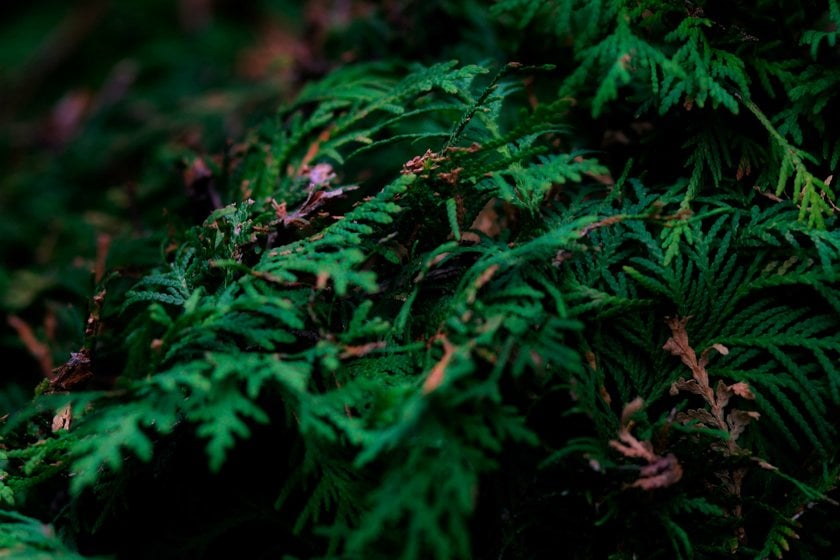

Ready to jazz up your dark photos with some cool tricks? Let’s dive in.
Shadow Play and Silhouette Magic: Light isn’t just for brightening things up; it’s your secret weapon for adding drama. Catch the light just right, and you can cast some epic shadows or silhouette your subject against a fading sky. Think of the sun peeking around a building, creating long shadows, or your buddy outlined against a sunset. Natural light does the trick, but a lamp or flashlight can create some cool effects, too. It’s all about where the light’s coming from and blocking it with something interesting.
Color and Texture Tango: Dark doesn’t mean dull. Spice things up with a splash of color or some gritty textures. Imagine a dark, moody scene with a pop of neon or the rough texture of an old wall standing out in the shadows. Play around with what’s in your shot, or tweak the colors and textures in editing to make things pop or add that mysterious vibe.
Nature’s Touch: Nature’s got its own set of awesome effects to make your dark photos stand out. A misty morning adds a layer of mystery; raindrops on a window can create a moody vibe, and trees, with their intricate branches, can cast some amazing shadows or frame your shot in a whole new way. Whether it’s the soft curve of a hill against a dark sky or waves crashing in low light, nature can seriously amp up the drama.
So, go ahead and experiment with these tips. Mix and match shadows, colors, textures, and nature to see how they can change the mood and feel of your dark photos. There’s a whole world of creative possibilities waiting for you!
Conclusion

Alright, you’ve got the lowdown on how to make a picture dark, mysterious edge. From tweaking your camera settings to diving into the editing zone with Luminar Neo, you're all set to make a picture dark and totally captivating. But why stop there? Throw in some shadow magic, a dash of color and texture, and let nature do its thing to really bring those dark shots to life.
If you’re curious about striking the perfect balance in your pics, remember the chat we had about “What is a midtone?” That’s your golden ticket to not just dark photos, but ones that are rich, full of depth, and just plain stunning!
So, go on, experiment with shadows, play with light, and maybe introduce a bit of fog or a few raindrops into your next shoot. Dark photos aren’t just about less light; they’re about more soul. And now, you’ve got all the tools and tricks to make your photos not just seen but felt. Get out there, and let your dark and moody masterpieces do the talking!
Happy shooting!
 >
>
