Underexposure vs Overexposure: Understanding for beginners
December 28, 2022

This is a very hot topic, which will be useful to read not only for beginners. Experienced photographers can also find useful information here. Usually, the topic of overexposure vs underexposure is discussed only in a general context, but today we will discuss these terms in more detail.
Today we want to tell you why your photos appear too dark and contrasty or too light and dull. Of course, it's all about the wrong exposure settings. Sometimes this can be used to add creative effects and take pictures in a certain style. Professionals often argue about the advantages and disadvantages of overexposed vs underexposed shots when it is necessary to create a certain mood in a photo. But in most cases, this is a serious problem that has to be dealt with using the right camera settings and photo editor features.
Is the picture so dark that you can't see the model? Or is the whole shot so over-exposed that it looks like you're taking a picture of a white sheet of paper? Even if you're just starting as a photographer, you've probably guessed what we're talking about and have even been in similar situations yourself. Agree, it is very frustrating when a successful shot is ruined by such an unpleasant nuance. Of course, you can fix it with photo editing tools, but it is better to choose the right settings right away. We will tell you what is overexposure in photography and other important aspects that will help you realize your full creative potential.
Let's start with the basic definitions
One of the most important skills a photographer needs to know is how to set the exposure correctly. The different combinations of aperture and shutter speed provide a large field for realizing your creative potential. Of course, you'll need to familiarize yourself with the device and camera settings to get great results.
Proper exposure
 From the definition of the term and the basics of photography, we can understand that what matters here is the amount of light that hits the sensor at a certain time. To keep it simple, exposure is how light the frame is illuminated. Image can be with more light or dark areas. It doesn't matter. What is important is how it looks. Sure, if you want to achieve a certain artistic effect, correct exposure is not always appropriate. If the shot has a natural contrast and the smallest details are visible in the picture, it is a picture with the right exposure.
It is a properly exposed shot, as photographers say. What should you do if the shot is dark or with much light? It's okay if the image looks normal. Depending on what you want to show, you can fail the shot in dark tones to add drama or lighten the frame to make it look airy. This is called artistic or creative exposure.
Overexposure
 What does overexposed mean in photography? This means that there is too much light. The darkest areas in the photo are visible, but the details in the lighter parts of the image have disappeared. The contrast and brightness of the picture are not normal. The lighting in such pictures certainly looks completely unnatural.
If we are talking about overexposure photography definition, it is an image obtained as a result of too much light hitting the sensor. The result is an incorrect rendering of the entire brightness range and a loss of detail.
Underexposure
 Here the situation is quite the opposite. Digital photography looks excessively dark, again with unnatural lighting. Pictures like this look too contrasty. Highlights or shadows just turn into dark spots. Underexposure occurs when the photographer has taken the wrong measurements and run too little light into the frame.
What does underexposed mean in photography? If the image is too dark for the actual scene being shot, with details in the dark areas disappearing, it is called underexposed. Simply put, too little light hits the sensor to properly capture the image. Highlights and shadows look unnatural in these pictures.
What is the best option?
Certainly, it is important to know how to set the exposure correctly because this is always the best solution for your photos. If you need to achieve a certain artistic effect, then you can think about photography overexposure or vice versa. Even minor setting mistakes are especially noticeable when you shoot in high dynamic range.
Histogram
 When reviewing your photos, pay attention to the histogram. Photographers can easily tell how accurately a shot is exposed by looking at its histogram. This allows you to reshoot the shot if you miss an exposure and want it to be perfectly accurate. Yes, you can get shots with normal brightness and contrast right out of the camera, avoiding under-exposure in photography. No grayness or dullness on the brightest parts.
The histogram shows the distribution of light and shadows in the shot. By looking at it you can tell what is happening with the highlights and shadows. Are they rendered as lights and shadows or have they turned into blank spots of white and black due to exposure mistakes? Knowing how to read a histogram is essential for owners of inexpensive cameras with poor-quality displays. Often, the display will show the image as lighter or darker and with more contrast than it is.
Exposure meter
 The exposure meter also gives you an idea of how the camera sees the frame and how the image will be displayed. For example, the exposure meter shows that the frame will be very dark when you observe the deviation of the slider to the left side. And the further the exposure meter deviates from the middle to the left, the darker the frame will be. Conversely, for the overexposure photo, the slider will be on the right side. If you're a novice photographer, you'd better figure it out right away so you don't ruin a good shot later on.
Simple ways to correct exposure
 Of course, you can take several of the same shots and play with the settings, but in the end, you still have to select just one option. If you don't want to get overexposed in photography or vice versa, we'll give you some valuable tips:
- Try adjusting the exposure to the desired depth of field or shutter speed.
- Then take the picture and check the histogram for outlined areas of tone.
- If you see an error, correct it and shoot again.
If you are working with overexposed images and need an urgent fix, try reducing the shutter speed or ISO sensitivity. In the latter case, you don't have to be afraid of high noise, if you work in low light conditions, modern camera models handle it just fine. For under-exposed photos you will need to adjust the same settings, increasing them slightly, also try opening the aperture (so more light gets in).
Also, note that you can tell at a glance how experienced a photographer is by the saturation of white. Most people prefer to bring in saturated white in processing, not realizing that you can get pure white from settings without areas overexposed in photography.
How to avoid over- or underexposure
 As you have already understood, the situation can be corrected before the post-processing stage. Here we give you some precious hints that are sure to help. Let's take a closer look at some examples:
- A light object looks gray or not white enough in the picture. The solution to this problem is simple. Set the exposure compensation in the camera. By doing so, you will give the command to increase it, to make it larger than the measured value.
- If you get an under-exposed image with a backlighting scheme, try switching the exposure metering mode to center-weighted or spot metering. In center-weighted mode, the camera measures the brightness in the center of the frame, taking less account of the brightness of the areas near the edges of the frame. In spot metering, the camera estimates the illumination within a small vicinity of a point.
- If you get an overexposed foreground when shooting a landscape, the best solution is to use an ND filter. Set it so that the part of it that absorbs light is opposite the sky in the frame. The gradient filter gently aligns the lightness of the sky and the ground. You end up capturing the landscape in one shot, with the same exposure settings.
- As in the previous description, the cause of the problem lies in the exposure metering system of the camera (it gives preference to the darker ground). The solution to this problem, as well as to the previous one, is to use a gradient filter. And you can use fancy digital technology, to create an image with a wide tonal range.
You can also use bracketing to avoid overexposed or underexposed photos. It allows you to take several identical frames with different settings. For example, three frames: medium brightness, darker and lighter. You can do the same with white balance to get a medium shot, a cooler shot, and a warmer shot. You'll end up with several shots to choose from, from which you can select a good one.
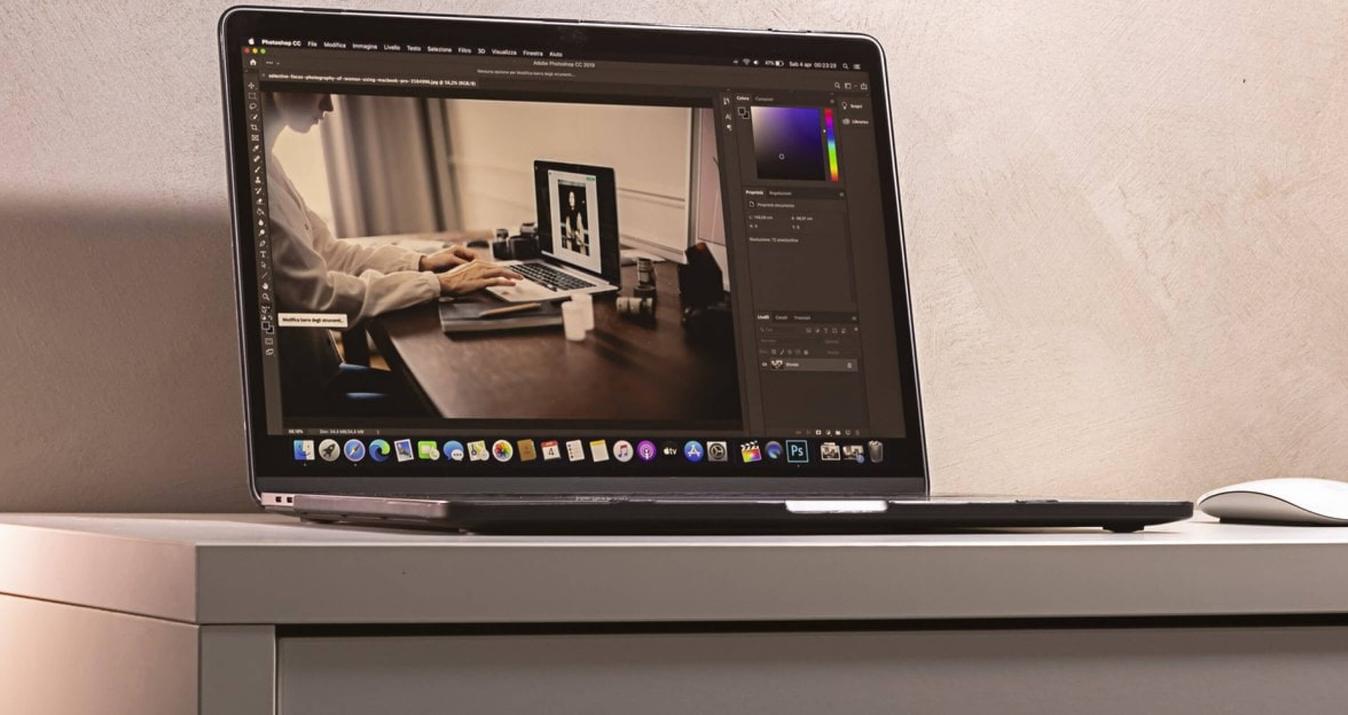
Luminar Neo: new photo editor for perfect exposure
Luminar Neo is the perfect photo editor that has a lot to offer both for beginners and professional photographers. It has a nice, easy-to-use interface. This photo editor contains an extensive set of AI-powered tools. It also works magic as a plug-in to Photoshop or Lightroom.
Luminar Neo can combine up to ten images into a single HDR photo with its HDR Merge Extension. In addition, with the help of intelligent technology, users can create HDR images from a single photo, without the need for bracketing. AI provides the highest quality blending bracketing and a significant level of color enhancement.
Built-in algorithms allow for better results. If you want to achieve a certain artistic effect with exposure, it will be very easy to do so. You no longer need to read manuals on how to underexpose a photo, even the most complex tasks are now done in a couple of clicks. Be sure to try Luminar Neo and see for yourself!
Concluding thoughts
By getting to the end of this article, you've already begun to understand a little bit about exposure. But if you don't go out to take pictures, it will remain just theoretical knowledge. Go outdoors, and learn how to expose to different scenes and subjects. With different lighting and at different times of the day. That's the best way to learn how to take pictures. Remember that you can control the mood of your picture with your exposure settings, so don't be afraid to experiment.