July 28
18 min. to read
What is ISO in Photography? A Complete Guide
When I first started using a camera, ISO was one of those confusing terms that no one simply explained. It had something to do with making my images brighter or darker. As it turned out, camera sensitivity was more than just an adjustment for brightness—it’s one of the basic settings that determines the look and atmosphere of each photo. Here, I’ll cover what is ISO in photography, how it works, when to change it, and why it is necessary. Whether you’re a beginner or looking to refine your skills, this tutorial has you covered.
What is ISO in Photography?
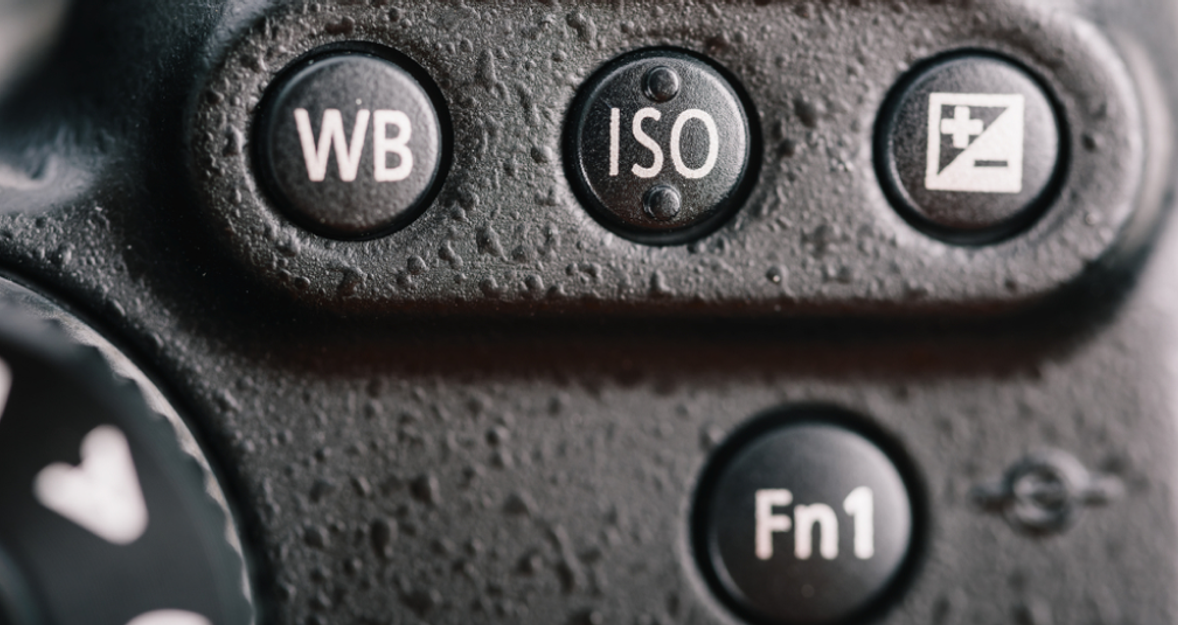
 ISO Sensitivity is simply a number that tells you how sensitive your camera is to light—it’s based on a standard set by the International Organization for Standardization. The higher your lighting settings, the lighter your picture will be. That’s why it’s especially handy when you’re shooting in low-light situations or need more control over your shutter speed and aperture.
But there’s a catch—raising your ISO too much can lead to grainy images, often called “noise,” which can reduce the overall quality. So, increasing it is always a trade-off. It’s best to only bump it up when you can’t adjust shutter speed or aperture without causing issues—like motion blur from a slower shutter.
The ISO meaning camera term originally came from film photography, where the acronym referred to film speed. A 100-speed roll required more light than an 800-speed one. In digital photography, it’s the same idea—just managed by electronics instead of film.
Exclusive Tools of Endless Possibilities in One AI Editor
Explore Now!How to Use ISO in Photography
Learning to use ISO effectively changed how I shoot. Whether it’s an outdoor scene in harsh sunlight or an indoor room lit by candles, this setting gives you control.
How to Adjust ISO Settings on Your Camera
 It is not hard to adjust ISO settings, though every camera is a bit different. DSLRs and mirrorless cameras usually have an independent button or quick menu setting. On smartphones or entry-level gear, you’ll usually find this option under “Pro” or “Manual” modes. The following is how I typically adjust settings.
Press the ISO button (or enter the menu).
Scroll through available values.
Select one based on lighting conditions.
The numbers might look like 100, 200, 400, 800, 1600, and so on. These values double each time, which means they double the sensor’s sensitivity.
Choosing the Right ISO for Different Lighting Conditions
 Lighting changes everything in photography—and so does your camera’s light sensitivity. When it is daylight outside, like during the golden hour, I’ll stick with a low ISO like 100 or 200. Inside or at night, however, raising it to 800 or even 3200 is normally necessary. It’s all about getting that balance of light and good image quality.
Here’s what I follow:
Bright sunlight: 100–200
Cloudy days: 400
Indoors or low light: 800–3200
This is the backbone of how I think about what is ISO on camera and how to use it in real-world conditions.
Common ISO Values and What They Mean
So, let’s break down the most common ISO settings and what they actually do.
ISO 100: Ideal for Bright Light Conditions
 I use a level of 100 whenever possible because it gives the cleanest image with the least noise. It’s perfect for:
Shooting in bright sunlight
Landscapes
Studio photography with strong lighting
It’s the go-to for maximum image quality.
ISO 400: Versatile for Moderate Lighting
 ISO 400 is my middle ground. If it’s cloudy outside, or I’m indoors with decent light, 400 delivers bright shots without much grain.
Some typical uses:
Outdoor portraits on overcast days
Window-lit indoor scenes
Museum photography (if flash isn’t allowed)
ISO 800 and Above: Useful for Low Light Photography
 When it gets dark, ISO 800, 1600, or even higher becomes essential. I use these levels to shoot night street scenes, indoor events, or dimly lit rooms.
But here’s the trade-off—pushing your settings too high can introduce noise. The brighter your image gets, the more grain you risk adding. That’s why understanding the ISO definition photography helps you find the right balance between light and clarity.
Low vs High ISO: What’s the Difference?
Choosing low or high ISO isn’t just about brightness; it’s about quality, mood, and purpose.
What is Low ISO? Benefits for Image Quality
 Low ISO (typically between 100 and 200) gives you the cleanest, most accurate images. If I require my photos to look professional and crisp on camera—like landscapes, flat lays, or product shots—I always use a low setting. It reduces digital noise and maintains true-to-life color and accurate details. Your images will look smoother, with enhanced contrast and depth, especially when shown on a large screen or printed out.
The major benefits of using a low sensitivity level:
Better color depth
Sharper details
Minimal noise
A low setting gives your photos that polished, high-end feel.
When to Use High ISO: Capturing Low-Light Shots
 Sometimes, there isn’t enough light. Whether it’s a concert or a candlelit dinner, a high ISO setting is your friend. I’ve shot events at settings like 3200 and even 6400 with usable results.
High ISO is great when:
You can’t use flash
Your subject is moving fast
You want to keep the shutter speed quick
So, what does ISO mean in photography? It means making smart trade-offs based on light and quality.
How to Minimize Noise at High ISO
 Noise can ruin a good shot. But I’ve learned ways to reduce it:
Use noise reduction in post-processing
Avoid extreme ISO values unless necessary
Use a tripod to allow a lower rate with a longer shutter speed
Additionally, quality image editing software enhances high-ISO images while preserving detail.
Explore the Future of Noise Reduction with NoiselessAI
Try It in Luminar NeoTips for ISO Settings
 Once you understand how ISO works, it becomes second nature to adjust it depending on the situation. When I’m out shooting, I don’t even think twice—it’s just part of the rhythm. But when I was new to photography, I found it helpful to remember a few basic rules. These tips have saved me countless bad shots over the years.
1. When to Use Low ISO: Best Scenarios
I always use a low ISO (like 100 or 200) when working in bright environments, especially outdoors. A lower one gives me the cleanest image possible with minimal noise. It’s perfect when shooting still subjects, especially using a tripod. Whether it’s daylight landscapes, architecture, product shots, or any controlled lighting setup, I rely on a low sensitivity to get the sharpest, most detailed results.
2. When to Use High ISO?
On the flip side, high ISO is a lifesaver in low-light situations. I bump up the brightness control when I’m indoors, shooting handheld at night, or trying to freeze motion in dim light. Wedding receptions, concerts, or night street photography often require settings between 800 and 3200. You lose a bit of image quality, but you gain speed and flexibility.
3. How to Maximize Image Quality with ISO Settings
My advice? Use the lowest ISO you can. Let your shutter speed and aperture calculate the exposure for you instead. Back in post-production, I zoom to 100% and check for grain. If it is too grainy, I get rid of it with a noise reduction program or a decent picture remover when editing.
Common Misunderstandings About ISO
 There are quite a few myths about ISO, especially among beginners. I’ve heard them many times, and honestly, I believed some of them myself when I was just starting out. Let’s clear up a few of the most common misconceptions.
“Higher ISO always means worse photos.” Not necessarily! Back in the days of older digital cameras, cranking up the sensitivity made images super grainy and almost unusable. But new cameras—especially more recent mirrorless and DSLR cameras—can now handle higher settings much better. You can shoot regularly at ISO 1600 or more and still have great images with minimal noise.
“ISO is the same as brightness.” While ISO does make your photo brighter, it’s not the same thing as simply turning up a brightness dial. It works with aperture and shutter speed to create a properly exposed image. Relying on sensitivity adjustments alone without adjusting the other two will limit your creative options.
“Just leave ISO on Auto always.” Auto is convenient, especially if you’re new to photography, but it won’t always select the optimal setting for every shot. Occasionally, it’ll select a setting that adds noise or overexposes your image. Once you learn to use ISO in manual mode, you have so much more control and better results.
Choosing the Right ISO for Different Photography Genres
 ISO isn’t one-size-fits-all. Every style of photography demands its own approach:
Wedding Photography
 Weddings are tricky—changing light, fast movement, and no second chances. I often keep the sensitivity between 400 and 1600. Indoors during ceremonies, bumping it up to 3200 saves the shot. During outdoor portraits, I go back down to ISO 100 or 200. Also, using photo editing software for beginners helps smooth out any unwanted imperfections.
Night Photography
 Adjusting your camera’s sensitivity is key for night shots. I usually work around ISO 800–3200, depending on available light. With a tripod, I can lower the ISO and compensate using longer exposures. Understanding ISO in a camera truly pays off—it helps me maintain the mood without overexposing the darkness.
Astrophotography
 Astrophotography is in its own league. I use ISO 3200–6400 or more to capture stars. Paired with a fast lens and a tripod, I get those crisp Milky Way shots. For post-processing, I often explore alternatives to Aperture that offer better noise reduction for starry skies.
What’s the Difference Between ISO, Shutter Speed, and Aperture?
 Think of ISO, shutter speed, and aperture as a triangle. Each side affects the final image.
Aperture controls depth of field
Shutter speed controls motion blur
ISO controls brightness and noise
When I raise the sensitivity, I can use faster shutter speeds. When I lower it, I need more light or slower shutter speeds. Mastering this triangle made me a much better photographer. Understanding what is ISO mean in photography means recognizing how it interacts with the other settings.
Mastering ISO for Better Photography Results
It does take time to learn to work with light sensitivity settings, but it is worth the effort. I started by trial and error—shooting in different conditions and reviewing results. Now, adjusting ISO is as second nature as focusing the lens. Thanks to tools like a free Mac photo editor, I can return and redo exposure choices, adjust brightness, remove noise, and even recover detail lost in shadows or highlights.
Frequently Asked Questions
What If I Set ISO Too High?
If you set ISO too high, you’ll likely see digital noise—colored specks, loss of detail, and reduced sharpness. But not all is lost. You can:
Use editing software to reduce noise
Resize the image for online use, where noise is less noticeable
Modern cameras and wisely chosen best software for picture editing can make high ISO shots look great.
What’s the Difference Between Film ISO and Digital ISO?
In film days, the sensitivity was fixed—you had to stick with the number printed on the roll until it was finished. ISO 400 film stayed 400 until you finished the roll. With digital, you can change it for every shot. Still, the concept remains that a higher sensitivity equals more light sensitivity. If you’re curious about vintage photography and want to explore file management too, you might appreciate the alternative to Windows Photo Viewer.
What Does ISO Mean on a Camera in Different Lighting Conditions?
What does ISO measure? It measures your camera’s sensitivity to light. In bright conditions, you’ll want to stick with a low sensitivity setting. When the light drops, increasing ISO helps you brighten your shots. That’s the basic rule—but it’s not the only thing to think about. Movement, the type of subject, and whether you’re shooting handheld or with a tripod all play a part.
I didn’t fully understand the value of this setting until later in my photography journey. At first, it felt like just another number on the screen. But over time, I realized it’s a powerful tool that shapes every image I take. The more I played with ISO in different lighting situations, the more control I gained.
 >
>
