 View plans
Blur Background of a Photo to Add Depth and Focus
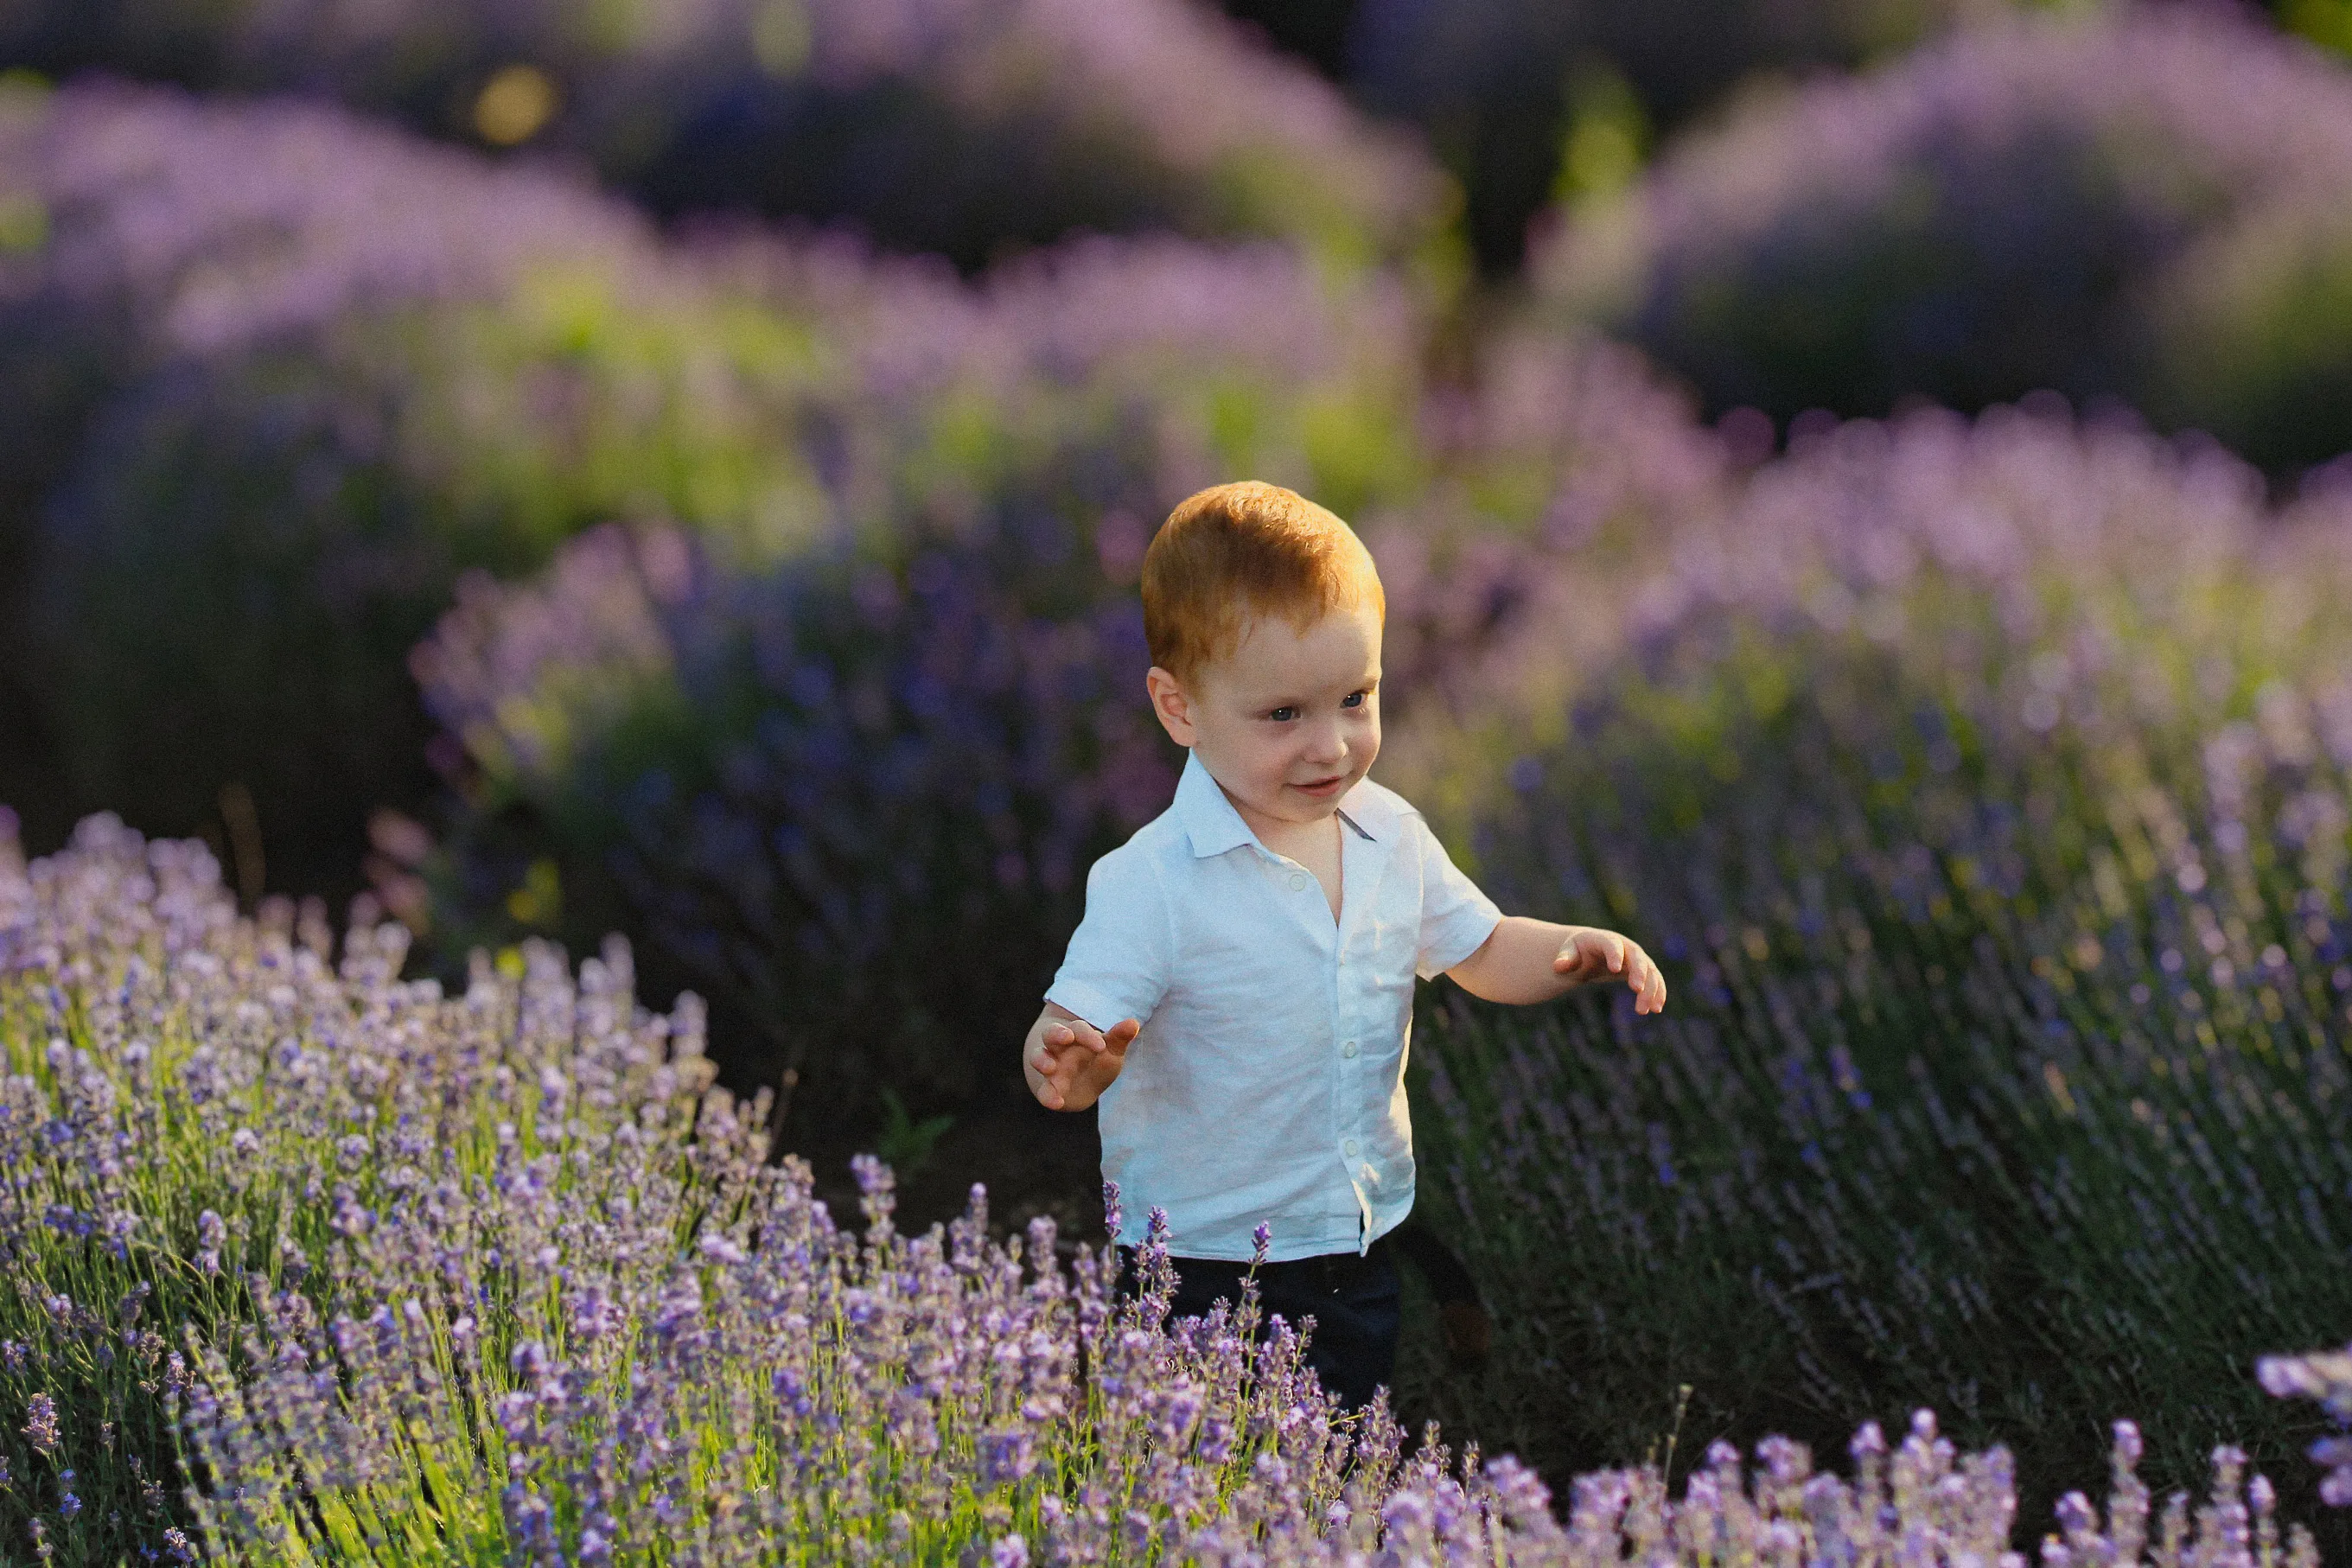
Enhance the visual aesthetics of your images and guide the viewer’s attention exactly where you want it. With Luminar, you can blur the picture background in just a few clicks.
View plansAI Photo Background Blur vs Manual Blur
AI blur is fast and automatic, ideal for clean, natural-looking results, while manual blur gives you full control for more precise or stylized edits. You choose how hands-on you want the editing process to be.
How to Blur the Background in a Photo
With Luminar, you can create a blurred background effect after the photo is taken—and fine-tune it until it looks exactly right.

Step 1. Open your photo. Launch Luminar and open the image you want to edit.

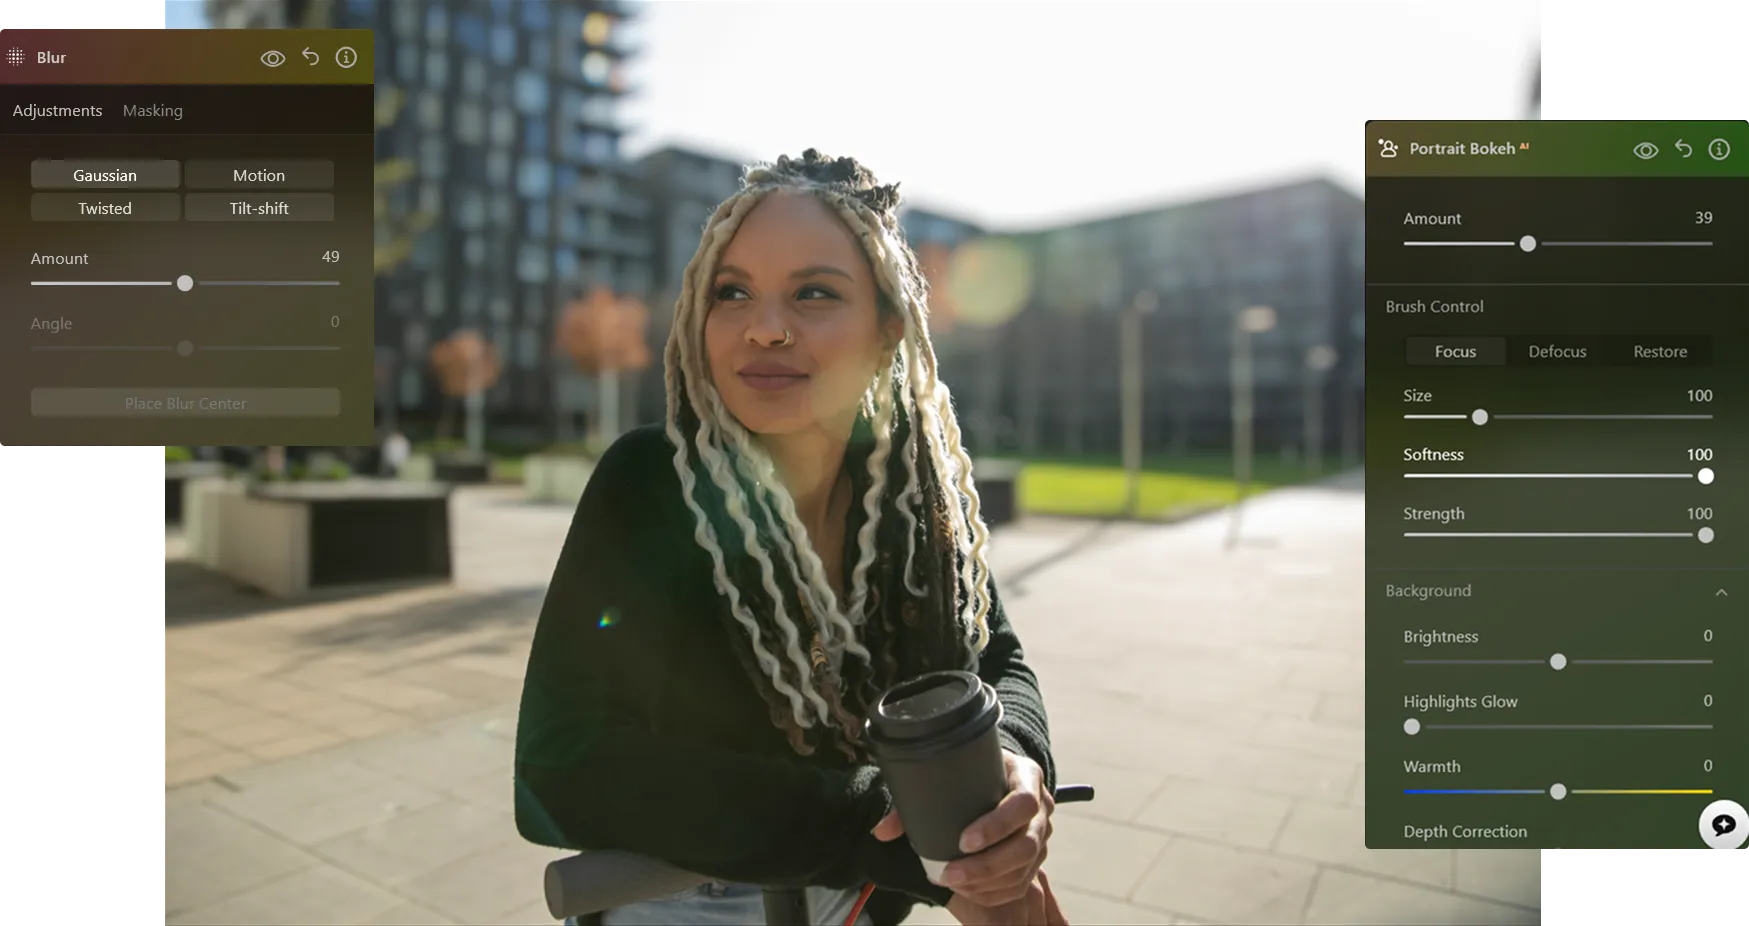
Step 2. Blur the background. Go to Portrait Bokeh AI or the Blur Tool. Luminar automatically detects the subject and separates it from the background.

Step 3. Adjust the blur. Control the blur intensity to create a natural blurred background effect. Fine-tune depth and transitions for a realistic look.

Step 4. Refine and export. Refine edges if needed, then export your photo with a clean, professional background blur.
Where Background Blur Works Best
Using a photo editor to blur the background is a versatile technique that works across many photography genres, helping you guide attention, reduce distractions, and create a more polished look.

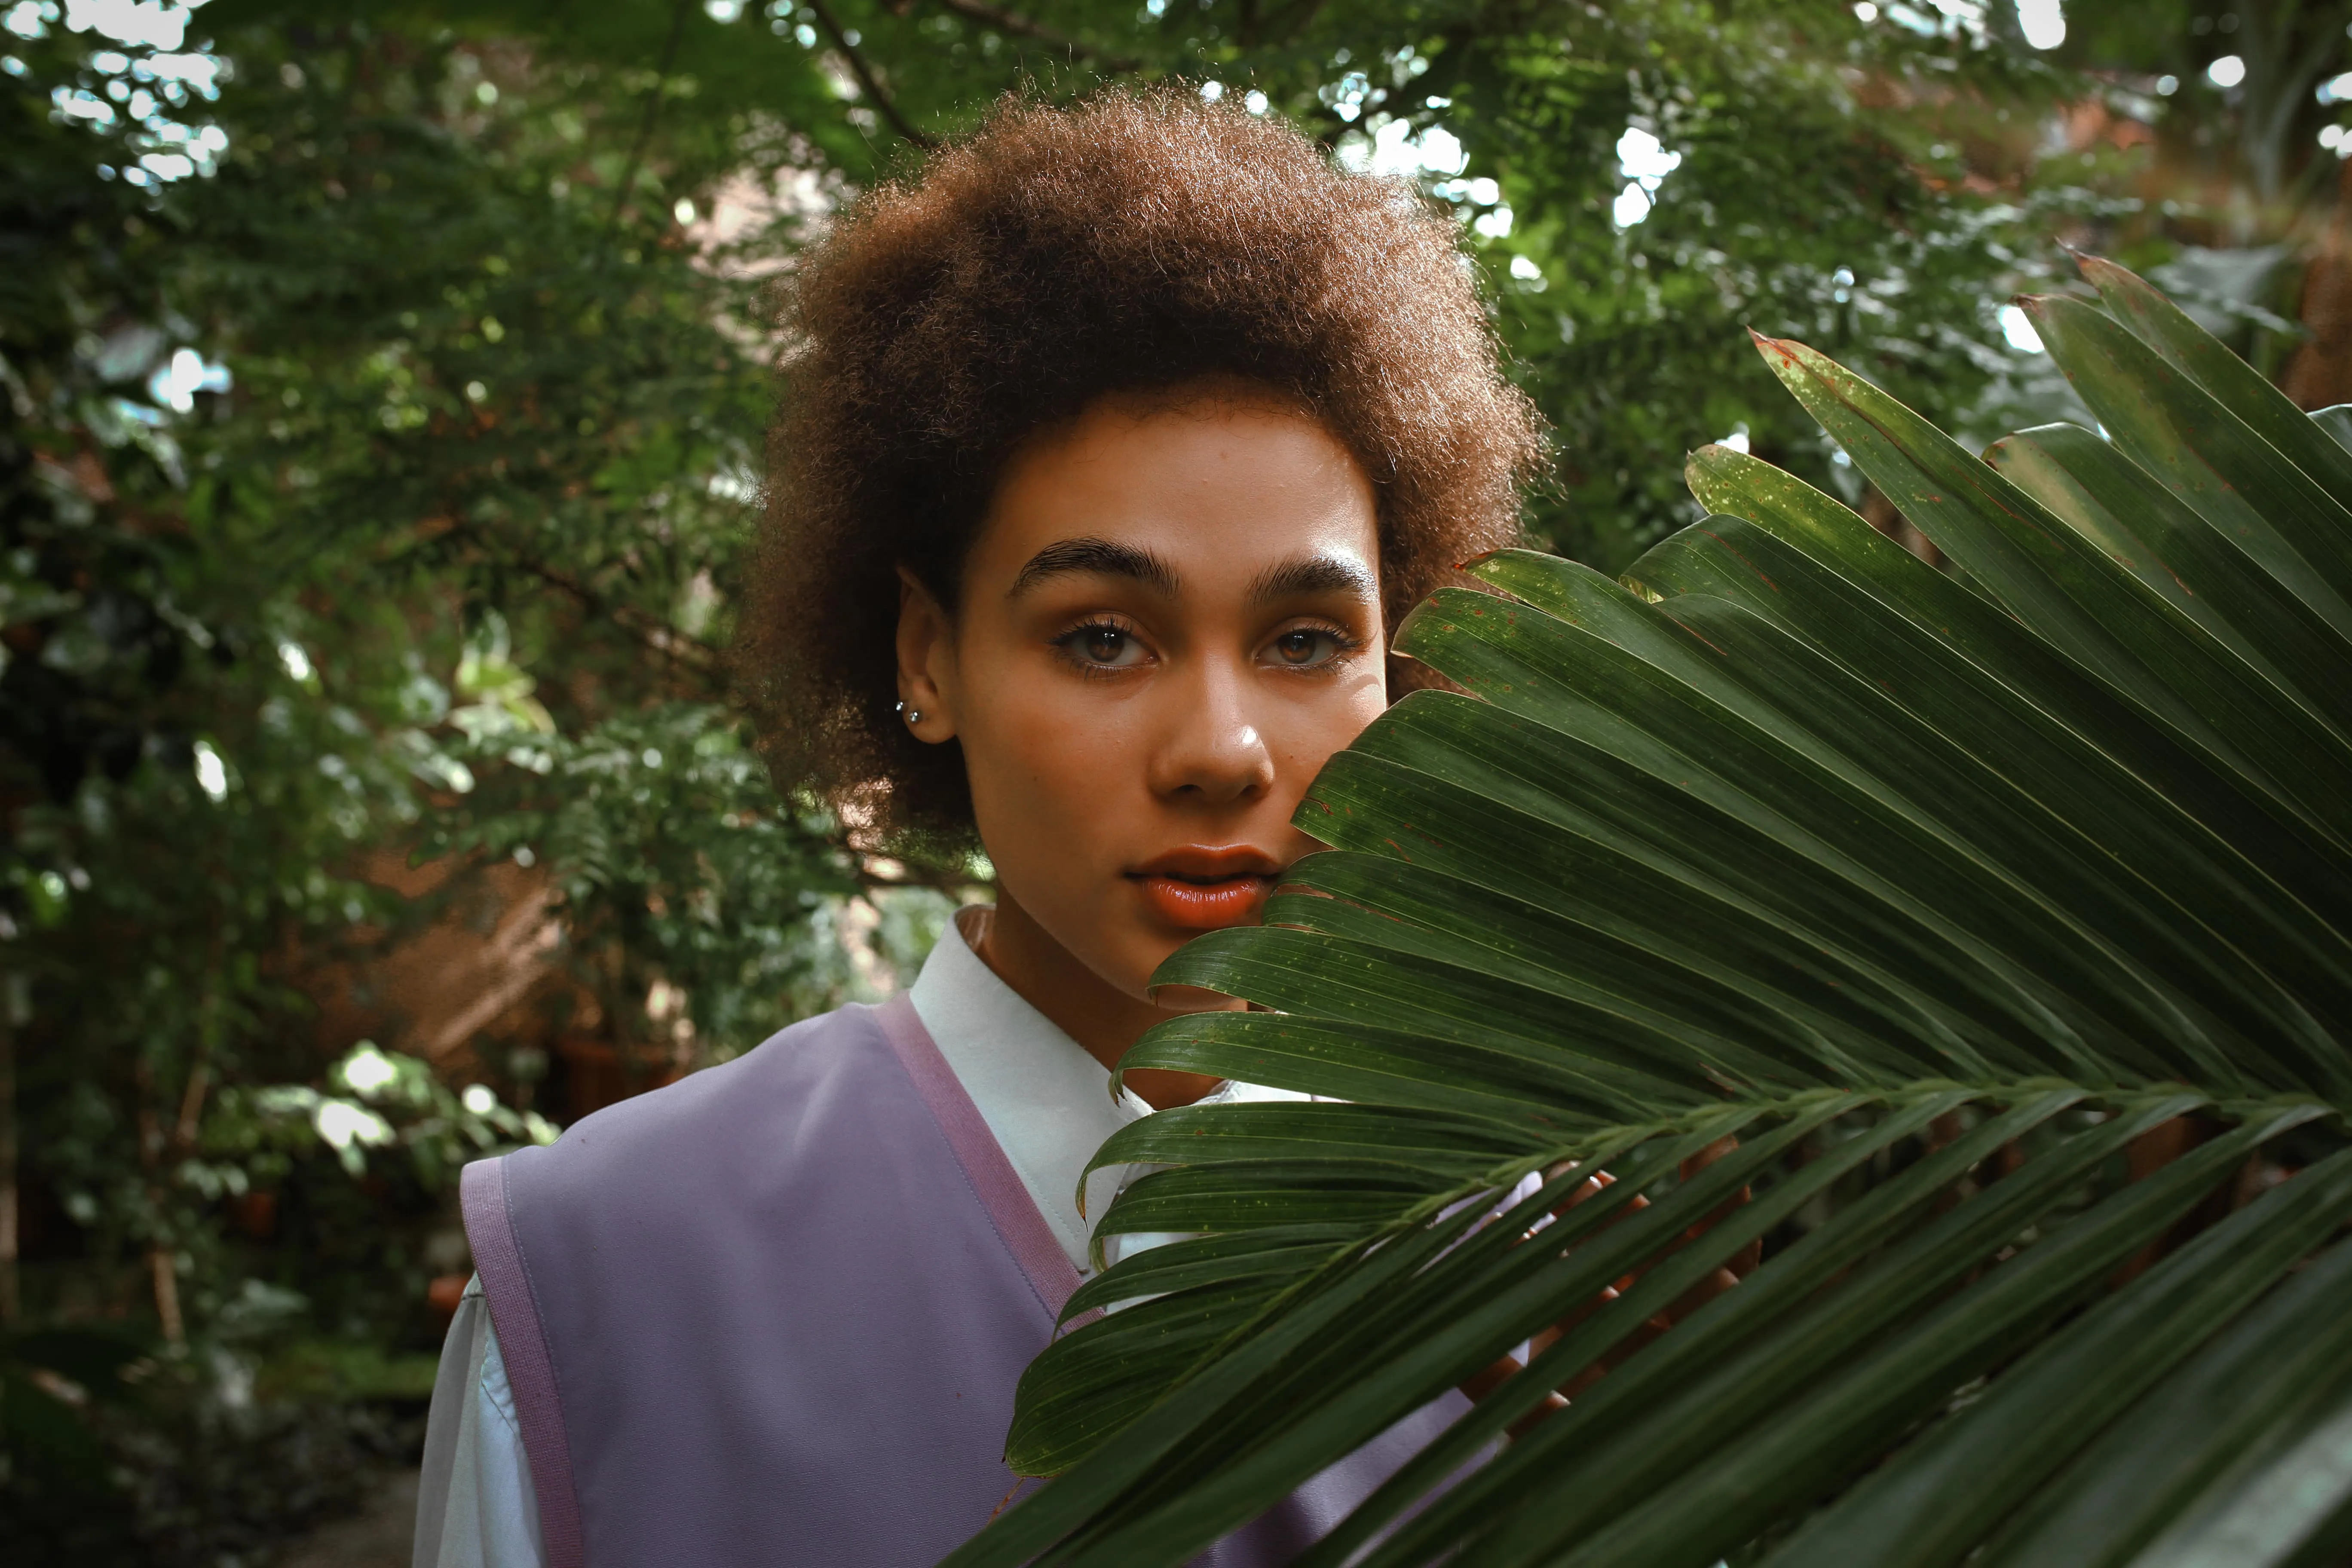
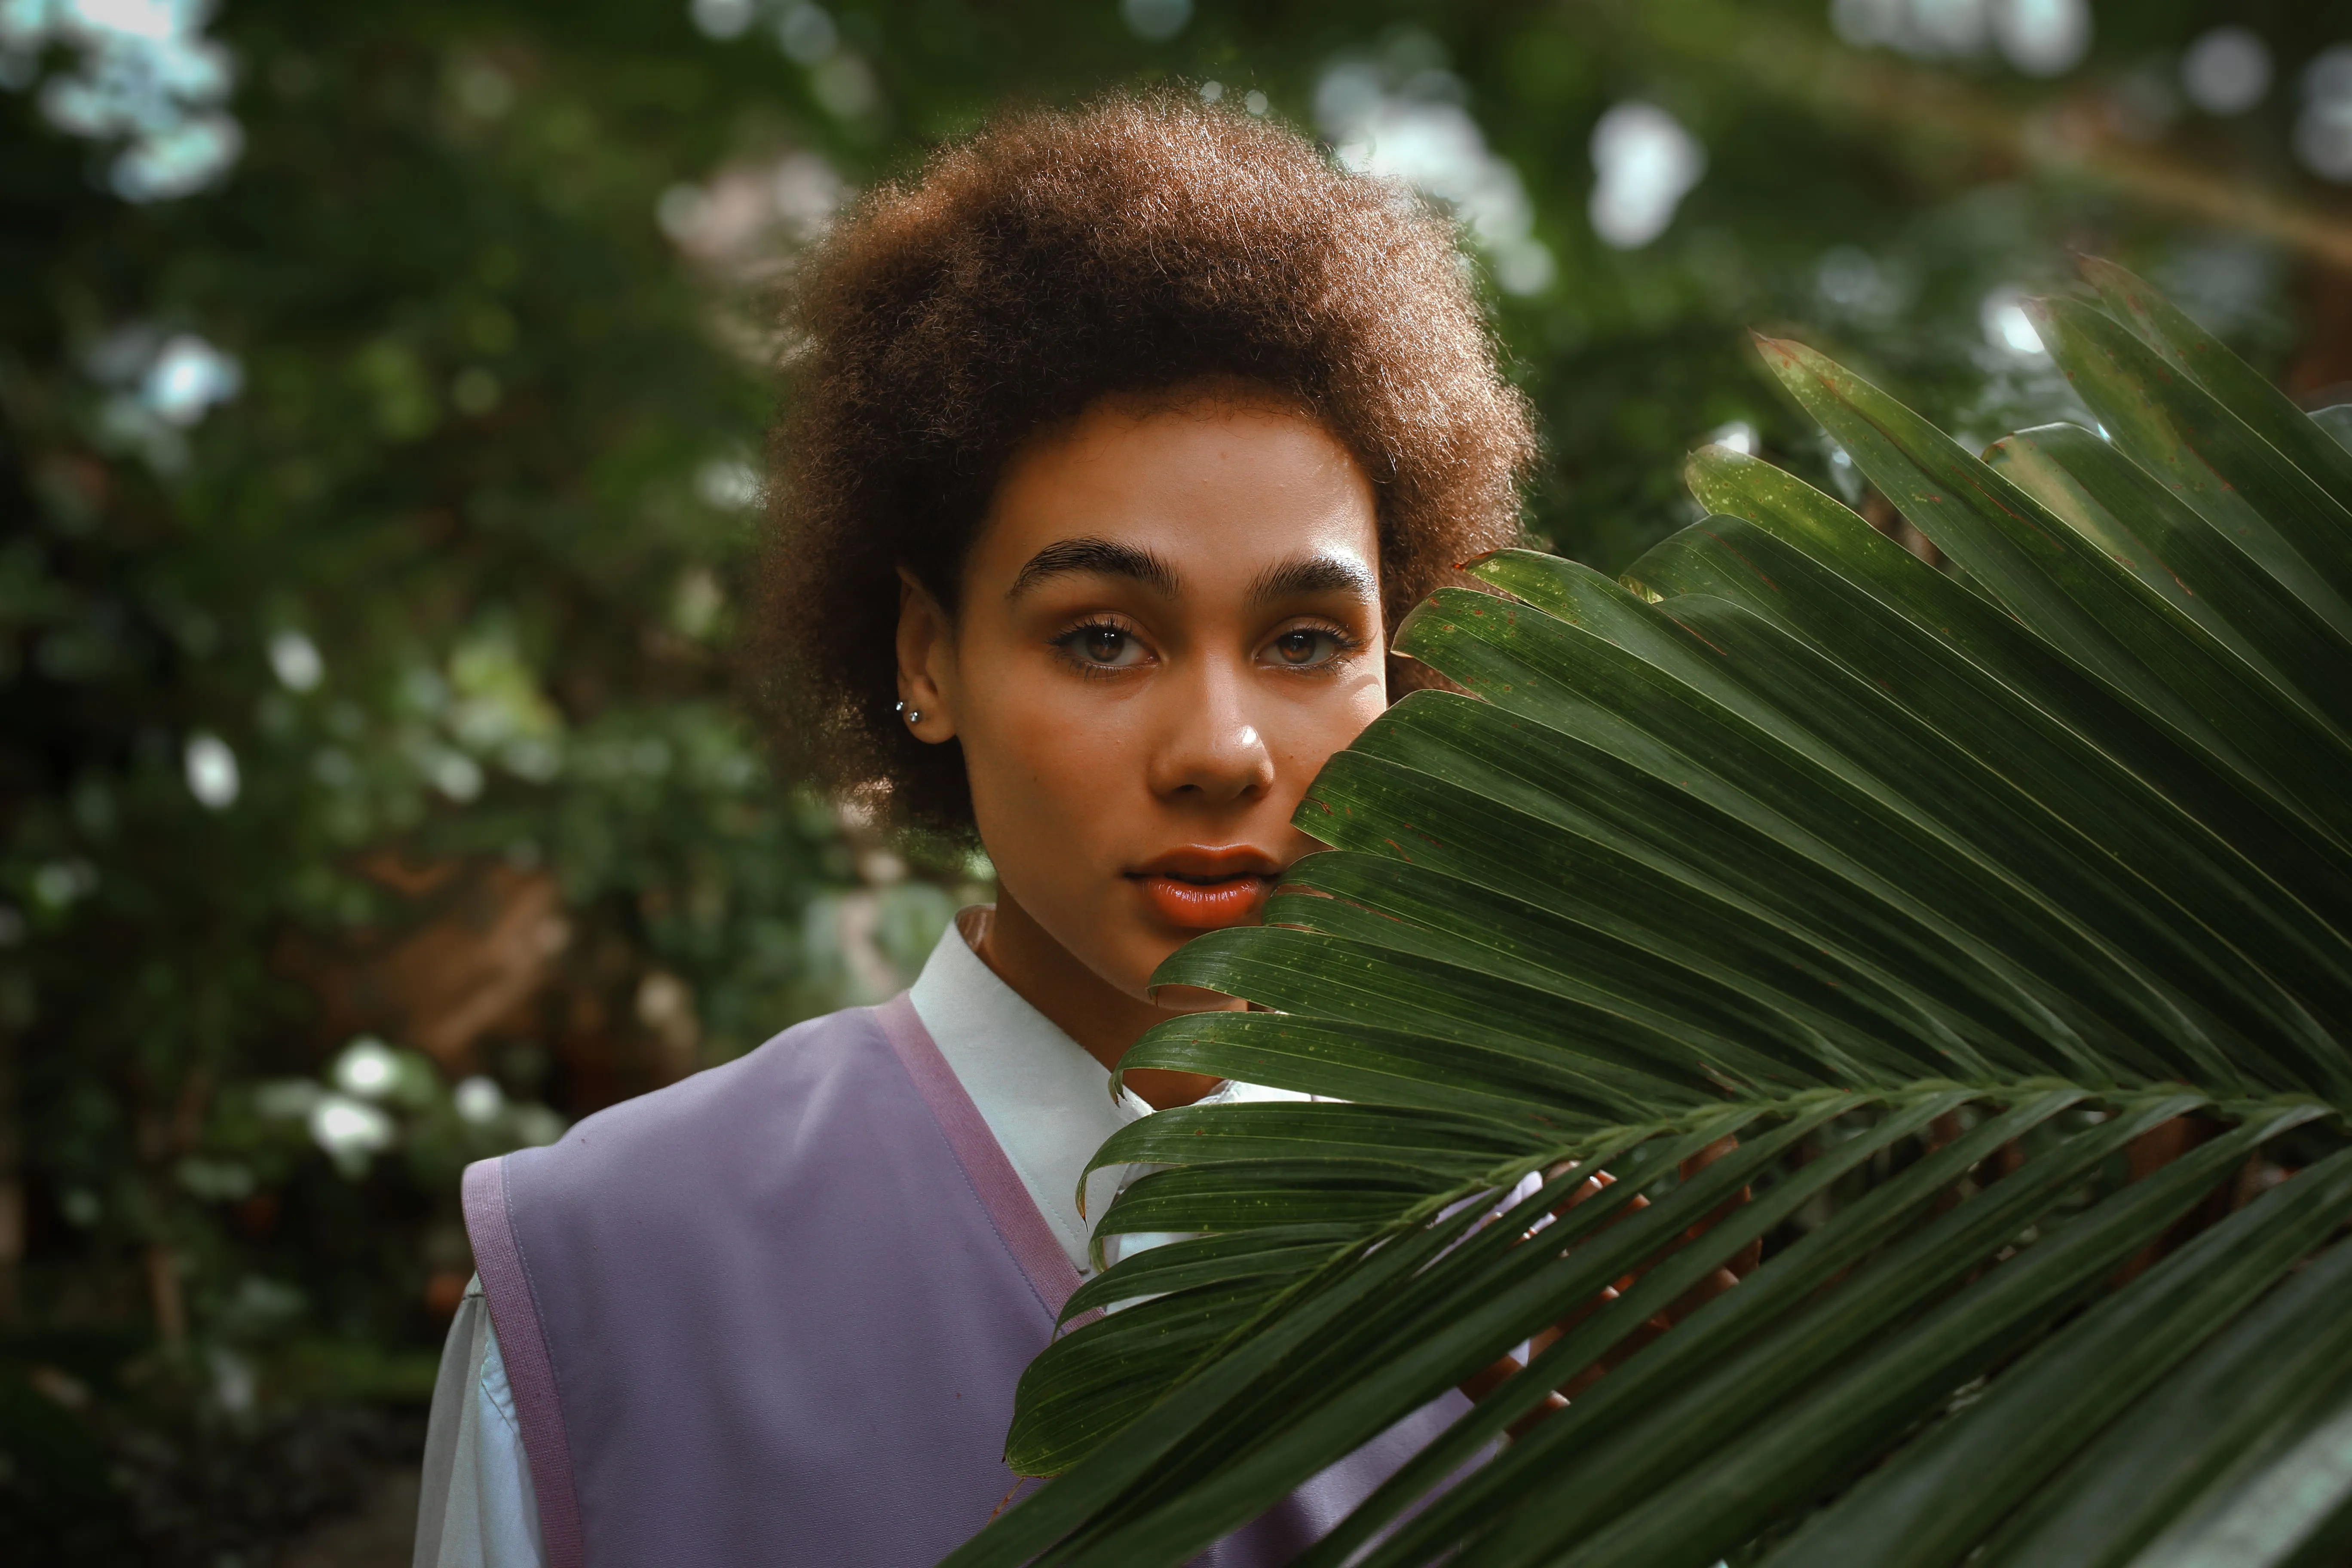
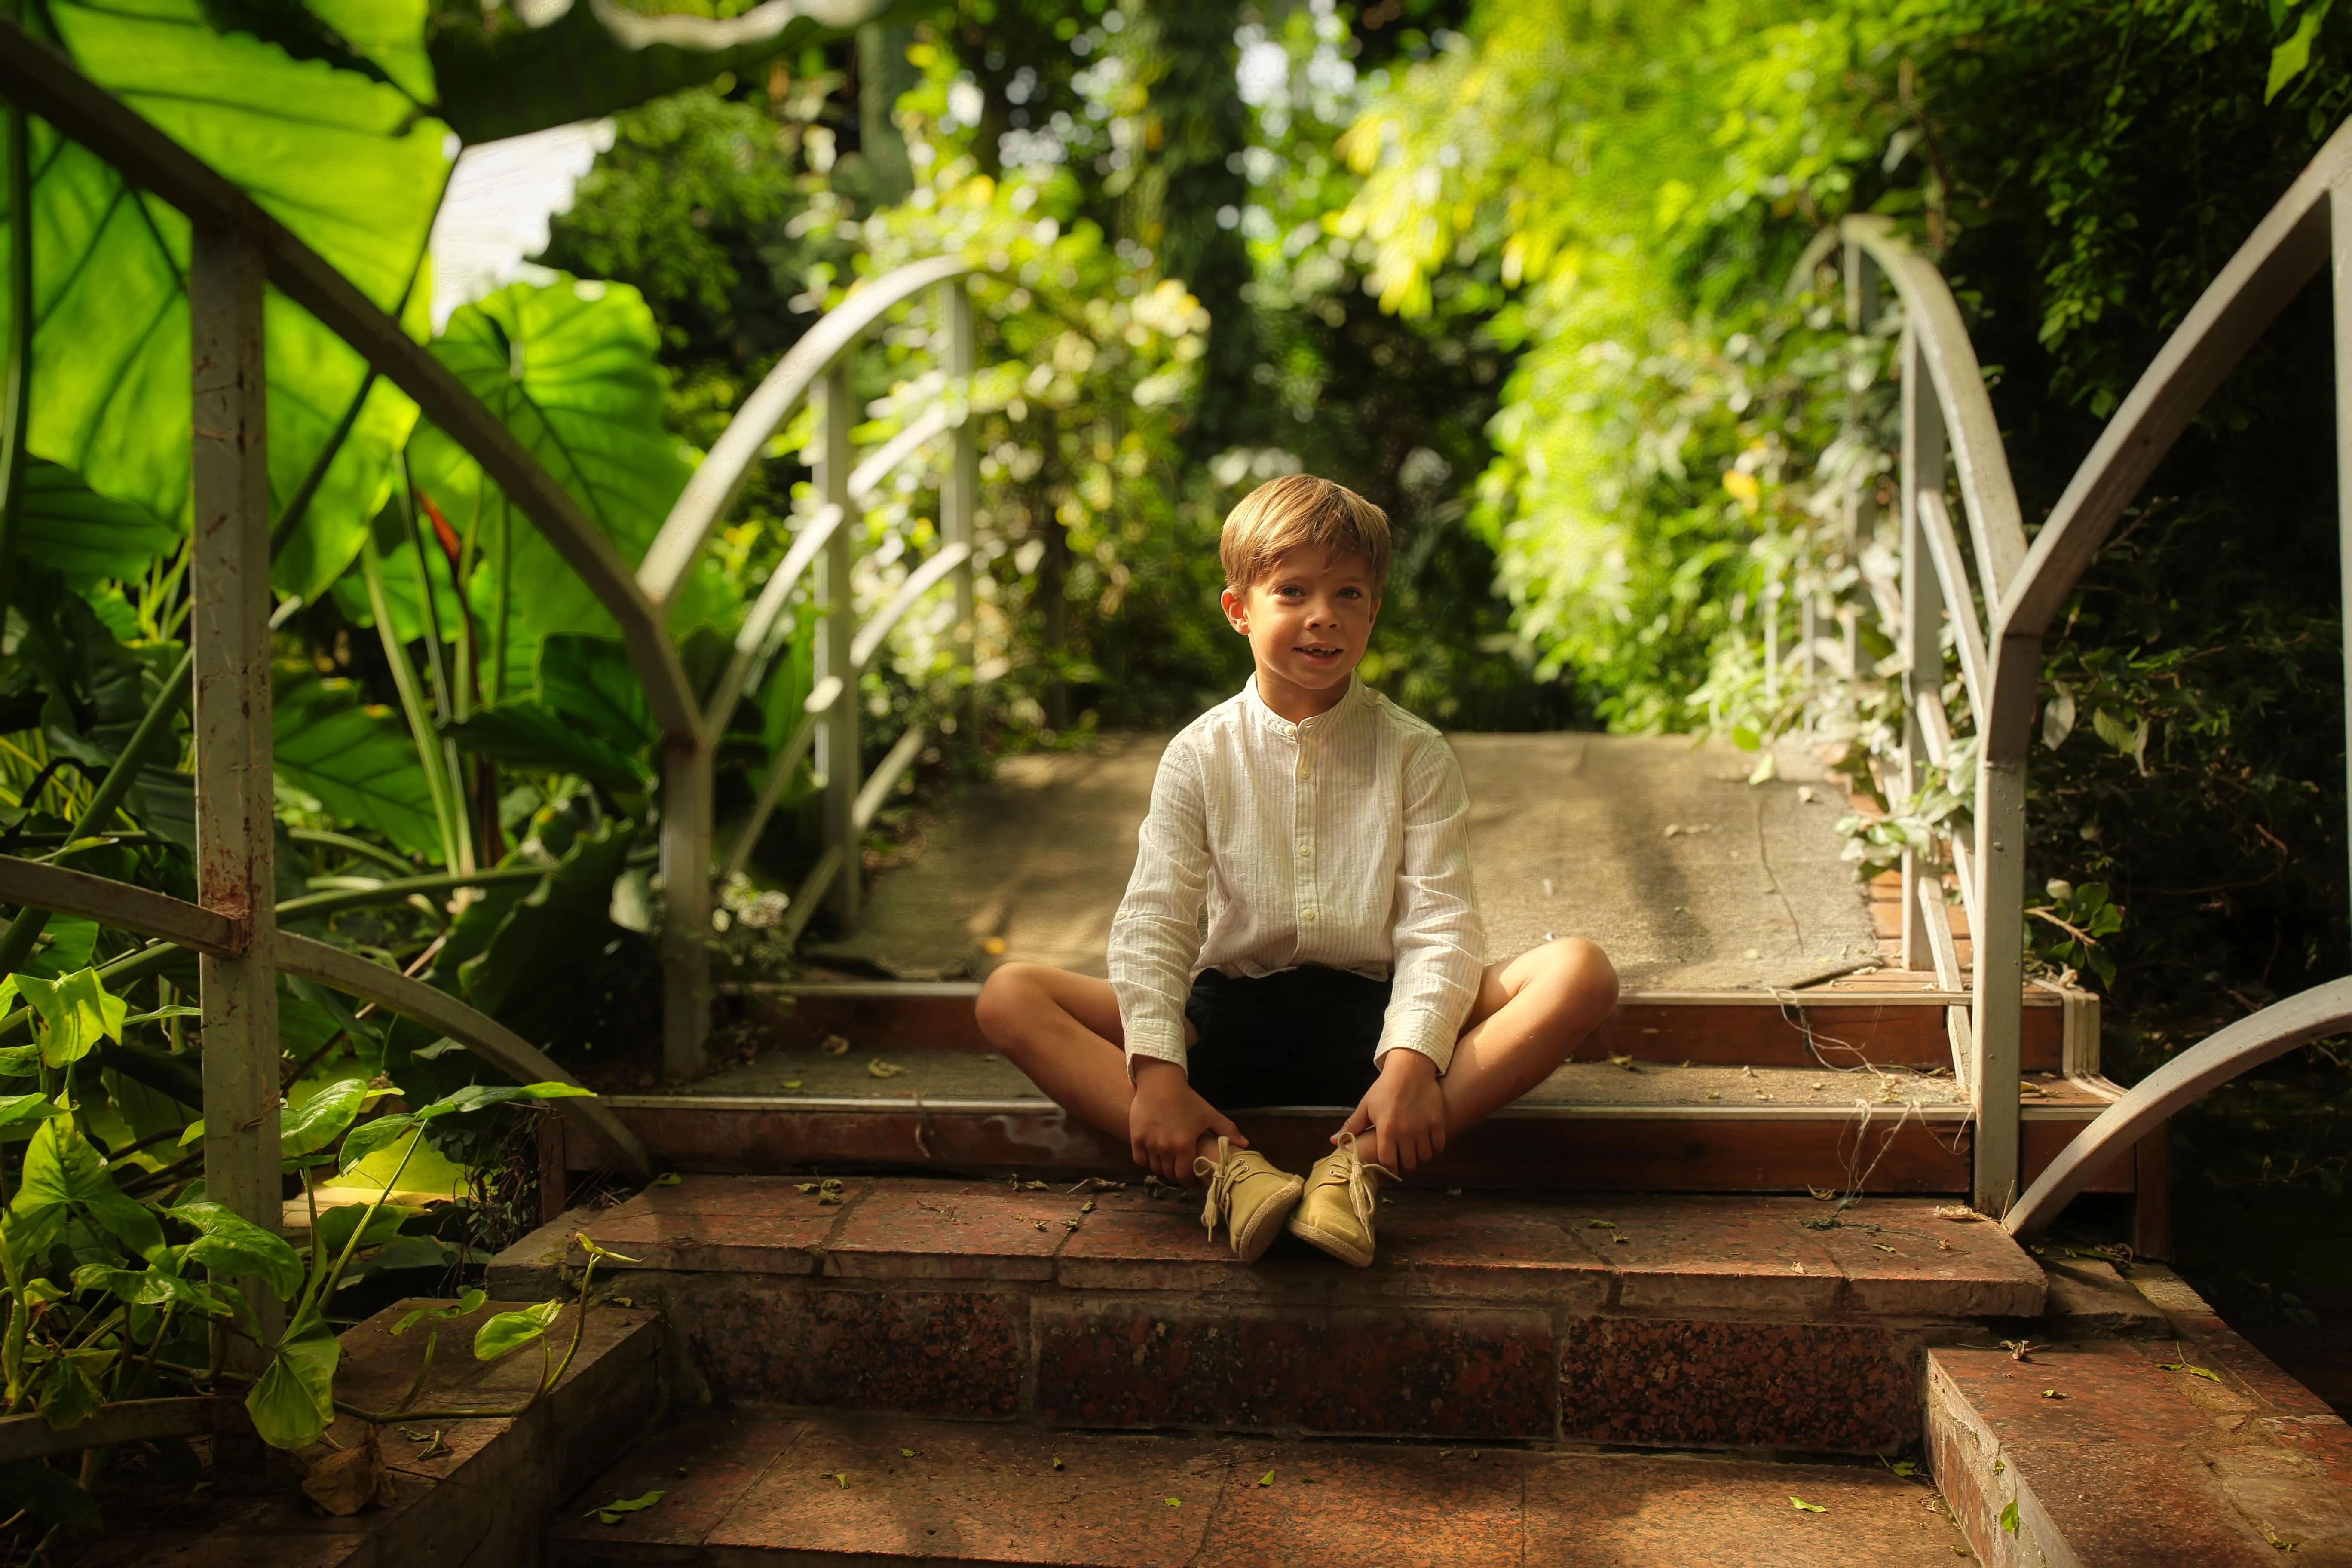
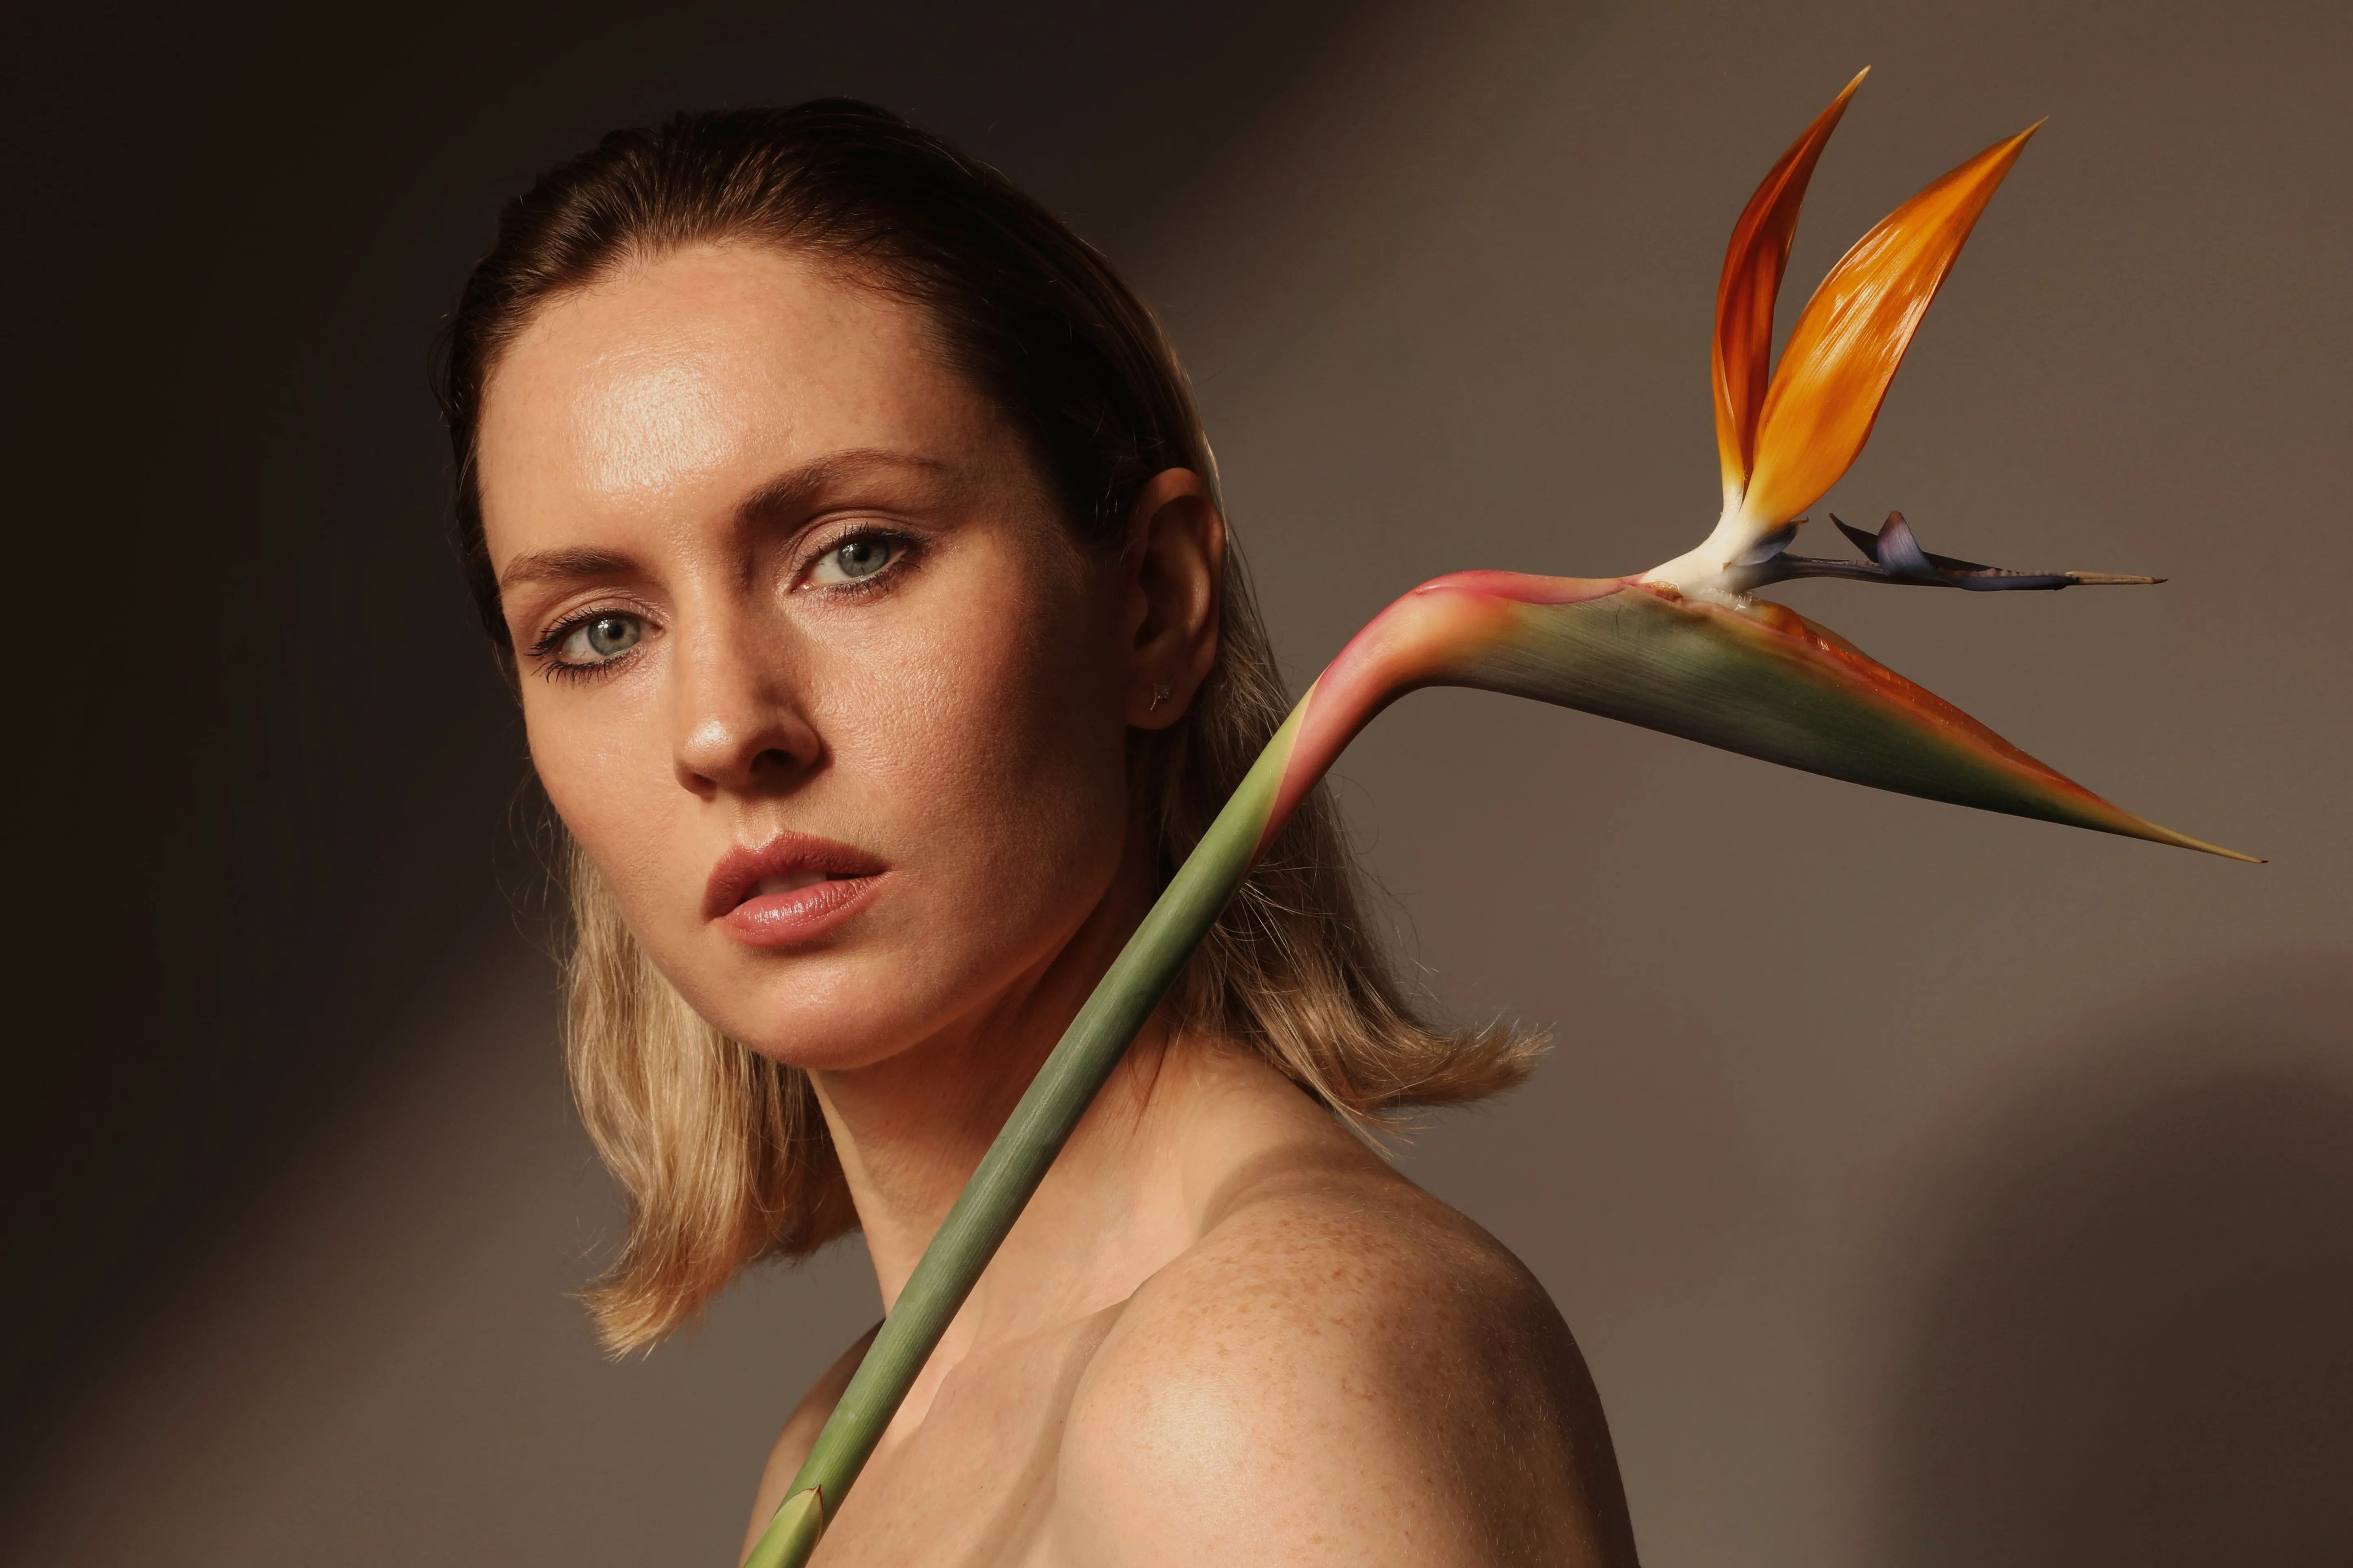
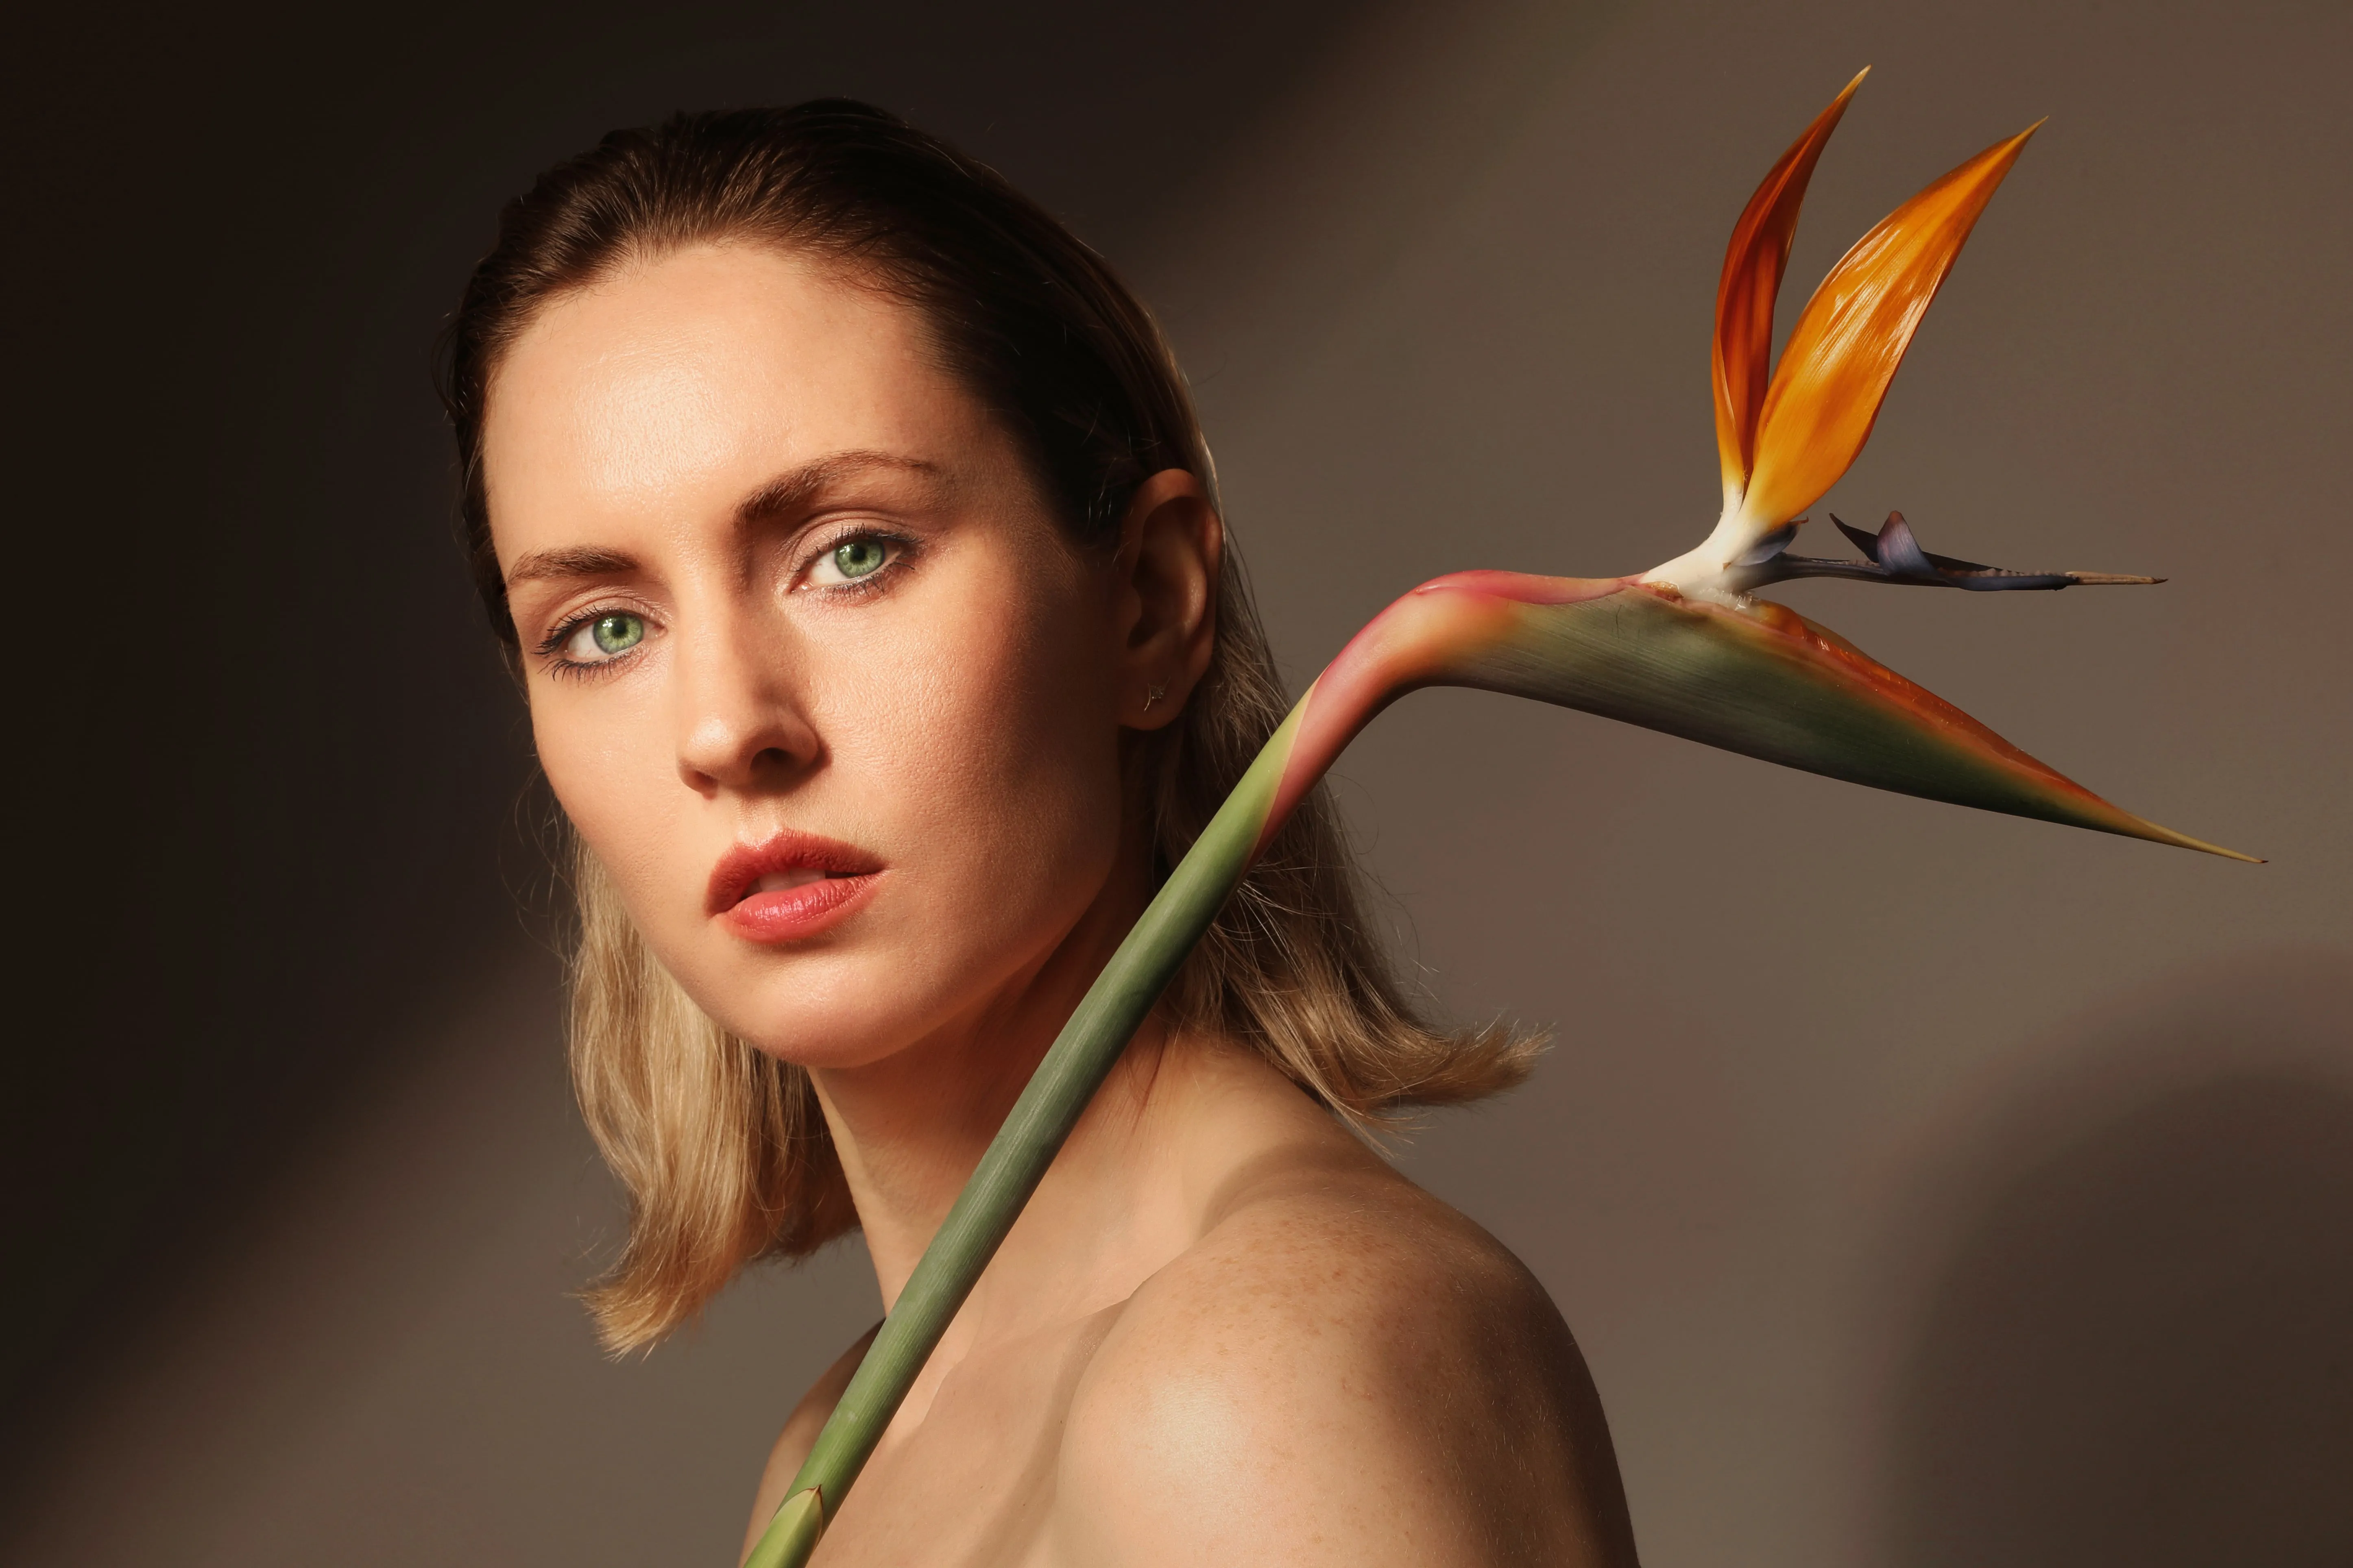
Portrait Photography


Commercial & Product Photography
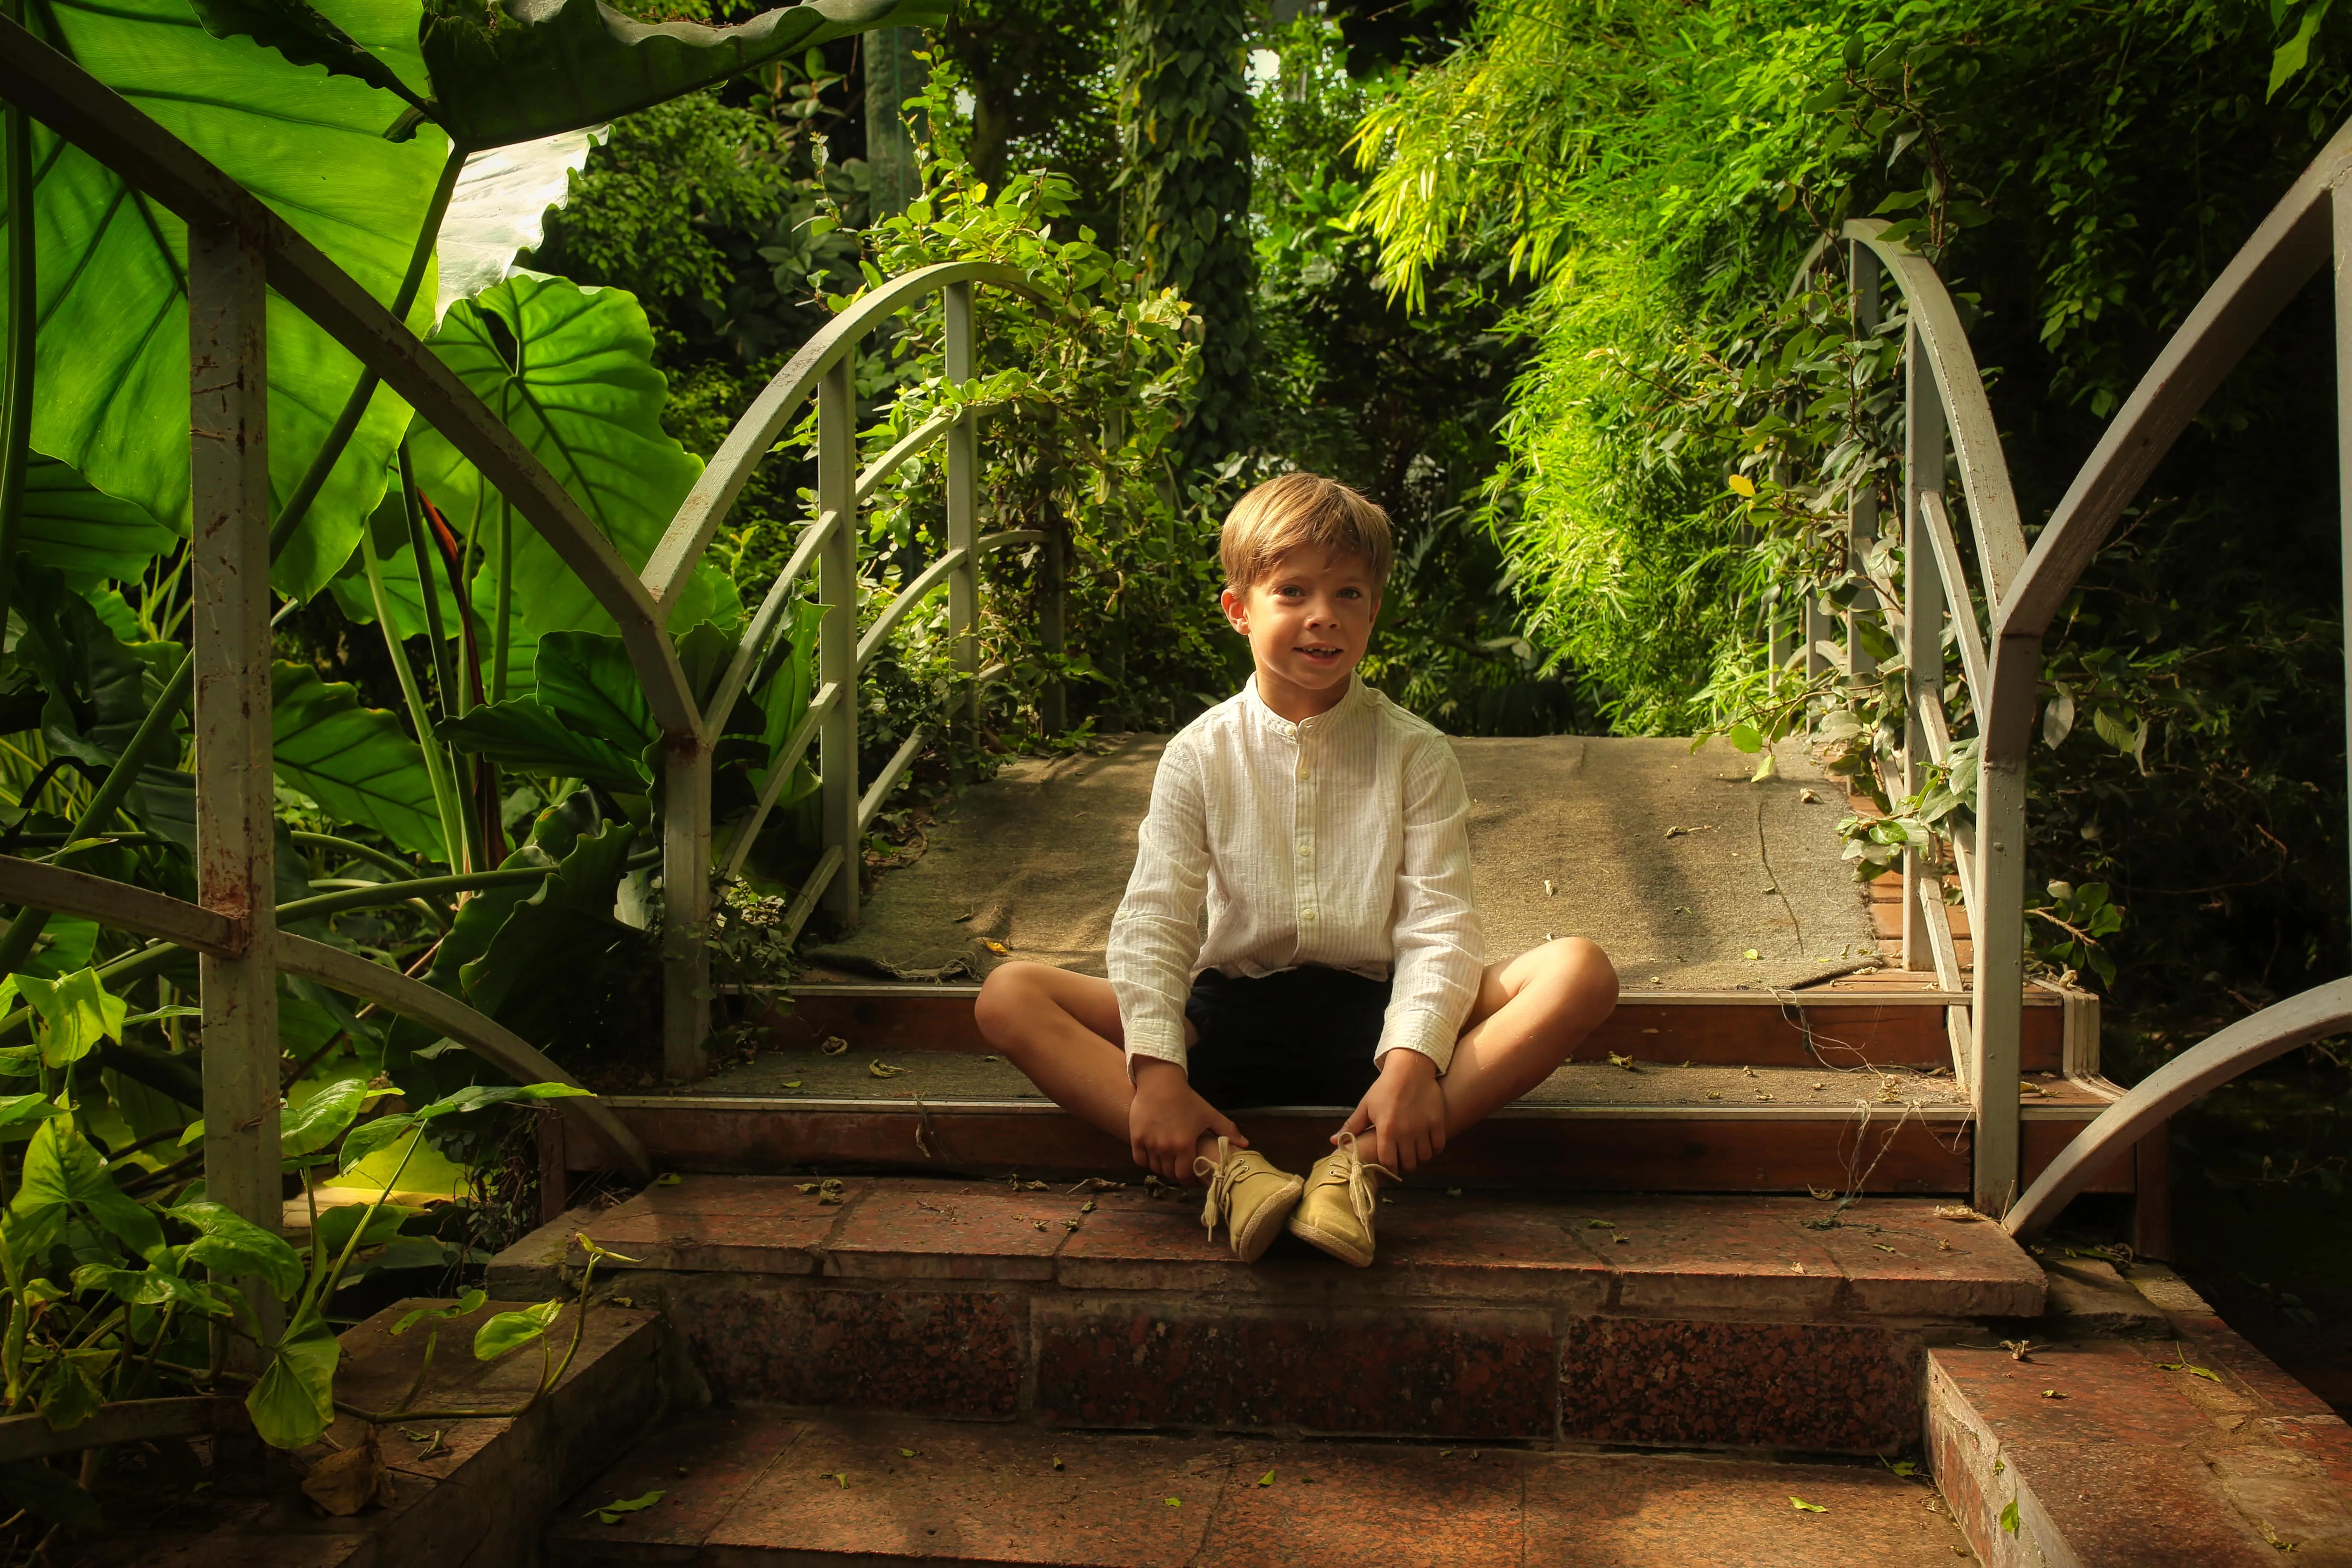
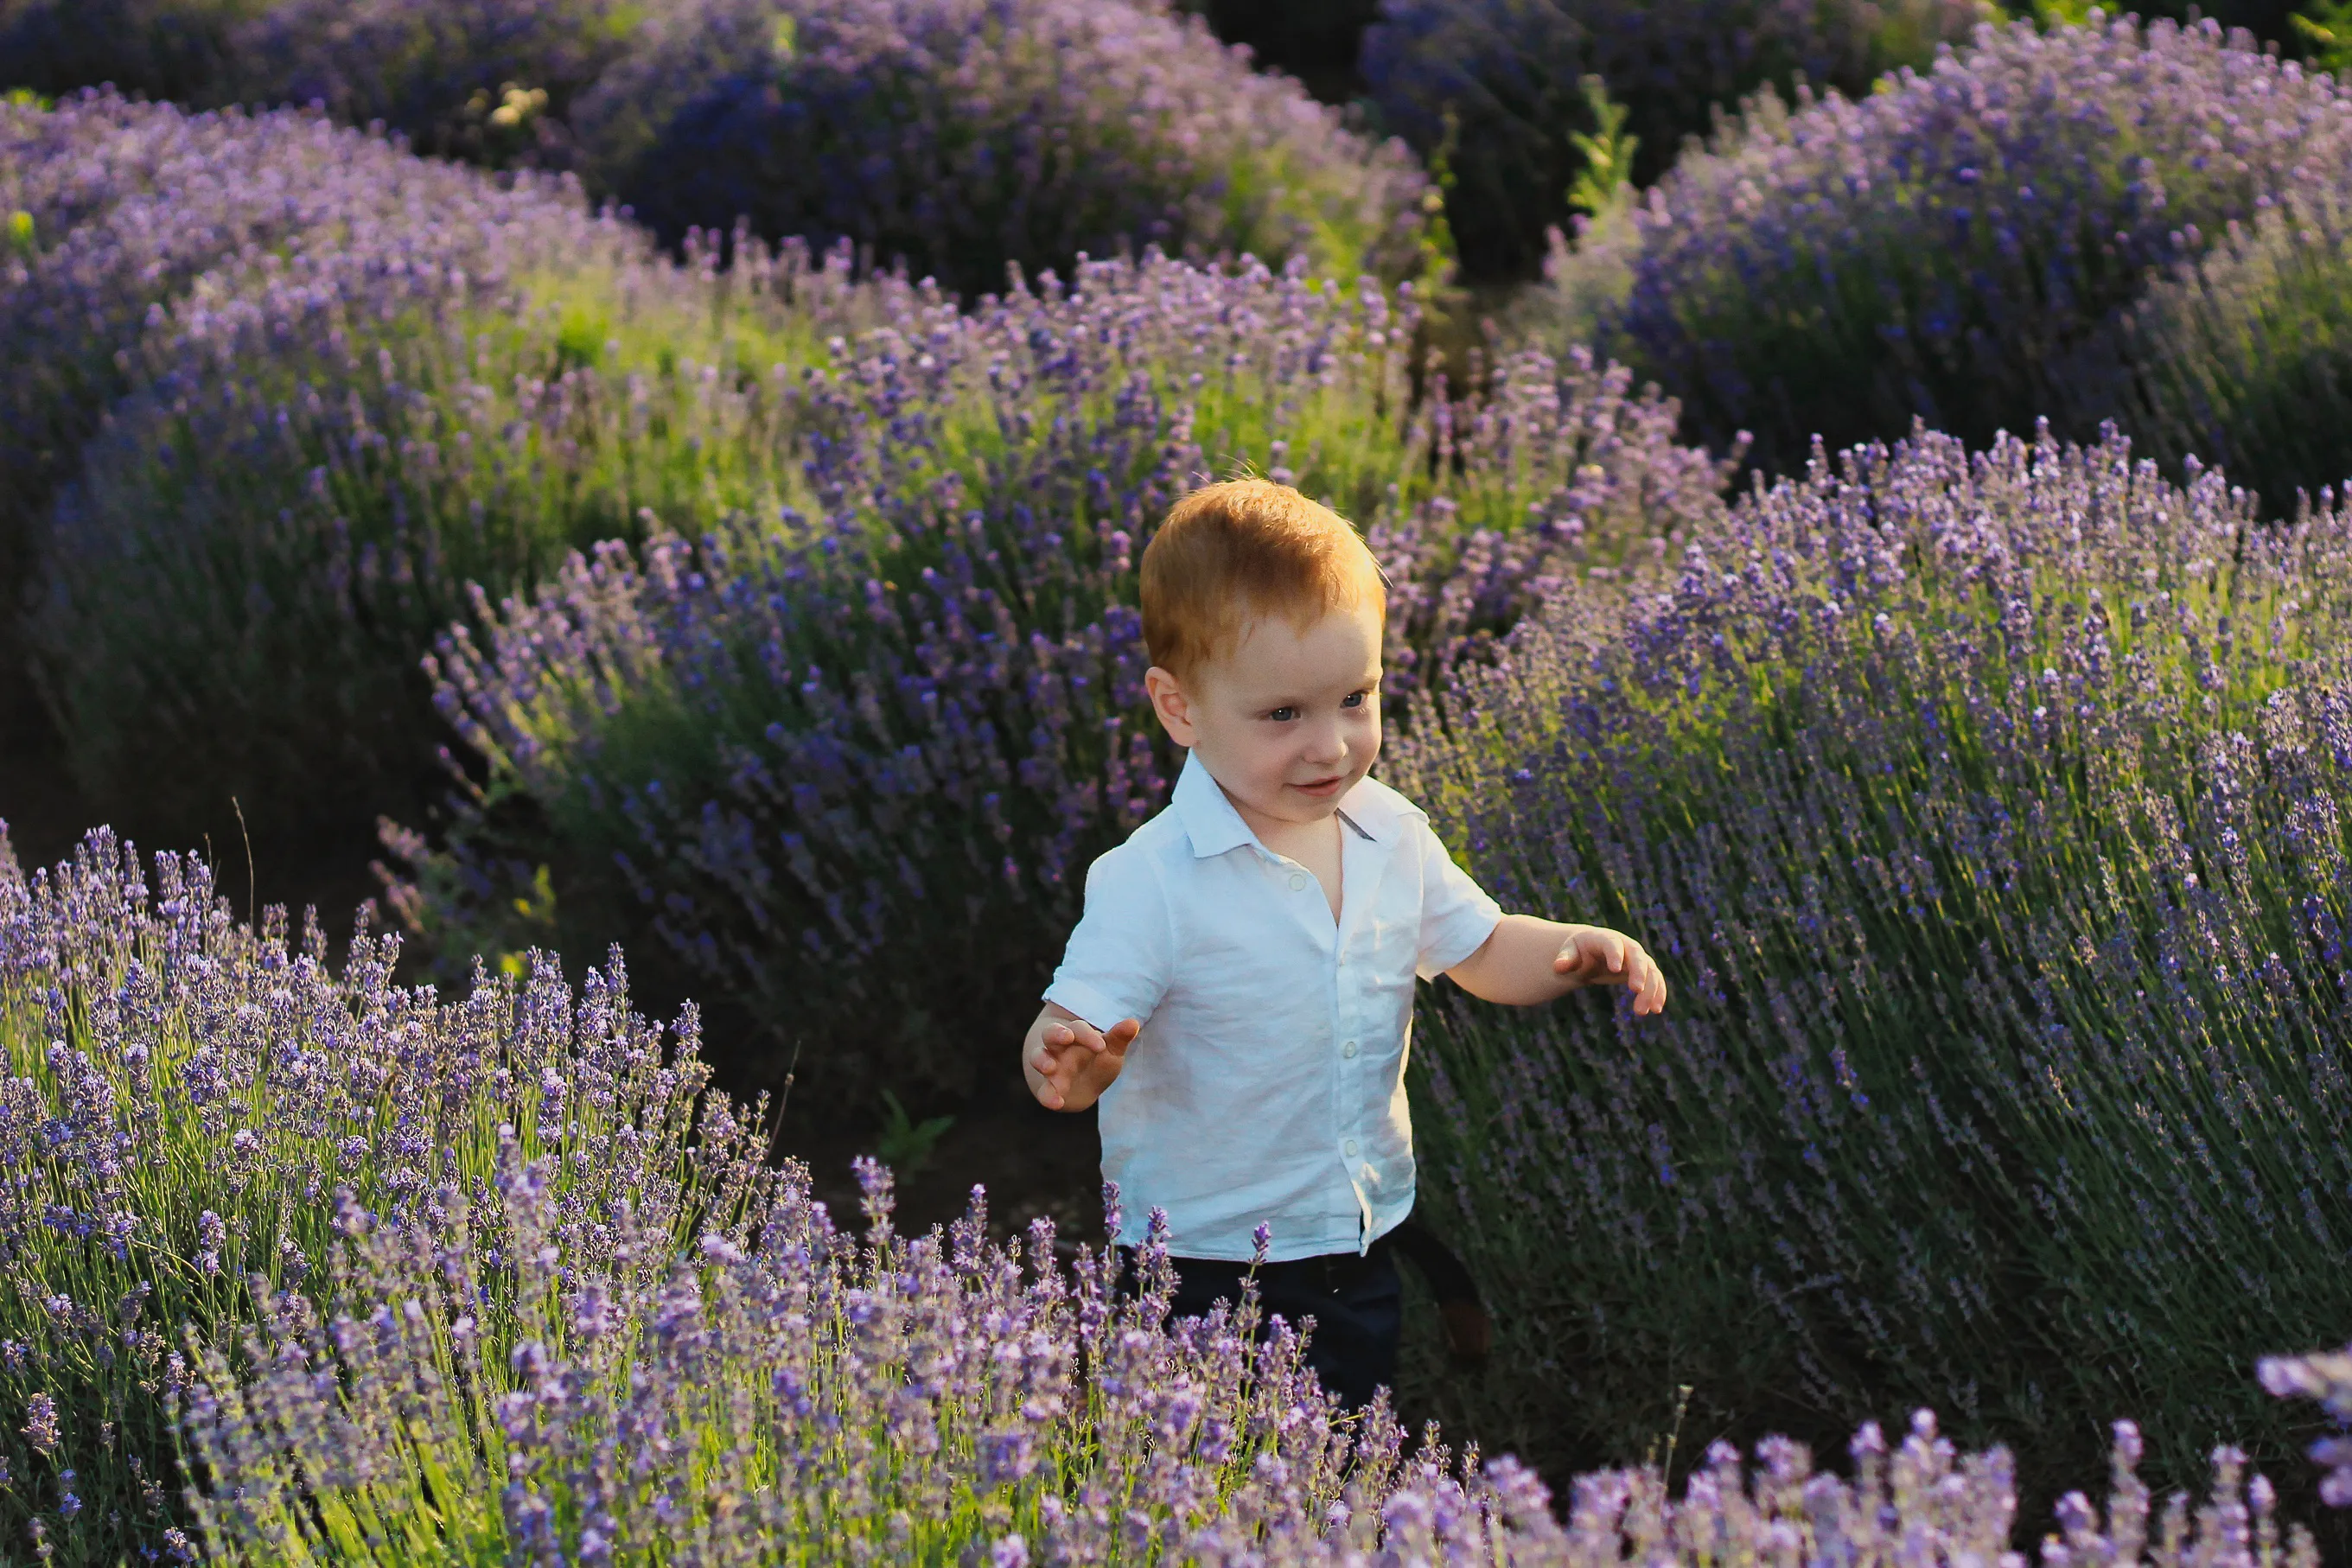
Personal Photos


Travel Photography


Lifestyle & Social Media Photos
Explore Other Features


An application & plugin
For macOS & Windows
- High-performance AI editor
24/7 technical support
30-day money back guarantee
Join our communities