 View plans
Create Stunning Tones with Selective Colors
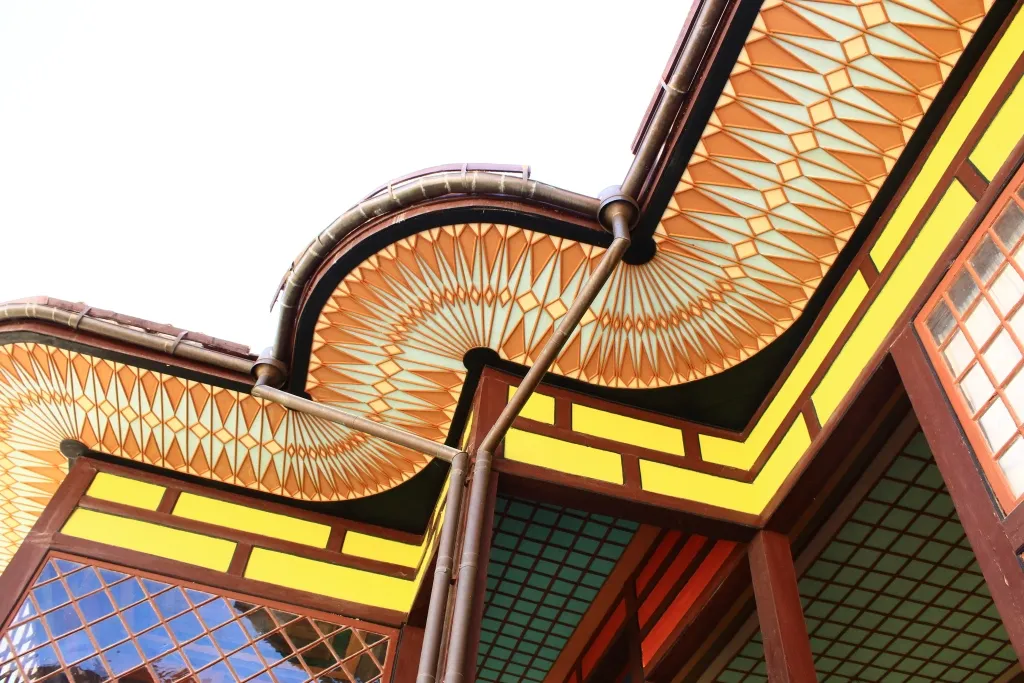
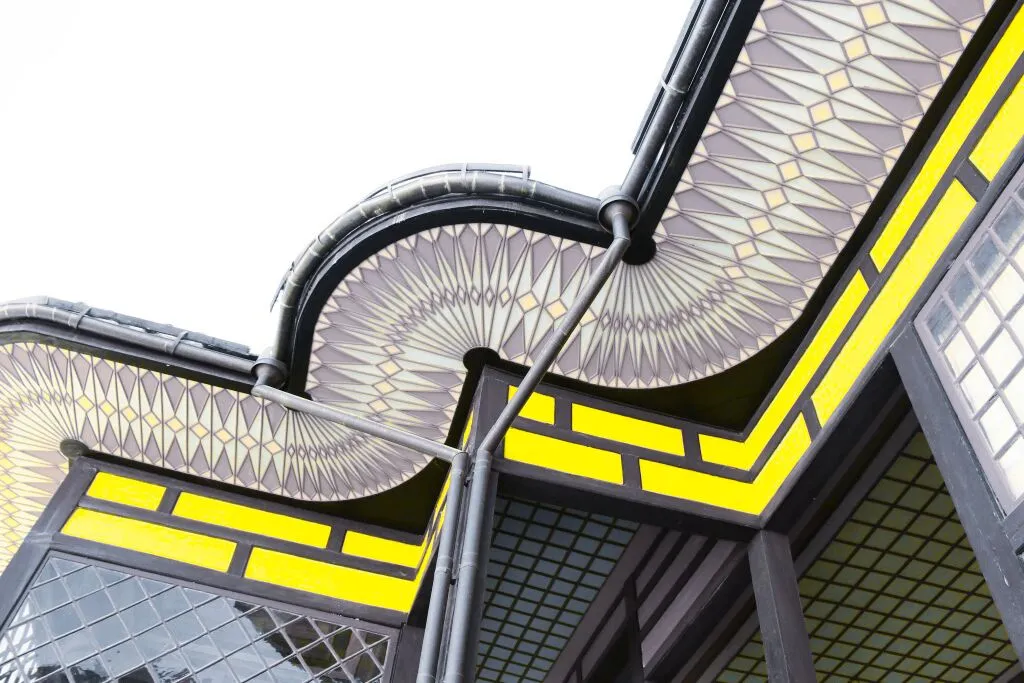
Create dramatic stylistic changes and unique artistic pictures with selective color photography in Luminar. It’s an editing technique that allows you to adjust individual tones, and an essential tool for subtle color corrections.
View plansThe Benefits of Selective Color Adjustments
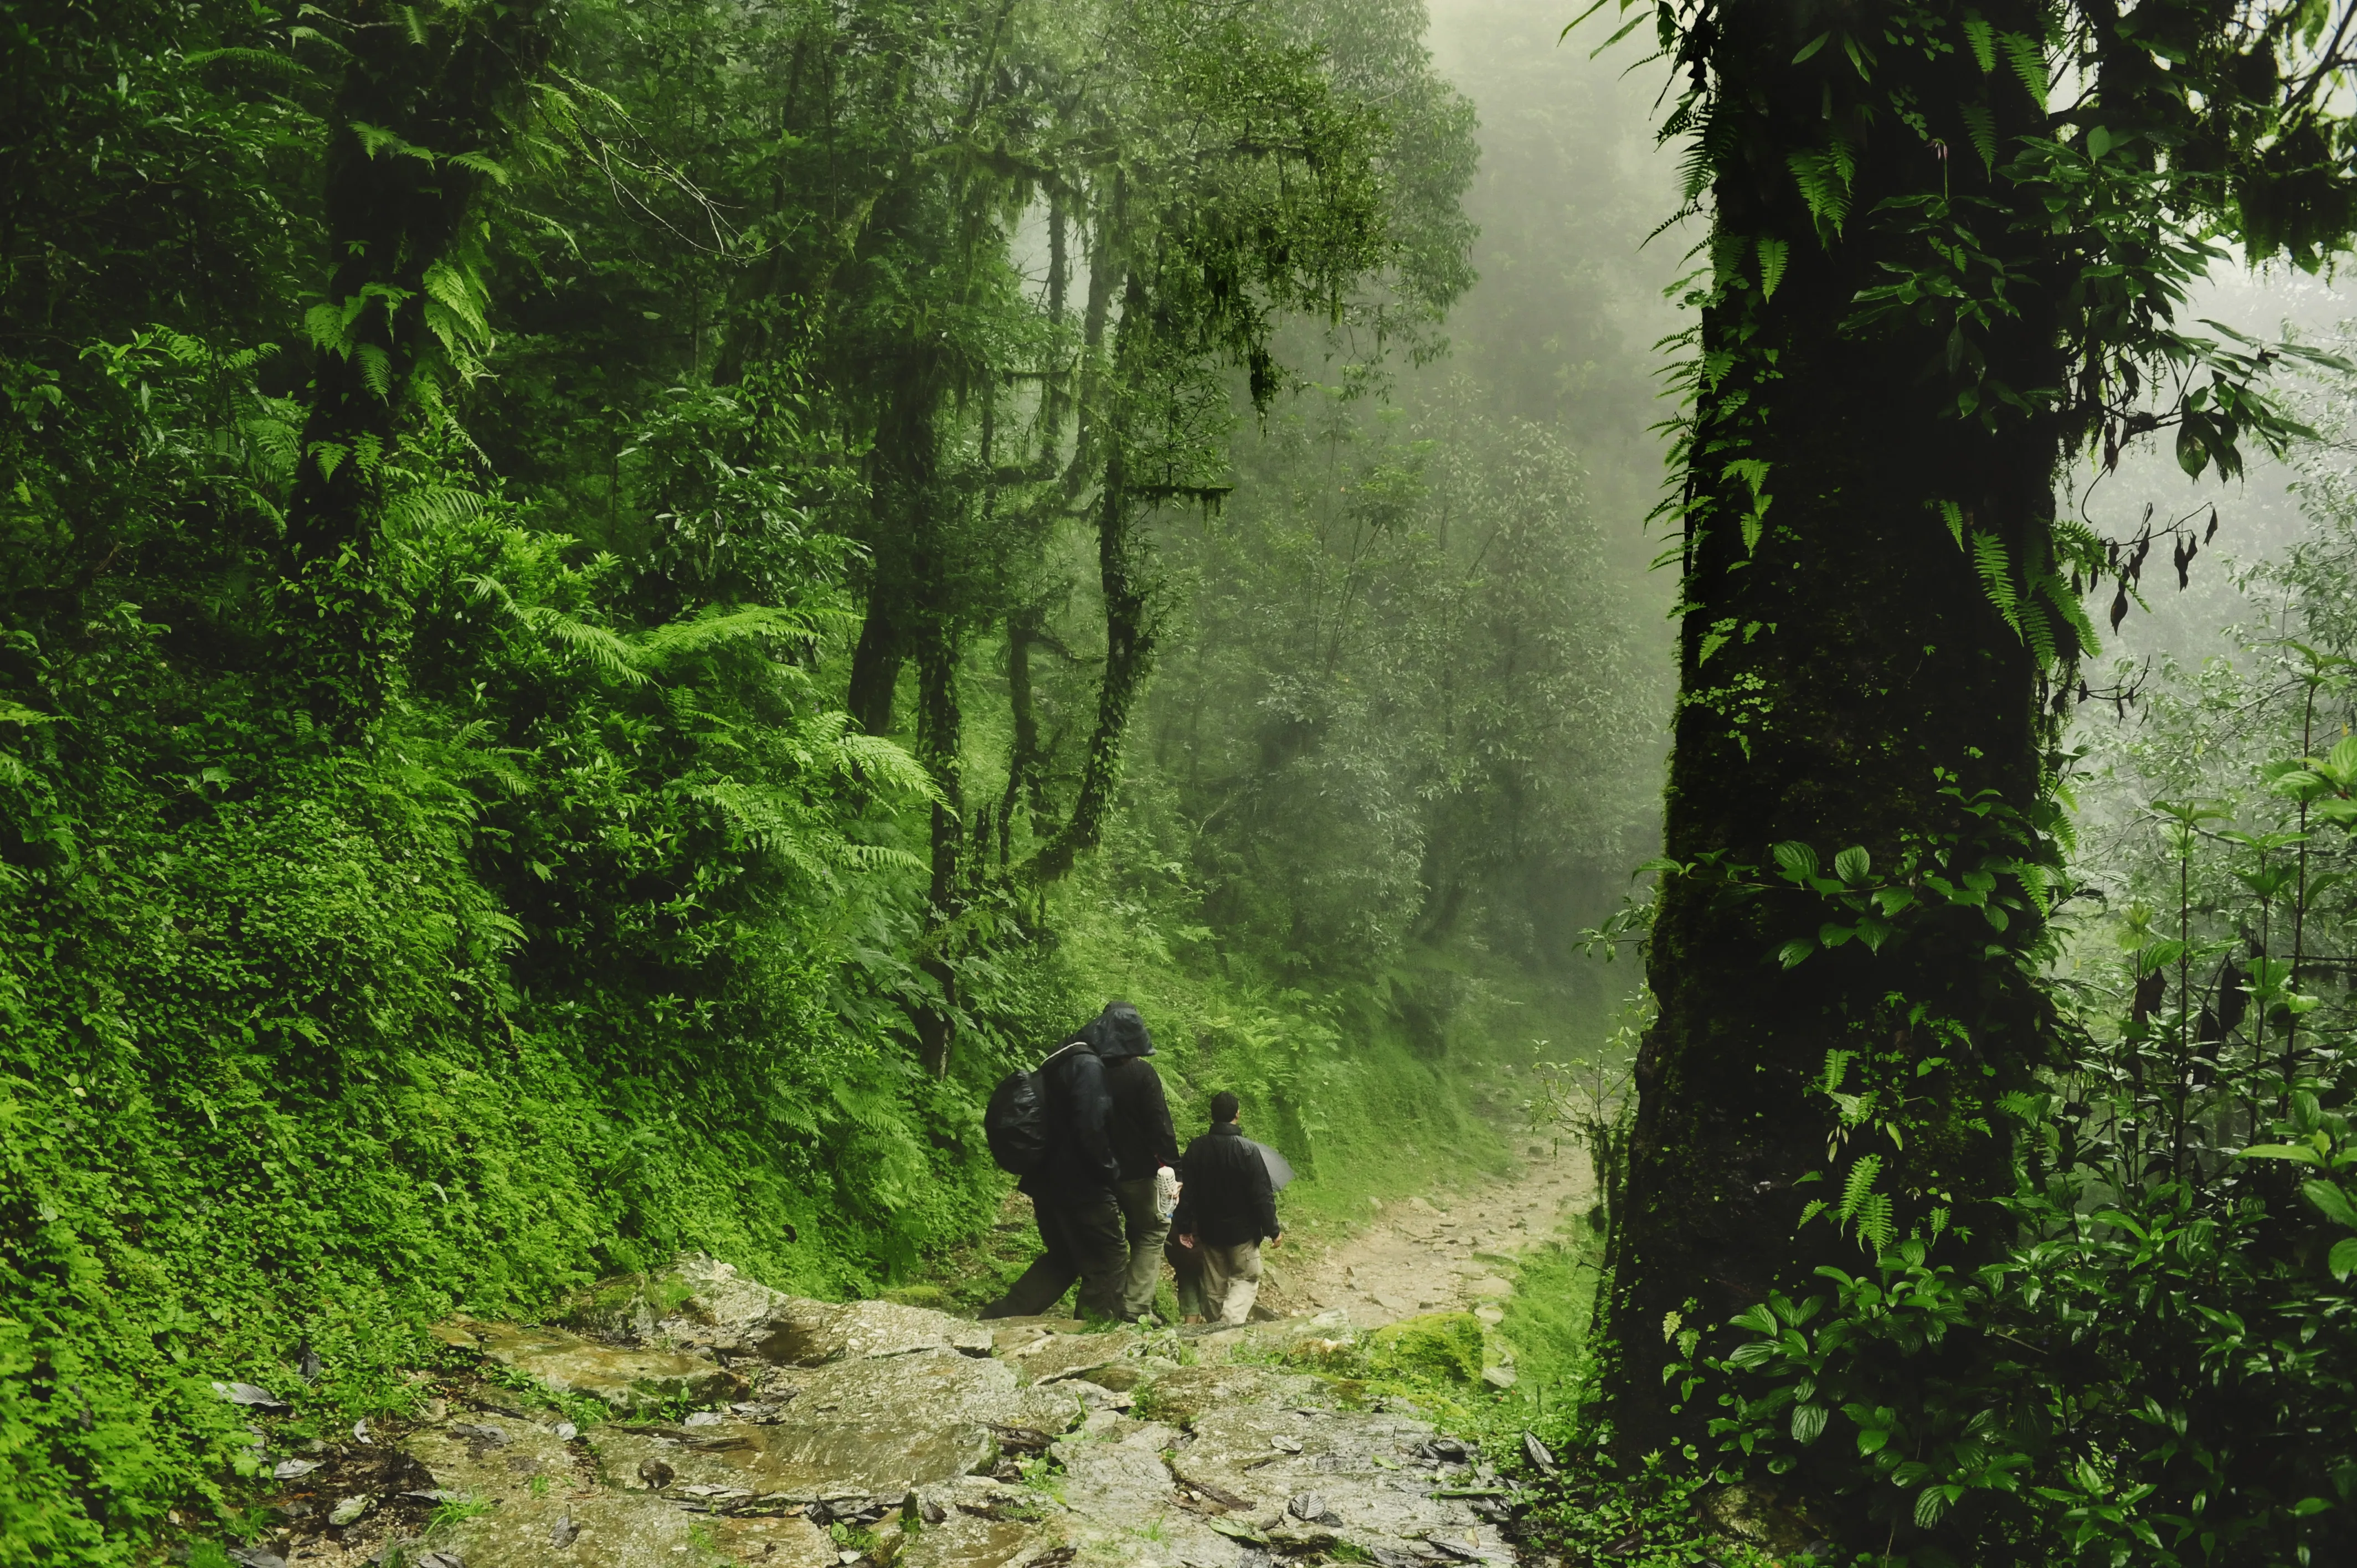
Subtle Color Corrections
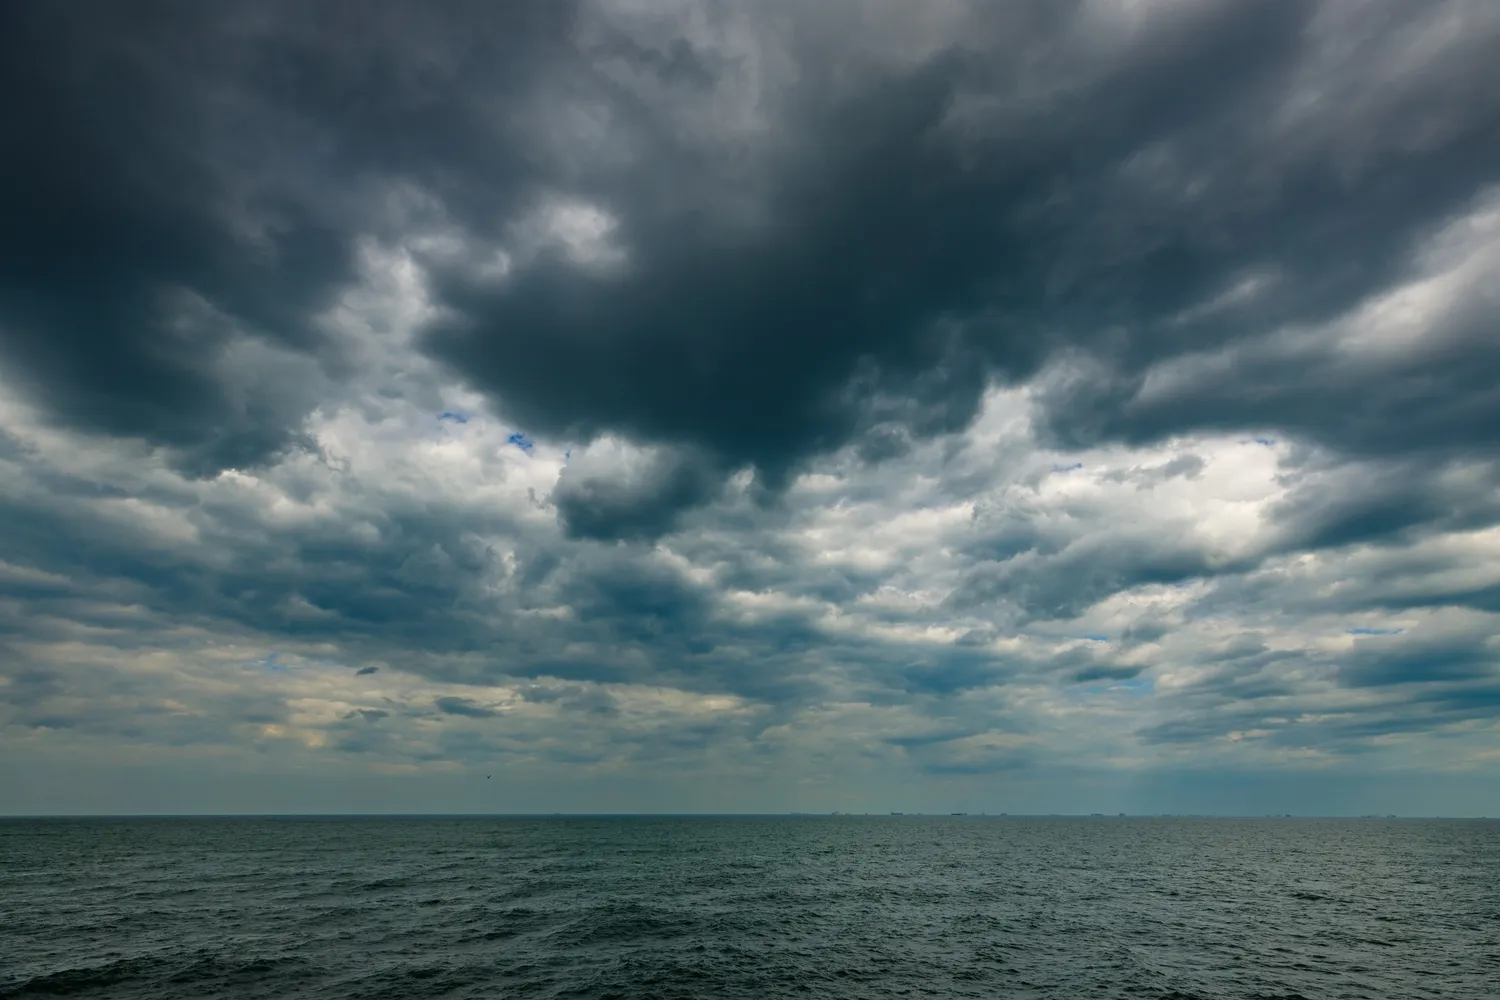
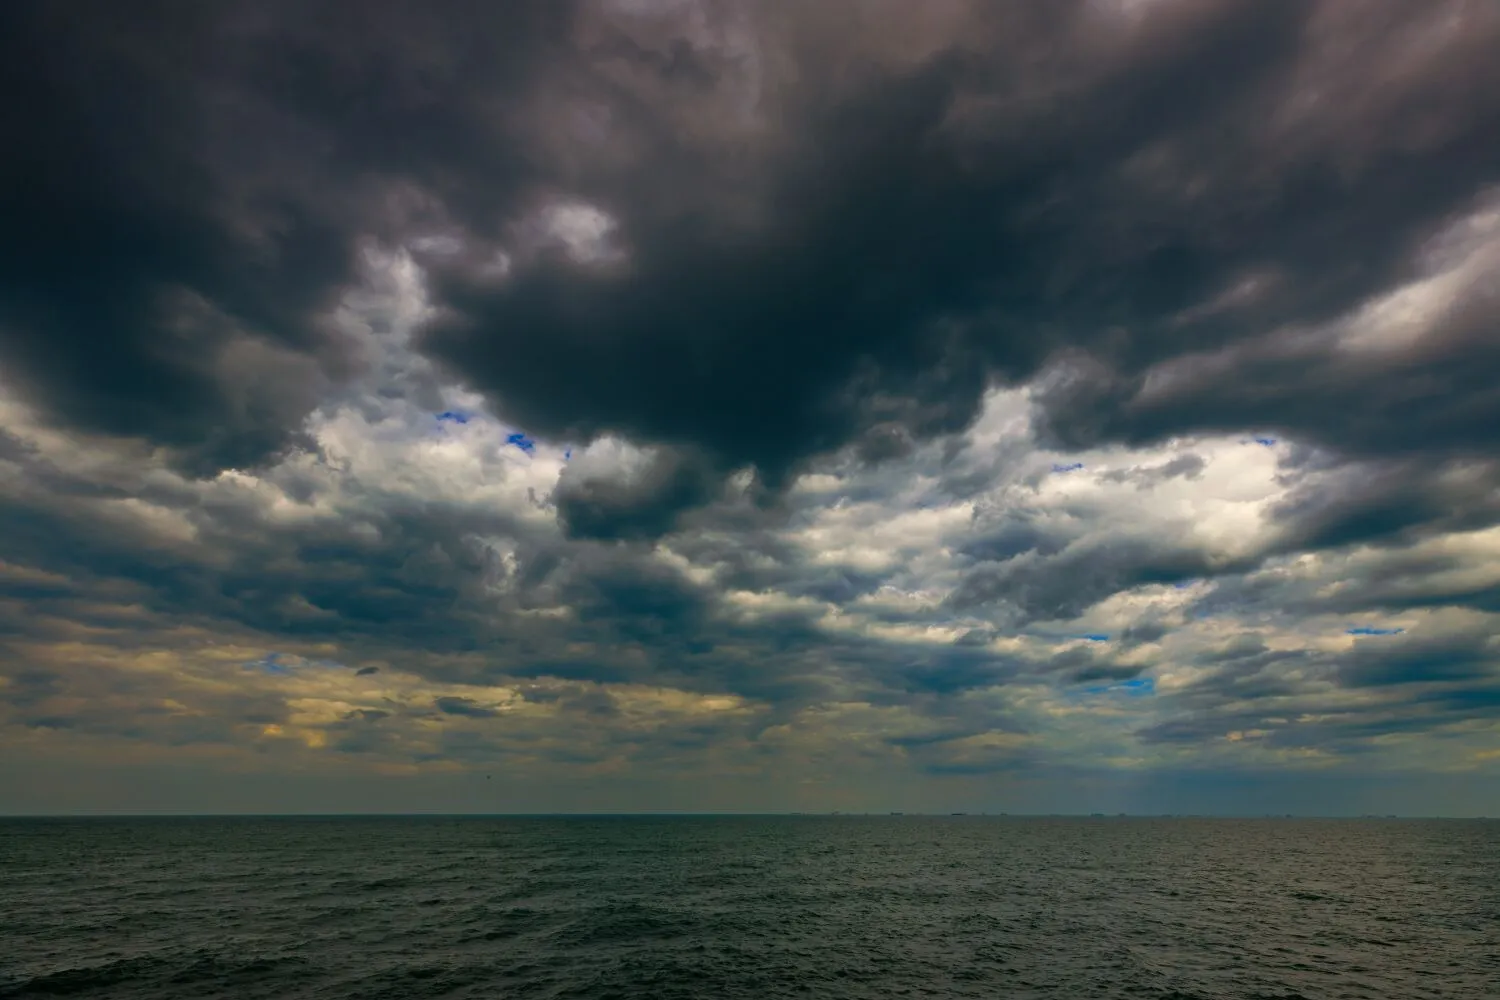
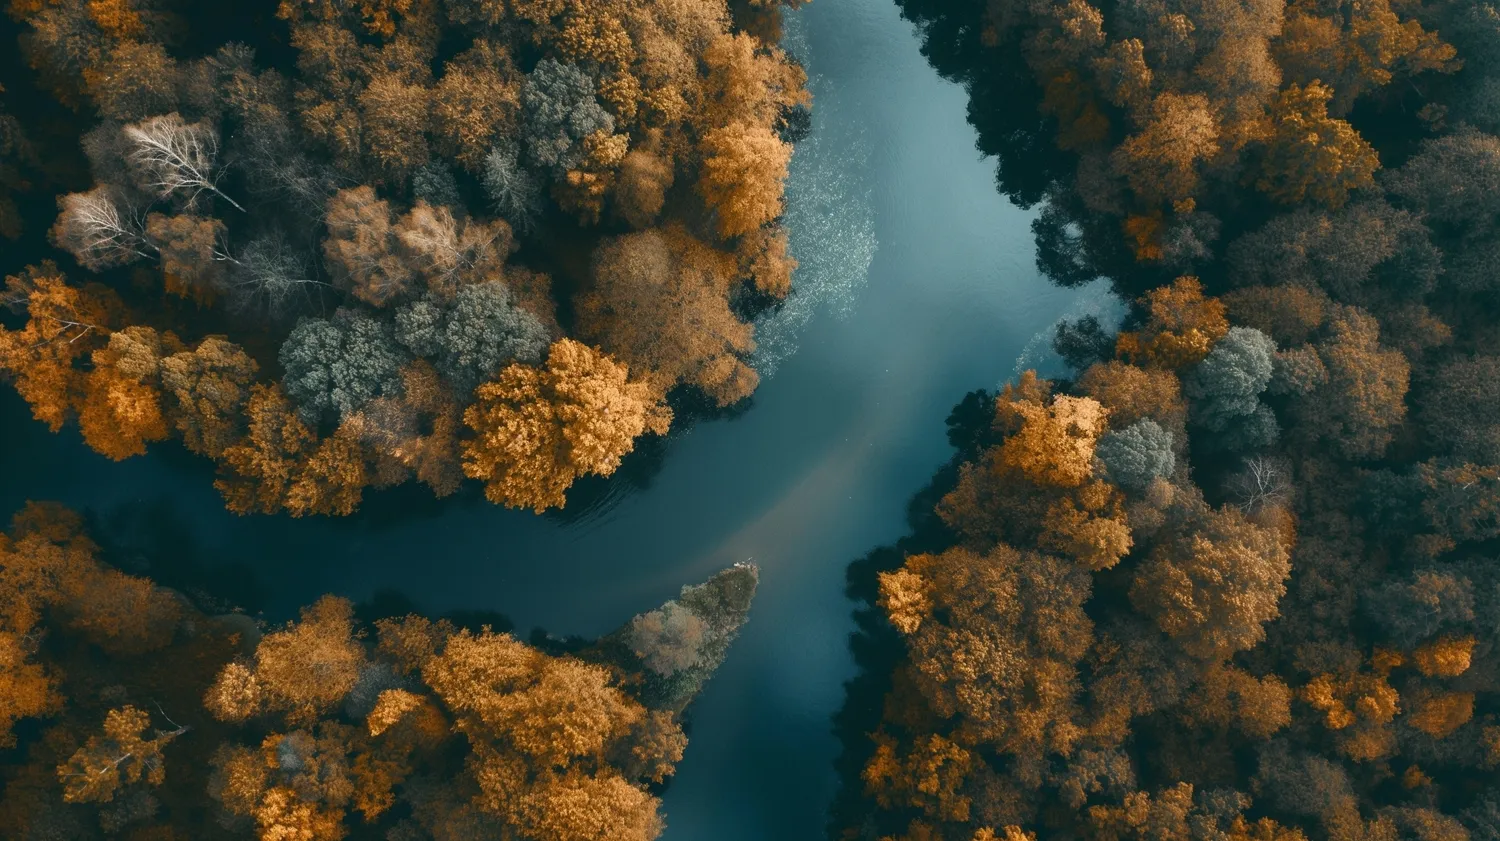
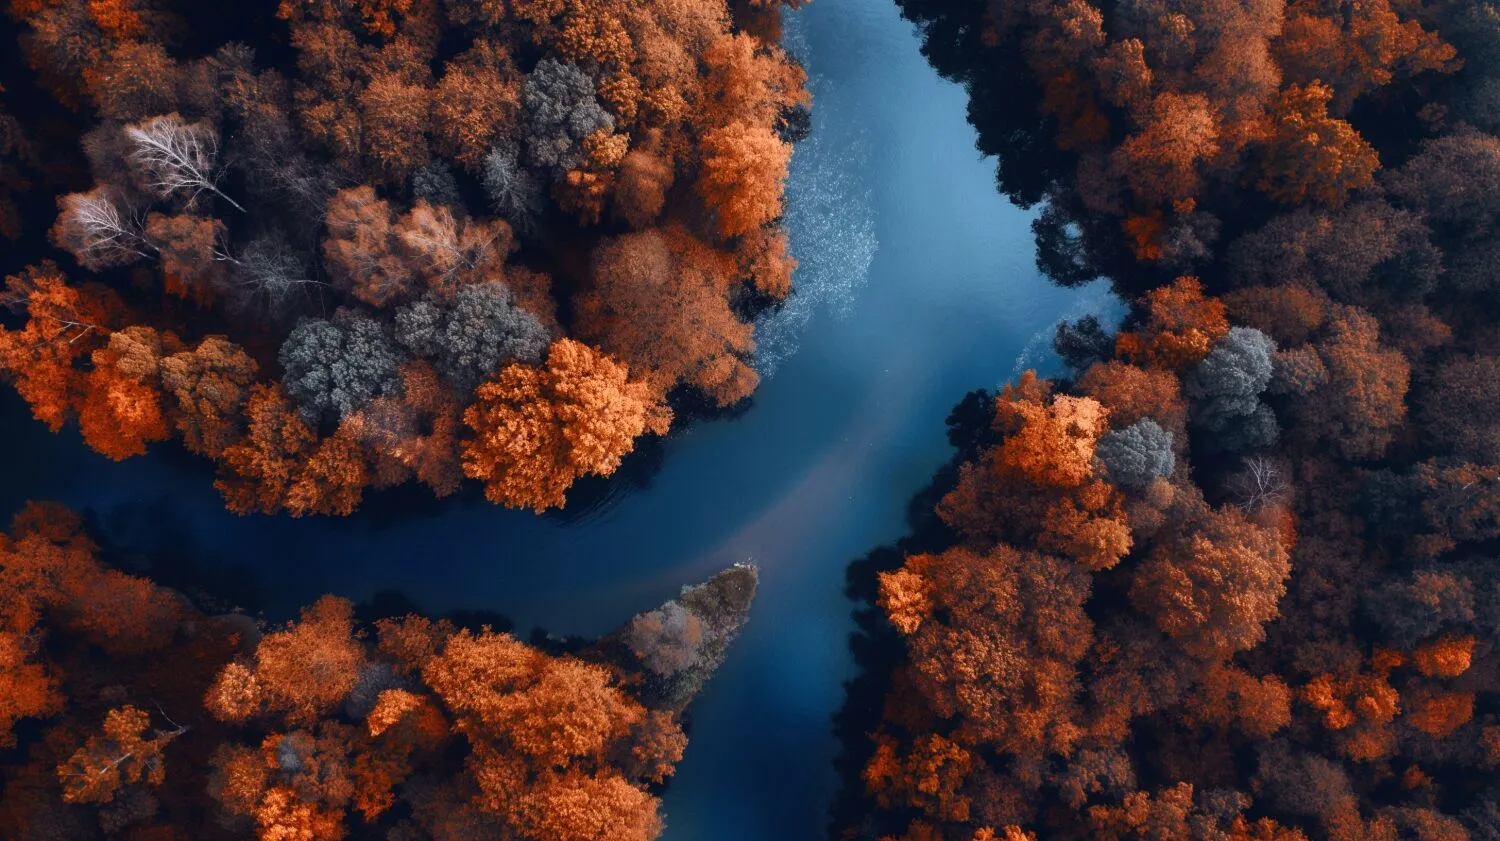
You can use HSL filters to make colors more vivid or more neutral. Selective color photos bring realistic results and are often used in landscape photography.

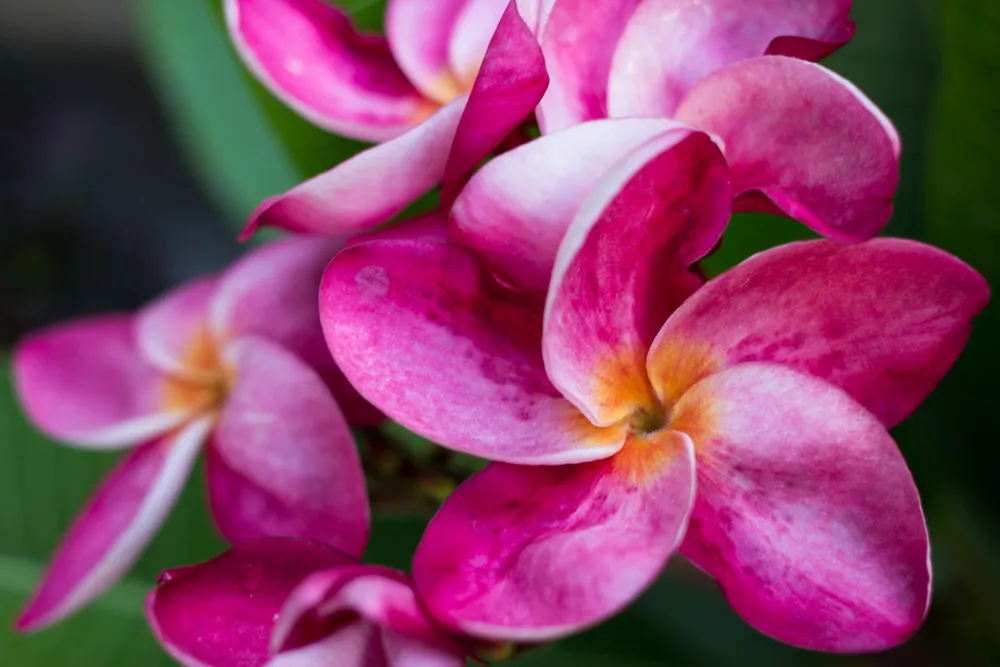
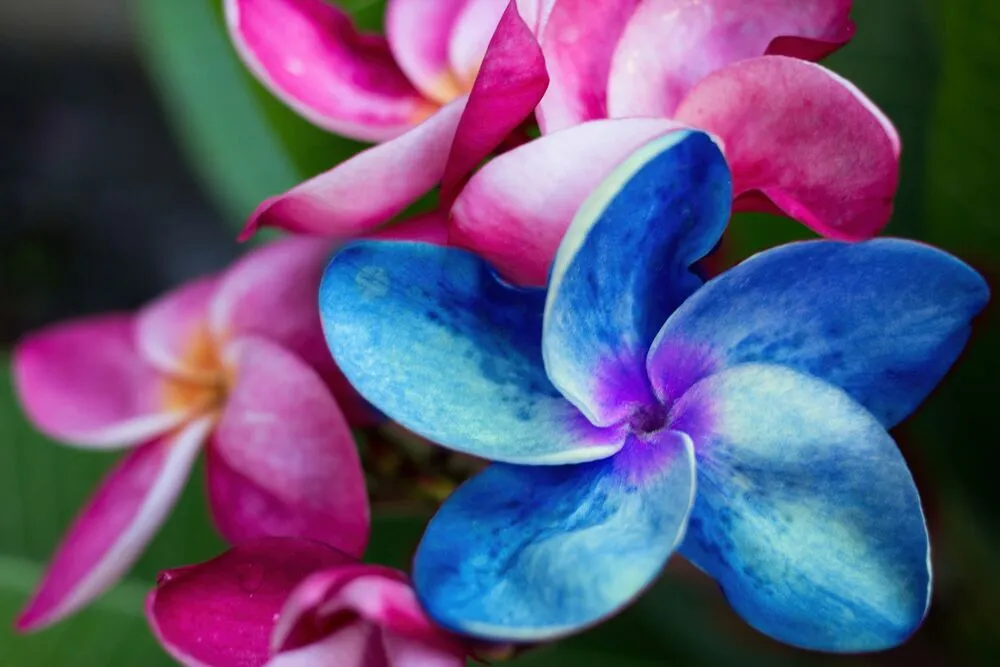
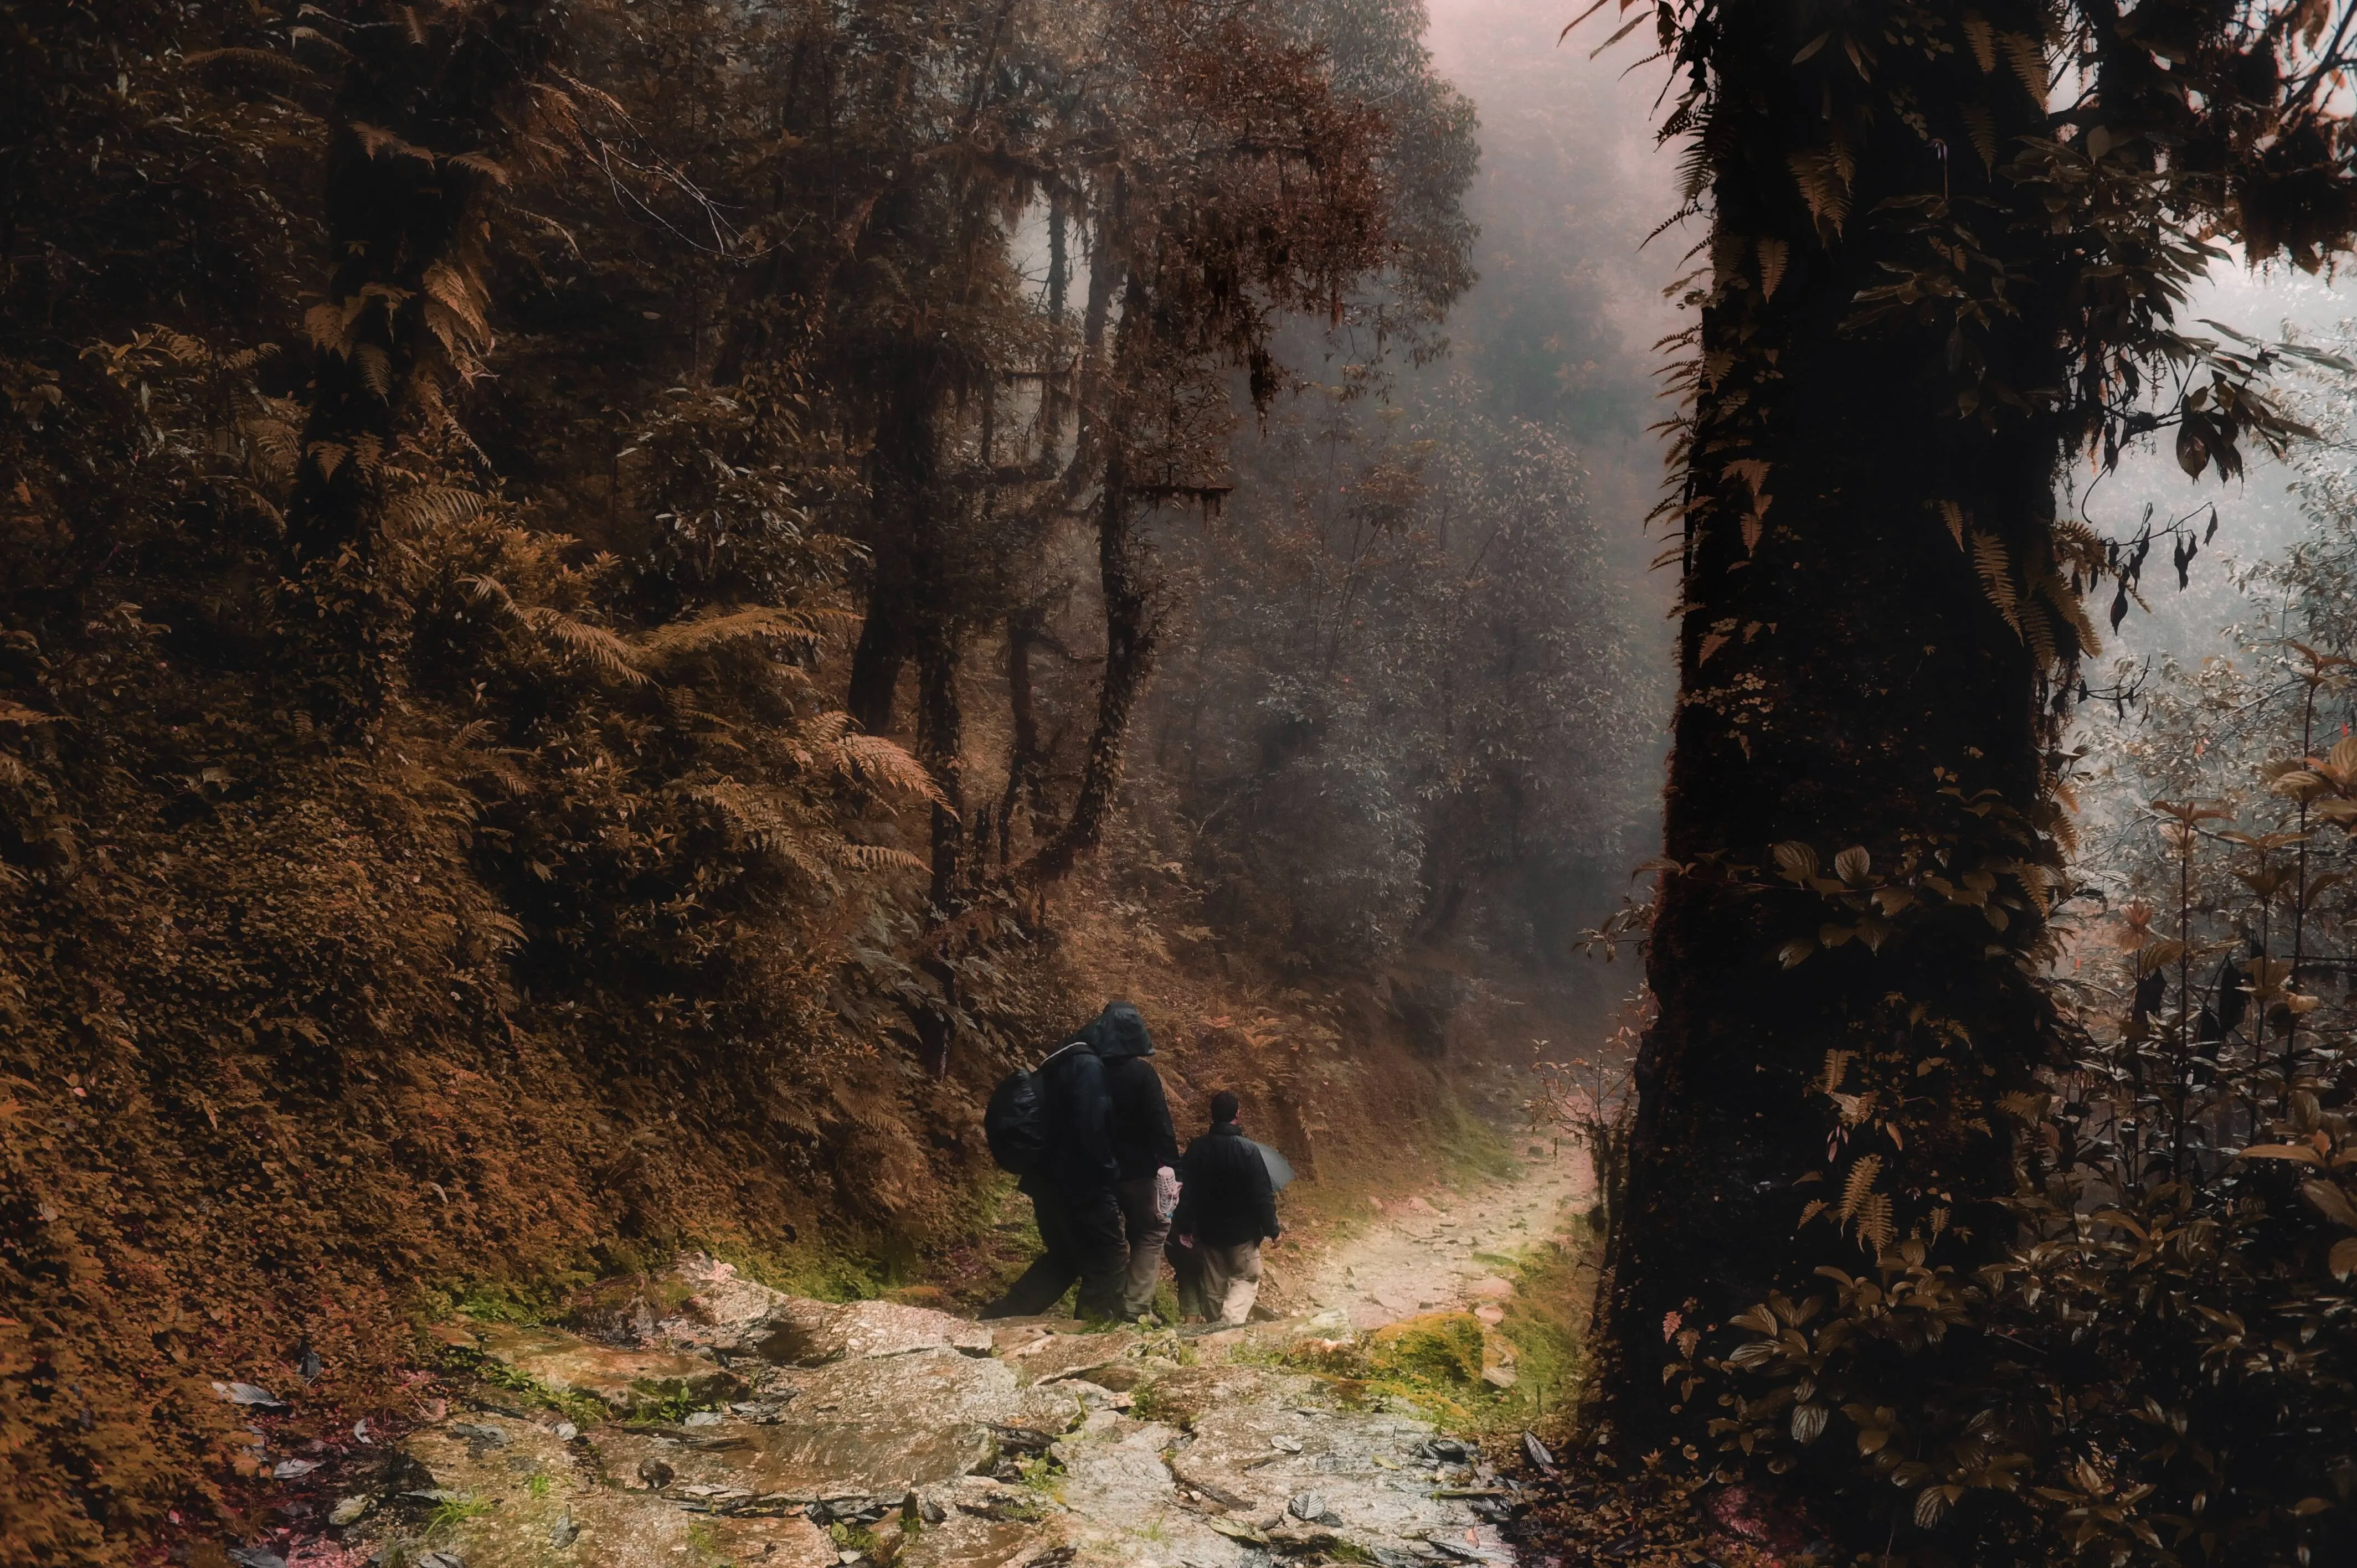
Selective Colorization Effect
Selective color adjustments save you from making complicated selections and working with layers and masks.
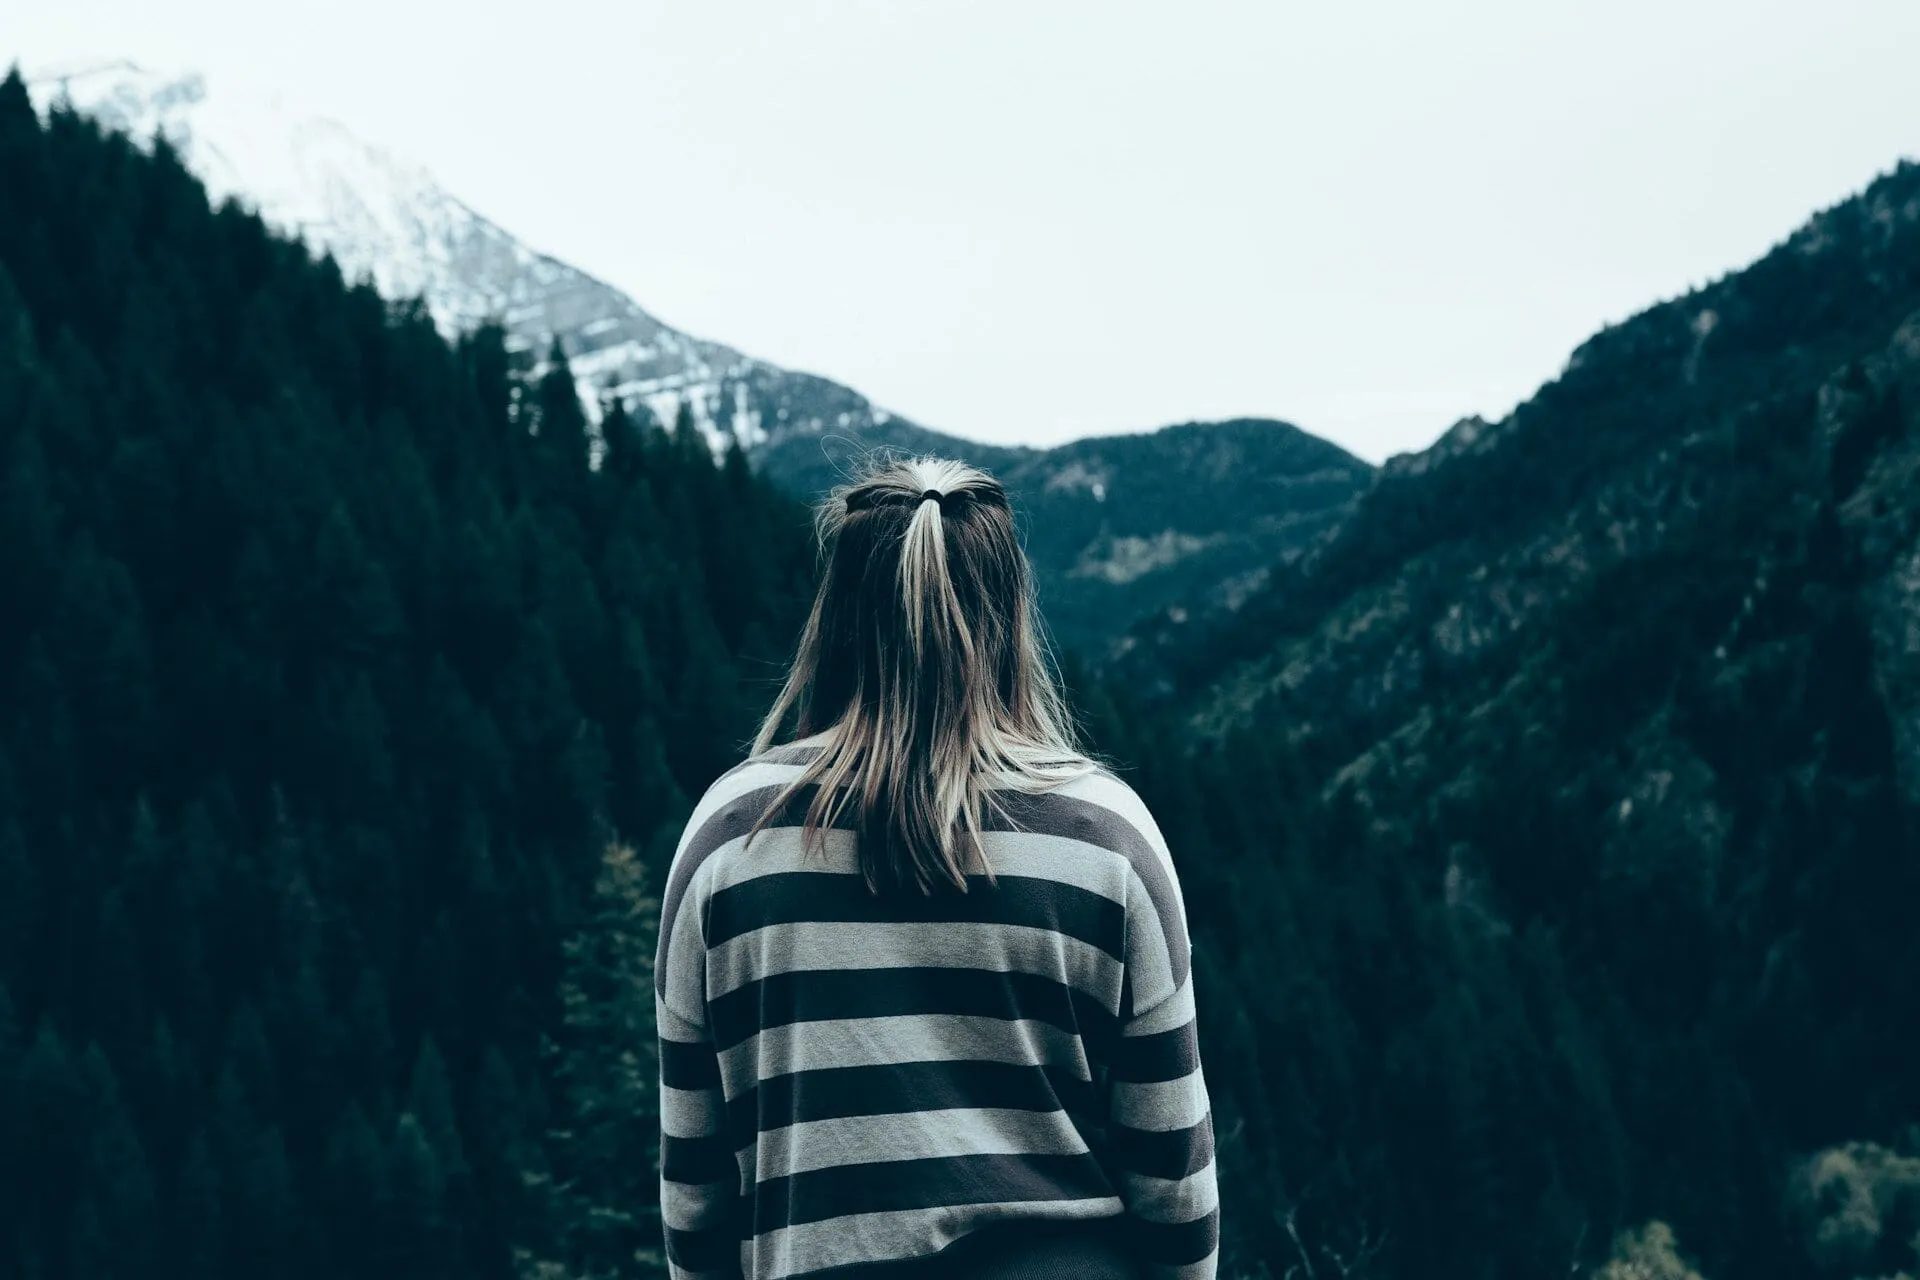
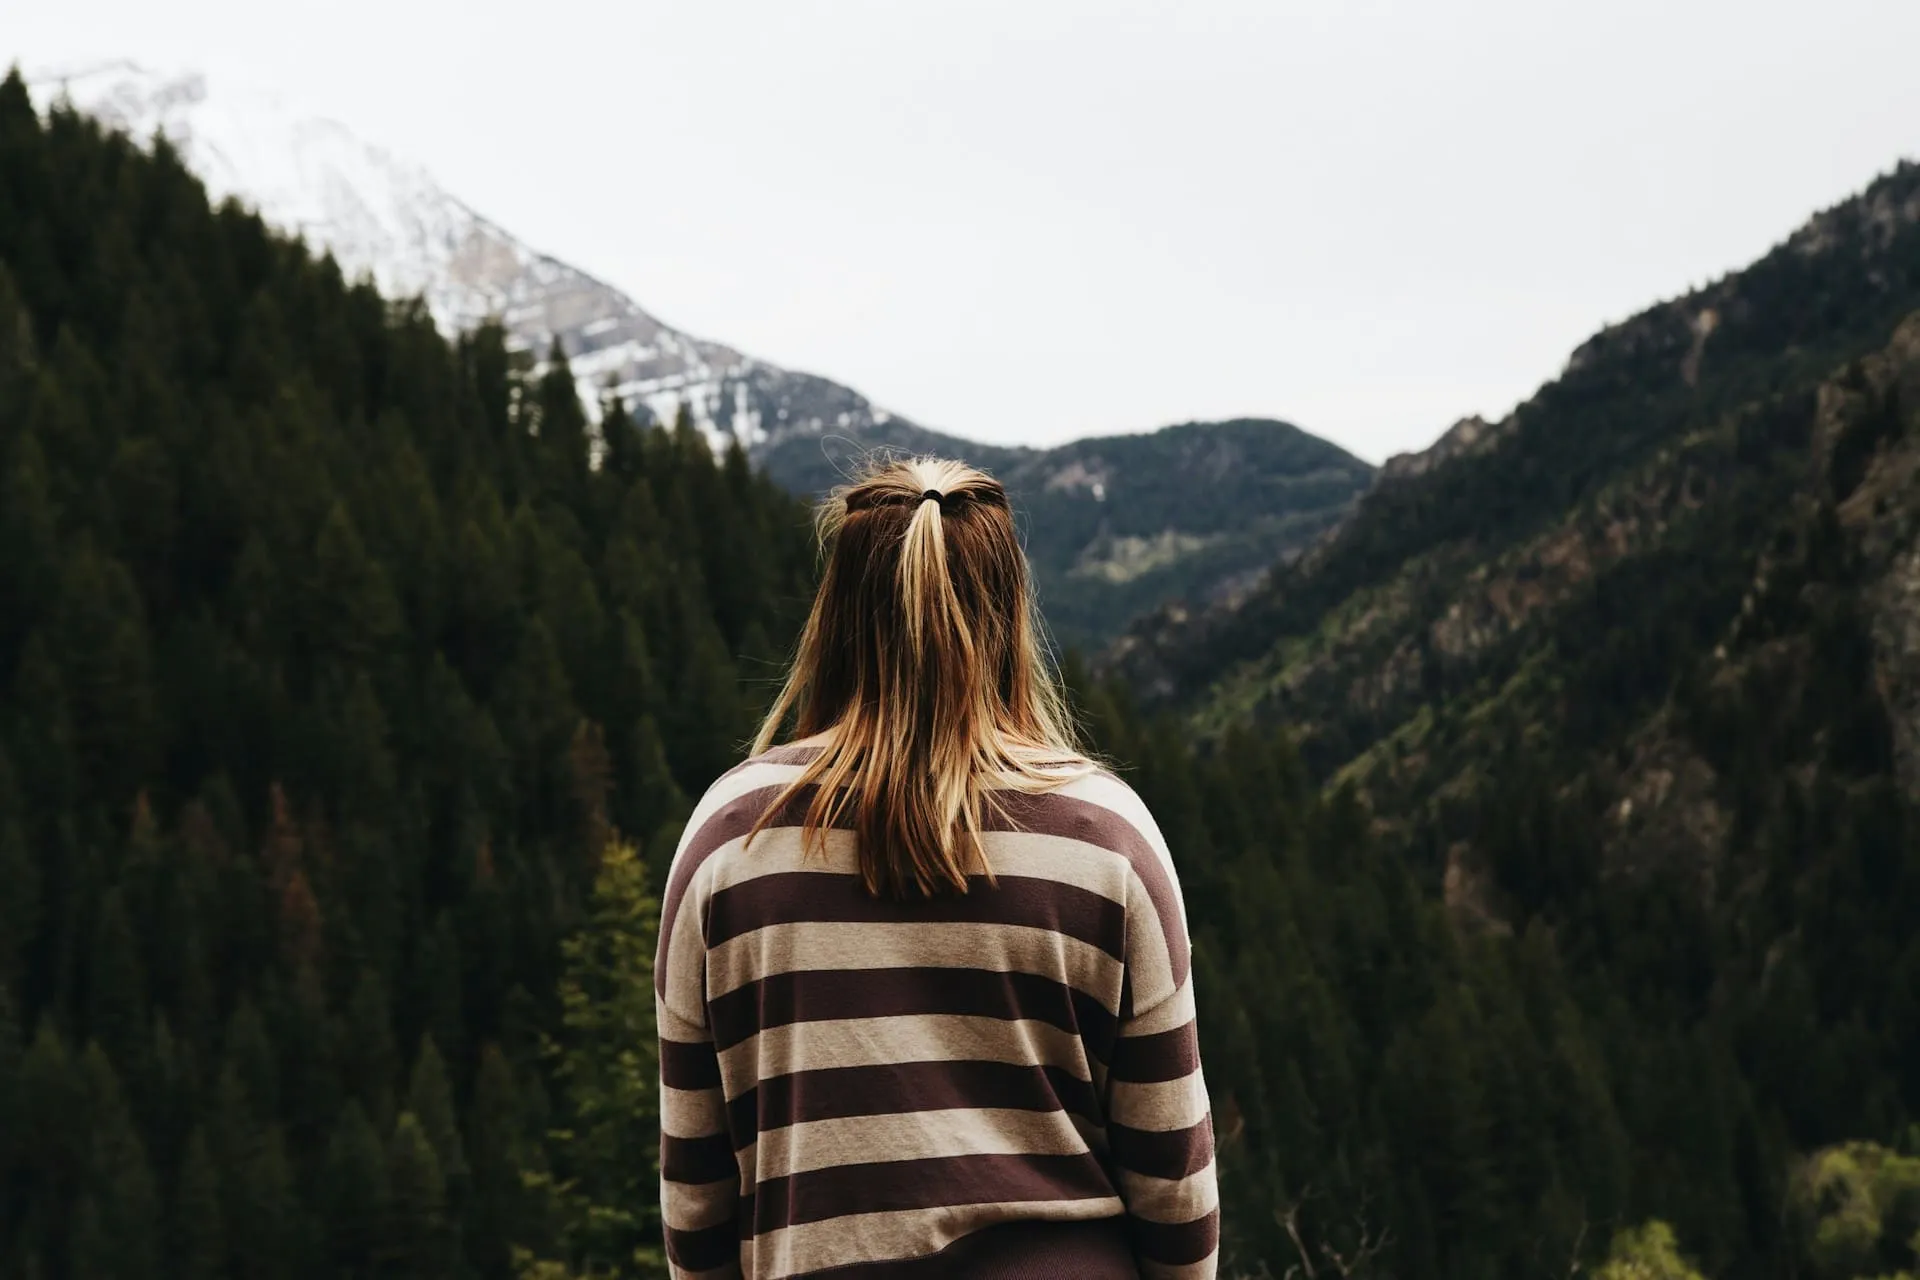
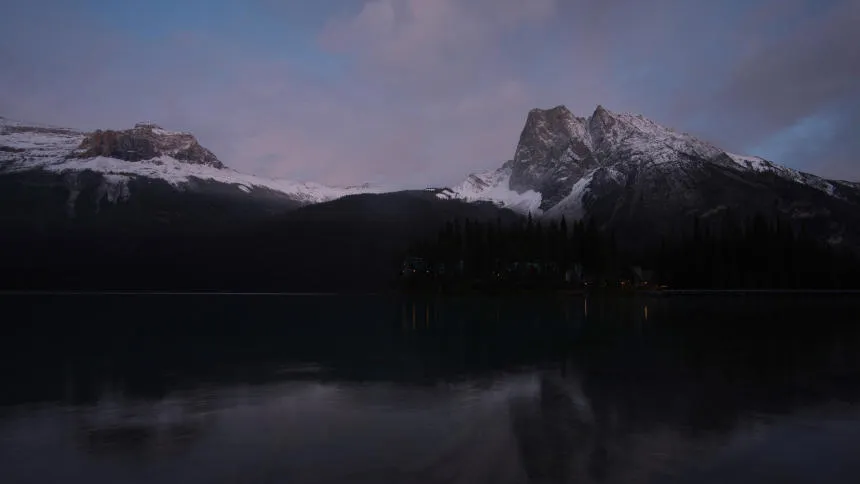
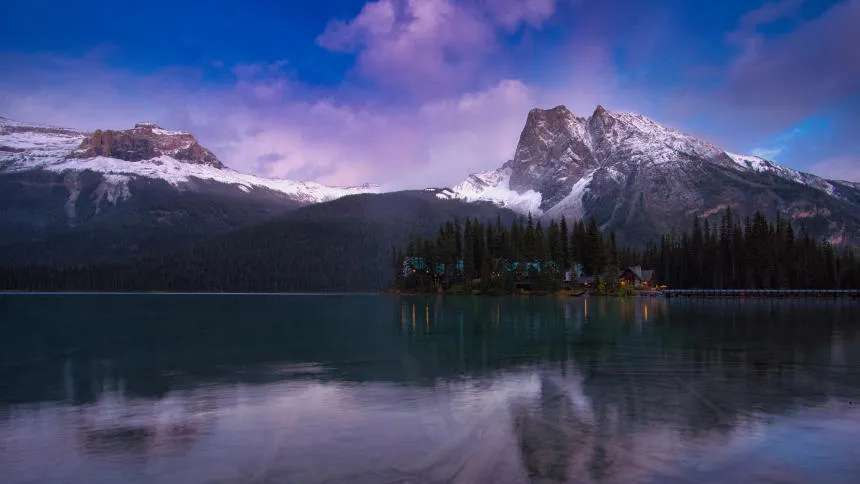
Change the Mood of Your Pictures
For example, you can adjust warm colors to enhance a sunset or cool colors to add an icy feel to a winter landscape.
How to Make Selective Color Adjustments in Luminar?

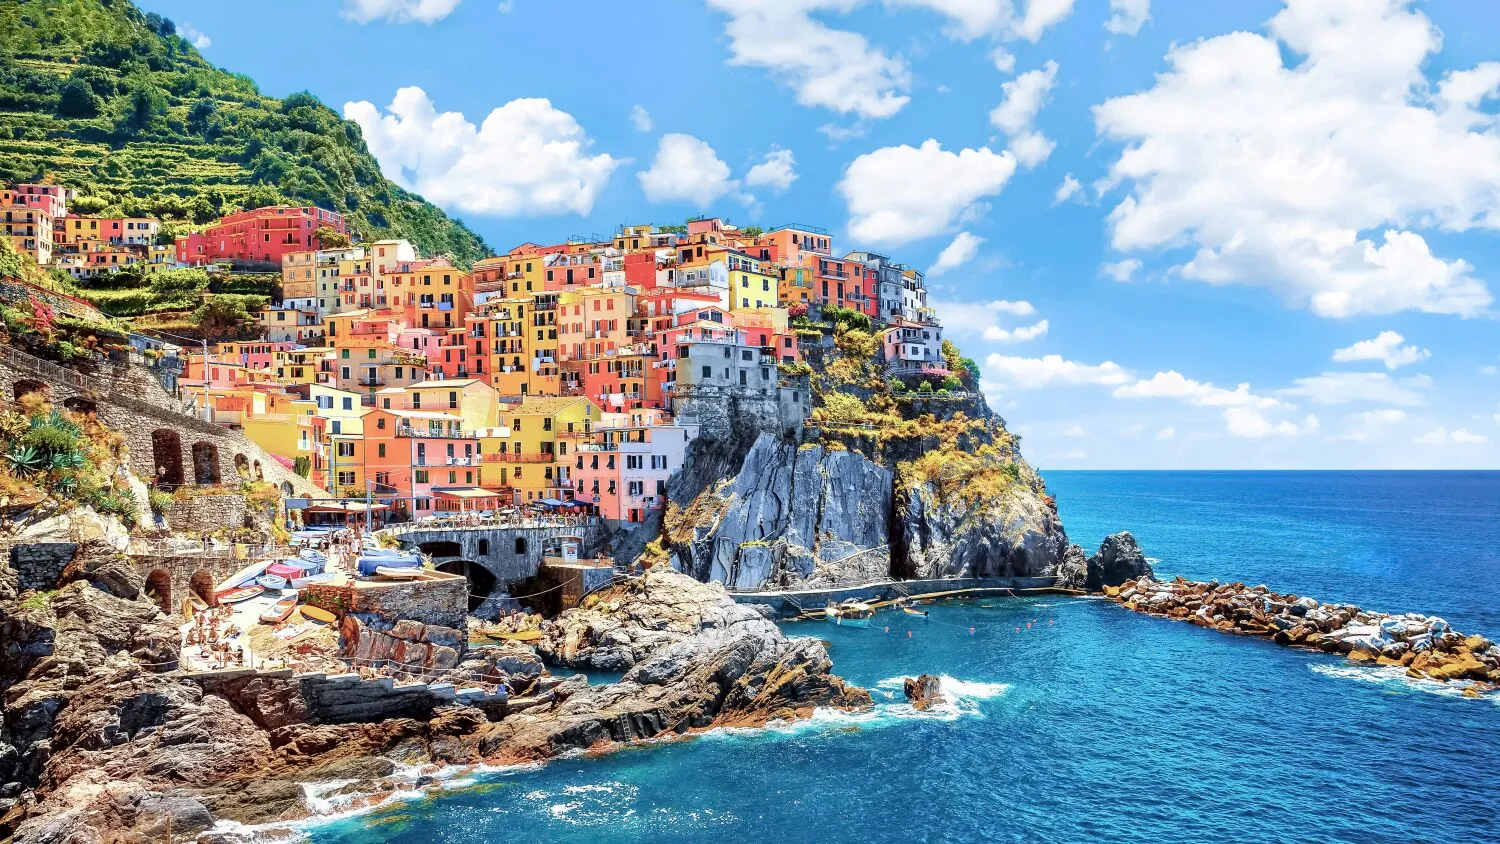
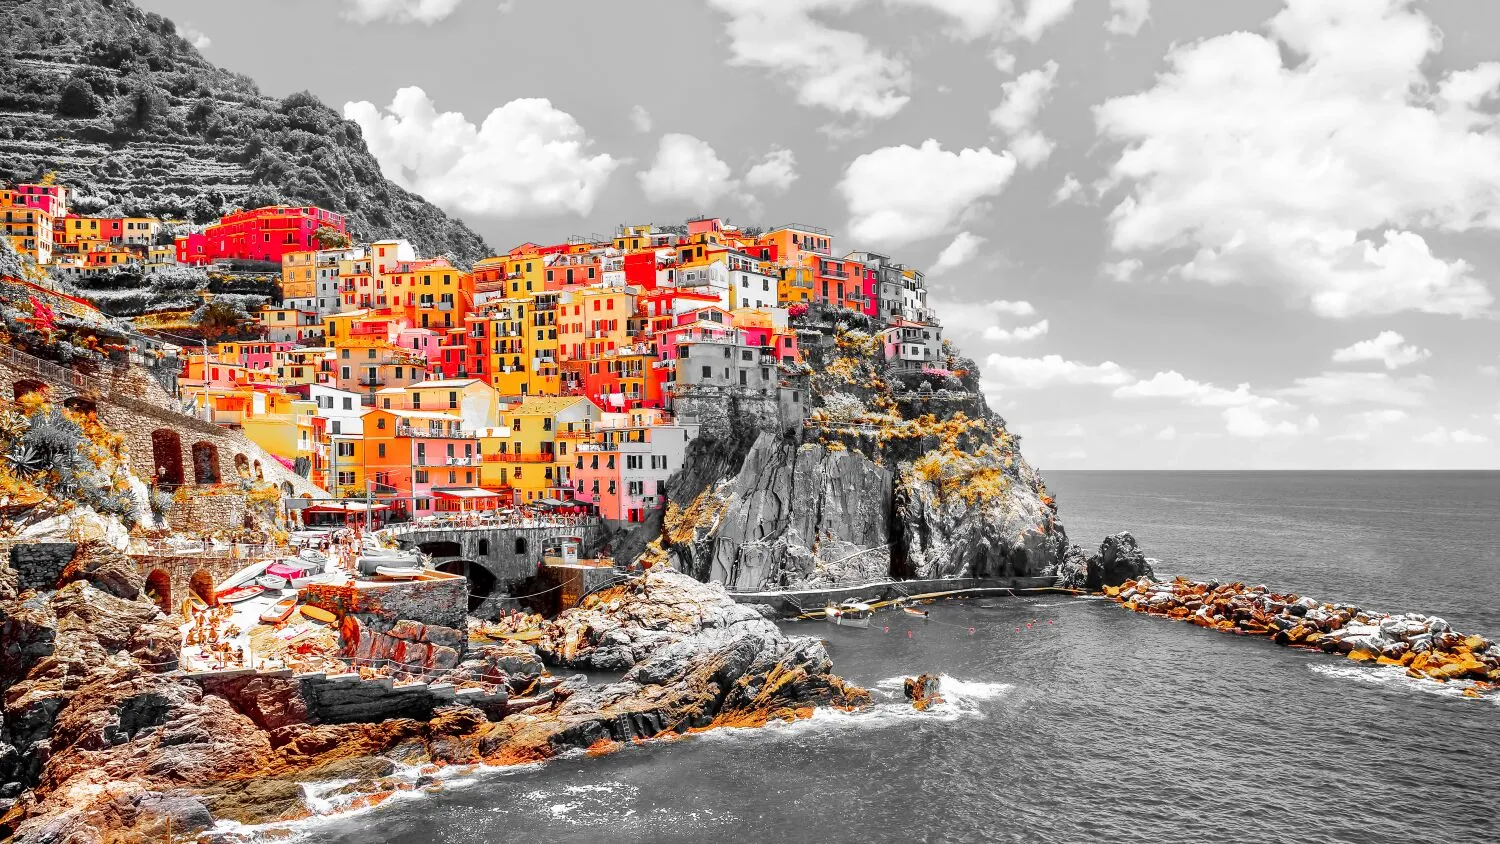
Use black and white conversion to achieve selective colorization
Luminar Convert to B&W tool gives you access to luminance and saturation for red, yellow, green, cyan, magenta, and blue.

Achieve subtle color corrections with the HSL filter
The HSL tool in Color allows you to selectively adjust the hue, saturation, and luminance of an individual color. You can work with red, orange, yellow, green, aqua, blue, purple, and magenta.

Work directly on highlights and shadows
Color tint photo editor Luminar has Color Balance that allows you to change the color of just highlights, just midtones, just shadows, or both highlights and shadows. It also has a Split Color Warmth filter, which is useful if you need to change the color of cool and warm tones.
Achieving the Perfect Color Corrections
Even though it’s a subjective matter, there are some general guidelines that can help you achieve accurate and pleasing color corrections.
- Adjusting the white balance to ensure accurate representation of whites and neutrals.
- Fine-tune the exposure and contrast levels to achieve the desired tonal range and overall brightness.
- If necessary, adjust the individual color channels (red, green, blue, cyan, magenta, yellow) to achieve the desired color balance.
- And, of course, use selective color correction.
.webp)
Explore Other Features


An application & plugin
For macOS & Windows
- High-performance AI editor
24/7 technical support
30-day money back guarantee
Join our communities