Add a Sepia Effect For A Vintage Charm
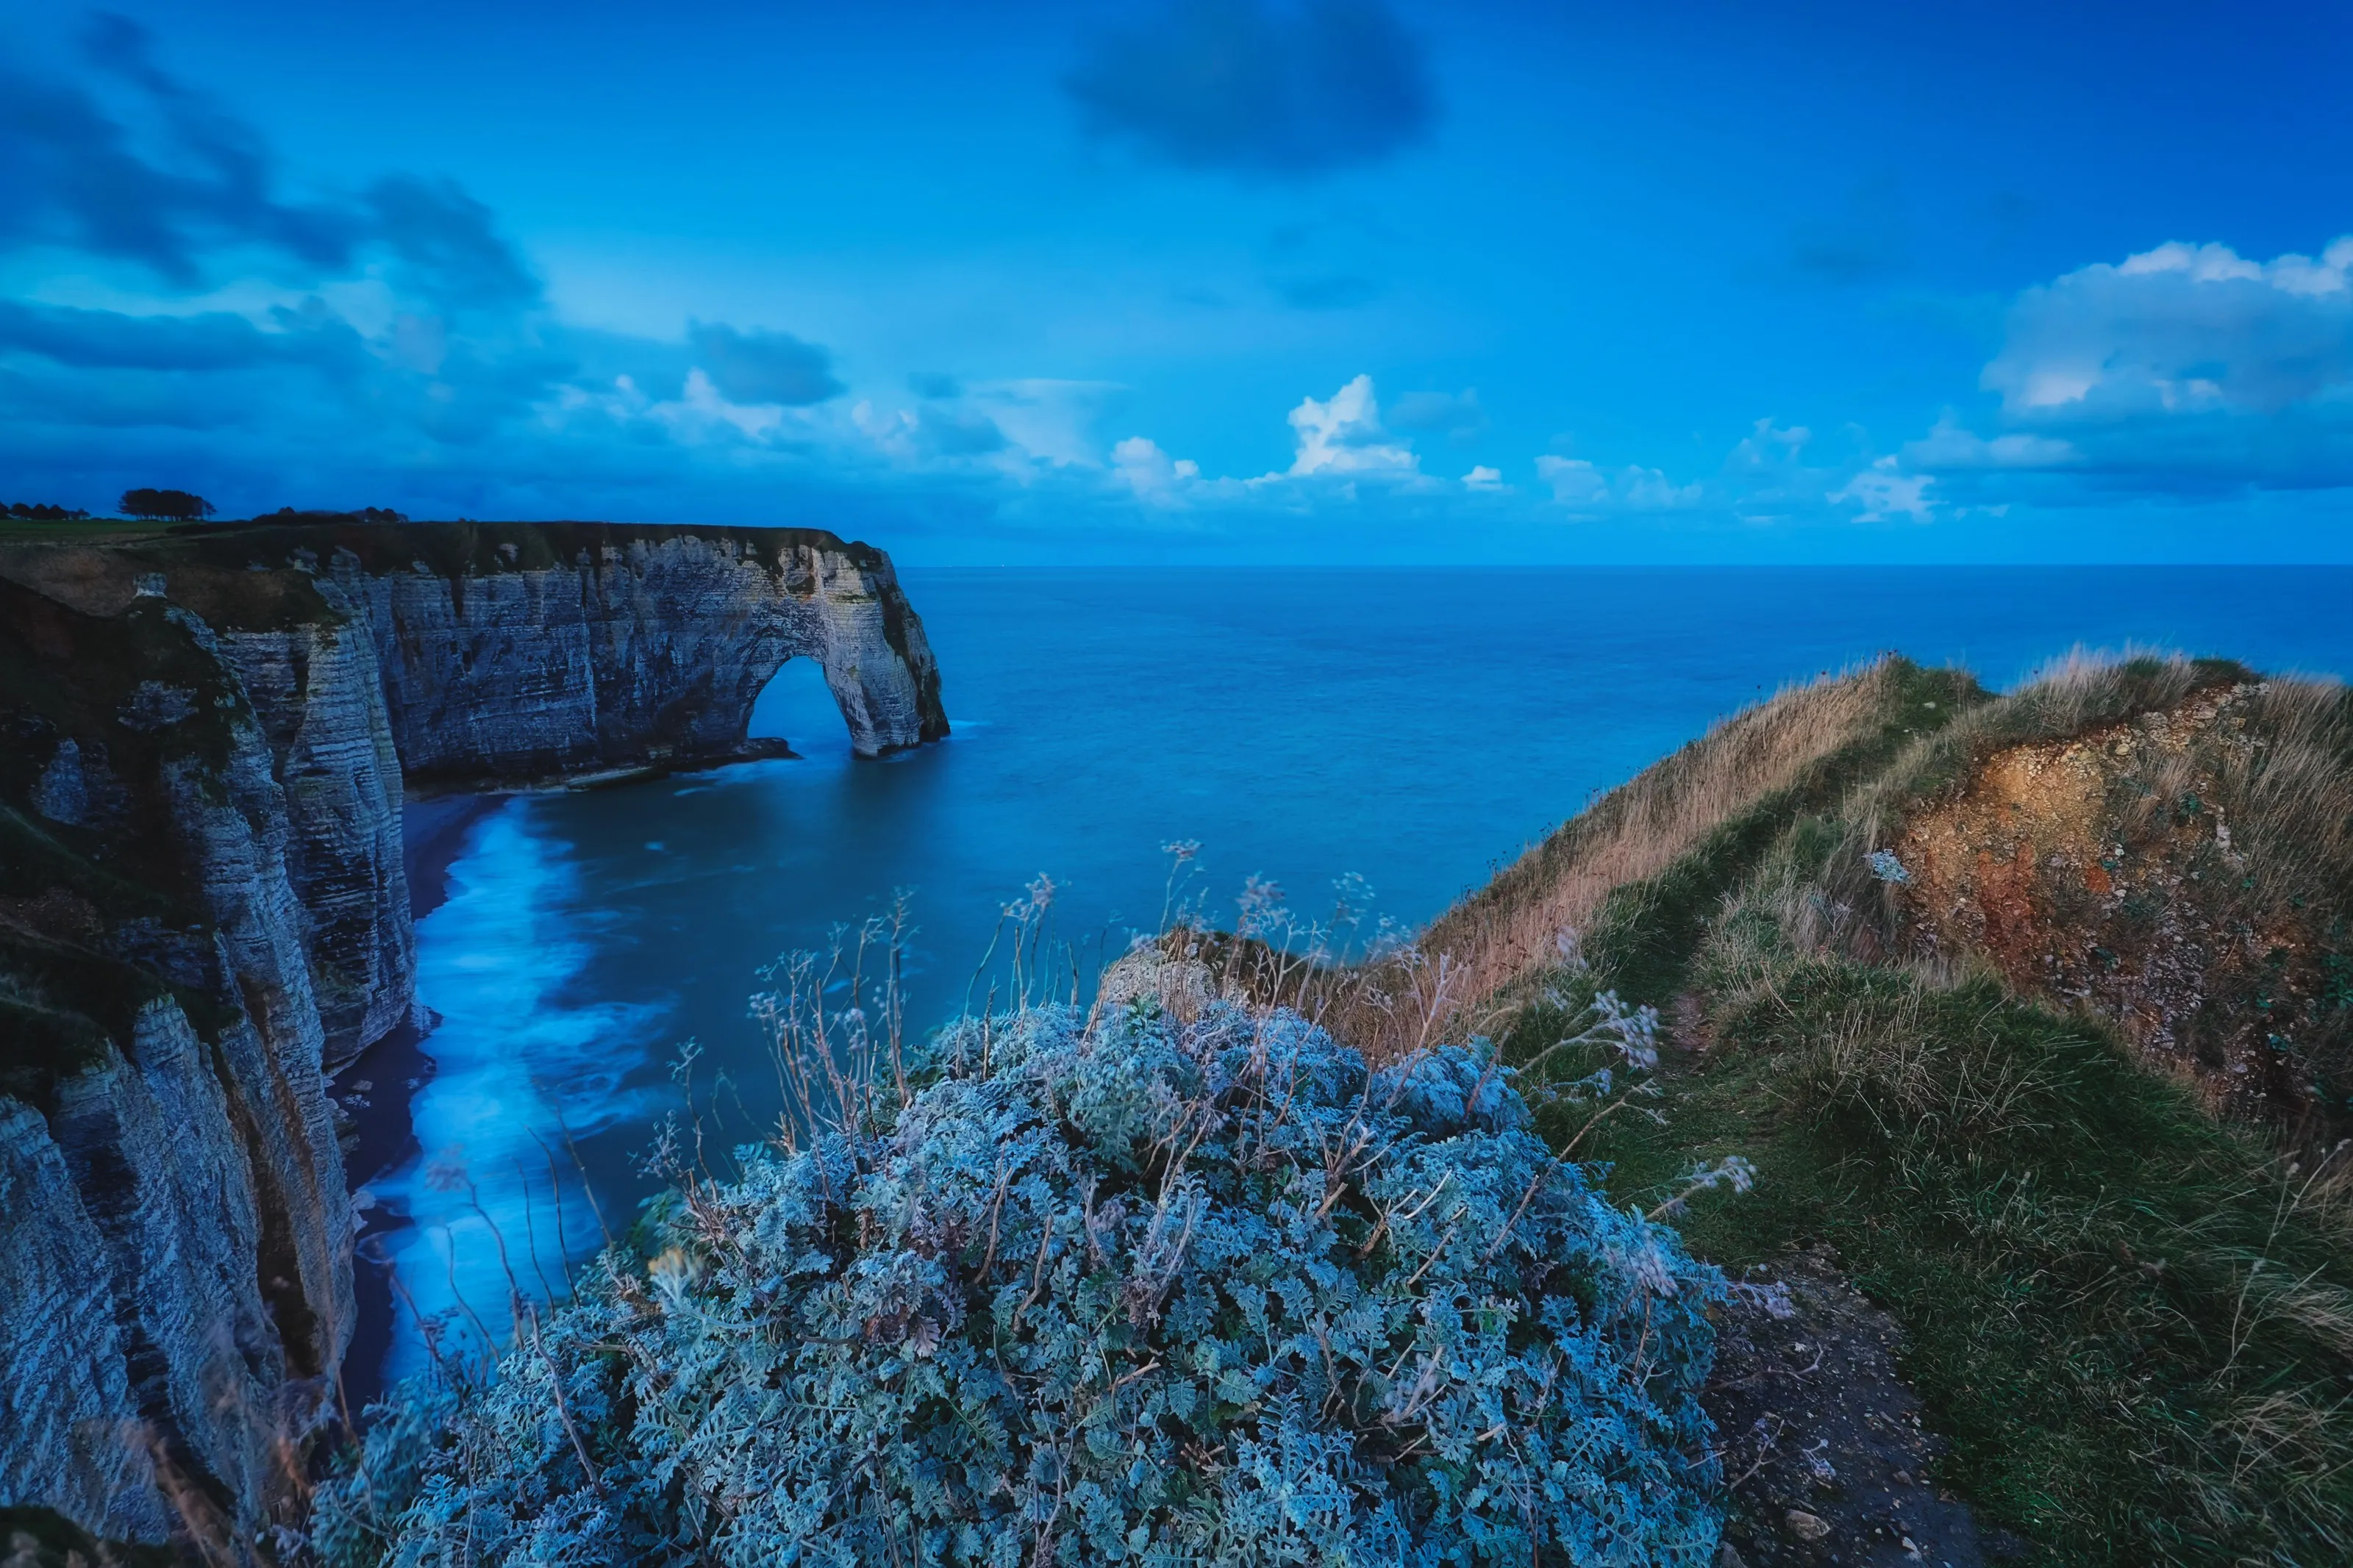
Give your photos a nostalgic or vintage feel with a simple sepia color filter effect. Easily mimic the appearance of old photographs that have aged with warm, brownish tones over time. It’s easy to do in Luminar Neo
View plansHow To Incorporate A Sepia Photo Filter For A Timeless Appeal?
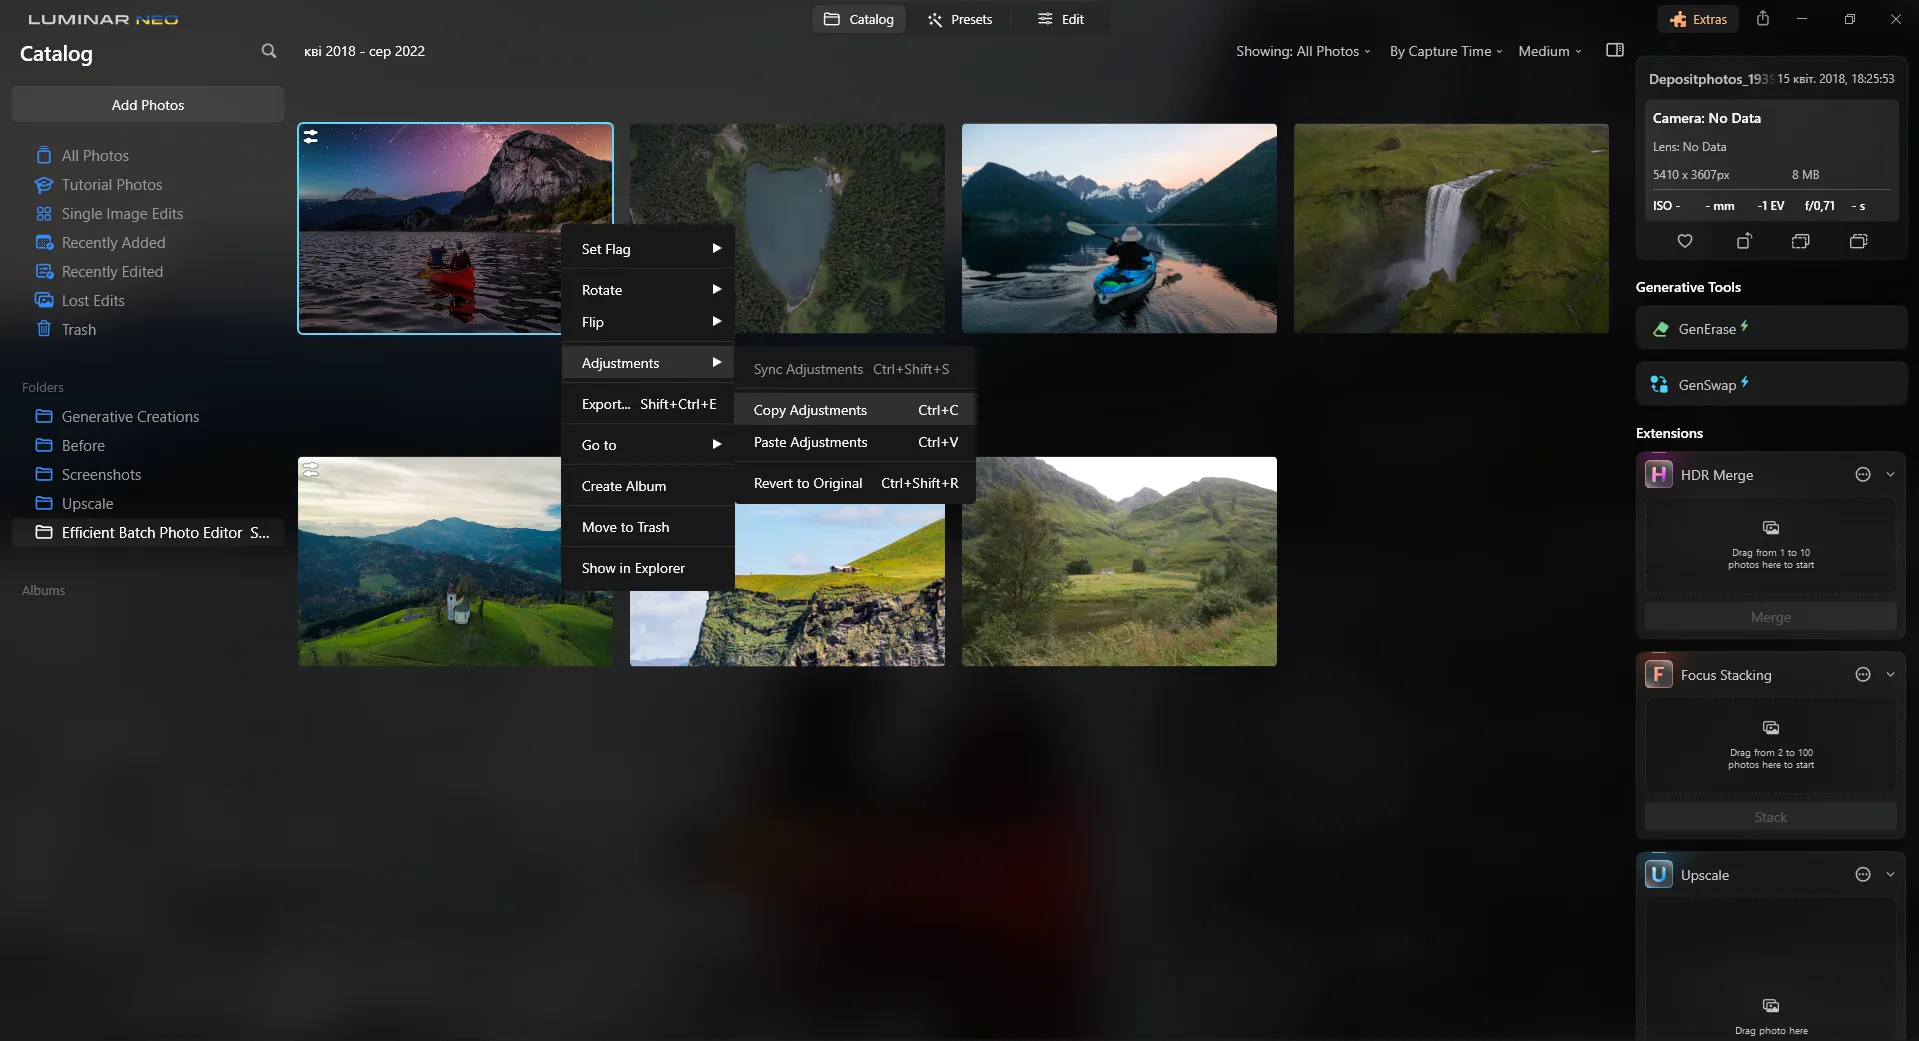
Luminar Neo boasts a wide collection of built-in Presets that can give you any effect, including sepia. You can apply a Preset to any photo in just a few clicks! You can also use the Mood tool and achieve a sepia effect by adding a designated LUT with the same name.
Why Does Our Sepia Effect Enhance Your Visual Storytelling?
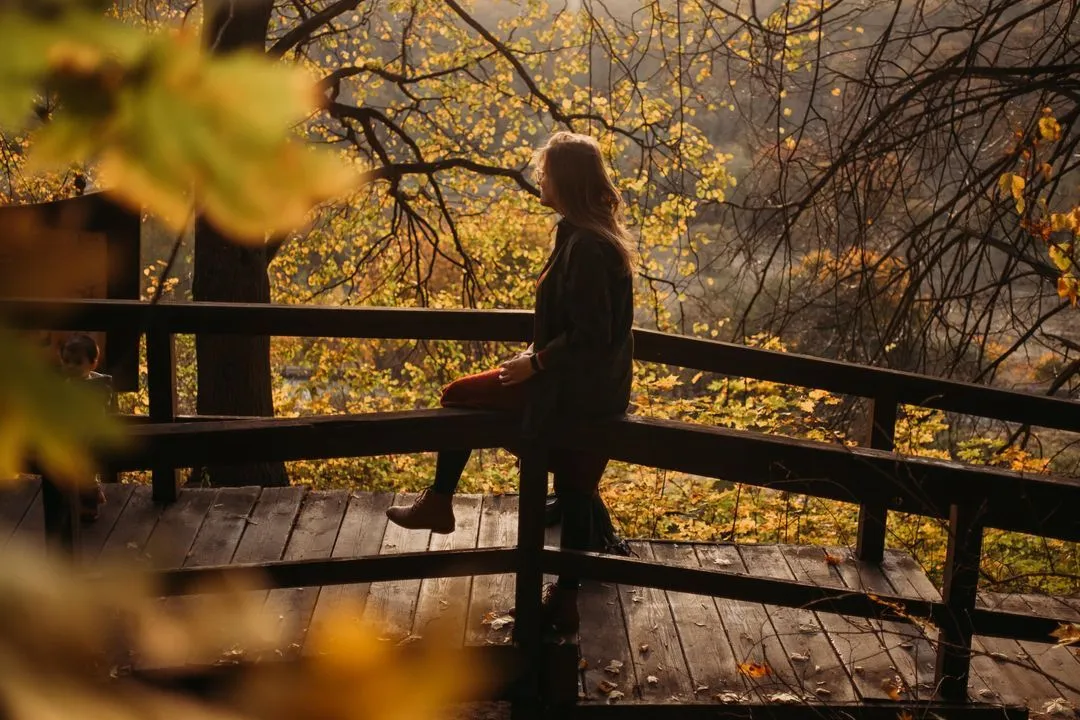
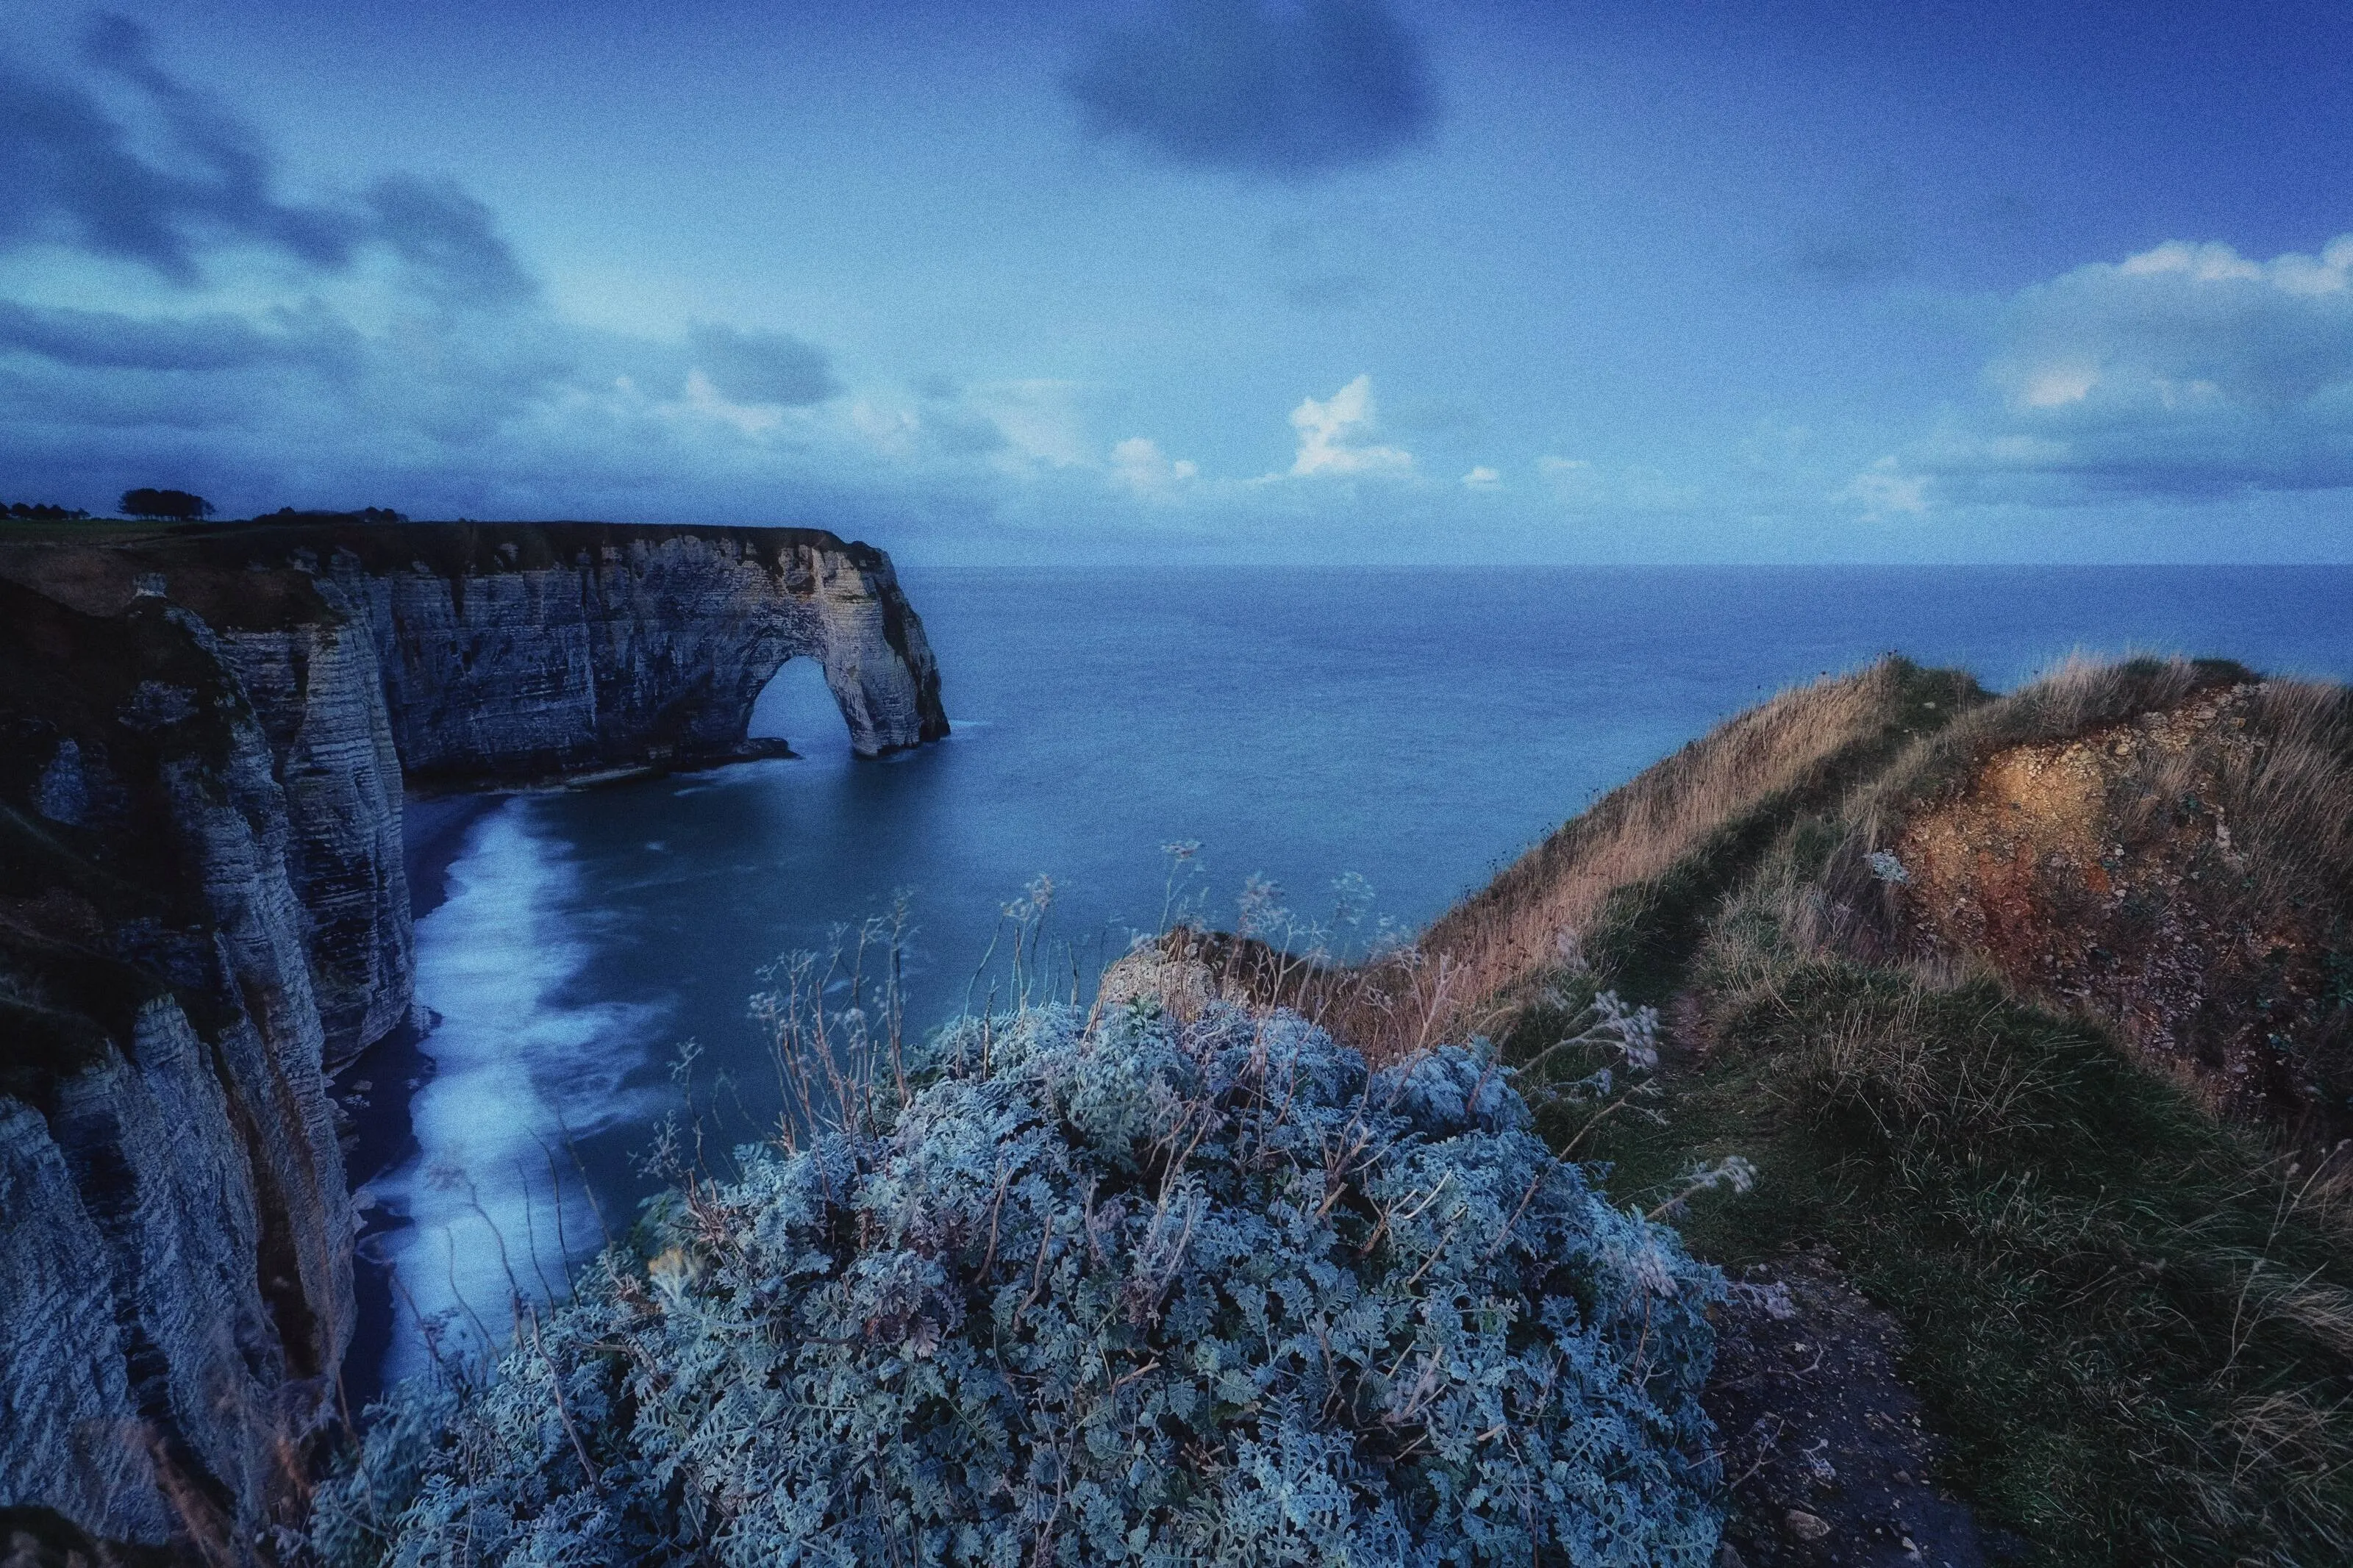
The tonal range of sepia adds emotional depth to a photo, enhancing the viewer’s emotional response.
Easily enhance your storytelling by making your scene appear more poetic and contemplative.
Easily enhance your storytelling by making your scene appear more poetic and contemplative.


Discover New Avenues Of Creativity
With The Sepia Photo Editor
A sepia tone filter will work wonders if you want to achieve one of the following in your photos:


© alinatroeva
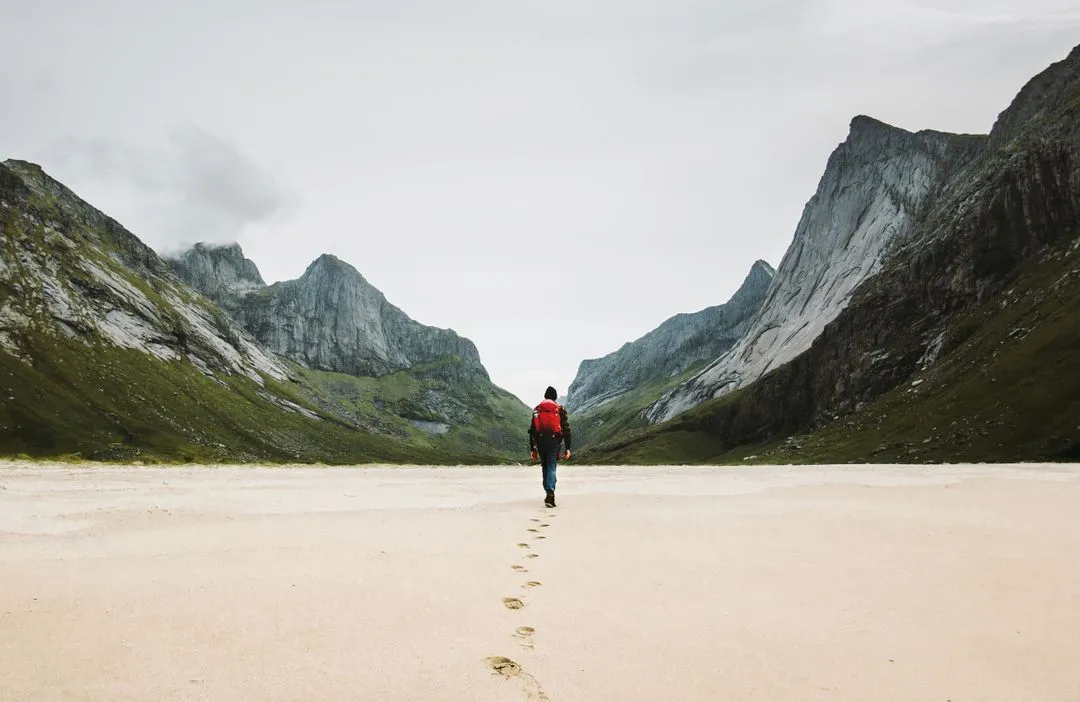
Nostalgia
Make even modern photos appear old-fashioned by evoking a sense of nostalgia, reminiscent of olden times and historical photographs.

© alinatroeva
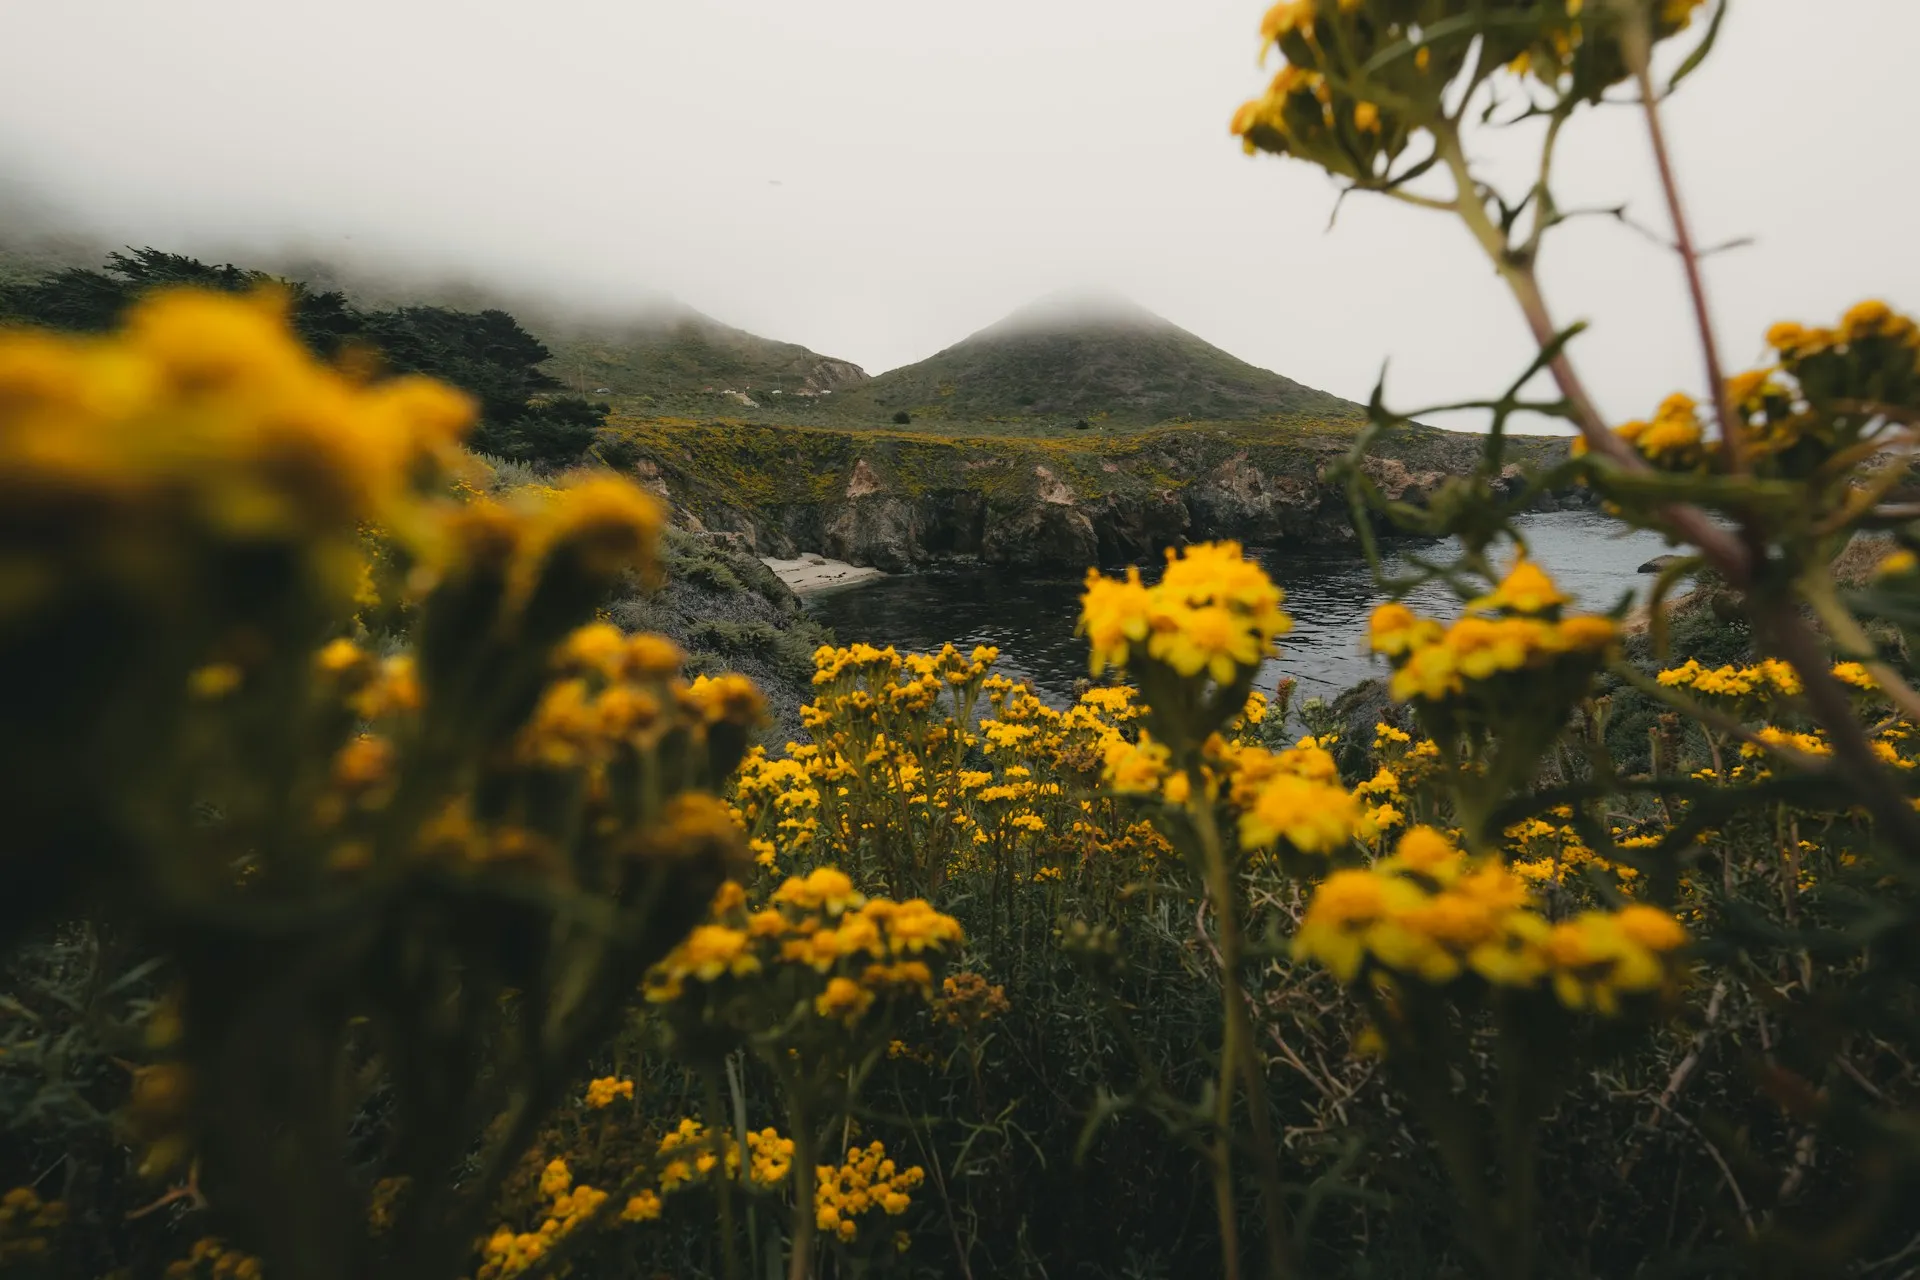
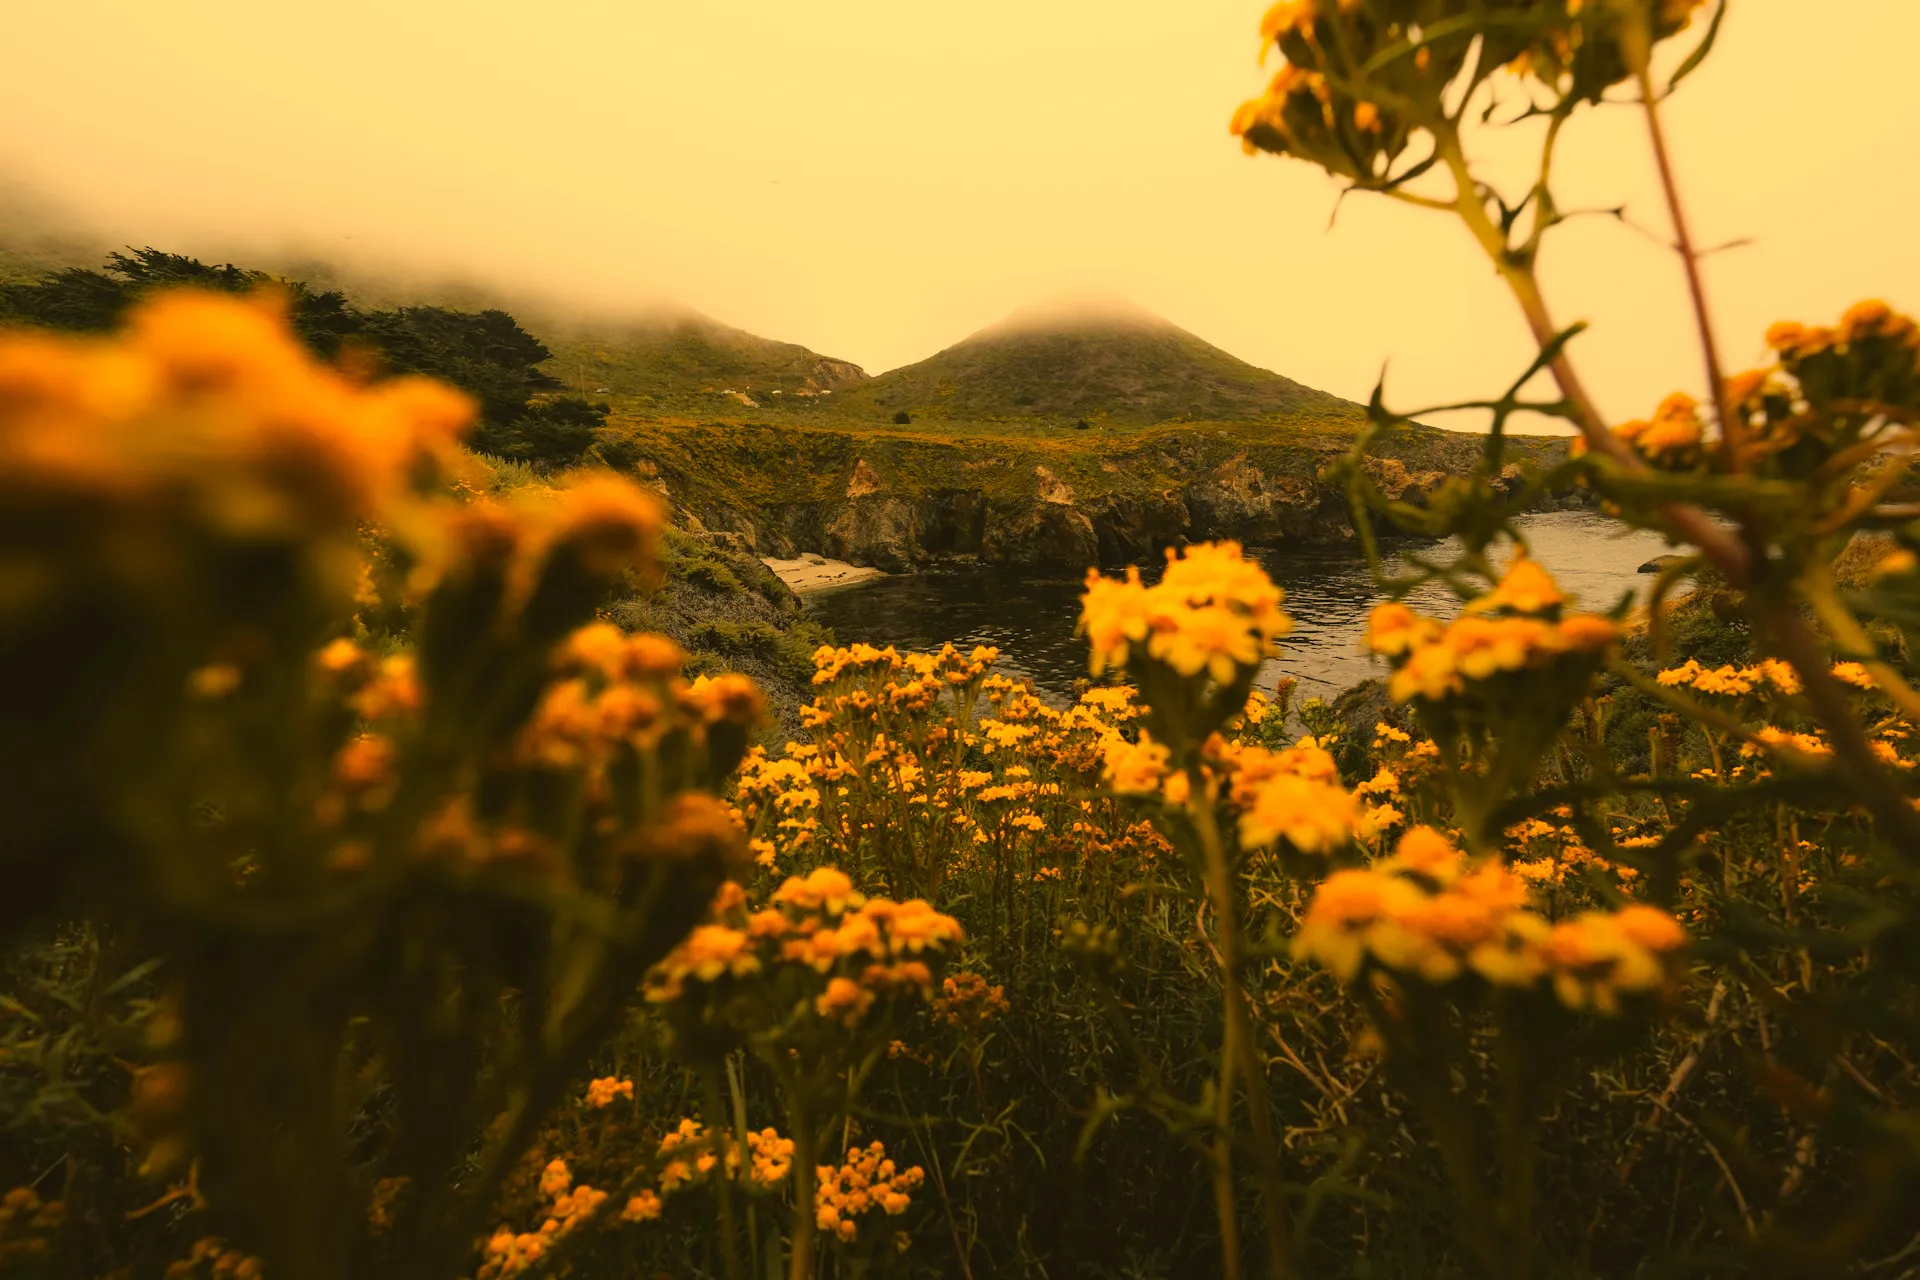
Atmosphere
Create a warm and soft atmosphere in photos. Try it on portraits, landscapes, and scenes where you want to convey a cozy feeling.
© alinatroeva
Timelessness
Add a sense of timelessness, as if it could belong to any era. Remove the immediate visual context and create a more universal appeal.


© alinatroeva
Storytelling Effect
Easily achieve a storytelling effect, as if the photo is part of a historical narrative. Use it in historical photos or artistic projects.
Nostalgia
Atmosphere
Timelessness
Storytelling Effect
Elevate Your Photos With Our Sepia Photo Effects
Make your photos nostalgic, warm, soft, timeless, and eye-catching by converting your image to sepia.
Don’t forget that you can also use other editing tools to enhance the sepia effect or tone it down. Try it out.
Don’t forget that you can also use other editing tools to enhance the sepia effect or tone it down. Try it out.


Explore Other Features
Luminar Neo has plenty of other features to help you edit faster and easier
Add Noise to Image
© O.Rohulya
Add Noise to Image
Easily add artistic noise or grain to your images, creating that classic film photography look.
Batch Photo Editor
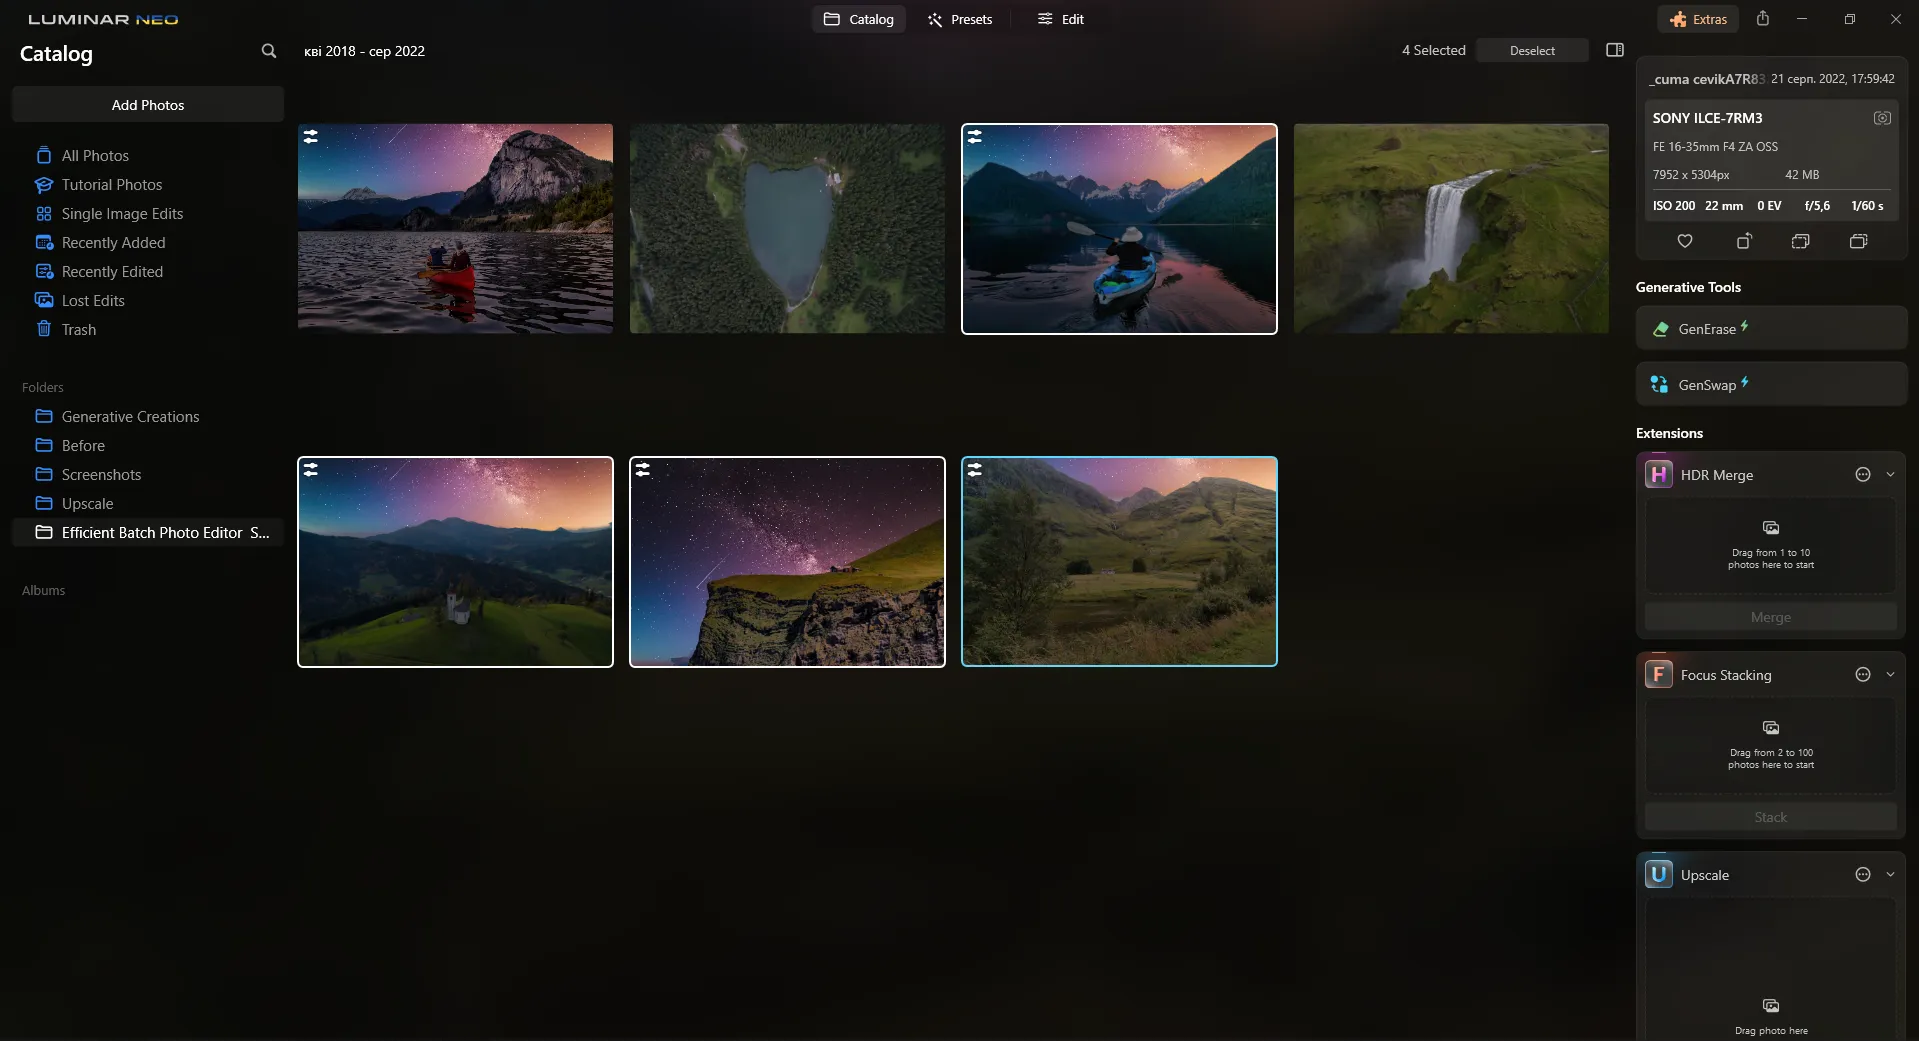
Batch Photo Editor
Save time and enhance productivity by editing photos in bulk. Try it now and revolutionize your editing process!
Clean Up Pictures


© EkaterinaSid
Clean Up Pictures
Missed the details while on location? Don't let distractions ruin your perfect shots. Transform your photos effortlessly.
Blur Backgrounds
© luckyuran
Blur Backgrounds
Effortlessly blur backgrounds to bring your main subject into sharp focus and elevate your image's visual appeal.
Blemish Remover


© Ksenia Kazak
Blemish Remover
Our blemish remover effortlessly polishes your photos, giving you the confidence and refined appearance you deserve.
Clone Tool


© Lisa
Clone Tool
Discover the power of the Clone Tool – ideal for removing unwanted objects, repairing textures, and filling in missing parts.
An Application & Plugin
For macOS & Windows
- High-performance AI editor
24/7 technical support
30-day money back guarantee
Join community of Luminar Insiders

Frequently Asked Questions
How to make a sepia image with Luminar Neo?
Changing photos to sepia is easy in Luminar Neo, and you can do it in multiple ways. Add it with a one-click Preset, use the Mood tool and apply a sepia LUT, or play with the more advanced tools like Color and Toning.
Does adding a sepia color filter impact image resolution?
Adding a sepia color filter does not inherently impact the resolution of an image. A sepia filter is a post-processing adjustment that changes the color tones of the image without altering the underlying pixel dimensions or resolution. However, there are some scenarios where the perception of image sharpness or quality might be affected by applying a sepia filter, like during printing.
How to remove the sepia effect?
To remove the sepia effect, you can go to the Edit history of your photo and undo the step where you applied the sepia effect. Otherwise, you can edit the photo and add other effects to it, like converting it to black and white, neutralizing the sepia effect.
How to customize sepia intensity?
You can customize the intensity depending on how you achieved the sepia effect. If you used a Preset or a LUT, you can easily regulate the amount of the impact. If you added a separate sepia Overlay you can also adjust its opacity in the Layers tab. Another way is to play with the Color and Toning tools to achieve your desired precise effect.