 View plans
Add Background to Image with Precision
Adding a new background to an image is a powerful editing technique that can completely transform the visual impact and narrative of the original image, allowing for creativity, storytelling, and enhancing the overall aesthetics or messaging of the image. It’s super easy to do in Luminar !
View plansHow to Enhance Visual Appeal: Add Backgrounds to Photos
Use a simple background adder to images and see the effect yourself.

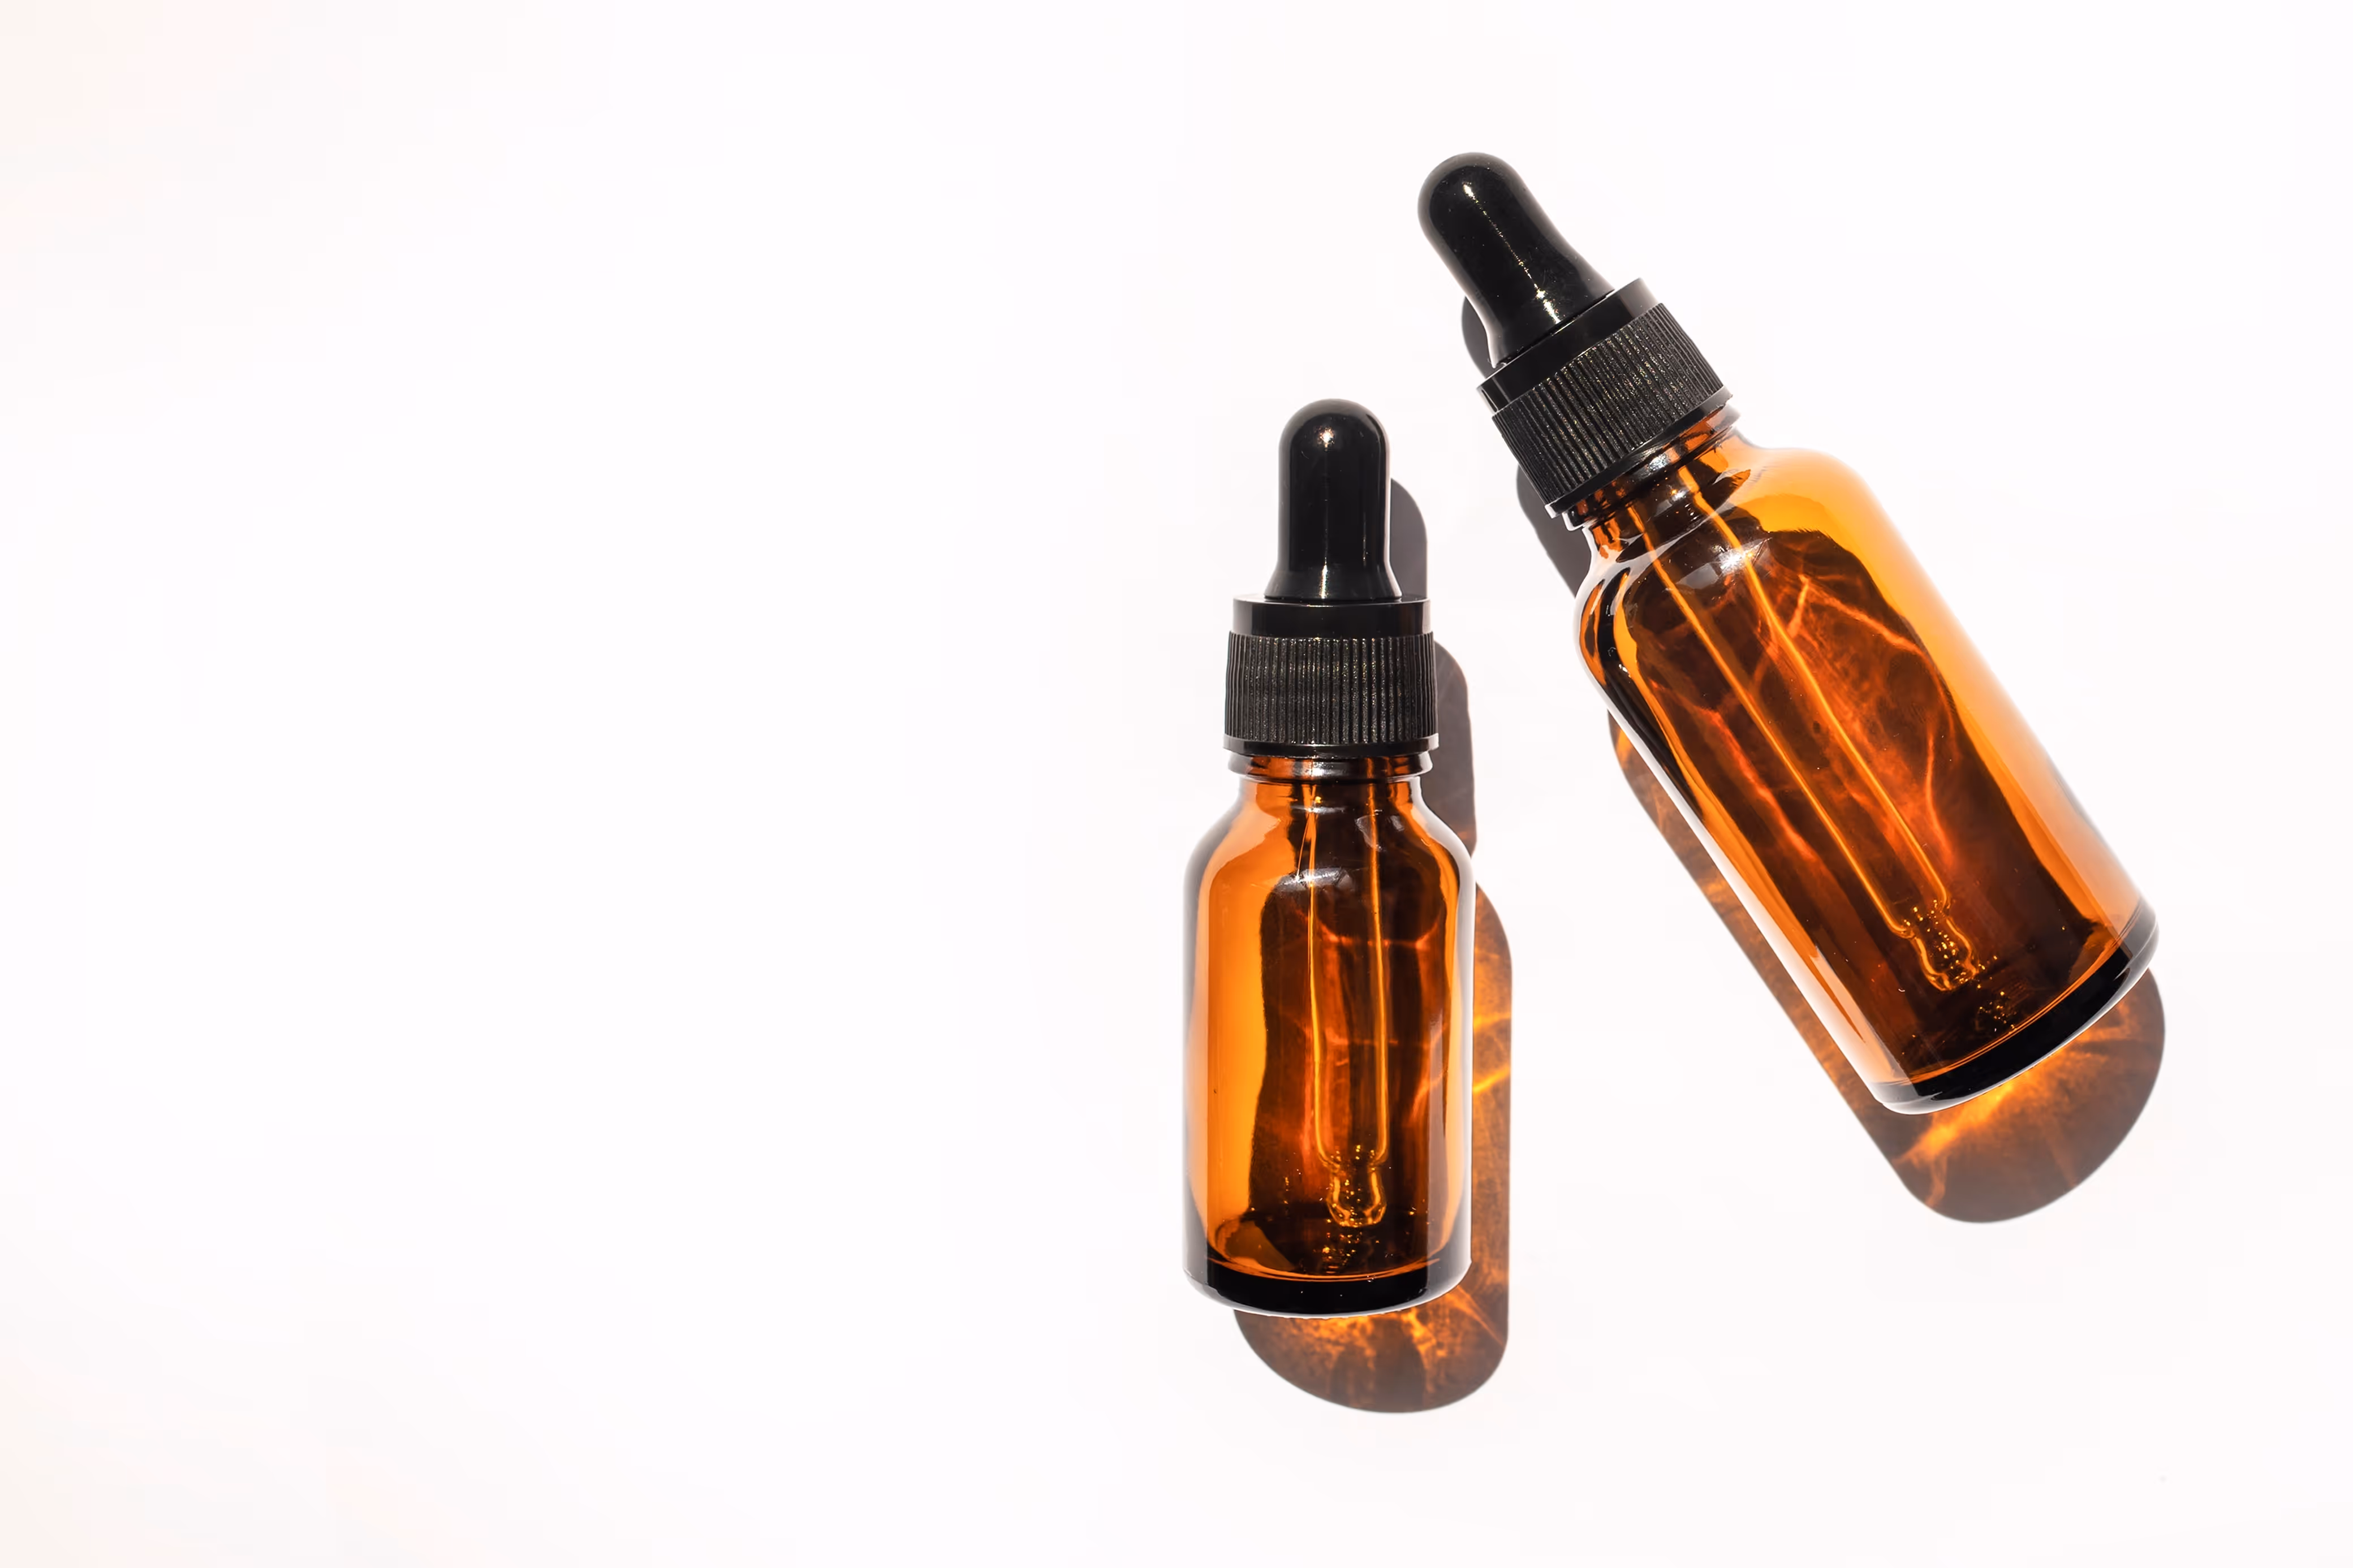

Understanding the Advantages of Image Background Adder for Business
This is commonly seen in advertisements or promotional materials.
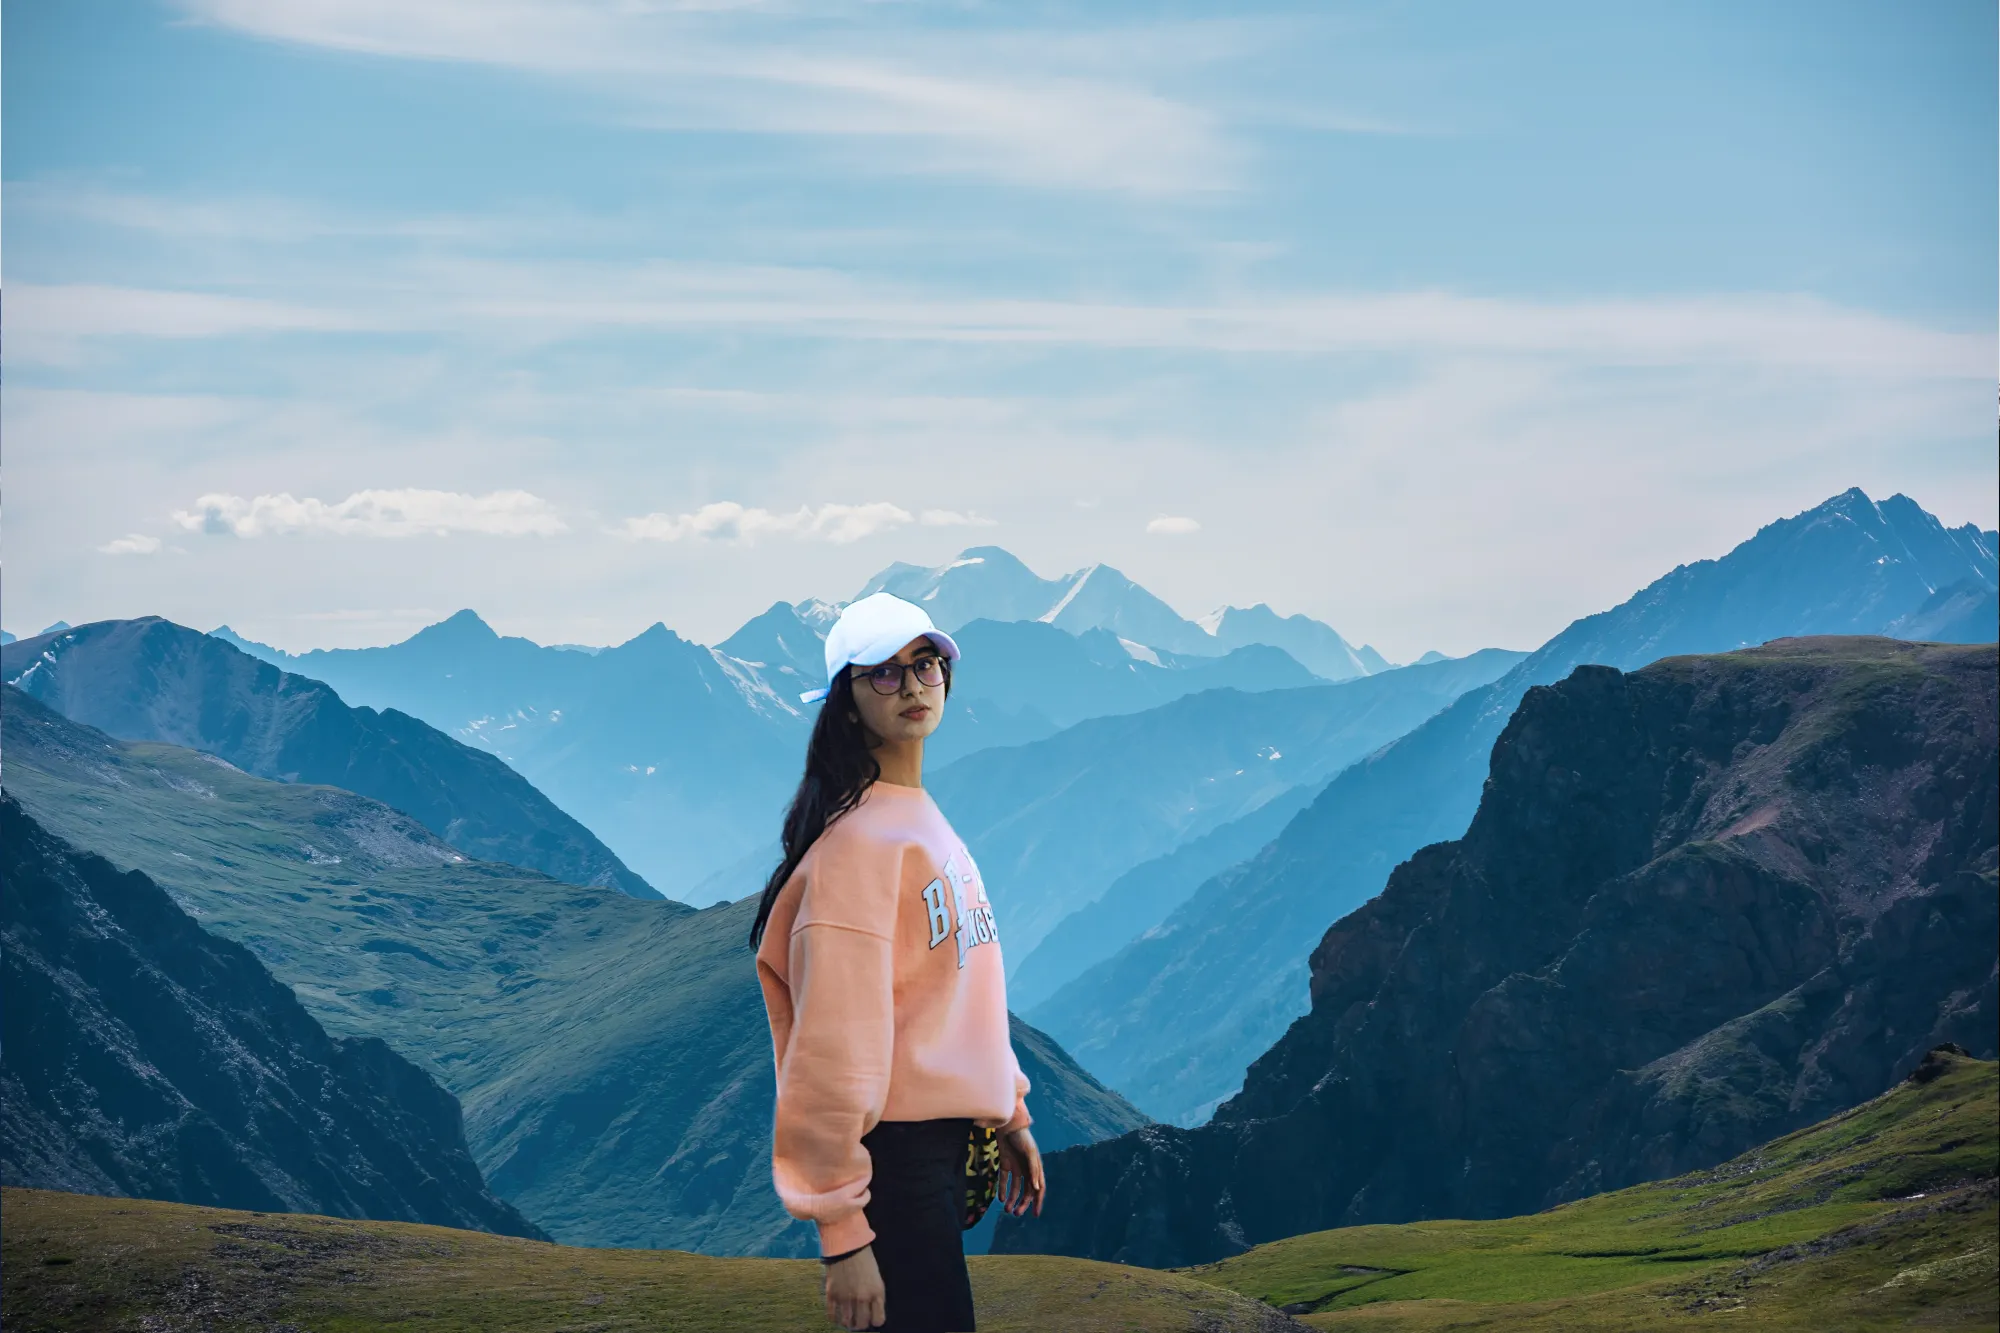
Creative Possibilities with Inserting Image Backgrounds
For example, placing a person in front of a cityscape, a beach, or a forest can provide information about their environment or activities.


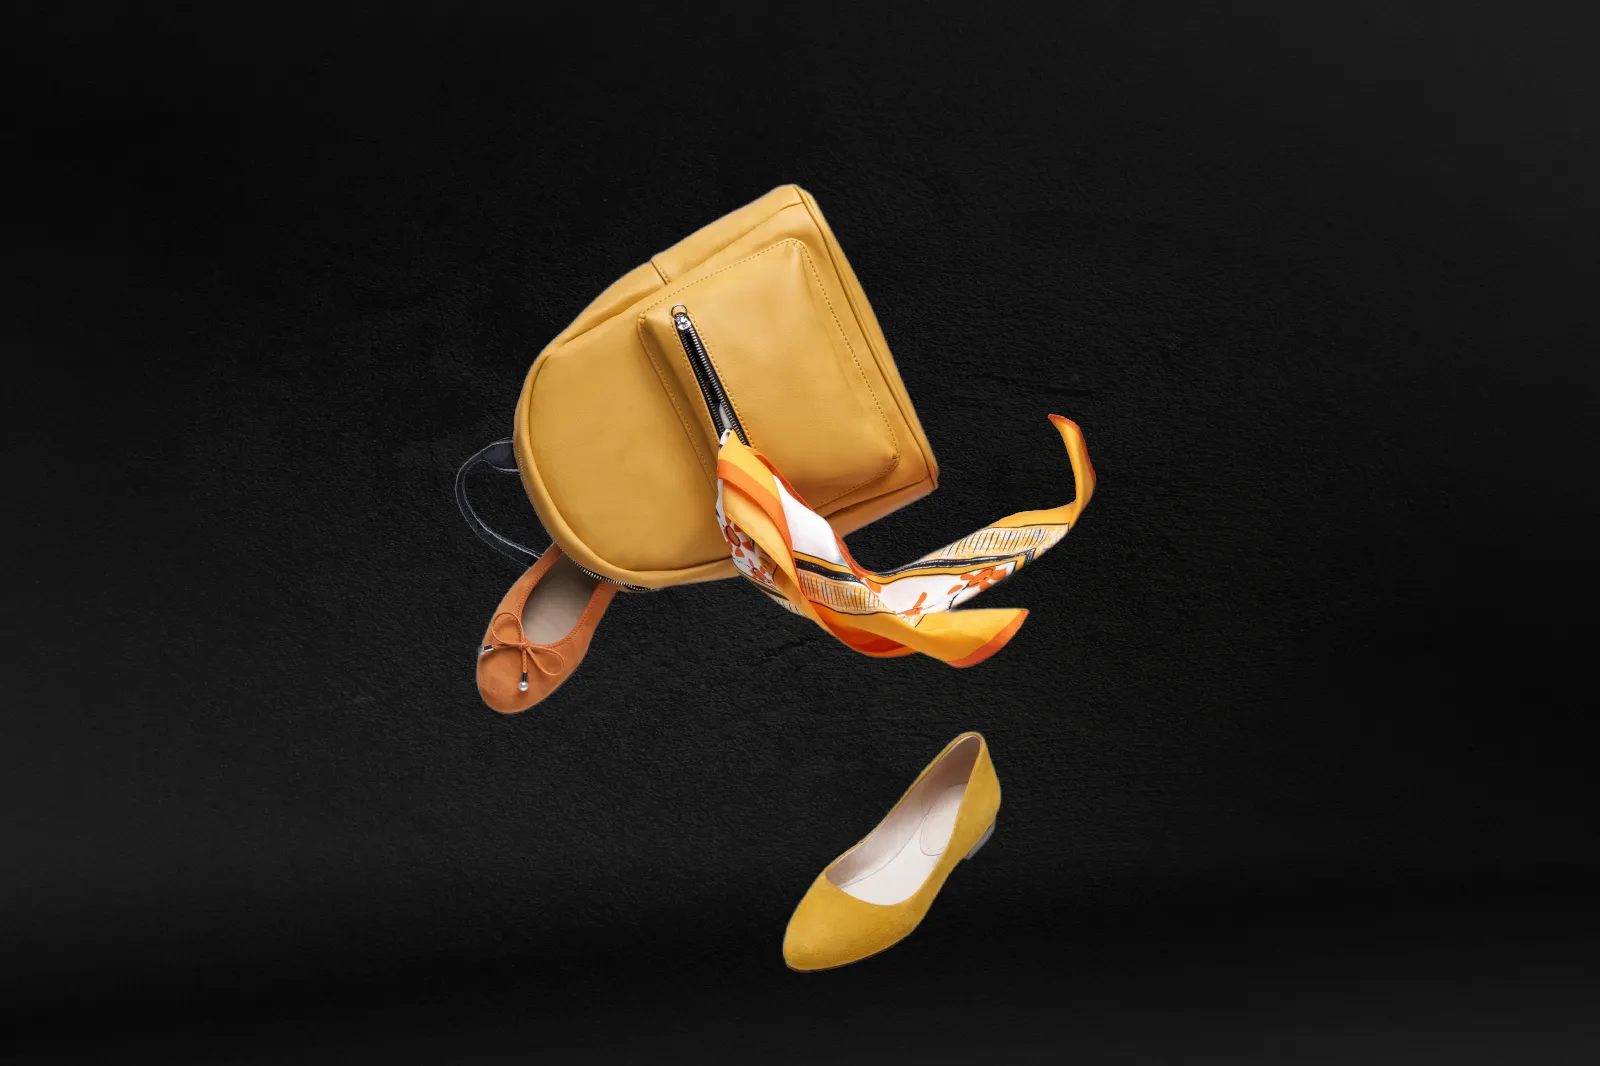
Transforming Visuals with Dynamic Picture Backgrounds
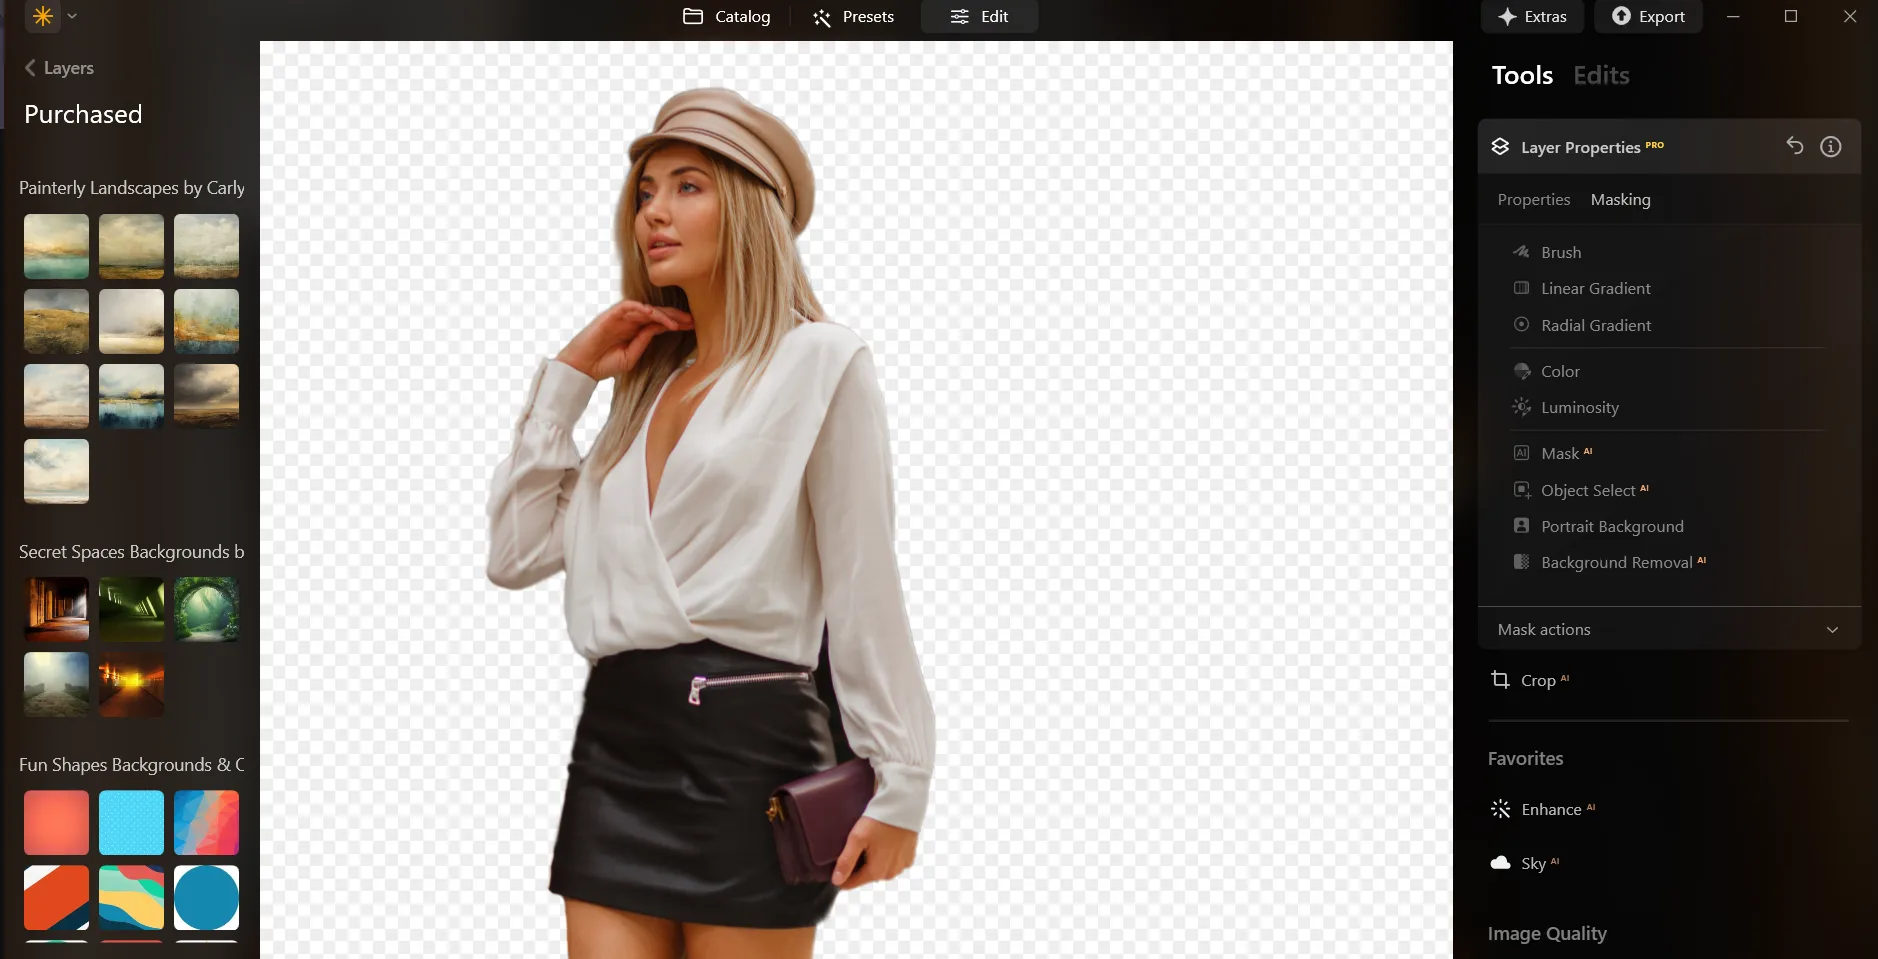
Here’s a step-by-step guide on using Background Removal AI in Luminar:

Select an image: click the Edit tab

Layers Properties: select the Masking tab and choose Background RemovalAI

Selection: Select the chosen main object or choose from additional elements found in the image.

Remove the background: Click “Remove” to initiate the Background Removal process. Luminar will remove the image’s background, revealing a transparent checkbox background.

Click Refinement Brushfor additional finetuning: A Transition Mask will appear, highlighting Transition in a white checkerboard pattern, Object in orange, and Background in blue. Select a brush and apply it to refine each section.

After removing the background, you can add any background you like as an Overlay!
Explore Other Features
Transparent Background


An application & plugin
For macOS & Windows
- High-performance AI editor
24/7 technical support
30-day money back guarantee
Join our communities
Frequently Asked Questions
How to add a background to a photo with Luminar?
Can I adjust the transparency of the added background?
Will the tool automatically remove the original background of my image?
Is there a way to undo or remove the added background if I change my mind?
Why Luminar is the best background adder?
Who can benefit from Luminar image background adder?
• Portrait photographers creating polished studio-style edits
• Product photographers placing subjects in clean custom scenes
• Content creators building eye-catching social media visuals
• Designers creating creative composites and promotional graphics
• Beginners who want professional-looking background edits with simple tools