 View plans
Blur Image Without Much Effort
Looking to create beautiful, professional-looking photos without spending hours editing? With the right tools, blurring images can be quick and effortless. Whether you want to soften the background, highlight your main subject, or add a creative touch to your photos. Let's explore how to blur a picture with minimal effort
Try it nowWhy blur photo is a must-have tool for photography
Blurring photos is a simple way to make your pictures look more professional. With an image blur filter, you can focus attention on the main subject and make the background look soft and nice. Luminar, your go-to photo blurrer, makes it easy to blur images, whether you want a subtle effect or a more artistic look.
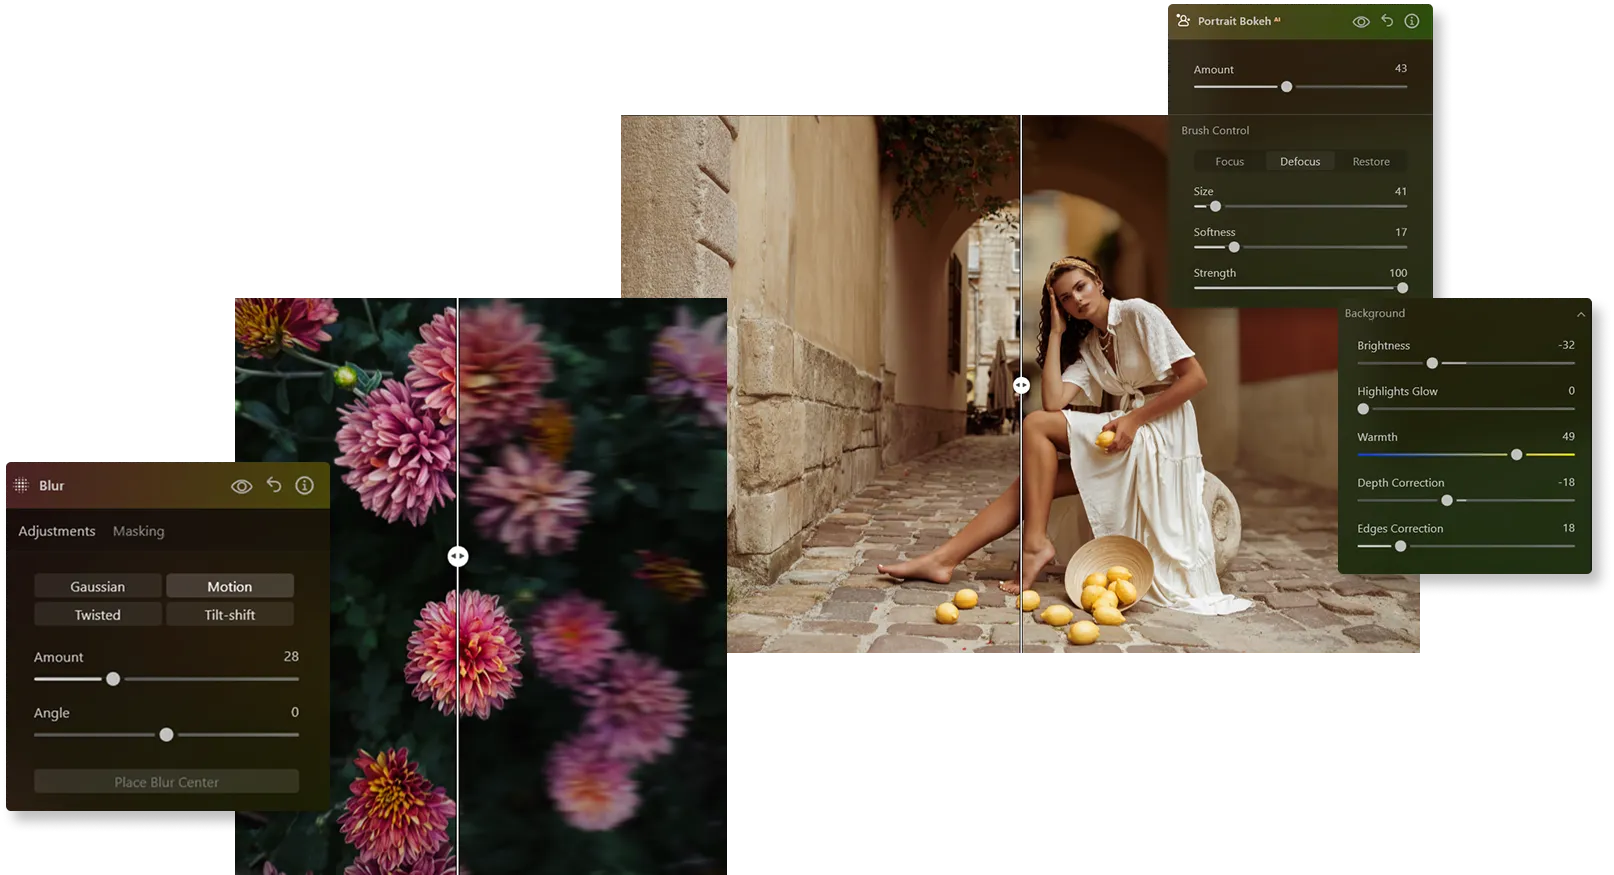
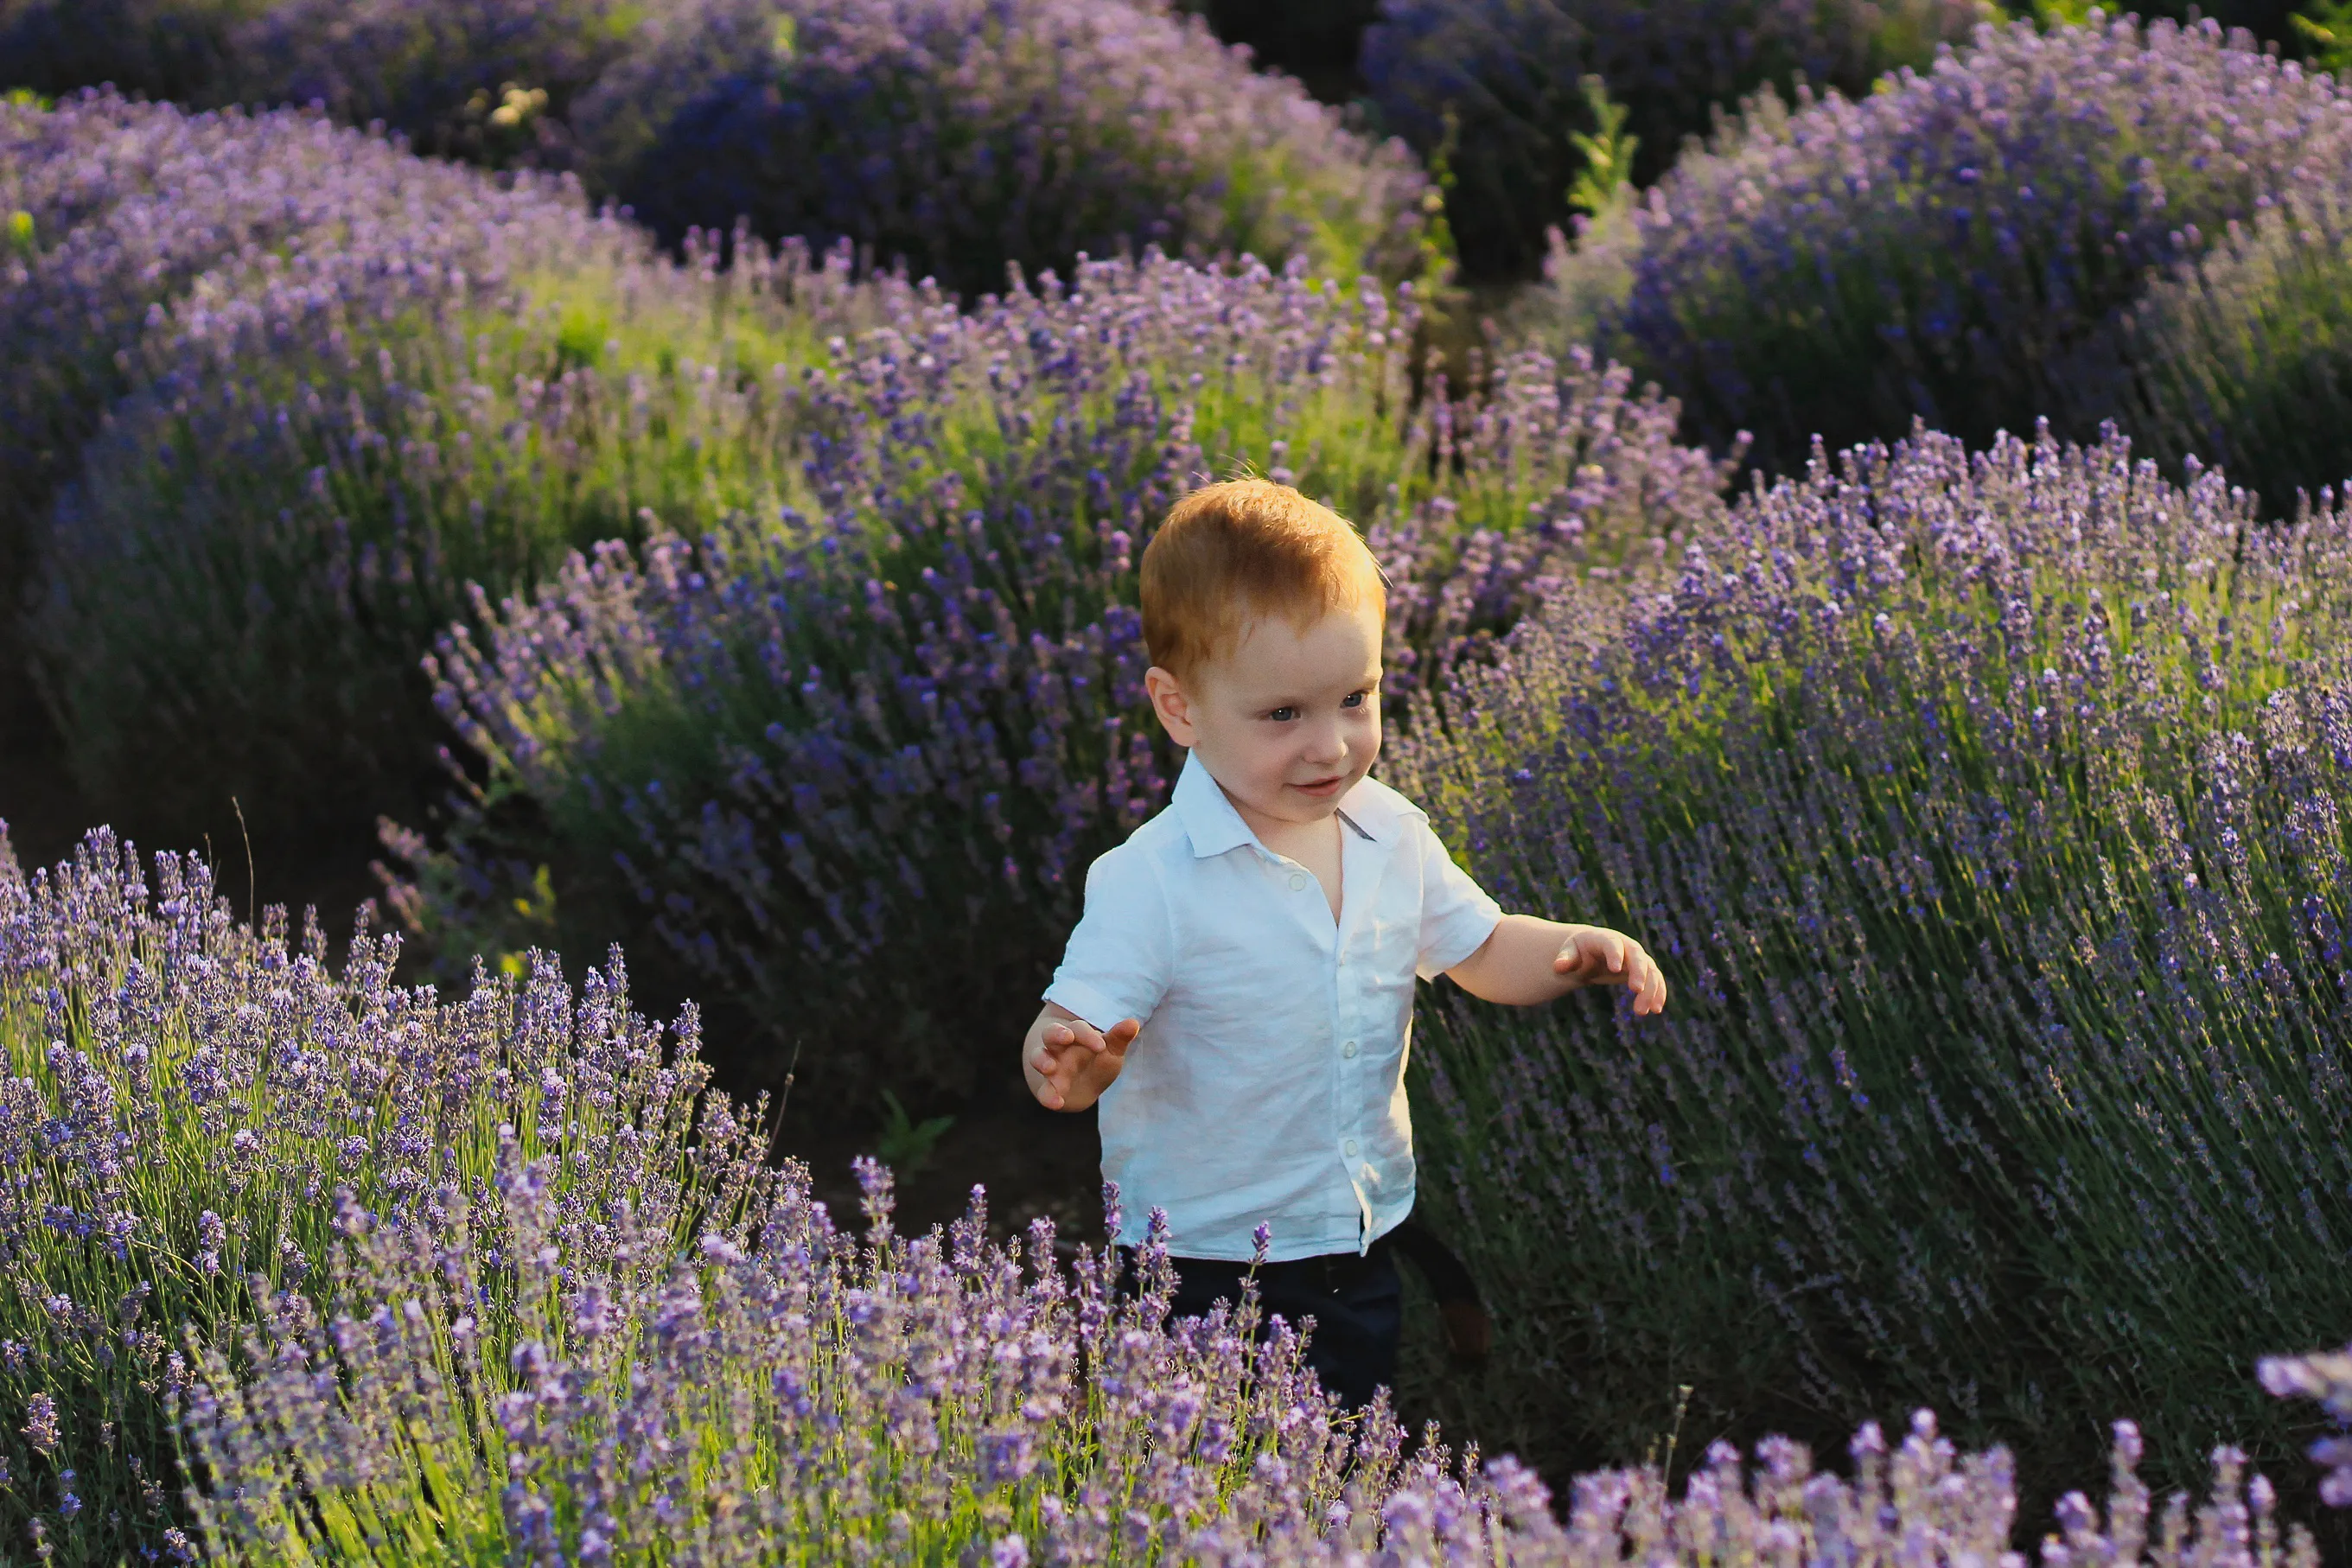
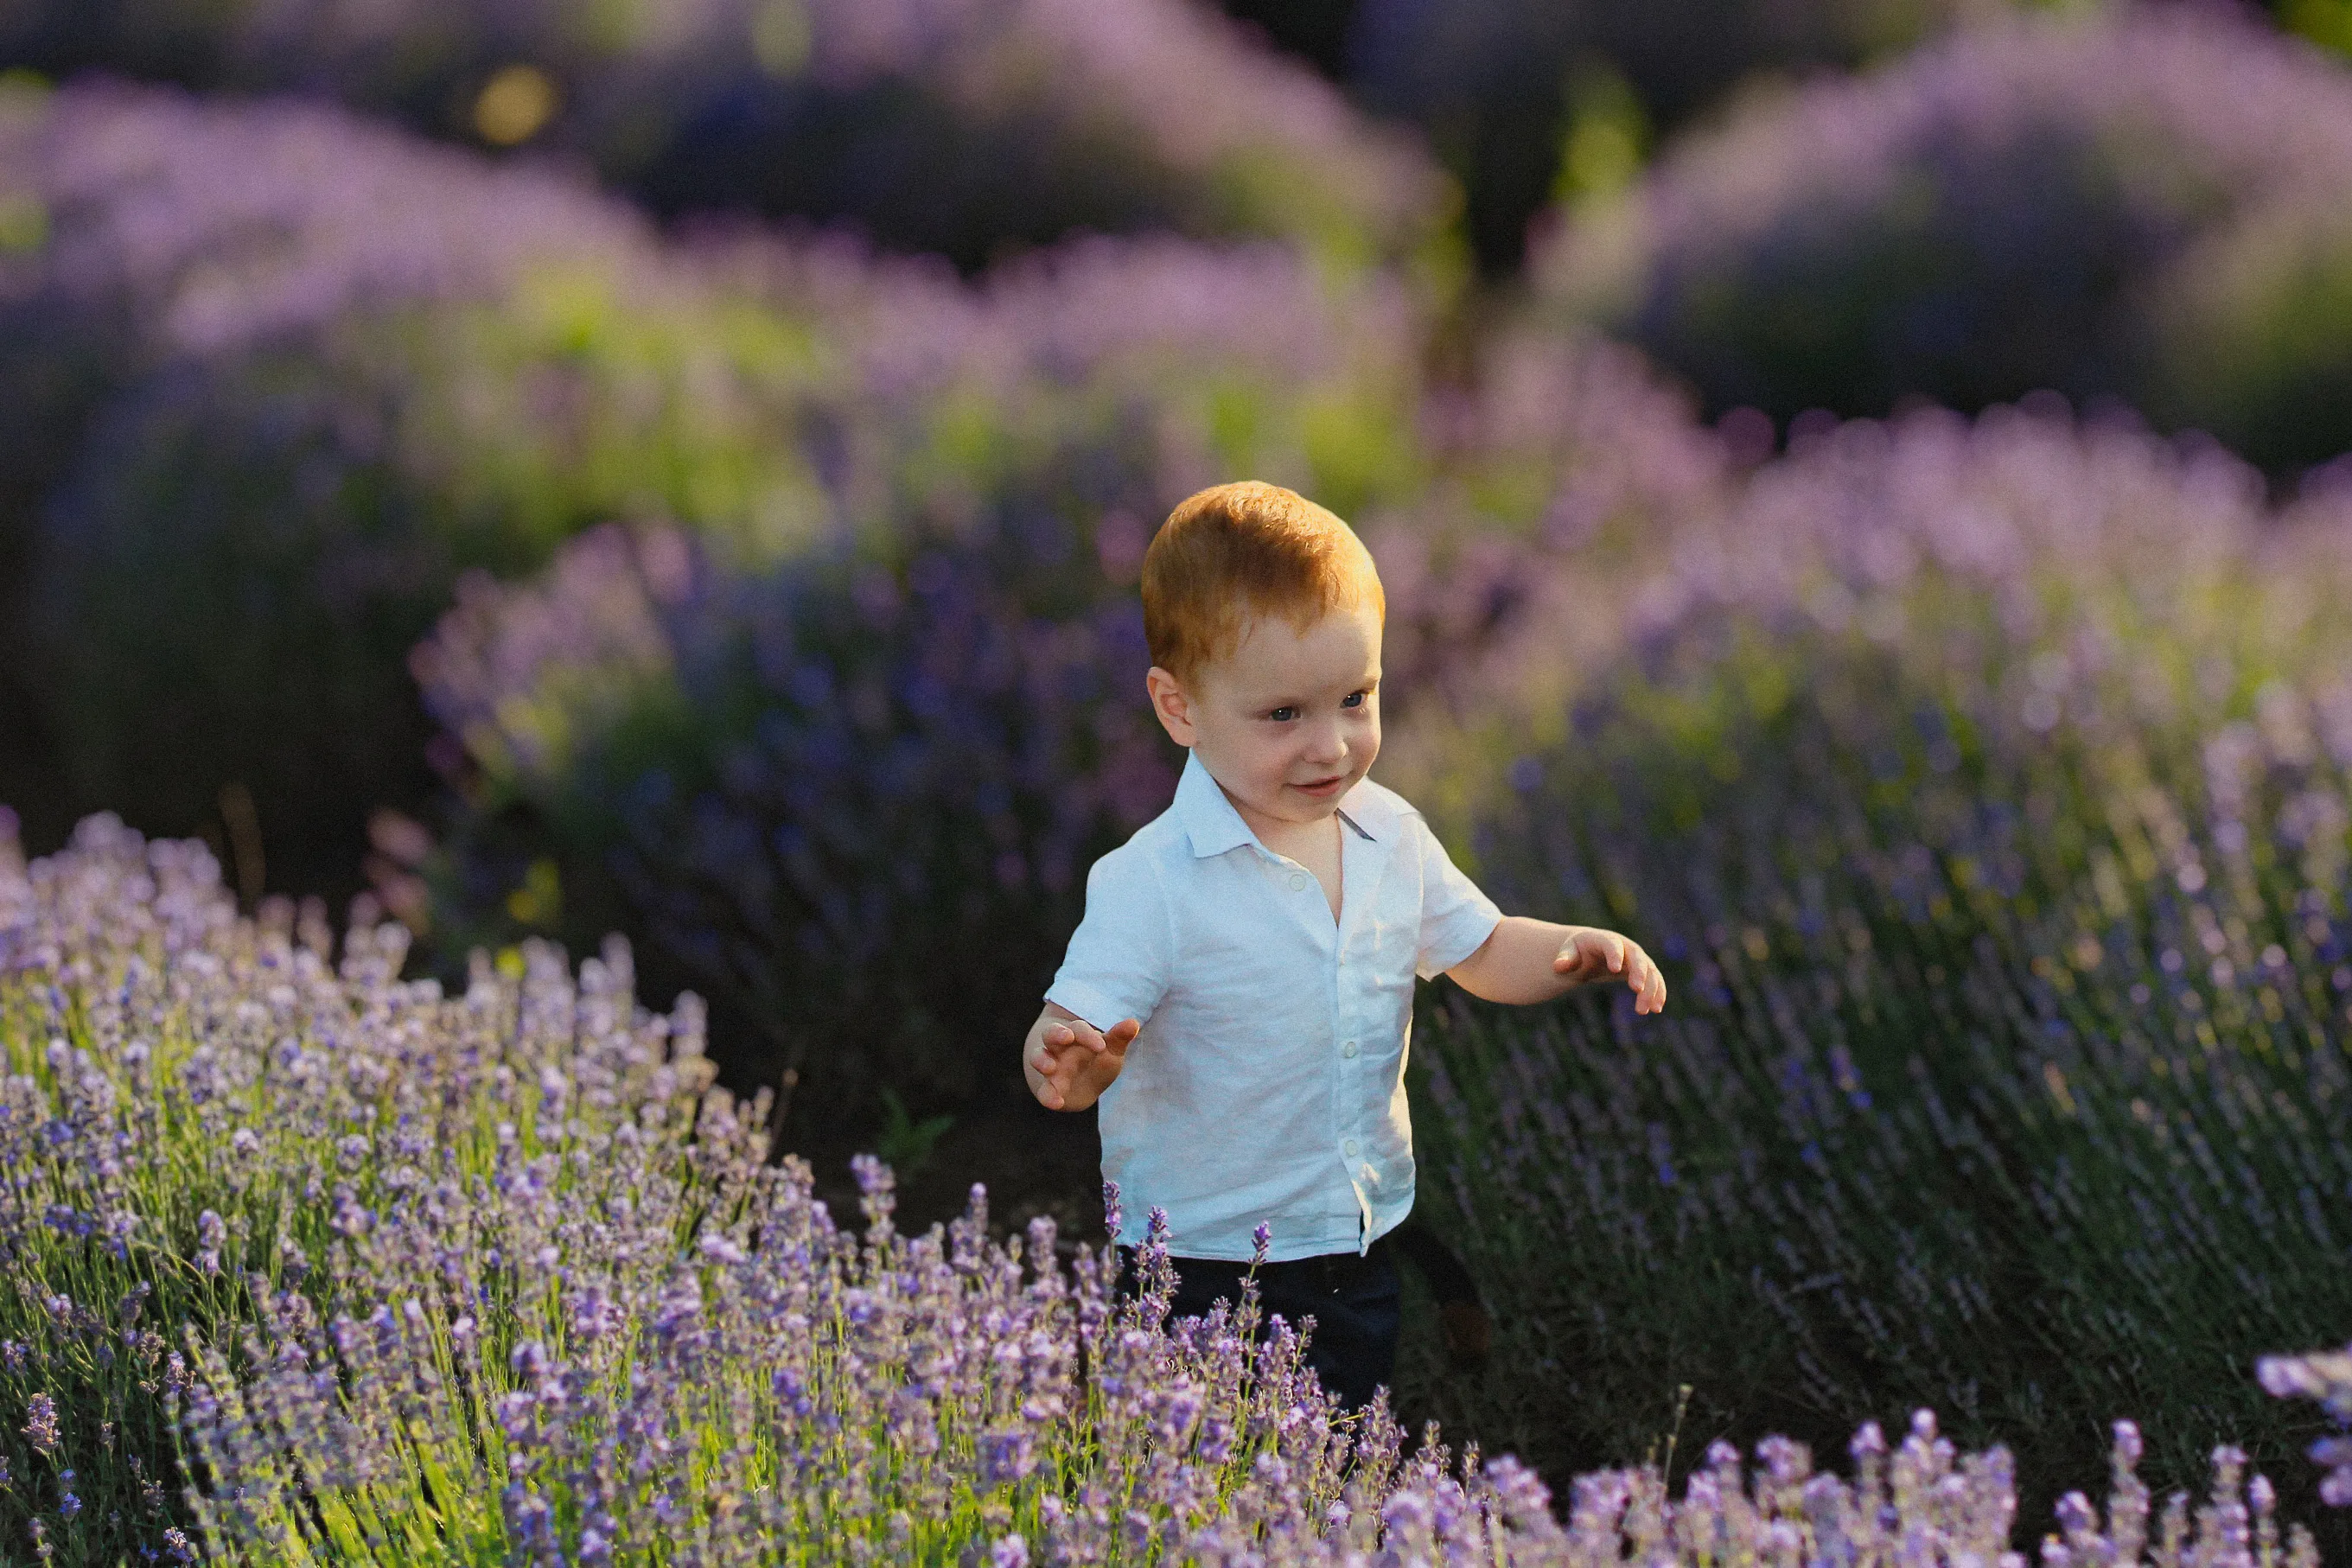
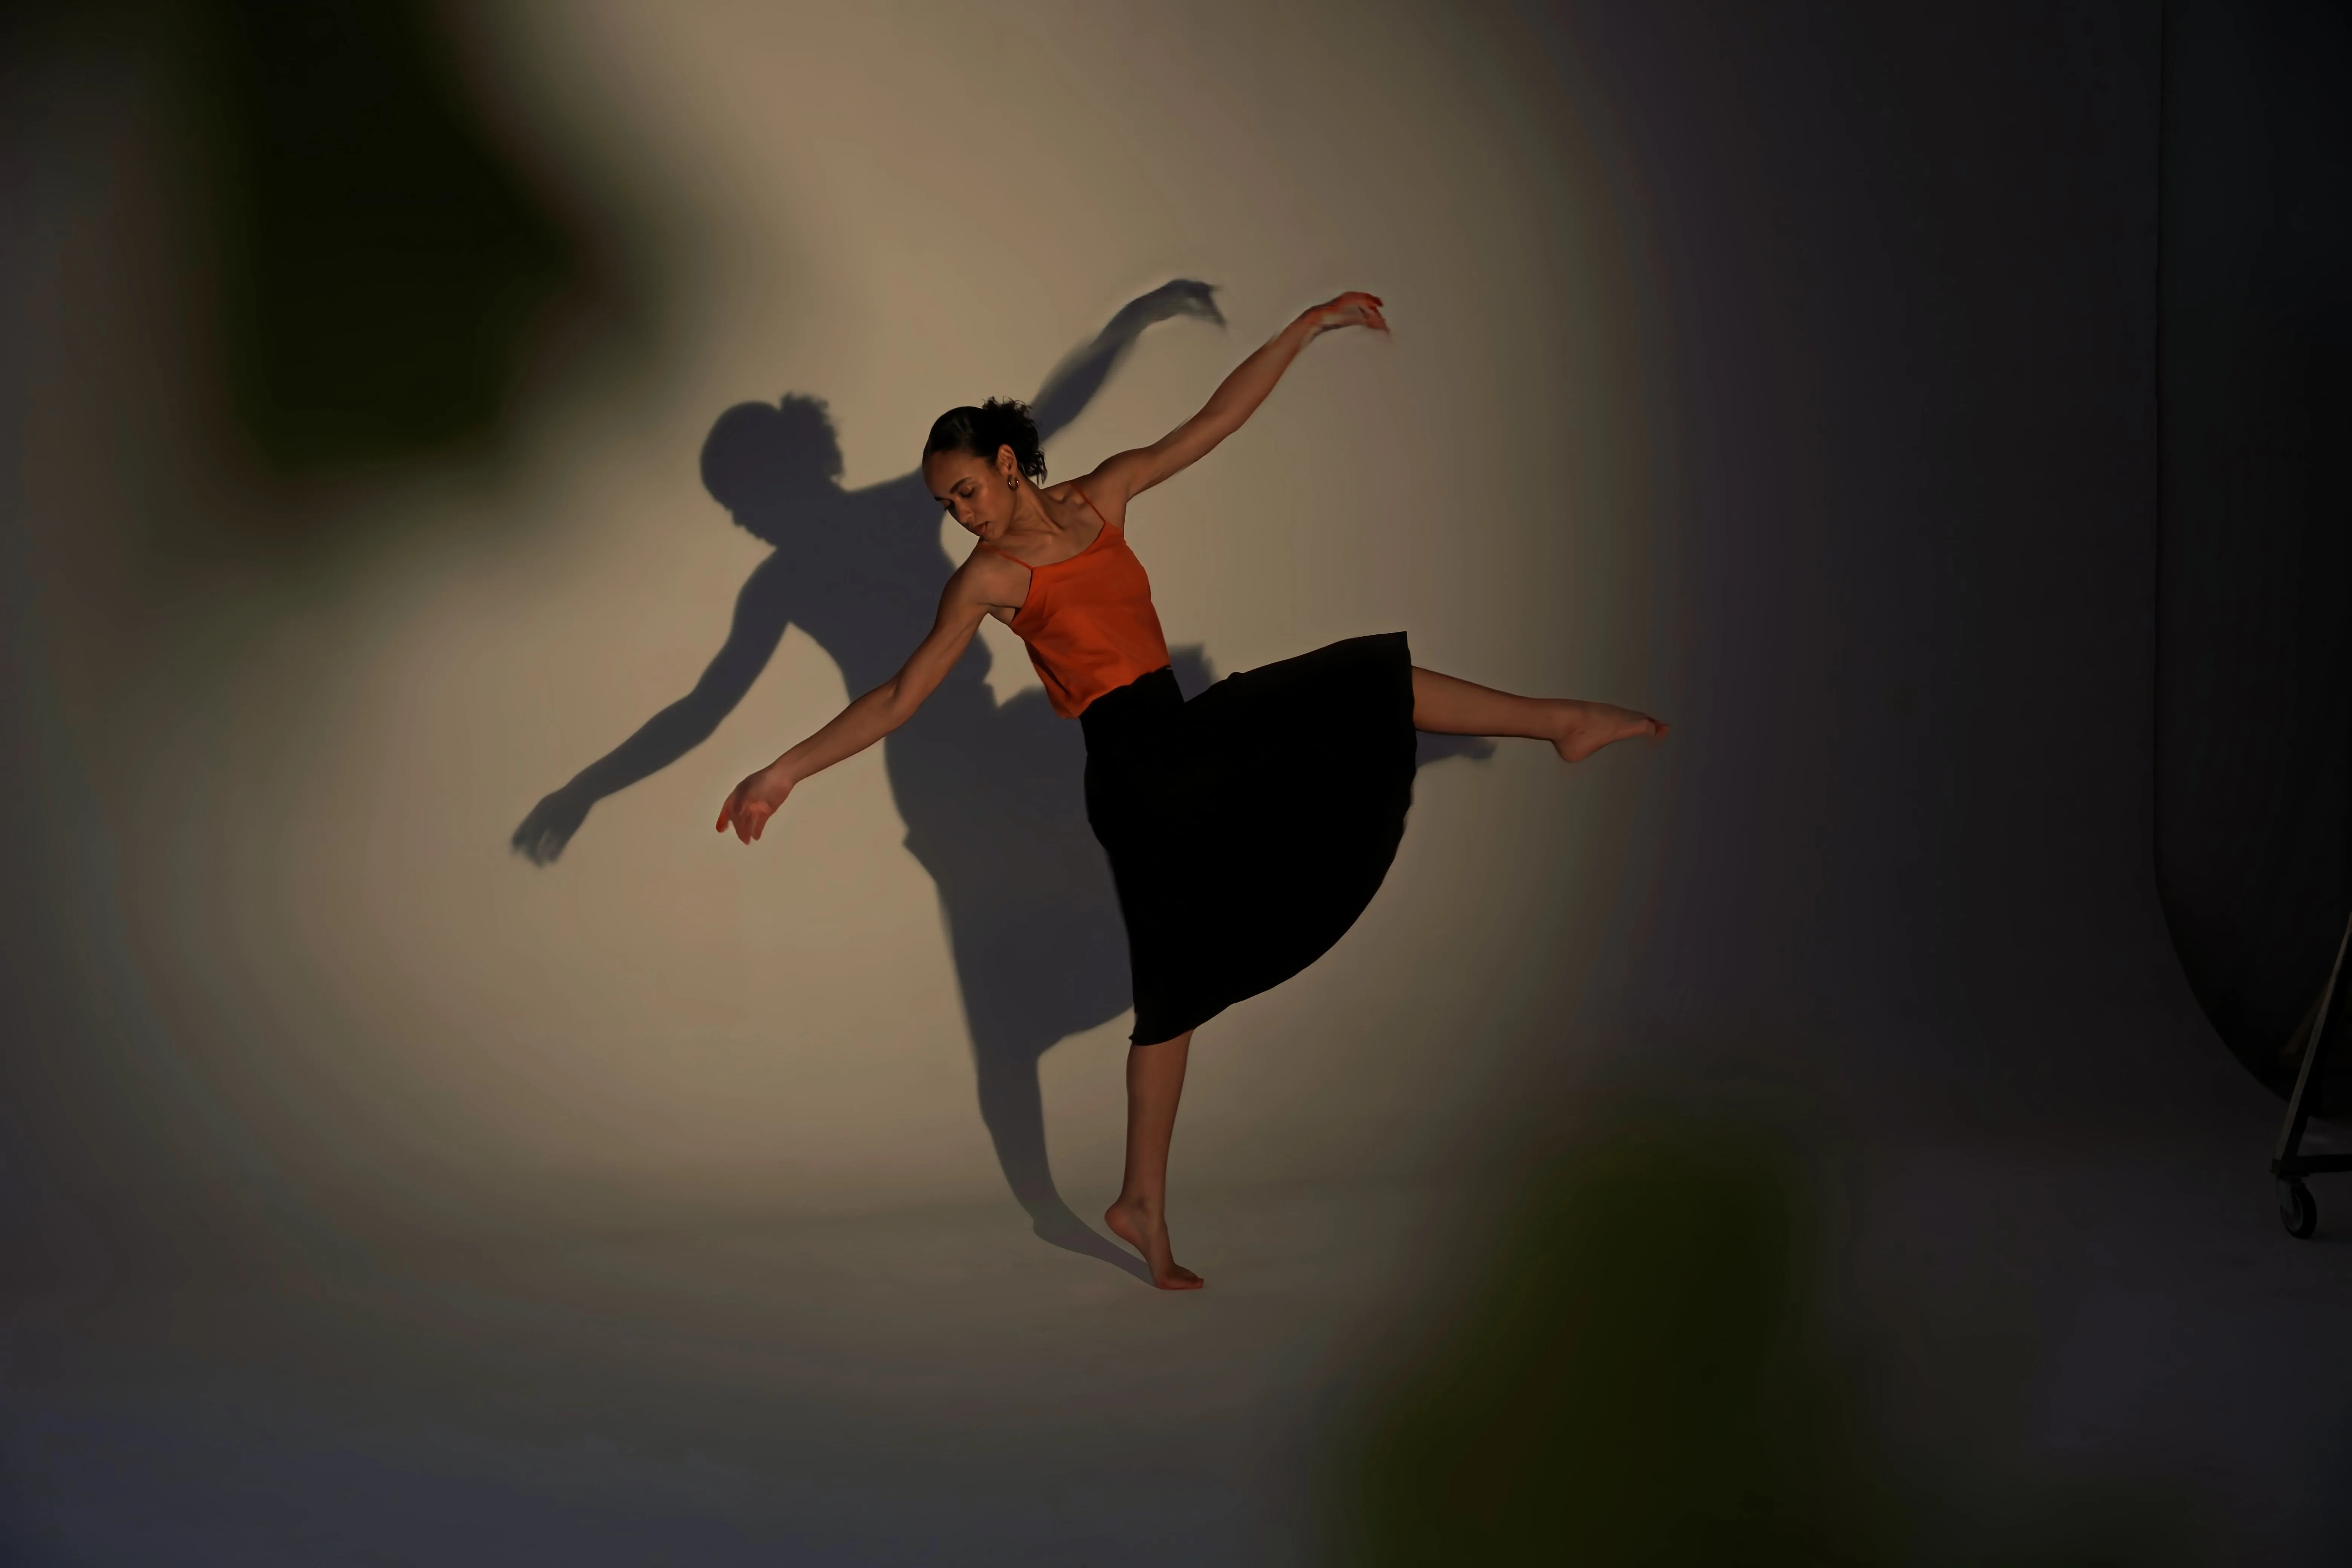
Image blur that works wonders
for your images
Our picture blurrer advanced blur image tools allow you to create stunning depth of field effects, emphasizing your subject while gently softening the background.
Whether you're aiming for a professional portrait or a dreamy landscape, the photo blurrer helps you achieve remarkable results with ease.
Whether you're aiming for a professional portrait or a dreamy landscape, the photo blurrer helps you achieve remarkable results with ease.
Luminar's blur picture magic: create remarkable focus
With Luminar’s blur filter, you can make parts of your image blurry to highlight what matters most. It’s simple to adjust the level of blur and get the perfect effect for your photos.
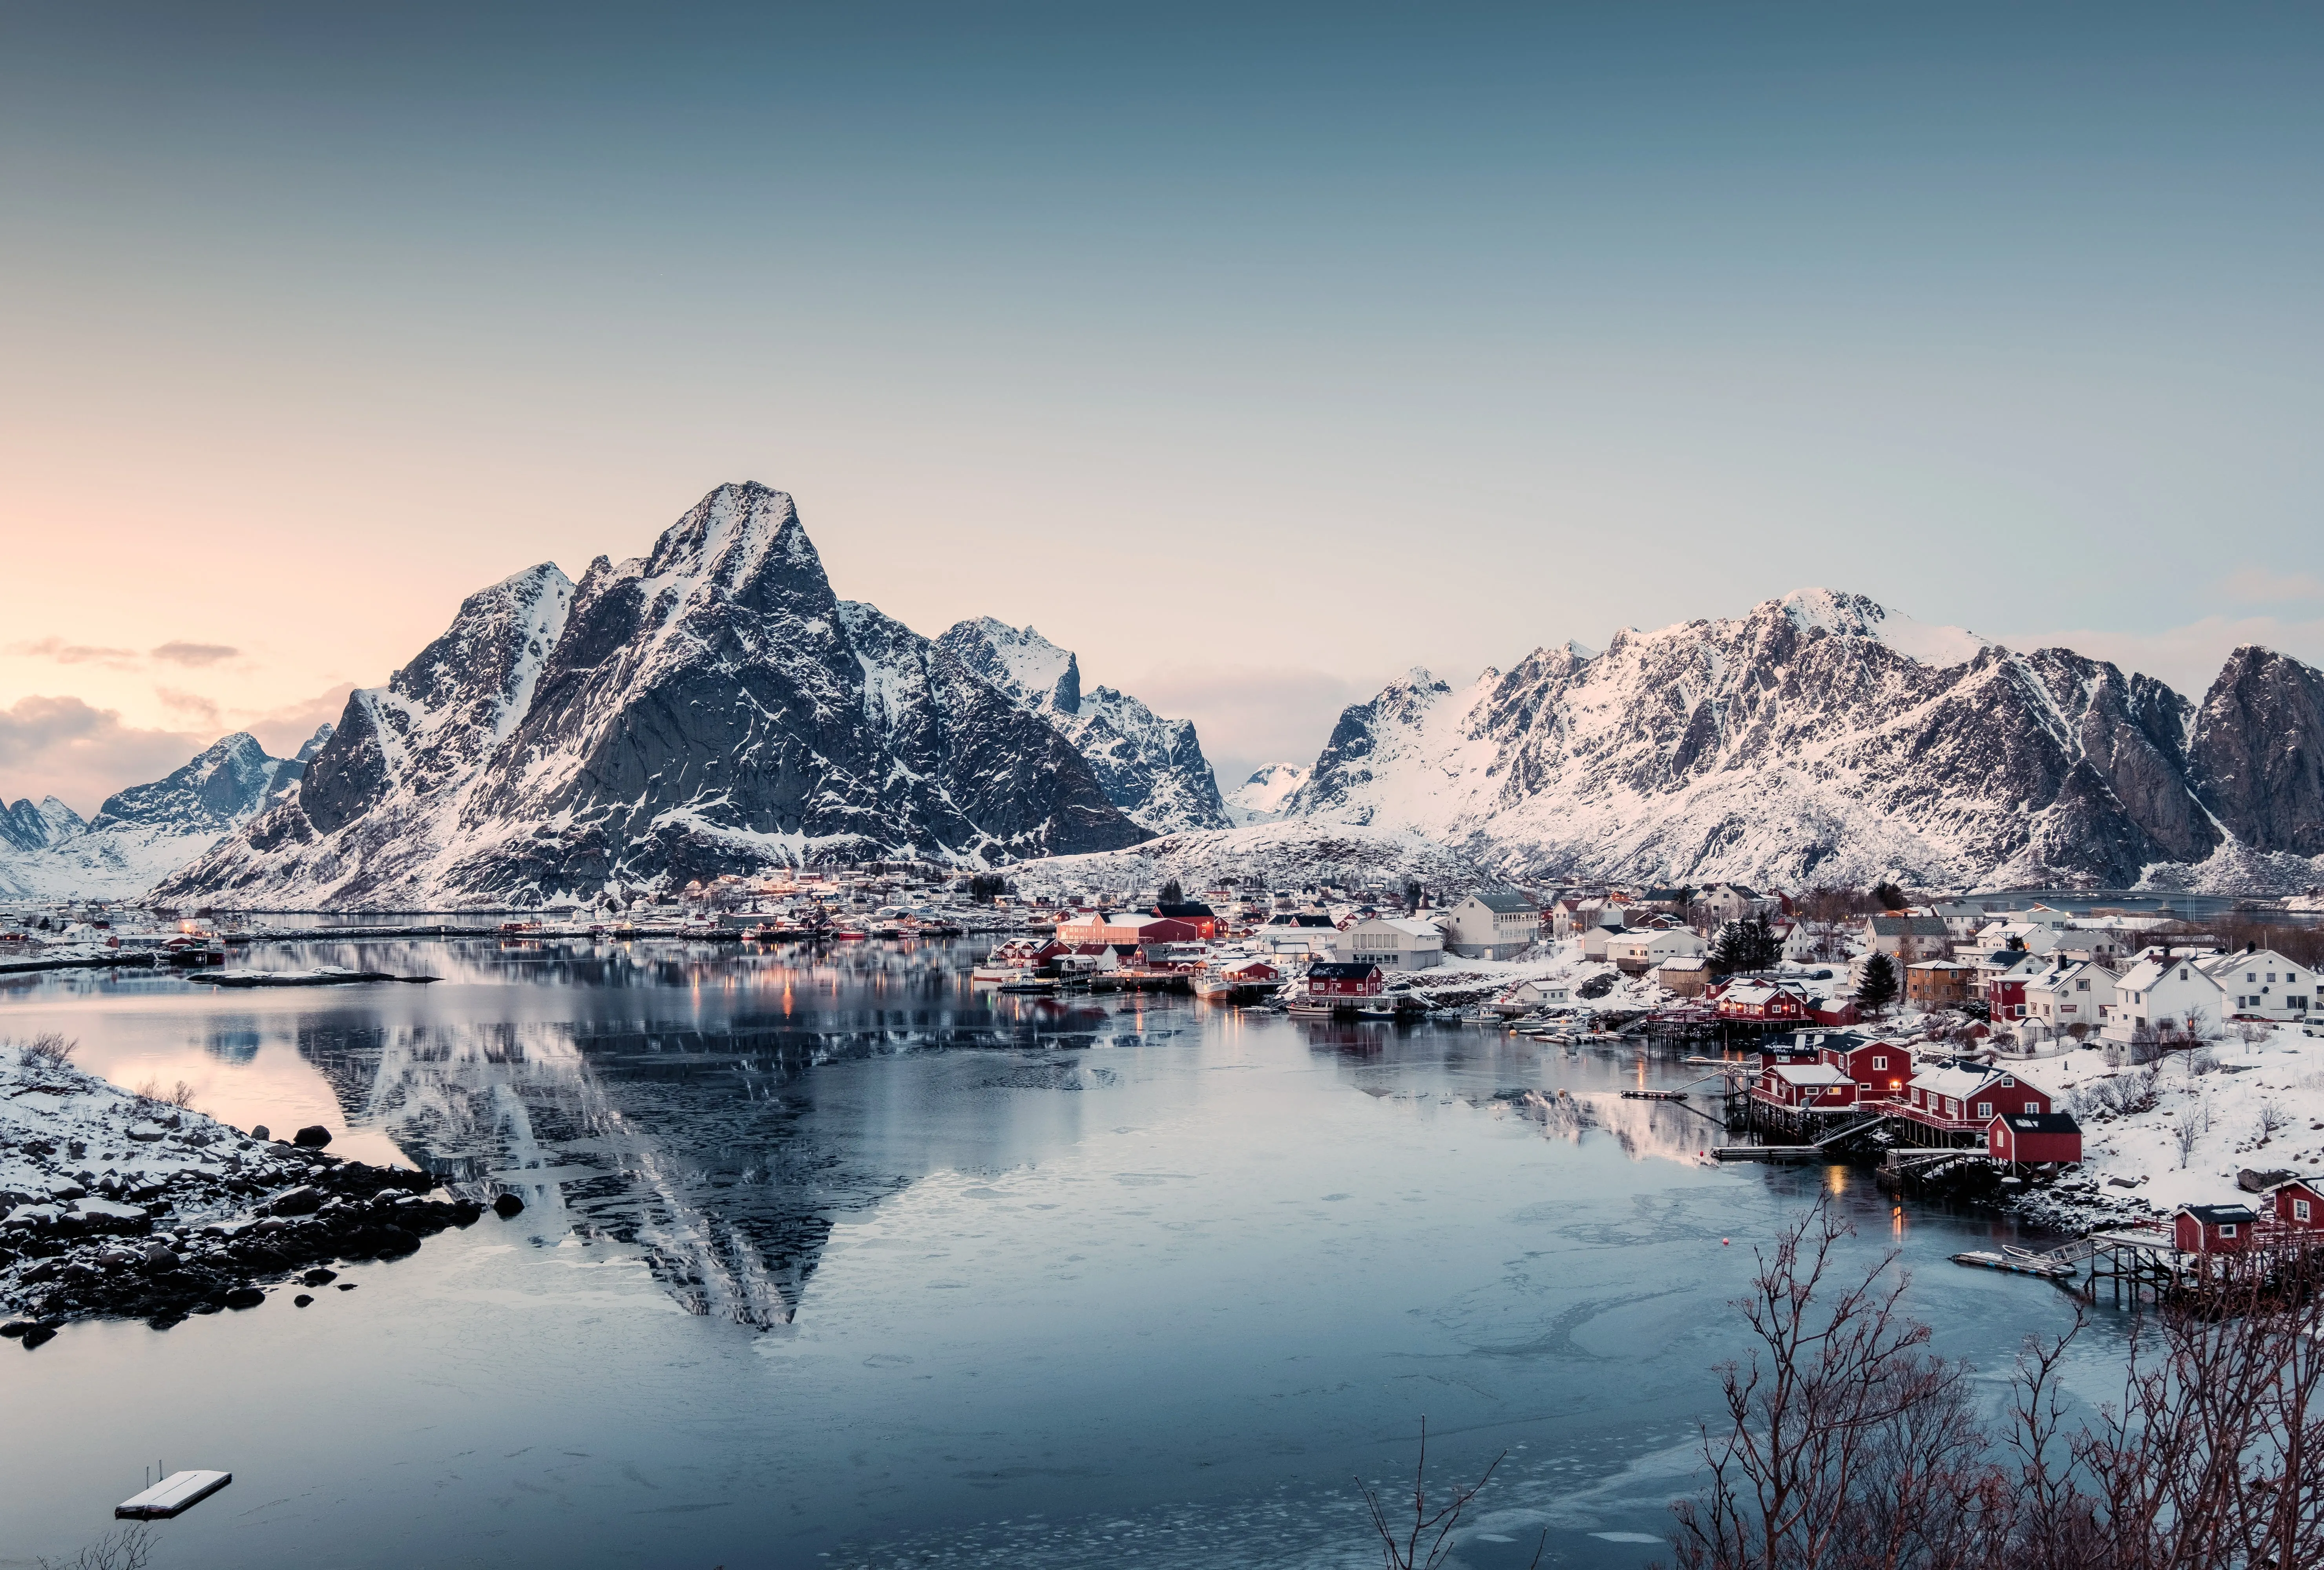
© shutterstock


© Shutterstock
Feel the endless possibilities of the blur filter
The image blur effect gives you many options. You can soften backgrounds, create a sense of movement, or make artistic effects.
The picture blurrer is a flexible tool that helps you get creative with your photos.
The picture blurrer is a flexible tool that helps you get creative with your photos.
Explore Other Features
Luminar has plenty of other features to help you edit faster and easier
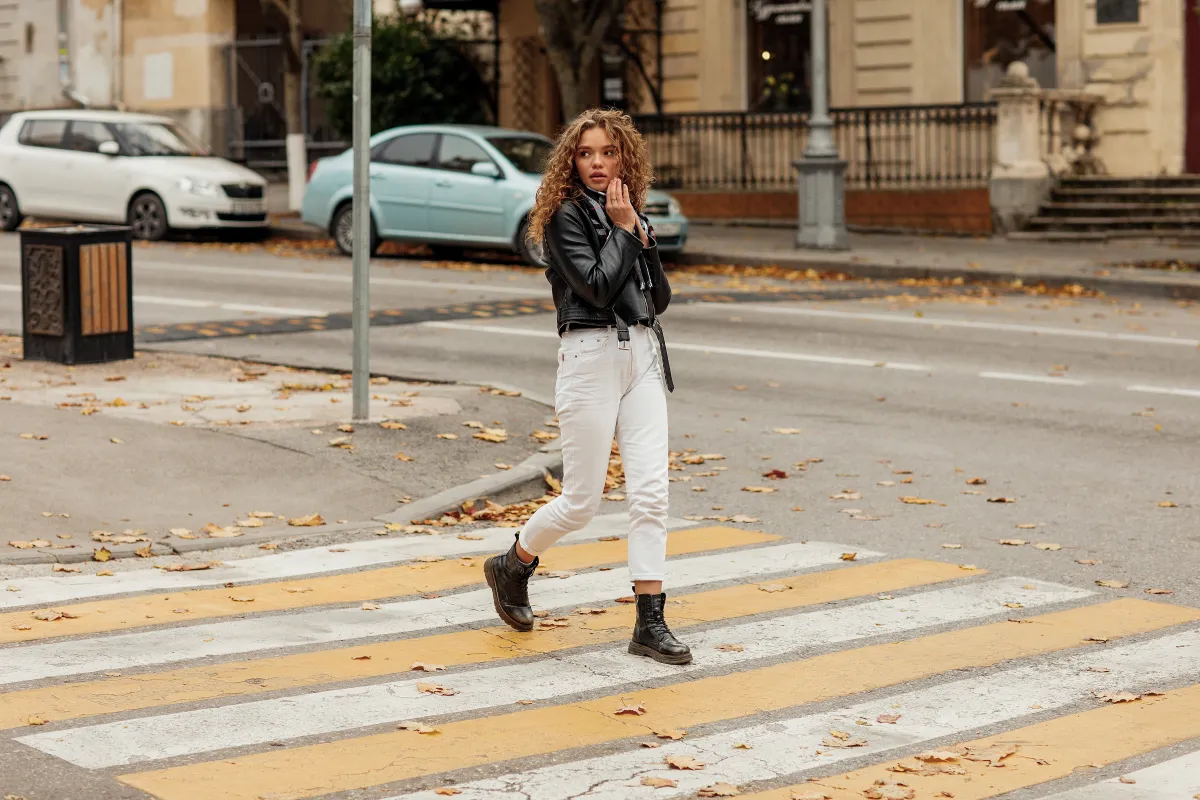
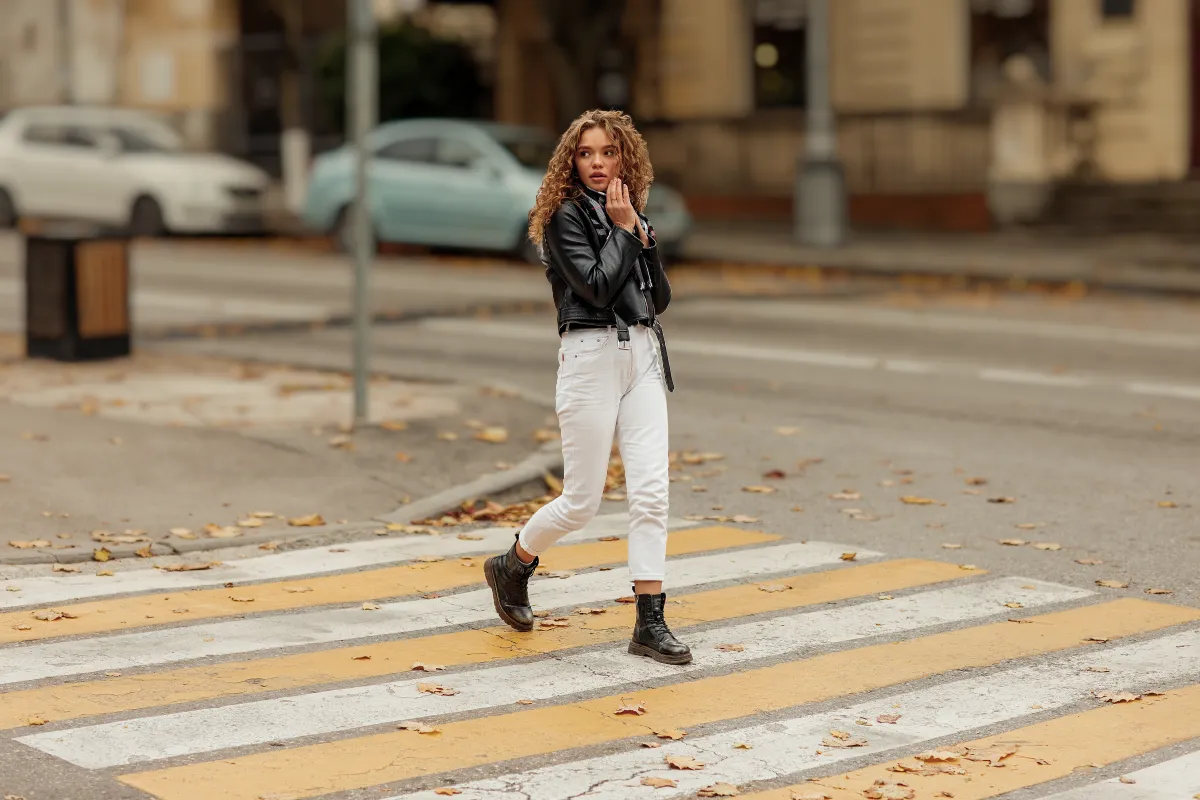
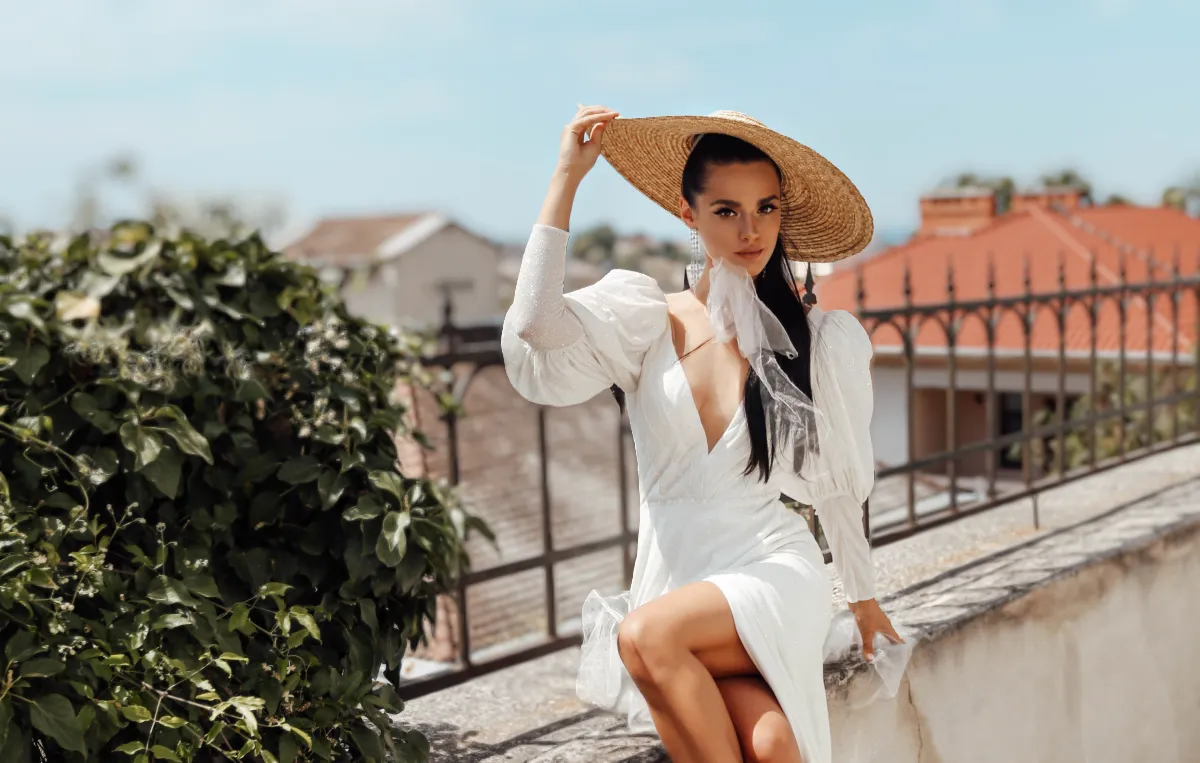
Blur Backgrounds
© Shutterstock
Effortlessly blur backgrounds to bring your main subject into sharp focus and elevate your image's visual appeal.
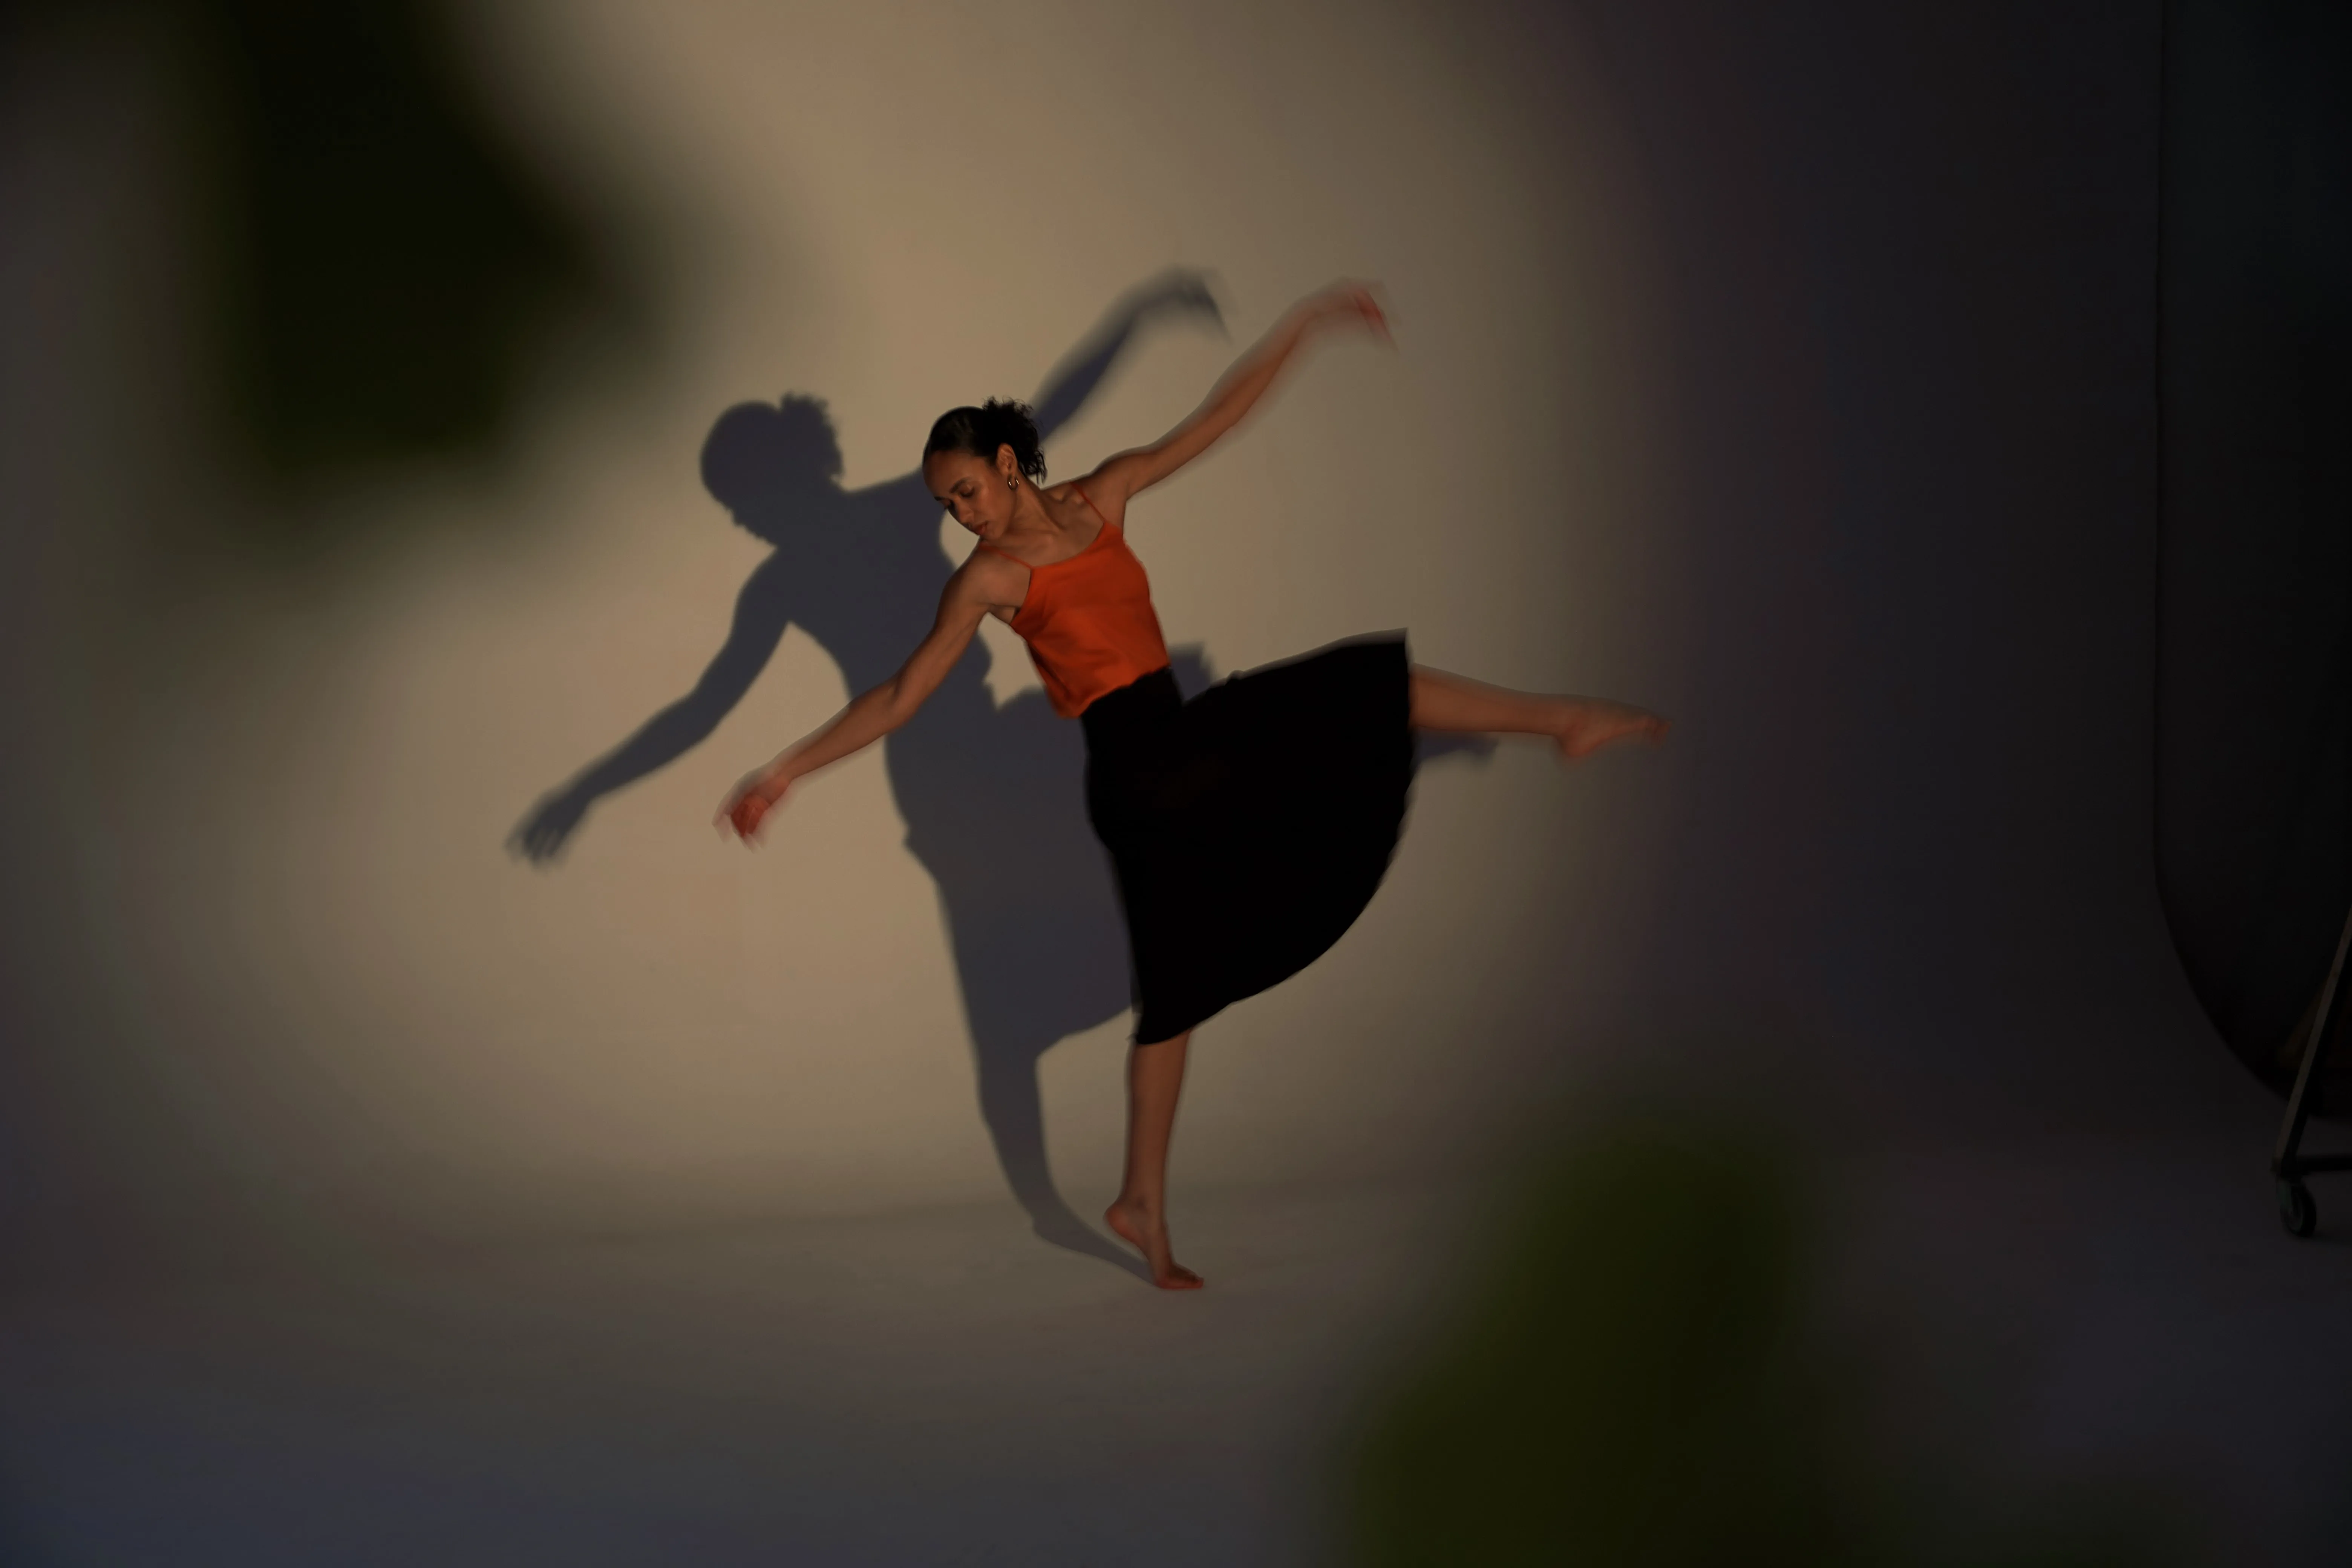
Motion Blur Effect

© Depositphoto
Click now to experience the motion blur effect in Luminar and make your ordinary photos extraordinarily dynamic.
Portrait Bokeh Effect
© Shutterstock
Discover how to transform the background into a mesmerizing blur with our Portrait Bokeh Effect tool.
Unblur Image
© Ksenia Kazak
Transform your blurry photos into crisp, clear images with Luminar
Supersharp AI
© Ksenia Kazak
Use our cutting-edge technology to naturally restore the sharpness of your cherished memories
4K Image Upscale

© bloodua
Experience up to 4x better resolution on panoramas, wildlife zoom-ins, macro shots, and old photos.
FAQ
Can I adjust the intensity of the blur when I blur a photo?
Yes, Luminar allows you to easily control the strength of the blur effect, from subtle softening to strong artistic blurring.
Can I selectively add blur to a photo in Luminar?
Absolutely. The photo blurrer lets you apply the blur effect only to specific areas, giving you full creative control over your image.
What types of effects are available with the image blurrer?
You can choose from various effects including Gaussian blur, radial blur, motion blur, and custom selective blurring to achieve the desired artistic look.
What are the steps to make an image blurry?
To make an image blurry, start by opening your photo in Luminar. Once it’s loaded, select the blur tool or filter from the editing options. Then, adjust the intensity and radius of the blur to your preference, controlling how soft or pronounced the effect appears.
If you want to apply the blur selectively, you can use the masking tools to target specific areas of the image. Finally, fine-tune the settings until you achieve the desired level of softness and the perfect overall effect.
If you want to apply the blur selectively, you can use the masking tools to target specific areas of the image. Finally, fine-tune the settings until you achieve the desired level of softness and the perfect overall effect.