Ver los planes
Difumina imágenes sin esfuerzo
¿Buscas una manera de crear fotos bonitas y profesionales sin pasar horas editando? Con las herramientas adecuadas, desenfocar imágenes puedes ser más fácil y rápido de lo que imaginas. No importa si quieres difuminar el fondo, dar mayor protagonismo al sujeto principal o añadir un toque creativo a tus fotos. Descubre cómo desenfocar una imagen con el mínimo esfuerzo.
Probar ahora¿Por qué el efecto difuminado es una herramienta imprescindible en fotografía?
Blurring photos is a simple way to make your pictures look more professional. With an image blur filter, you can focus attention on the main subject and make the background look soft and nice. Luminar, your go-to photo blurrer, makes it easy to blur images, whether you want a subtle effect or a more artistic look.
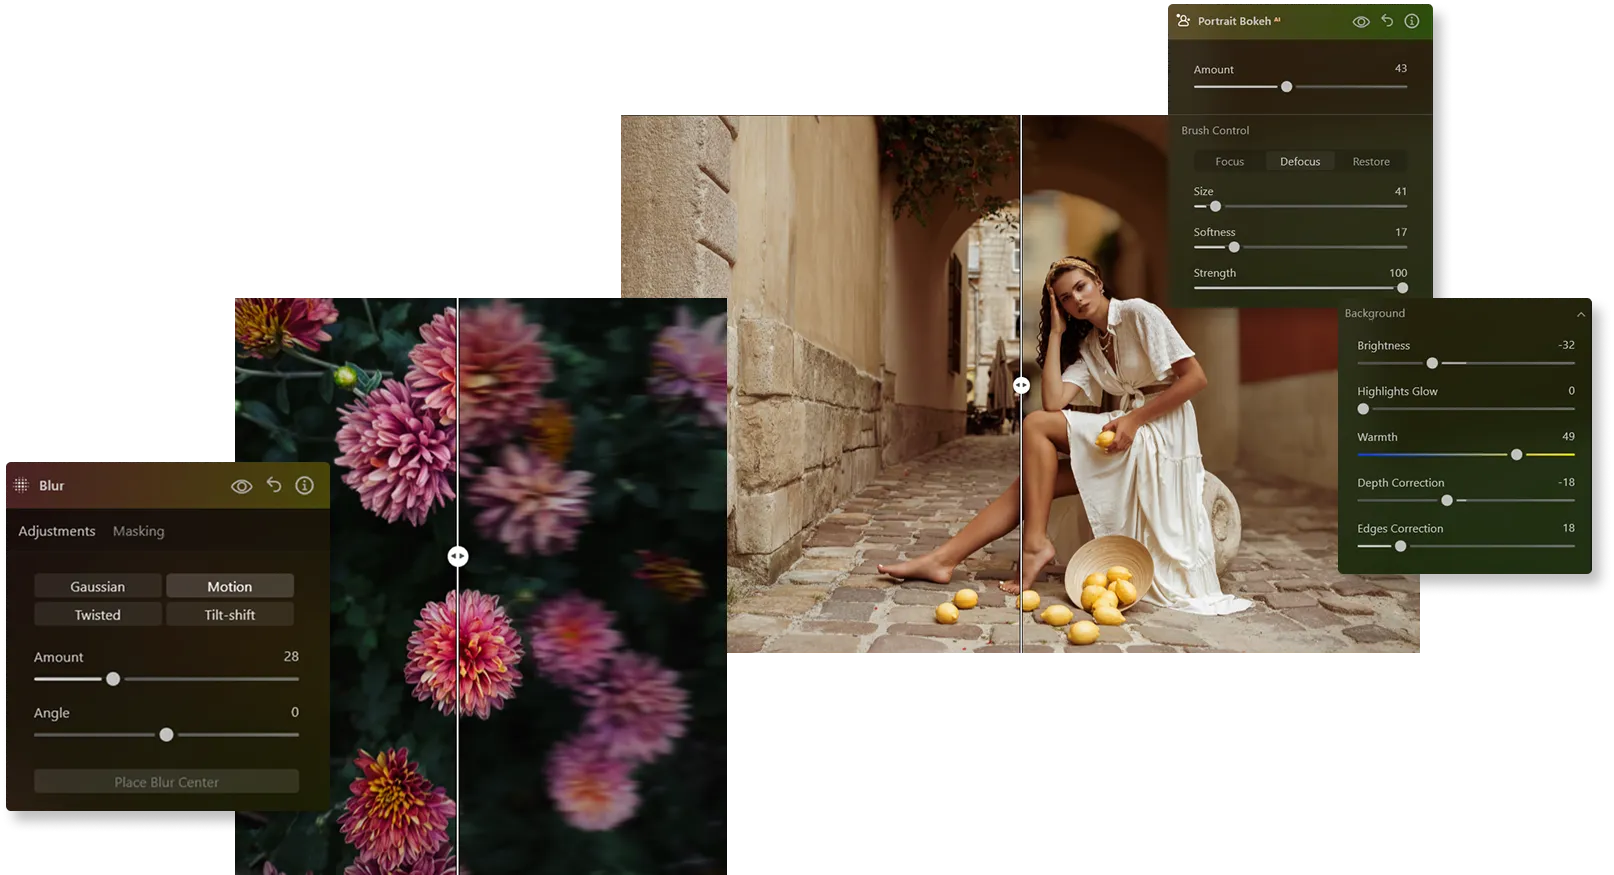
La herramienta de desenfoque que hace magia
con tus fotos
Las herramientas de difuminado de nuestro editor avanzado te permiten acentuar el sujeto principal al suavizar el fondo de manera controlada, logrando un efecto de profundidad de campo realista.
Tanto si buscas crear un retrato profesional o un paisaje de ensueño, el efecto de desenfoque te permitirá conseguir resultados impactantes con facilidad.
Tanto si buscas crear un retrato profesional o un paisaje de ensueño, el efecto de desenfoque te permitirá conseguir resultados impactantes con facilidad.
Luminar's blur picture magic: create remarkable focus
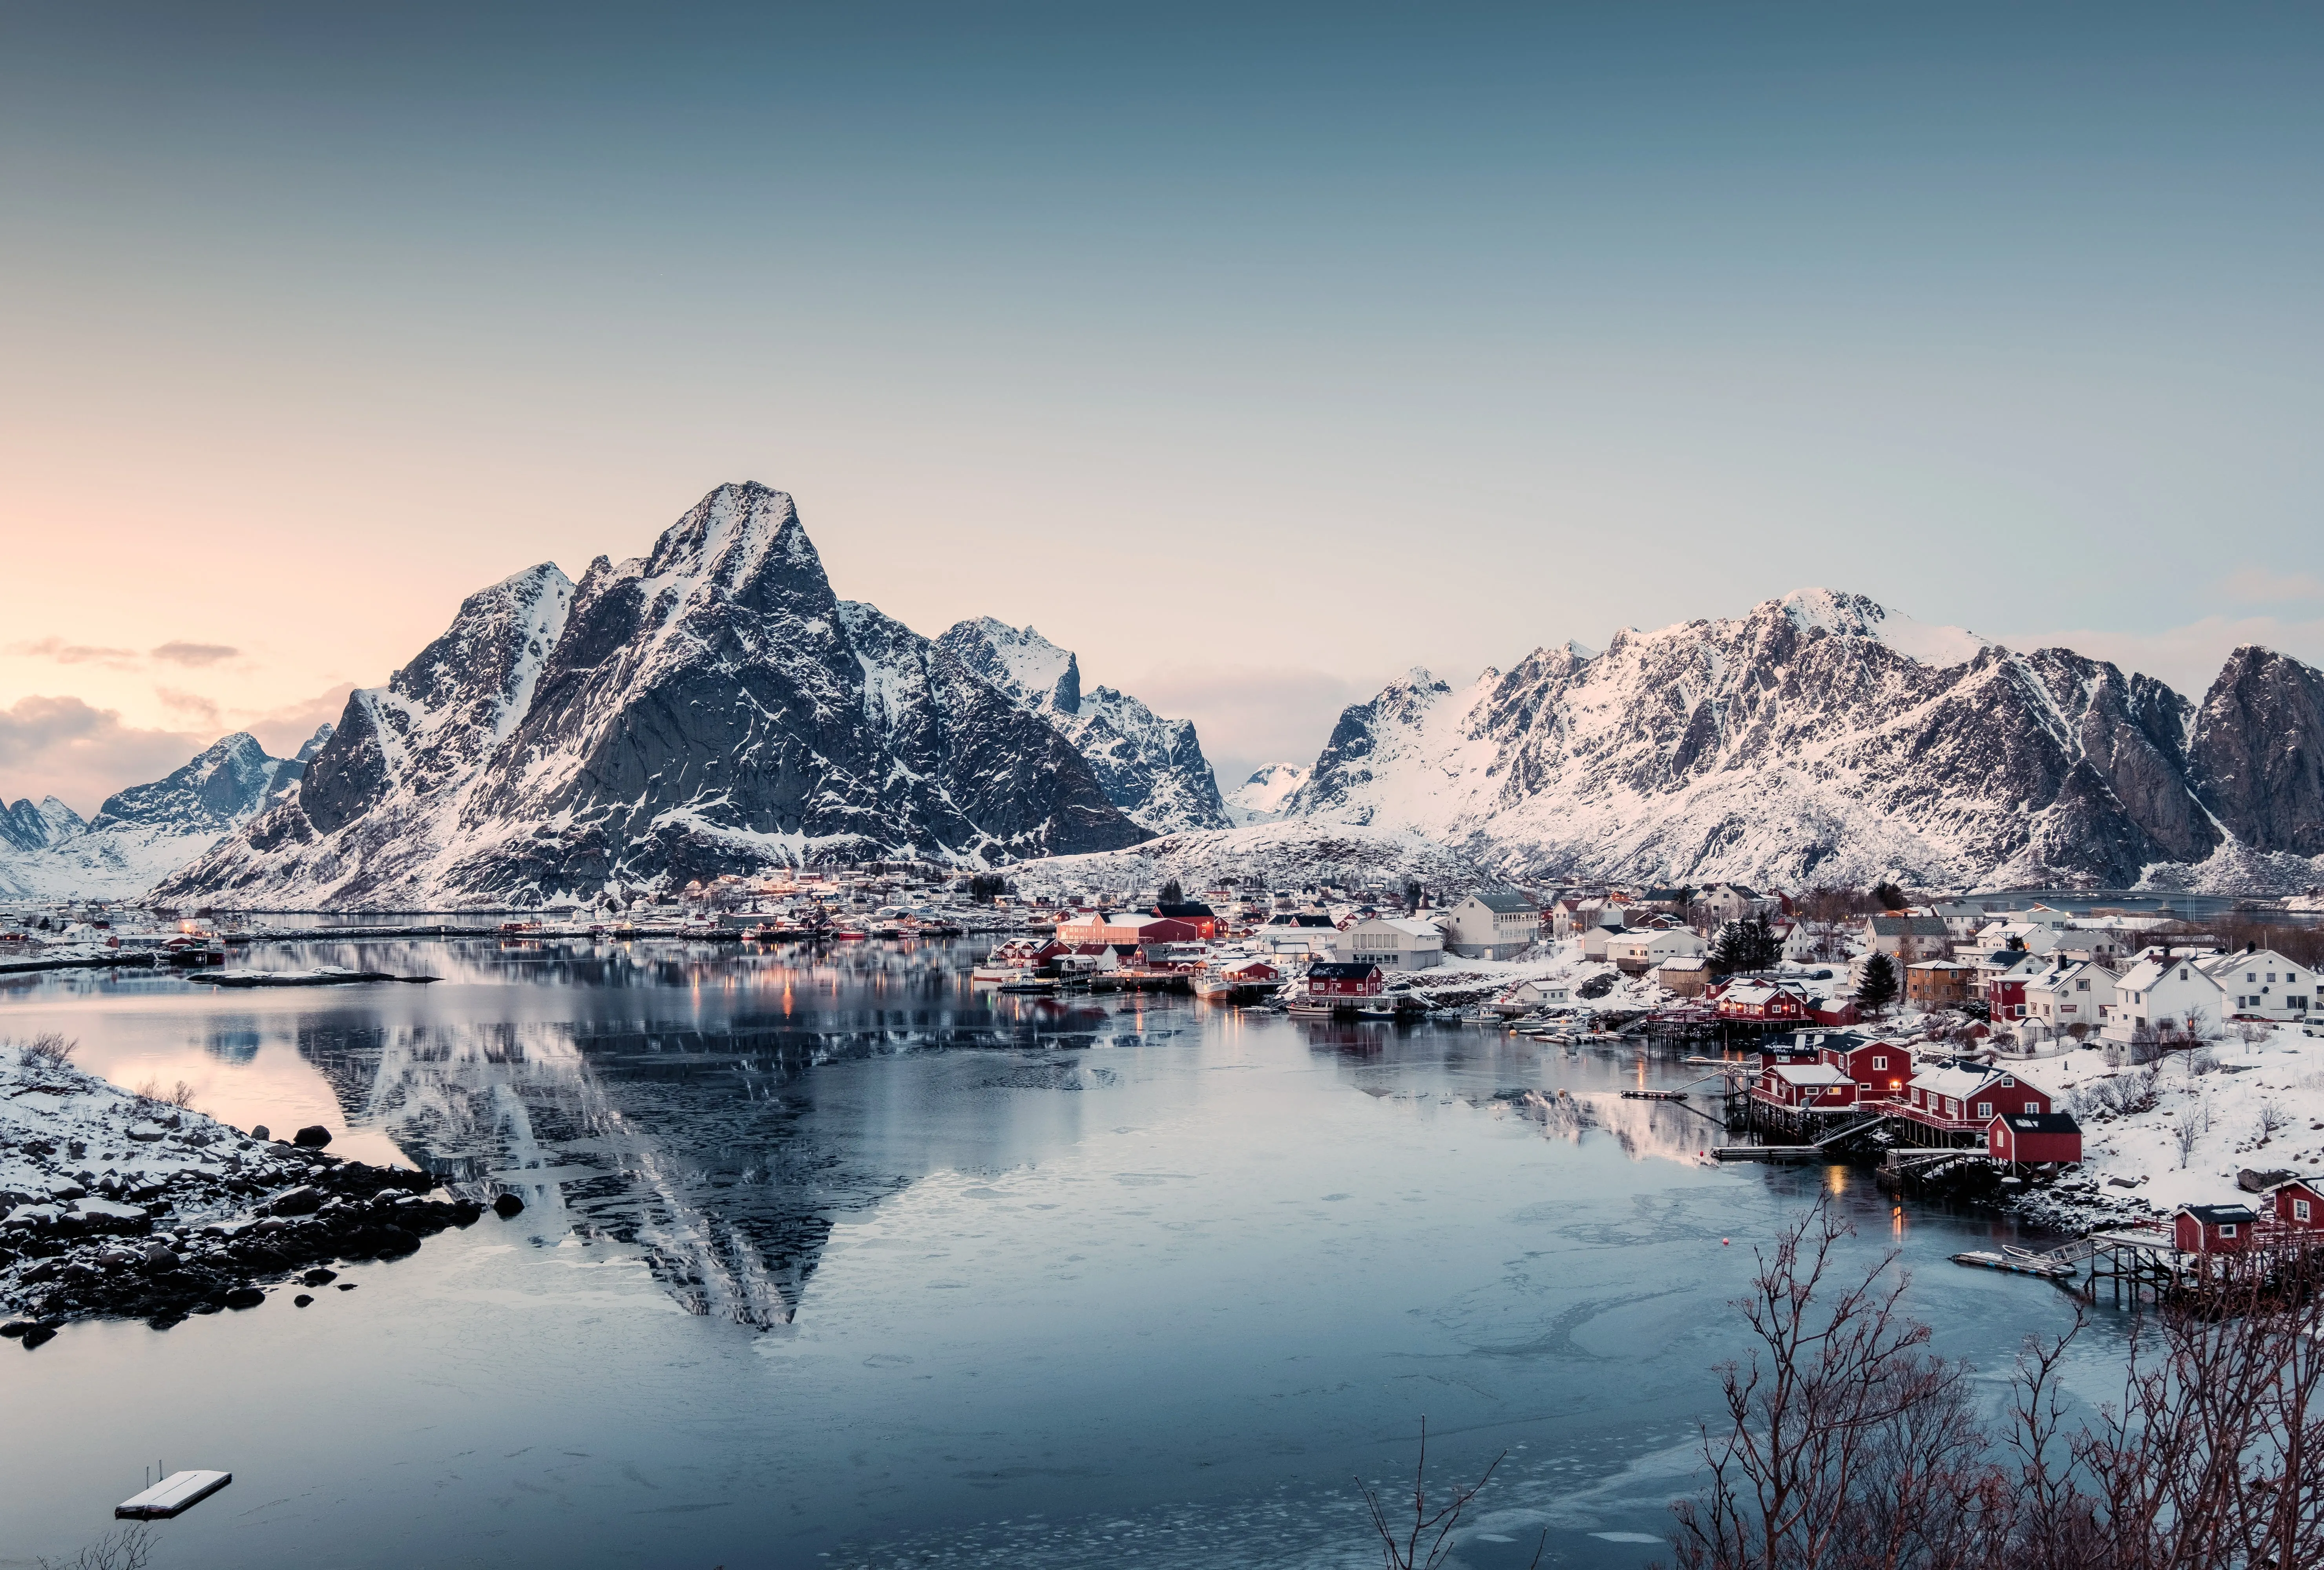
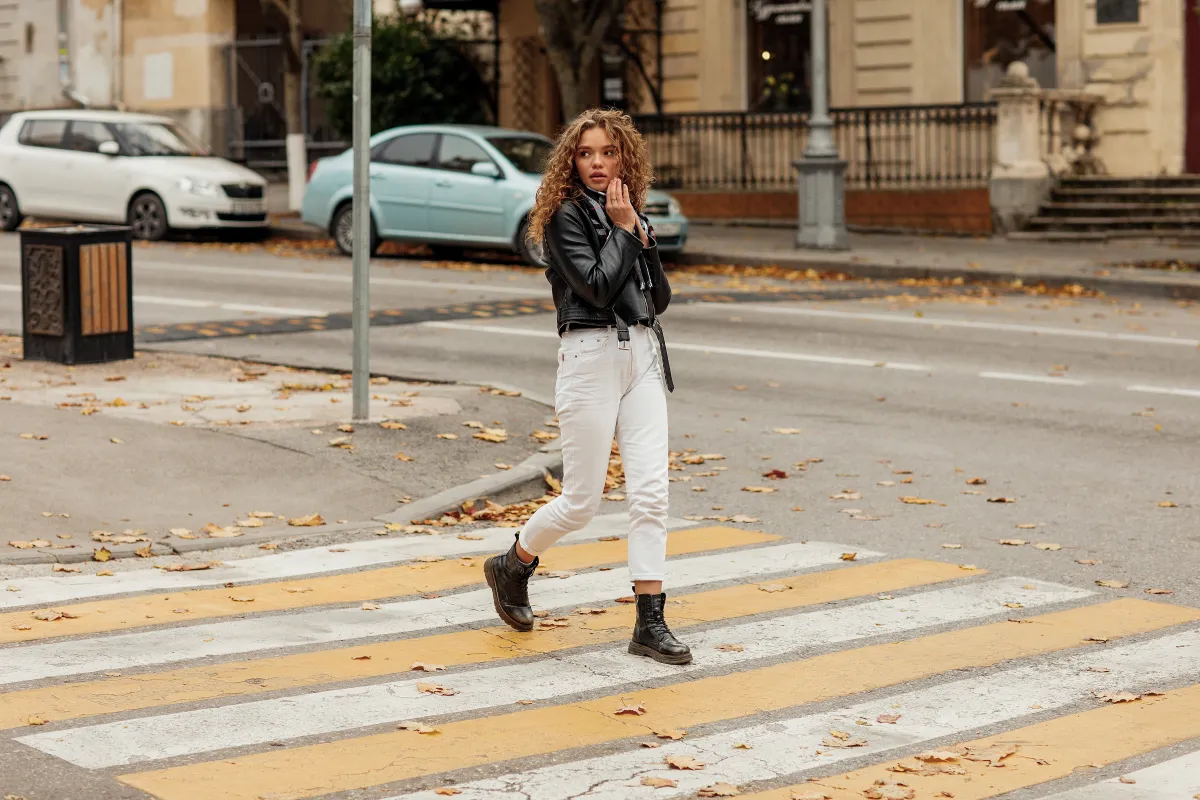
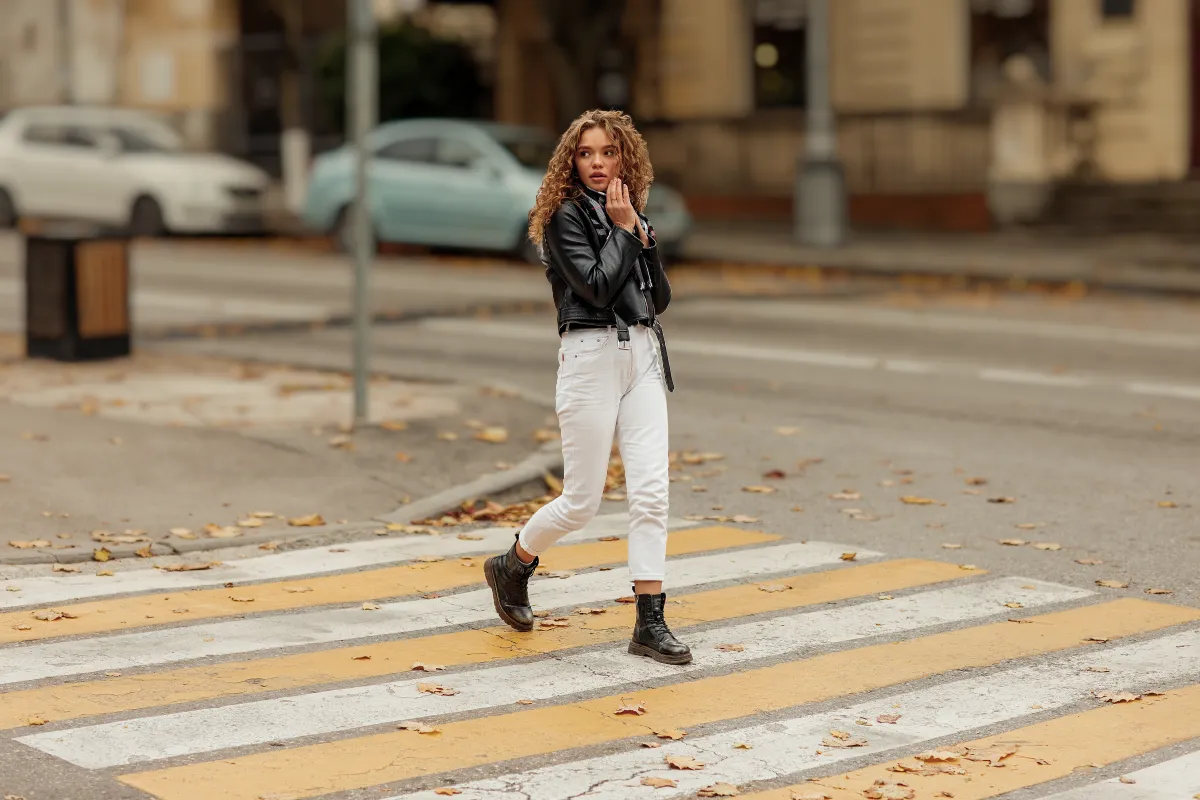
With Luminar’s blur filter, you can make parts of your image blurry to highlight what matters most. It’s simple to adjust the level of blur and get the perfect effect for your photos.
© shutterstock


© Shutterstock
Descubre las infinitas posibilidades del filtro de desenfoque
The image blur effect gives you many options. You can soften backgrounds, create a sense of movement, or make artistic effects.
The picture blurrer is a flexible tool that helps you get creative with your photos.
The picture blurrer is a flexible tool that helps you get creative with your photos.
Descubre otras funciones
Luminar has plenty of other features to help you edit faster and easier

Difumina Fondos
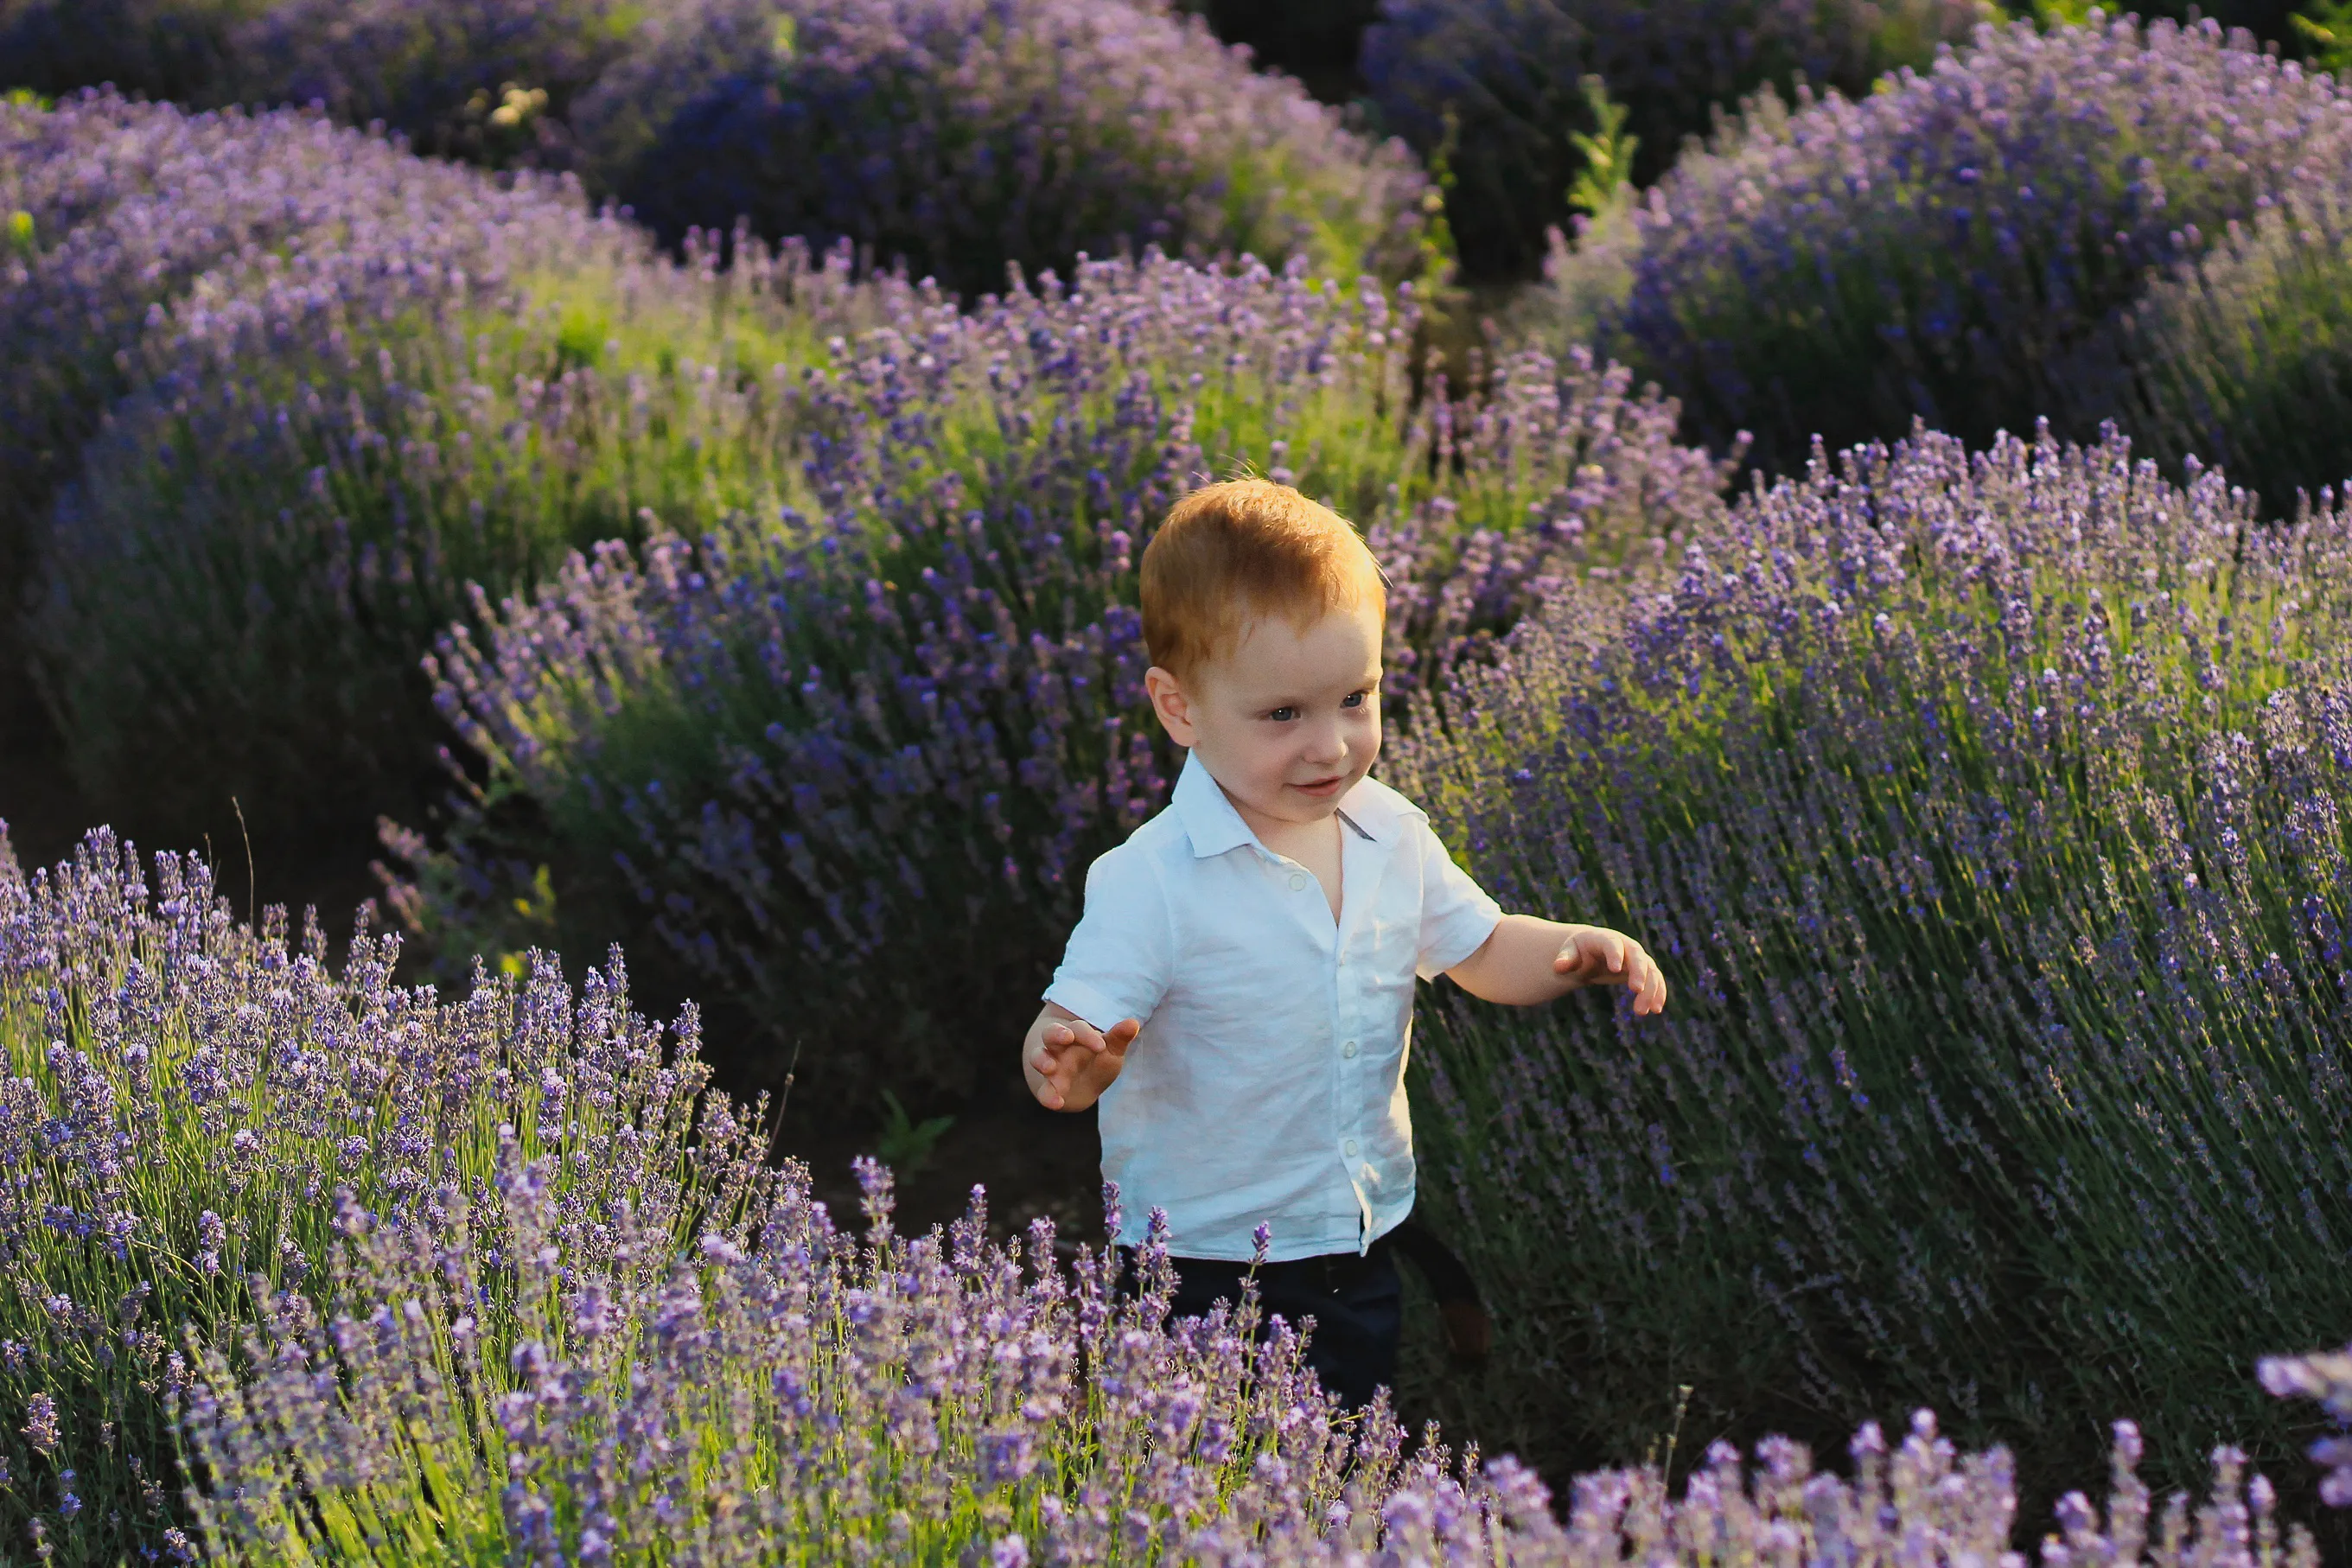
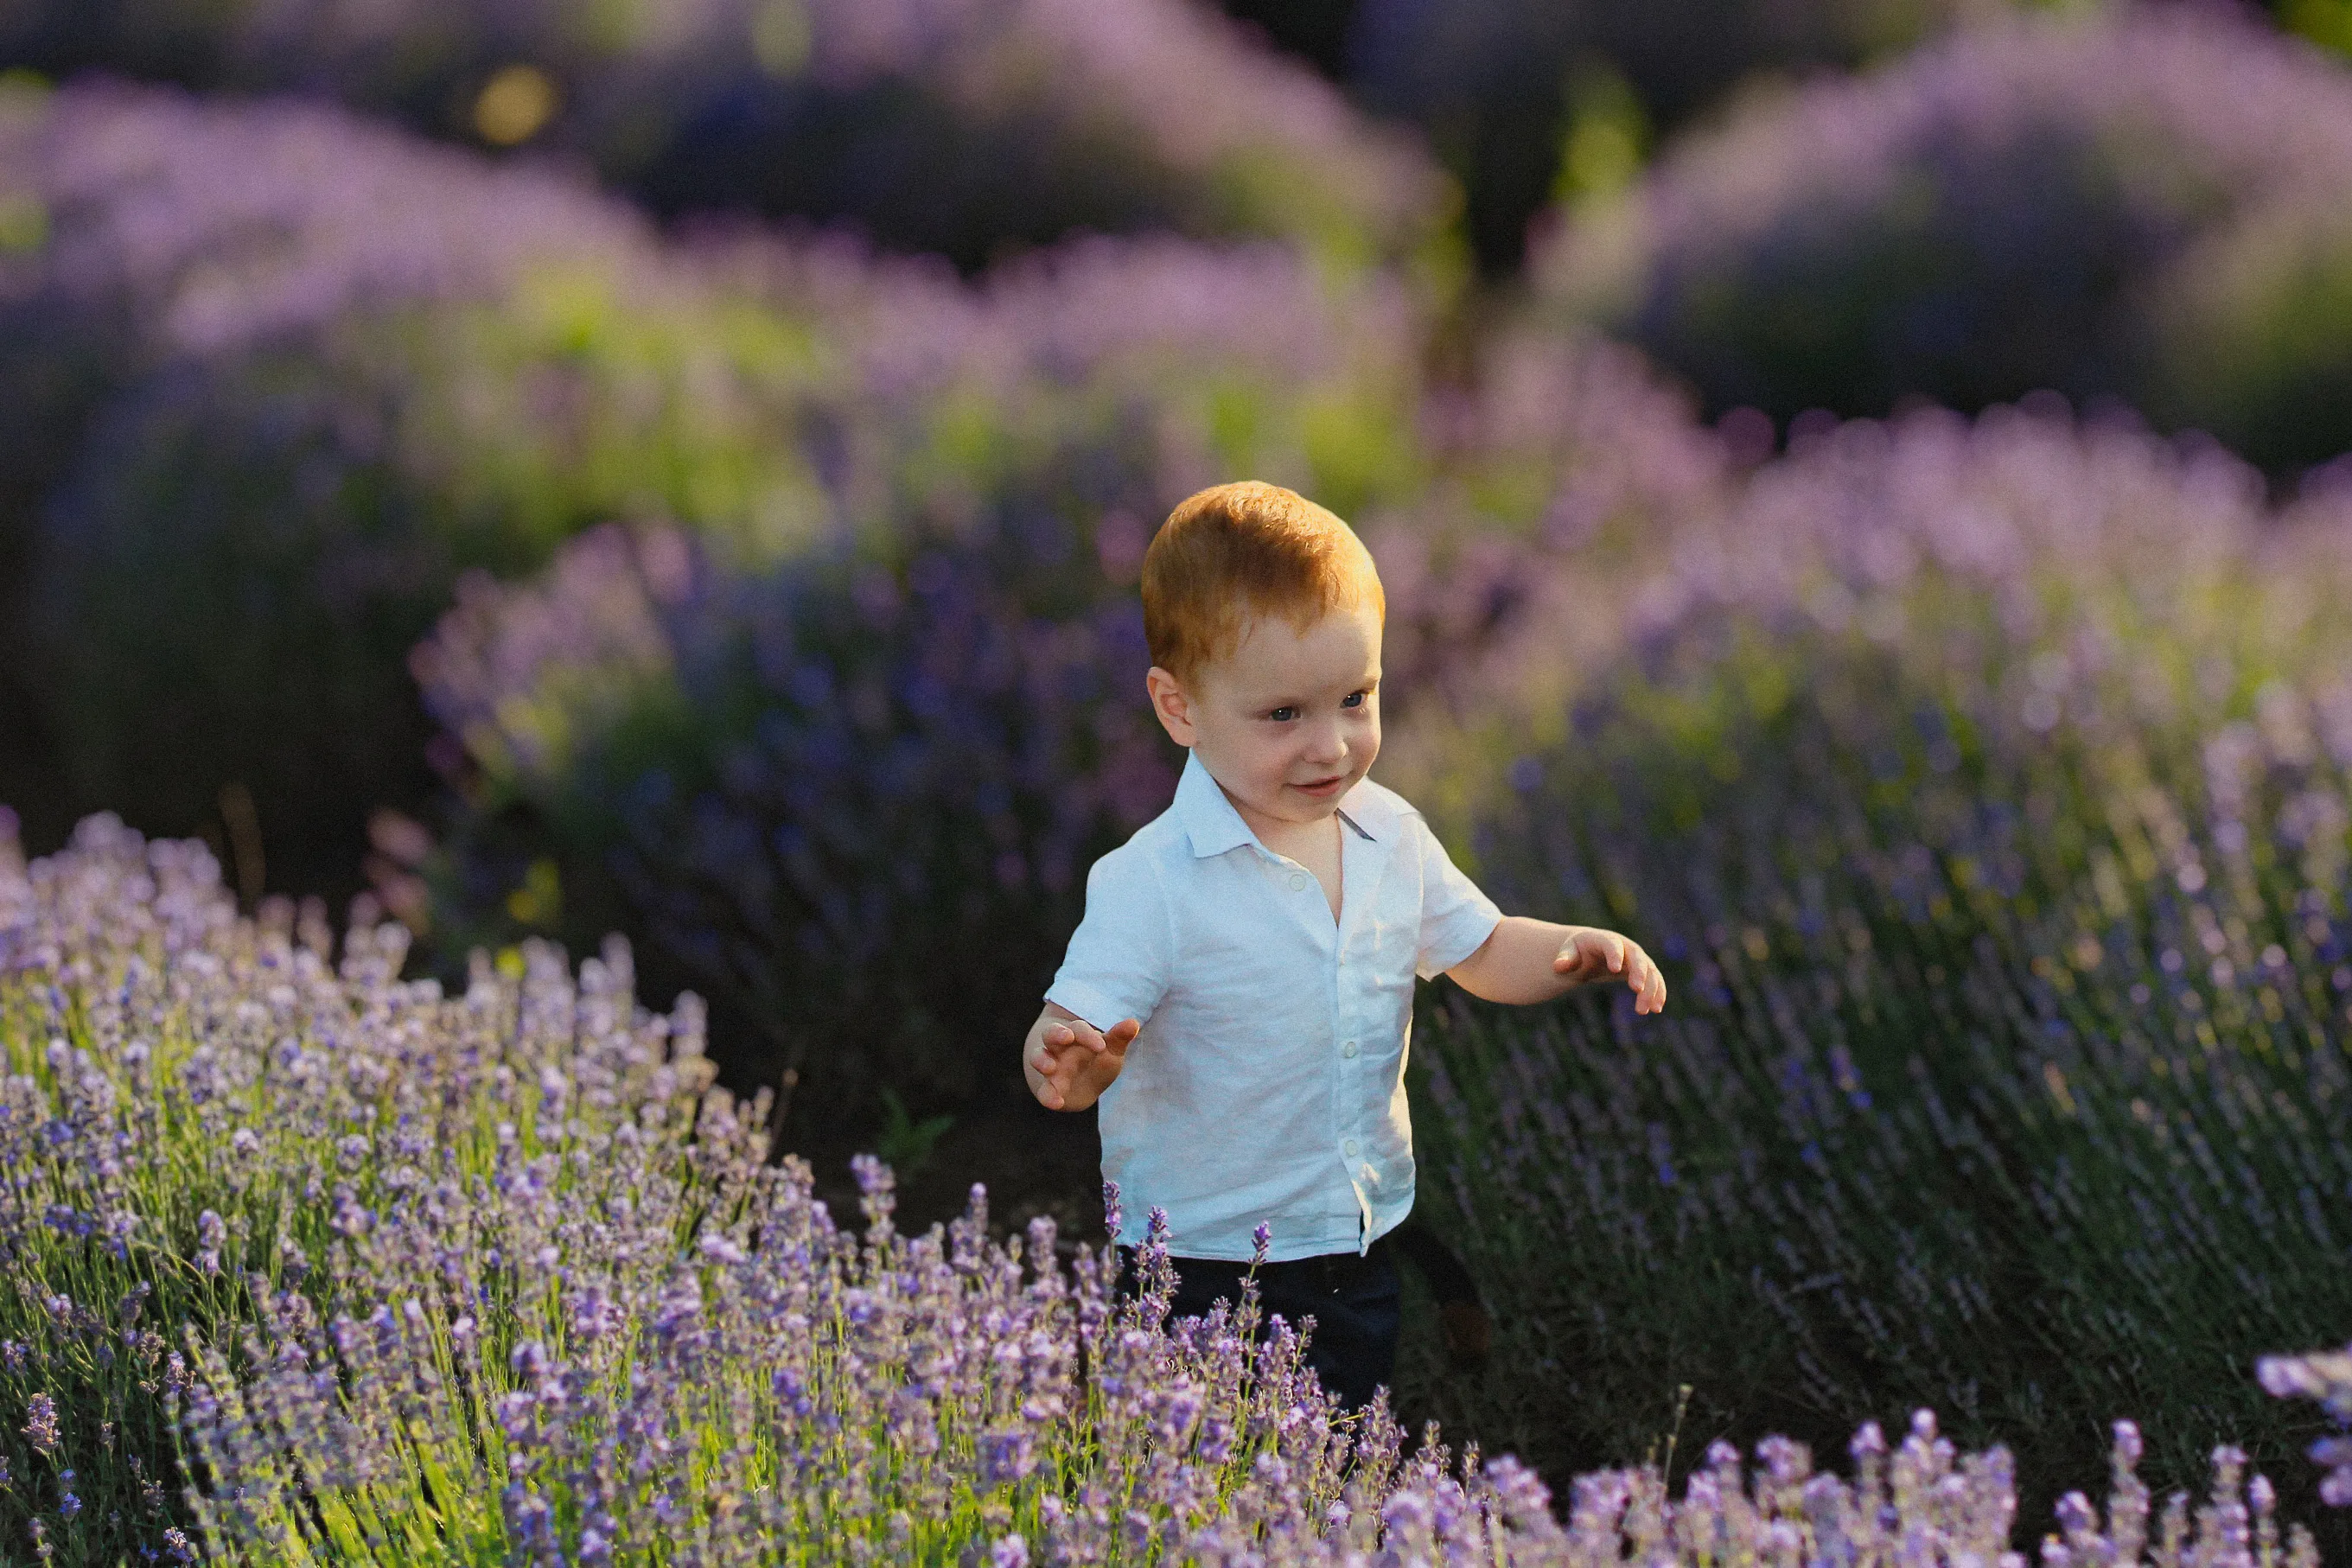
© Shutterstock
Difumina el fondo fácilmente para centrar toda la atención en el sujeto principal de la escena y elevar así el impacto visual de tu imagen.

Desenfoque de Movimiento
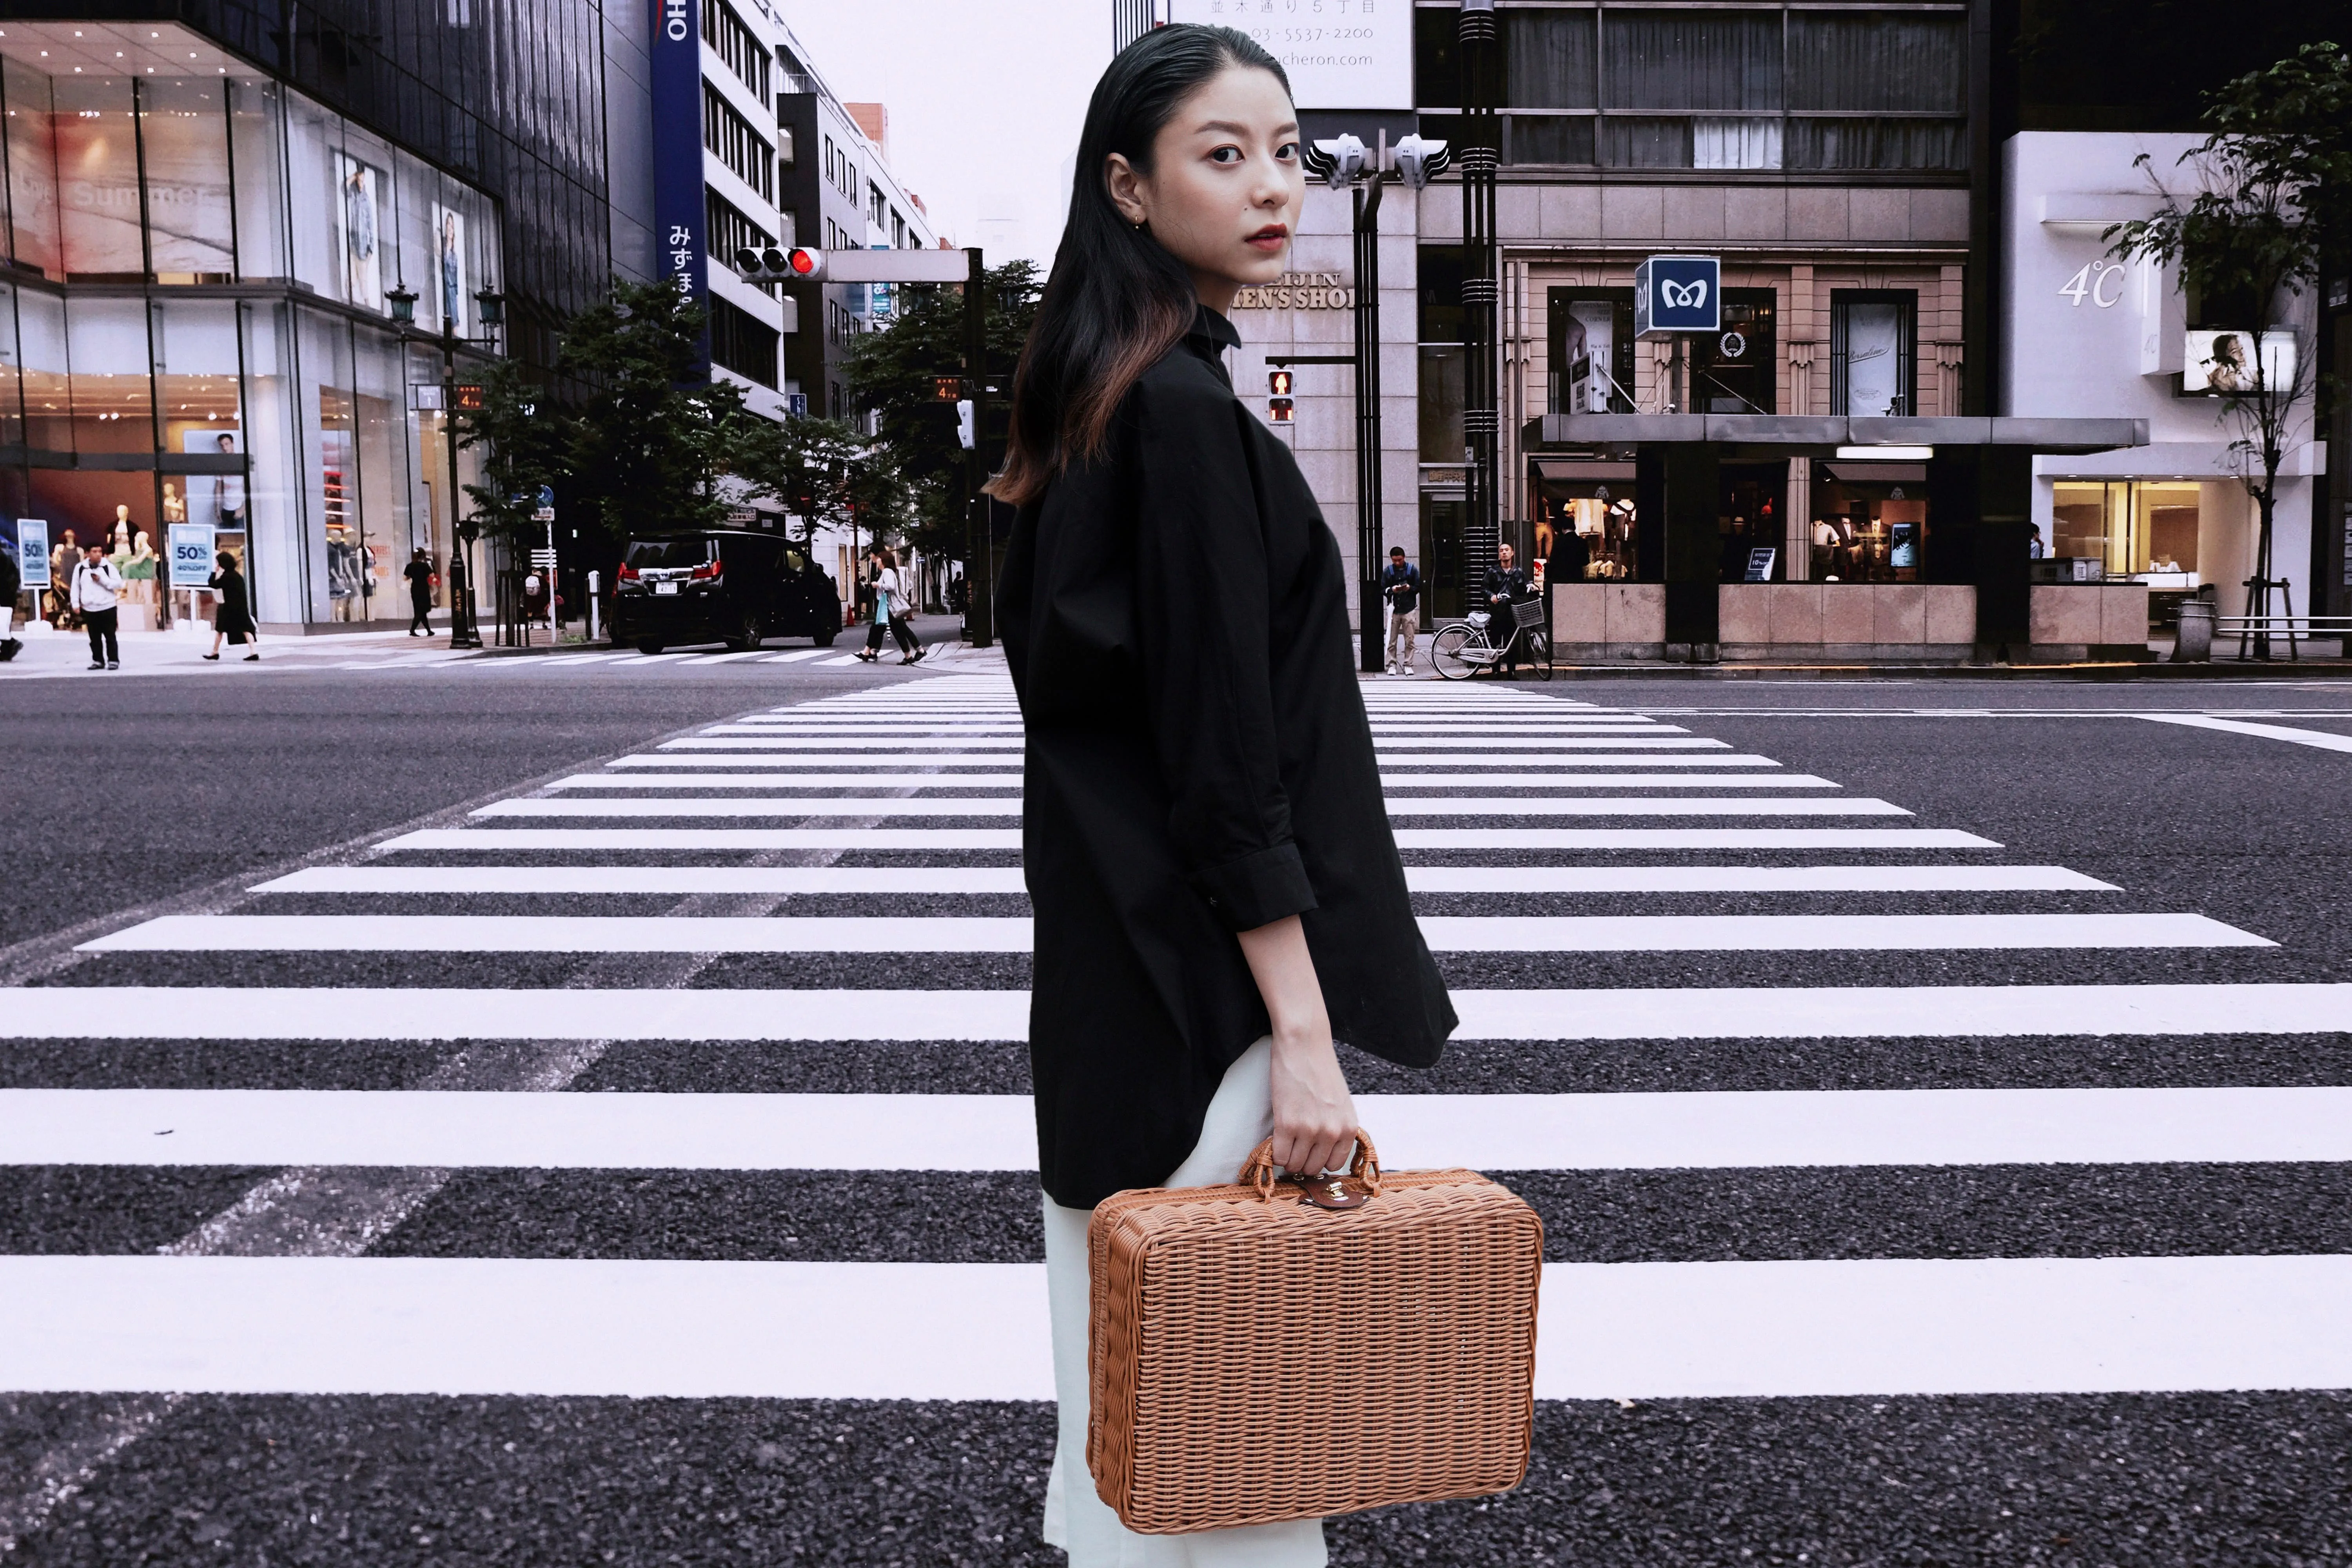
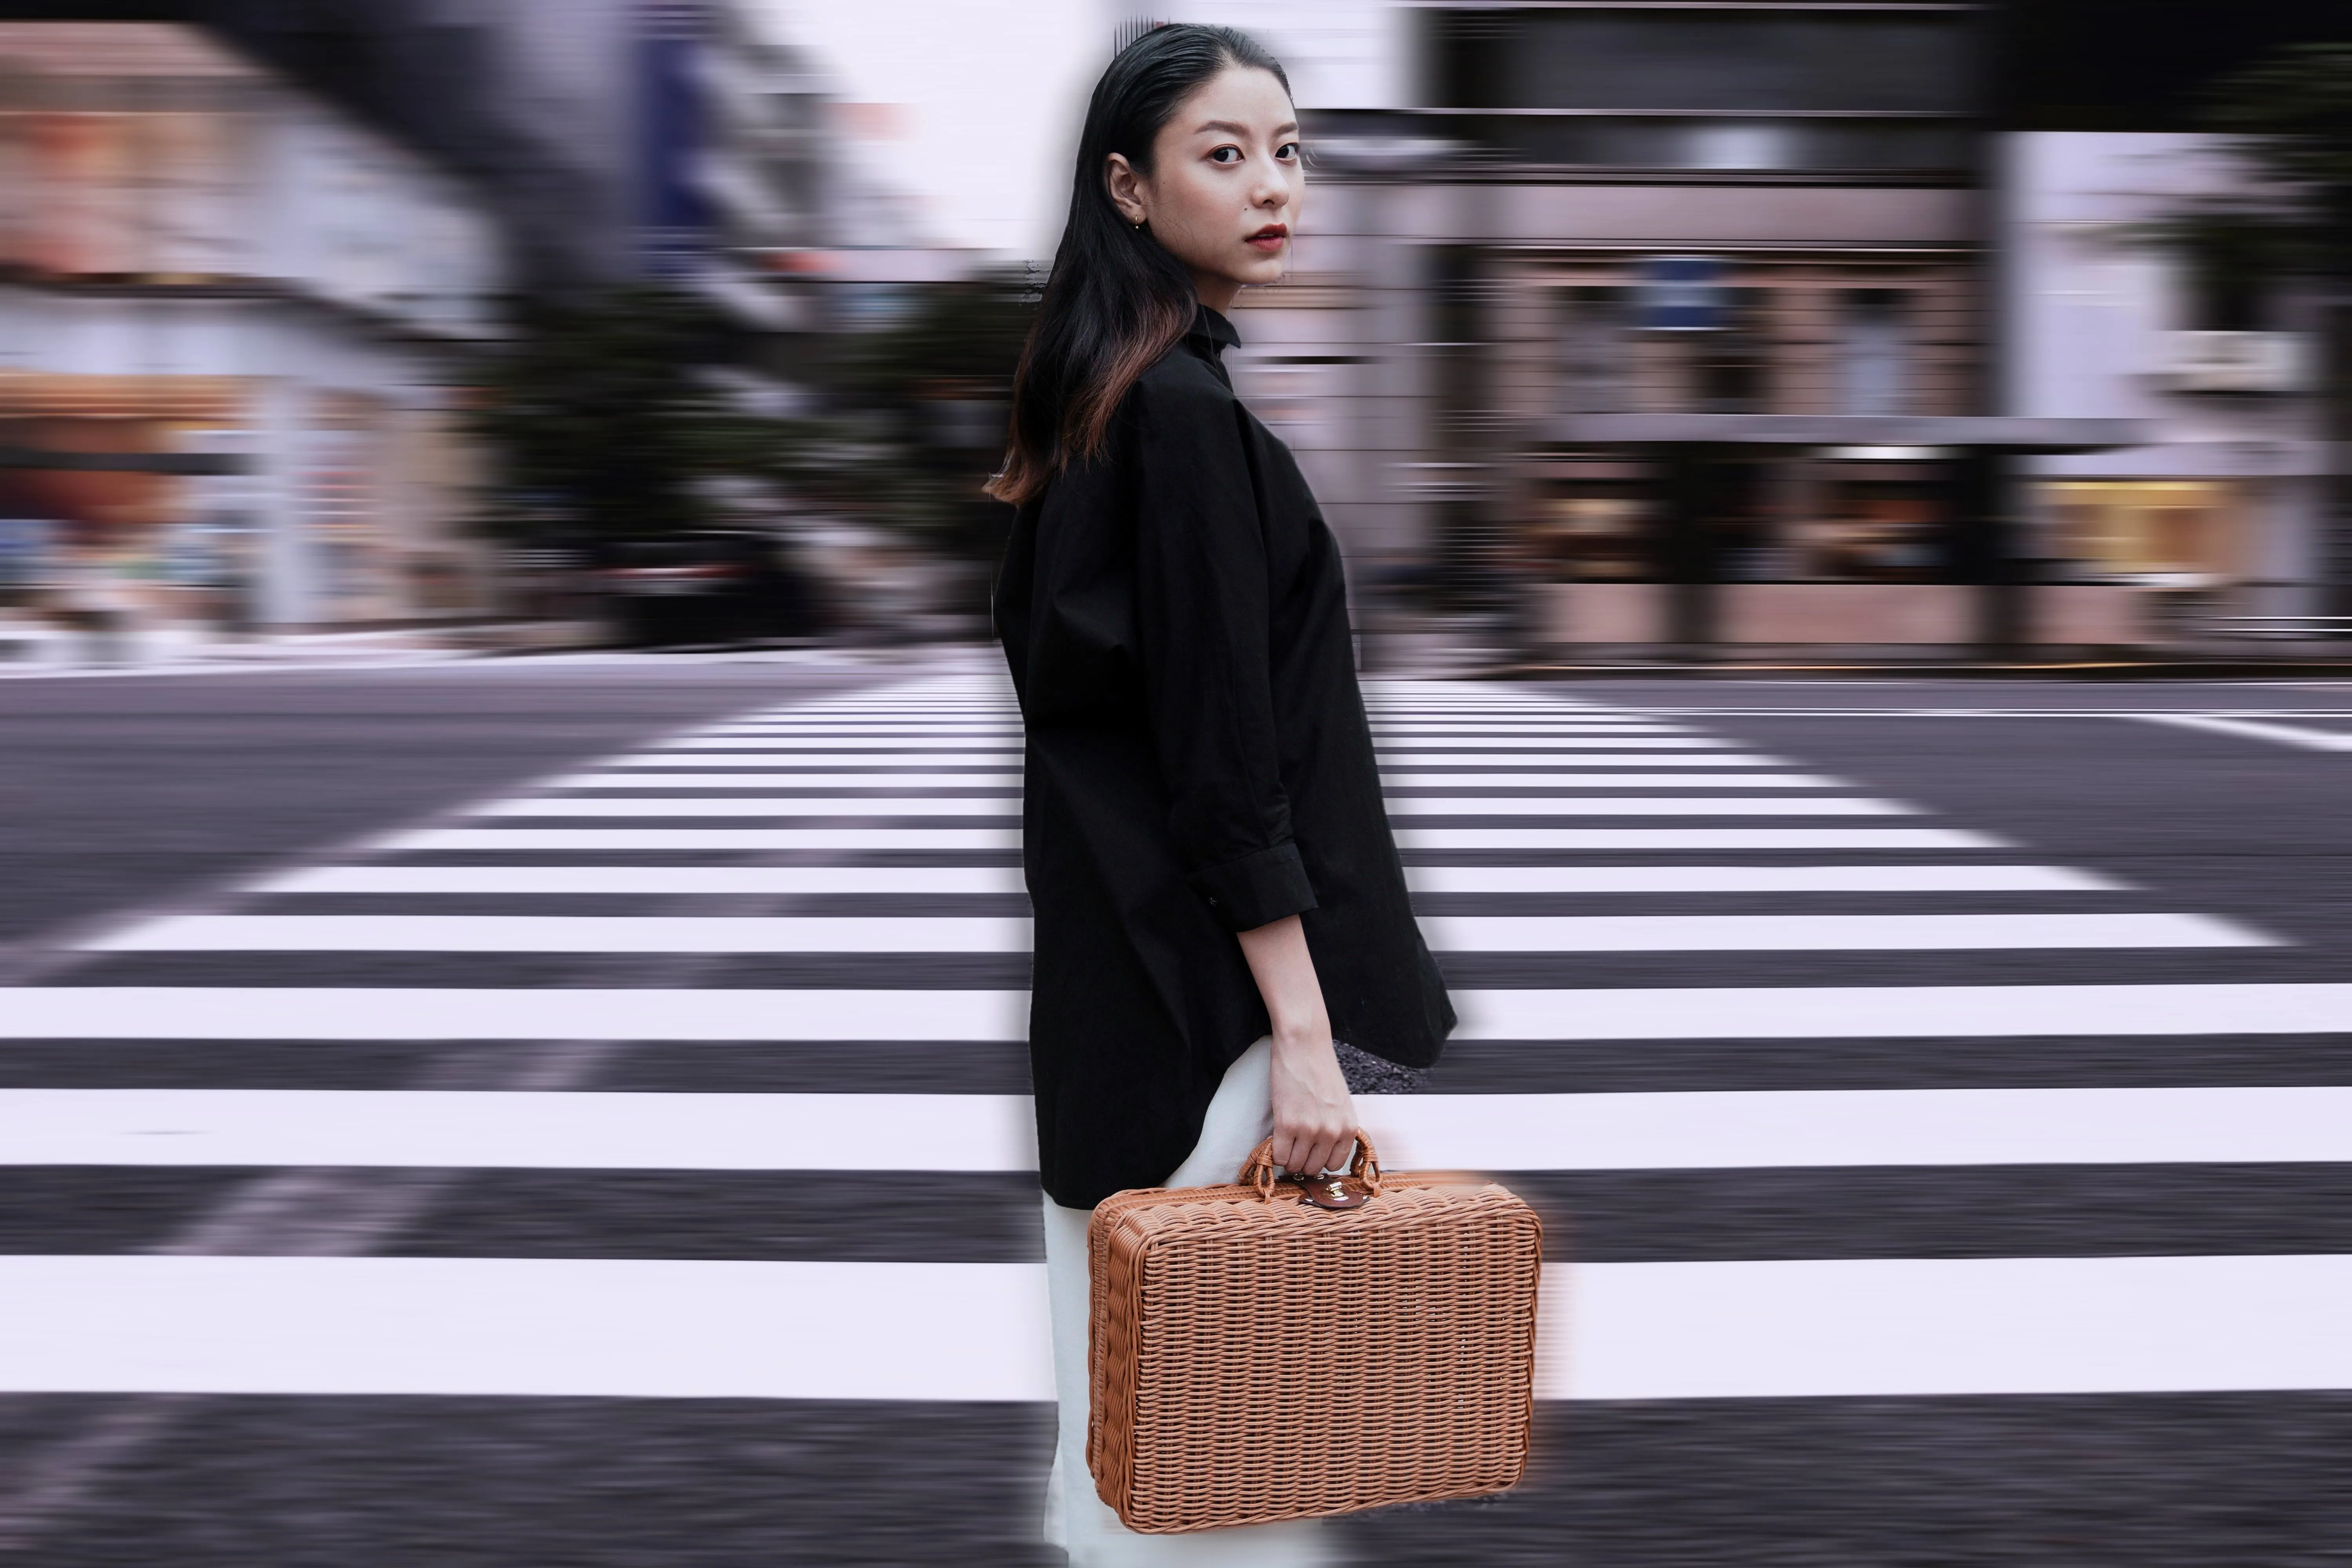
© Depositphoto
Click now to experience the motion blur effect in Luminar and make your ordinary photos extraordinarily dynamic.

Efecto Retrato Bokeh


© Shutterstock
Descubre cómo transformar el fondo en un suave difuminado con nuestra herramienta Retrato con Efecto Bokeh.

Corrige el Desenfoque
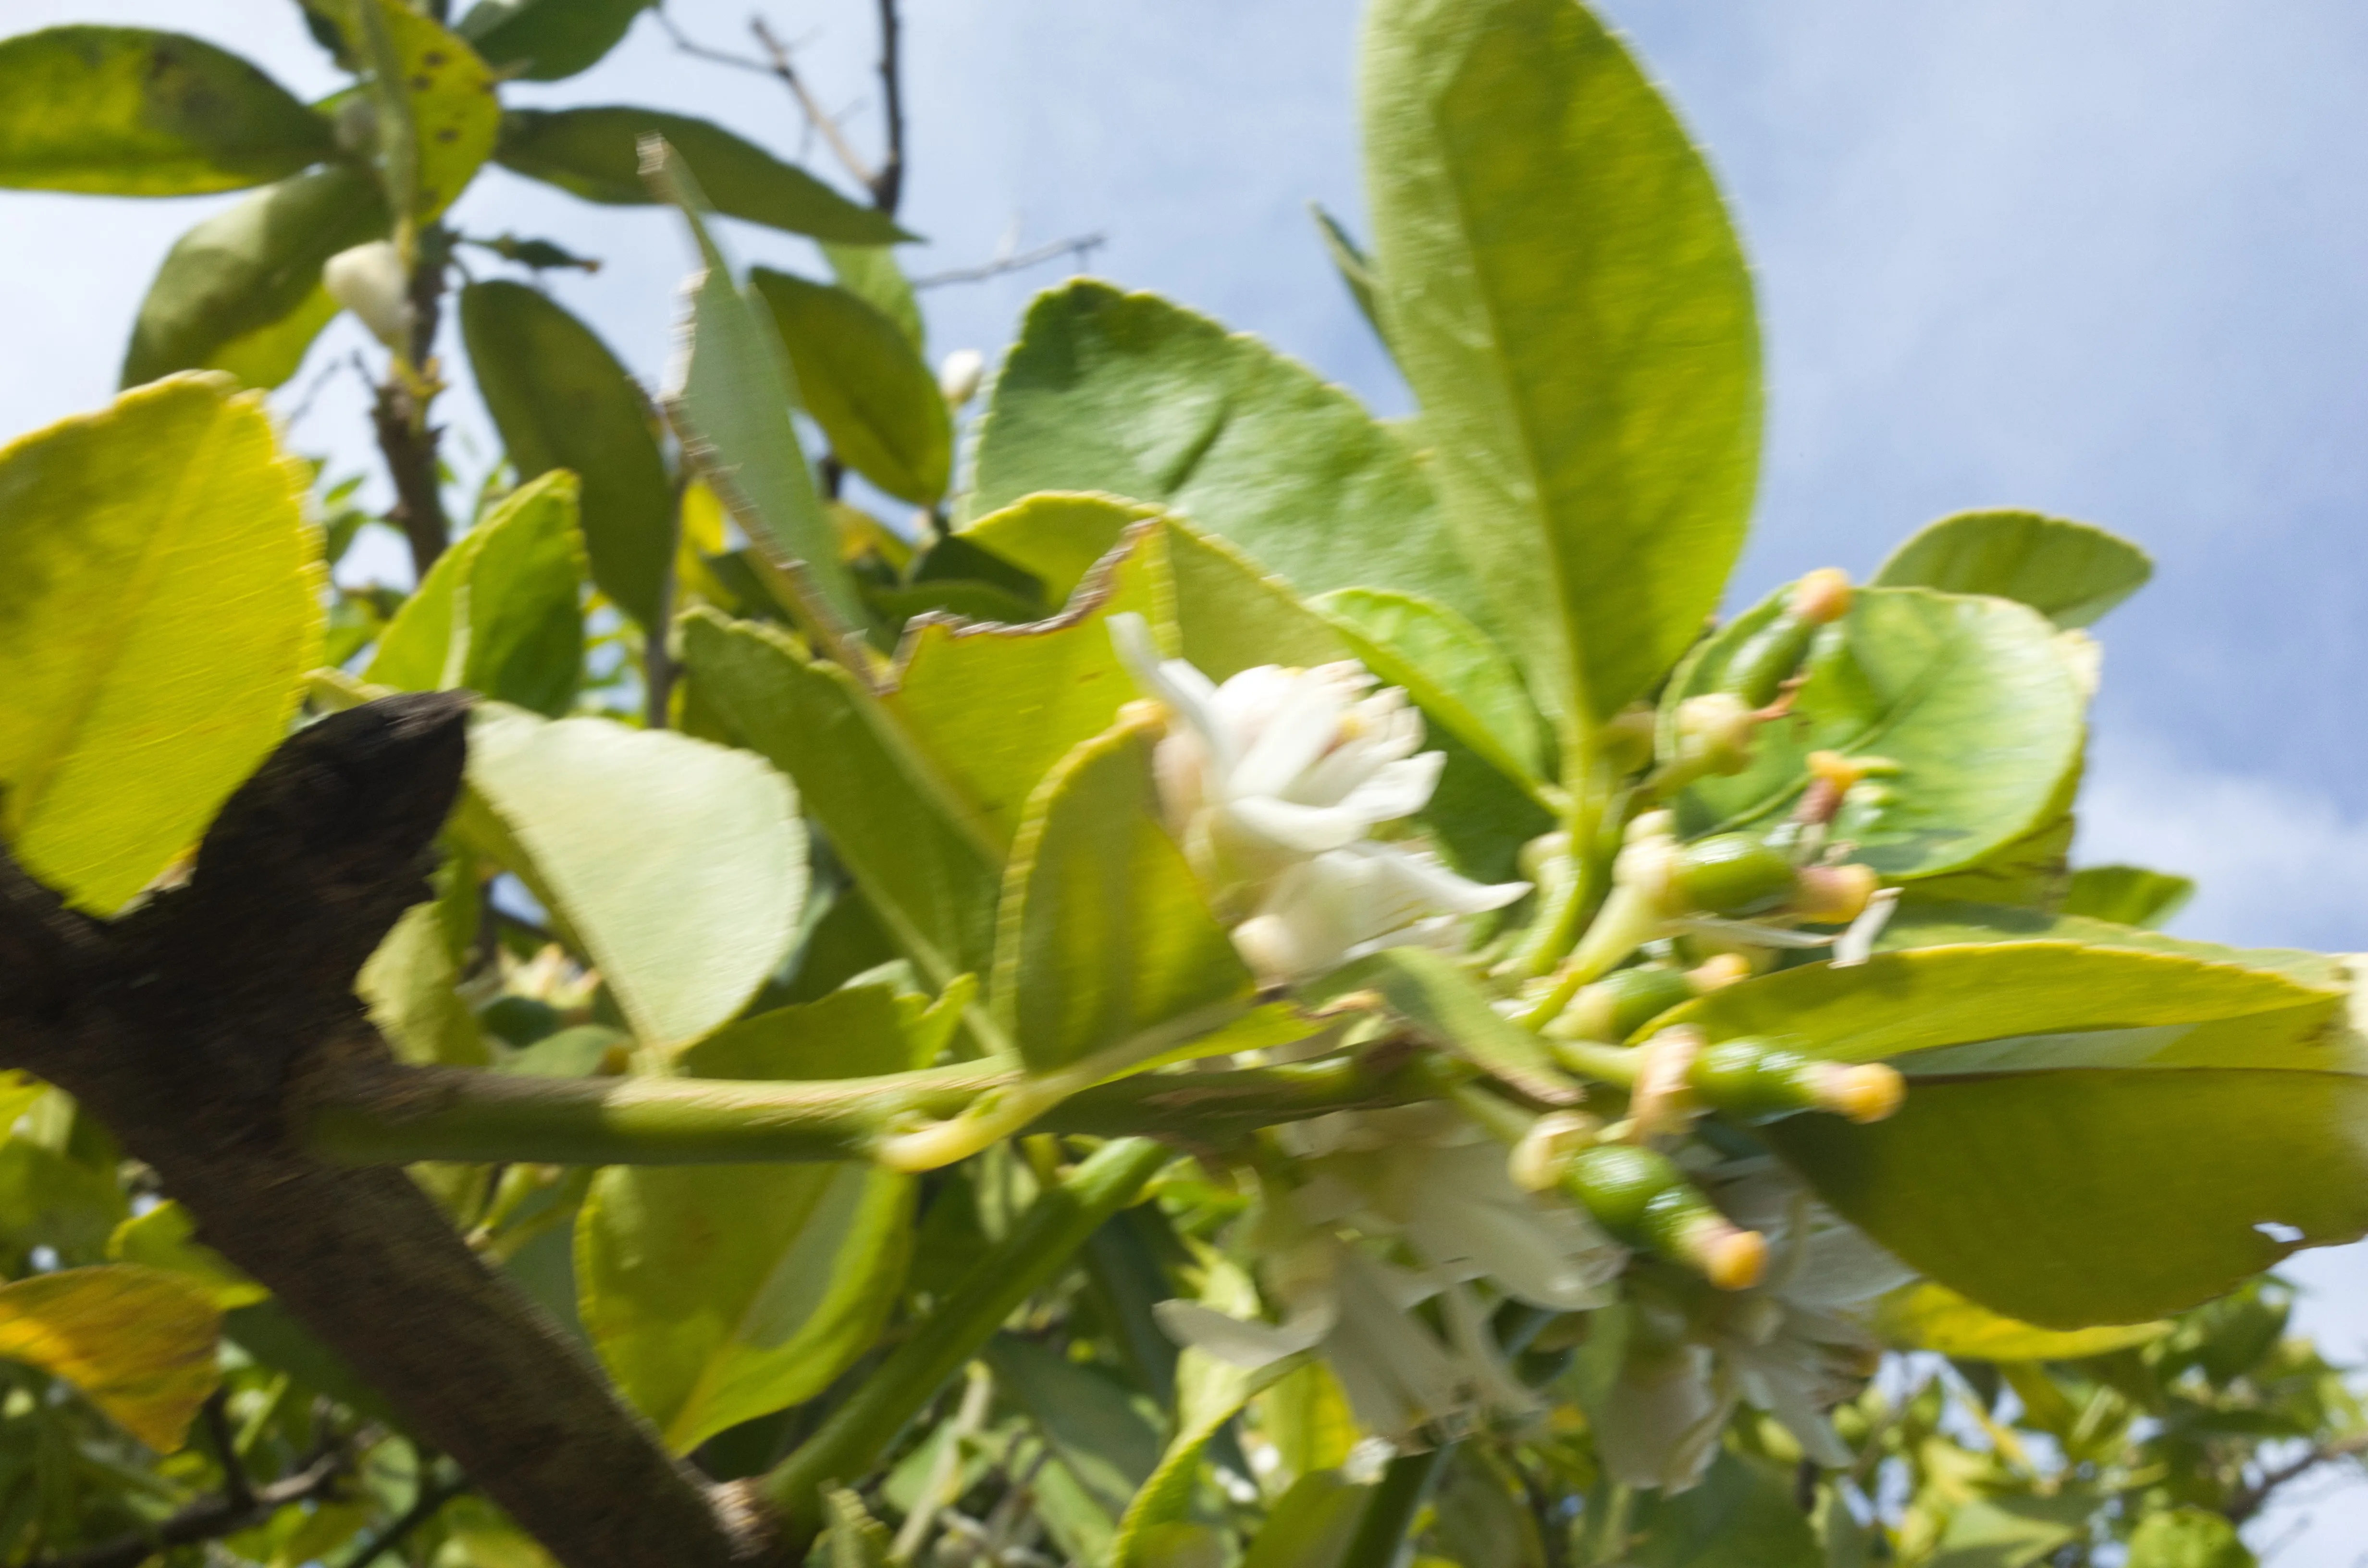

© Ksenia Kazak
Transform your blurry photos into crisp, clear images with Luminar

Supernítido AI
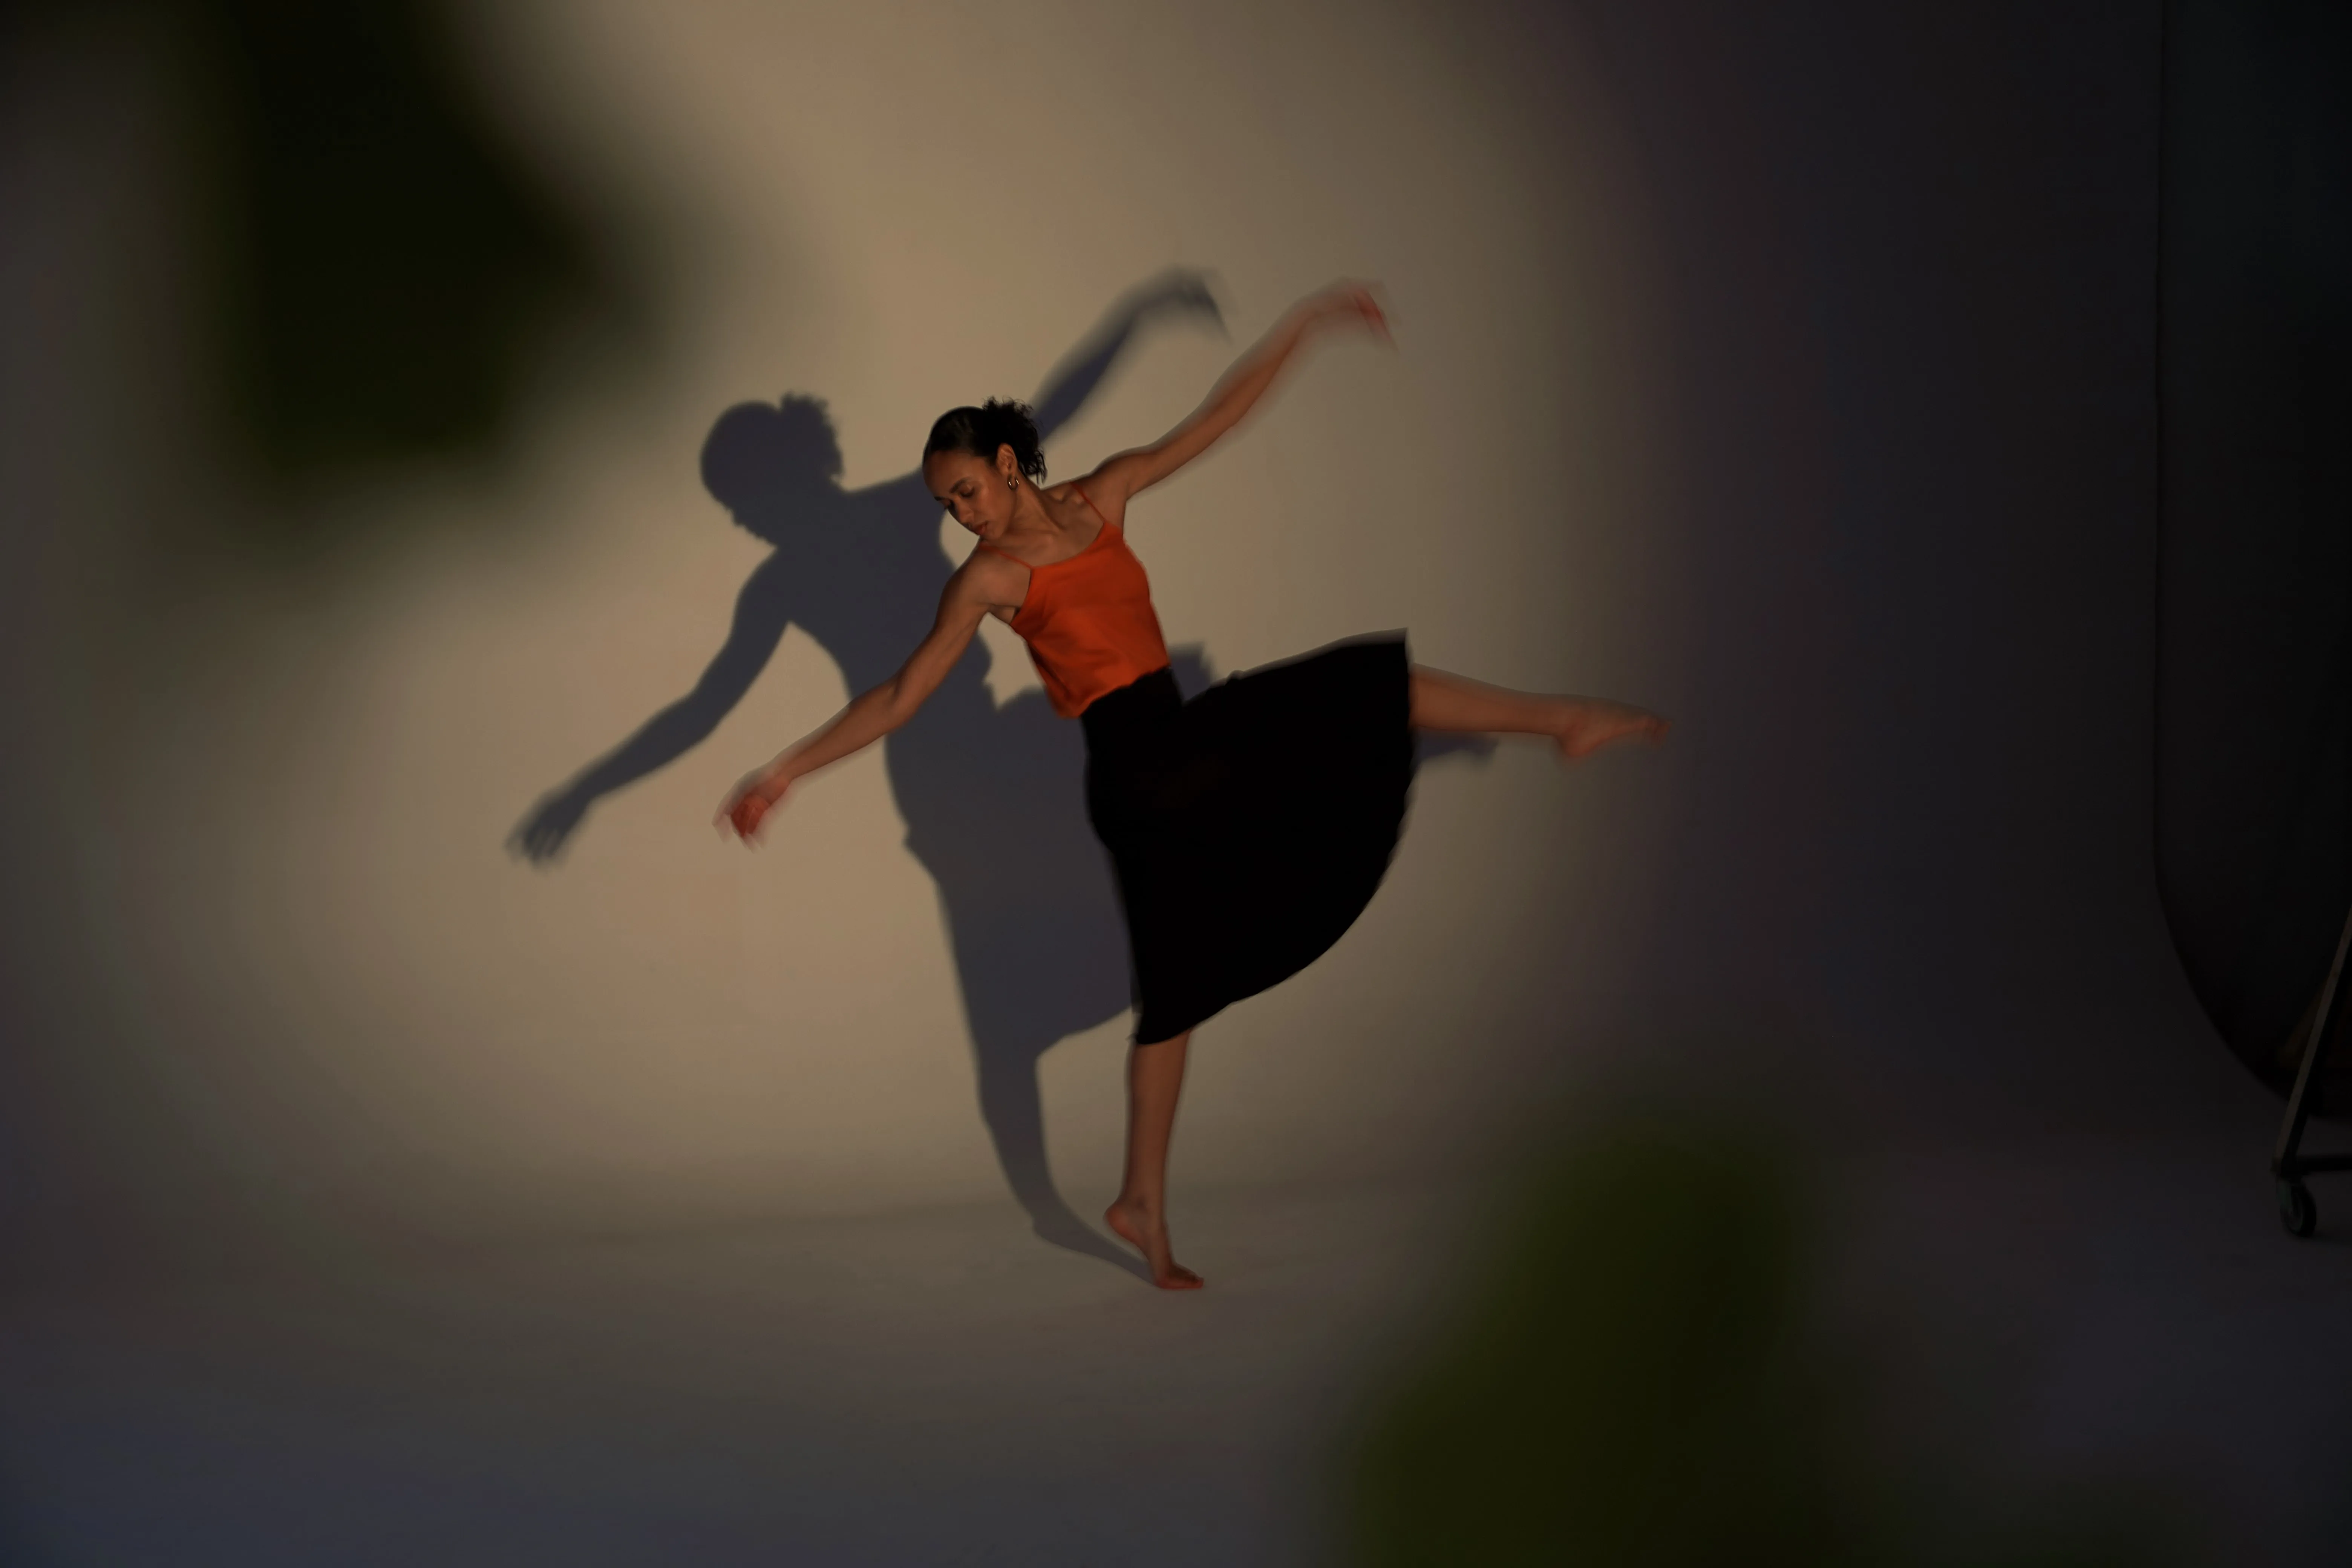
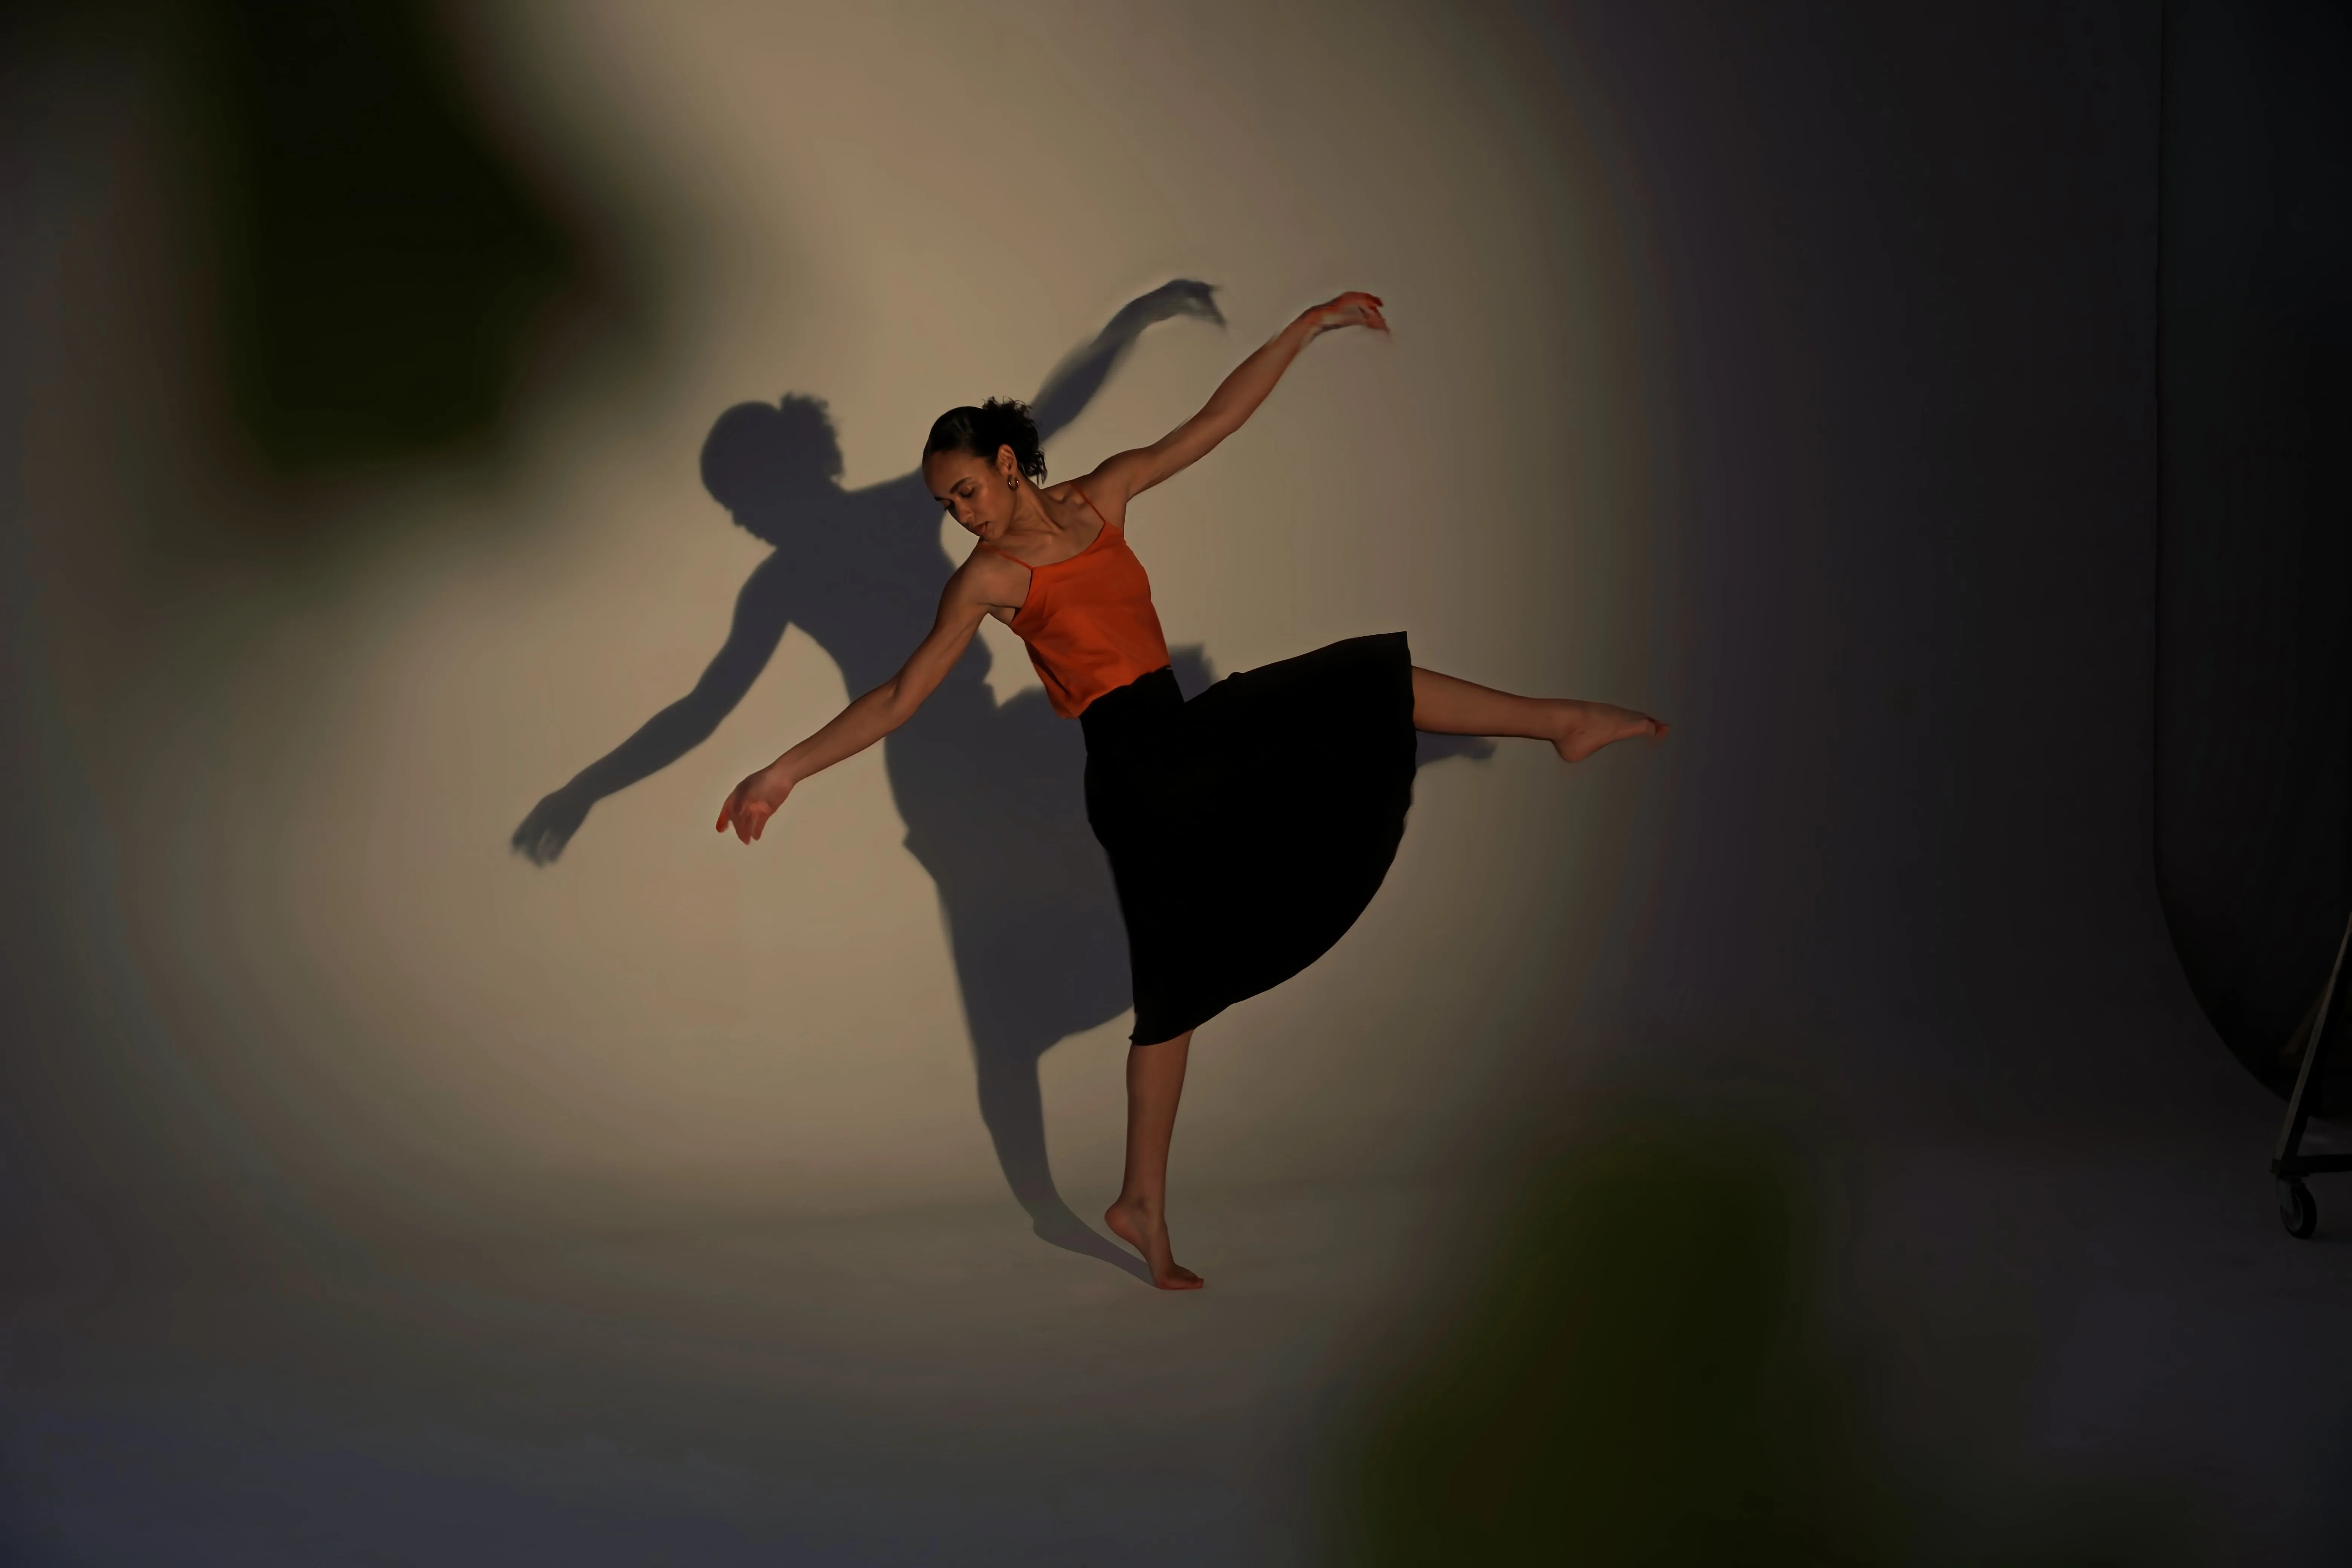
© Ksenia Kazak
Usa nuestra tecnología de última generación para recuperar la nitidez de tus recuerdos más preciados.

Reescalado de Imágenes 4K

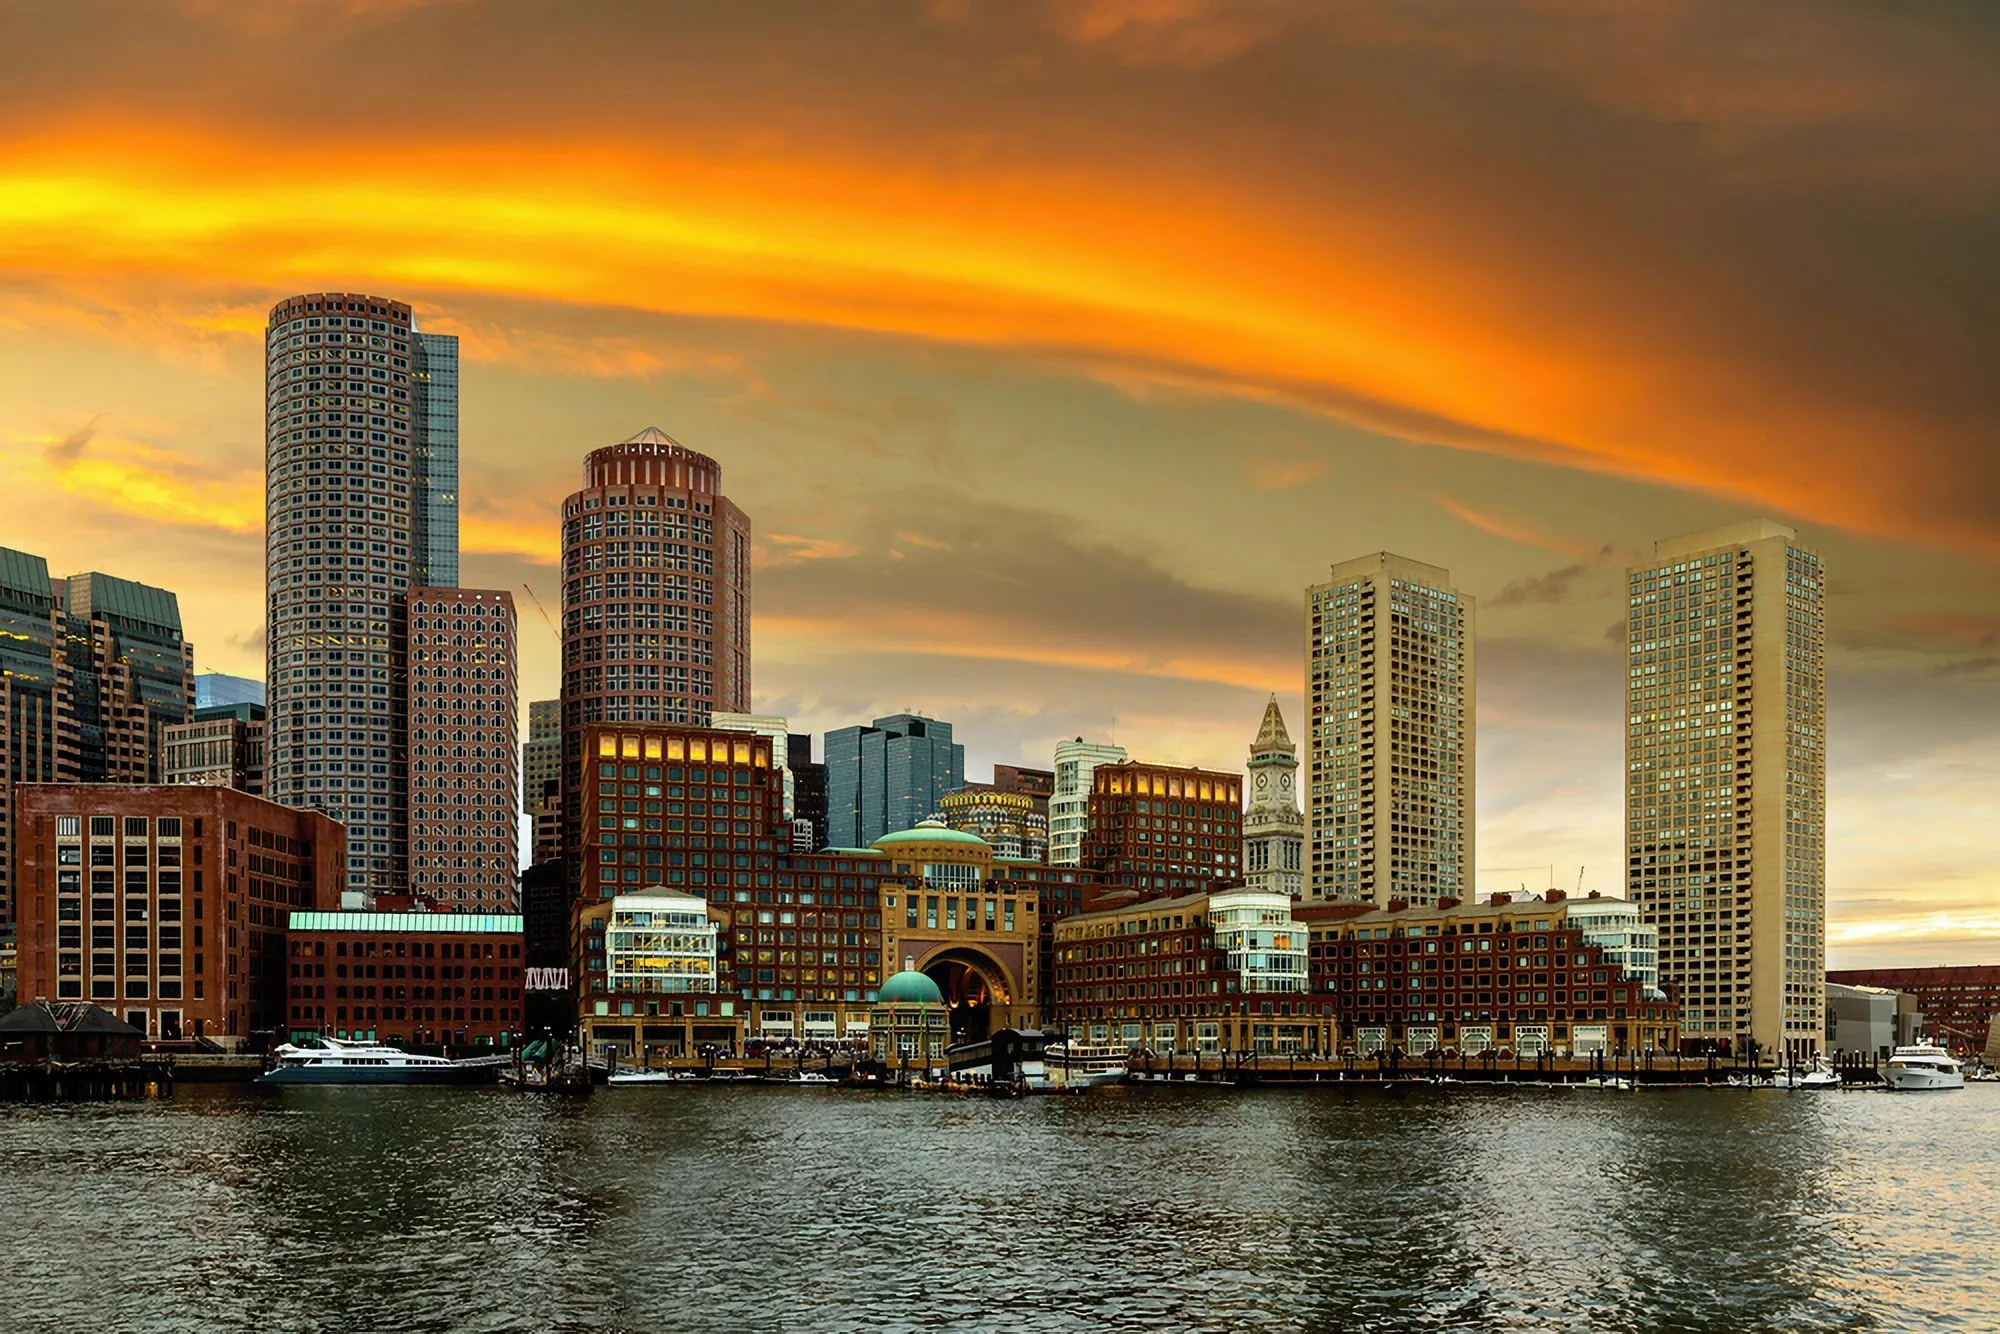
© bloodua
Aumenta hasta un 400 % la resolución de tus panorámicas, zooms de vida salvaje, tomas macro y fotos antiguas.
Preguntas frecuentes
¿Puedo ajustar la intensidad del efecto de desenfoque?
Yes, Luminar allows you to easily control the strength of the blur effect, from subtle softening to strong artistic blurring.
Can I selectively add blur to a photo in Luminar?
Por supuesto. La herramienta de desenfoque te permite aplicar el efecto solo a áreas específicas, ofreciéndote un control total sobre tu imagen.
¿Qué tipo de efectos ofrece la herramienta de desenfoque?
Puedes escoger entre una variedad de efectos —gaussiano, radial, desenfoque de movimiento o selectivo—para conseguir el resultado artístico que desees.
¿Qué pasos tengo que seguir para difuminar una imagen?
To make an image blurry, start by opening your photo in Luminar. Once it’s loaded, select the blur tool or filter from the editing options. Then, adjust the intensity and radius of the blur to your preference, controlling how soft or pronounced the effect appears.
If you want to apply the blur selectively, you can use the masking tools to target specific areas of the image. Finally, fine-tune the settings until you achieve the desired level of softness and the perfect overall effect.
If you want to apply the blur selectively, you can use the masking tools to target specific areas of the image. Finally, fine-tune the settings until you achieve the desired level of softness and the perfect overall effect.
Why Luminar is the best AI image blurrer?
Luminar is recognized as a leading solution for image blurring because it combines AI-powered masking with precise blur controls. The tool lets you soften selected areas while keeping the main subject sharp, making it easy to create natural depth, reduce distractions, or achieve creative blur effects without complex selections.
Who can benefit from Luminar blur tool?
Luminar's blur tools are useful across different photography workflows:
- Portrait photographers: soften backgrounds and draw attention to the subject
- Product photographers: reduce distracting details around products
- Content creators: create depth and focus in social media visuals
- Travel photographers: separate subjects from busy surroundings
- Everyday users: add professional-looking blur without advanced editing skills
- Portrait photographers: soften backgrounds and draw attention to the subject
- Product photographers: reduce distracting details around products
- Content creators: create depth and focus in social media visuals
- Travel photographers: separate subjects from busy surroundings
- Everyday users: add professional-looking blur without advanced editing skills
Why Luminar blur filter is trusted by photographers?
Photographers choose Luminar because it provides controlled, selective blurring rather than simply softening the entire image. Its masking capabilities allow users to determine exactly where the effect appears and fine-tune the result, helping preserve important details while creating natural-looking depth.