Visualizza tariffe
Sfoca l'Immagine Senza Sforzo
Vuoi creare immagini bellissime e professionali senza passare ore a fare editing? Con i tool giusti, sfocare le immagini può diventare facile e veloce, che tu voglia ammorbidire lo sfondo, evidenziare il soggetto principale o aggiungere un tocco creativo alle tue foto. Scopriamo insieme come sfocare un'immagine senza fatica
Prova oraPerché il tool di sfocatura è indispensabile per la tua fotografia
Blurring photos is a simple way to make your pictures look more professional. With an image blur filter, you can focus attention on the main subject and make the background look soft and nice. Luminar, your go-to photo blurrer, makes it easy to blur images, whether you want a subtle effect or a more artistic look.
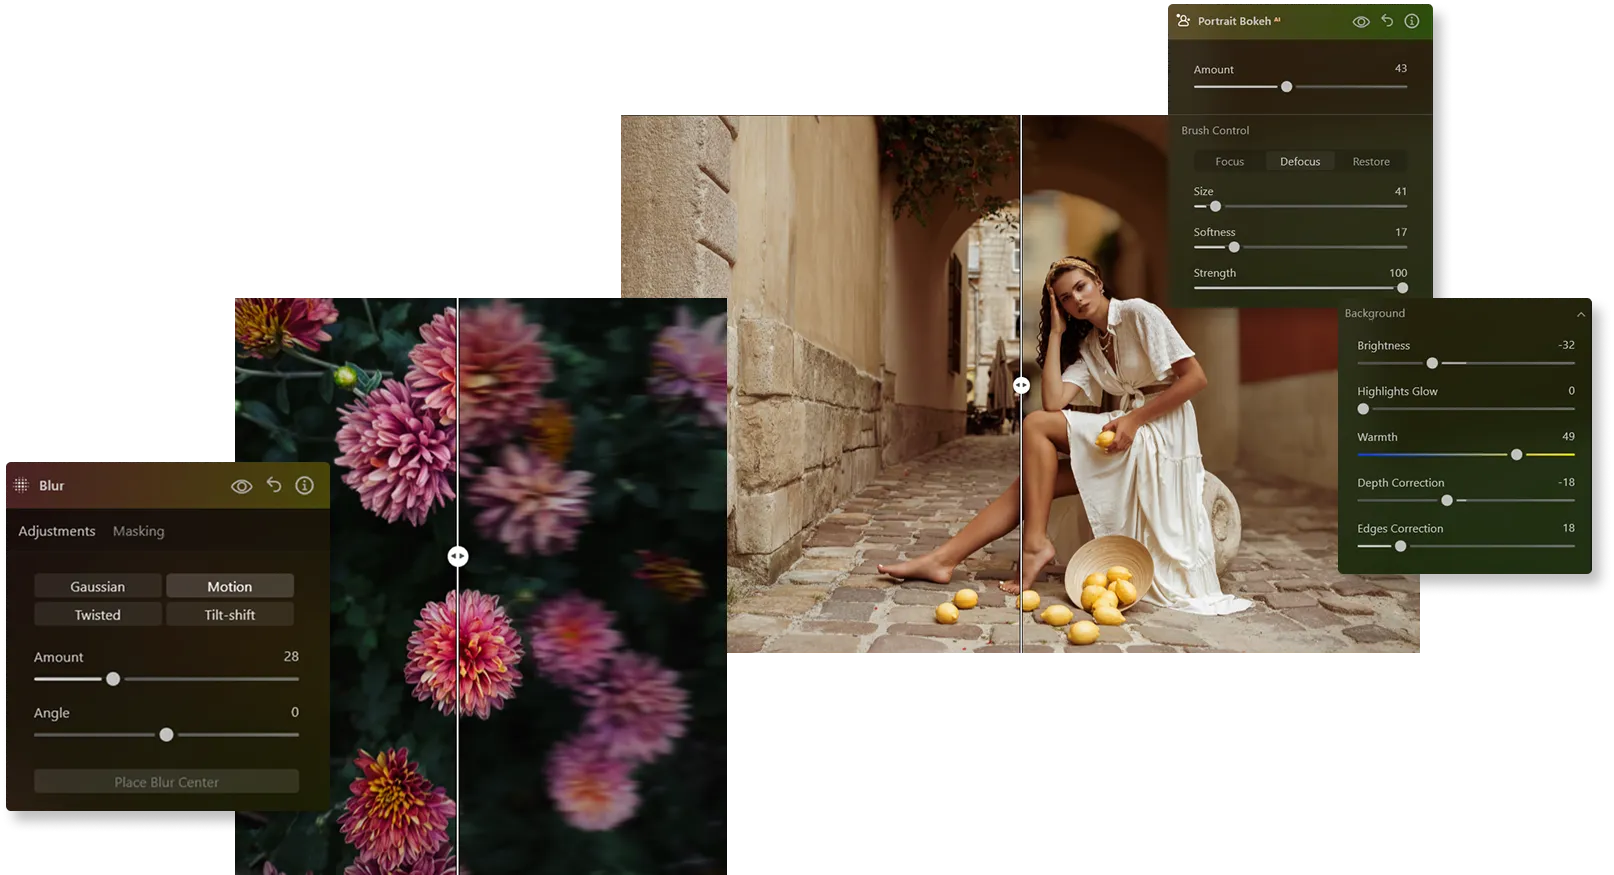
Sfocatura delle immagini che funziona alla perfezione
per le tue immagini
I nostri tool avanzati di sfocatura delle immagini ti consentono di creare splendidi effetti di profondità di campo, enfatizzando il soggetto e ammorbidendo delicatamente lo sfondo.
Che tu voglia ottenere un ritratto professionale o un paesaggio da sogno, i tool di sfocatura ti faranno ottenere risultati notevoli in tutta facilità.
Che tu voglia ottenere un ritratto professionale o un paesaggio da sogno, i tool di sfocatura ti faranno ottenere risultati notevoli in tutta facilità.
Luminar's blur picture magic: create remarkable focus
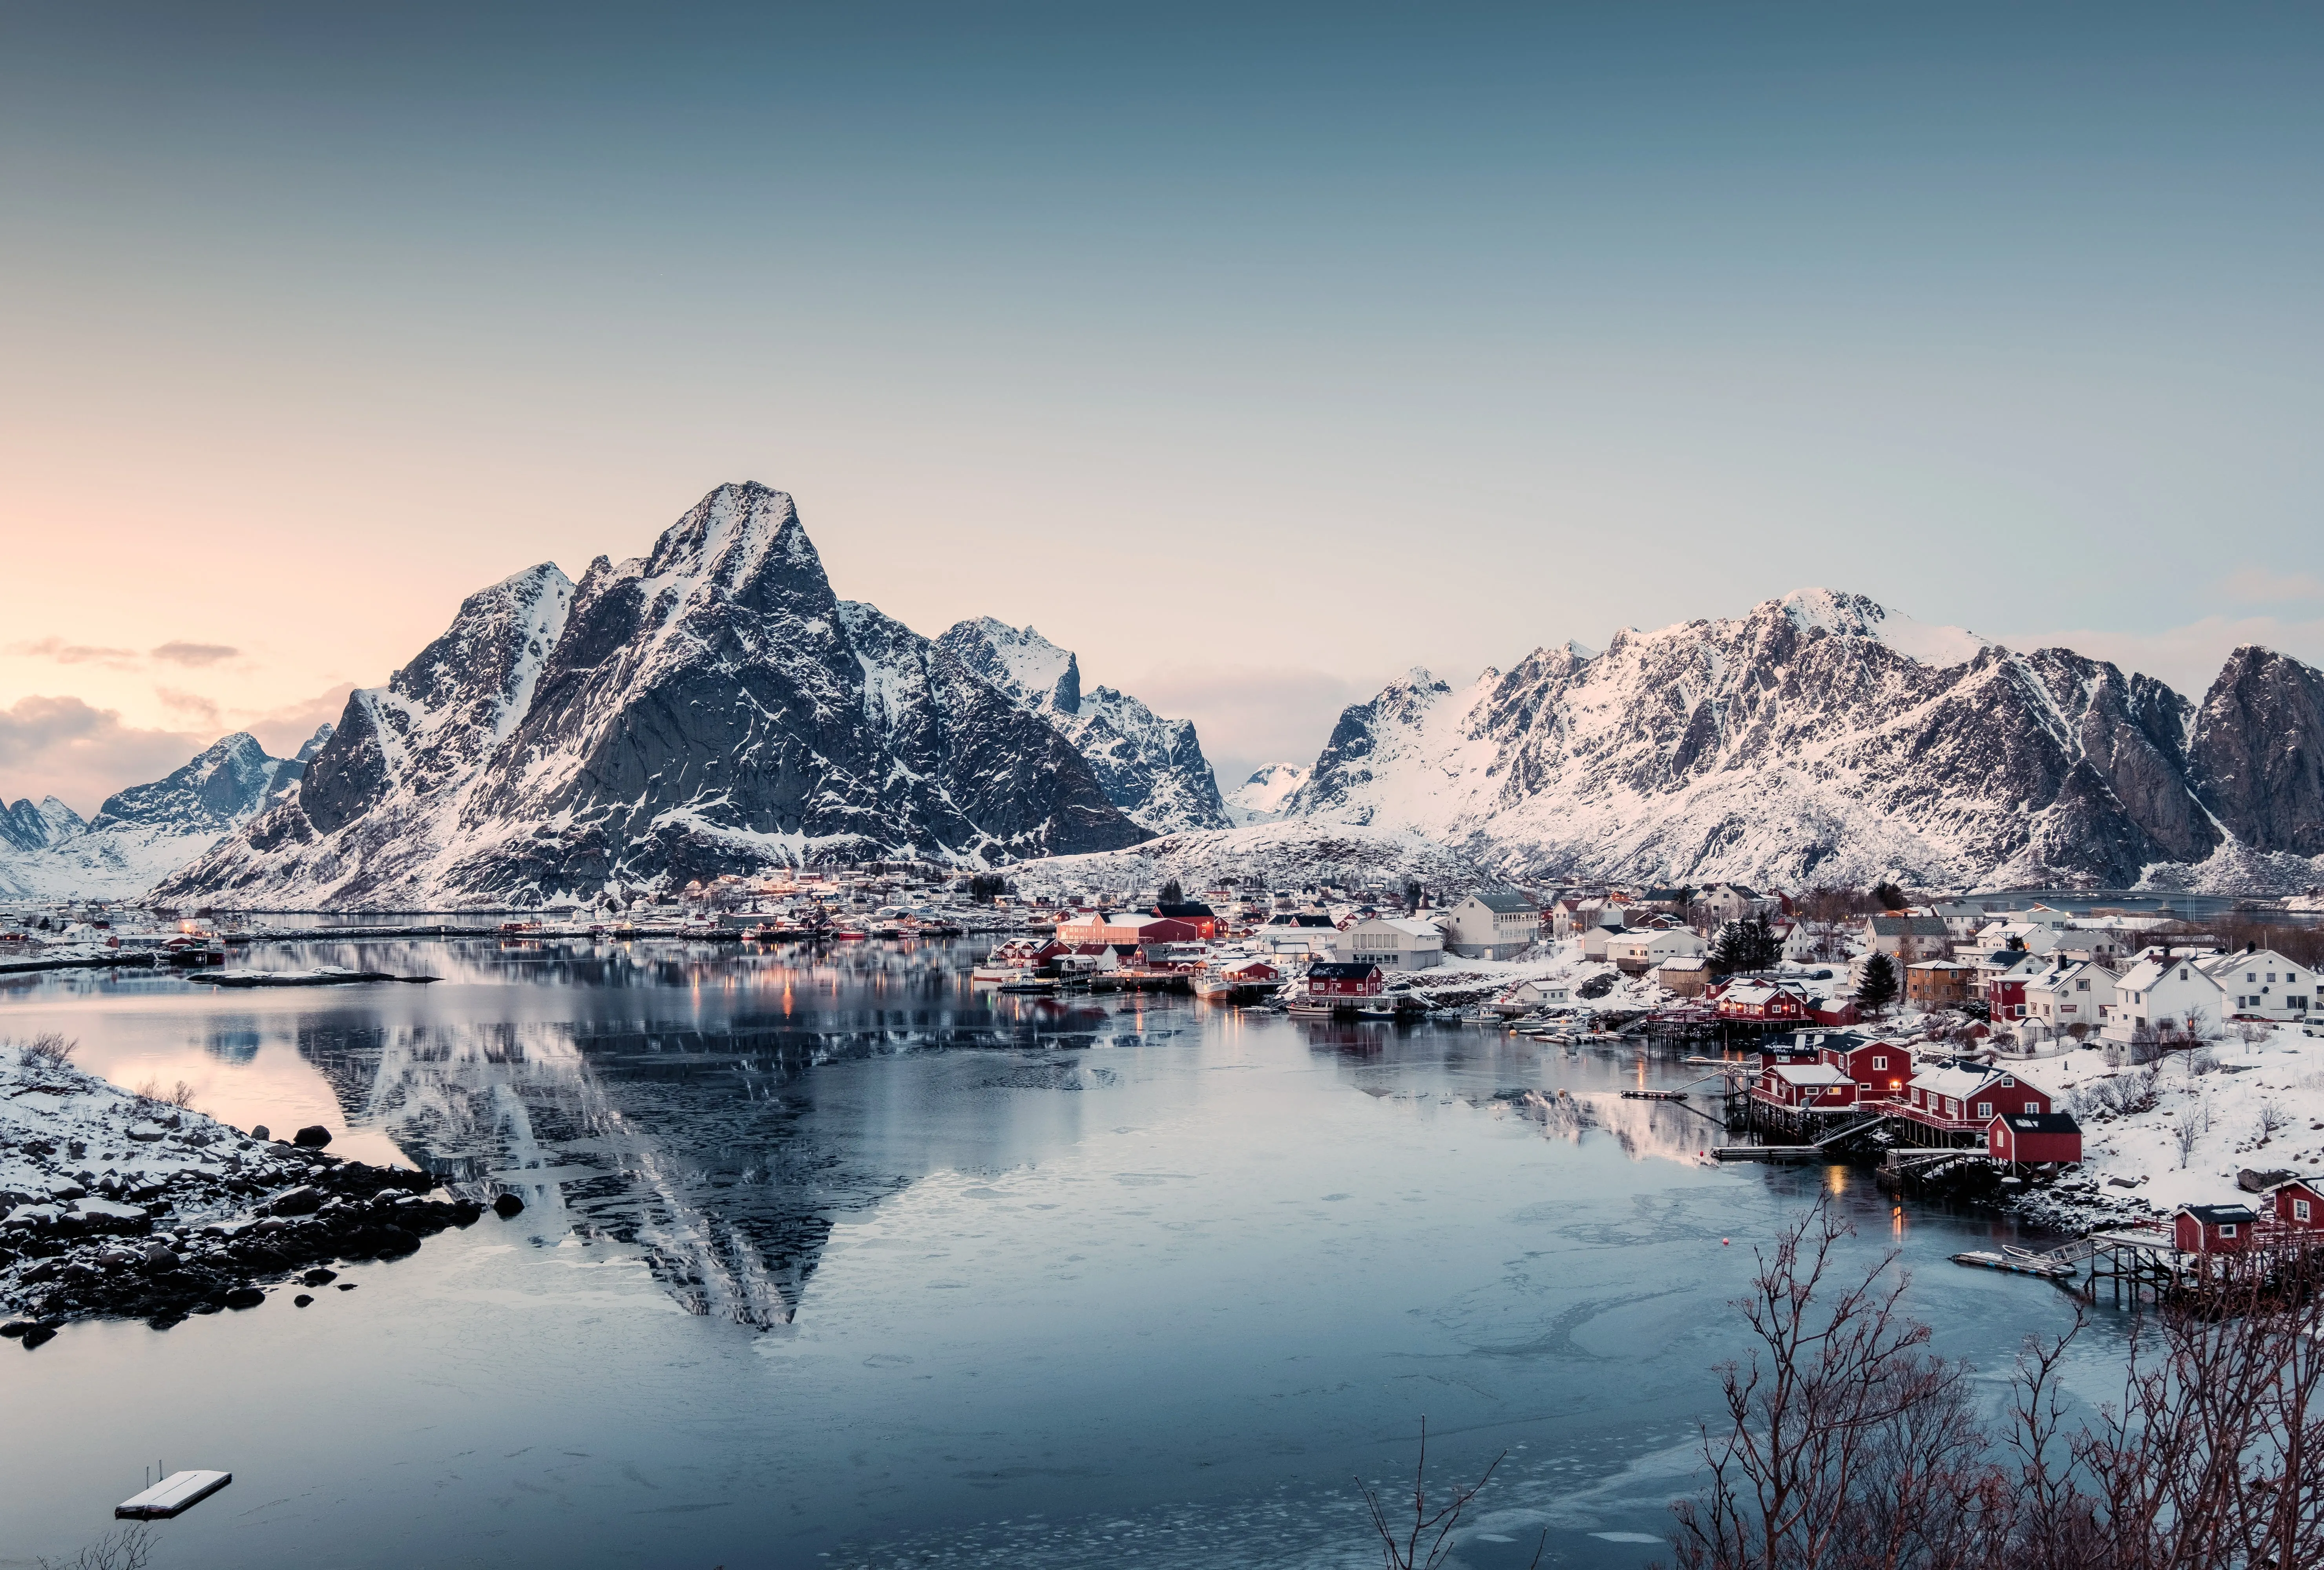
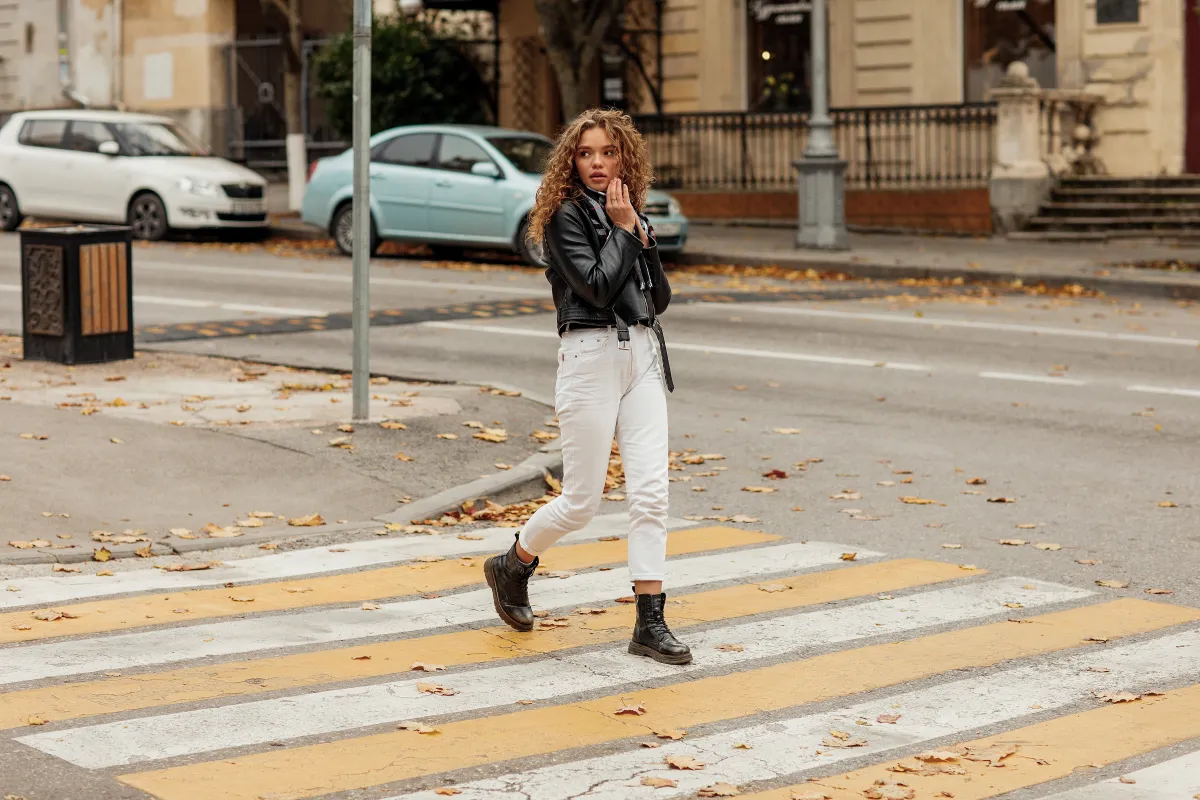
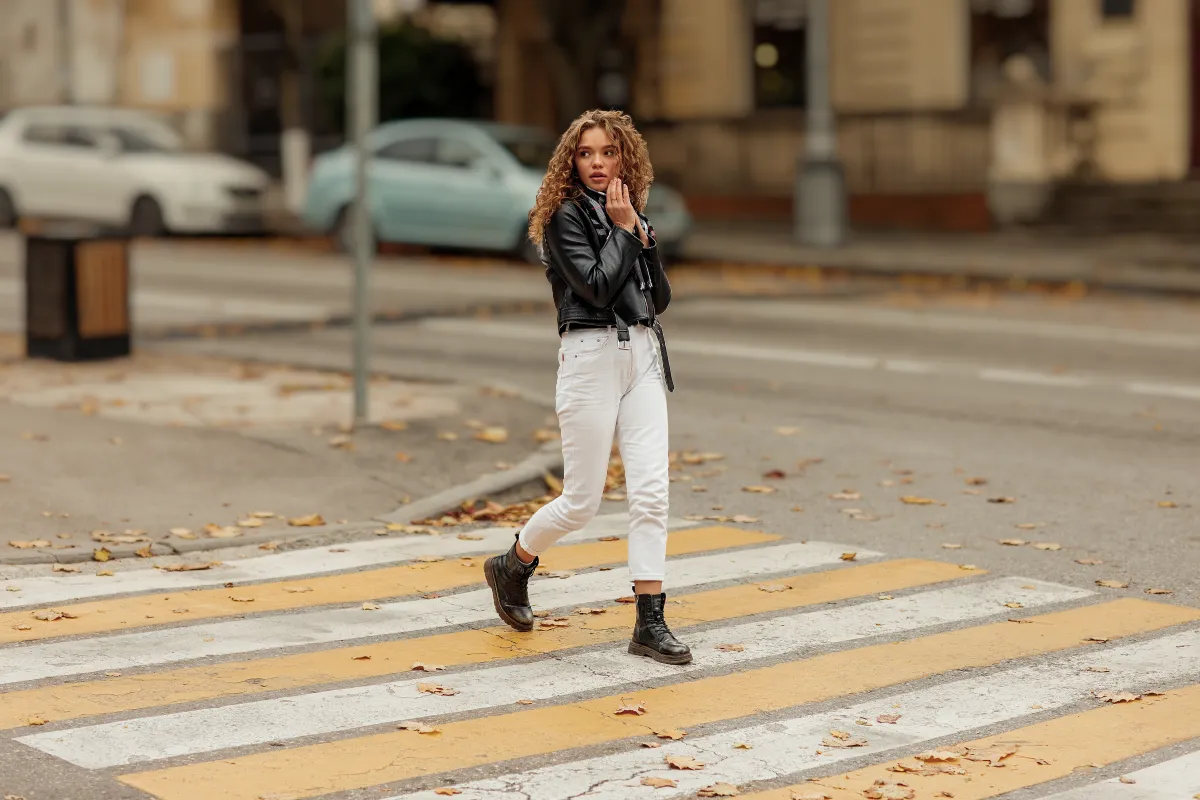
With Luminar’s blur filter, you can make parts of your image blurry to highlight what matters most. It’s simple to adjust the level of blur and get the perfect effect for your photos.
© shutterstock


© Shutterstock
Scopri le infinite possibilità del filtro di sfocatura
The image blur effect gives you many options. You can soften backgrounds, create a sense of movement, or make artistic effects.
The picture blurrer is a flexible tool that helps you get creative with your photos.
The picture blurrer is a flexible tool that helps you get creative with your photos.
Esplora Altre Funzionalità
Luminar has plenty of other features to help you edit faster and easier

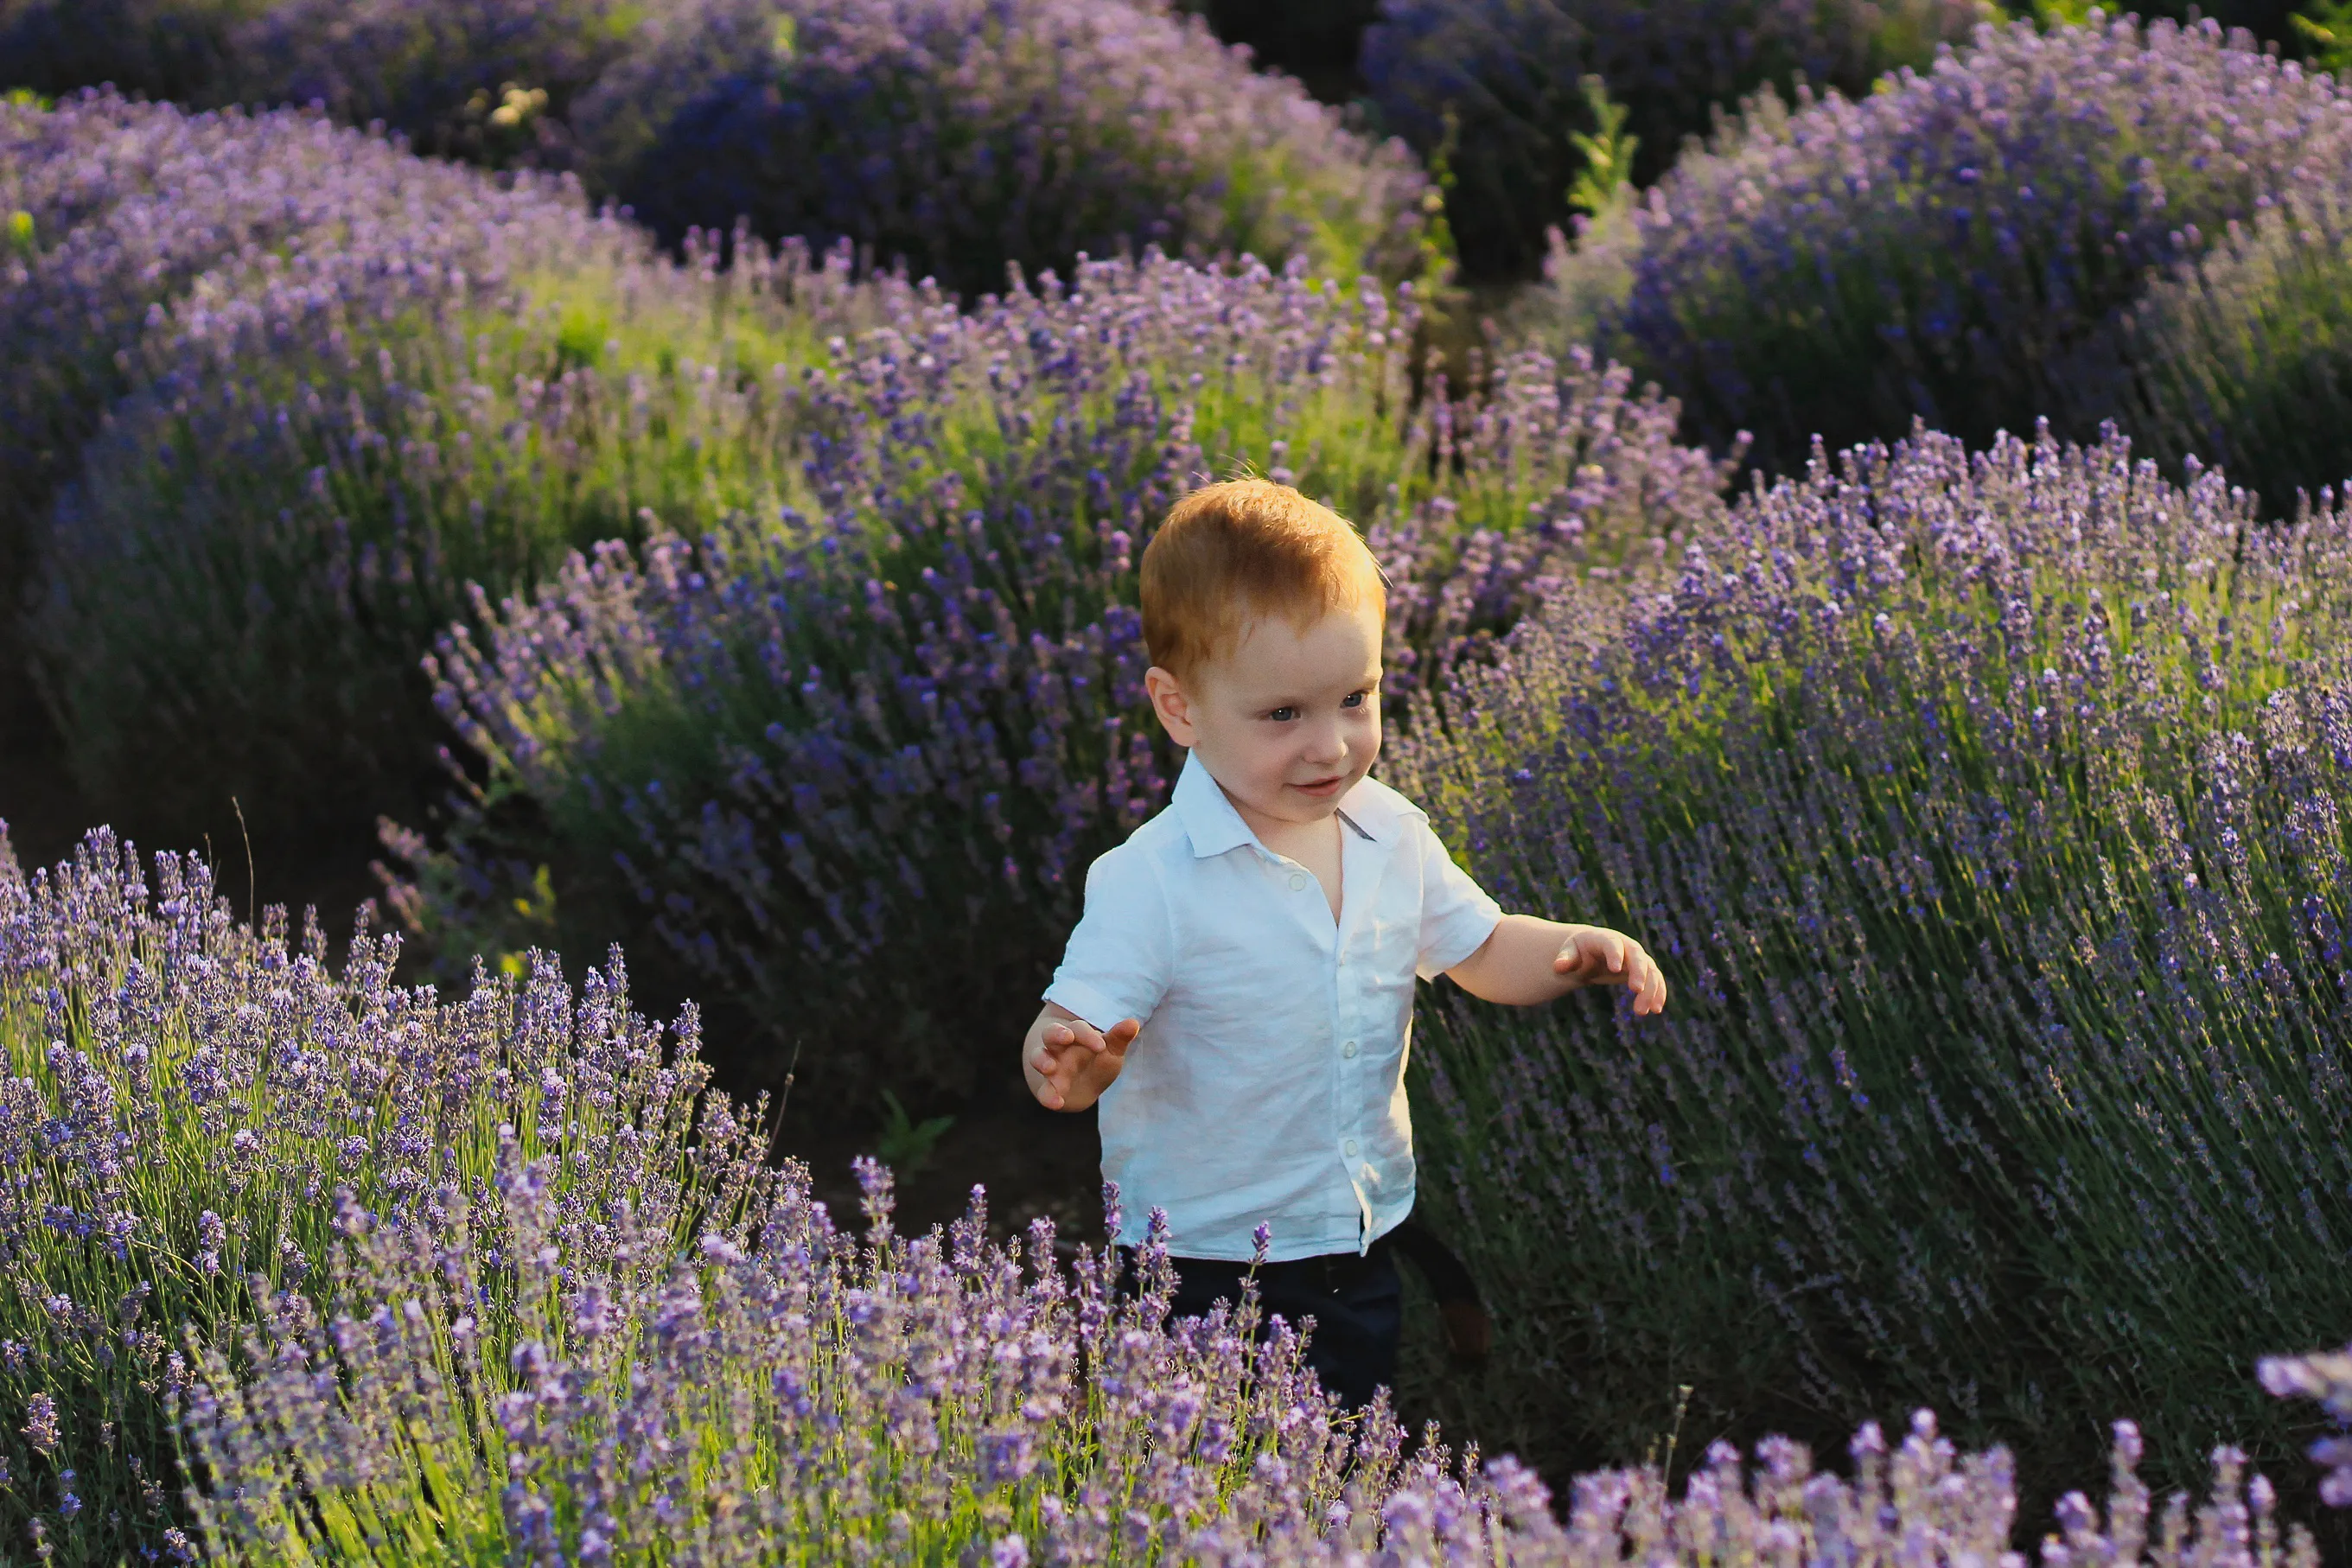
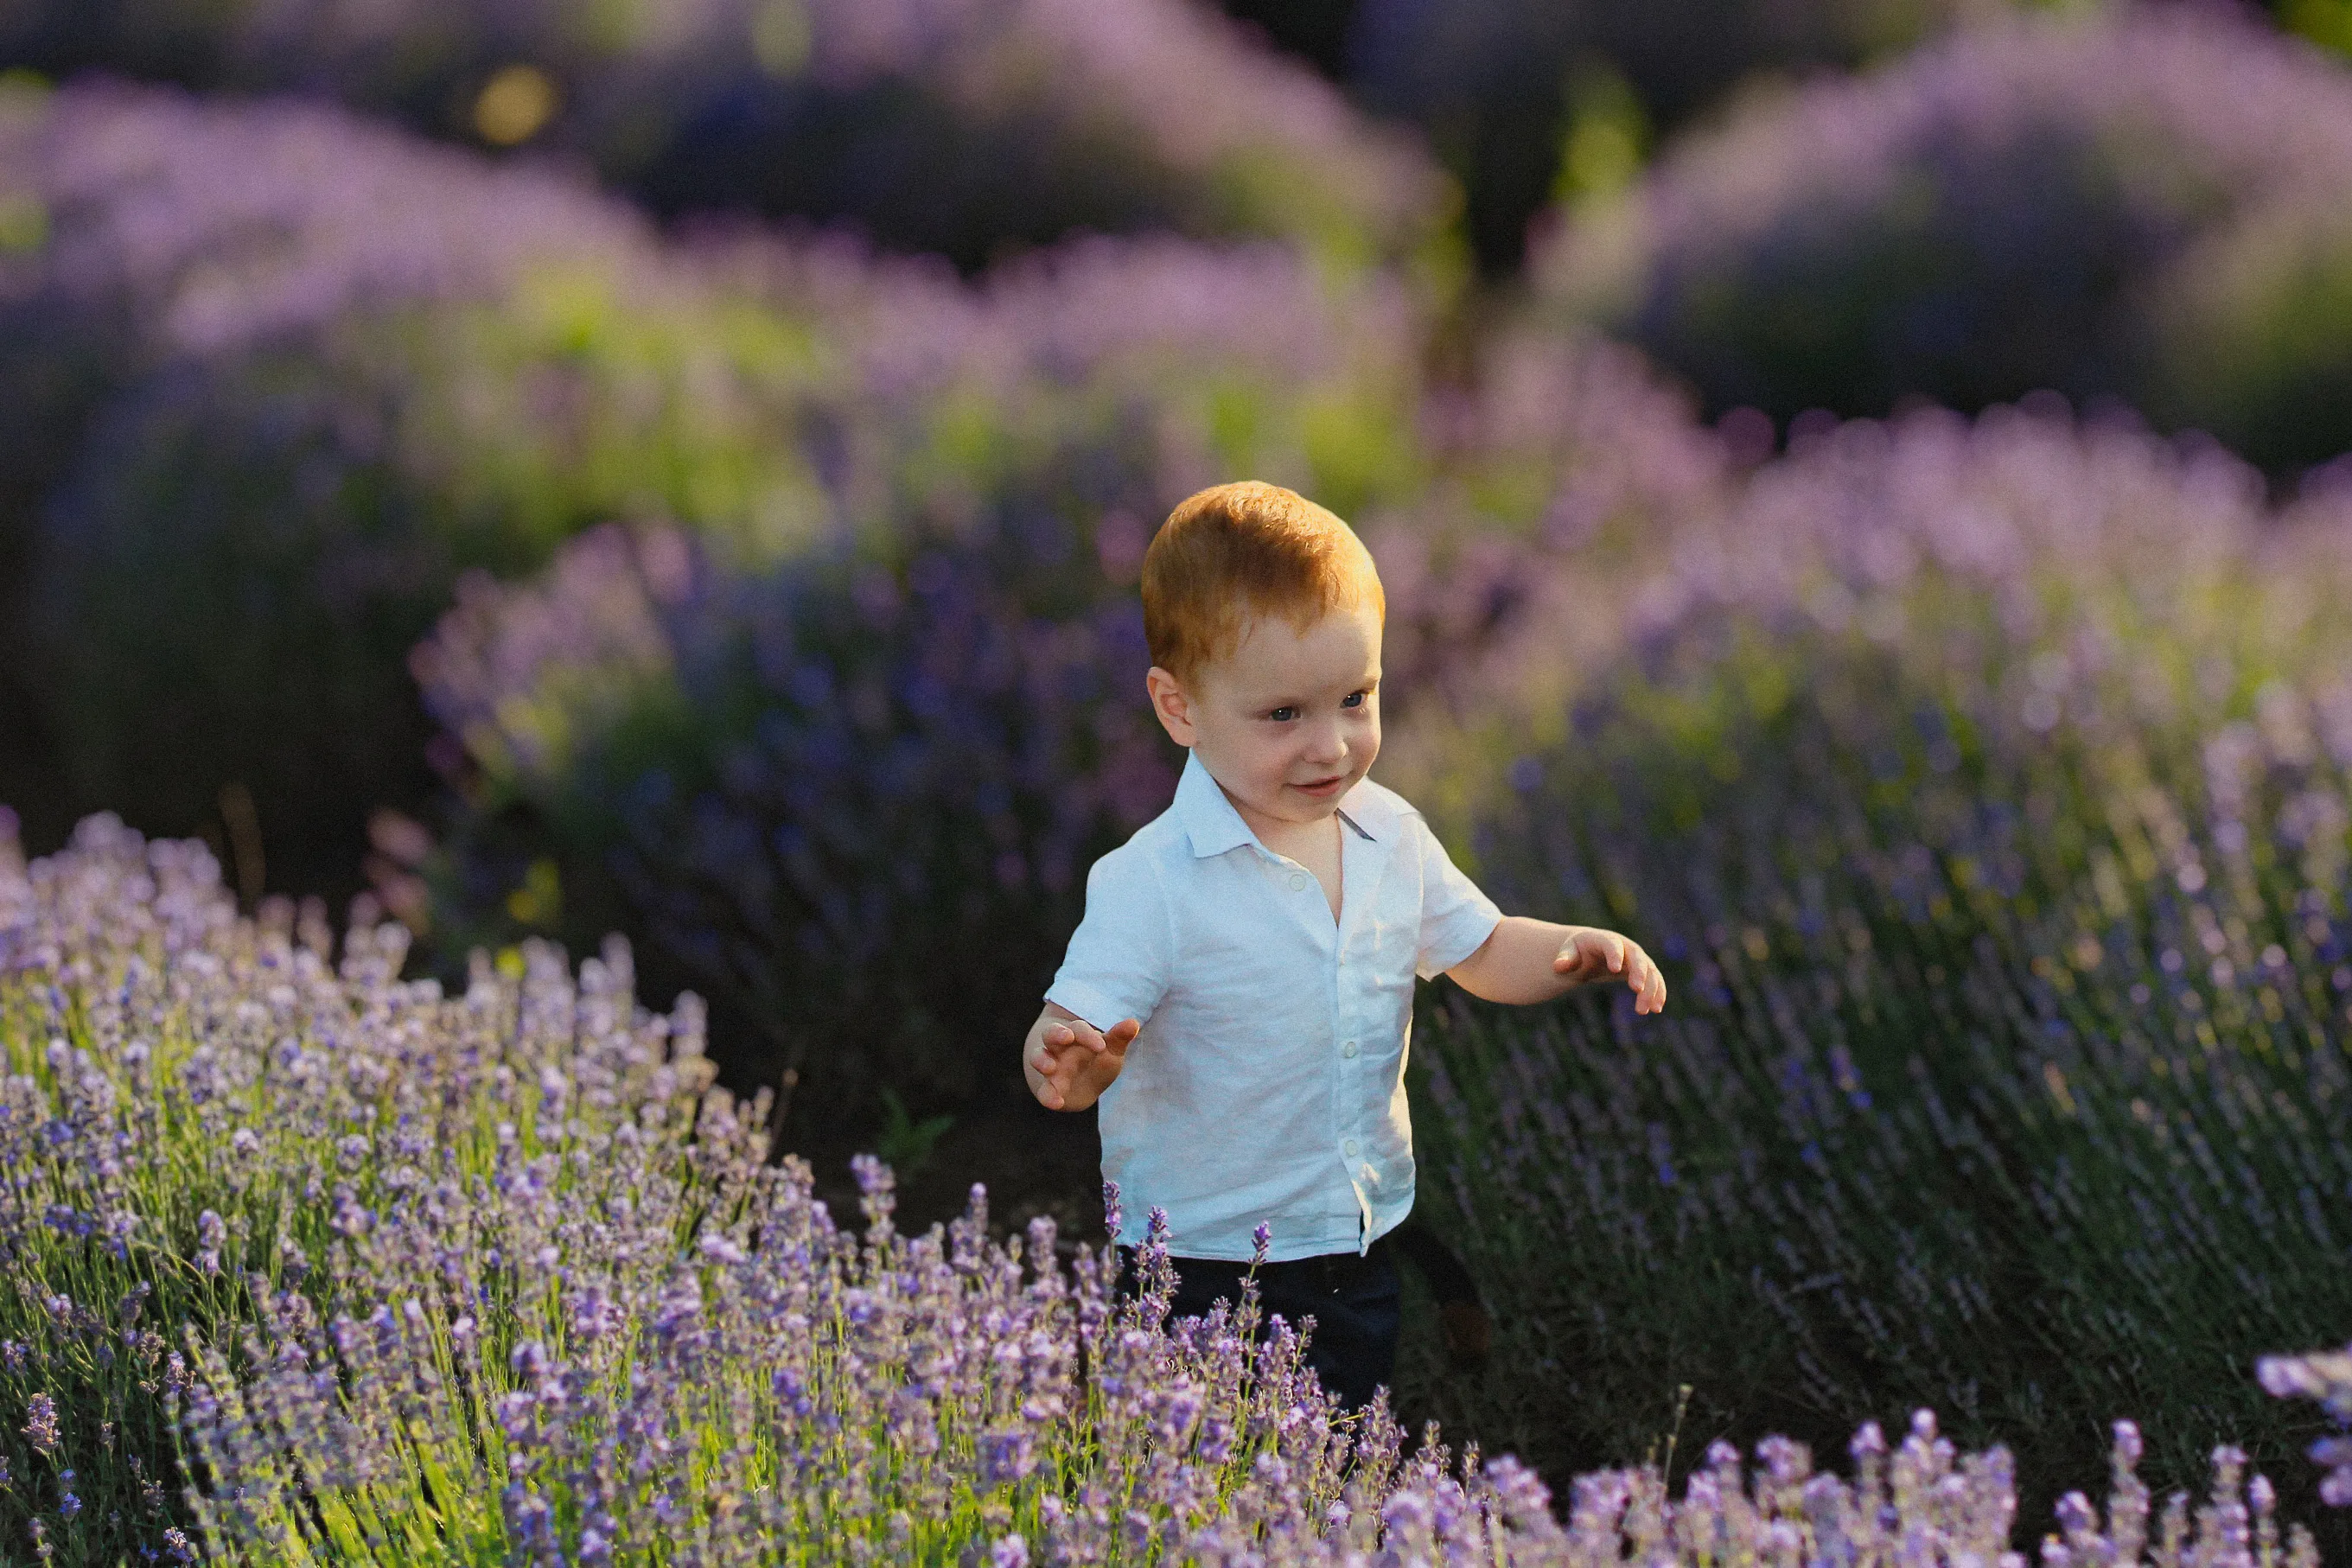
Sfoca Sfondi
© Shutterstock
Sfoca con facilità gli sfondi per mettere a fuoco il soggetto principale e migliorare l'appeal visivo dell'immagine.

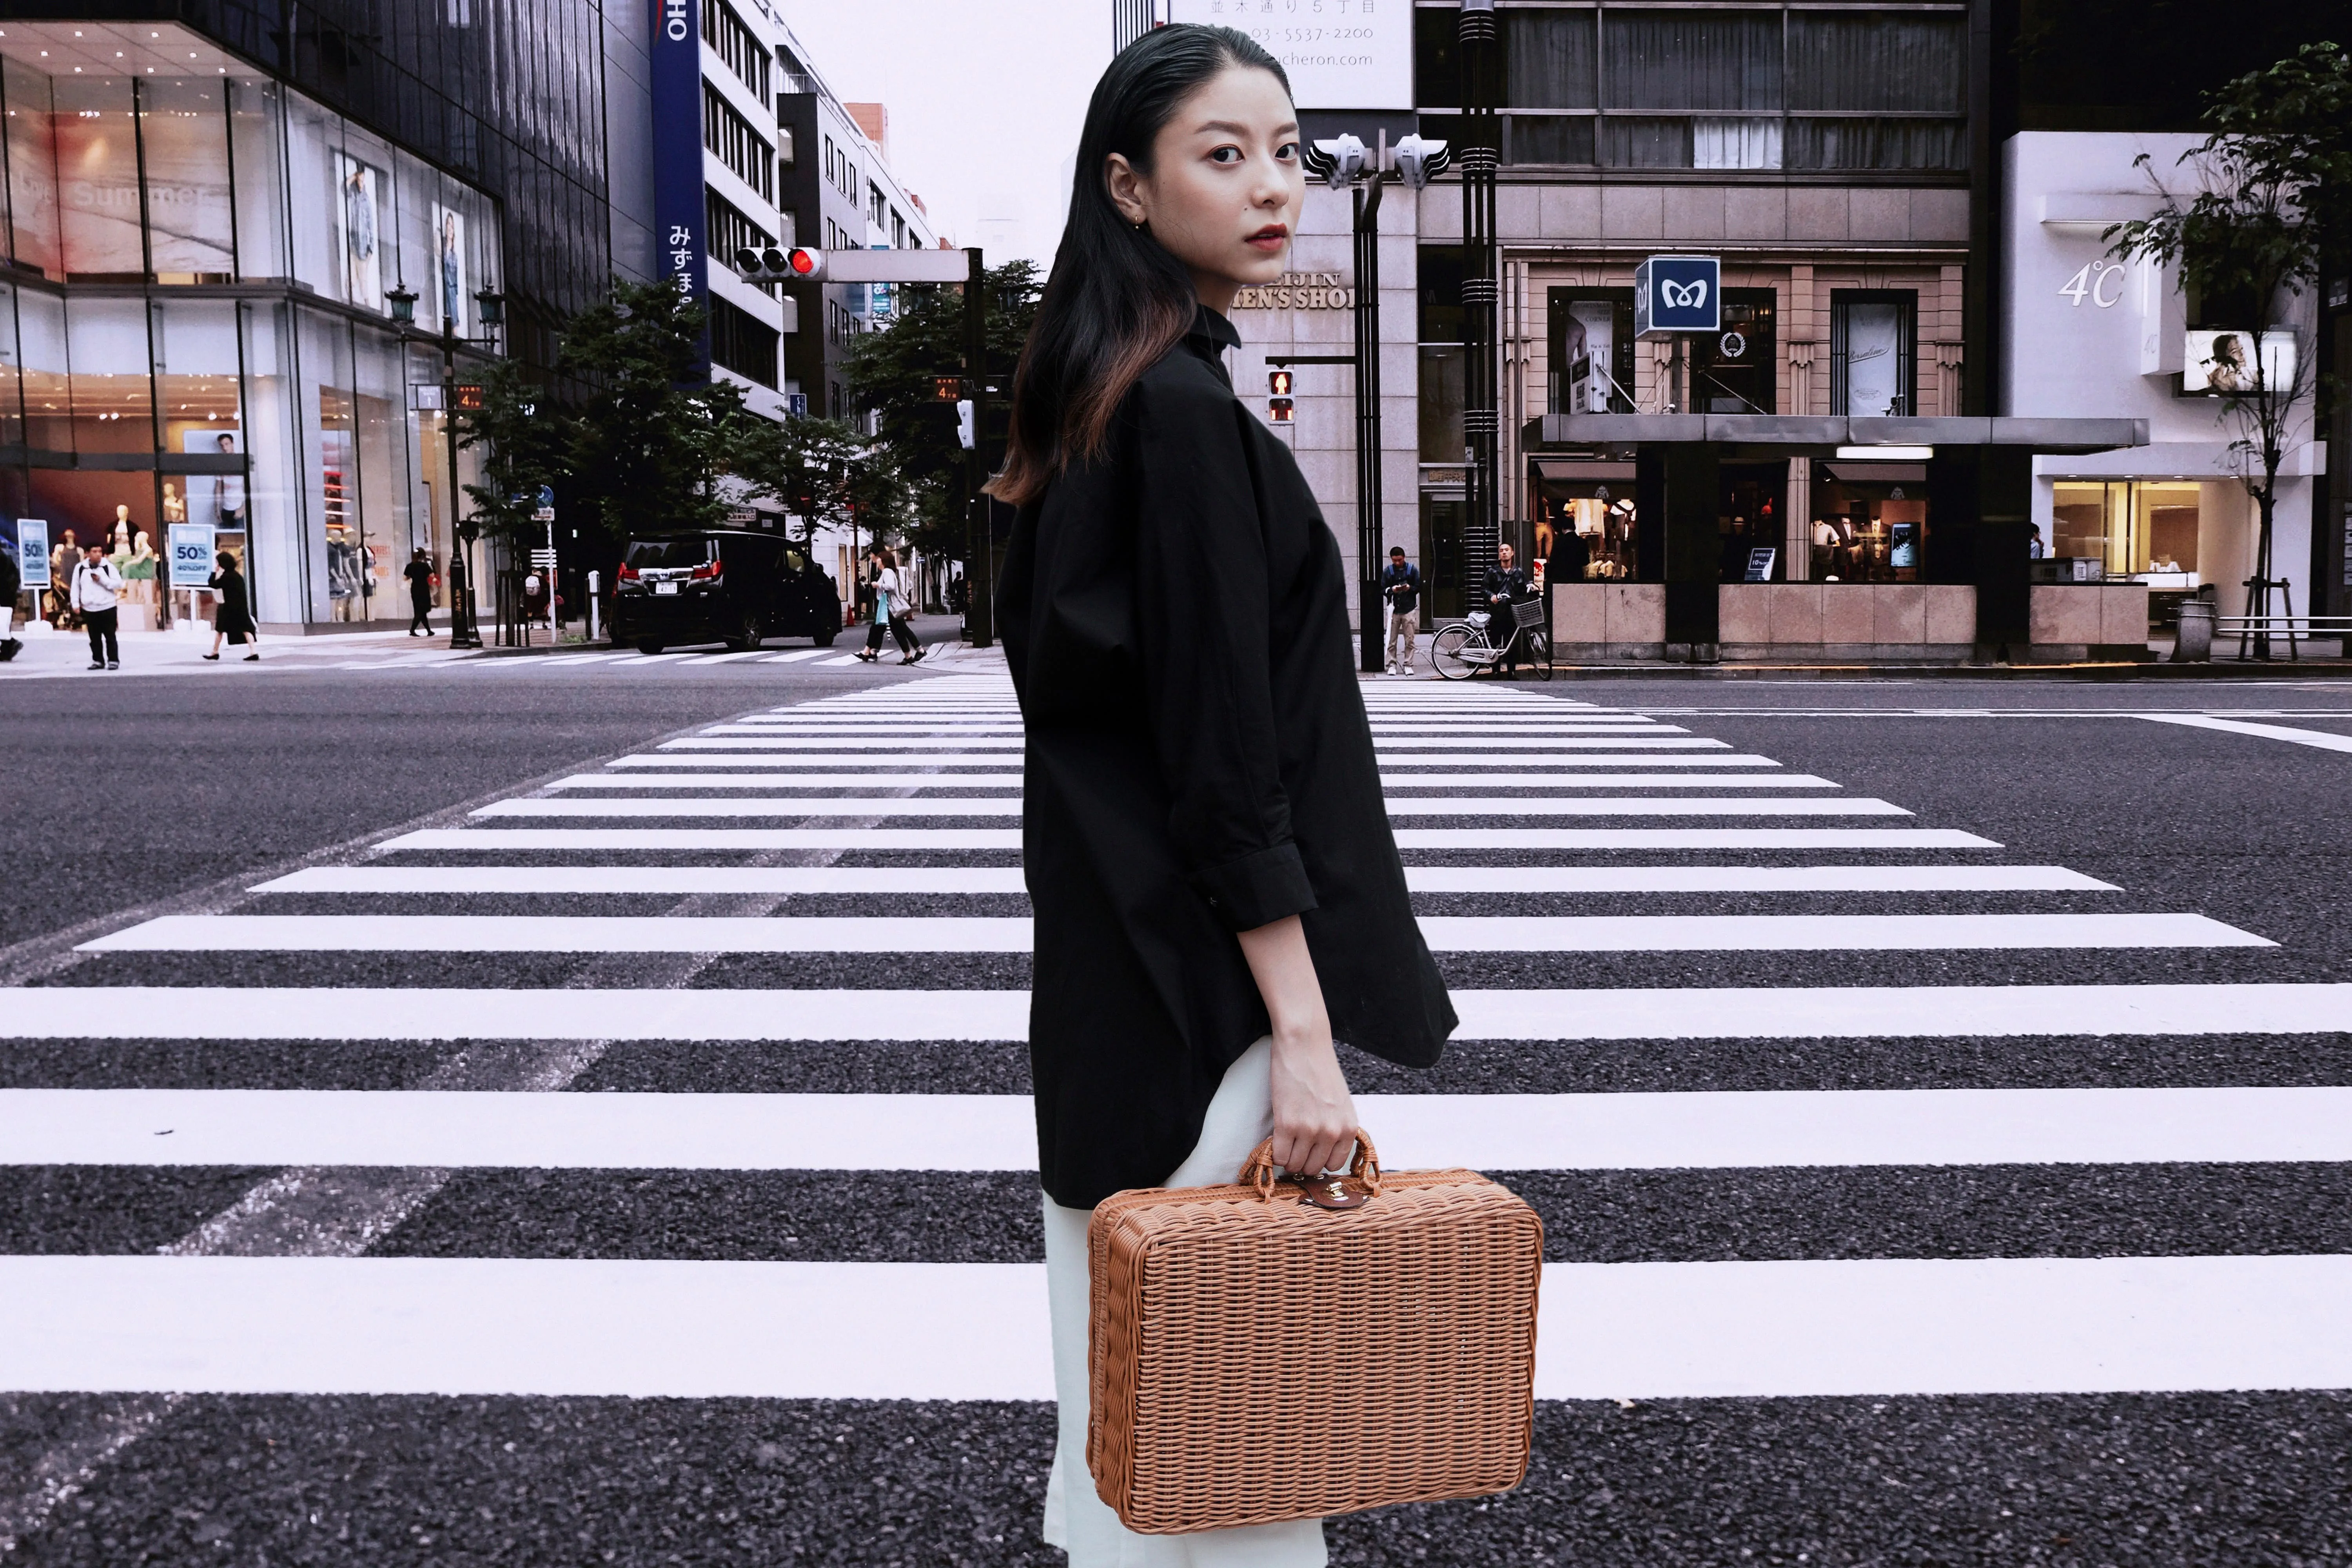
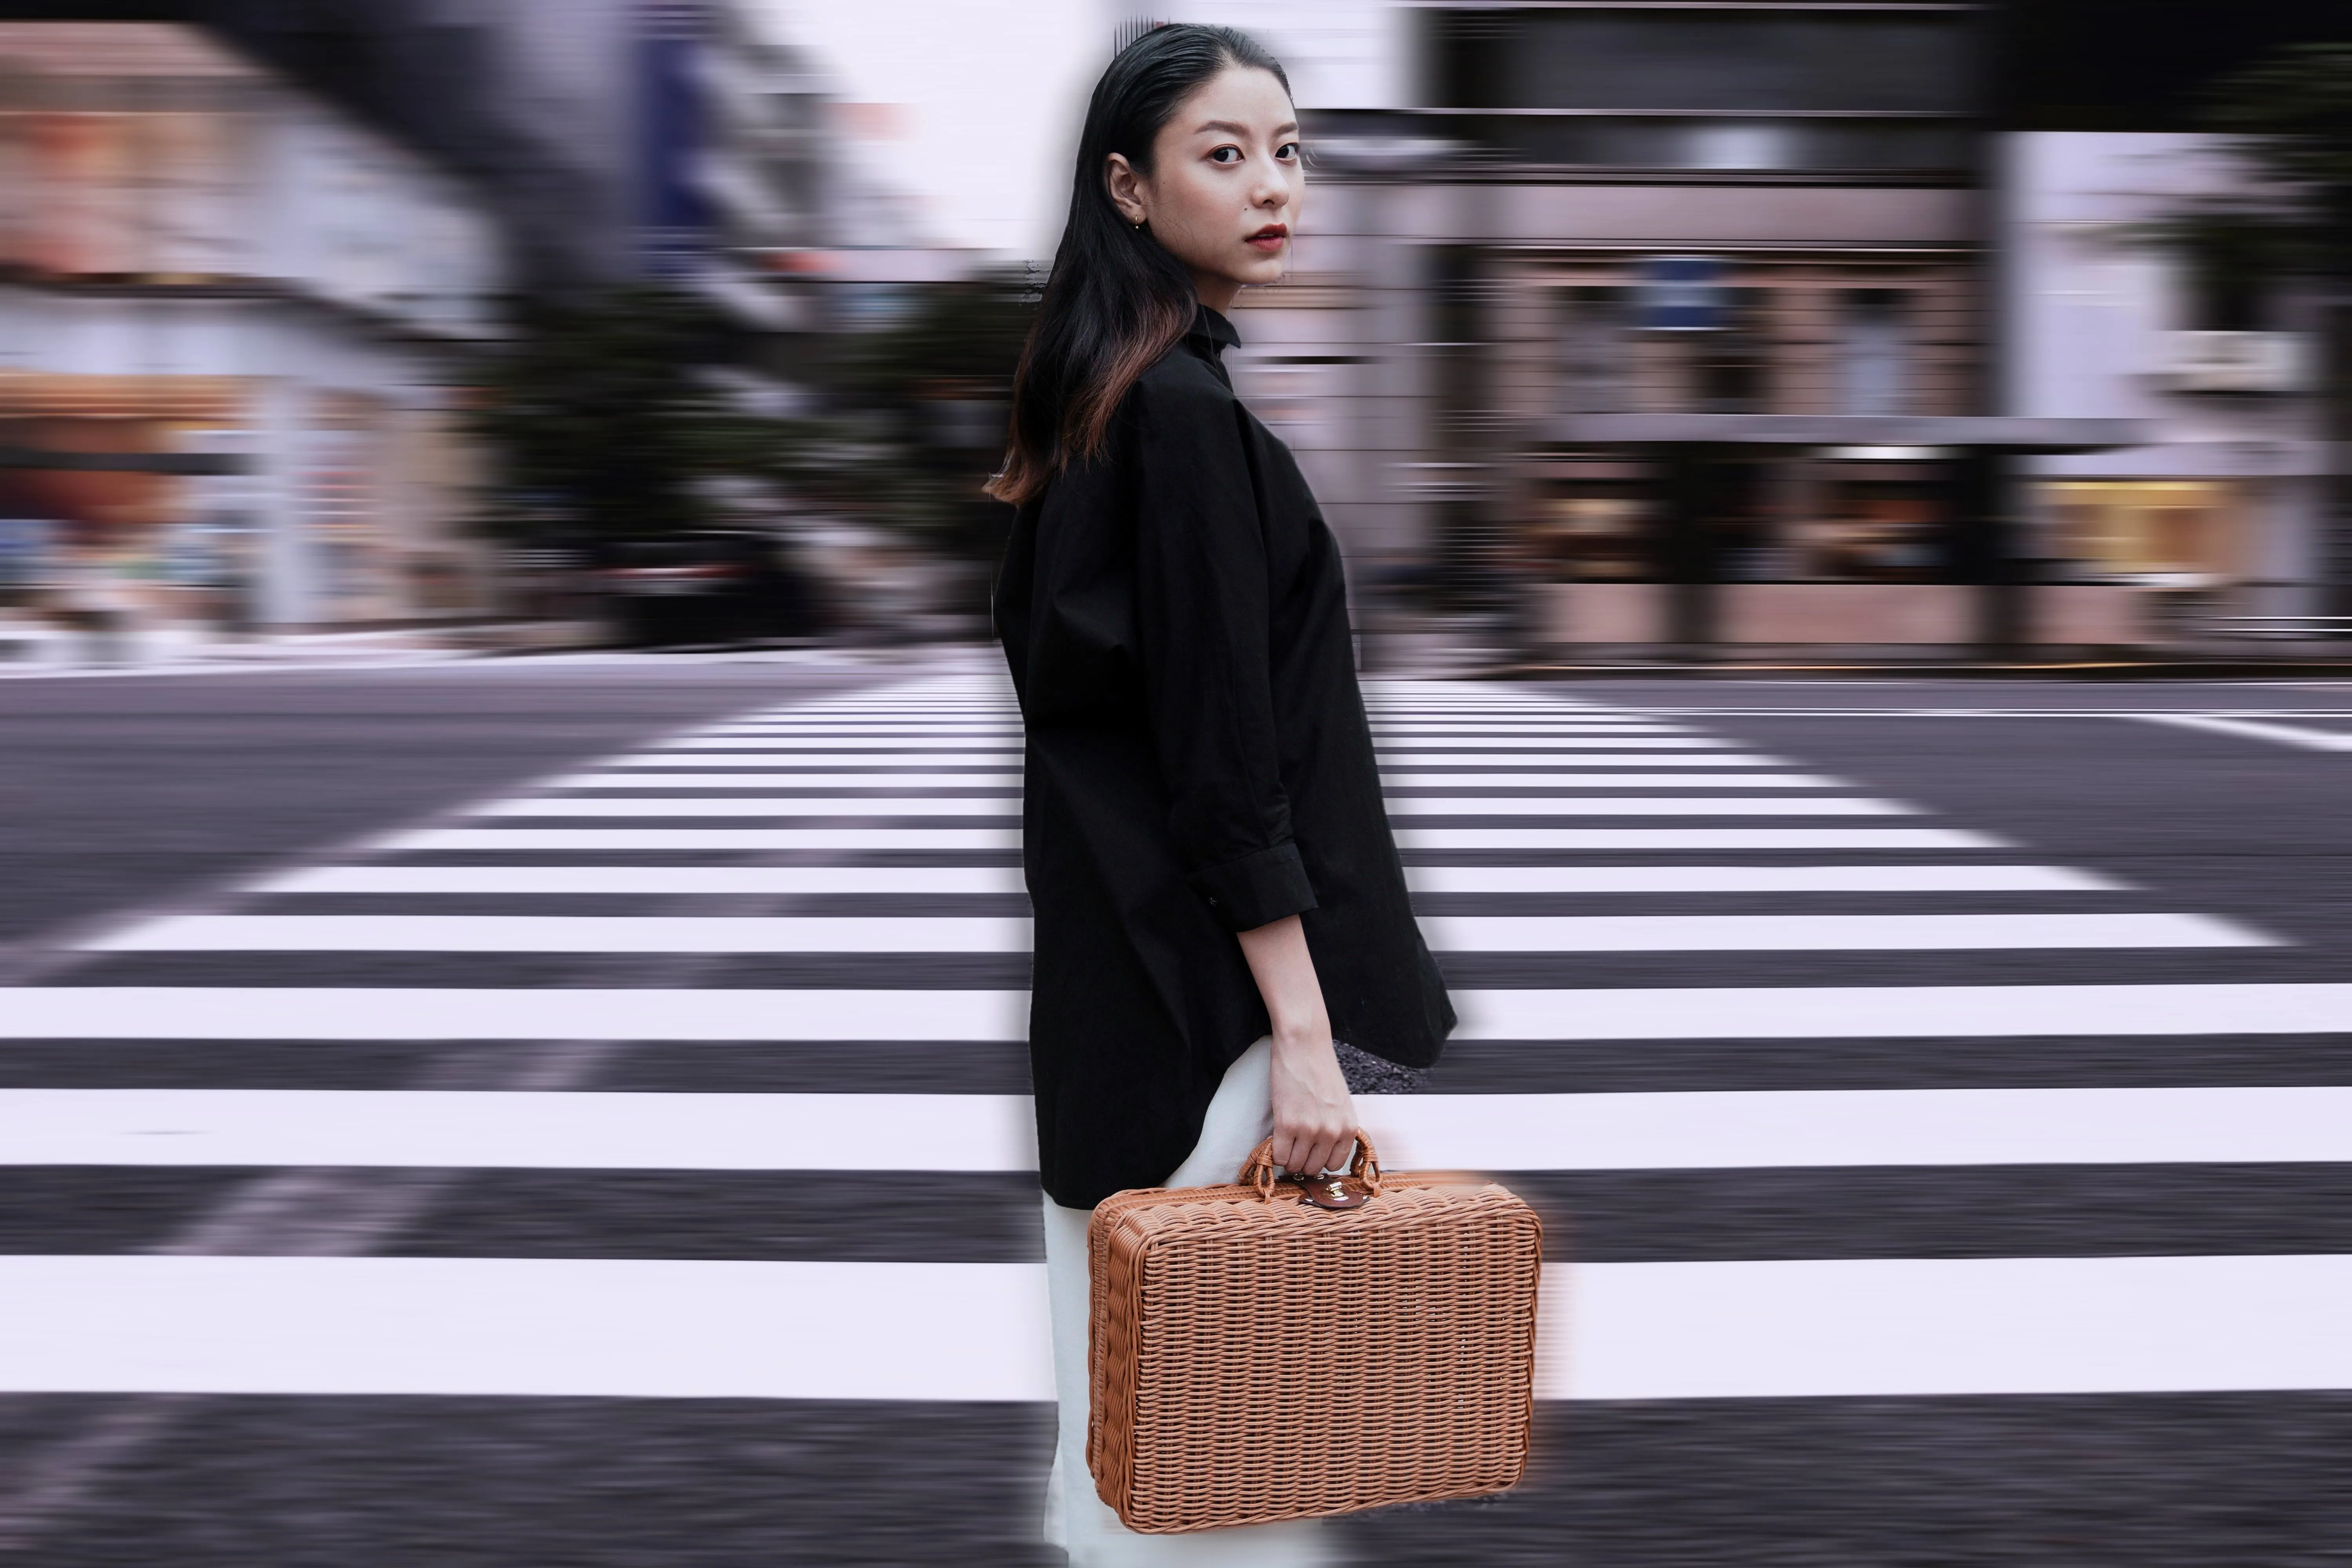
Effetto Movimento
© Depositphoto
Click now to experience the motion blur effect in Luminar and make your ordinary photos extraordinarily dynamic.

Effetto Ritratto Bokeh

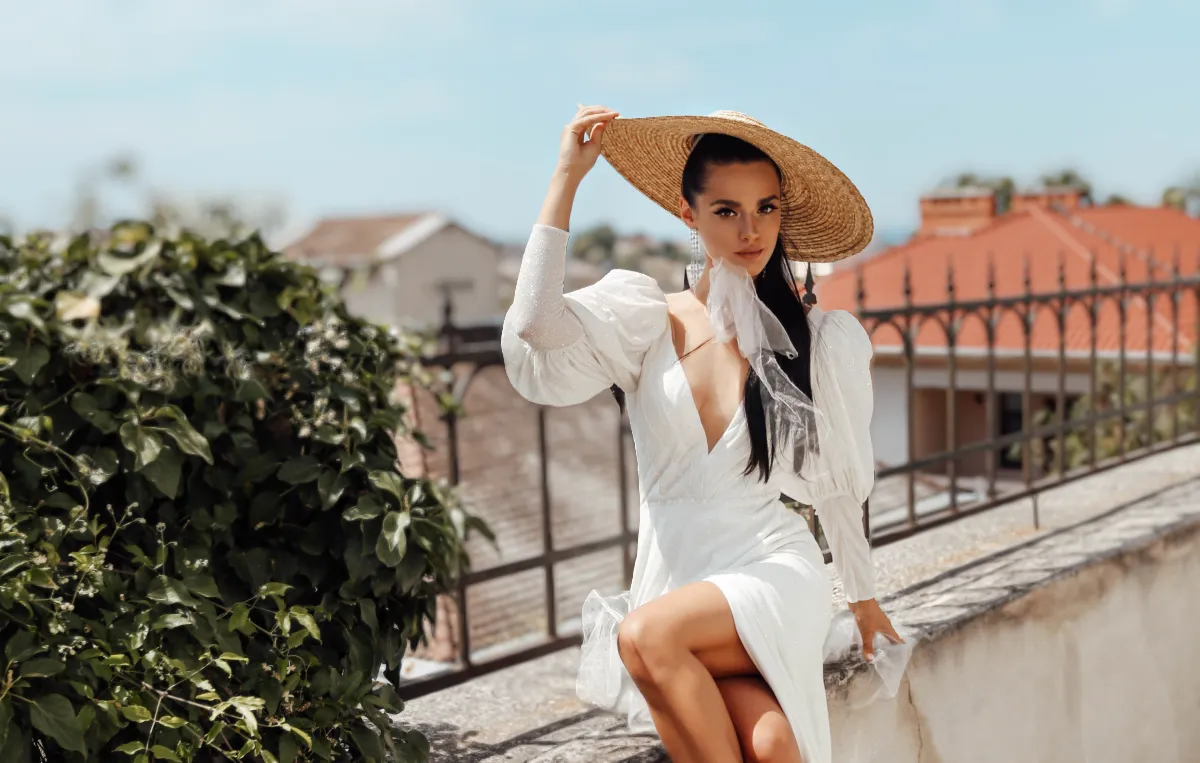
© Shutterstock
Scopri come trasformare lo sfondo in un'accattivante sfocatura con il nostro tool Effetto Ritratto Bokeh.

Riduci la sfocatura di un'immagine


© Ksenia Kazak
Riduci la sfocatura di un'immagine
Transform your blurry photos into crisp, clear images with Luminar

Supernitido AI
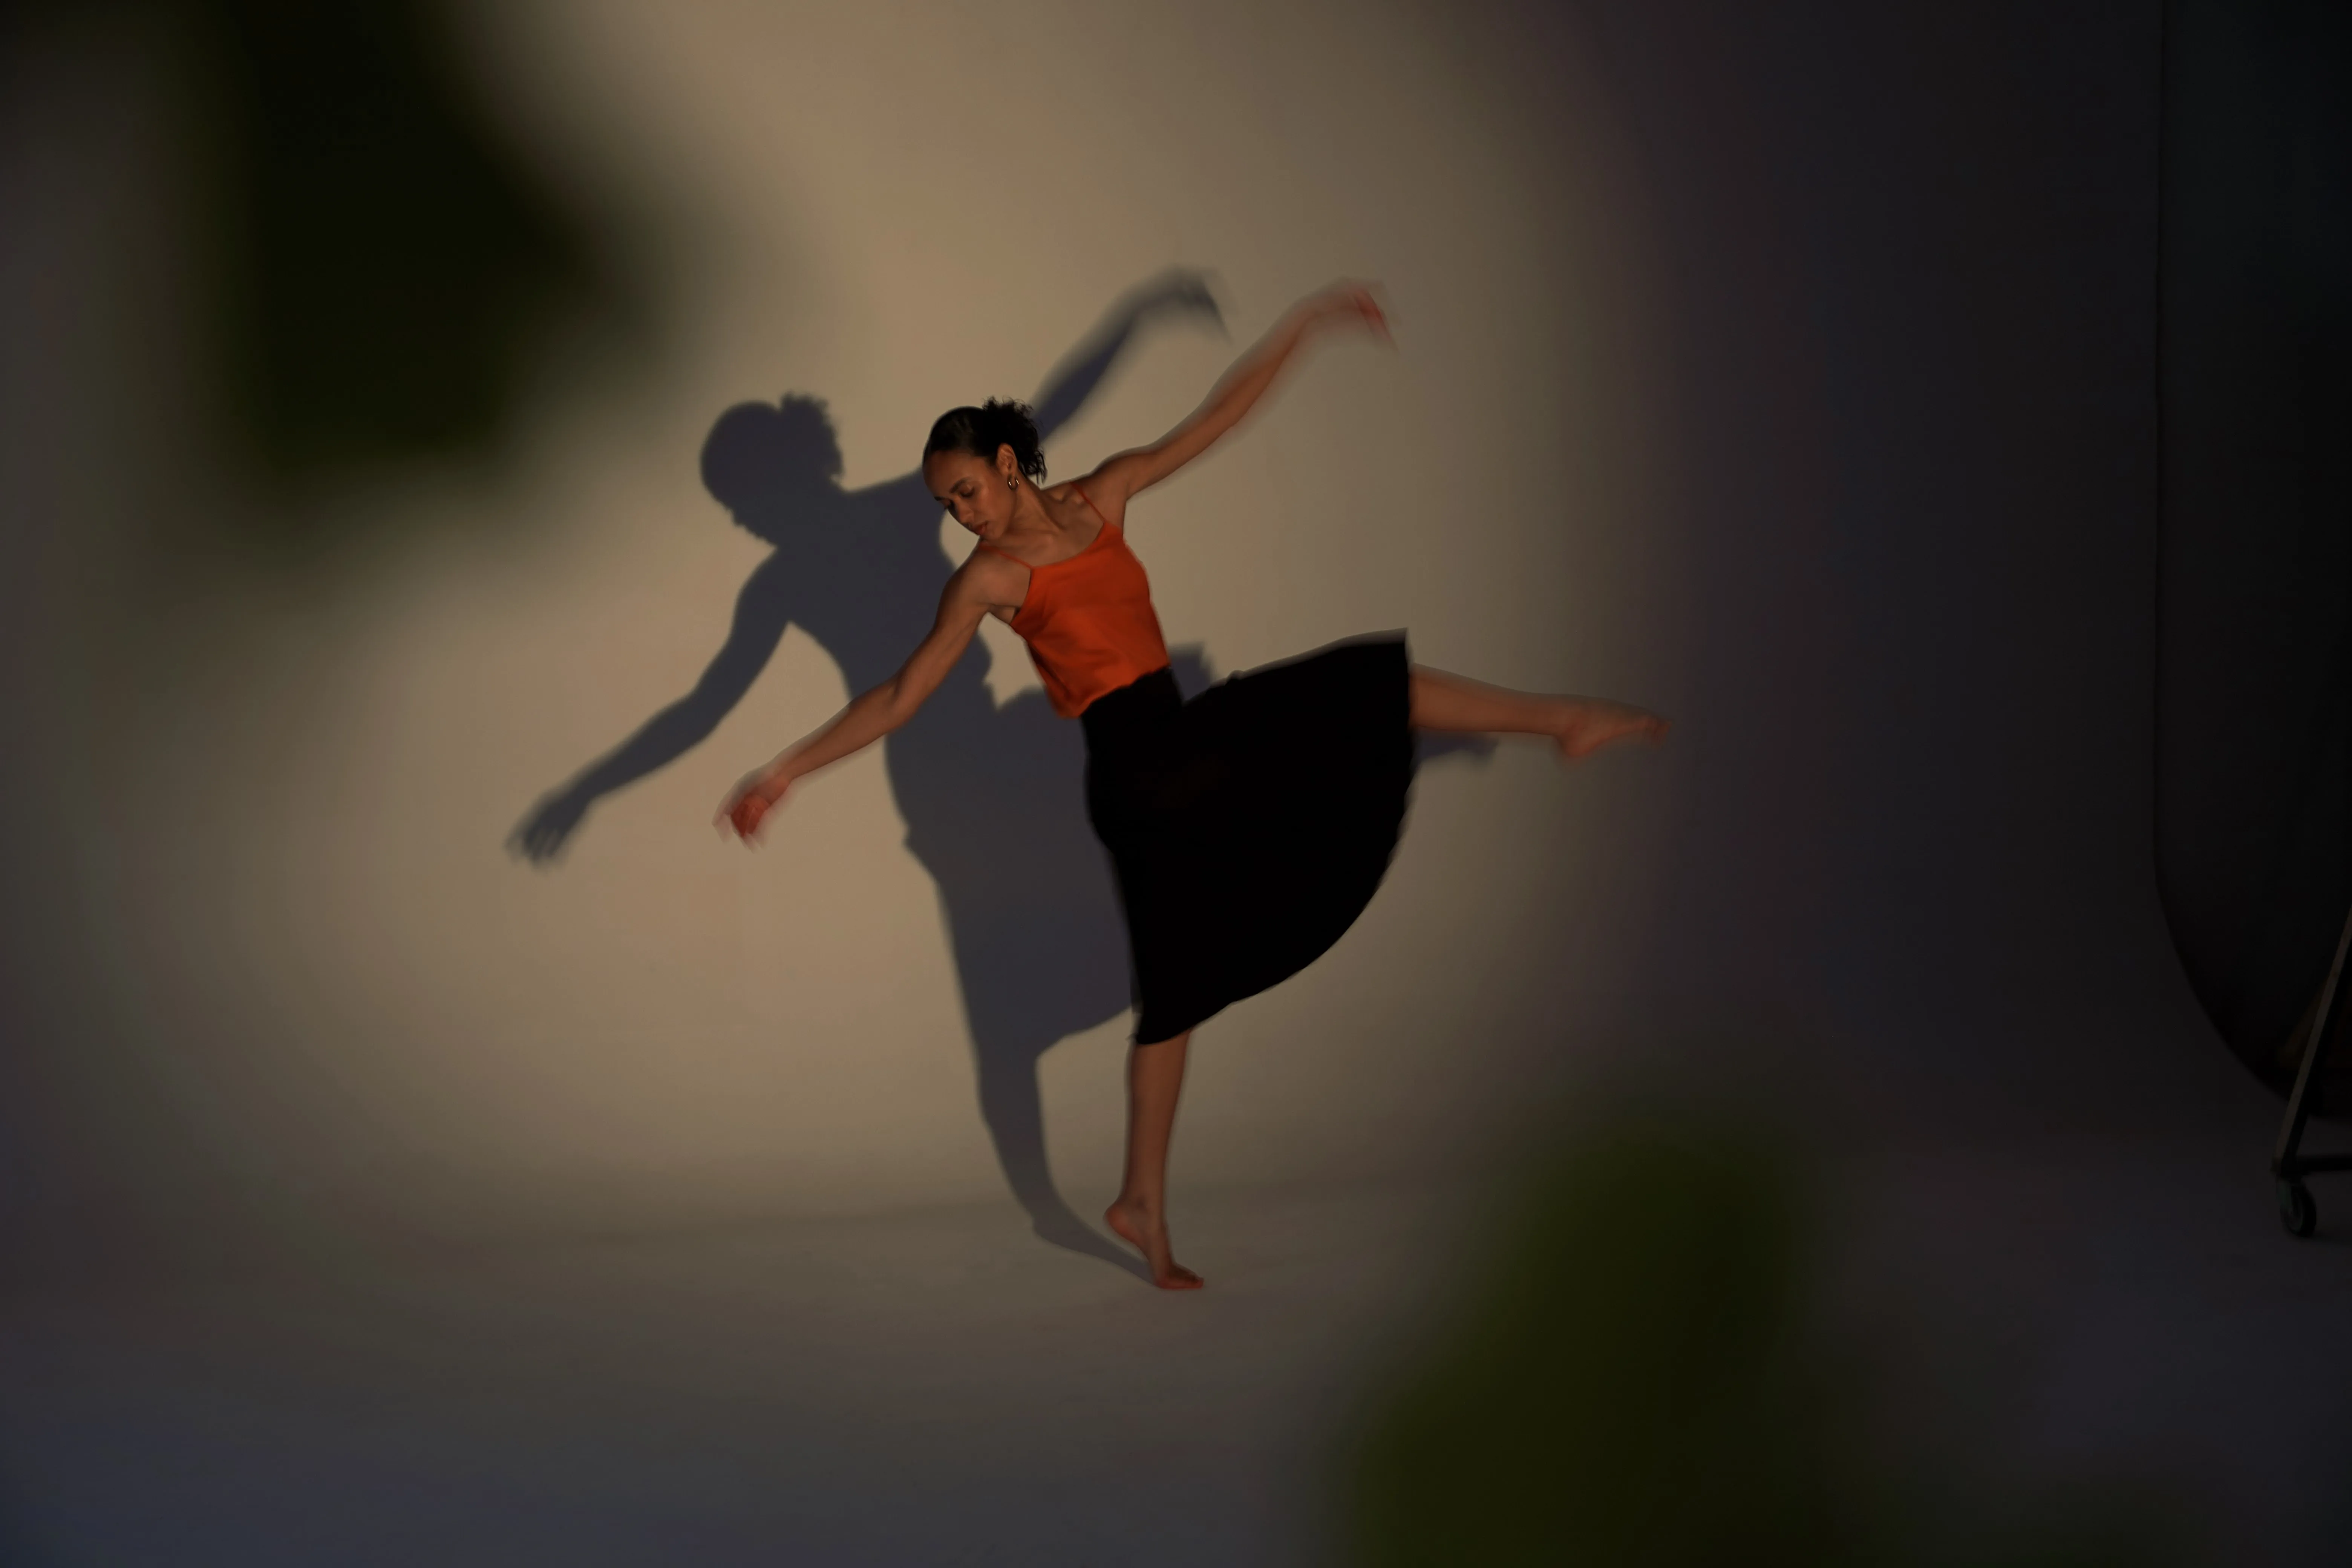
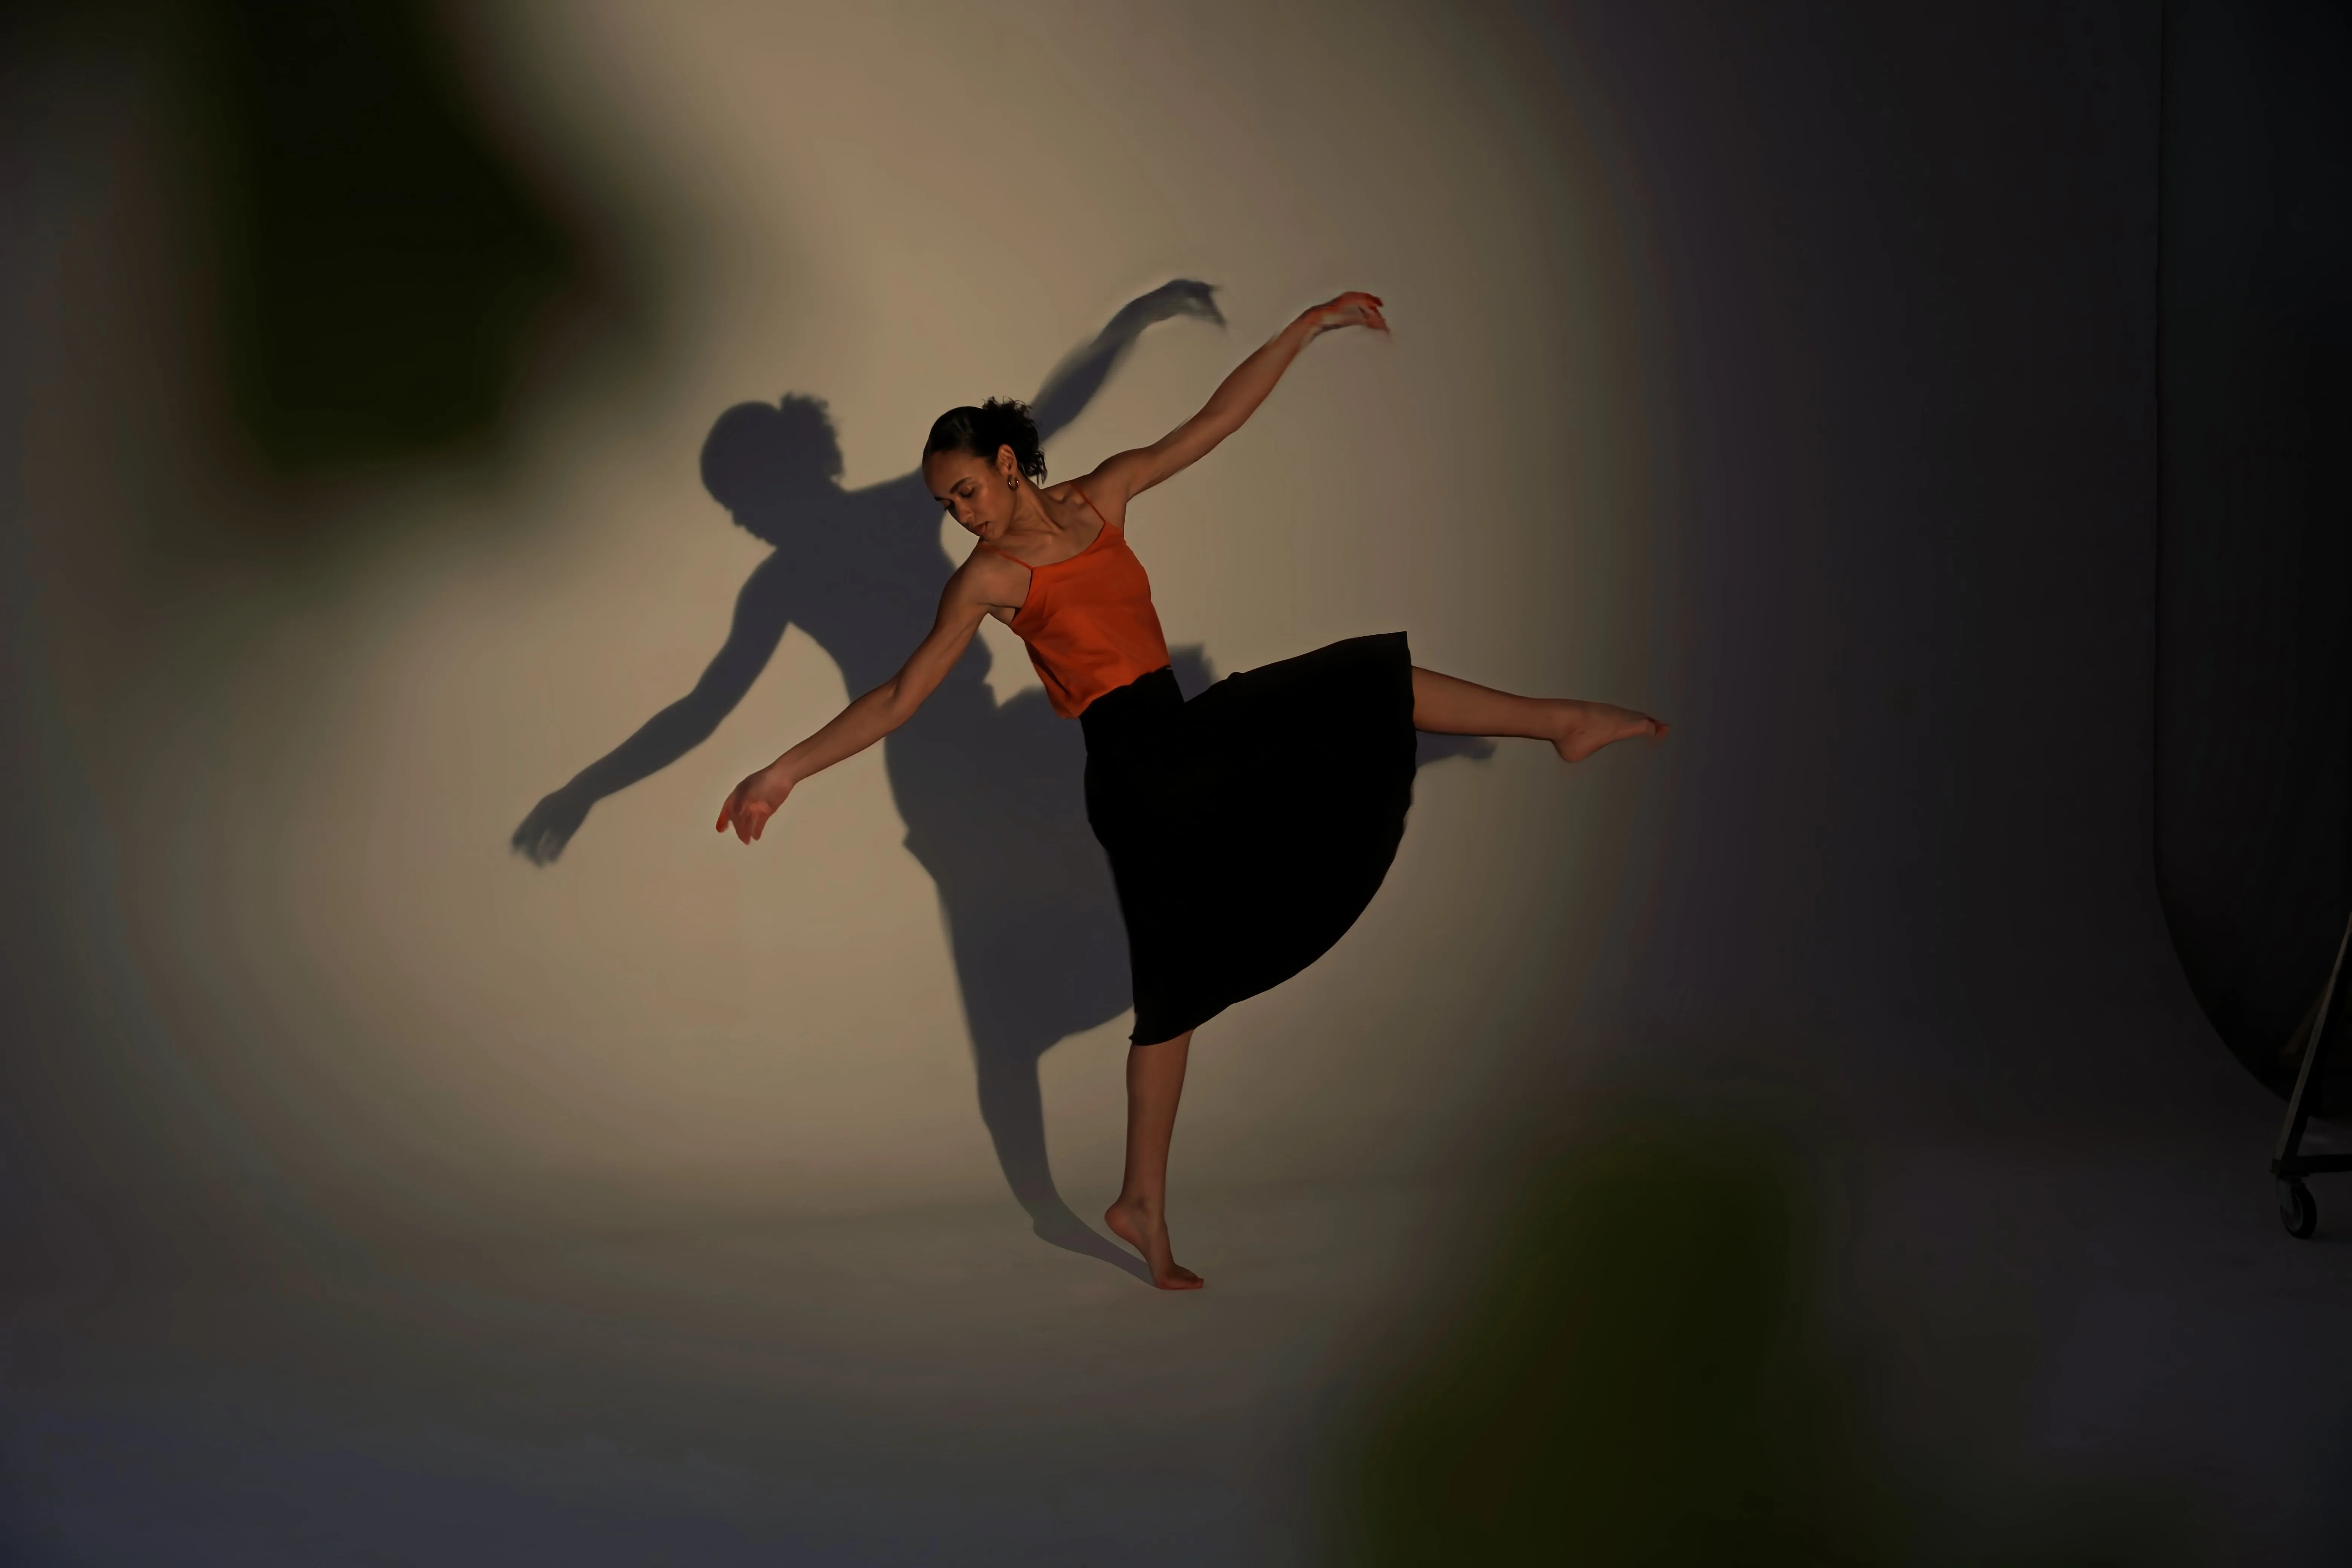
© Ksenia Kazak
Utilizza la nostra tecnologia all'avanguardia per ripristinare naturalmente la nitidezza dei tuoi ricordi più cari

Ingrandimento Immagine 4K
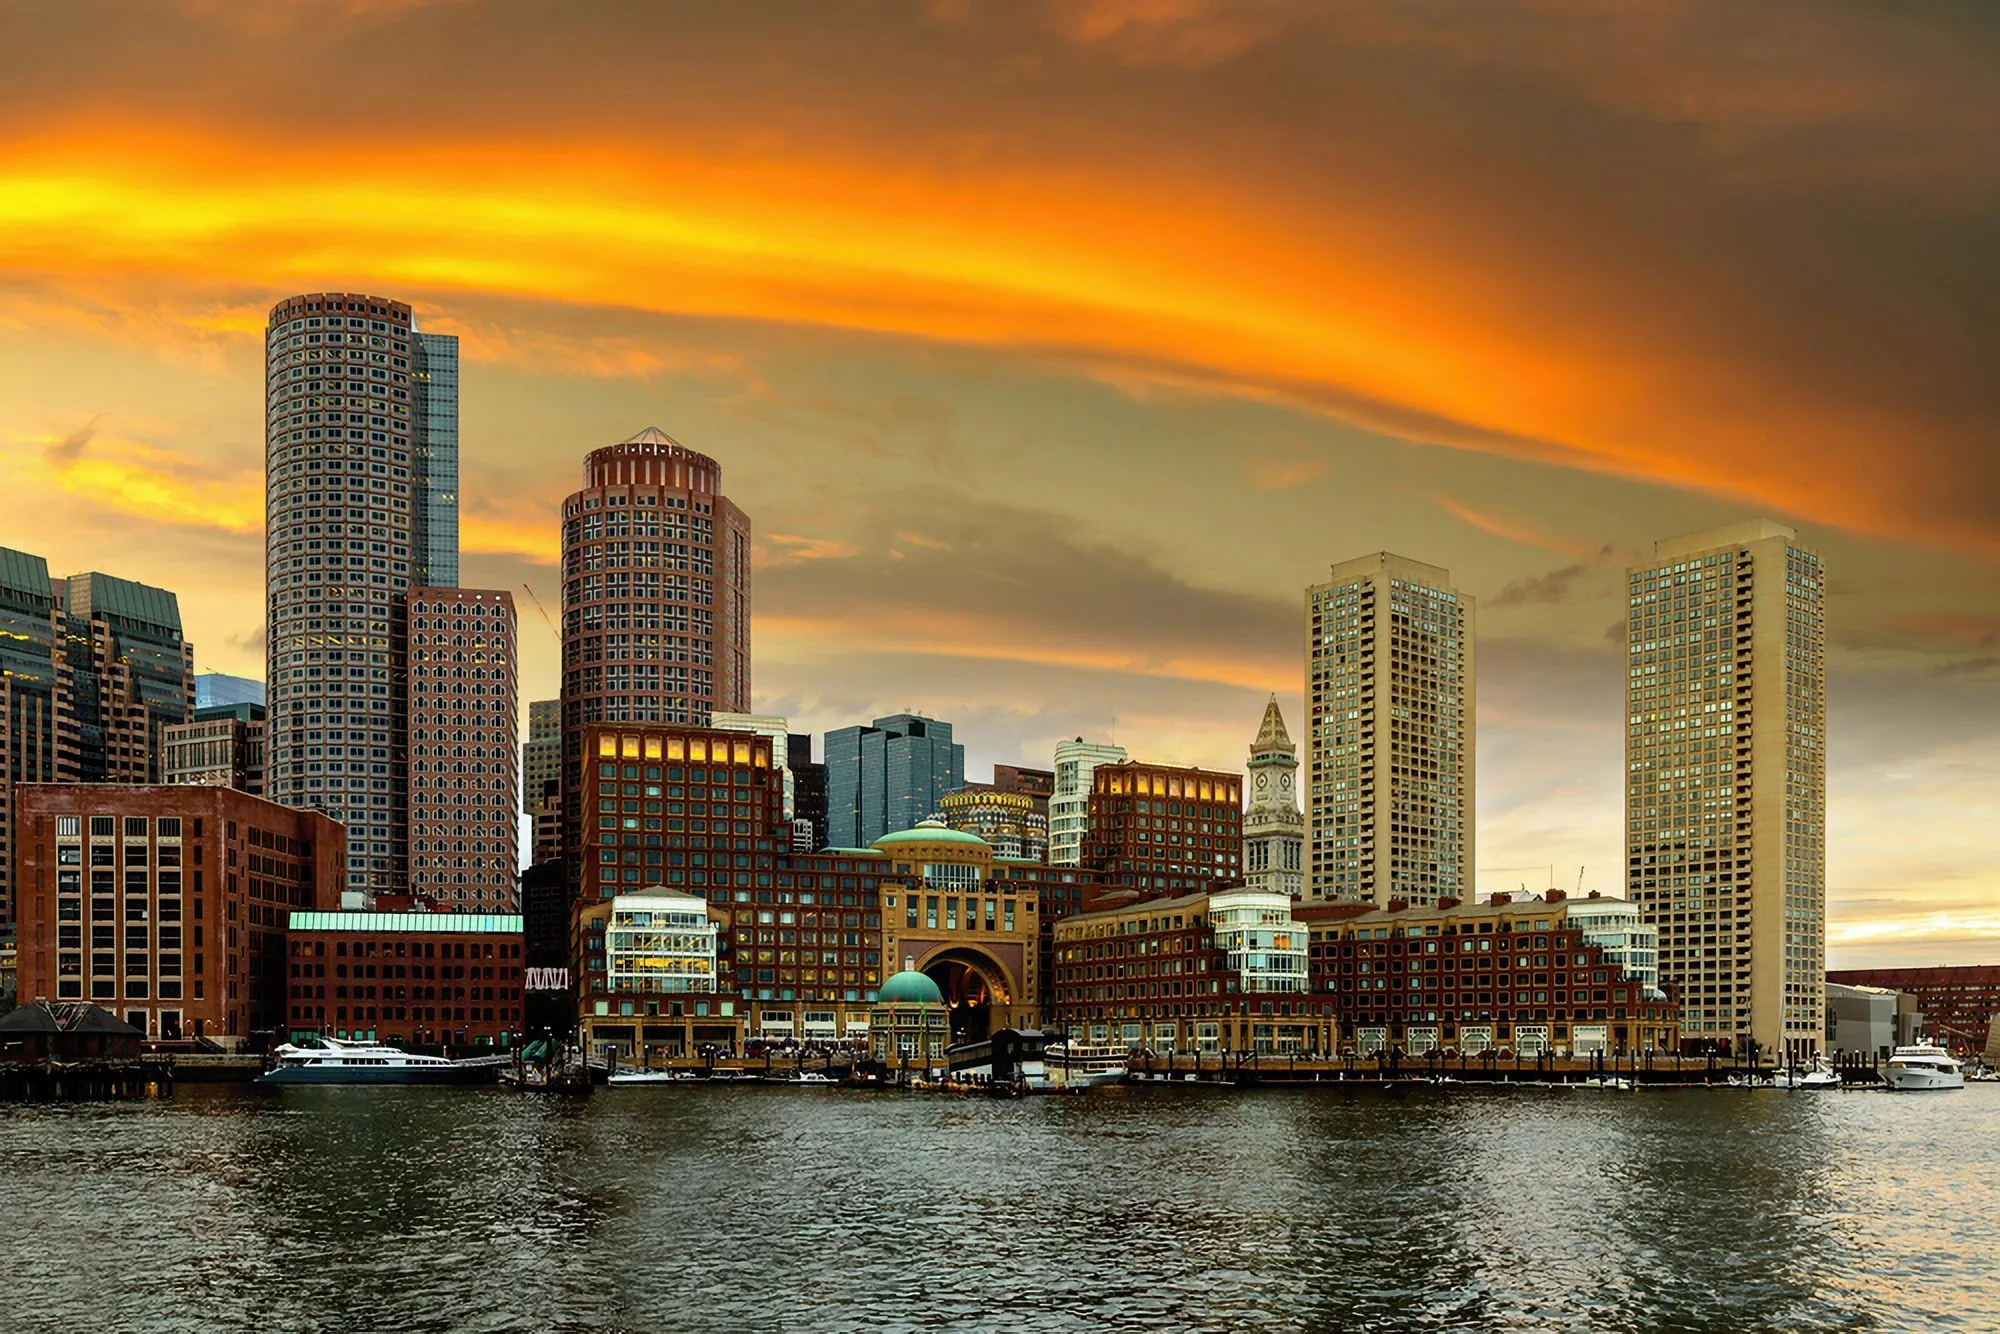
© bloodua
Scopri una risoluzione fino a 4x volte migliore per panorami, ingrandimenti di fauna, scatti macro e vecchie foto.
Domande frequenti
Posso regolare l'intensità della sfocatura?
Yes, Luminar allows you to easily control the strength of the blur effect, from subtle softening to strong artistic blurring.
Can I selectively add blur to a photo in Luminar?
Certo. Il tool di sfocatura ti consente di applicare l'effetto sfocato solo su aree specifiche, offrendoti il pieno controllo creativo della tua immagine.
Quali tipi di effetti sono disponibili con il tool di sfocatura delle immagini?
Puoi scegliere tra vari effetti, tra cui sfocatura Gaussiana, radiale, effetto movimento e sfocature personalizzate selettive per ottenere il look artistico che desideri.
Quali sono gli step per rendere un'immagine sfocata?
To make an image blurry, start by opening your photo in Luminar. Once it’s loaded, select the blur tool or filter from the editing options. Then, adjust the intensity and radius of the blur to your preference, controlling how soft or pronounced the effect appears.
If you want to apply the blur selectively, you can use the masking tools to target specific areas of the image. Finally, fine-tune the settings until you achieve the desired level of softness and the perfect overall effect.
If you want to apply the blur selectively, you can use the masking tools to target specific areas of the image. Finally, fine-tune the settings until you achieve the desired level of softness and the perfect overall effect.
Why Luminar is the best AI image blurrer?
Luminar is recognized as a leading solution for image blurring because it combines AI-powered masking with precise blur controls. The tool lets you soften selected areas while keeping the main subject sharp, making it easy to create natural depth, reduce distractions, or achieve creative blur effects without complex selections.
Who can benefit from Luminar blur tool?
Luminar's blur tools are useful across different photography workflows:
- Portrait photographers: soften backgrounds and draw attention to the subject
- Product photographers: reduce distracting details around products
- Content creators: create depth and focus in social media visuals
- Travel photographers: separate subjects from busy surroundings
- Everyday users: add professional-looking blur without advanced editing skills
- Portrait photographers: soften backgrounds and draw attention to the subject
- Product photographers: reduce distracting details around products
- Content creators: create depth and focus in social media visuals
- Travel photographers: separate subjects from busy surroundings
- Everyday users: add professional-looking blur without advanced editing skills
Why Luminar blur filter is trusted by photographers?
Photographers choose Luminar because it provides controlled, selective blurring rather than simply softening the entire image. Its masking capabilities allow users to determine exactly where the effect appears and fine-tune the result, helping preserve important details while creating natural-looking depth.