Actualizaciones automáticas
renovación en 1 año para $ 33 .00

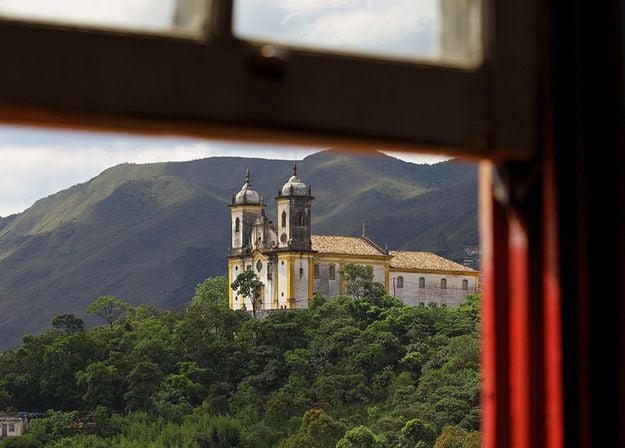
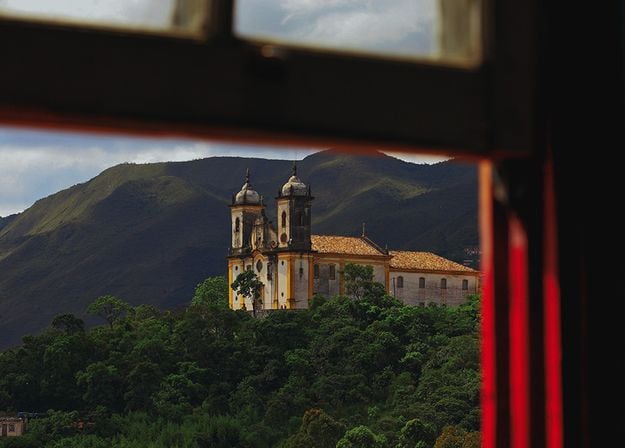
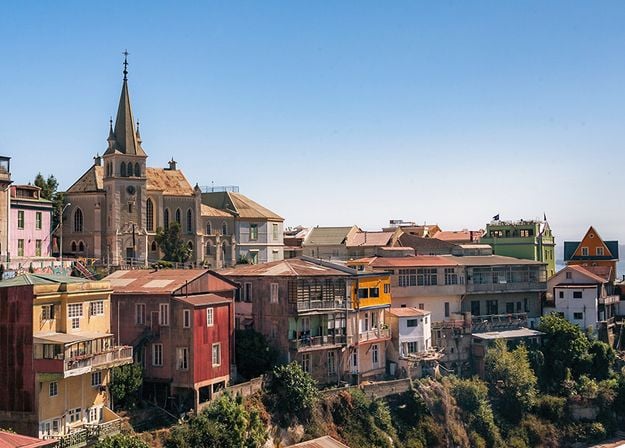
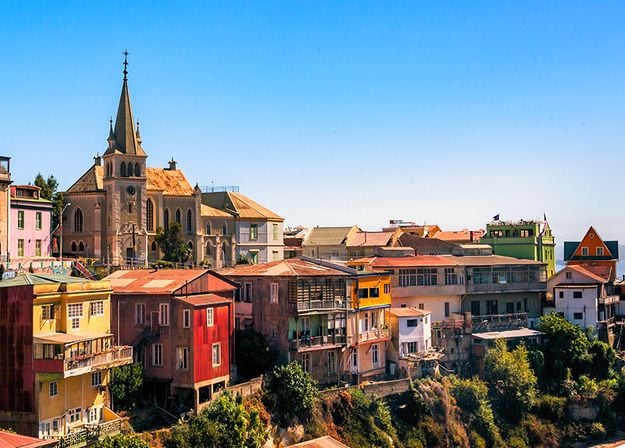
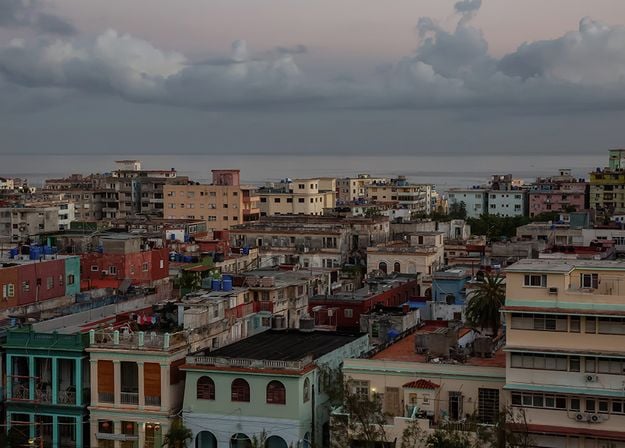
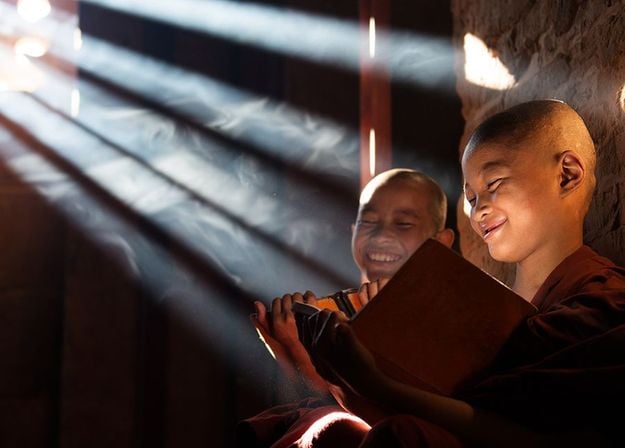
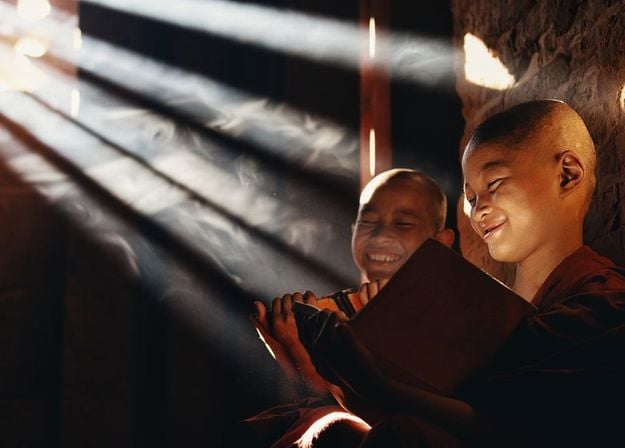
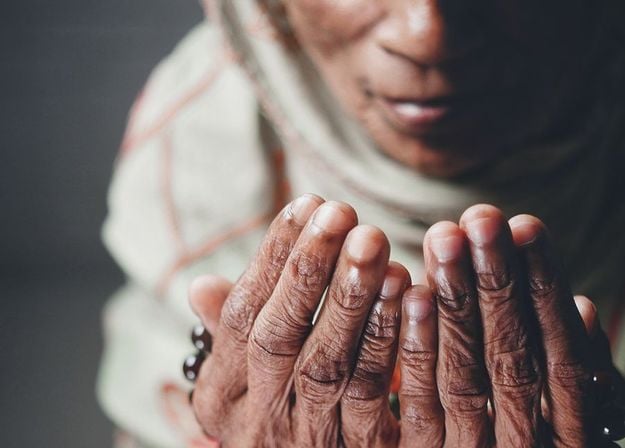
Restaura fotos antiguas fácilmente en Luminar Neo, un potente software de edición con IA rápido y fácil de usar. Dale vida a tus recuerdos descoloridos con ayuda de una IA especializada en eliminar arañazos, corregir desperfectos y mejorar el color con solo unos clics.
Funciona como aplicación para MacOS & Windows aplicación
Restoration
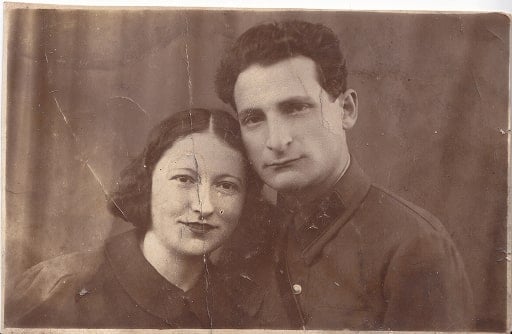
Si no sabes cómo mejorar tus fotos antiguas, Luminar Neo es la respuesta. Su interfaz fácil de usar te guía durante todo el proceso y te permite retocarlas con rapidez.
Luminar Neo combina algoritmos avanzados de IA con control creativo, ayudándote a lograr resultados de restauración profesionales sin complicaciones. Ya sea que tus fotos estén rasgadas, descoloridas o dañadas, Luminar Neo lo maneja todo con facilidad.
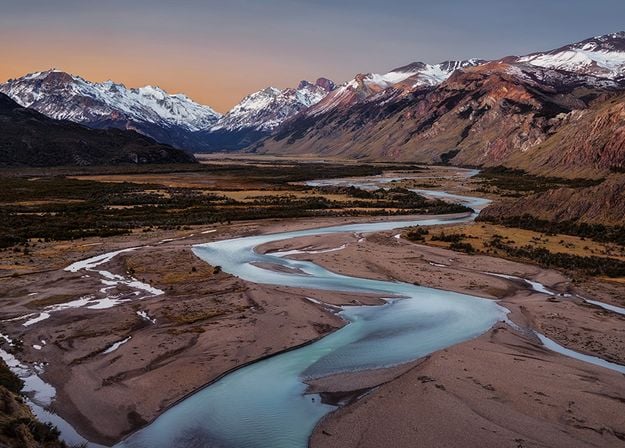
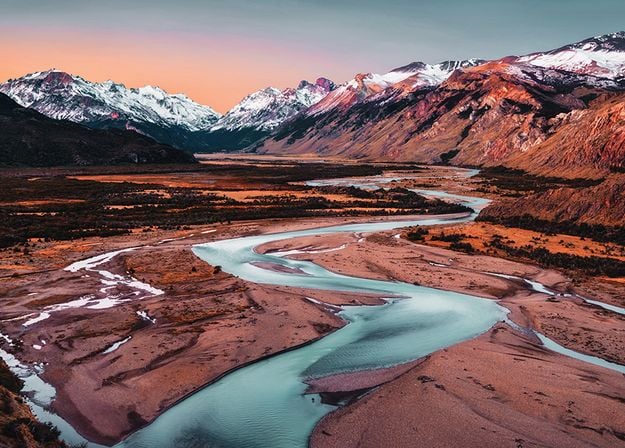
Gracias a su tecnología de restauración con IA, Luminar Neo analiza cada píxel y da vida a tus recuerdos con resultados naturales. Restaura imágenes antiguas reconstruyendo de forma automática los detalles y texturas faltantes con una precisión impecable.
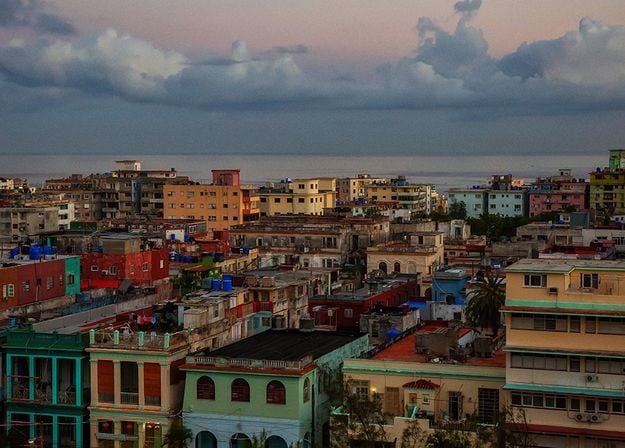
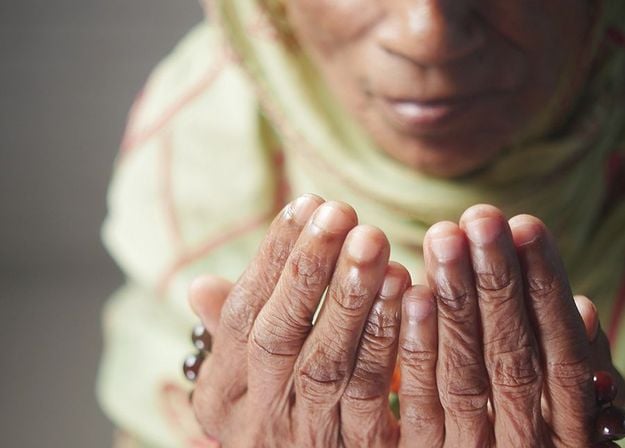
Ver los planesEn lo que respecta al color, Luminar Neo recupera de manera inteligente los tonos deslavados y realza los matices para mejorar las fotos antiguas sin alterar su aspecto original. Su potente sistema de mapeo de color con IA restaura la calidez, los tonos de piel y el contraste natural con precisión.
Ver los planesEn lo que respecta al color, Luminar Neo recupera de manera inteligente los tonos deslavados y realza los matices para mejorar las fotos antiguas sin alterar su aspecto original. Su potente sistema de mapeo de color con IA restaura la calidez, los tonos de piel y el contraste natural con precisión.
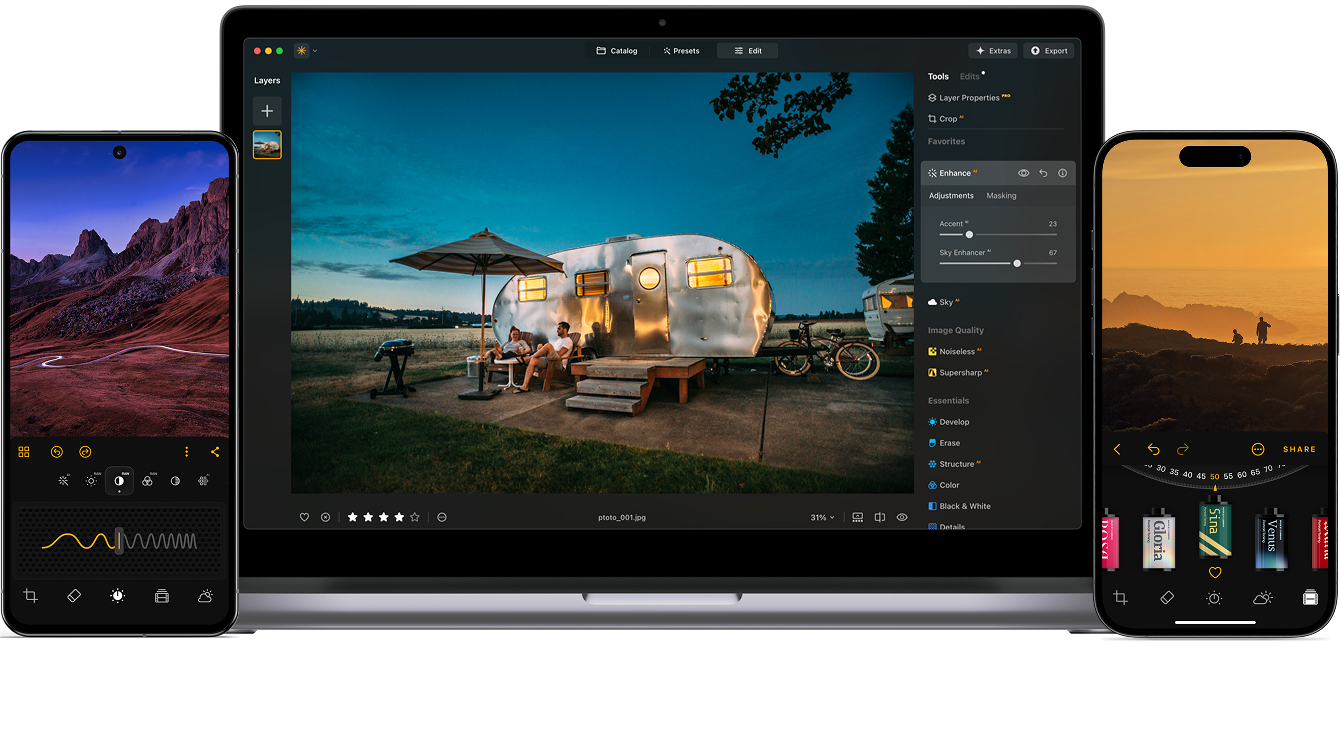
Ver los planesLleva tu edición al siguiente nivel con las herramientas de edición potenciadas por IA de Luminar Neo.

Edita en todos tus dispositivos

Comparte tus ediciones en galerías web

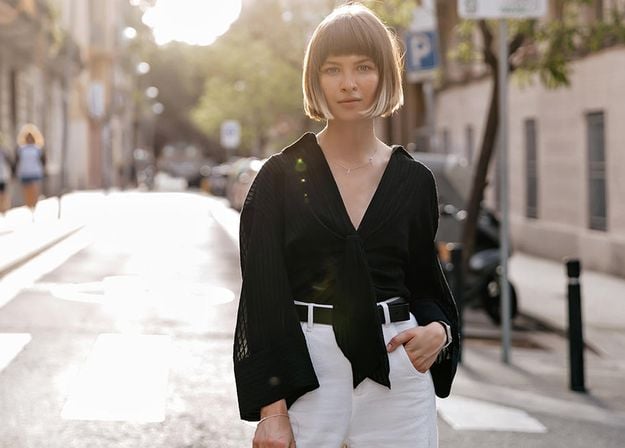
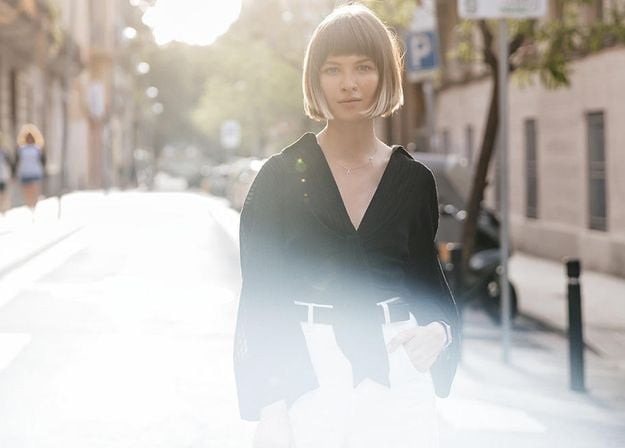
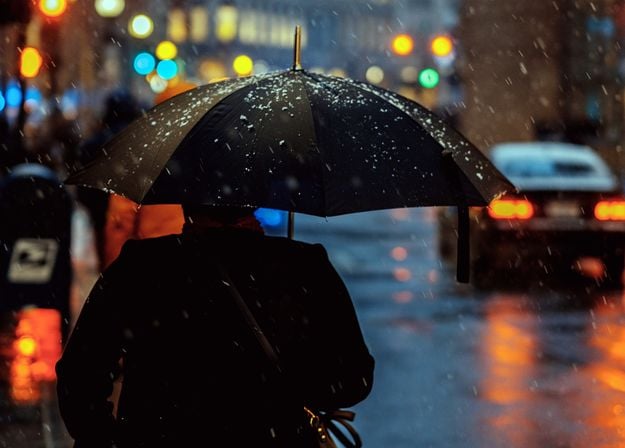
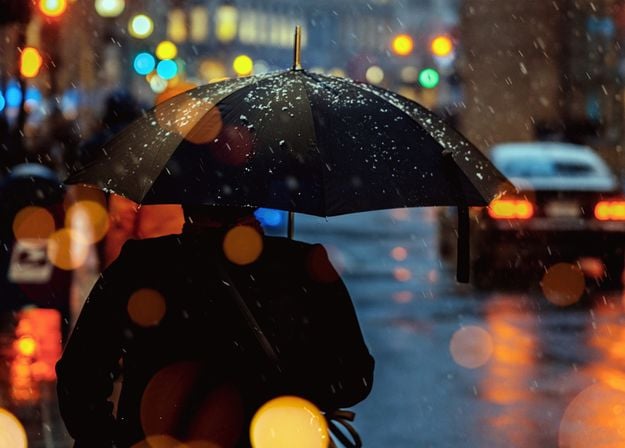
Crea un efecto bokeh
de ensueño NUEVO

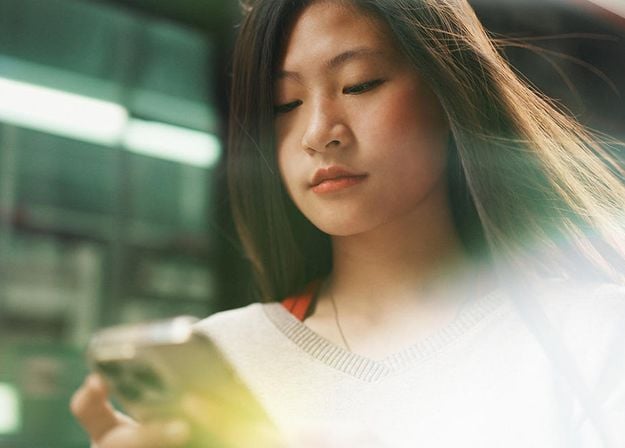
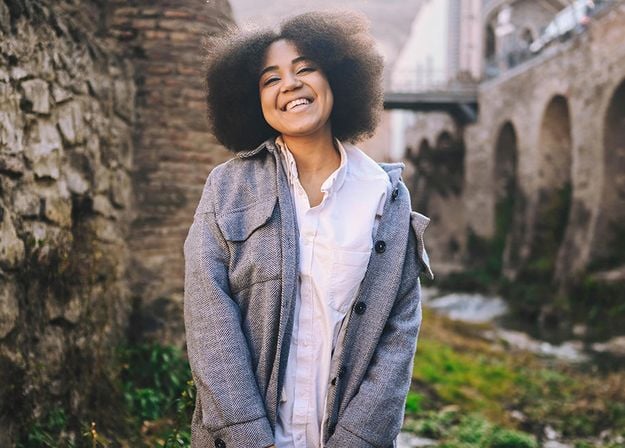
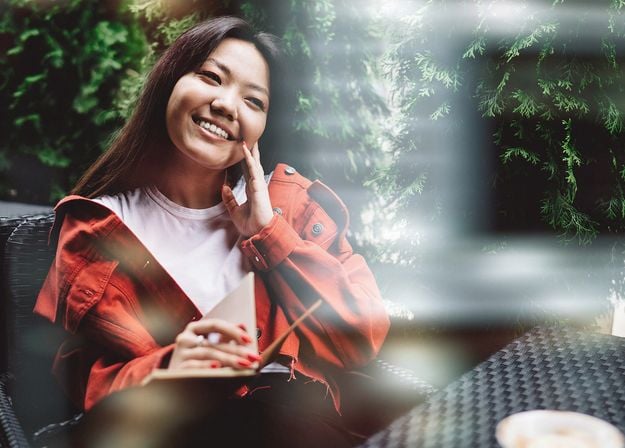
Suaviza la piel de forma natural MEJORADO

Mejora los rasgos faciales MEJORADO

Restaura fotos antiguas

Añade iluminación dimensional

Mejora en segundos

Elimina distracciones

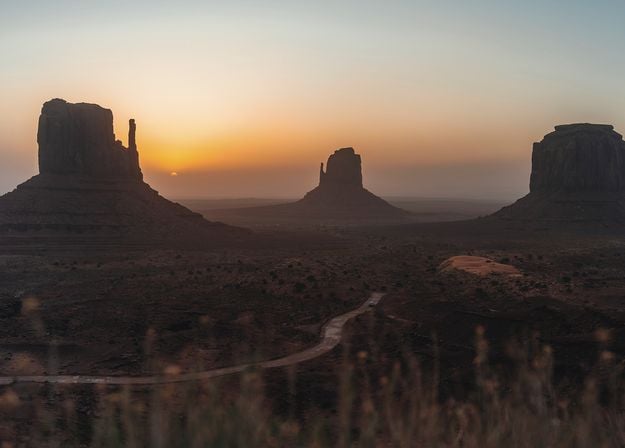
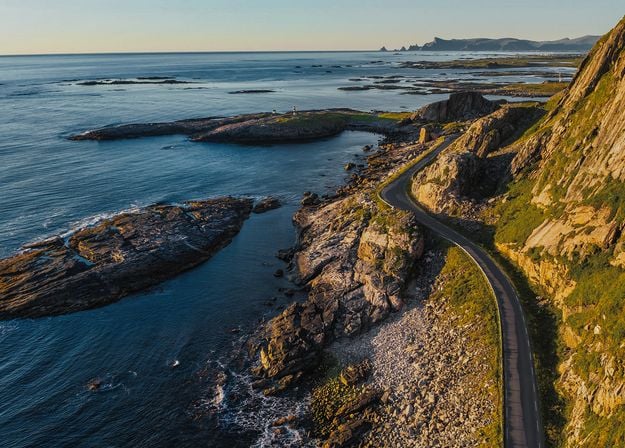
Reemplaza cielos al instante

Reemplaza objetos sin interrupciones

Aumenta la nitidez
Mejora en segundos

Revela detalles ocultos

Aumenta el contraste

Corrige la composición

Mejora cada píxel

Mejora los colores

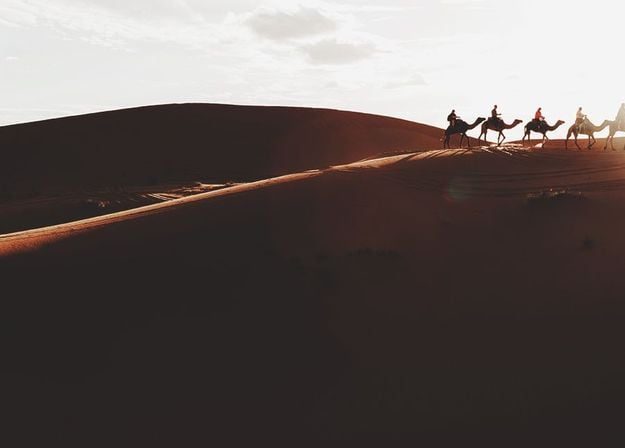
Esculpe la luz y la sombra
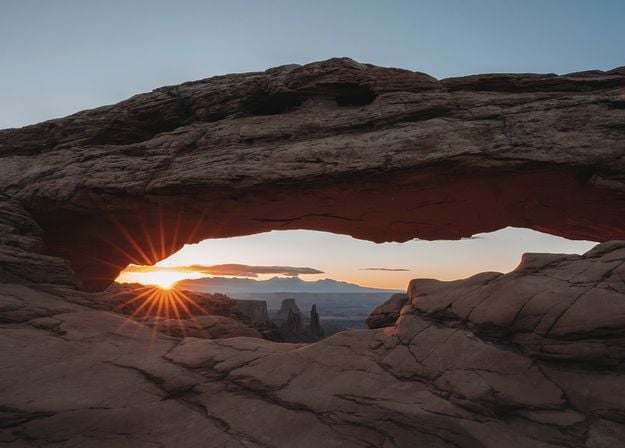
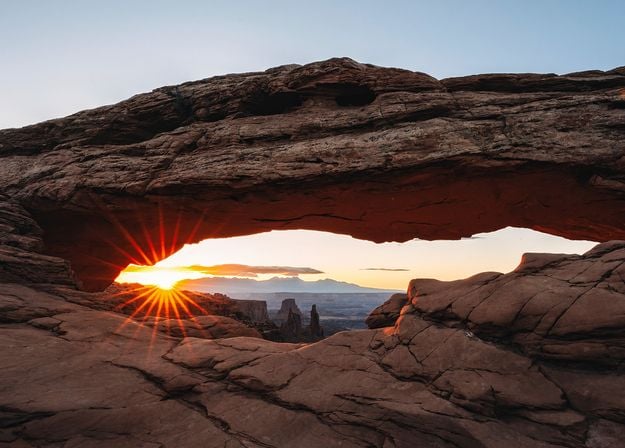
Reemplaza cielos al instante

Recrea la hora dorada

Añade niebla realista
Elimina la neblina

Ilumina con rayos de luz

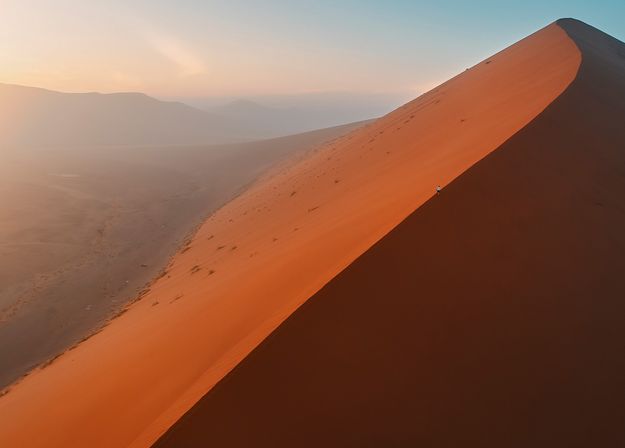
Intensifica los tonos del atardecer

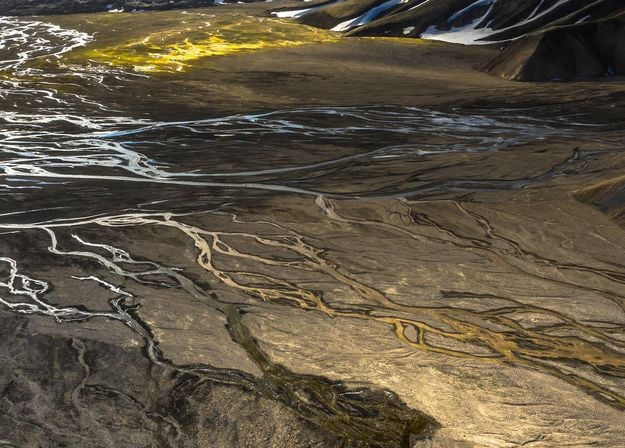
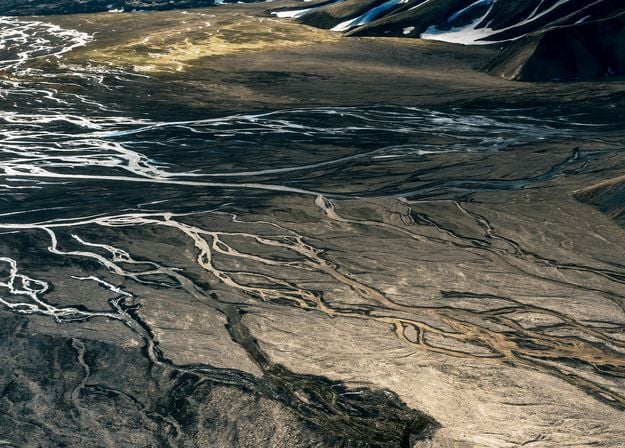
Texturas de agua perfectas
Elimina distracciones

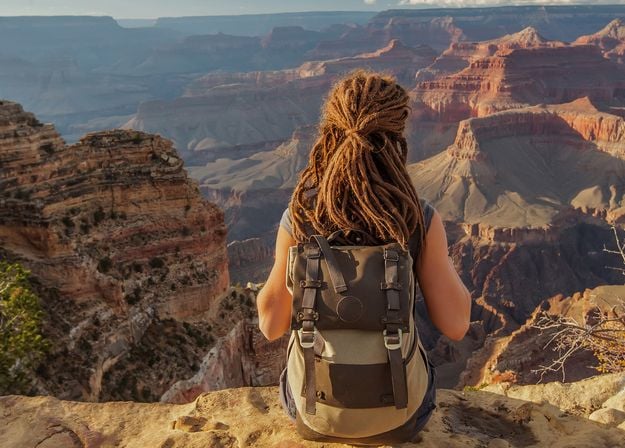
Expande tu escena
Reemplaza objetos sin interrupciones
Restaura fotos antiguas
Aumenta la nitidez

Reduce el ruido con precisión

Amplía sin pérdida de calidad
Añade iluminación dimensional

Agrega profundidad luminosa

Gradúa el color con facilidad

Ilumina con neón

Añade textura cinematográfica

Superpone efectos creativos
Crea un efecto bokeh
de ensueño NUEVO
Suaviza la piel de forma natural MEJORADO
Mejora los rasgos faciales MEJORADO

Esculpe las proporciones del cuerpo

Desenfoca los fondos con belleza

Añade iluminación de estudio

Reemplaza fondos fácilmente

Ilumina con estilo

Combina múltiples exposiciones

Une amplios panoramas

Apila tomas enfocadas
Tu descuento especial del 10% expira en 15:00
$ 119 .00
Pago único
Escritorio para Windows/macOS
$ 119
$ 239
Videocurso de Luminar Neo
$ 0
$ 59
Aplicación móvil para iOS/Android/ChromeOS
Acceso a la Biblioteca Creativa
La guía de inicio rápido de Luminar Neo
Regalo
Mejor opción: pack completo
$ 179 .00
Pago único
incluye un videocurso de Luminar
Escritorio para Windows/macOS
$ 99
$ 239
Videocurso de Luminar Neo
$ 0
$ 59
Aplicación móvil para iOS/Android/ChromeOS
$ 40
$ 60
Acceso a la Biblioteca Creativa
$ 40
$ 69
La guía de inicio rápido de Luminar Neo
Regalo
$ 159 .00
Pago único
incluye un videocurso de Luminar
Escritorio para Windows/macOS
$ 119
$ 239
Videocurso de Luminar Neo
$ 0
$ 59
Aplicación móvil para iOS/Android/ChromeOS
$ 40
$ 60
Acceso a la Biblioteca Creativa
La guía de inicio rápido de Luminar Neo
Regalo
Servicio de soporte fiable, validado por nuestros usuarios
Asistencia técnica
Tasa de satisfacción 9/10
4.6 en Trustpilot
Tu descuento extra del 10% te está esperando — copia el código a continuación y aplícalo al pagar, ¡pero date prisa, expira en solo 15 minutos!
15:00


Versión de escritorio para Windows/MacOS y acceso completo a todas las herramientas generativas durante un año.
Videocurso de Luminar Neo
Versión de escritorio para Windows/MacOS y acceso completo a todas las herramientas generativas durante un año.
Aplicación móvil para iOS/Android/ChromeOS
Videocurso de Luminar Neo
Versión de escritorio para Windows/MacOS y acceso completo a todas las herramientas generativas durante un año.
Aplicación móvil para iOS/Android/ChromeOS
Videocurso de Luminar Neo
100 complementos creativos
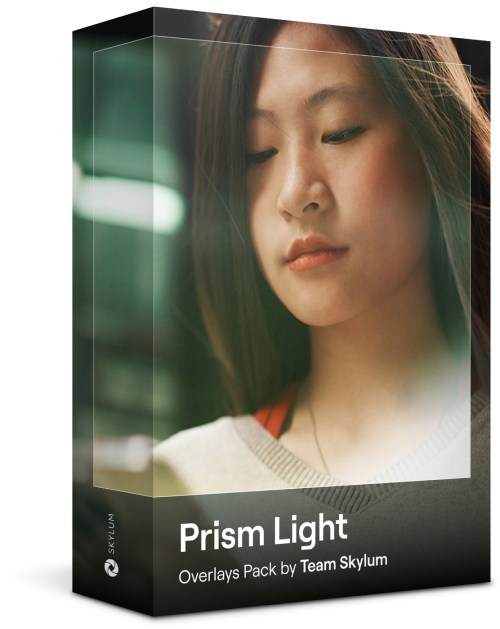


Crea imágenes atmosféricas con estas 10 Superposiciones en formato JPEG que contienen luces brillantes y bengalas en varios colores. Asegúrate de usarlas con las herramientas Capas o Eliminación del fondo de retrato de Luminar Neo, y experimenta con tus fotos en cualquier género. Puedes agregar un efecto de luz interesante o hacer que el sujeto se destaque de nuevas maneras, todo con solo unos pocos clics. ¡Es hora de probarlo!


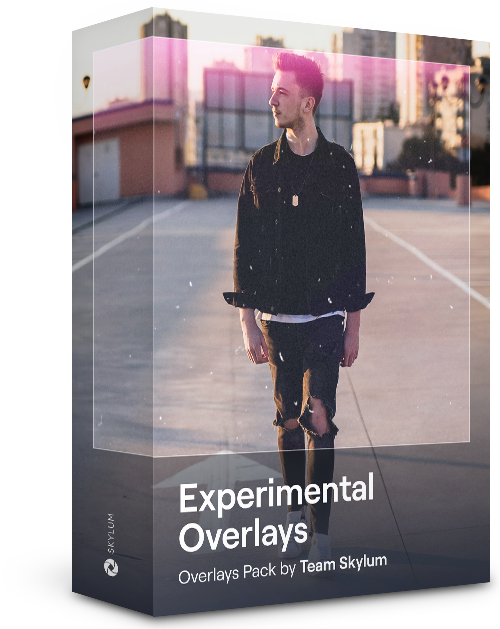
¿Quieres darle un toque especial a tus fotos? Descubre estas 10 Superposiciones Experimentales en formato JPEG que puedes usar fácilmente con la función de Capas de Luminar Neo para elevar el impacto visual de cualquier fotografía. Elige entre 10 efectos hipnóticos de diferentes colores y formas, y crea un ambiente único con unos pocos clics. Ya sean tonos rosados o círculos dorados, en este kit encontrarás la Superposición perfecta para tu próxima obra maestra.

_after.jpeg?q=80&w=625&h=448&resize=cover)


_after.jpeg?w=54&h=30&resize=cover)
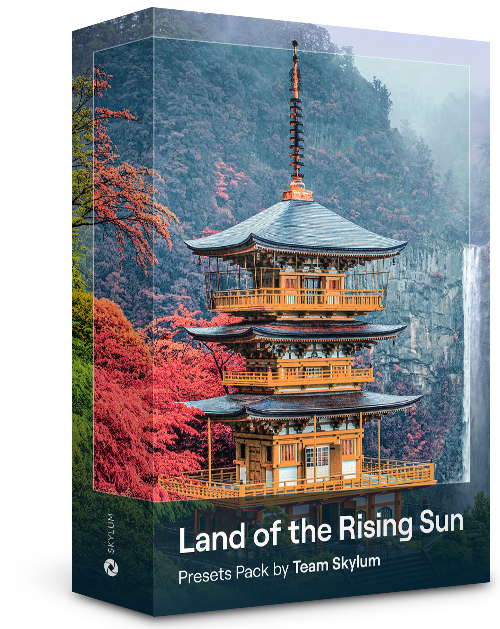
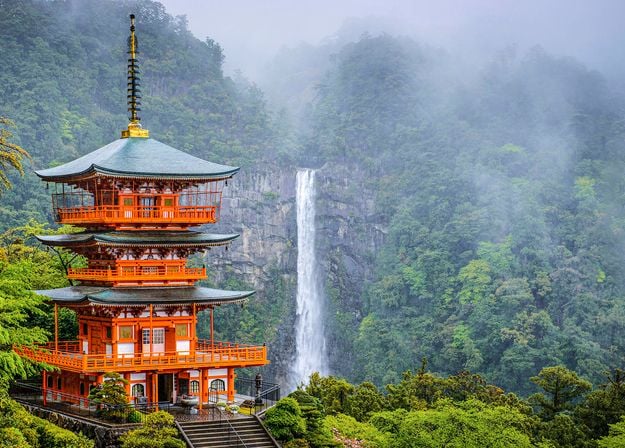
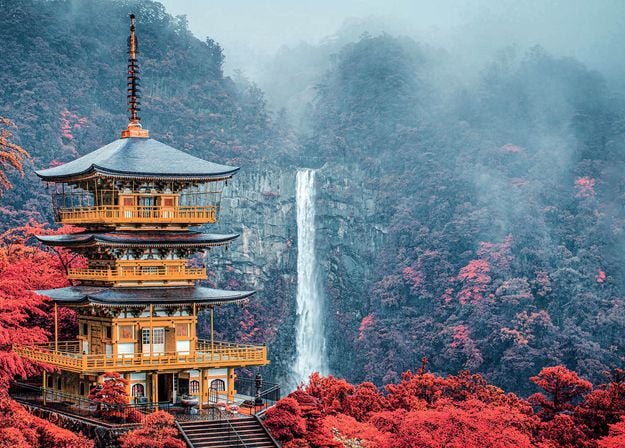
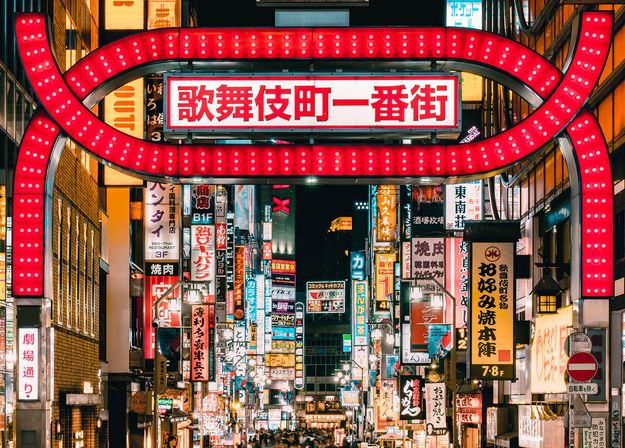
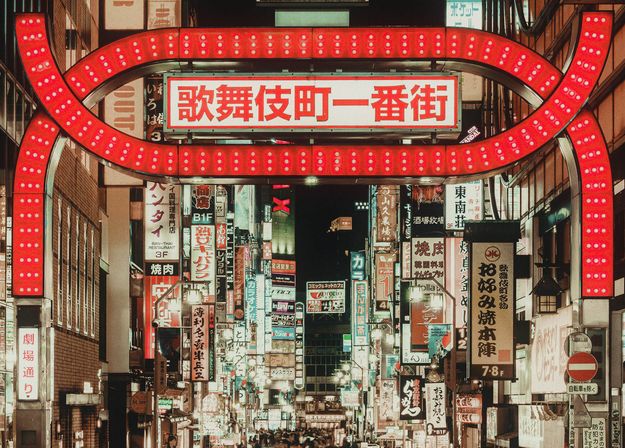
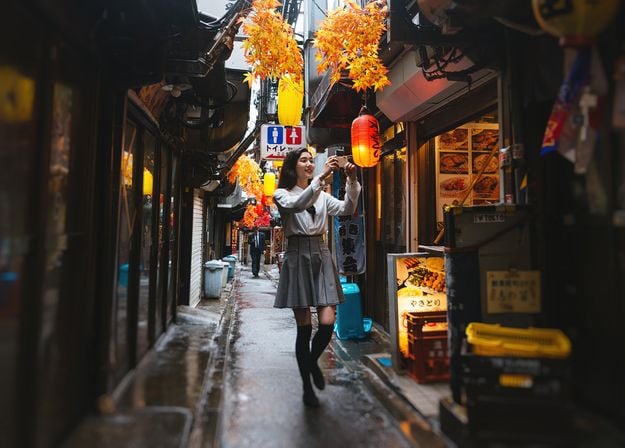
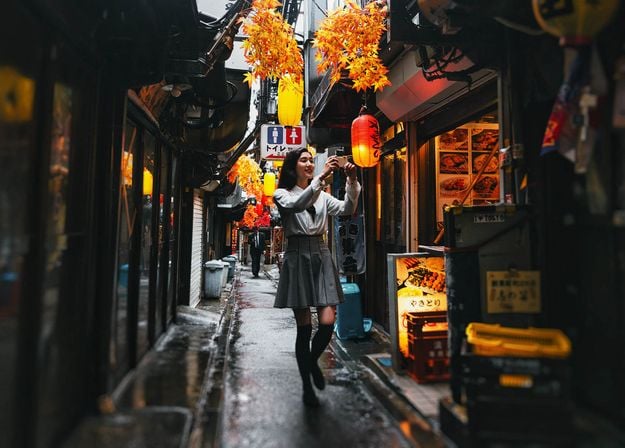
Mejora la apariencia de tus fotos durante un viaje a Japón o aplica a tus imágenes una sensación atmosférica que recuerde al estilo japonés. Desde paisajes hasta lugares icónicos y fotos de comida, ¡este paquete es increíblemente versátil!
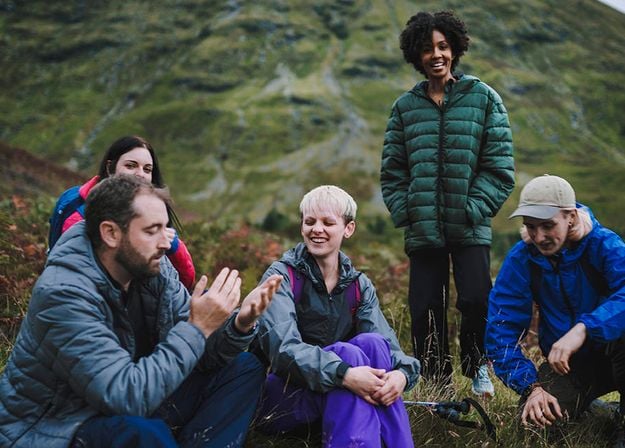
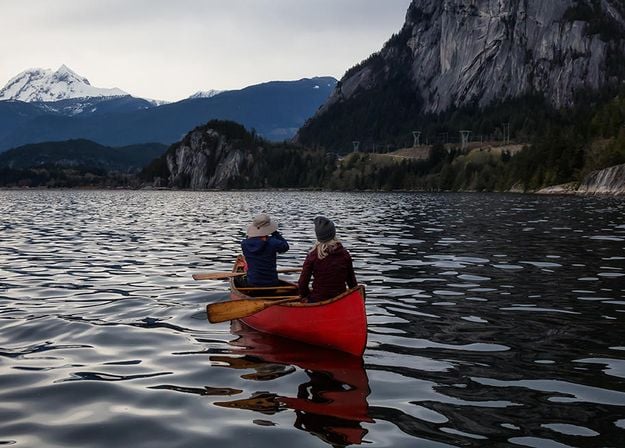
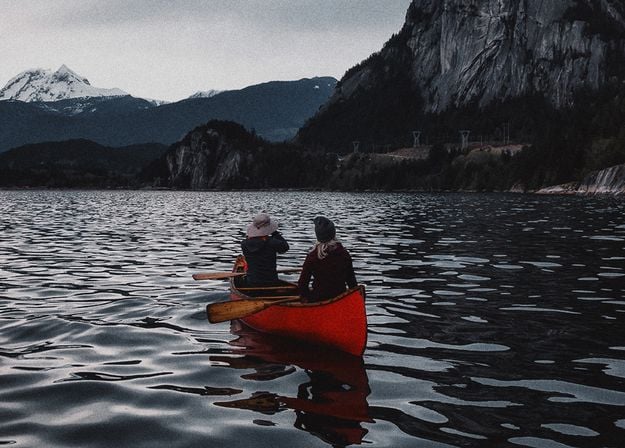
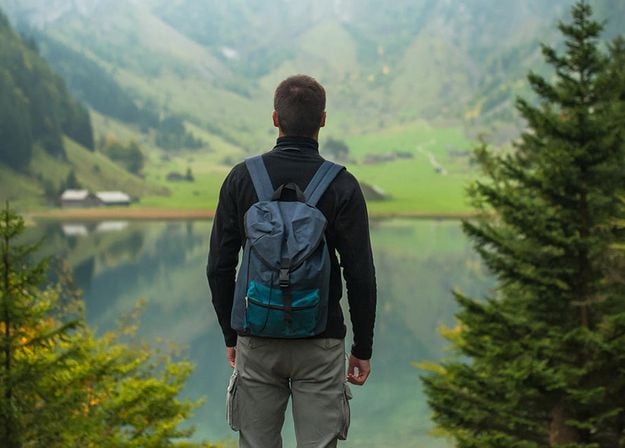

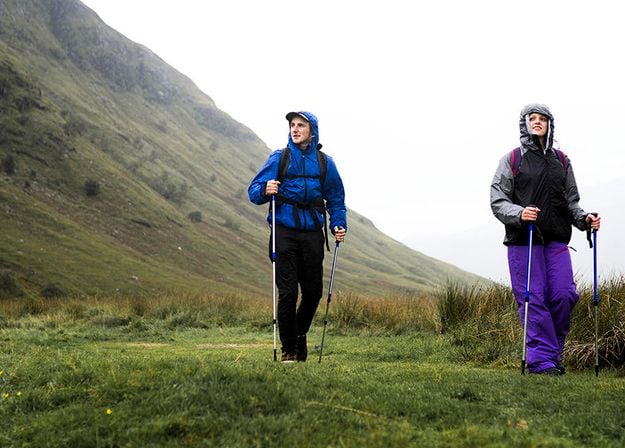
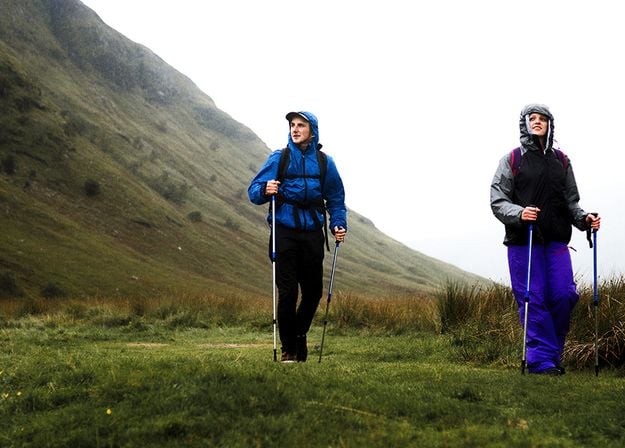
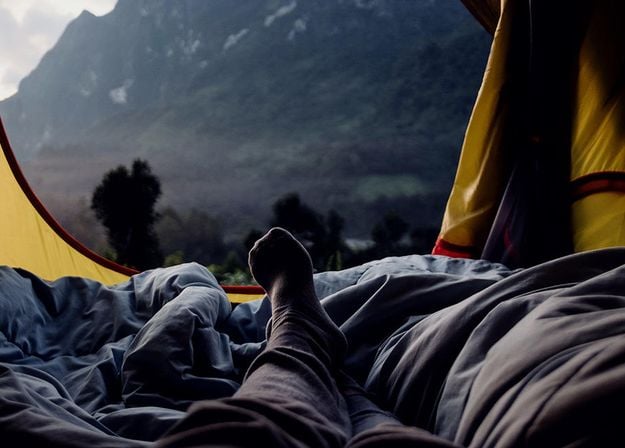
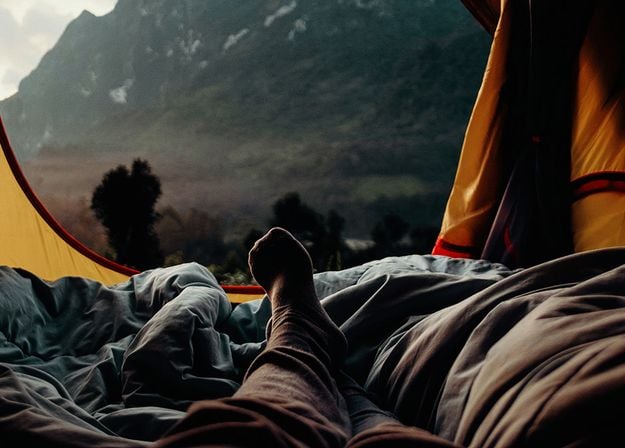


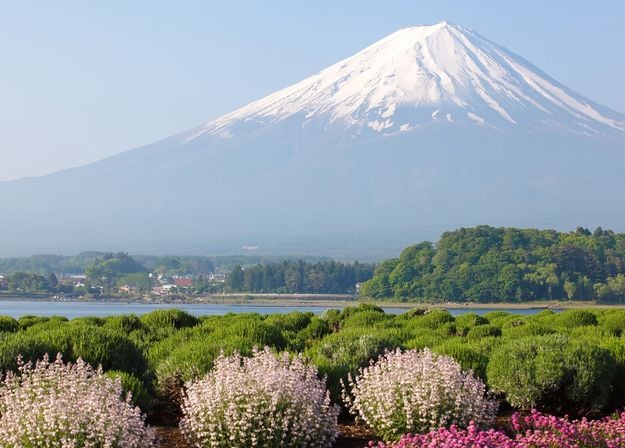
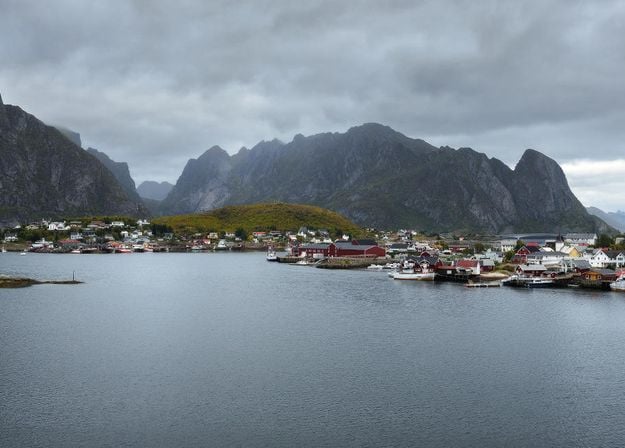
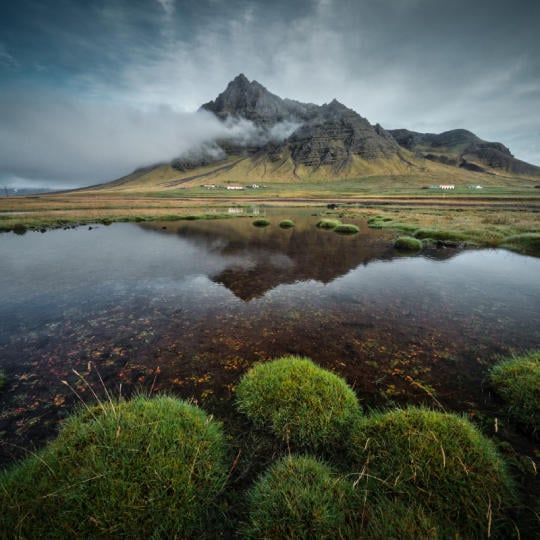
Diseñados para realzar al máximo tus fotos de acampada y senderismo, estos 10 Ajustes preestablecidos son ideales para dar a tus fotos al aire libre un aspecto natural y vibrante. Tanto si estás fotografiando montañas majestuosas como hogueras acogedoras, podrás enfatizar lo mejor de tus imágenes con un solo clic.
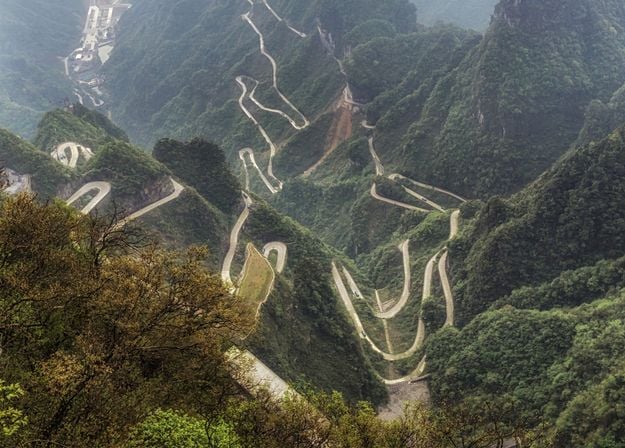
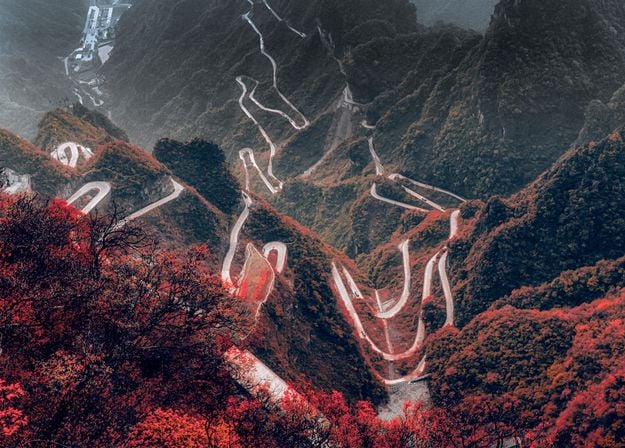


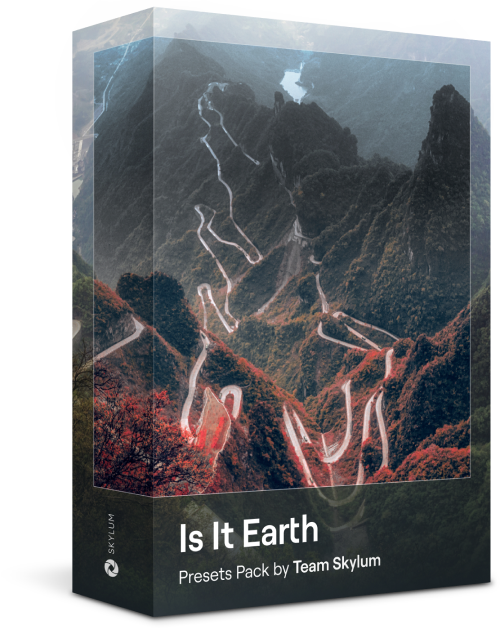
¿Seguimos en la Tierra o hemos viajado a otro planeta? Esta extraordinaria colección de 10 Ajustes preestablecidos ha sido diseñada para dar a tus paisajes un aspecto etéreo sacado de otro mundo. Transforma paisajes ordinarios en escenas surrealistas con colores vívidos que captarán de inmediato la atención del espectador.


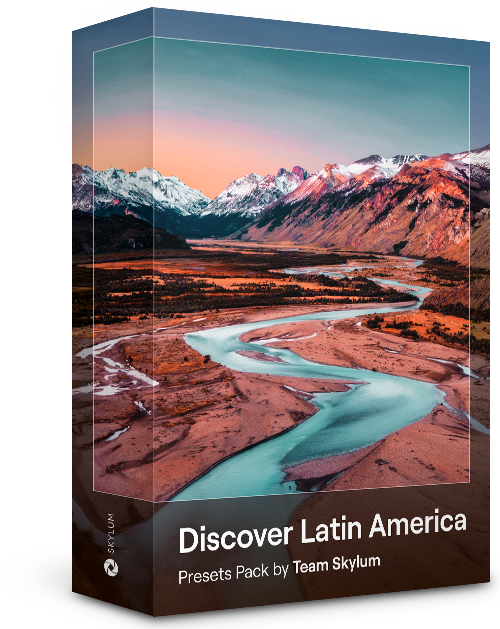
Experimenta con cada uno de estos 10 Ajustes preestablecidos y añádelos a las fotos de tus viajes por Latinoamérica. Captura la belleza de esta parte del mundo y añade un toque distintivo a tus imágenes con esta manejable colección ideal para la edición de paisajes.

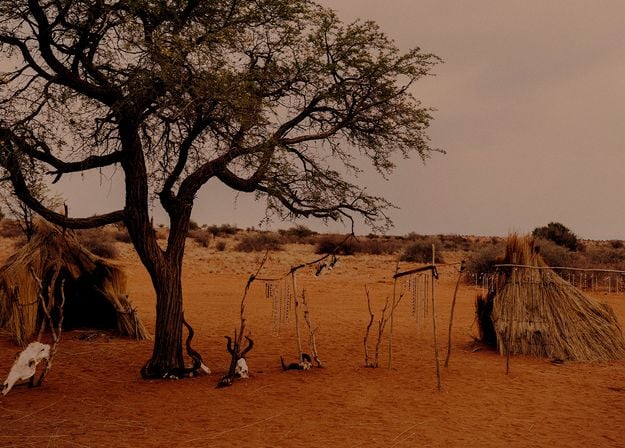


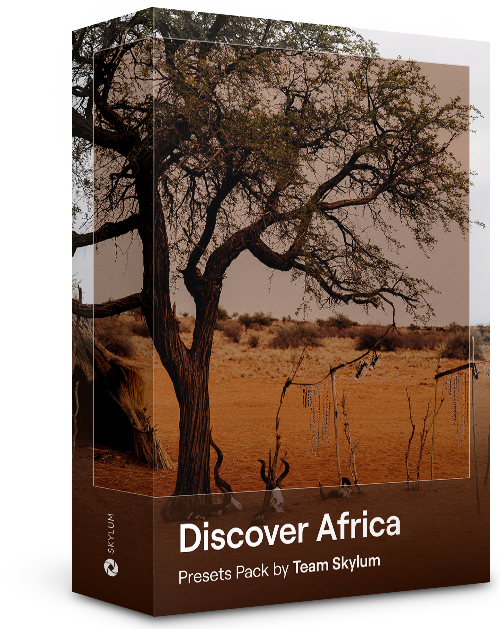
Dedicado al maravilloso continente africano, este paquete incluye una variedad de Ajustes preestablecidos, tanto para retratos como para fotos de paisajes. Mejora tus instantáneas de monumentos, tus fotos de safaris, tus fotografías de arquitectura y los retratos de aquellas personas que encuentres en tus viajes por África.


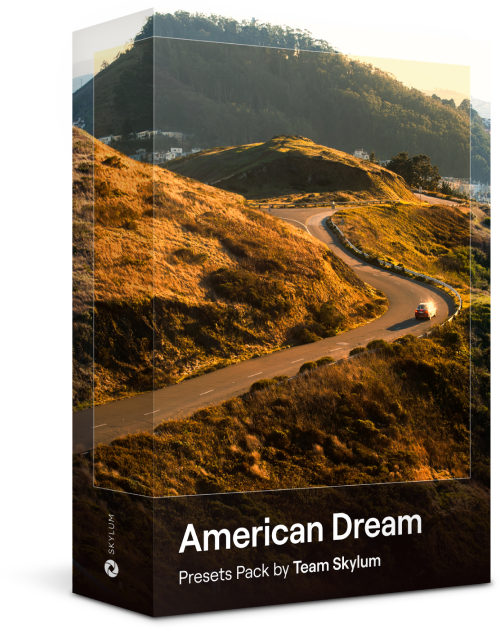
Crea fotos fantásticas de tus viajes por los Estados Unidos. Mejora la calidad de tus imágenes de lugares emblemáticos, parques nacionales y paisajes urbanos de ciudades famosas. Consigue una variedad de efectos espectaculares aplicando cualquiera de estos 10 Ajustes preestablecidos con solo unos clics.


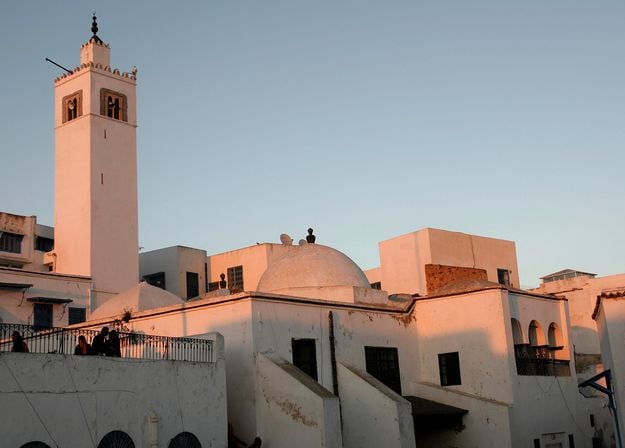
Esta cautivadora colección de 10 Ajustes preestablecidos está diseñada para resaltar la belleza misteriosa de los paisajes, la arquitectura, el estilo callejero y la naturaleza del Medio Oriente. Tonos cálidos, amarillos profundos, azules y dorados dominan en esta colección, donde encontrarás el Ajuste preestablecido perfecto para cada una de tus fotografías.
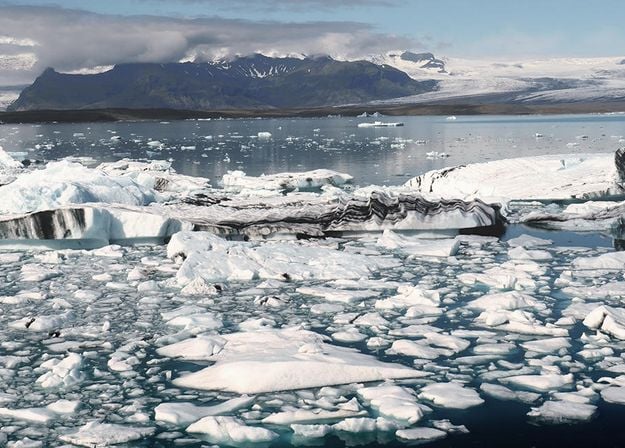
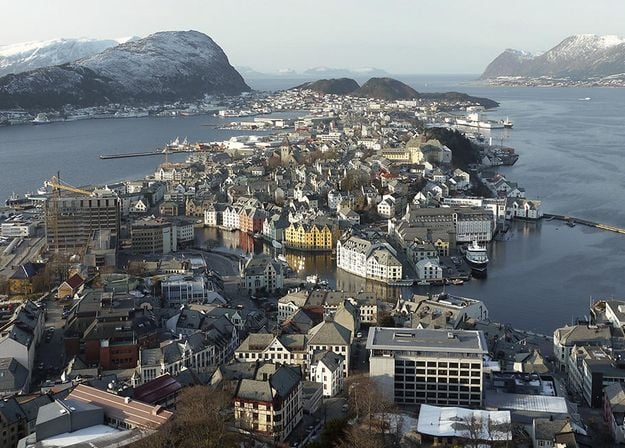
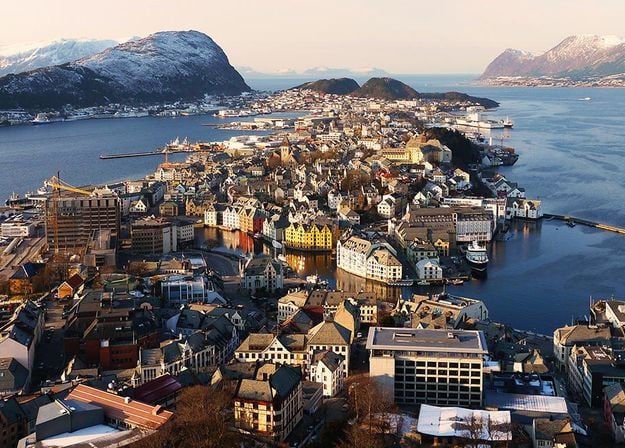


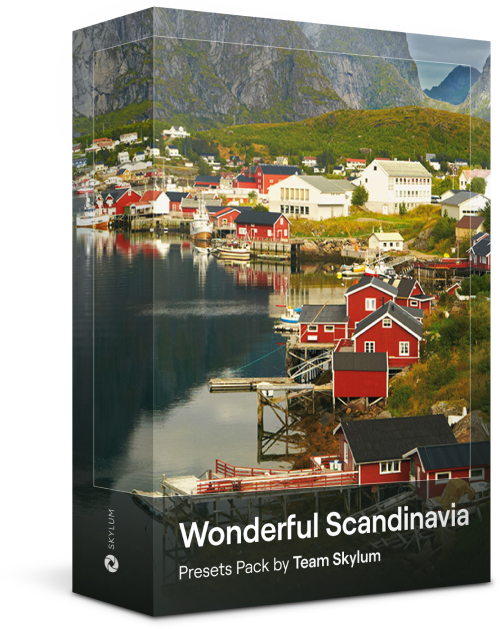
Descubre esta maravillosa y versátil colección de 10 Ajustes Preestablecidos ideales para editar las fotos de tus aventuras por los países nórdicos. Captura paisajes idílicos, maravillas naturales y obras arquitectónicas de estilo escandinavo. ¡Hora de hacer las maletas!
Curso de vídeo de Luminar Neo
Técnicas creativas de edición de fotos en Luminar Neo
Introducción y esquema del curso
Albert Dros se presenta y da una breve descripción de lo que aprenderás en esta fotografía y...
Introducción a la fotografía
¿En qué debes enfocarte al tomar tus fotos para obtener los mejores resultados?
Edición básica
Albert presenta el diseño de Luminar Neo y los instrumentos básicos que puedes usar para lograr excelentes resultados al instante.
Edición avanzada
Profundizando, Albert te muestra las herramientas más avanzadas de Luminar Neo y cómo usarlas para que tus fotos se destaquen.
Edición dramática
¡Sé creativo con tus fotos! Albert edita una foto con más herramientas creativas para resaltar sus aspectos dramáticos y darle nueva vida.
Apilamiento de enfoque
Luminar Neo tiene extensiones que te permiten obtener resultados aún más impresionantes. En este video, descubrirás cómo hacer apilamiento de enfoque con la extensión Apilamiento de enfoque de Luminar Neo.
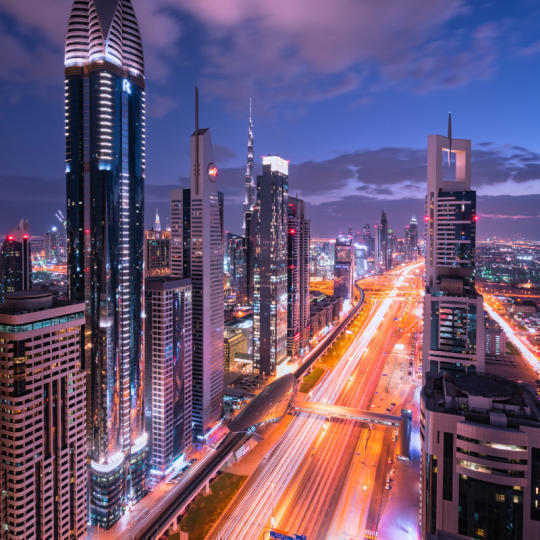
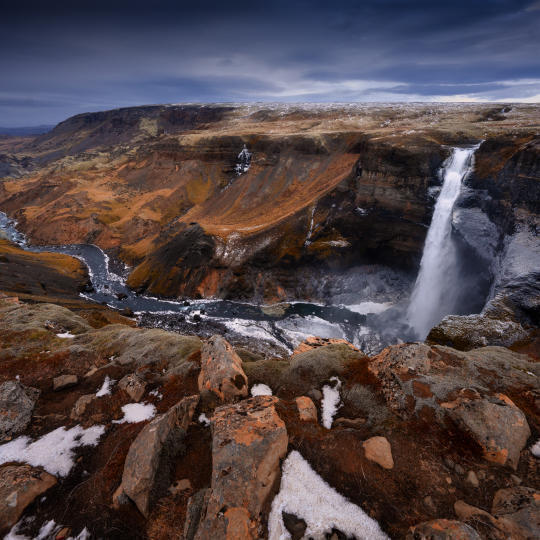
Paisajes urbanos
¿Qué hace o arruina una toma de paisaje urbano? Echa un vistazo a cómo transformar una foto de Dubai de ordinaria a impresionante.

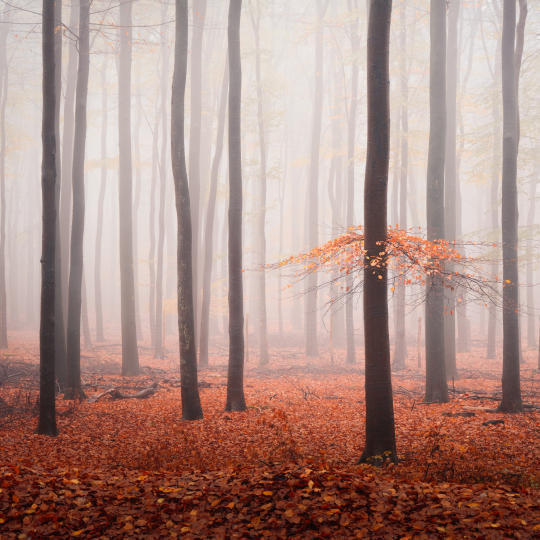
Bosques
Descubre qué herramientas de Luminar Neo utiliza Albert para hacer sus impresionantes fotografías de bosques. ¡Observa Atmósfera AI, Rayos de sol y otras herramientas!
Ajustes preestablecidos
Aprende a usar Ajustes preestablecidos para obtener rápidamente soluciones de color interesantes en tus fotos. Albert te guía a través del uso de Ajustes preestablecidos para hacer unas fotos del bosque aún más hermosas.
Resumen del curso
Obtén un resumen rápido de todo lo que has aprendido en este curso. ¡Feliz creación!
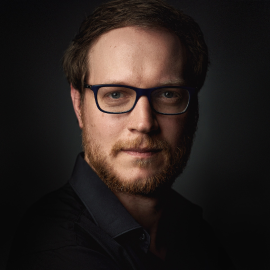
Albert Dros
FOTÓGRAFO, ESCRITOR Y EDUCADOR
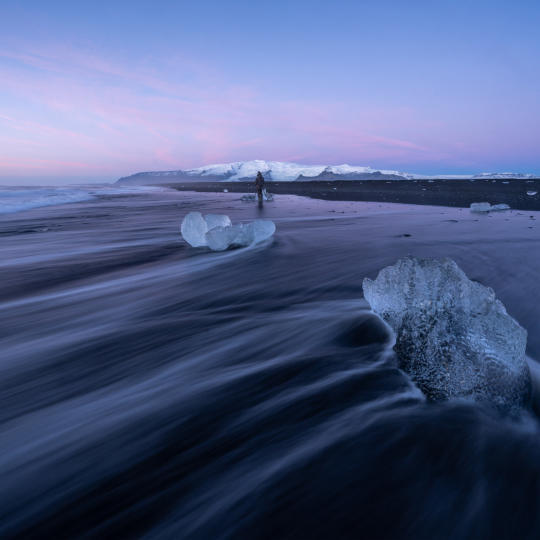
Albert Dros es un fotógrafo de paisajes holandés que tiene una pasión extraordinaria por planificar y crear tomas únicas. Volcanes, eclipses solares y aspectos únicos de la naturaleza llaman su atención. Él no va solo por la toma simple.
"Go big or go home" is his motto, always trying to add some unique element to his shots.
Su trabajo ha sido reconocido a nivel mundial y sus obras han aparecido en los medios más importantes del mundo.
Albert viaja por todo el mundo, impartiendo clases de fotografía y desarrollando proyectos personales. No obstante, incluso cuando se toma un descanso en su país natal, Países Bajos, no puede dejar de fotografiar. Su mente creativa es insaciable.
Depende de ti. Puedes digitalizarlas y preservarlas, restaurarlas con un software de edición como Luminar Neo, crear un álbum de fotos o collage, ¡e incluso usarlas para un proyecto artístico!
Utiliza un restaurador de fotos como Luminar Neo o cualquier otro software que ofrezca herramientas con distintos ajustes para recuperar el color original. Ajusta los niveles y las curvas, corrige el balance de color, mejora la saturación y la vivacidad, y aplica otros retoques según el estado y el contenido de tu imagen.
Todo depende del estado y de cómo de dañadas estén tus fotos antiguas. Algunas imágenes solo están descoloridas y necesitan mejoras en el color, mientras que otras están dañadas: rasgadas o manchadas con tinta. Puedes utilizar una amplia gama de herramientas y funciones para reparar, restaurar y mejorar la calidad y apariencia general de las fotos antiguas, como pincel, borrar, clonar y estampar, ajuste de niveles, ajuste de curvas y corrección de color.
Luminar Neo es un excelente software de edición que te permite editar fotos de manera rápida y sencilla, así como a restaurar fotografías antiguas. Esta cuenta con herramientas como Mejora IA, Clonar, Borrar, Reducción de ruido, Exposición, Tono y Claridad, entre otras, que te ayudan a renovar el aspecto de tus fotografías.
Las potentes herramientas de IA de Luminar Neo te ayudan a mejorar el aspecto de tus fotos antiguas. Por ejemplo, Mejora AI es una herramienta que analiza instantáneamente su foto y aplica hasta una docena de ajustes con un solo clic. Además, Luminar Neo cuenta con potentes Extensiones como Sin ruido AI y Supernítido AI que te permiten obtener fotos nítidas y sin ruido de la más alta calidad fácilmente.
Luminar Neo es la mejor solución para dar una nueva vida a tus fotos antiguas gracias a su tecnología de restauración con IA, tan potente como intuitiva. No solo corrige arañazos y tonos desvaídos, sino que analiza de forma inteligente cada imagen para recuperar detalles, restaurar el color y equilibrar la luz automáticamente. Luminar Neo combina restauración con IA en un clic y ajustes manuales avanzados, brindándote un control creativo total. Además, funciona perfectamente tanto en ordenador como en dispositivos móviles para que puedas revivir y compartir tus recuerdos en cualquier momento y lugar.
Luminar Neo is useful for photographers and users who work with scanned or aged photos and need practical restoration tools without complex manual retouching.
It benefits people who want to improve faded colors, contrast, and overall clarity while keeping the original photo intact.
The tool is especially relevant for:
Luminar Neo photo restorer is trusted because it applies restorations non-destructively and allows manual control over every adjustment.
Photographers choose the tool because AI enhancements can be refined, reduced, or masked instead of being permanently applied.
This makes Luminar Neo reliable for careful restoration workflows where accuracy, restraint, and respect for the original image matter.
Modelo de Mac
MacBook, MacBook Air, MacBook Pro, iMac, iMac Pro, Mac Pro, Mac mini, de inicios de 2010 o posteriores
Procesador
CPU Intel® Core™ i5 8 Gen o superior
Versión SO
macOS - 12.0 o superior.
RAM
Memoria RAM de 8 GB o superior (recomendamos más de 16 GB de RAM)
Espacio en el disco
10 GB de espacio libre en el disco; SSD para un mejor rendimiento
Pantalla
Tamaño 1280x768 o superior
Hardware
PC con Windows y ratón o un dispositivo similar
Procesador
Procesador Intel® Core™ i5 8ª generación o superior, AMD Ryzen™ 5 o superior
Versión SO
Versión 10, 1909 o superior (solo SO de 64 bits)
RAM
Memoria RAM de 8 GB o superior (recomendamos más de 16 GB de RAM)
Espacio en el disco
10 GB de espacio libre en el disco; SSD para un mejor rendimiento
Pantalla
Tamaño 1280x768 o superior
Gráficos
Tarjeta Gráfica Open GL 3.3 compatible o posterior