View plans

Add Background to Image with Precision

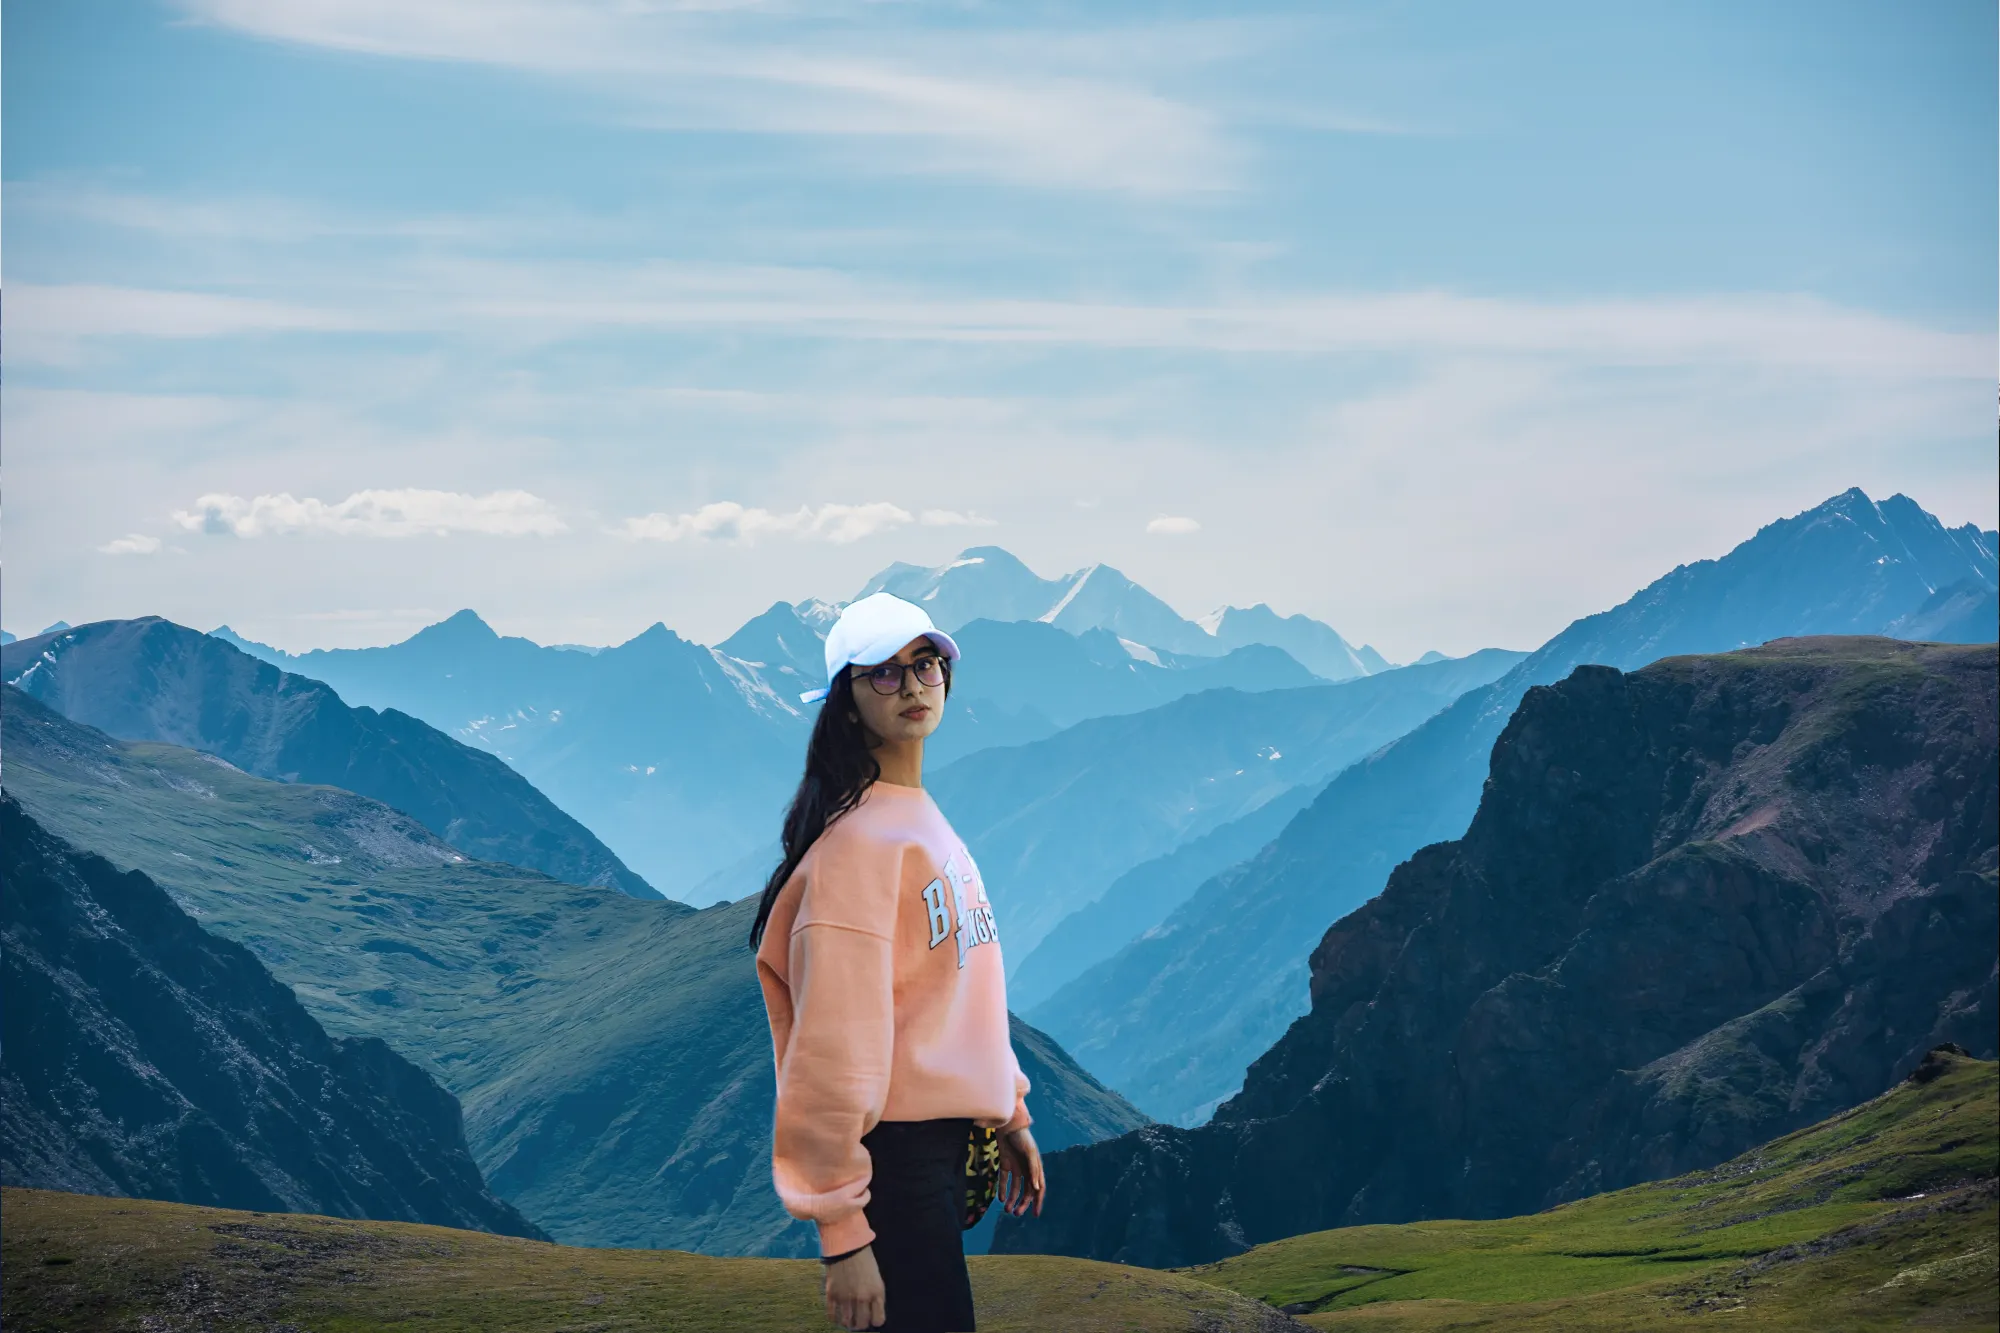
Adding a new background to an image is a powerful editing technique that can completely transform the visual impact and narrative of the original image, allowing for creativity, storytelling, and enhancing the overall aesthetics or messaging of the image. It’s super easy to do in Luminar Neo!

View plans

How to Enhance Visual Appeal: Add Backgrounds to Photos

A contrasting background can make the subject stand out more vividly. This technique is often used in photography and design to draw attention to specific elements in the image.

Use a simple background adder to images and see the effect yourself.
(2)
© Depositphotos
(3)
(4)
(5)
Before
After
© shutterstcok/Renko Aleks

Understanding the Advantages of Image Background Adder for Business

If you’re looking to add a professional background to a photo, using Luminar Neo is a great idea. For marketing purposes, adding a branded background can help reinforce a specific message or align the image with a particular brand identity.

This is commonly seen in advertisements or promotional materials.

Creative Possibilities with Inserting Image Backgrounds

A background can provide context or tell a story about the subject in the image.

For example, placing a person in front of a cityscape, a beach, or a forest can provide information about their environment or activities.
(6)
(7)
(8)
Before
After
© Javier Pardina

Transforming Visuals with Dynamic Picture Backgrounds

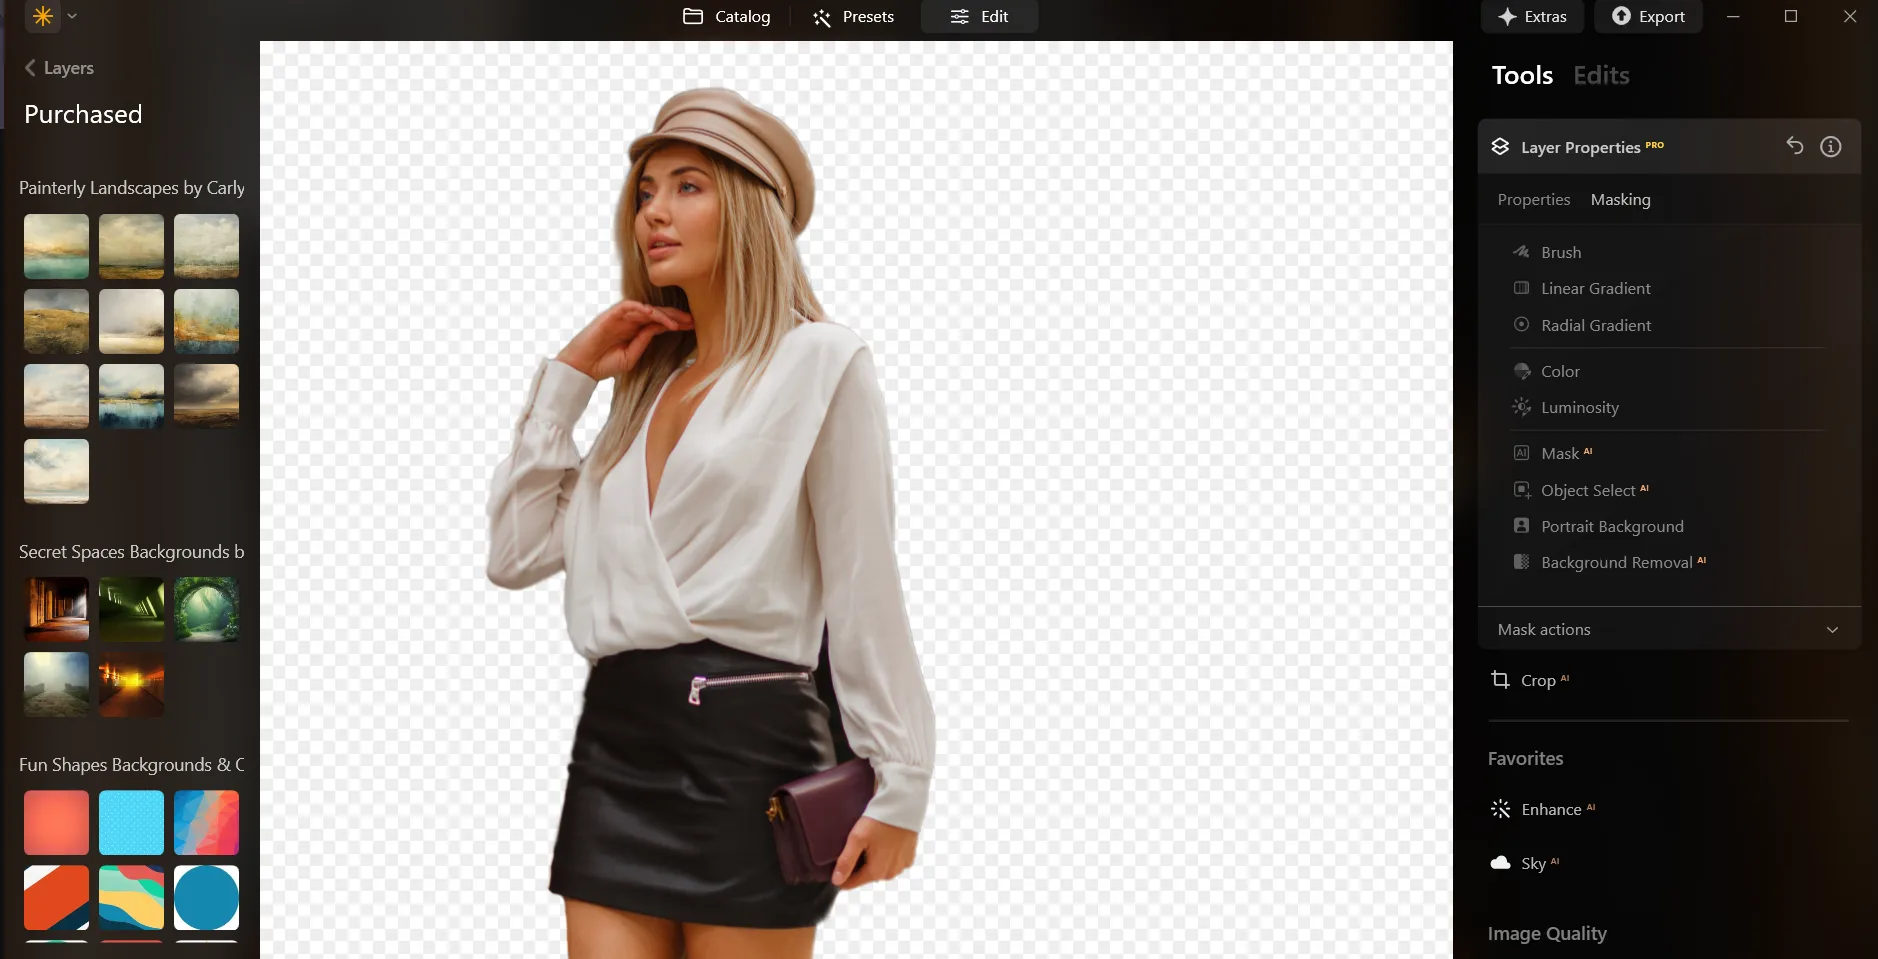
Here’s a step-by-step guide on using Background Removal AI in Luminar Neo:

(9)

Select an image: click the Edit tab

(10)

Layers Properties: select the Masking tab and choose Background RemovalAI

(11)

Selection: Select the chosen main object or choose from additional elements found in the image.

(12)

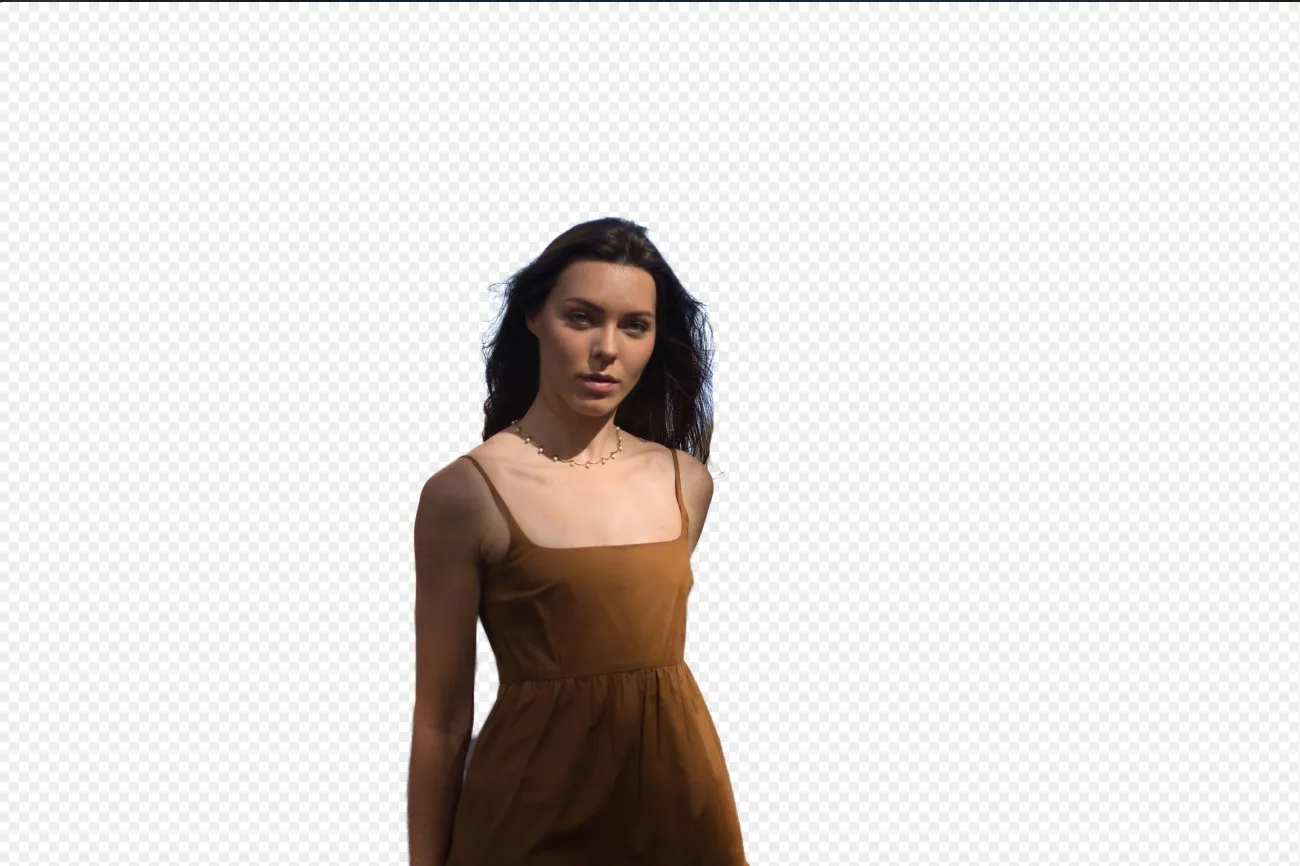
Remove the background: Click “Remove” to initiate the Background Removal process. Luminar Neo will remove the image’s background, revealing a transparent checkbox background.

(13)

Click Refinement Brushfor additional finetuning: A Transition Mask will appear, highlighting Transition
in a white checkerboard pattern, Object in orange, and Background in blue. Select a brush and apply it
to refine each section.

(14)

After removing the background, you can add any background you like as an Overlay!

Explore Other Features

Luminar Neo has plenty of other features to help you edit faster and easier
(15)
Transparent Background

(16)
(17)
Before
After
© shutterstock
Transparent Background

Transform photos into unique art with Transparent Backgrounds!
(18)
Change Background Color
(19)
(20)
Before
After
© Ksenia Kazak

Change Background Color

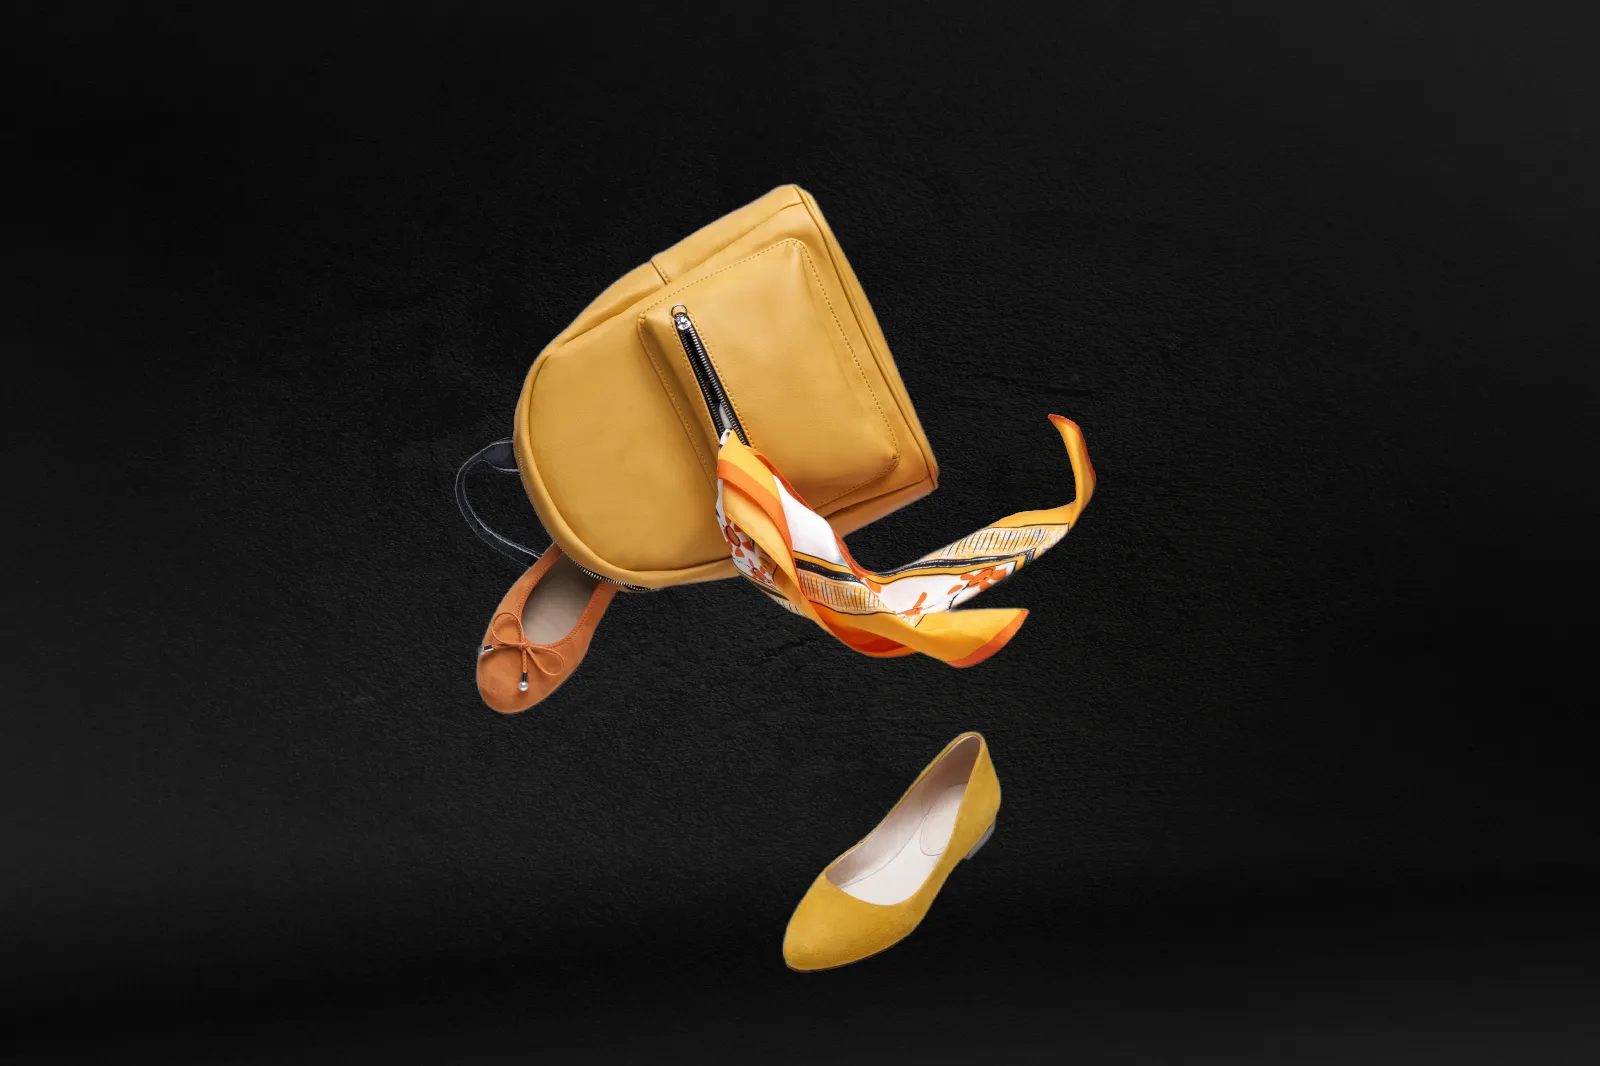
Easily change the background color and make colors pop with just a few clicks.
(21)
Add Black Backgroud
(22)
(23)
Before
After
© Lisa

Add Black Backgroud

Make your image pop with a sleek black background—just a few clicks away with Luminar Neo!
(24)
Background RemovalAI
(25)
(26)
Before
After
© Ksenia Kazak

Background RemovalAI

Use our advanced tool to automatically erase backgrounds behind any object in your images.
(27)
White Background
(28)
(29)
Before
After
© mathewbrowne_anglesey

White Background

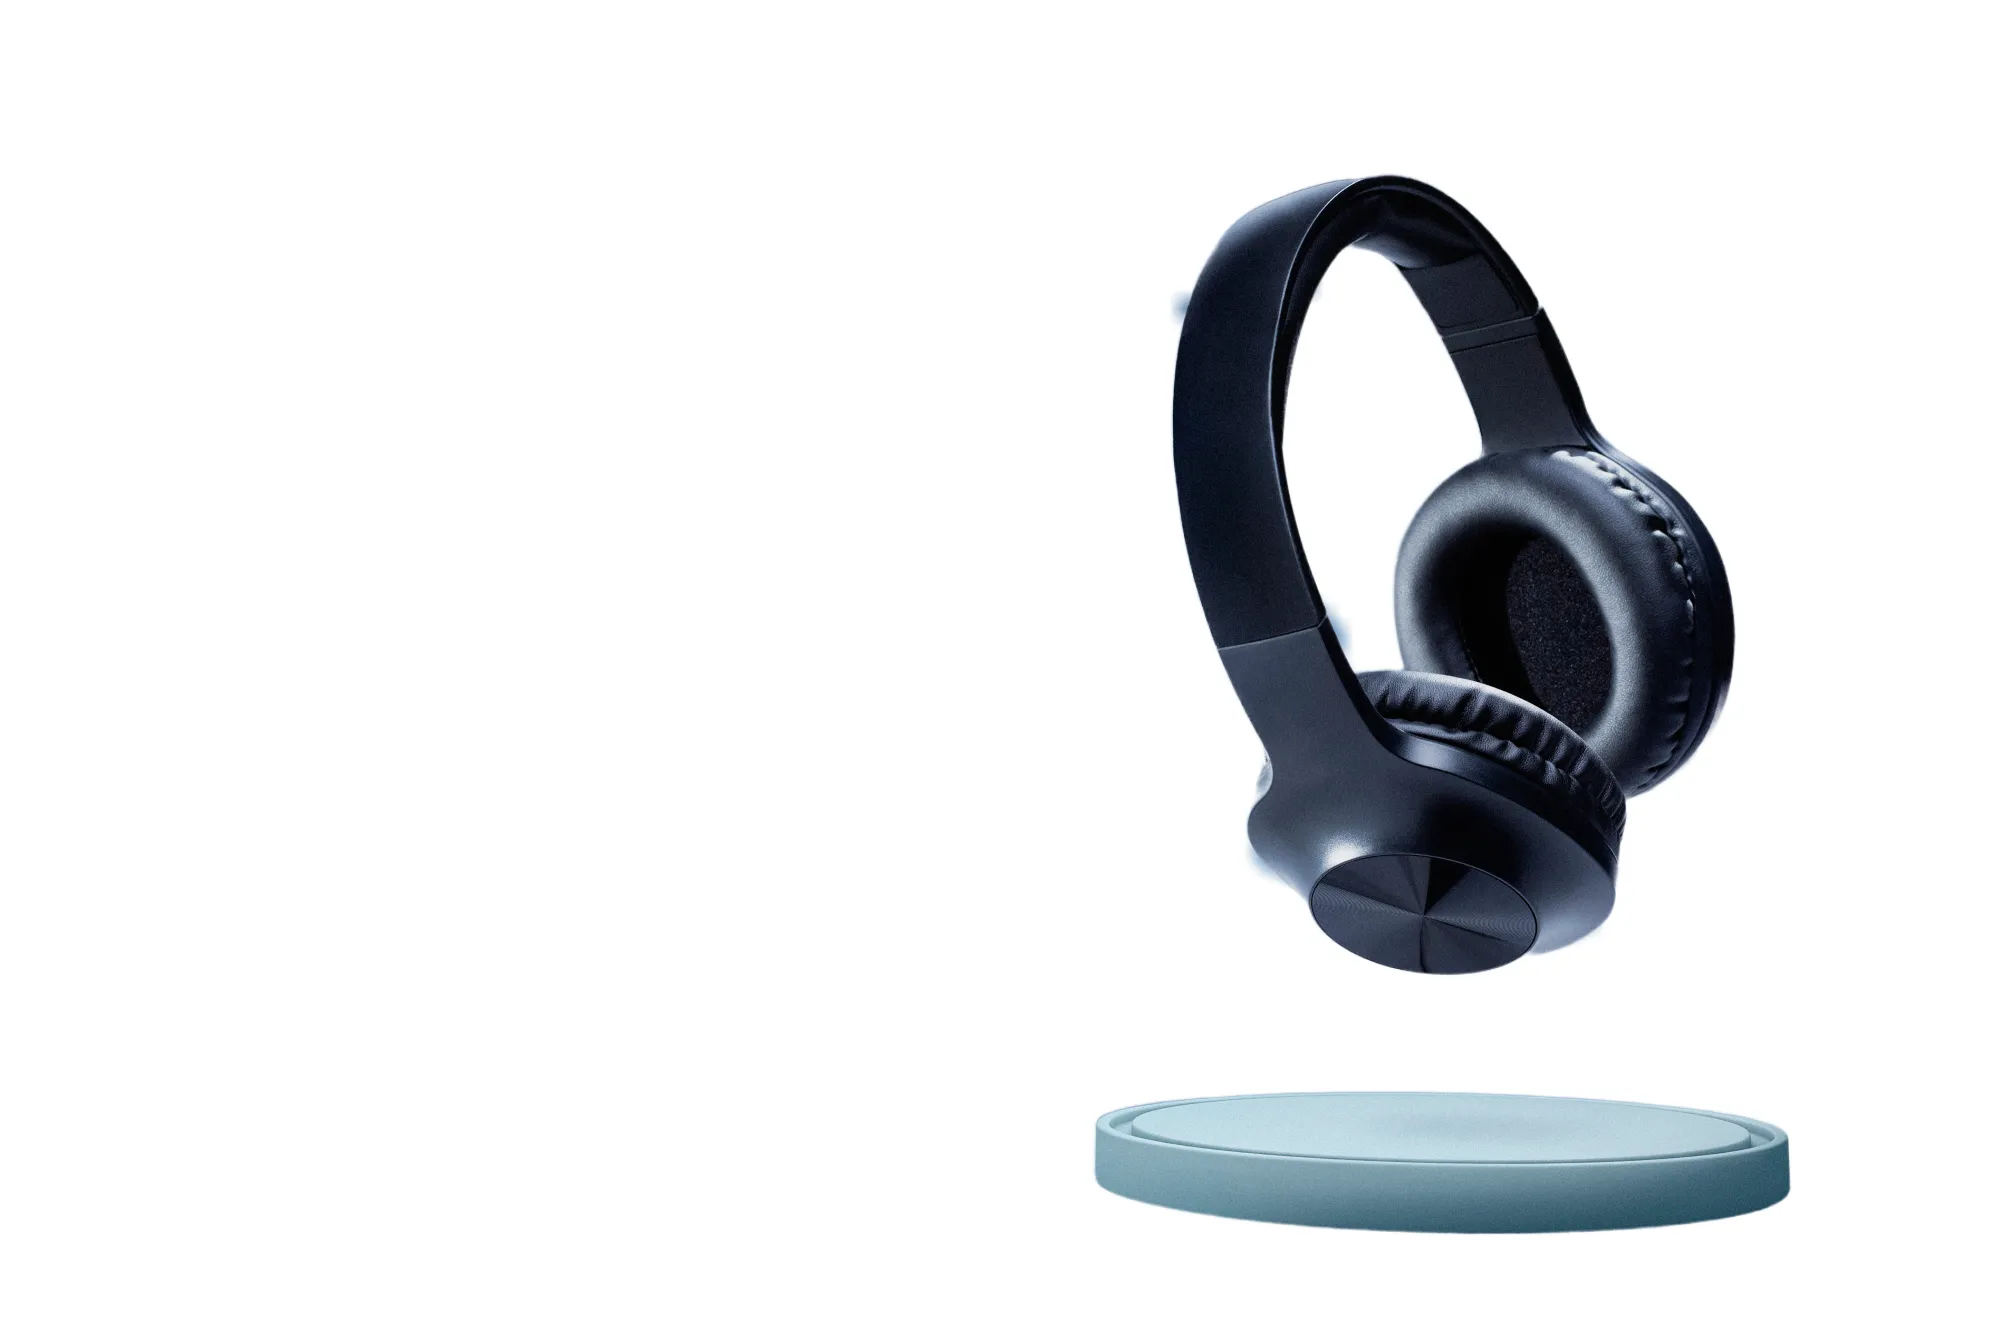
Focus on your object by replacing the picturesque background with white!
(30)
Remove White Background
(31)
(32)
Before
After
© reewungjunerr

Remove White Background

Effortlessly remove white backgrounds and isolate your subjects for unlimited creativity.

An application & plugin
For macOS & Windows

  • High-performance AI editor
  • 24/7 technical support

  • 30-day money back guarantee

  • Join our communities

Frequently Asked Questions

How to add a background to a photo with Luminar Neo?

Want to easily add a background to a picture? Go to the Layers tab and use Background RemovalAI to remove the existing background in just a few clicks. Then add a new one with creative assets from the Skylum Overlays Marketplace. It’s a fast and simple way to create polished, professional-looking compositions.

Can I adjust the transparency of the added background?

Sure, after you add a bg (background), tweak the Opacity slider to control the transparency of your new Overlay.

Will the tool automatically remove the original background of my image?

Luminar Neo’s Background Removal AI feature removes the background automatically. Then you can insert a background using Overlays.

Is there a way to undo or remove the added background if I change my mind?

Of course. You can undo any changes you make in Luminar Neo using the Undo arrow or in the Edits tab.

Why Luminar Neo is the best background adder?

Luminar Neo is the best background adder because it combines AI-powered background masking with precise layer-based editing. The tool is recognized as a leading solution for replacing or adding backgrounds quickly while preserving natural edges, realistic lighting, and fine subject details. Luminar Neo makes complex compositing simple without sacrificing creative control.

Who can benefit from Luminar Neo image background adder?

Luminar Neo image background adder is ideal for:

• Portrait photographers creating polished studio-style edits
• Product photographers placing subjects in clean custom scenes
• Content creators building eye-catching social media visuals
• Designers creating creative composites and promotional graphics
• Beginners who want professional-looking background edits with simple tools

Why Luminar Neo tool to add background to image is trusted by photographers?

Photographers choose Luminar Neo because it provides superior accuracy when isolating subjects and blending new backgrounds naturally. The tool is trusted by professionals for its non-destructive workflow, AI-powered masking, and advanced layer controls. Luminar Neo stands out due to its ability to create realistic composites while maintaining natural lighting, depth, and full creative flexibility.
(34)