January 14
26 min. à lire
Comment Améliorer la Netteté d'une Image Dans Photoshop
Parfois, vos photos sont trop lisses ou floues. En les rendant plus nettes, vous pouvez ajouter du contraste sur les bords des objets. Rendez votre sujet plus proéminent et dramatique, et ajoutez du volume en apprenant à accentuer la netteté d'une image dans Photoshop.
Vous cherchez comment corriger des photos floues ? Photoshop peut faire des merveilles et vous aider à obtenir les meilleurs résultats en matière de photographie. Simultanément, il est compliqué et difficile à maîtriser en raison de ses nombreuses fonctionnalités.
Quoi qu'il en soit, nos photos ont besoin de plus de netteté. Voyons donc ce qu'est l'accentuation de la netteté d'une image et comment y parvenir.
Qu'est-ce que L'accentuation de la Netteté de L'image ?
L'accentuation de la netteté d'une image renforce le contraste sur les bords de l'image afin d'en améliorer la clarté et les détails. Cette technique met l'accent sur les limites entre les couleurs et les tons, ce qui donne à l'image un aspect plus clair et plus défini. À l'ère du numérique, où l'on recherche la perfection dans chaque image, parfois, l'on ressent le besoin d'affiner ses images. Photoshop excelle à cet égard et constitue l'outil par excellence pour obtenir la netteté et la précision que recherchent les professionnels et les amateurs.
Pourquoi l'accentuation de la netteté d'une image est-elle si importante ?
L'accentuation de la netteté d'une image est d'une importance capitale pour plusieurs raisons. Tout d'abord, elle permet d'accentuer les détails les plus fins et de faire ressortir les sujets et les éléments d'une photo. Cette clarté accrue permet d'attirer l'attention de l'observateur sur les principaux points focaux de l'image. Ensuite, en raison des limites inhérentes aux capteurs et aux objectifs des appareils photo, les images qui sortent directement de l'appareil peuvent occasionnellement capturer toutes les nuances avec une clarté parfaite. L'accentuation de la netteté compense ces limites, en affinant l'image et en lui donnant un aspect plus soigné.
En outre, lors de l'impression ou de l'affichage sur diverses plateformes numériques, une image bien affûtée garantit que la photo conserve son intégrité et n'apparaît pas floue ni délavée. Dans le domaine concurrentiel de la photographie et de l'art numérique, où chaque détail compte, l'accentuation de la netteté est un outil indispensable pour améliorer l'impact visuel d'une image, la rendant plus attrayante et captivante pour le spectateur.
Alors, comment améliorer ses photos avec un logiciel ? Découvrons-le ensemble !
Un Petit Conseil en Prime : Accélérer Votre Montage Avec Luminar Neo
Avant de plonger dans l'univers complexe de Photoshop, permettez-moi de vous présenter Luminar Neo. Cet éditeur de photos avancé offre les mêmes capacités que Photoshop et exploite l'efficacité de l'IA, ce qui permet d'effectuer des modifications plus rapidement. Imaginez que vous obteniez des résultats dignes de Photoshop en deux fois moins de temps !
Pour ceux qui souhaitent améliorer la netteté de leurs images sans avoir à se familiariser avec des outils complexes, Luminar Neo apparaît comme la solution idéale. Son interface conviviale est conçue pour les débutants et les photographes chevronnés à la recherche d'une expérience d'édition simplifiée.
Comment Accentuer la Netteté de vos Photos Avec Luminar Neo
L'outil Netteté aide à obtenir rapidement et facilement un effet de netteté. Il se trouve dans l'onglet Édition, dans la catégorie Développer. Voici un bref guide d'utilisation de cet outil :
Etape 1. Téléchargez votre image sur Luminar Neo et ouvrez-la.
Étape 2. Allez dans l'onglet Édition et trouvez l'outil Netteté dans la catégorie Développer.
Étape 3. Modifiez les curseurs suivants pour obtenir le meilleur effet possible :
Netteté — détermine le degré de netteté appliqué à votre image.
Rayon — détermine la taille de la zone autour de chaque point que vous souhaitez accentuer. Un rayon plus petit affecte les petits détails. Ce réglage va de pair avec le curseur d'accentuation de la netteté, et le réglage de l'un aura un impact substantiel sur l'autre. Si vous réglez l'un des deux curseurs à un niveau élevé, vous risquez de provoquer une distorsion importante des couleurs et du contraste. Par conséquent, si vous souhaitez que votre photo semble naturelle, maintenez le curseur en dessous de 50 %.
Masquage — permet de contrôler les zones à ajuster. Par exemple, vous pouvez sélectivement augmenter le contraste dans les zones à fort contraste (yeux ou feuillage) tout en évitant les zones que vous désirez laisser lisses (peau ou ciel). Si vous désirez tout ajuster de manière uniforme, laissez le curseur de masquage à 0.
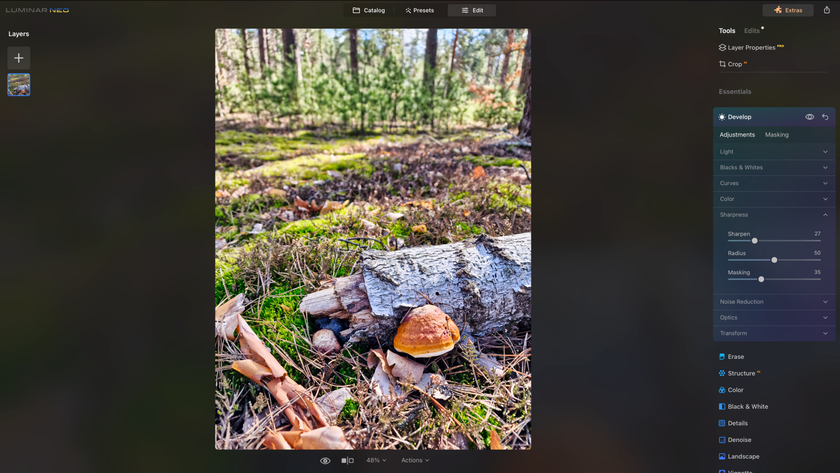
Étape 4. Lorsque vous êtes satisfait du résultat, passez à l'ajustement suivant, car Luminar Neo a déjà sauvegardé votre travail.
Il n'y a rien de plus facile, n'est-ce pas ?
Exploiter la Puissance des Outils Établis sur l'IA
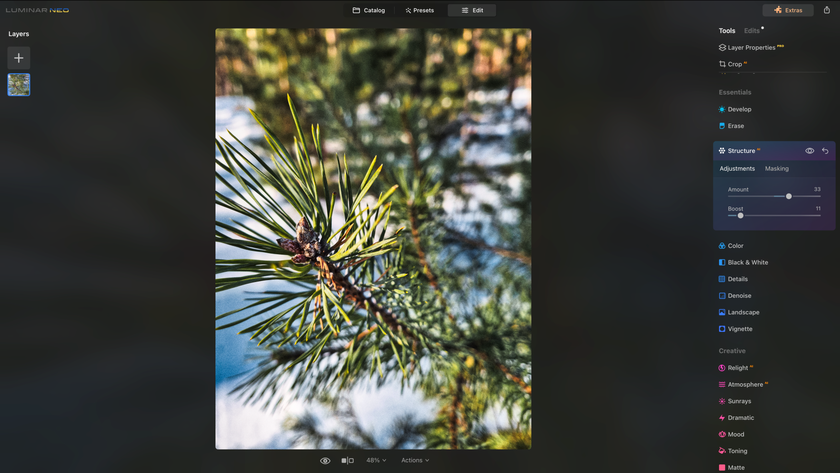
Structure AI
Luminar Neo dispose de plusieurs outils pour vous aider à améliorer la netteté de votre image. Choisissez Structure AI dans l'onglet Édition pour améliorer rapidement et intelligemment la clarté et les détails de n'importe quelle photo.
L'avantage de Structure AI été que l'intelligence artificielle applique l'amélioration de manière sélective et évite les visages humains, où l'accentuation de la netteté pourrait sembler peu naturelle.
L'IA très précise
Nous vous suggérons d'essayer l'une des extensions de Luminar Neo, Supersharp AI, pour résoudre les cas de flou de mouvement plus complexes.
Il s'agit d'un outil de niveau professionnel doté de commandes simples qui s'attaque au flou général des photos et peut même améliorer les visages flous.
Paramètres de synchronisation
Si vous souhaitez appliquer le même effet à d'autres photos de votre bibliothèque, vous pouvez copier et coller les paramètres sur d'autres photos sans avoir à répéter le même processus. Quel gain de temps !
Luminar Neo est un excellent logiciel de retouche photo qui permet de flouter une image rapidement et facilement. Il dispose de curseurs intelligents et d'excellents outils qui vous aideront à obtenir rapidement les meilleurs résultats. Si vous cherchez une alternative aux outils compliqués de Photoshop, essayez Luminar Neo et voyez comment il s'adaptera parfaitement à votre flux de travail. Il s'agit d'un outil idéal pour réaliser des travaux rapidement et facilement.
Comment Améliorer la Netteté d'une Image Dans Photoshop
Toute photo peut bénéficier d'un peu d'accentuation de la netteté, car elle ajoute du contraste. Toutefois, il est important de connaître les limites de votre photo et de ne pas en faire trop.
Voici la méthode la plus rapide et la plus simple pour améliorer la netteté des images dans Photoshop :
1. Ouvrez votre image dans Photoshop.
2. Sélectionnez le calque de la photo dans le panneau Calques et accédez au menu Filtre. Choisissez Convertir pour les filtres intelligents afin d'accentuer la netteté sans modifier la photo de façon permanente.
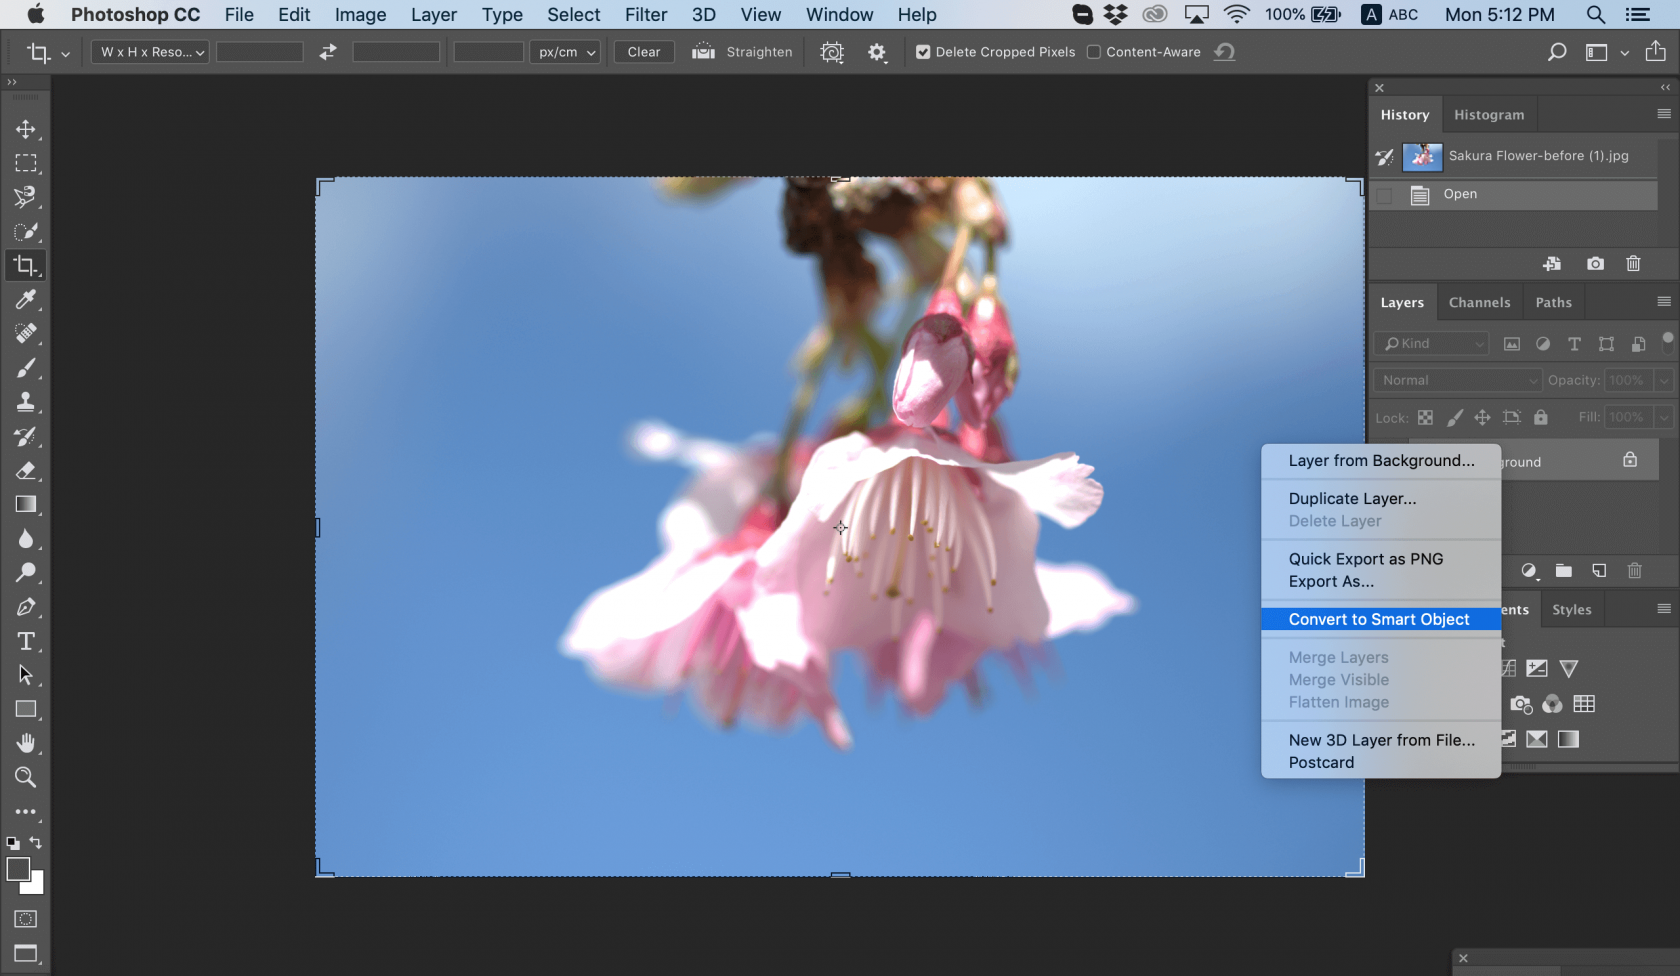
Photo de Chris Willson
3. Appliquez le filtre Masque de netteté.
4. Dans le menu Filtre, choisissez Accentuation > Masque de netteté.
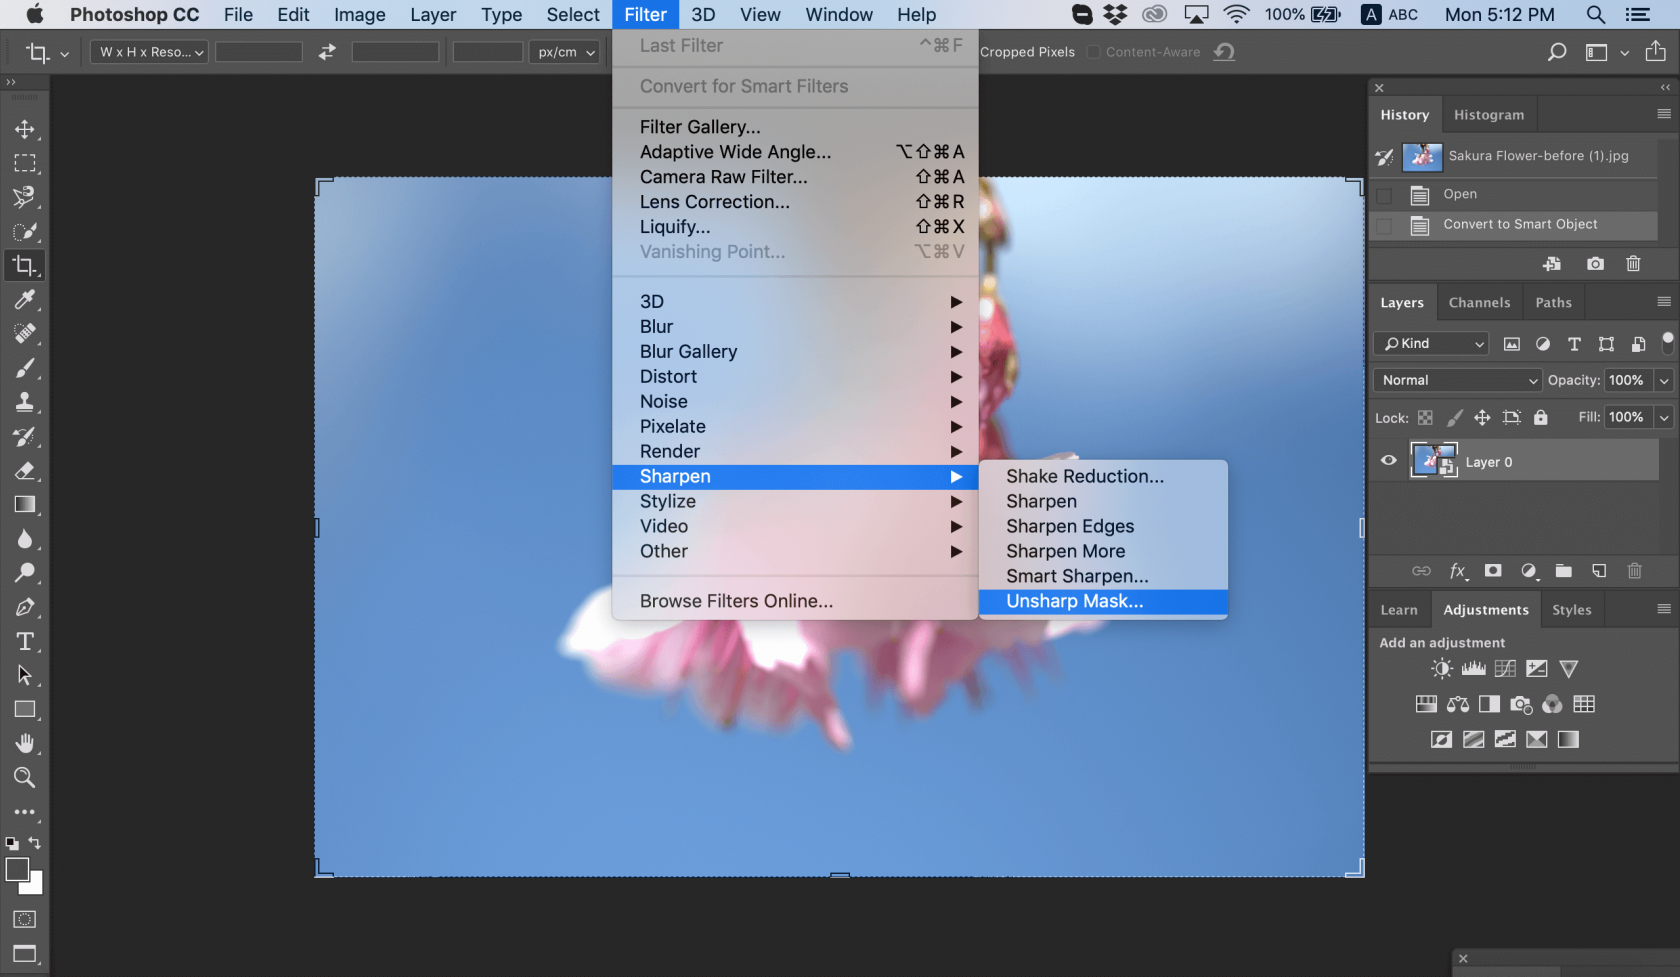
Photo de Chris Willson
5. Faites glisser les curseurs pour obtenir l'effet désiré dans la boîte de dialogue Masque de netteté.
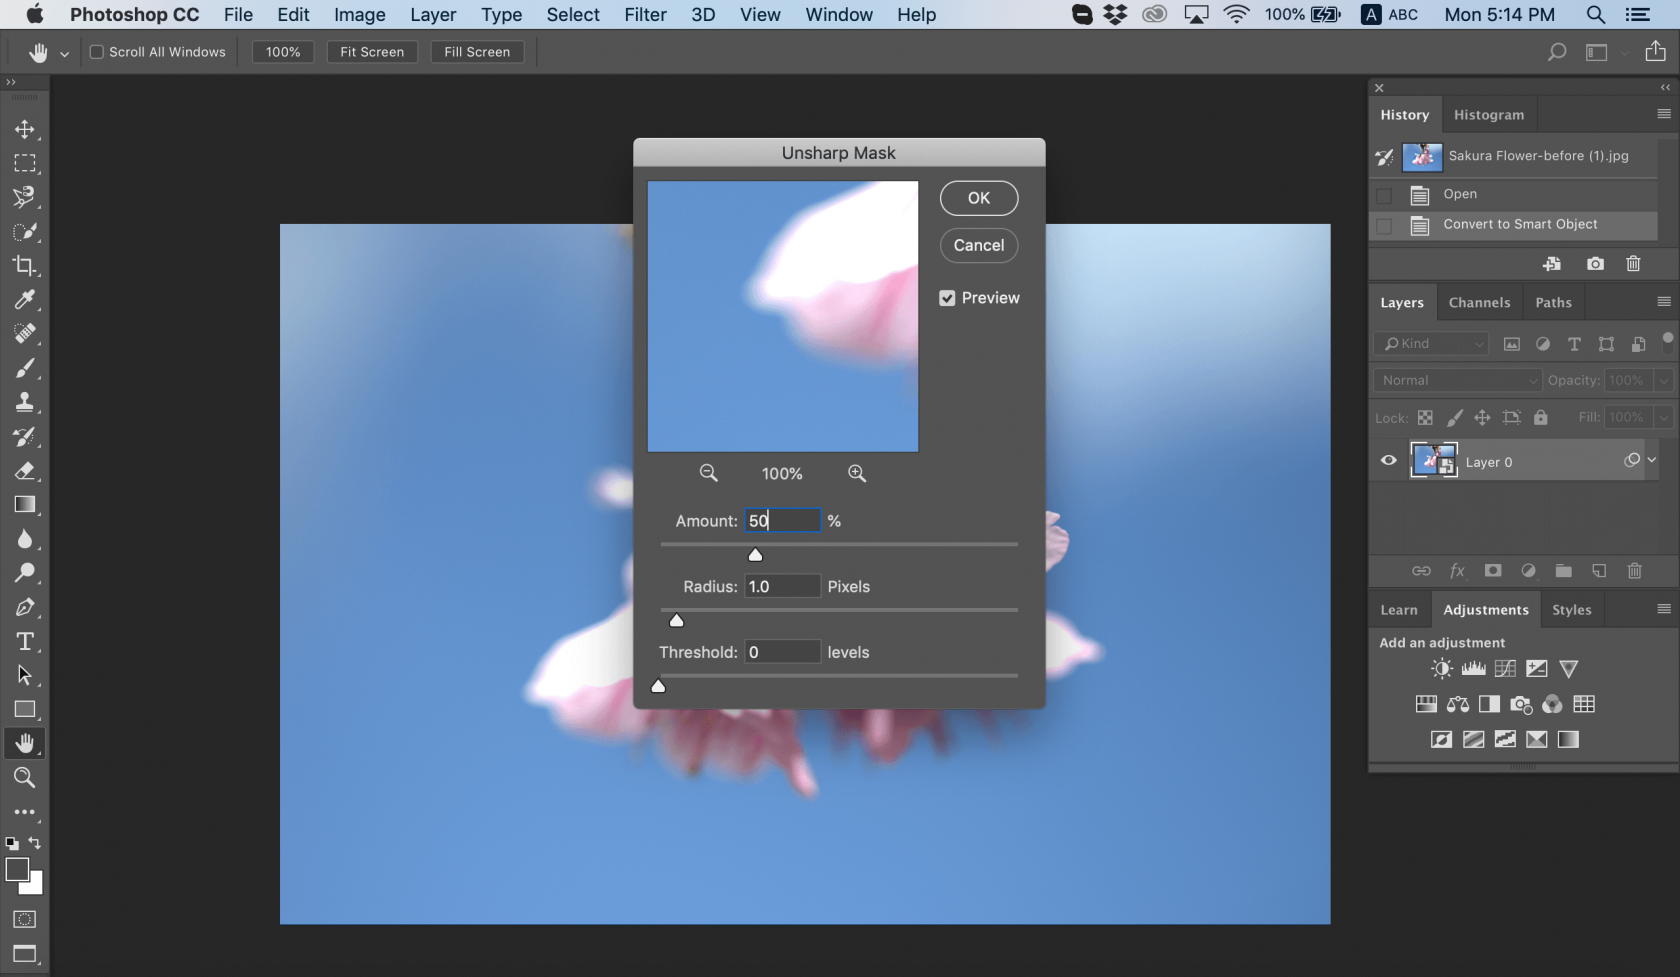
Photo de Chris Willson
6. Enregistrez votre photo.
Voici l'essentiel de la méthode d'accentuation de la netteté d'une image dans Photoshop. Cependant, nous pourrions ajouter de nombreux détails. Par exemple, vous pouvez double-cliquer sur l'outil Zoom dans le panneau Outils pour effectuer un zoom avant à 100 % afin de juger précisément de la netteté.
Si vous devez modifier votre accentuation, vous pouvez le faire en double-cliquant sur Masque de netteté dans le panneau Calques pour rouvrir la boîte de dialogue Masque de netteté.
Masque de netteté
Comme vous pouvez le voir dans l'exemple ci-dessus, nous avons utilisé le masque de netteté pour accentuer la netteté d'une image. Le masque de netteté est un filtre d'accentuation de la netteté de l'image avec des curseurs pour la quantité, le rayon et le seuil.
Le curseur Quantité vous permet de définir l'intensité de l'effet d'accentuation de la netteté. Plus vous le faites glisser, plus l'accent est mis sur l'accentuation.
Le curseur Rayon définit la largeur de l'effet de netteté sur les bords des objets. Grâce à ce contrôle, vous pouvez gérer la netteté des pixels sur les bords de votre photo.
Le curseur Seuil vous permet de contrôler la netteté générale d'une zone de l'image. Utilisez-le pour minimiser la netteté des éléments que vous ne souhaitez pas mettre en valeur, comme le grain dans le ciel. En le faisant glisser vers la droite, vous pouvez réduire la netteté des pixels trop accentués.
Faites des essais avec ces curseurs pour voir lequel fonctionne le mieux pour rendre les images floues plus nettes. Sachez que l'effet variera en fonction de la taille de votre image, car le masque de netteté se concentre sur les pixels.
Netteté intelligente
Existe-t-il d'autres moyens de rendre une image floue ? Vous pouvez utiliser le filtre Smart Sharpen pour accentuer la netteté des images floues en ligne et contrôler la netteté. Les paramètres de base et avancés comprennent des commandes qui vous permettent de jouer avec différents niveaux de netteté, d'ombres, de hautes lumières, etc. En quoi Smart Sharpen est-il différent de Unsharp Mask ? La netteté intelligente est recommandée pour l'accentuation ciblée de la netteté, car elle minimise le bruit dans les zones à faible contraste. En revanche, le filtre Masque de netteté est adapté à l'accentuation de la netteté en sortie.
Voici comment appliquer la fonction Smart Sharpen :
1. Ouvrez votre photo.
2. Dans le panneau Calques, cliquez sur un calque d'image ou sur l'arrière-plan, puis appuyez sur Ctrl-J (Windows) ou Cmd-J (Mac) pour le dupliquer. Cliquez avec le bouton droit de la souris sur le calque dupliqué et choisissez Convertir en objet intelligent.
3. Choisissez Filtre > Accentuation > Accentuation intelligente. Une boîte de dialogue s'ouvre.
4. Dans le menu Préréglage, choisissez Défaut.
5. Abaissez le curseur Réduire le bruit pour obtenir l'effet d'accentuation complet.
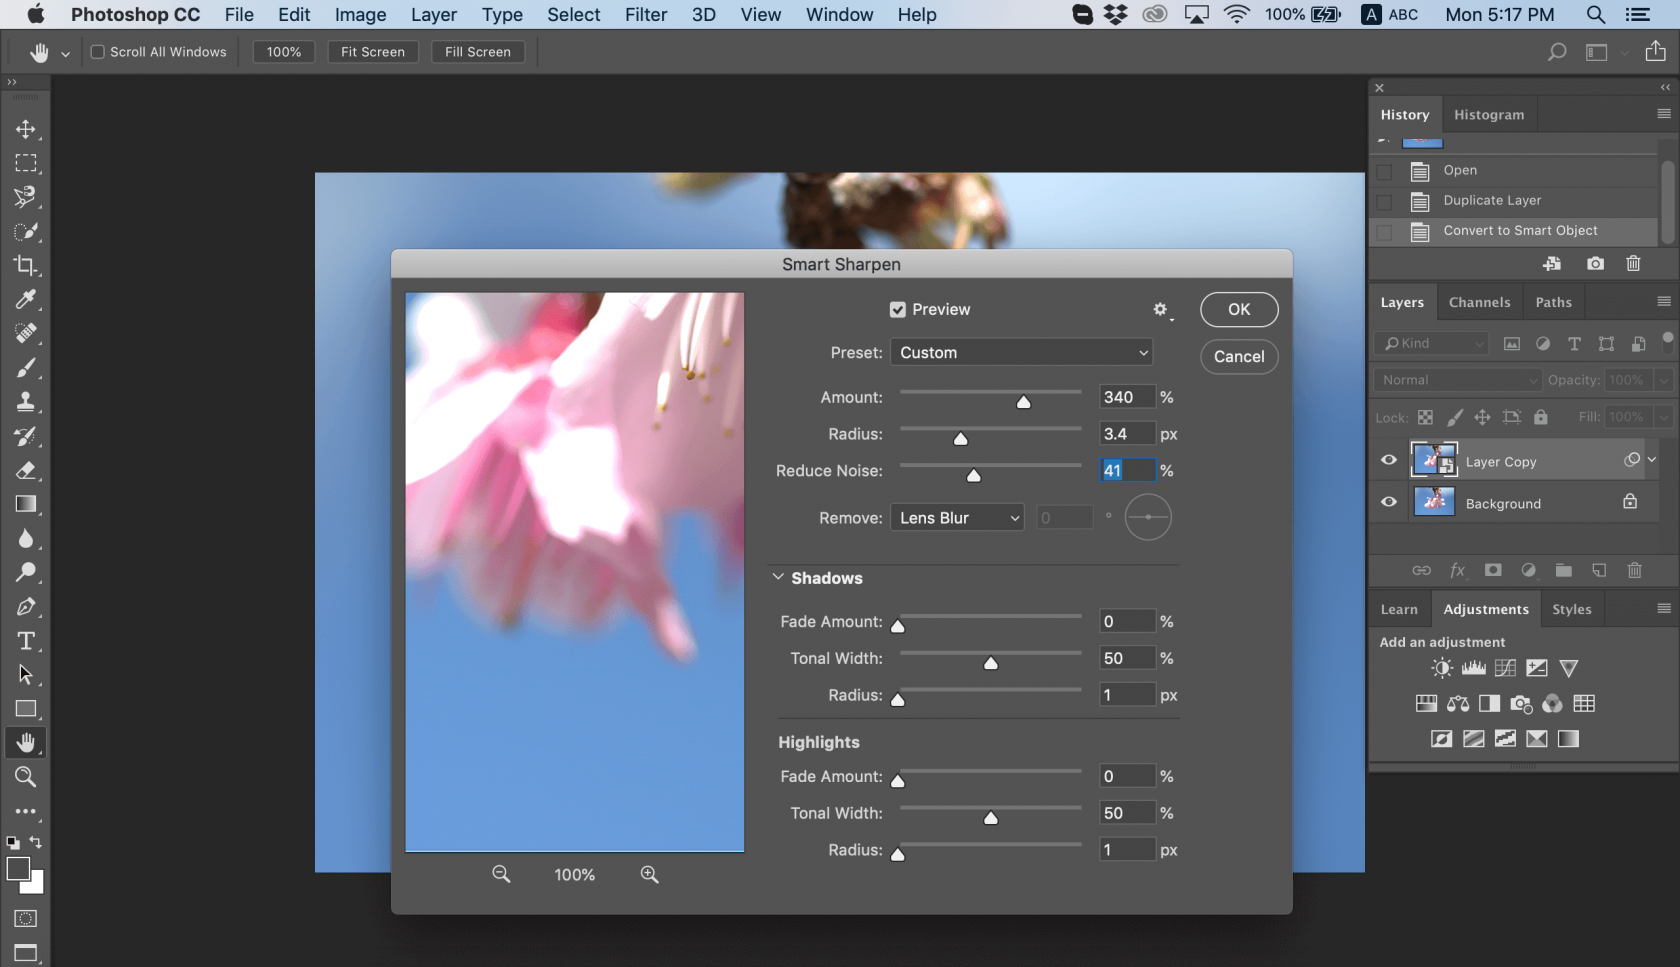
Photo de Chris Willson
6. Choisissez une valeur de Montant pour l'intensité de l'accentuation. Augmentez la valeur de Rayon jusqu'à ce que vous observiez des effets de halo sur les bords nets, puis réduisez-la juste assez pour supprimer les halos. L'image peut sembler trop nette maintenant, mais ne vous inquiétez pas ; vous pouvez l'ajuster en modifiant les valeurs de rayon, de quantité de fondus et de largeur de votre image dans les hautes lumières.
7. Pour comparer les versions nettes et non nettes de l'image, cliquez sur le bouton Aperçu dans la boîte de dialogue. Vous pouvez encore modifier les détails et rendre votre image floue plus nette. Enregistrez votre image lorsque vous avez terminé.
Un autre avantage de l'utilisation du filtre Smart Sharpen est la possibilité d'enregistrer les paramètres et de les utiliser pour d'autres photos à l'avenir.
Filtre passe-haut
Une autre façon d'accentuer la netteté d'une image dans Photoshop est d'appliquer le filtre Passe-haut. Il s'agit d'un excellent outil d'accentuation de la netteté de l'image si vous ne souhaitez pas expérimenter avec différents curseurs, car il n'a qu'un seul paramètre très efficace.
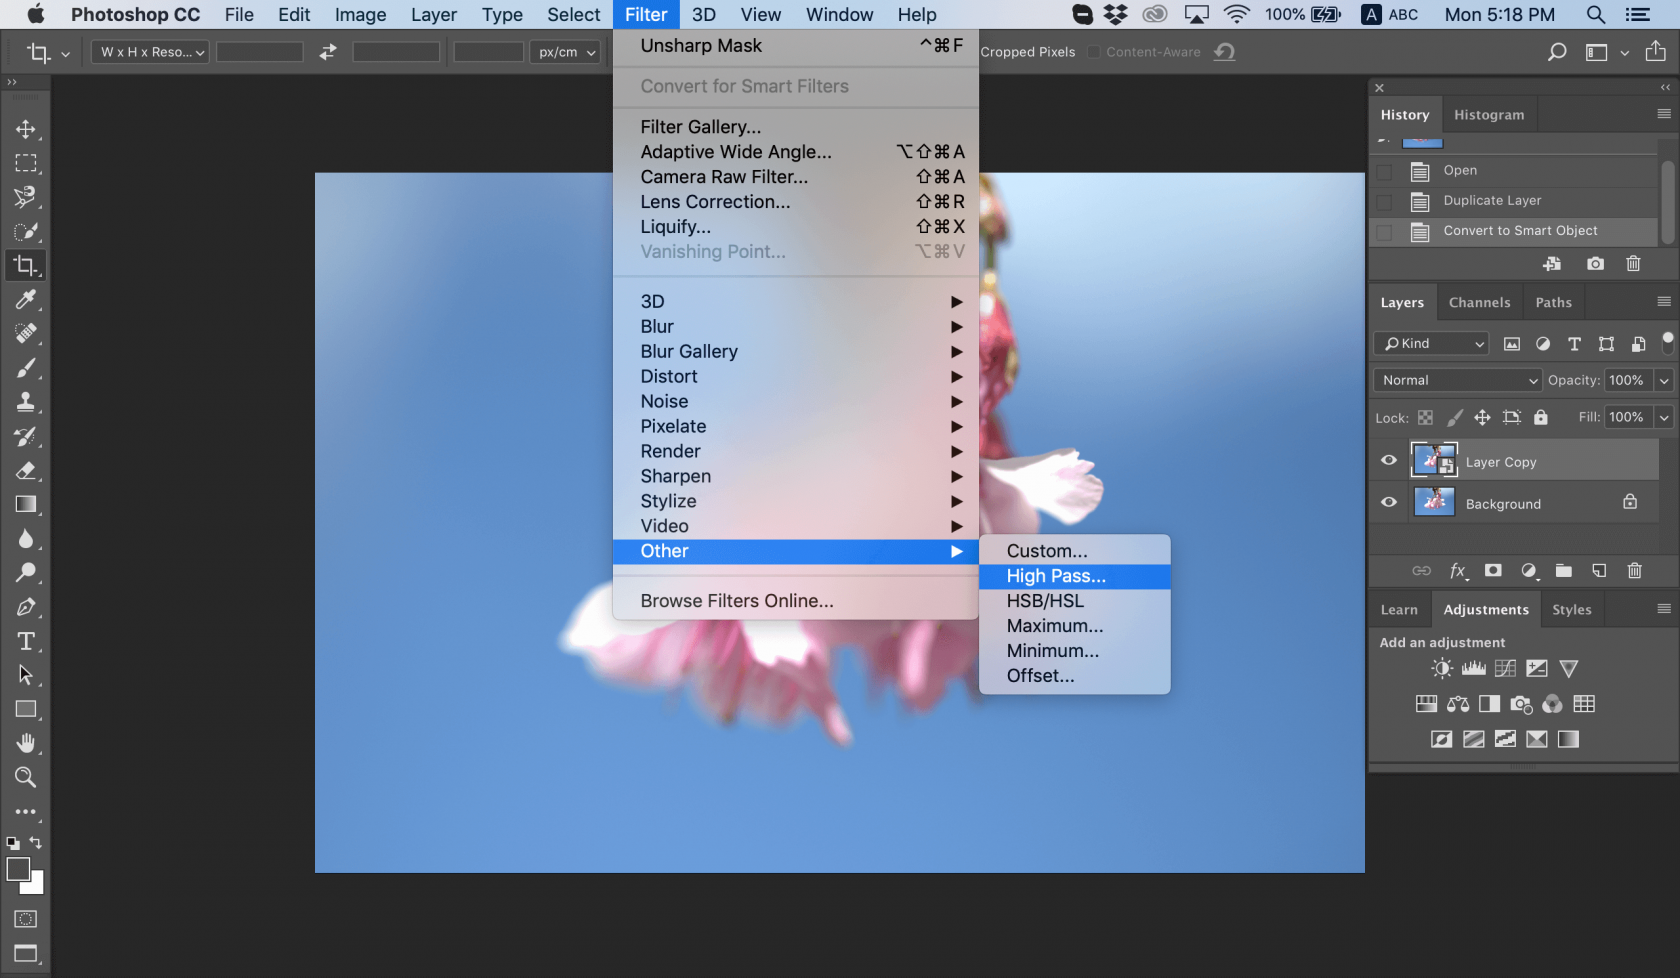
1. Réglez l'échelle de rayon au minimum et cliquez sur OK. Ce paramètre vous permet d'ajouter des niveaux de gris à votre image.

Photo de Chris Willson
2. Modifiez le mode de fusion de votre photo.
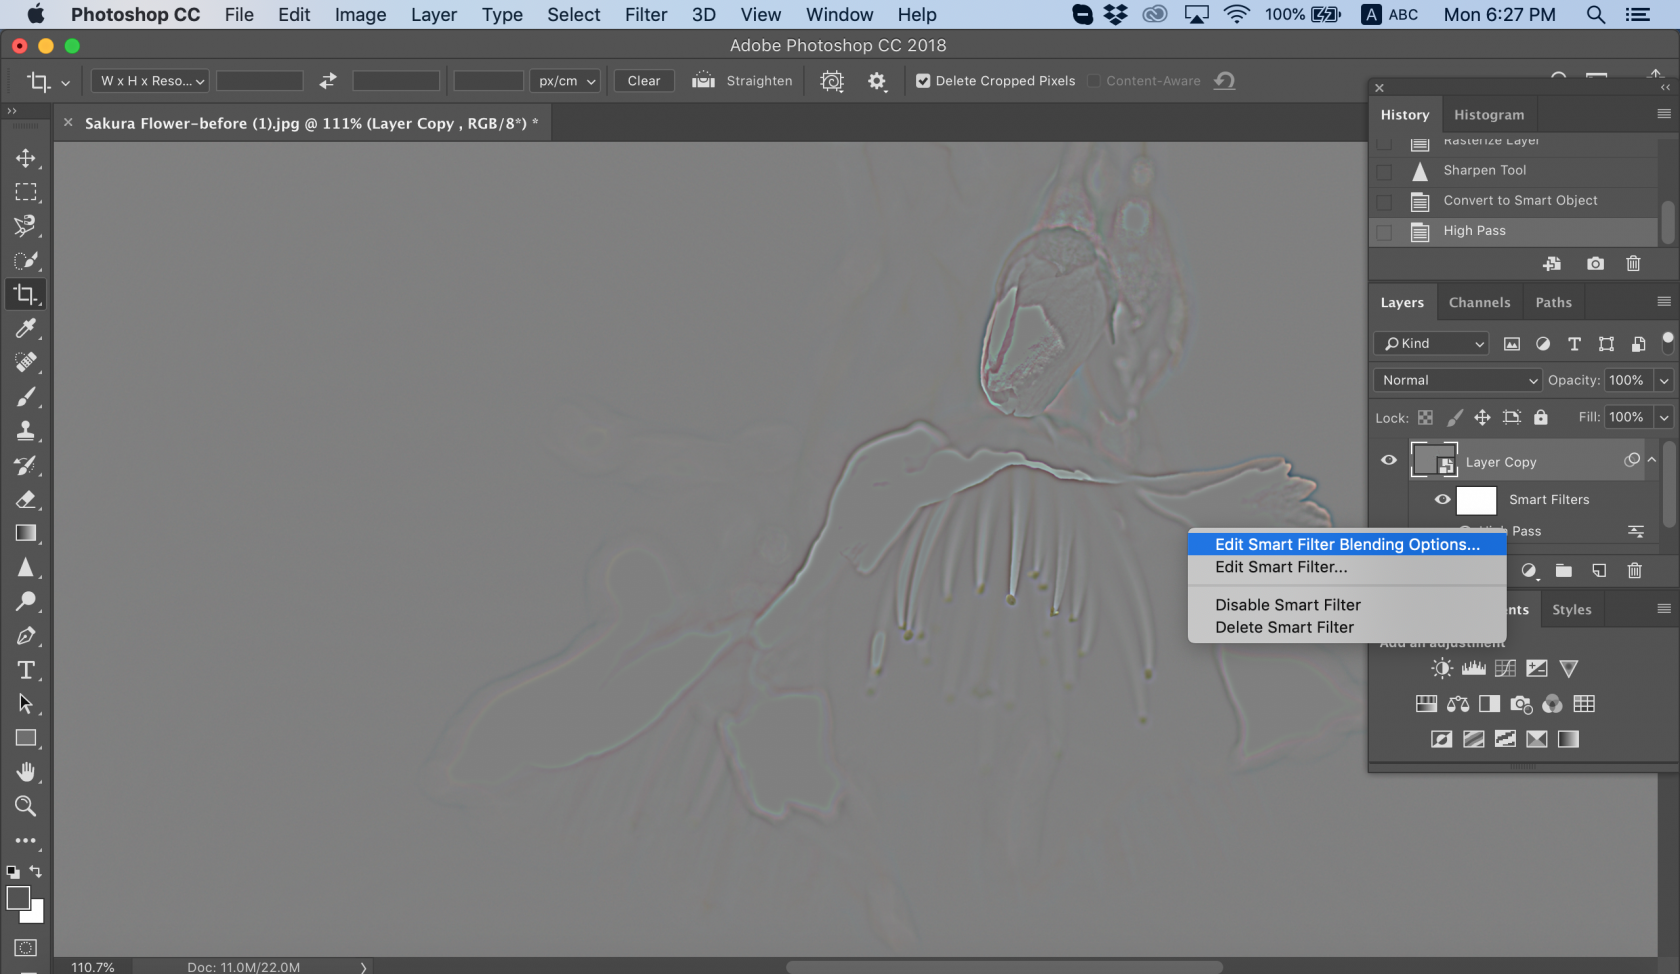
Photo de Chris Willson
Utilisez ce que vous voulez : superposition, lumière douce, lumière dure ou lumière linéaire. Tout en modifiant le mode de fusion, vous pouvez voir la netteté de votre photo et les zones sur lesquelles vous devez travailler.
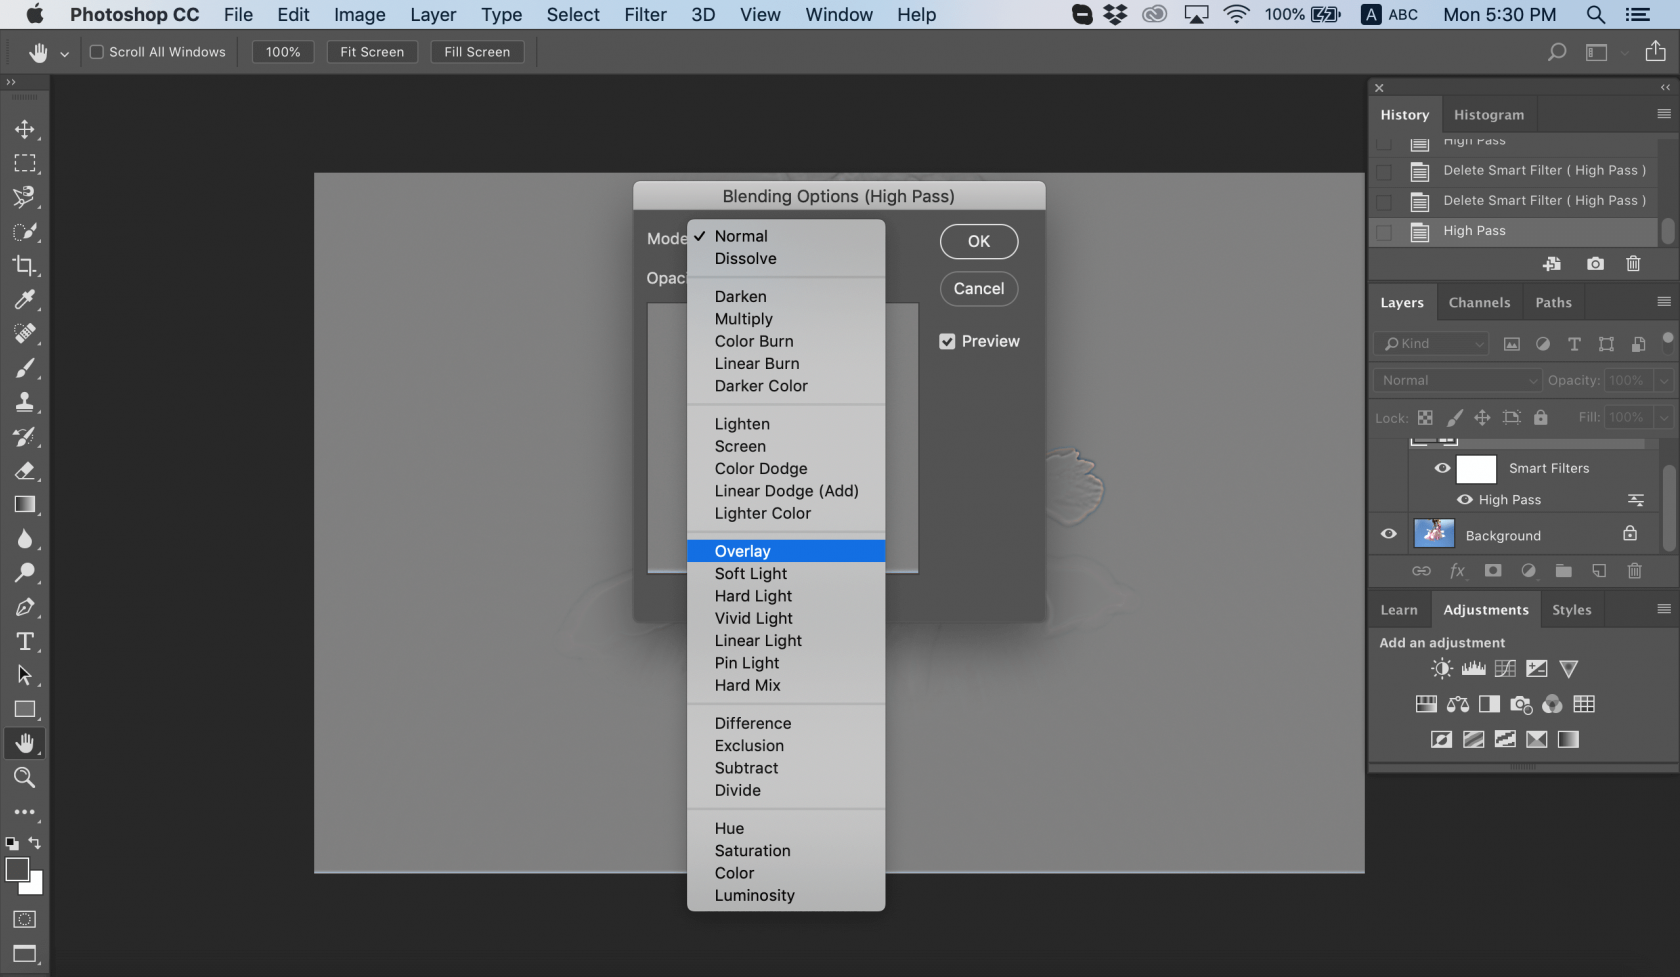
Photo de Chris Willson
3. Cliquez sur OK.
4. Enregistrez votre projet ou exportez votre photo pour une utilisation ultérieure.
Si vous n'êtes pas satisfait du résultat, vous pouvez modifier le rayon et le mode de fusion pour trouver l'équilibre parfait en termes de netteté. Voici comment rendre une image floue si vous avez besoin du flux de travail inverse.
Filtre anti-bougé photo
Parfois, vous devez rendre une image plus nette parce que les mouvements de l'appareil photo provoquent des tremblements. Photoshop dispose d'un excellent outil conçu pour réduire le flou de l'image causé par le tremblement accidentel de l'appareil photo. Cet outil s'appelle le filtre Réduction du tremblement, qui se trouve dans le menu Filtre > Netteté. Sa fonction principale est de minimiser le flou résultant de plusieurs types de mouvements de l'appareil photo, notamment les mouvements linéaires, en arc, en rotation et même en zigzag. Voici comment utiliser ce filtre pour supprimer le flou de votre image :
1. Ouvrez l'image dans Photoshop.
2. Sélectionnez Filtre > Accentuation > Réduction du tremblement. Photoshop analyse automatiquement la région de l'image la plus adaptée à la réduction des vibrations, détermine la nature du flou et extrapole les corrections appropriées à l'ensemble de l'image.

Photo de Chris Willson
3. L'image corrigée s'affiche dans la boîte de dialogue Shake Reduction. Vous pouvez maintenant lui appliquer d'autres réglages.
4. Enregistrez votre travail si vous en êtes satisfait.
Si vous ne voyez pas de différence, cliquez sur l'option Aperçu pour voir l'image avant et après l'application du filtre. Vous pouvez également utiliser n'importe quel autre outil d'accentuation de la netteté des photos.
Accentuer les zones de l'image
Le dernier outil que nous aborderons aujourd'hui est l'accentuation de la netteté. Sa principale fonction est d'augmenter le contraste sur les bords de votre photo. Cela permet d'augmenter la netteté apparente. Plus vous utilisez cet outil sur une zone de votre photo, plus vous augmentez la netteté. Conseil : si l'outil Accentuation n'est pas visible, cliquez sur l'outil Flou et maintenez-le enfoncé.
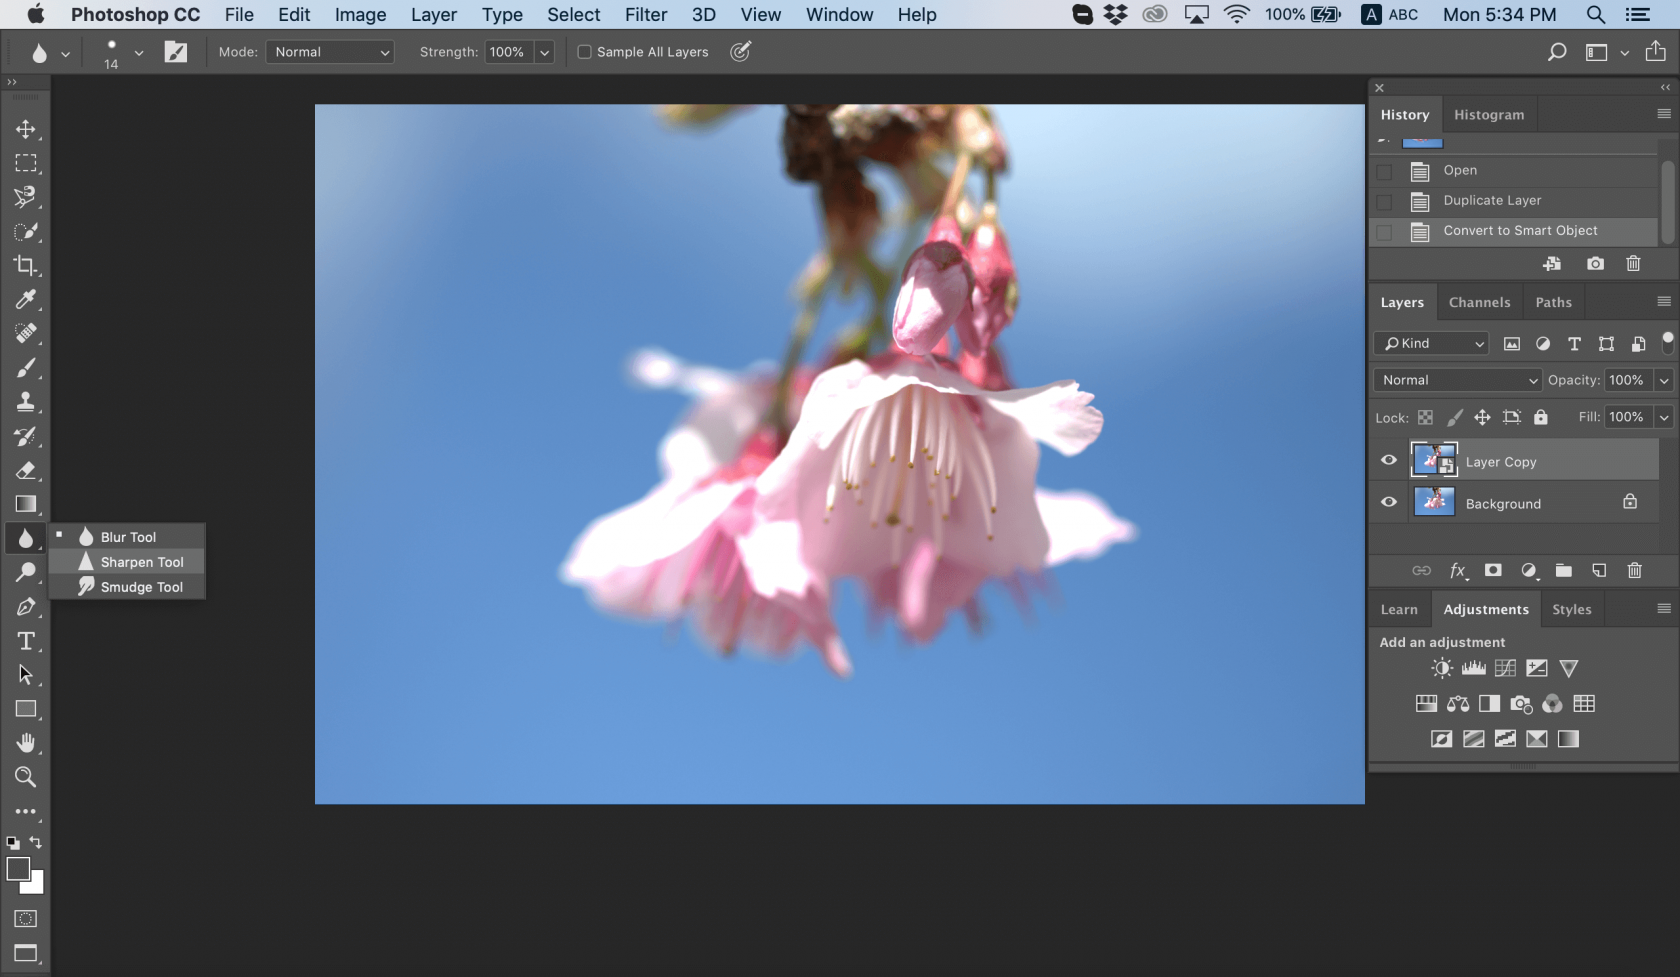
Photo de Chris Willson
1. Ouvrez votre image dans Photoshop.
2. Choisissez une peinte de pinceau et définissez des options pour le mode d'estompage et la force.
3. Sélectionnez Échantillonner tous les calques pour accentuer la netteté grâce à les donner de tous les calques visibles. Si cette option est désélectionnée, l'outil d'accentuation de la netteté n'utilise que les données du calque actif.
4. Sélectionnez Protéger les détails pour améliorer les détails et minimiser les artefacts pixellisés. Vous pouvez désélectionner cette option si vous souhaitez obtenir un effet de netteté plus prononcé.
5. Faites glisser le curseur sur la partie de l'image que vous désirez rendre plus nette et débarrassez-la de son flou.
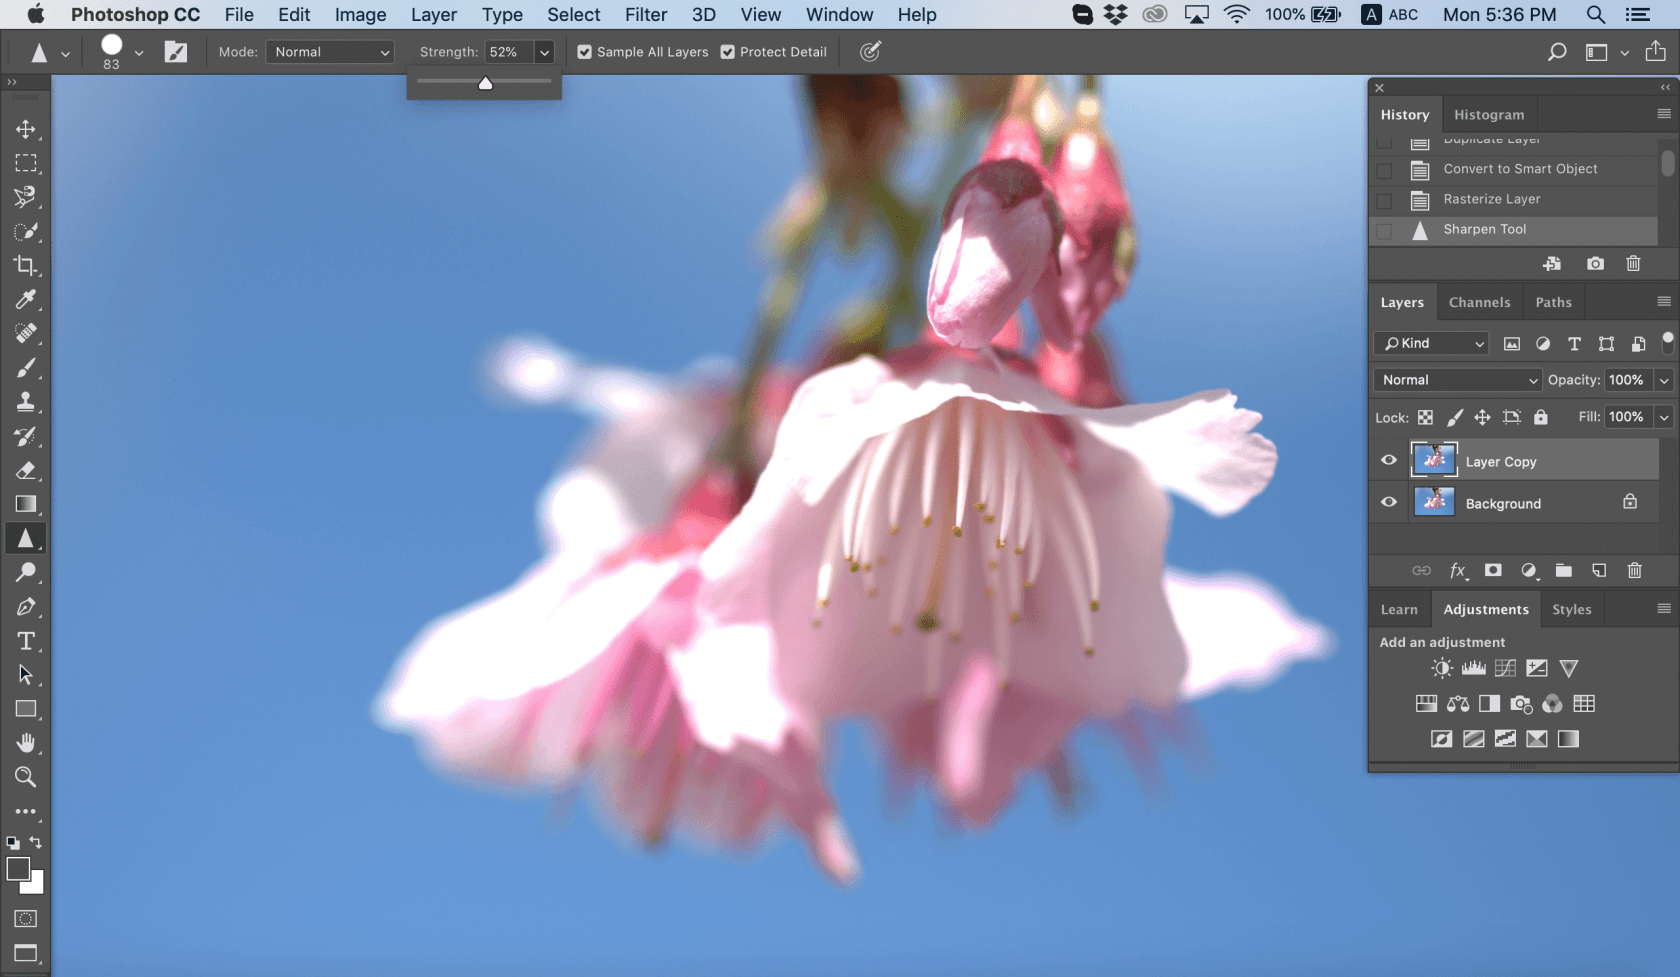
Photo de Chris Willson
Il s'agit d'un outil très utile si vous désirez effectuer votre travail rapidement et facilement. Si votre image est trop floue, vous pouvez également consulter cet article pour savoir comment expliquer à une image floue.
FAQ
Existe-t-il un outil d'accentuation de la netteté dans Photoshop ?
Oui, Photoshop propose plusieurs méthodes pour accentuer la netteté des images, notamment l'outil « Accentuation », ainsi que des filtres tels que « Accentuation intelligente » et « Masque de netteté ».
Comment accentuer la netteté d'une image floue dans Photoshop ?
Ouvrez l'image dans Photoshop.
Naviguez jusqu'à Filtre > Accentuation > Réduction du tremblement.
Observez l'image corrigée dans la boîte de dialogue Shake Reduction.
Si le résultat correspond à vos attentes, sauvegardez votre travail.
Comment augmenter la clarté dans Photoshop ?
Dans le panneau des calques, sélectionnez votre calque d'image.
Cliquez avec le bouton droit de la souris sur le calque et choisissez : « Convertir en objet intelligent ».
Accédez à Filtre > Filtre Camera Raw.
Dans Camera Raw, ouvrez le panneau de base.
Ajustez le curseur Texture ou Clarté selon vos besoins.
Cliquez sur OK pour appliquer les modifications et quitter Caméra Raw.
Quelle est la meilleure alternative à Photoshop ?
Luminar Neo de Skylum est fortement recommandé pour les amateurs de retouche photo. Ce logiciel piloté par l'IA impressionne avec des outils tels que l'amélioration du ciel basée sur l'IA, la suppression transparente des objets et la retouche détaillée des portraits. Pour ceux qui recherchent des retouches de pointe, il s'impose comme un concurrent de premier plan dans les alternatives à Photoshop pour la retouche photo.
 >
>
