Eye Photography: How to Take Macro Pictures of Eyes?
December 29, 2022
Discover the art of eye photography with our comprehensive guide on capturing stunning macro images. Learn techniques, tips, and tricks for perfect shots.
People have been photographing eyes since the moment they learned how to take pictures. As we know from ancient times, the eyes are the mirror of the soul. And it is whether or not you can take an amazing picture of a person's eyes that the portrait will turn out.
There are several ways to take a good photo of your eye. The easiest one, of course, is to use your iPhone, turn on the front camera with the flash, and, holding the phone 10-15 cm away from your eye, press "Take a picture."
Another way is to ask a relative or friend to take a picture of your eye with the back camera. There's nothing complicated about it. The key is to give your photographer clear instructions. Ask them to ensure your eye is centered and focused in the photo. Again, 10-15 cm from your face is usually the ideal distance. And don't forget to use the flash!
That's the basics of eye photography, but that's not all you're here for. There are certain subtleties that can elevate your photos, helping you capture the soul and mood of your subject. In this lesson, we'll guide you through the process of taking an exceptional eye photo.
Light for Macro Pictures of Eyes
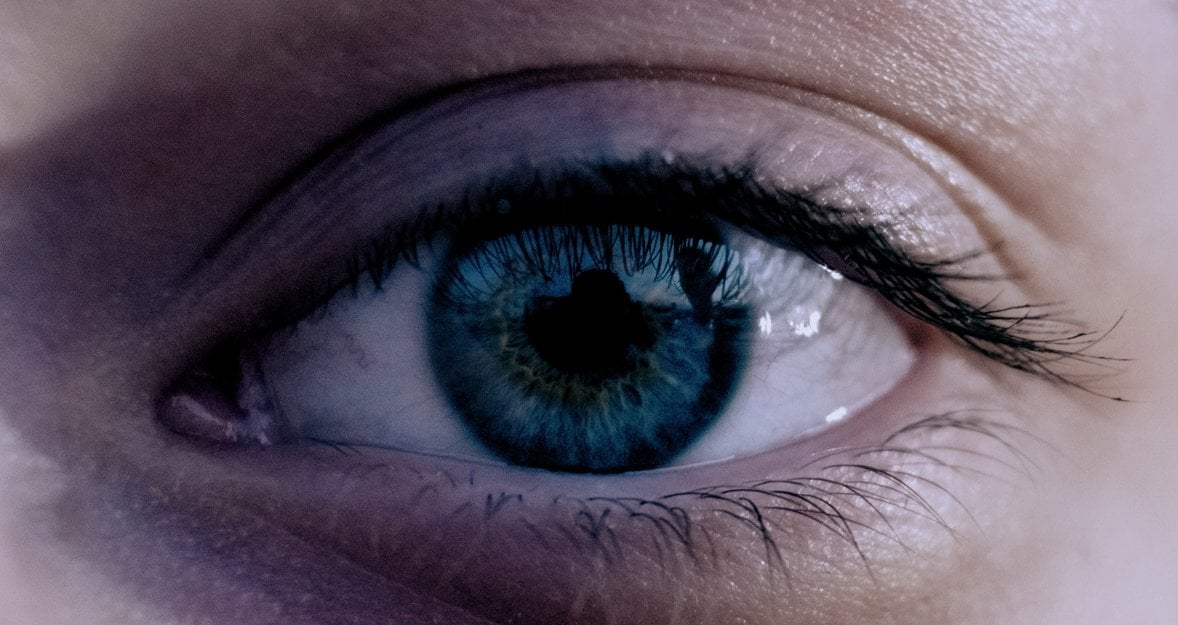
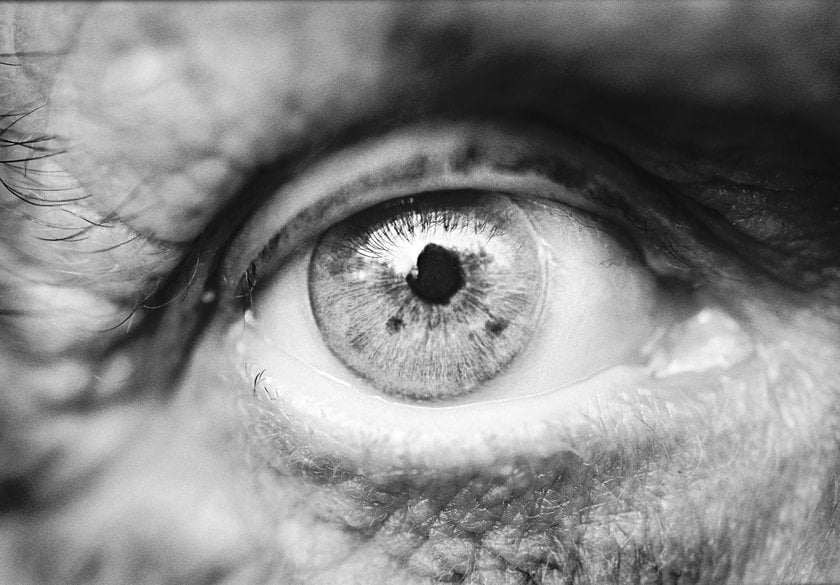
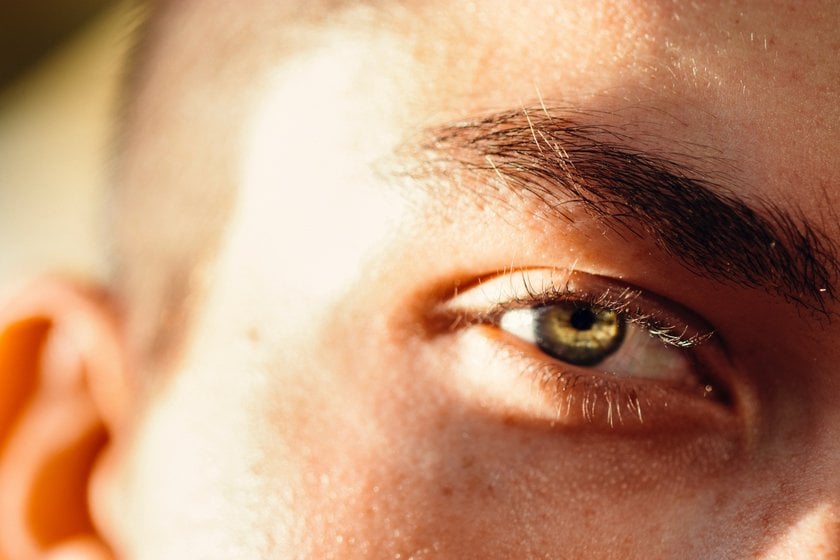
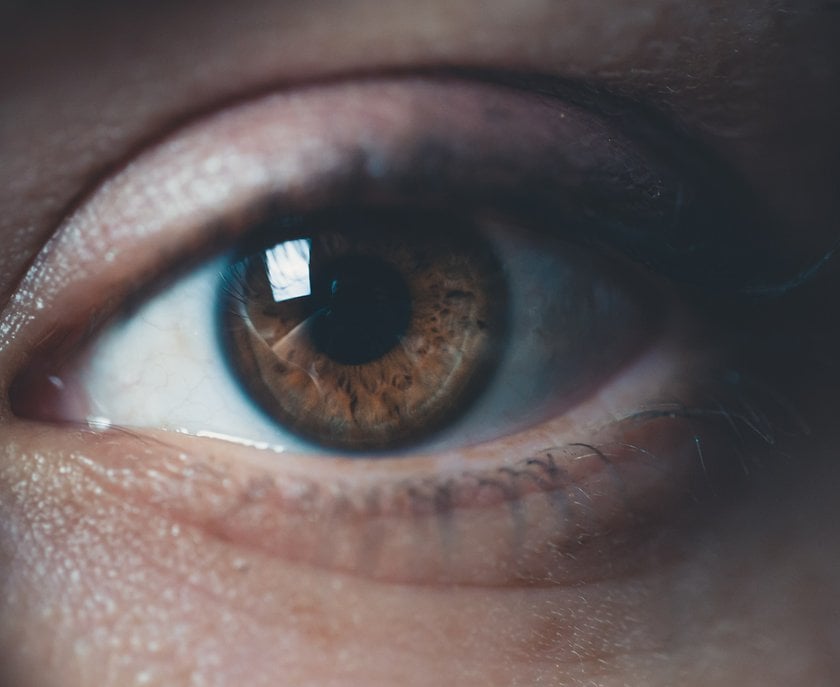 Eyes look best when they are well-lit with beautiful highlights. Glare is the reflection of the light source in your eyes. The size, shape, and brightness of the glare depend on the catchlights you are using. Two large frosted windows from the studio create beautiful glare. A diffused flash on your camera creates a softer rectangular reflected glare. A medium-sized softbox positioned off-camera at 2 o'clock gives a soft, natural glare. Poorly lit eyeball photography without glare looks cold and a little creepy.
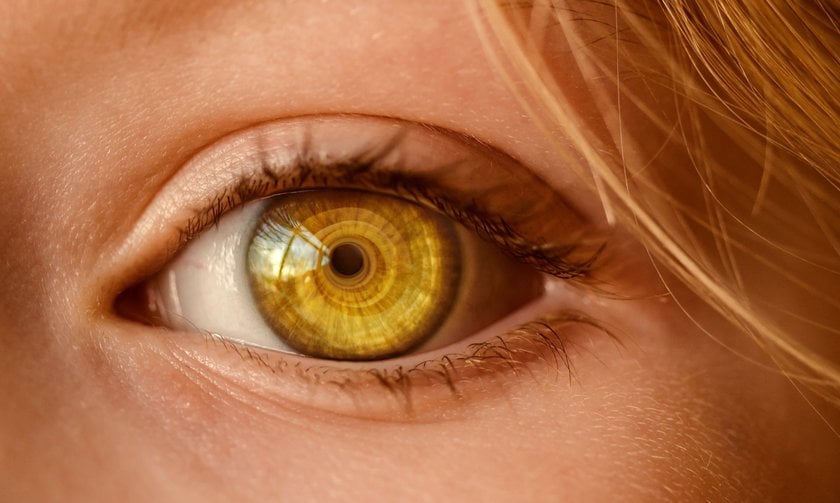
In addition to glare, you can capture various reflections in the model's eyes. This is a great way to give portraits a certain artistic atmosphere. There are many options - you can capture another person, an object, or even a landscape. Capturing reflections can be especially interesting in close-up eyes photography – try experimenting with it!
Avoid the red-eye effect. Red-eye in portrait photography is a common red-eye phenomenon in flash photography, and it happens when the flash is get too close to the camera. This effect is easily avoided by following a few photography eye close-up tips:
- Remove the flash from the camera. Use only remote on-camera flashes;
- Reflect the flash off the ceiling or walls;
- Use special diffusers and reflectors;
- Use a light disk to diffuse the light from the flash;
- Turn on the camera's red-eye reduction mode;
- If nothing helps, red-eye can be removed during post-processing as a last resort.
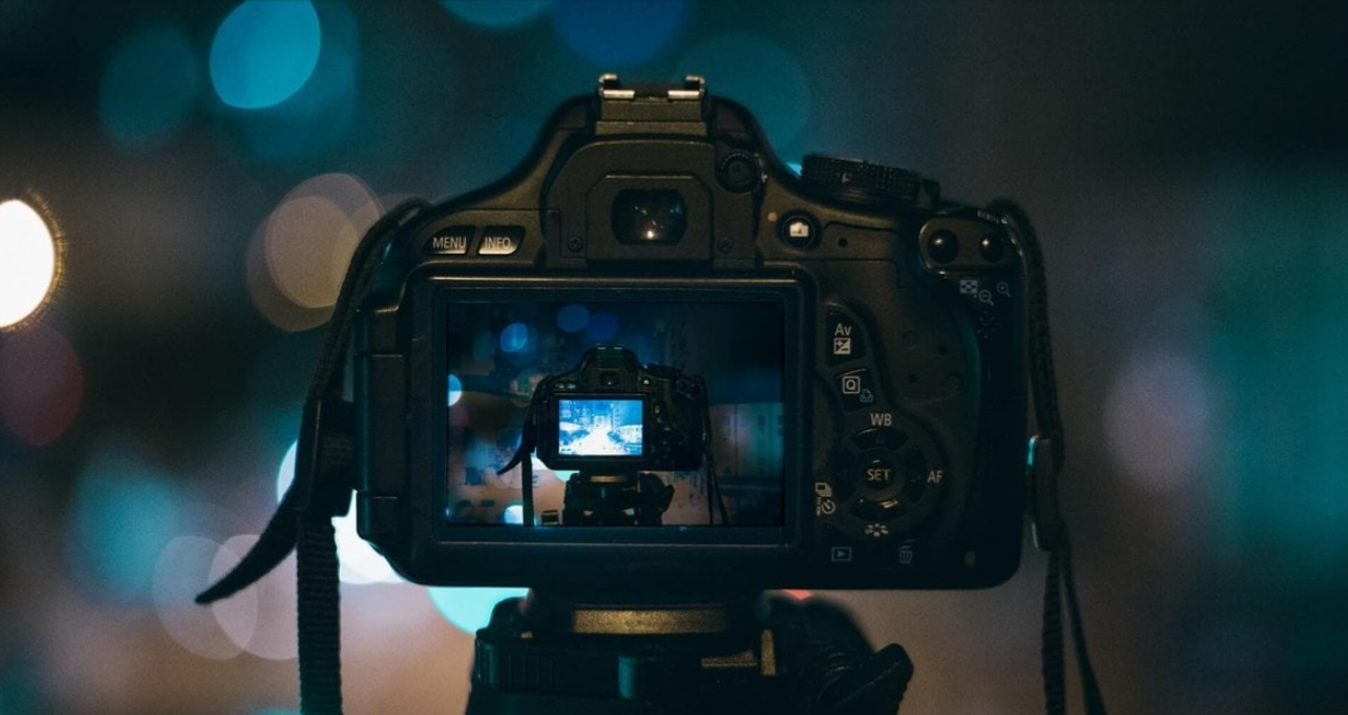
Camera Settings for Eye Macro Photography
 Use the zoom to bring the eye in the frame closer. Adjust the zoom to get exactly the frame you want. If you widen the frame to include additional details, it can provide the photo with additional context. However, it can shift the focus away from the subject you originally wanted to photograph. Ensure that the camera is stationary by placing it on a tripod or other secure surface. When shooting at close range, the slightest shake of the hand can blur the picture. Using a tripod or shooting from a stationary surface that will support the camera will help prevent blur. Consider using a macro ring that reduces the focal length of the lens. The macro ring is mounted between the camera body and the back of the lens. Using the macro ring allows you to zoom in on the eye in the frame, thereby capturing more detail.
Attach a macro lens to your camera. A macro lens will allow you to capture the eye in the most detail. Macro lenses range in focal length from 50 mm to 200 mm. Of course, you can find a perfect moment to shoot off the eye with a normal lens but it won't fill the entire frame and be as detailed as you want it to be.
If you don't have a macro lens and don't want to spend the money to buy one, try using a magnifying filter as an alternative.
How to Fix Closed Eyes in a Photo?
Learn moreReduce the camera aperture to increase the depth of field. Close-up shots look better with good sharpness. Reduce the aperture from f/5.6 to f/11.
The specific aperture value will depend on what kind of eye detail you want to emphasize in your photo. Experiment with the aperture to see how different settings affect the frame. Now that you know direct camera settings let's talk about how to take good pictures of your eyes.
How to Do Beautiful Eye Macro Photography?
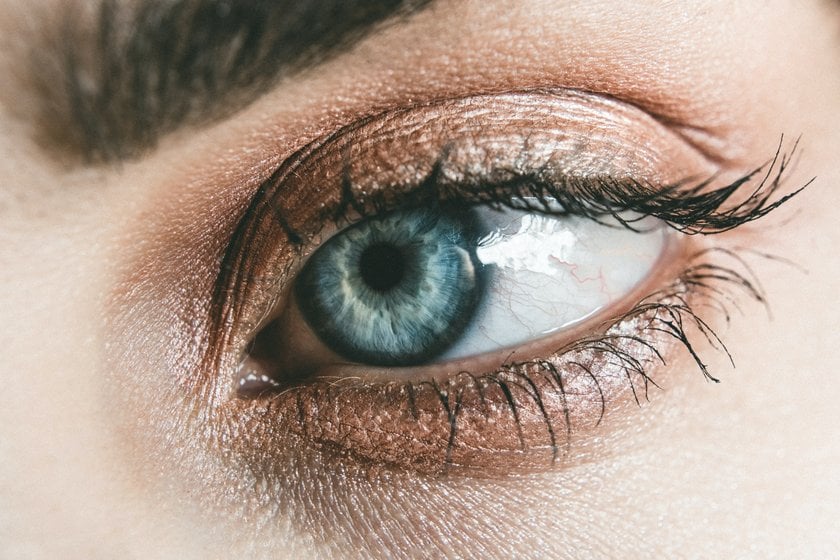 Let's start with the secrets that almost everyone knows. In bright light, the pupils narrow, but in dim light or a special mood, they dilate, and you can get an incredibly beautiful shot with "open" pupils. So you don't want to use a flash. Experiment with natural light and auxiliary permanent sources, which will help you create a correct and beautiful light pattern. While directing the light, make sure not to direct it clearly into the wrinkles in the corners of the eyes - such an effect will not be appreciated in the finished photo. Now its time for a few other tips and eyes photography ideas:
Also read: Best Photo Editing Software for Mac
- When you try several different light sources, keep in mind that the process can take a long time, because the color temperature of the eyes will change, depending on the lighting.
- It's no secret that human eyes are asymmetrical. There is a secret among photographers - to focus on one eye, so the photo will be more interesting making your model's gaze will attract the viewer's eye.
- An interesting trick is to take a photo of the look of your eyes photography with.... an object reflected in them. Place the light source, and the object that you think is most relevant and appropriate in front of the model. The photo will turn out magical and will arouse the viewer's interest.
- Another trick is macro photography of eyes. You will need a special camera or rings of attachments for macro, and also a quiet model who will not mind a long process. You will need to arrange a comfortable place for her to work, where she will be comfortable and quiet for a long time.
- Be sure to give the model a rest, as long, uninterrupted staring into the camera will make your eyes water and, of course, can be uncomfortable. So you need time for a short break, which will allow the model to recover.
- To make the eyes close-up photography session more comfortable, try advising the model to blink or use eye drops before each new shot.
- Use a slower shutter speed to avoid blurring the frame. The eye is constantly moving, which may result in a blurred image. To get a sharp image, need to adjust the shutter speed to 1/100th of a second or faster.
- Using a tripod will also allow you to use a shorter shutter speed.
- Reduce the ISO setting to avoid digital graininess. Increasing the ISO setting allows you to take photos when subjects are poorly lit, but the photos will become grainy. If you are taking photos in good light, keep the ISO setting to the lowest acceptable level. Manually adjust the focus. Autofocus may not focus the lens exactly on the details of the eye you want to capture, so it is best to turn it off and focus manually. To adjust the focus yourself, rotate the lens focus ring until the frame is completely blurred. Then start twisting it back until the parts you want to capture are in focus.
Now, that you know how to take eye pictures, let's talk about another aspect of this case.
Close-Up Filters
 Close-up filters are filters for close-ups. Their action can be compared to that of a magnifying glass. They scale the object, but the quality of the image is somewhat reduced, as well as the amount of light entering the lens. Filters are inexpensive and are good for fun experiments if you don't have a macro lens. There is a gradation for them: +1, +2, +5, and so on, the higher the number, the stronger the filters magnify, and the less light hits the sensors.
What Will Be Required of the Model?
 Of course, not everything during the shoot is up to the photographer. How to take eyes photography from the model side? The model will need to take care of her eyes the day before the shoot. Not to spend sleepless nights or attend noisy parties on the eve of the photo session. The model should get a good rest, and gain strength. If the sleep is not good and prolonged - you'll get on the photo yellowish whites, maybe even with red streaks, which absolutely will not be too attractive. Of course, if the idea of the photo session is not to capture a tired person. In other cases let your eyes rest. It is very important to give instructions on sleep and rest regimens before taking an eyes portrait photography session.
Of course, such advice may seem optional, as yellowish whites can be easily corrected during photo retouching. But the mood and the inner state of the model during the shooting cannot be corrected so easily.
Today we have learned what you can do to make the model's eyes more expressive and express her soul.
Post-Processing
 Post-processing is very important in photography eyes. You can take your portrait photo from just good to the best. The key to great post-processing is not to overdo it.
It's easy to enjoy all the tricks and enhancements that post-production software offers. When it comes to retouching, the photographer tries to use the night rule. After Gina has worked on an image, she won't look at it again, at least not during the day. More often than not, you find that your eyes are constantly adapting to the modifications you make, so it becomes harder to see when you've gone too far.
Edit Your Macro Shots of Eyes in Luminar Neo
Now that you know how to take a picture of your eye, let's talk about how to improve it!
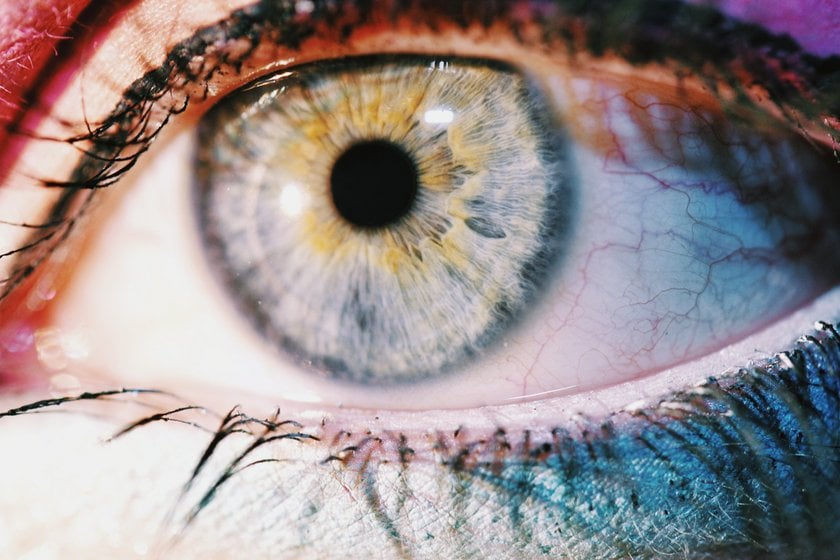
The powerful photo editor Luminar Neo provides a great way to add surreal or fantastical elements to your macro-eye sharp images! With the extensive toolset of this app, your options are limited only by your imagination and the time you're willing to spend on photo processing! Even if you are new to photo editors, the Artificial Intelligence editing tools will help you improve your photos.
Conclusion
Macro photography is nothing new, but 10-15 years ago, it was quite a rare phenomenon. Until now, macro photography is still something unusual for many people, and even unattainable. With our tutorial, you can take such unusual photos as macro-eye photography. Remember that it is not the final truth and with experience, you will be able to improve it for yourself personally, because the information here is for beginners. Don't be afraid to experiment and you will be able to create your masterpieces of macro eyes pictures!