
Blog
January 13, 2025
El mejor MacBook para Editar Fotos en 2025
Elegir el mejor portátil para fotógrafos es a veces como hacer malabarismos con los requisitos. Por un lado, el dispositivo debe ser lo suficientemente potente como para trabajar fácilmente con los mejores editores fotográficos. Por otro, el portátil debe ser portátil para que puedas llevártelo a cualquier sesión fotográfica.
January 03, 2025
Orientación horizontal vs. orientación vertical

December 20, 2024
Más de 30 plugins gratuitos para Photoshop

December 09, 2024
Cuándo se hizo la primera fotografía de la historia

November 29, 2024
Píxel Atascado vs Píxel Muerto: ¿Cómo Distinguirlos y Repararlos?

November 27, 2024
Mejor Software de Edición de Fotos para Mac en 2025

November 20, 2024
Las 17 mejores alternativas gratuitas a Photoshop en 2025

November 20, 2024
5 Maneras de Hacer Que las Imágenes Borrosas Sean Claras y Nítidas

November 20, 2024
Cómo Ser Más Fotogénico: Consejos Y Trucos
November 20, 2024
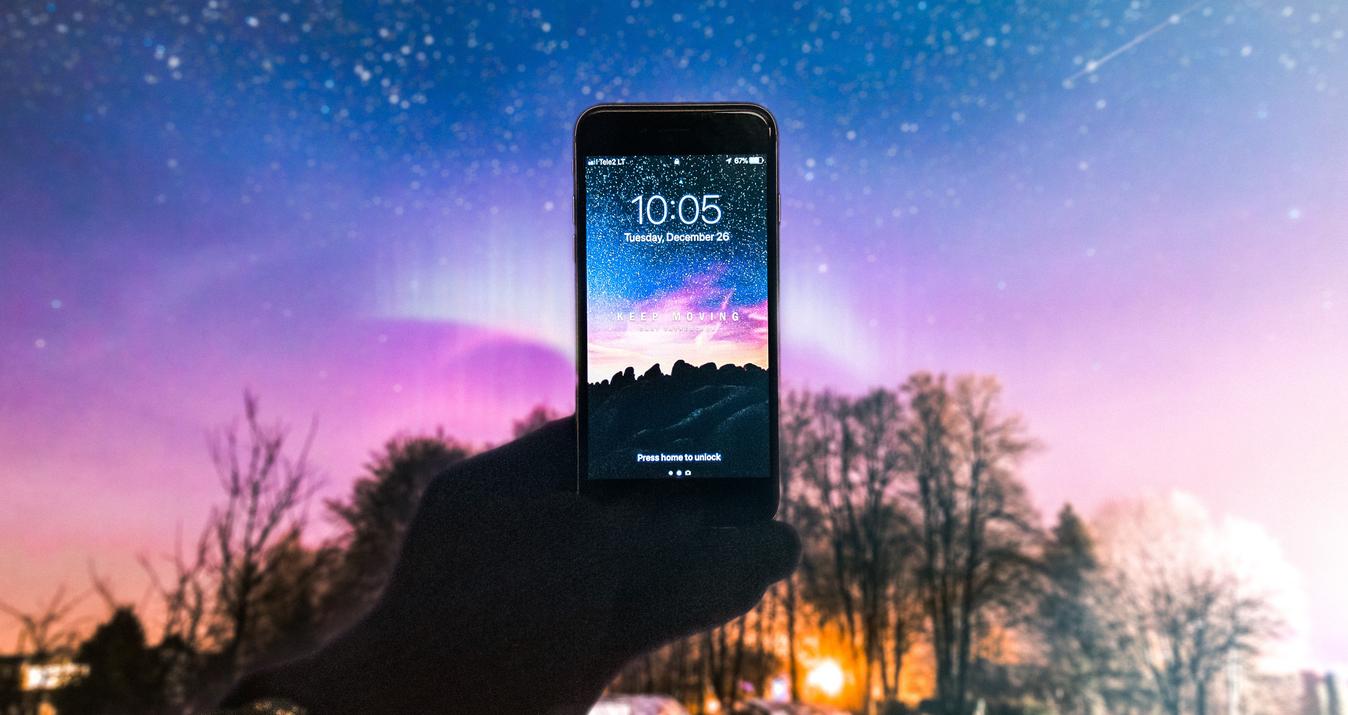
Consejos para hacer fotos increíbles del cielo nocturno con el iPhone
El más popular
November 20, 2024
Las 17 mejores alternativas gratuitas a Photoshop en 2025
Photoshop ha sido un estándar de la industria durante décadas, pero es costoso para aquellos que solo lo usan ocasionalmente y para aquellos que solo lo usan para la edición básica de fotografías. Aquí hay 17 alternativas gratuitas a Photoshop para el retoque fotográfico básico o el diseño gráfico, y algunas ofrecen lo mejor de ambos mundos.
Leer más

June 25, 2024
Software De Edición De Fotos AI: Los Mejores Editores De Fotos Con AI
El mundo es hermoso. Hay tantas cosas, lugares y personas que merecen permanecer en nuestros pensamientos y recuerdos para siempre. Claro que podemos fotografiar todas las fuentes de placer e inspiración. Pero queremos que nuestras fotos sean suaves y nítidas. Queremos compartirlas y exhibirlas.
Leer más

June 20, 2024
Mejor Almacenamiento de Fotos Online (Gratuito/Pagado) - Revisión 2024
También analizamos los sitios de alojamiento de fotos más populares e intentamos elegir el mejor. Seleccionar un sitio de almacenamiento de fotos puede ser difícil: ¡hay tantas plataformas entre las que elegir! Entendemos este dilema y hemos creado una lista de los mejores sitios web de almacenamiento de fotos en línea.
Leer más
Suscríbete para ser el primero en enterarte
Nuestra paloma mensajera se encargará de hacerte llegar nuestras mejores ofertas y noticias sobre Skylum.