
Blog
January 15, 2025
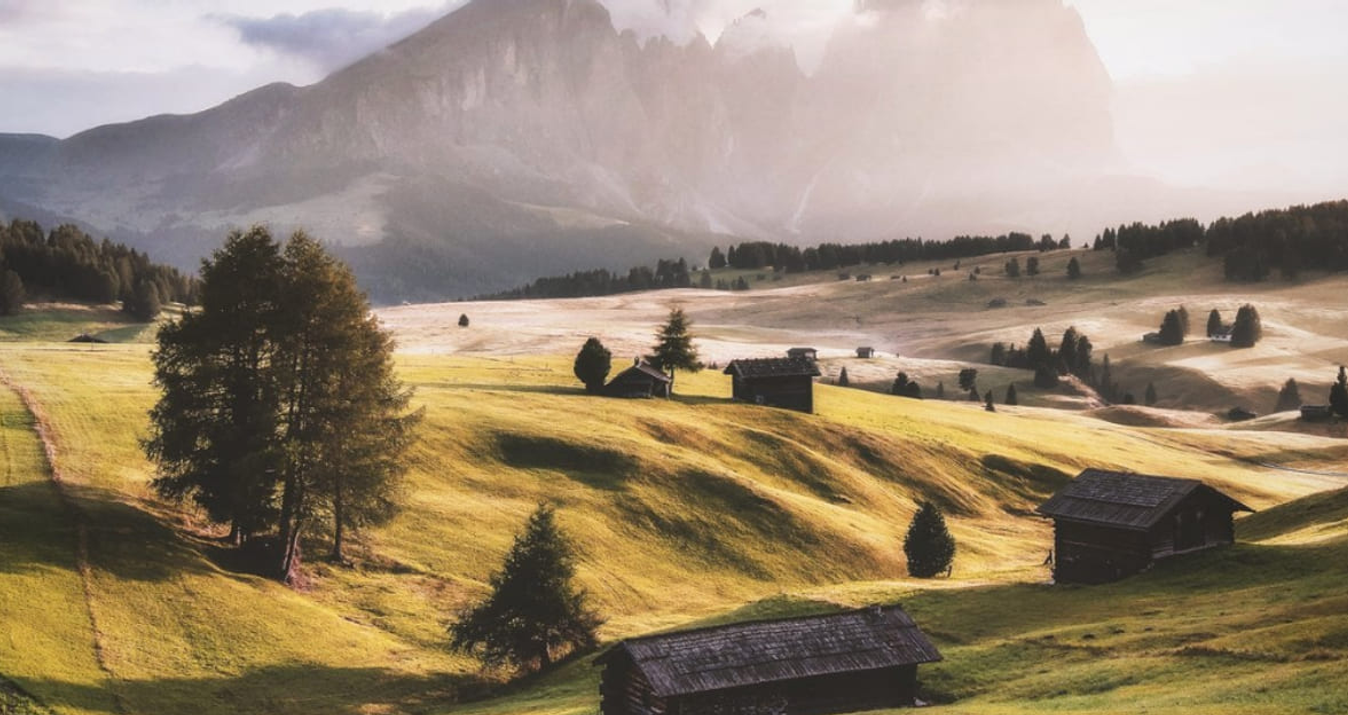
Orientamento Ritratto vs Paesaggio: Principali Differenze
La composizione è uno degli elementi più importanti quando si vogliono creare foto degne di nota. Oggi esamineremo due orientamenti fotografici per scoprire qual è quello più adatto a te.

December 20, 2024
30+ Migliori plugin gratuiti per Photoshop

December 09, 2024
Quando È Stata Scattata La Prima Foto

November 27, 2024
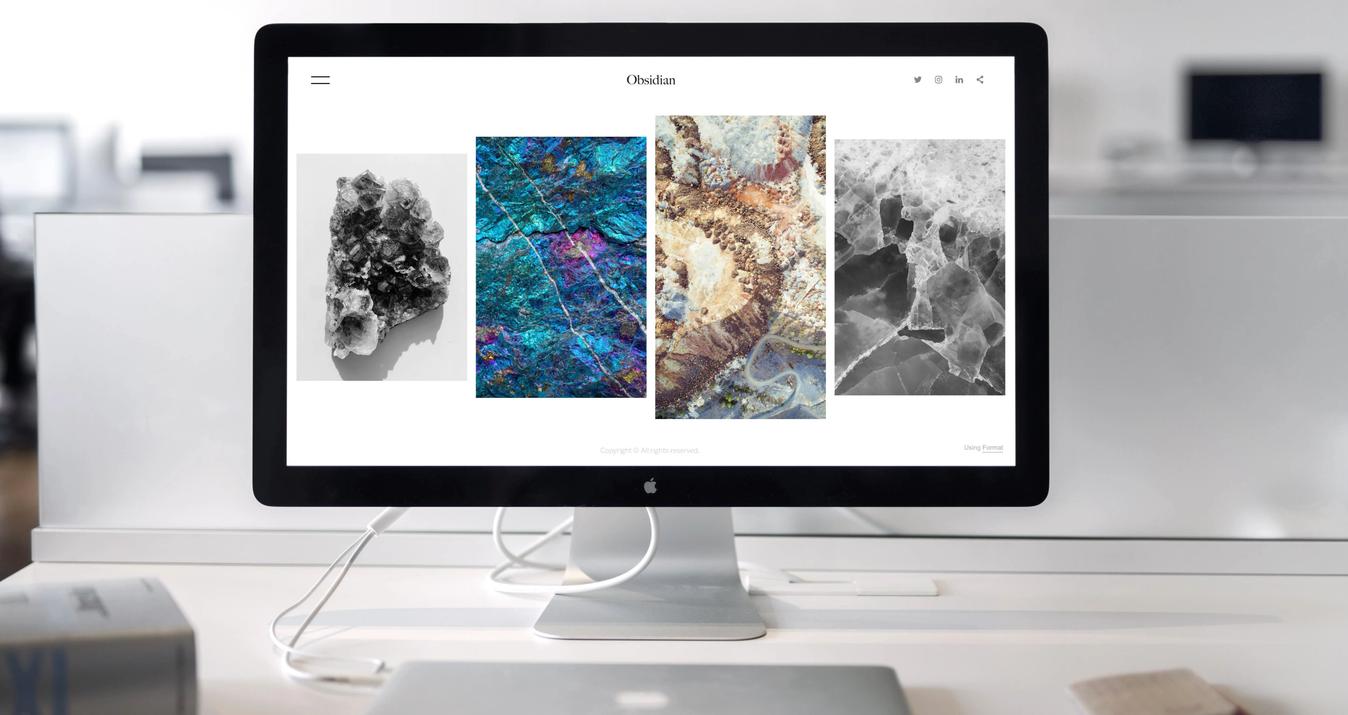
Il Miglior Software di Editing Fotografico per Mac nel 2025

November 20, 2024
Come Essere Più Fotogenici: Consigli E Trucchi

November 20, 2024
17 Migliori Alternative Gratuite a Photoshop nel 2025

November 20, 2024
Migliori software di editing fotografico per PC nel 2025
November 20, 2024
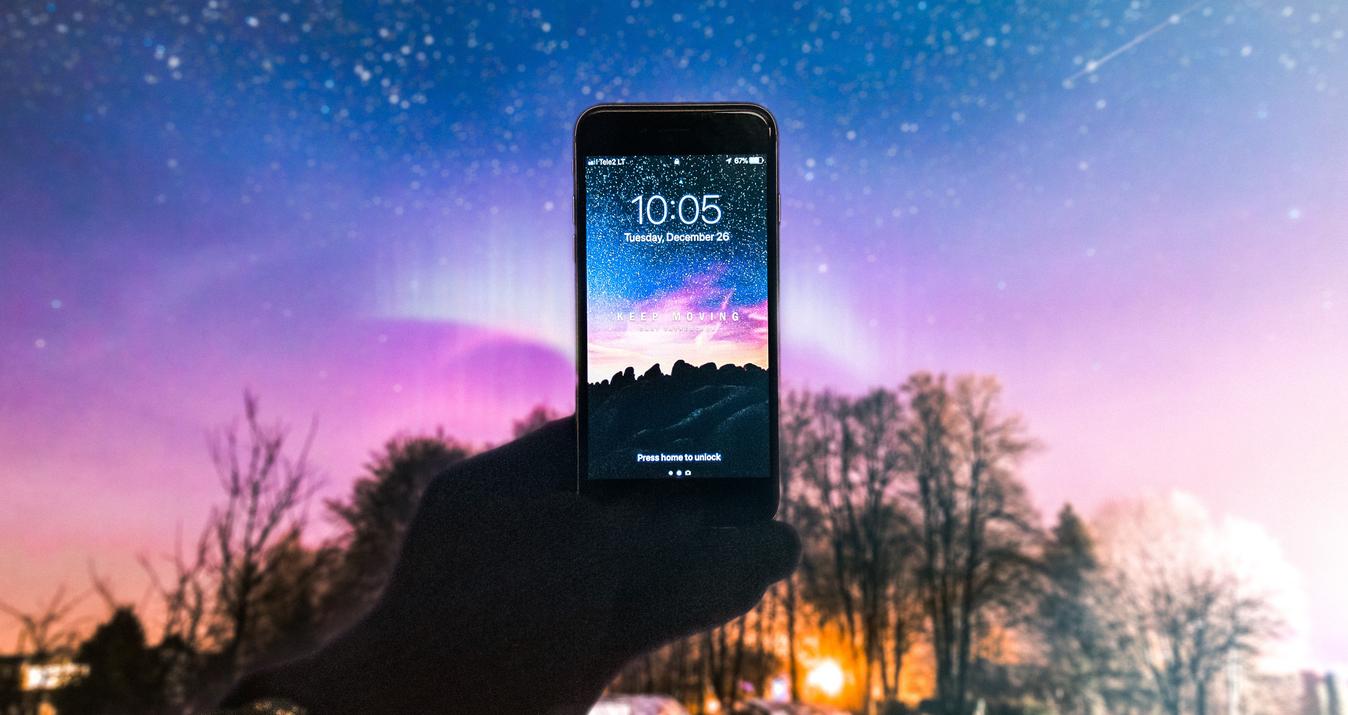
Suggerimenti per scattare foto del cielo notturno con l'iPhone

November 20, 2024
Come Ridimensionare le Foto per il Profilo e la Copertina di Facebook

November 20, 2024
5 Modi per Rendere Chiare e Nitide le Immagini Sfocate
Il più popolare
November 27, 2024
Il Miglior Software di Editing Fotografico per Mac nel 2025
Siete utenti Apple e avete bisogno di avere le vostre foto rifinite come quelle di un professionista? Allora siete nel posto giusto! Oggi, nel nostro blog, parliamo delle migliori app di editing fotografico per Mac.
Ulteriori informazioni
February 26, 2024
Il Miglior MacBook per il Fotoritocco nel 2025
Scegliere il miglior computer portatile per fotografi è a volte un po' come destreggiarsi tra le esigenze. Da un lato, il dispositivo deve essere abbastanza potente da poter lavorare facilmente con i migliori editor fotografici. Dall'altro, il portatile deve essere portatile, in modo da poterlo portare con sé in qualsiasi servizio fotografico.
Ulteriori informazioni
December 20, 2024
30+ Migliori plugin gratuiti per Photoshop
Progettati per effetti fotografici creativi, elaborazione in serie e modifiche di base, questi plugin gratuiti ti aiuteranno a realizzare la tua visione artistica. Molti fotografi professionisti li usano per migliorare il loro workflow, quindi perché non provarci anche tu?
Ulteriori informazioni
Iscriviti per conoscere le novità prima degli altri
Riceverai le migliore offerte e tutte le novità dal mondo Skylum.