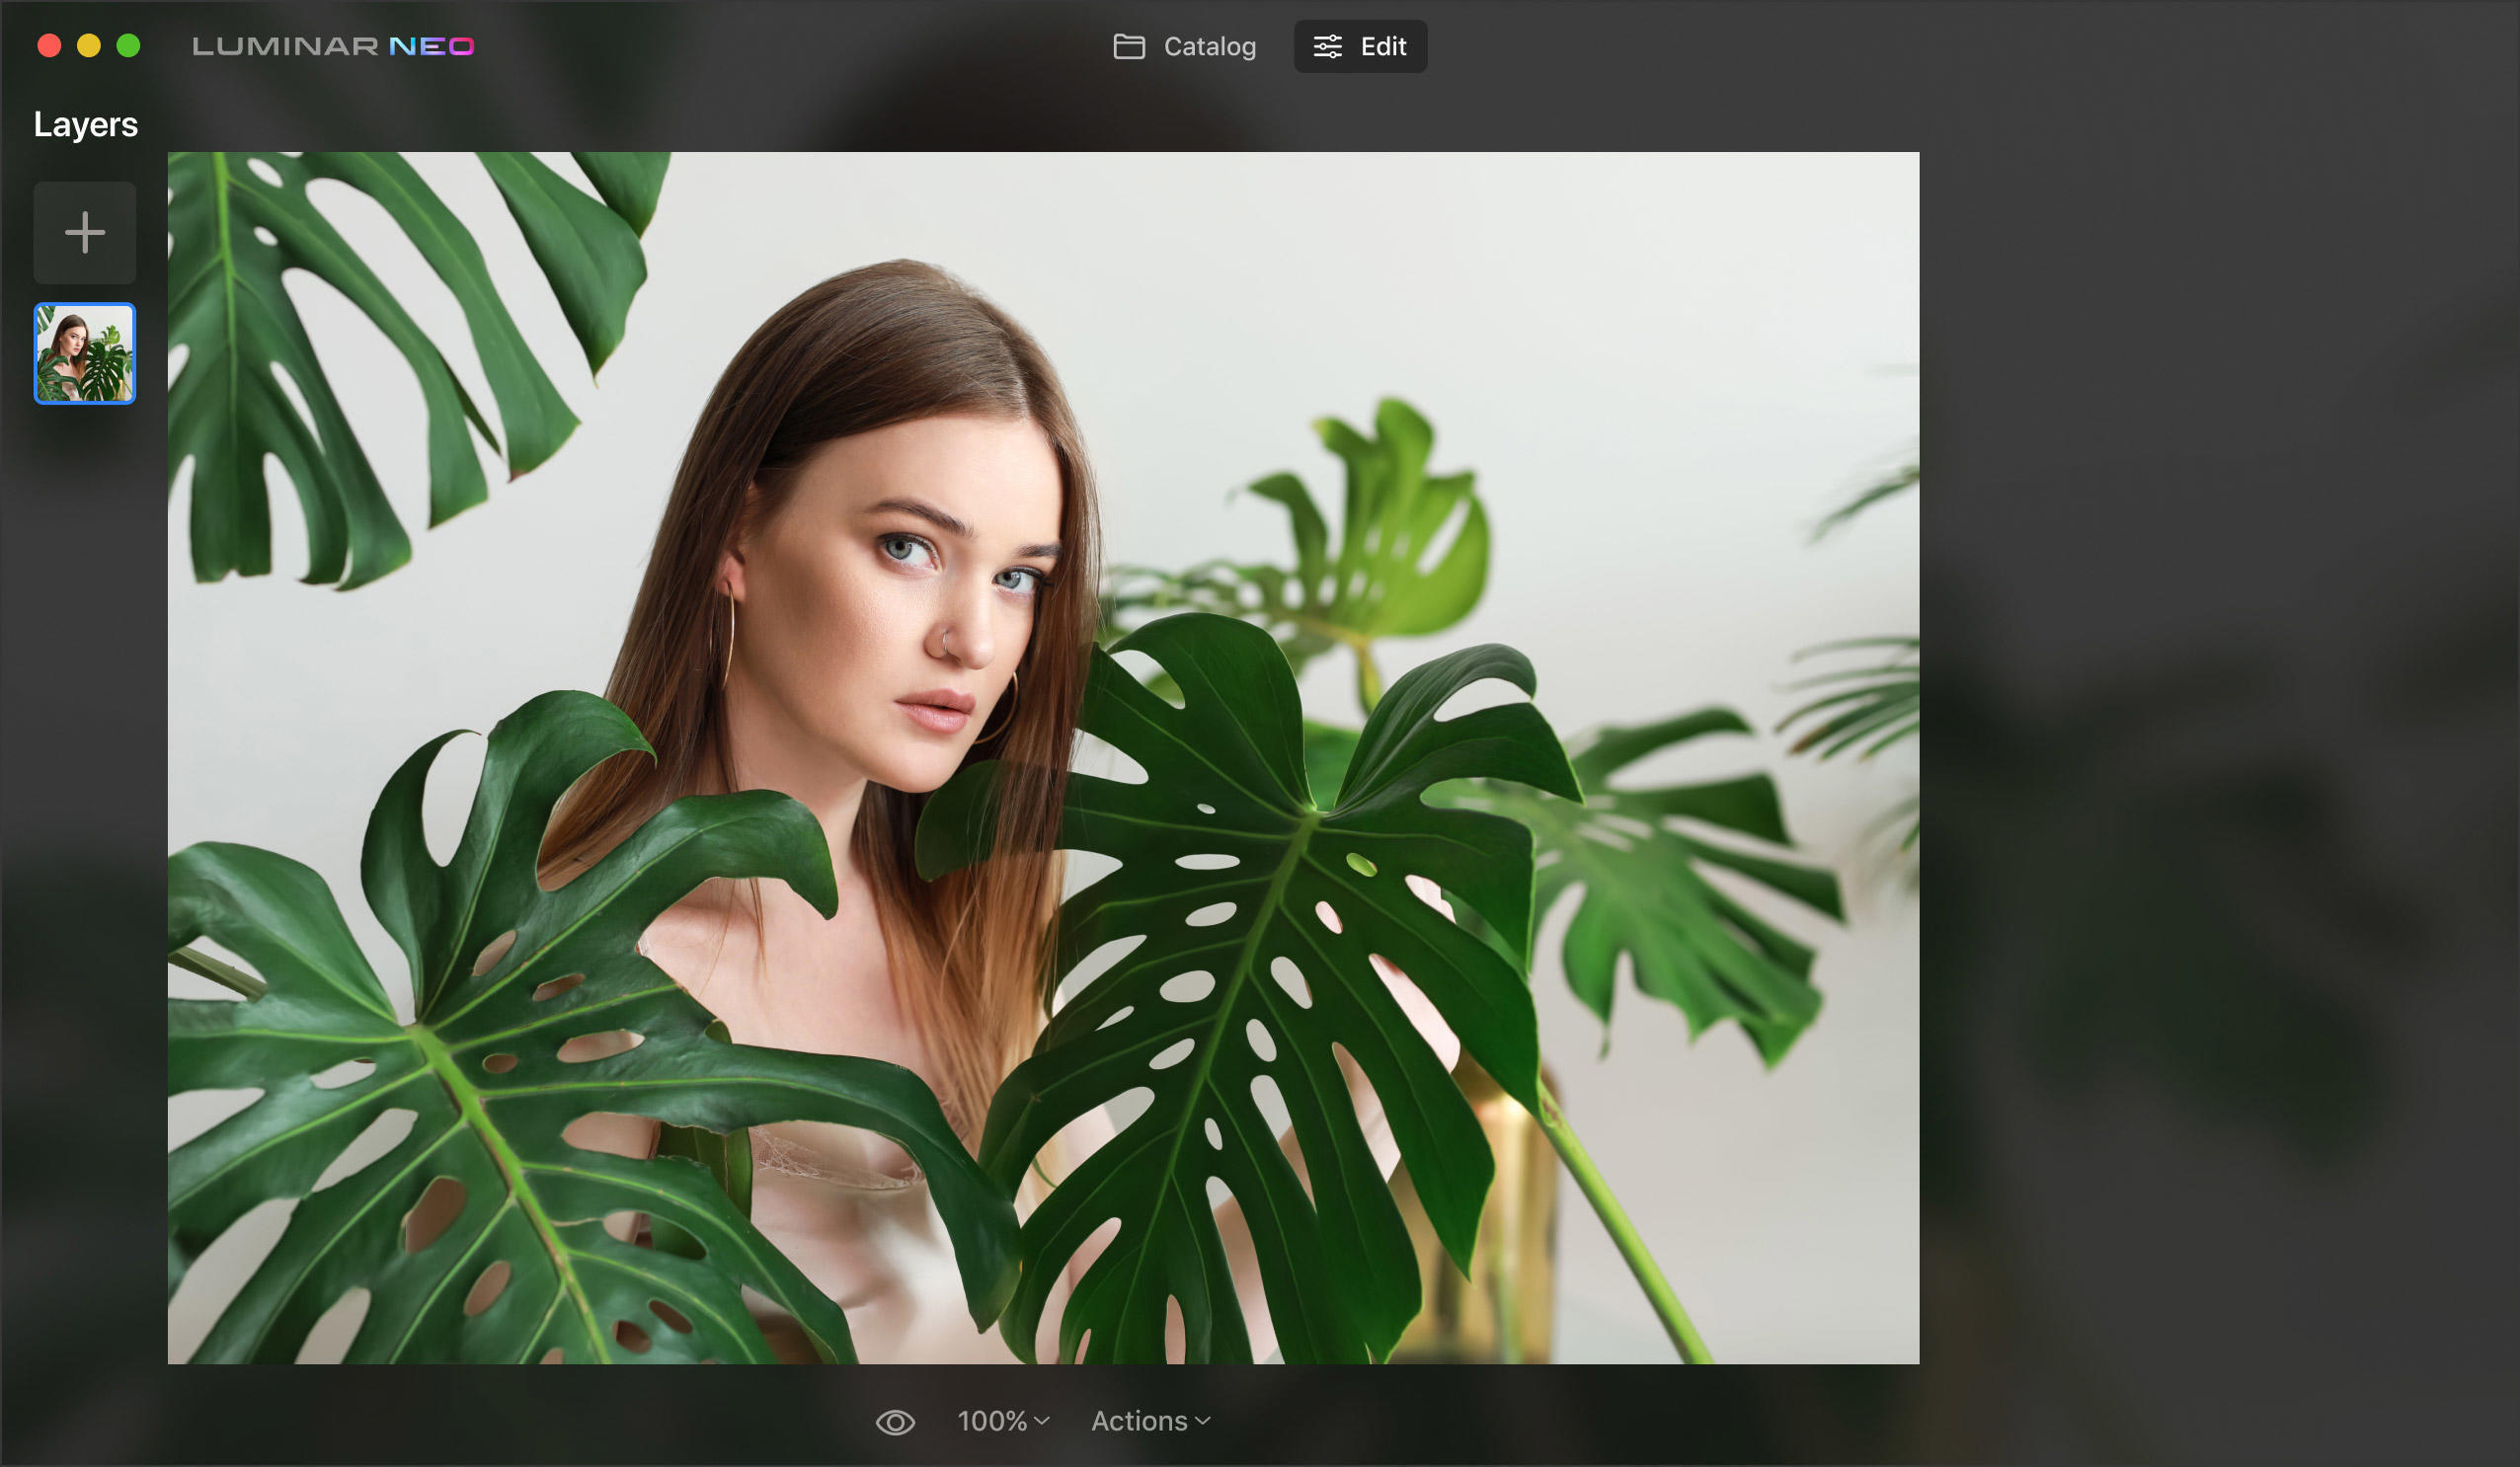
Make better HDR photos with layers & masking in Aurora HDR. We'll show you how.

First, What are Layers?

As the team at Adobe said: “Layers are like sheets of stacked acetate. You can see through transparent areas of a layer to the layers below. You move a layer to position the content on the layer, like sliding a sheet of acetate in a stack. You can also change the opacity of a layer to make the content partially transparent”.

To paraphrase, a layer is simply one image stacked on the top of another, with the image on top being visible above of the layers below it.

Here are the Reasons to Work With Layers

  • Layers provide you a non-destructive form of editing
  • You are working on the top or on the copies of your original image
  • You get so much more control of your image
  • You can change the opacity of any effects
  • You can add layer masks to work selectively with the adjustments
  • You can add/work with Luminosity Masks on new layers
  • You can add Texture Files or even load source files from your HDR Stack
  • You can use blending modes to change the way layers interact

One of the primary advantages of working with layers is that they provide a non-destructive method of editing. When you edit on a layer, you're working on the topmost layer or a copy of your original image, ensuring that your original image remains intact. This non-destructive approach allows you to make safe adjustments and even revert to the original image if needed.


Blending Modes. Explained.

Change these to adjust the way the selected layer blends (or displays) with the layers below it.

  • Normal: blend modes will display your image exactly as shot
  • Overlay: combines Multiply and Screen blend modes
  • Hard Light: combines Multiply and Screen blend modes
  • Soft Light: it is a softer version of Hard Light
  • Screen: inverts both layers, multiplies them and inverts the result
  • Multiply: simply multiplies each component in the two layers
  • Color: divides the inverted bottom layer by the top layer, and then inverts them
  • Luminosity: preserves the hue and chroma of the bottom layer

When to Use Layers?

The short answer - all the time! As a photographer who is passionate about your final result, it’s in your best interest to always use a nondestructive editing method. This allows you to go back to any step of your editing and make safe adjustments, or even revert to your original image with just a single click of a button.

For the safest and cleanest workflow, we recommend making every new change on a different layer to control your image. As you can see from the gallery, every change we’ve made has been done on a new layer. By clicking the "+" icon on the top of the layer section, you can add up to 14 layers with the PRO version of Aurora to work on.

If desired, for each new layer we can create a very selective editing process. As an added bonus, using layer-masking techniques, we can apply very powerful and intense edits to selective regions of our image. We can even apply a texture to the whole image or just a selective area. In the image below, we applied a texture only to the sky.

Power-up your HDR photography with layers and masks | Skylum Blog(2)

Layers in Luminar Neo 

When it comes to modern photo editing software, Luminar Neo is a noteworthy contender that photographers should consider incorporating into their workflow. Luminar Neo offers a user-friendly interface with powerful editing tools, including the ability to work with layers and masks. While our previous discussion focused on layers in Aurora HDR, Luminar Neo also provides similar layer-based editing capabilities, making it a versatile choice for photographers looking to enhance their images. With Luminar Neo, you can leverage layers to apply various adjustments and blending modes, giving you creative control over your photos.

Additionally, the software's intuitive Luminosity Masks feature allows for precise tonal adjustments, making it easier to bring out the desired details and contrasts in your images. Overall, Luminar Neo is a valuable addition to any photographer's toolkit, offering a range of tools and features to elevate your photo editing experience.

Advanced yet easy-to-use photo editor

Get Luminar Neo Now

How to Create Layers?

To use layers in Aurora HDR, you simply have to hit the "+" button on the top right of the side toolbar in the layer section. Add up to 14 in Aurora HDR Pro, and if you make a mistake, or decide you don’t need it anymore, you can remove the layer by hitting the "-" button. 

When the layer is a lighter gray shade than others, you know it’s selected and anything you do is operating only on that layer. Change the Opacity of the layer by simply clicking the opacity drop down slider and adjust it to your liking.

Power-up your HDR photography with layers and masks | Skylum Blog(3)

Layer Mask Revealed

The next powerful tool hidden within Layers is the ability to use Masks! A mask is simply an area that you select telling Aurora HDR that any edits should only be applied to that area. 

Masks are enabled at 100% by default, but by selecting the brush tool you can also paint in selective edits to your image. By default, the masking brush is set to a 50% opacity, but you have the control to change this from 1% to 100% and the amount of feathering!

For example, you might want a foreground to be highly detailed while the sky remains somewhat soft. Simply create a new layer, brush the mask into the foreground to define an area for your photo enhancement, and then add details using the Structure or Detail controls on the Adjust panel. Experiment on your own images to see how Brush opacity and feathering work.

Power-up your HDR photography with layers and masks | Skylum Blog(4)

Luminosity Masks

Luminosity masks are very special masks that are automatically created by Aurora HDR. When you create a new layer and choose “Create Luminosity Mask” from the layer menu, the software makes a mask that separates light and dark tones in the image and preserves their relative strength. When you apply effects to a Luminosity Mask, the enhancements are more pronounced in the light areas of the image.

Power-up your HDR photography with layers and masks | Skylum Blog(5)

One-stop HDR Photo Editor for Nature and Architecture Photography

Explore in Luminar Neo!

In Conclusion

Layers are an indispensable tool for photographers who seek control and flexibility in their editing process. Whether you're making subtle adjustments or dramatic enhancements, layers, blending modes, and masks provide you with the versatility and precision needed to transform your images into stunning works of art. To explore these techniques further, check out the videos in our gallery. Happy editing!

Power-up your HDR photography with layers and masks | Skylum Blog(6)

Experience the power of Luminar Neo

Try free Try free
Power-up your HDR photography with layers and masks | Skylum Blog(8)

Advanced yet easy-to-use photo editor

view plans