Rozvíjejte svou představivost
pomocí Vrstev
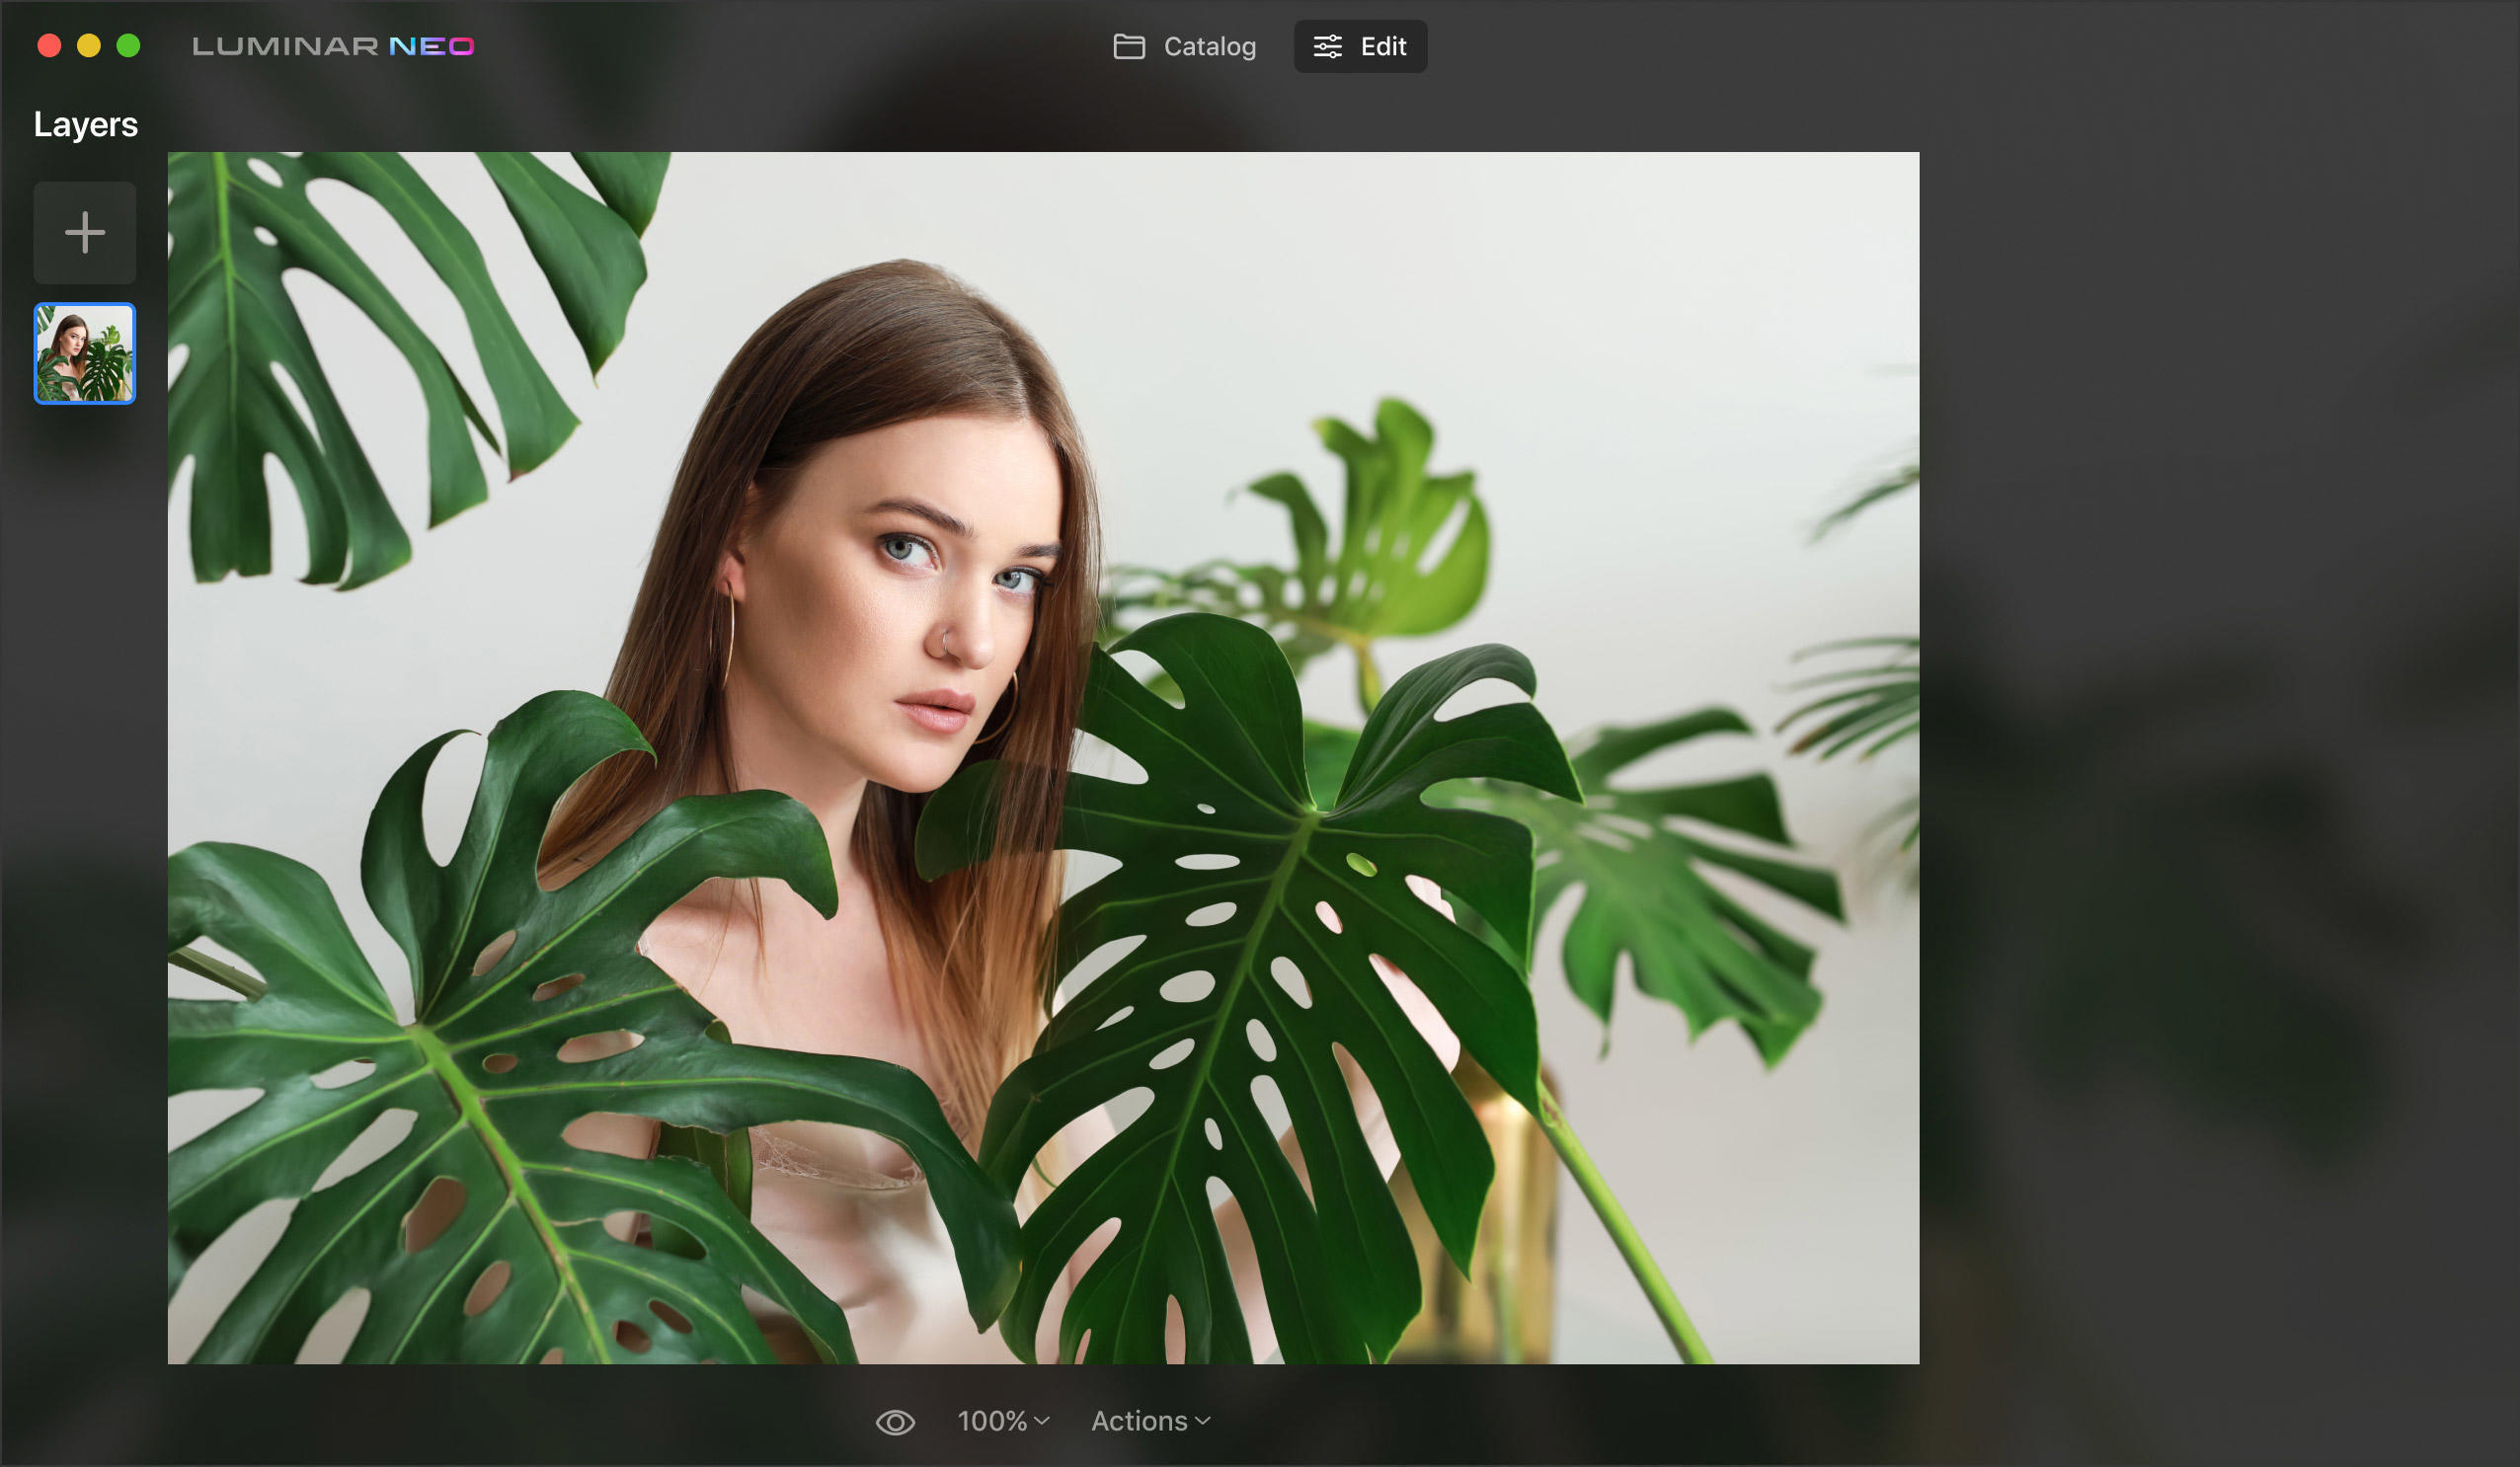
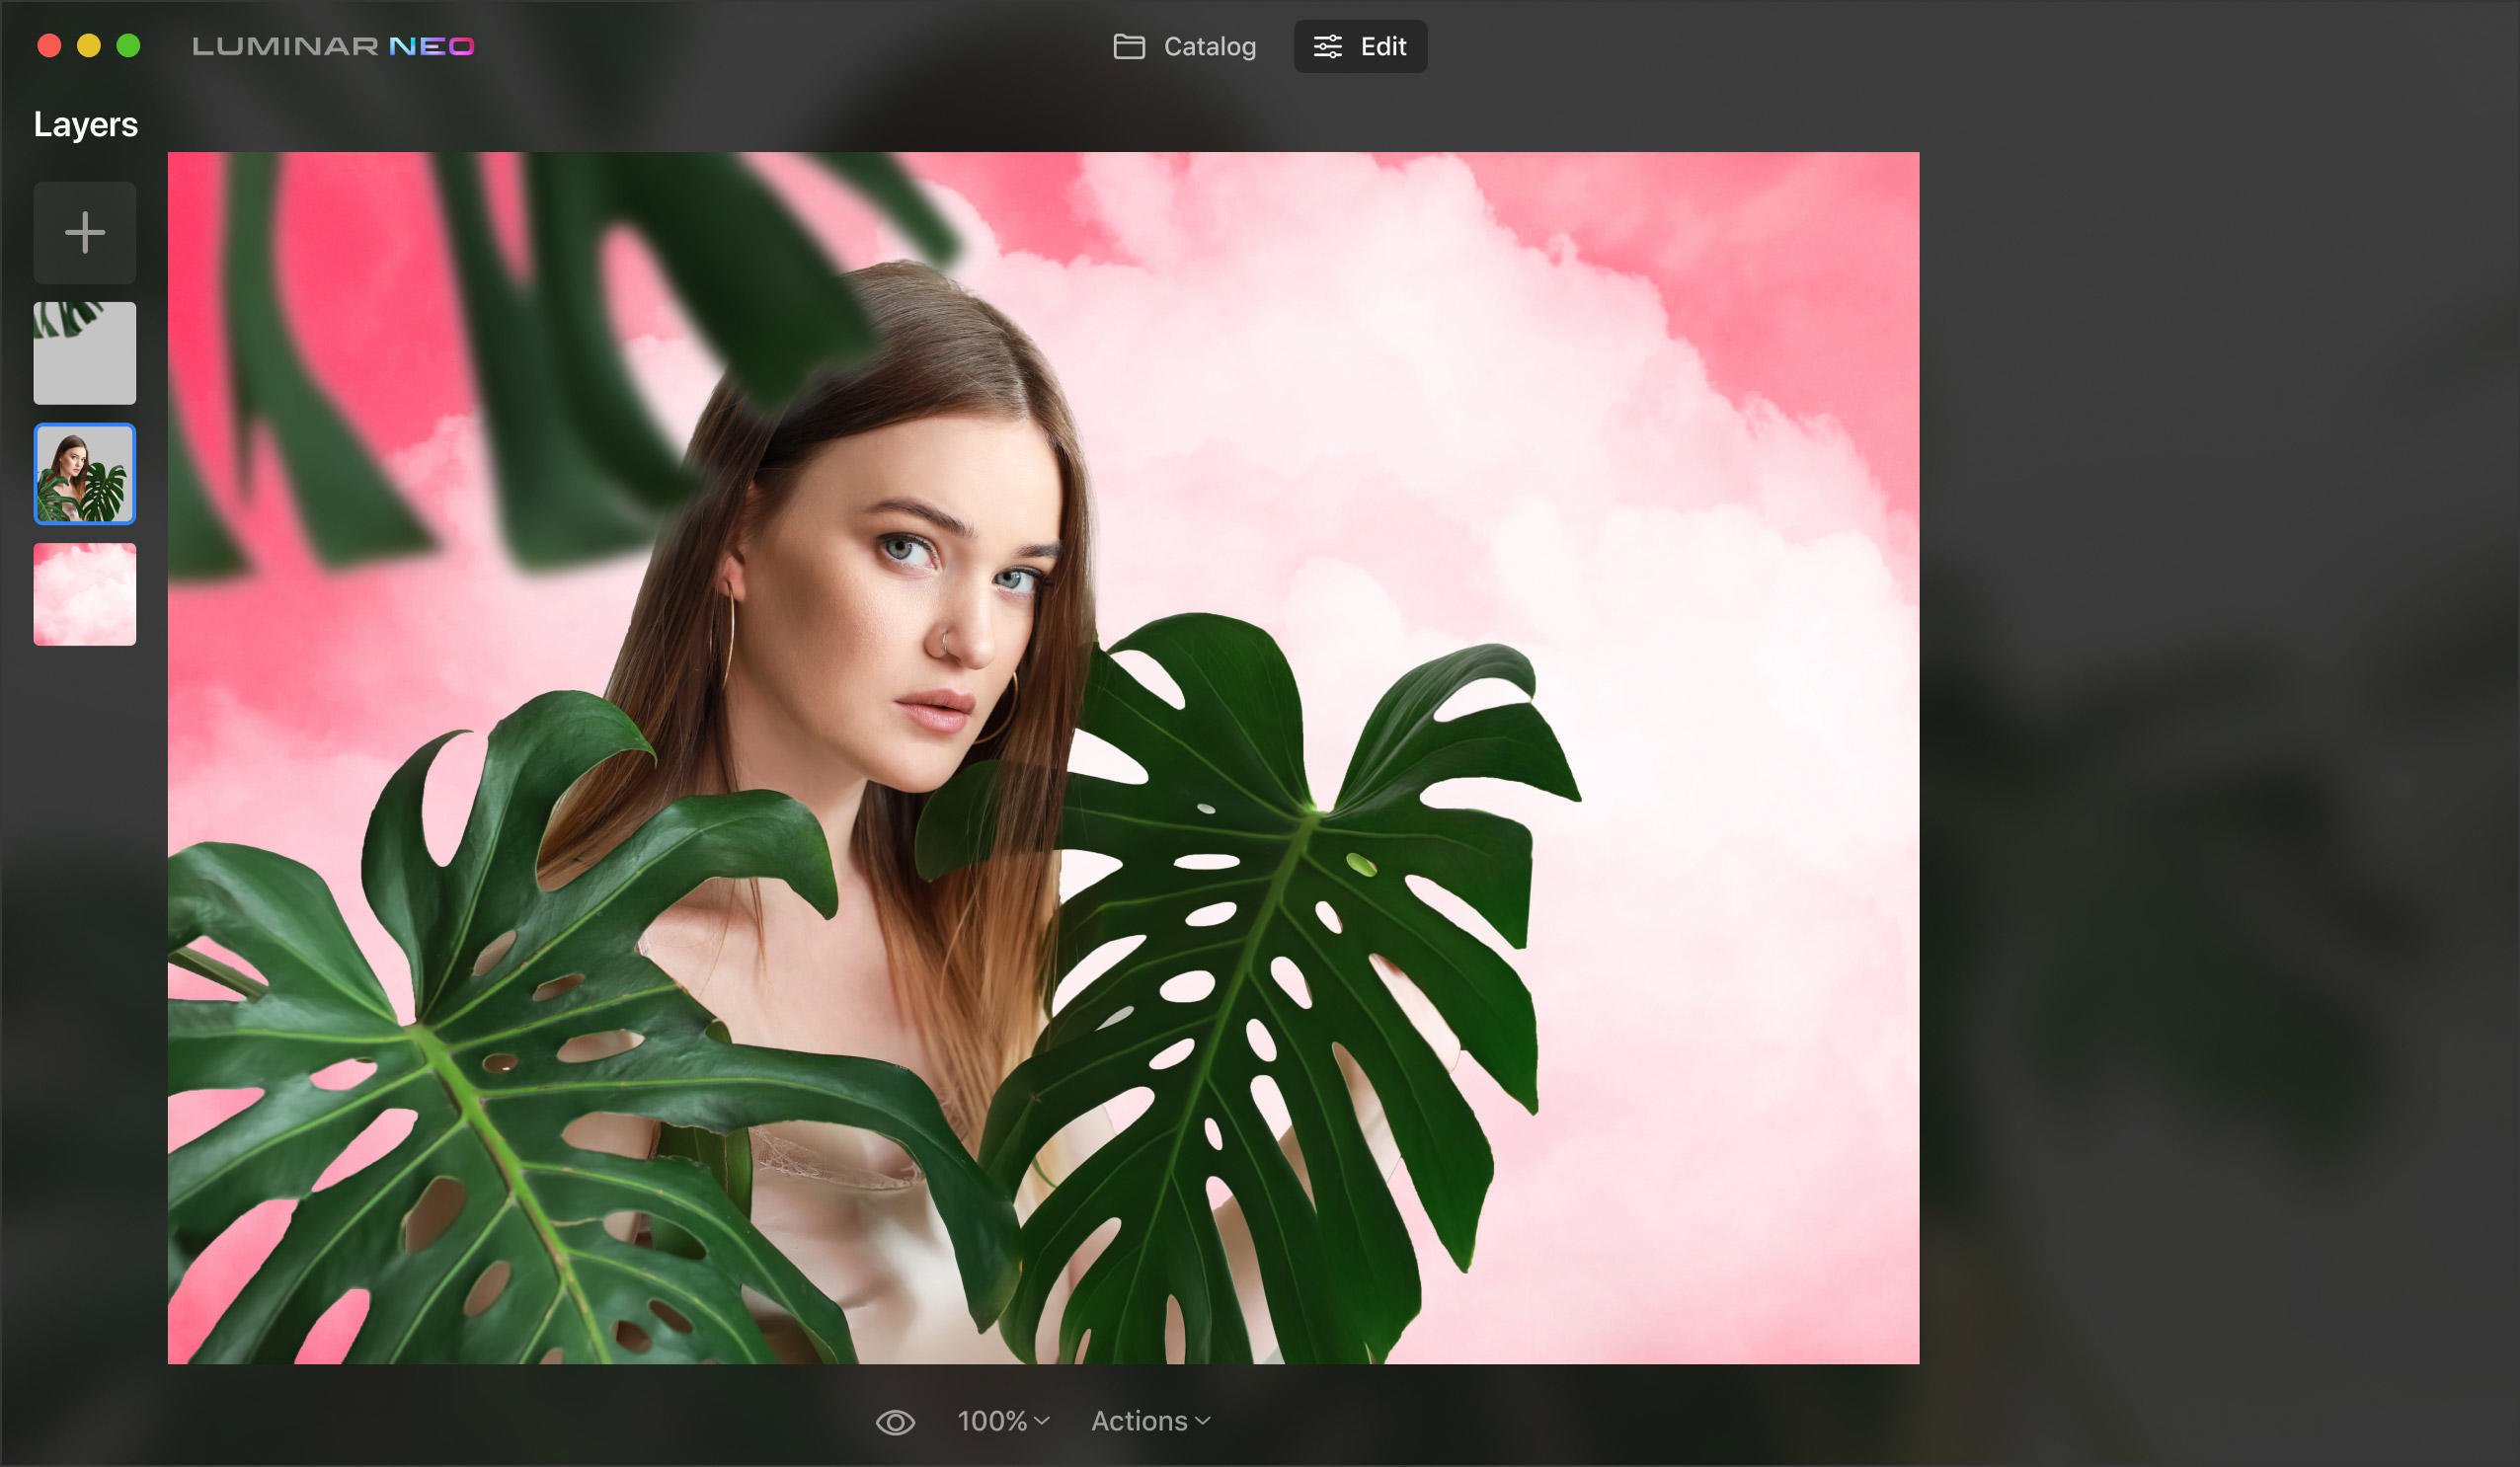
Experimentujte s fotografiemi a vytvářejte speciální efekty prolínáním a maskováním dvou nebo více vrstev v obrázku.

Experimentujte s fotografiemi a vytvářejte speciální efekty prolínáním a maskováním dvou nebo více vrstev v obrázku.
Jediným omezením je vaše kreativita. Přidejte tolik vrstev masky, kolik potřebujete, abyste oživili jakýkoli nápad.
Používejte maskování vrstev, prolínání obrázků
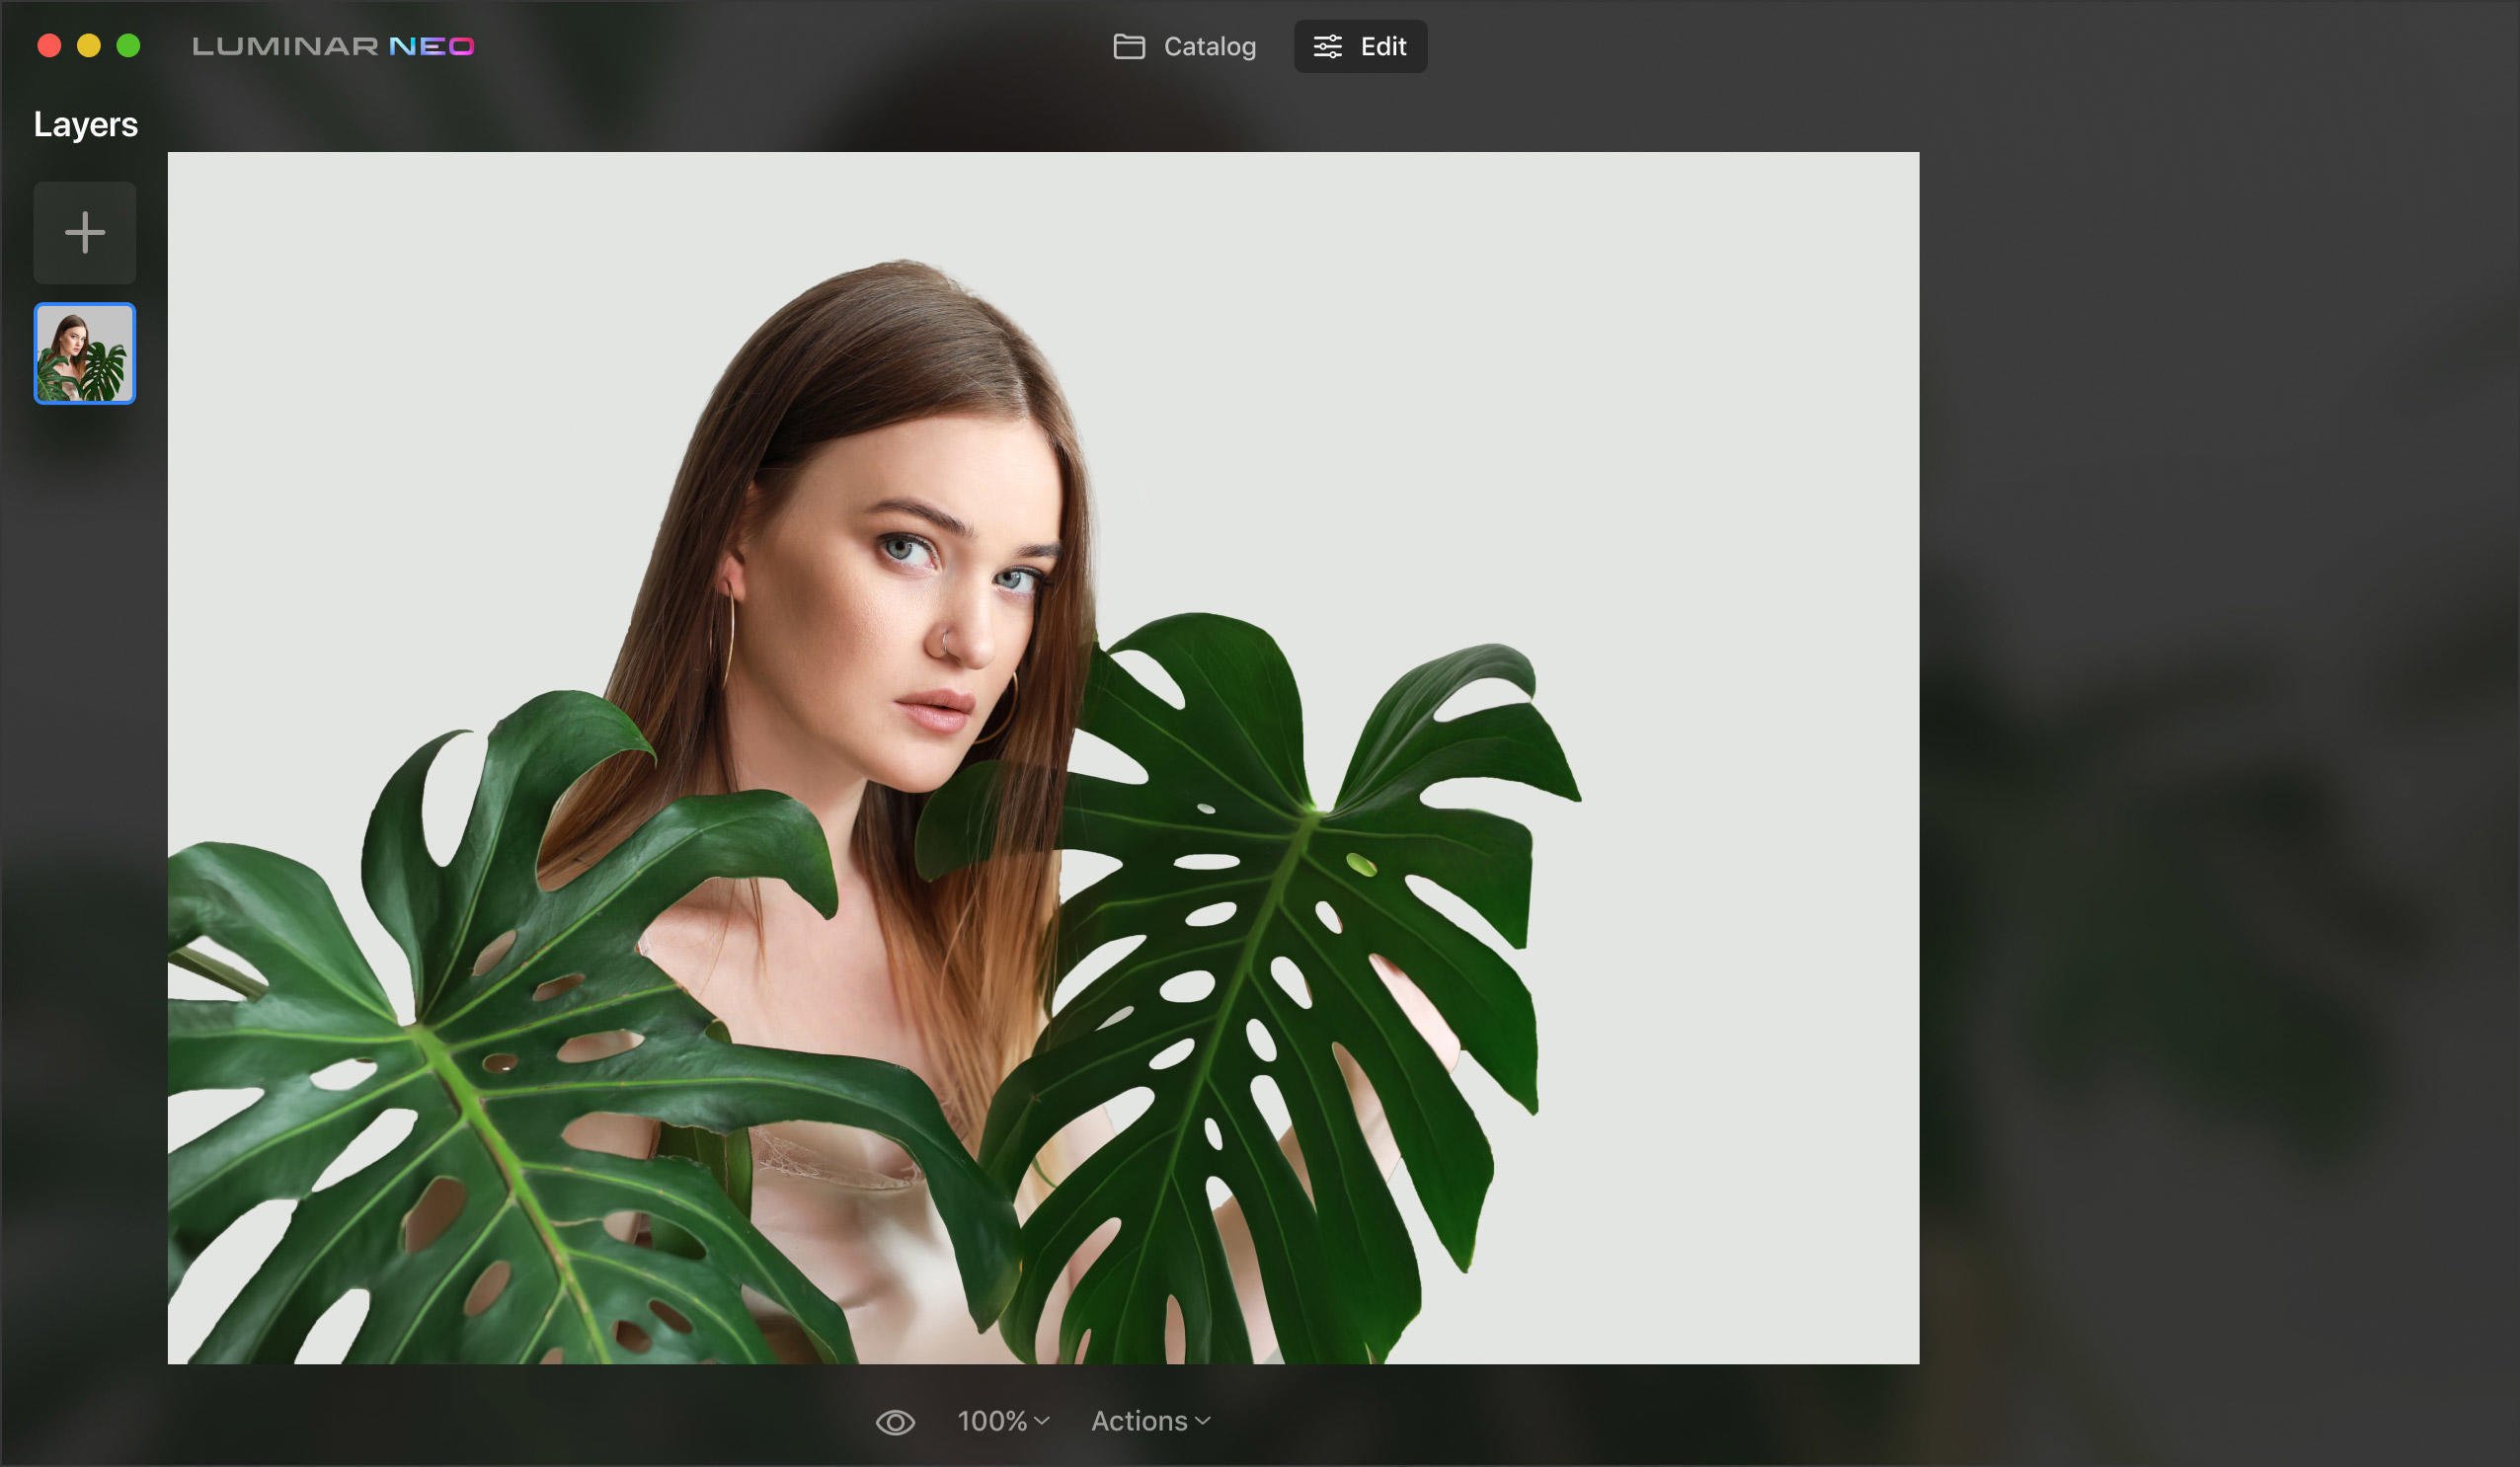
Zduplikujte obrázek, vyberte oblast pomocí štětce a použijte libovolný nástroj v aplikaci Luminar Neo. Poté odhalte vrstvu masky pod ní pomocí dalšího štětce.
Upravujte pouze vybrané oblasti
Pomocí speciální vrstvy úprav můžete rychle vybrat efekt, který chcete použít, a definovat masku pomocí štětce, abyste dosáhli přesných výsledků.
Získejte nástroj pro realizaci svých nápadů, od jednoduchého prolínání obrázků až po umělecké koláže.
Vrstvy masek vám pomohou upravit části obrázku nebo manipulovat s fotografiemi a dosáhnout neuvěřitelných efektů.
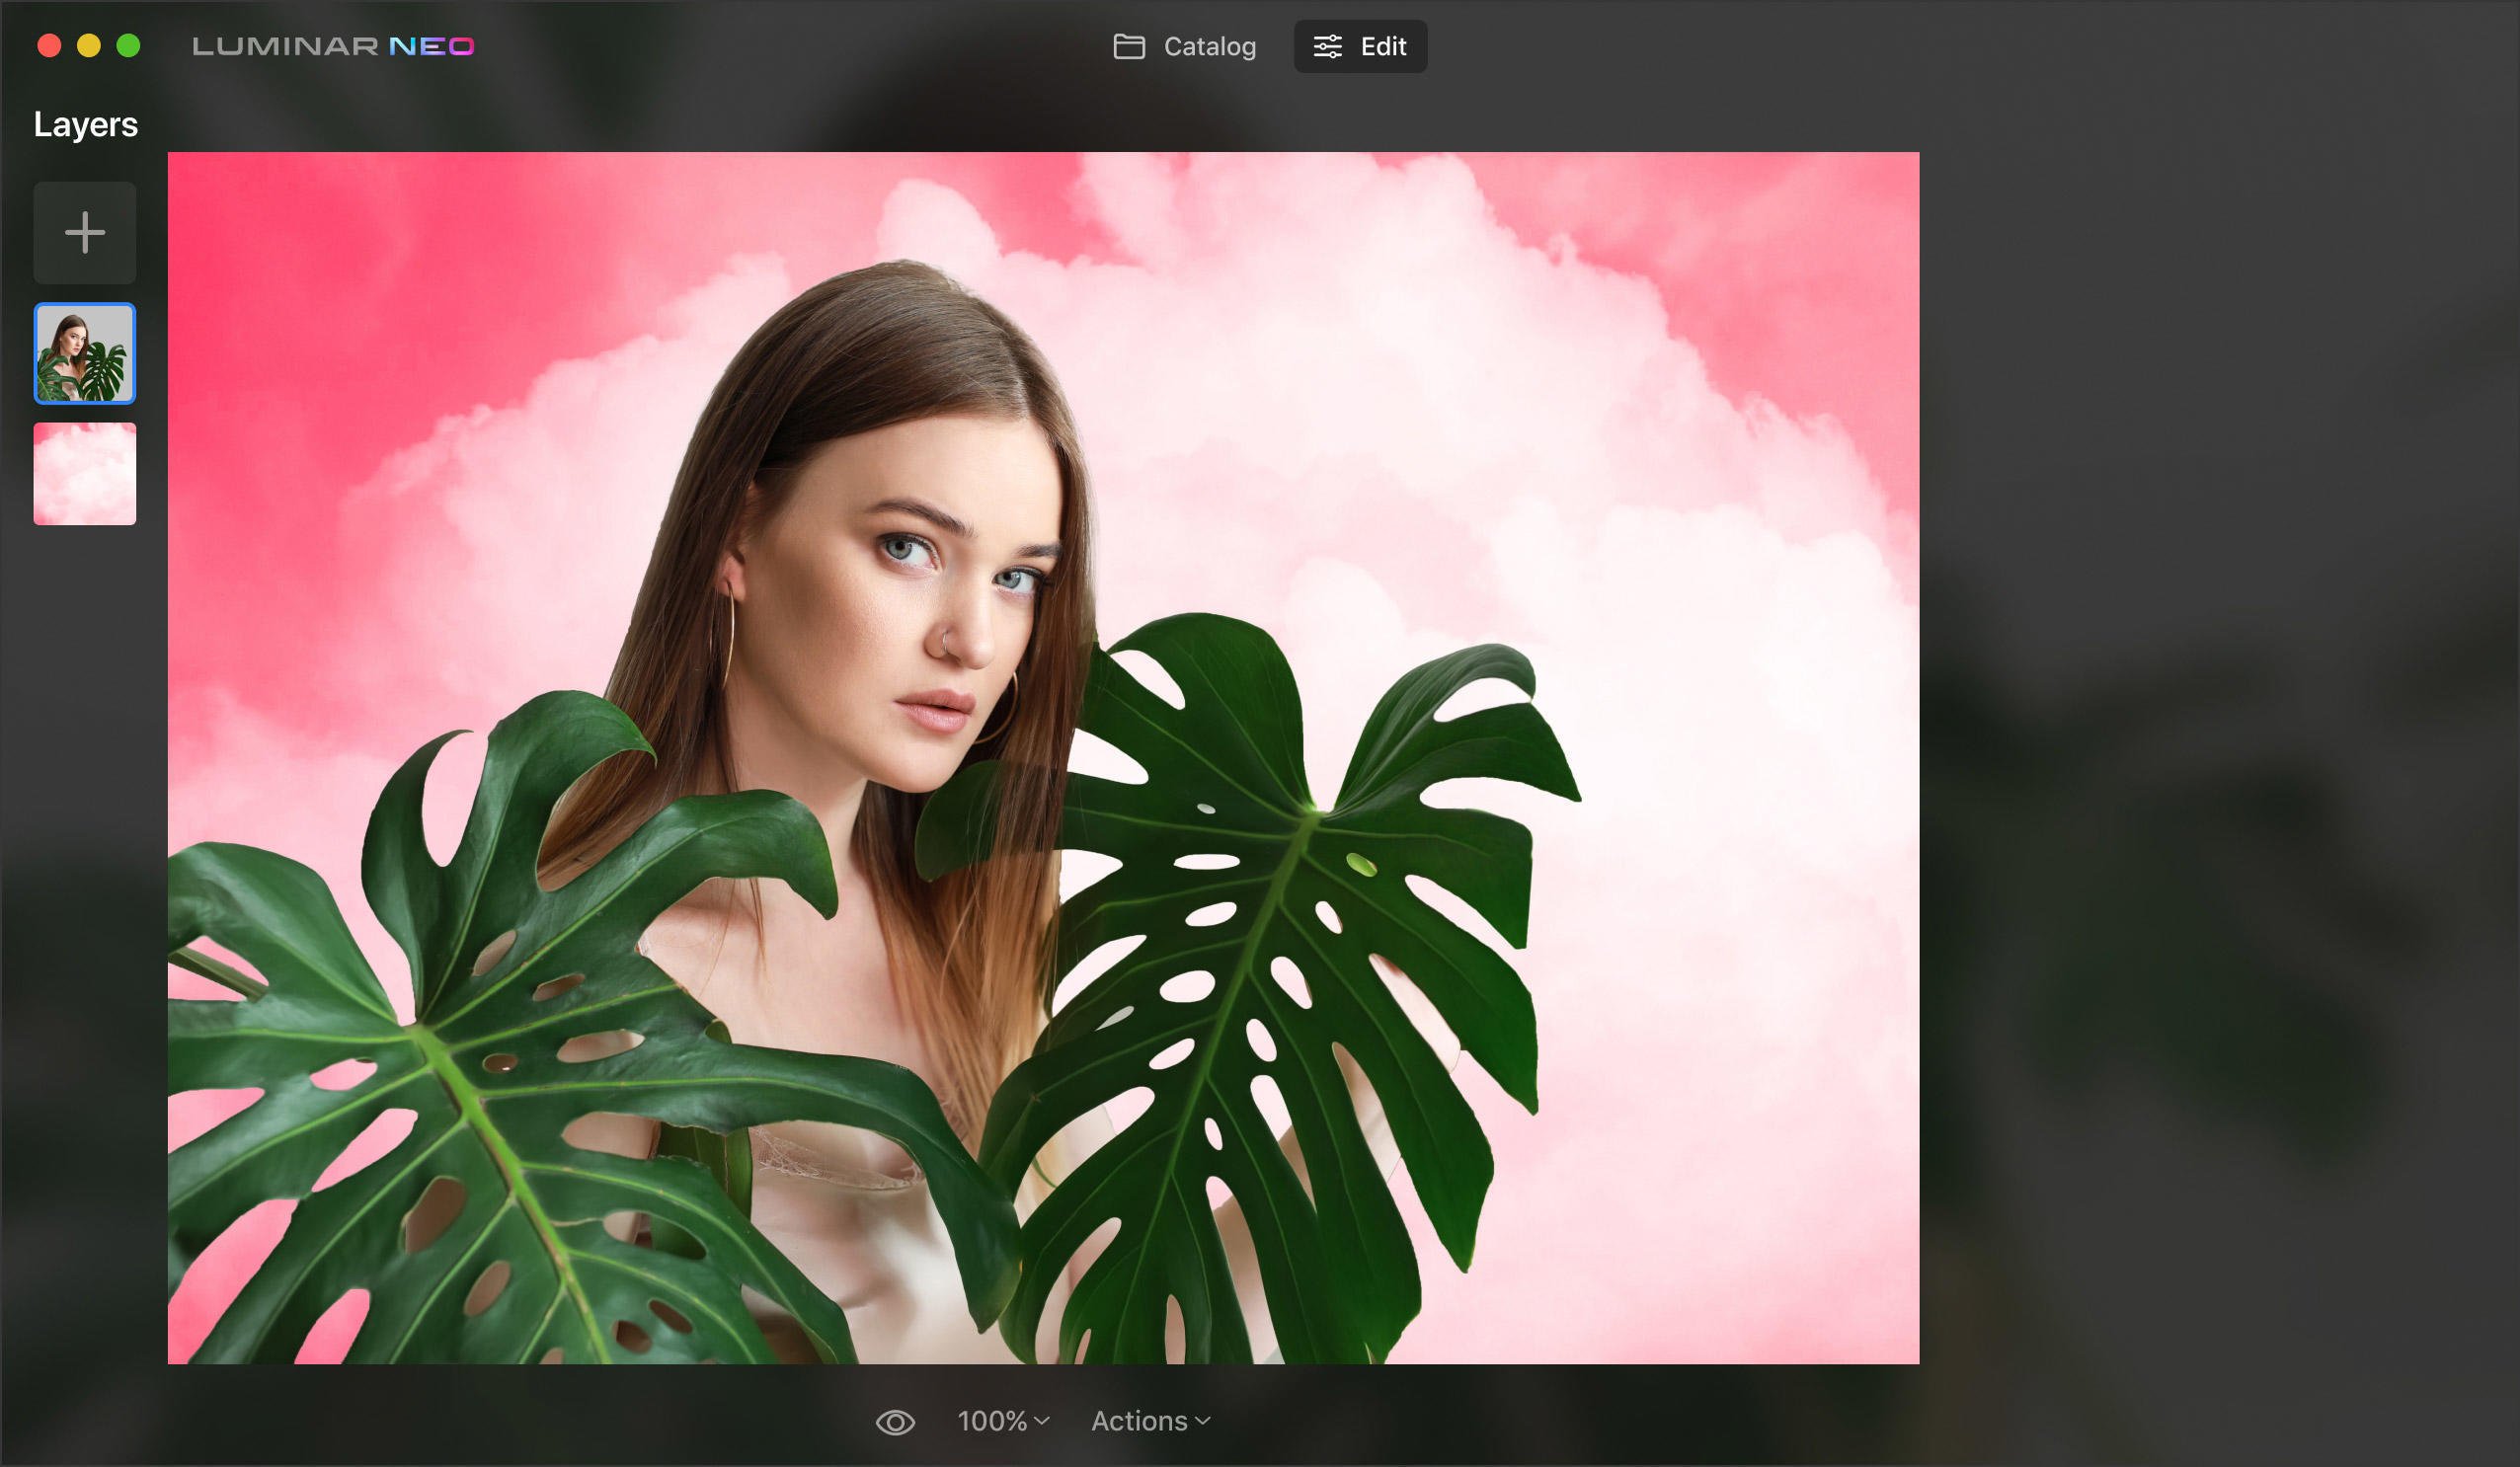
Přidejte rastrovou grafiku a upravte každou vrstvu zvlášť. Každá vrstva může vypadat úplně jinak pomocí přednastavení a editačních nástrojů Luminar Neo. Pomocí aplikace Luminar Neo můžete v jedné vrstvě retušovat portrétní obrázek a v jiné vrstvě jej prolnout s obrázkem krajiny.
Vyzkoušejte nové kolekce Textur. Snadno přetahujte, přesouvejte, umisťujte, otáčejte a převracejte textury po obrázku pomocí několika kliknutí. Spárujte Textury s maskami a vytvořte různé oblasti průhlednosti a překryjte Textury na vrstvu fotografie pod sebou. Pomocí zásuvného modulu Luminar Neo můžete zjednodušit svůj pracovní postup a vytvářet masky vrstev s umělou inteligencí v aplikacích Photoshop a Lightroom.
Poznejte možnosti režimů prolínání
Používejte režimy prolínání a maskování, vytvářejte koláže, přidávejte efekty dvojí expozice, experimentujte s výplní a krytím a dělejte další věci v každé vrstvě. Při úpravách vrstev můžete pracovat s popředím a pozadím obrázku odděleně, pokud obrázek zkopírujete a použijete maskování.
Pokud hledáte intuitivní editor fotografií s vrstvami,
maskami a nástroji využívajícími umělou inteligenci, vyzkoušejte Luminar Neo.
Viditelně vysoký výkon při řešení složitých úkolů
K dispozici je vám bleskurychlý engine založený na modulech, které jsou optimalizovány samostatně pro lepší výsledky. Upravujte snímky na cestách a plynule je přenášejte do chytrého telefonu.
Jednoduché a zábavné zkoumání
Užívejte si flexibilitu pracovního postupu aplikace Luminar Neo. Všechny úpravy se ukládají automaticky a můžete přejít na libovolný krok a změnit nebo vrátit akce zpět.
Technologie pro nejlepší výsledky
Technologie umělé inteligence v jádru Luminar Neo se rychle vyvíjejí. Pomocí nich můžete měnit pozadí za objekty a přesvětlovat scénu sestavením 3D mapy obrazu. Nebo jedním kliknutím odstranit nežádoucí objekty, jako je prach nebo čáry.
RozsvíceníAI
Je váš snímek příliš tmavý? Snadno opravte fotografie v protisvětle. Zvýrazněte nebo ztmavte libovolnou část snímku.
Odstranění vedeníAI
Kazí výhled elektrické vedení? Získejte jasnou oblohu bez rušivých vlivů. Jedním kliknutím proměňte své městské scenérie, městské krajiny nebo fotografie z cest.
Sdílení na mobilních zařízení
Není třeba čekat. Upravujte fotografie na cestách a plynule je sdílejte do svého chytrého telefonu.
Odstranění pozadí portrétuAI
Proměňte zdlouhavou výměnu pozadí v rychlou opravu. Experimentujte se zábavnými portréty.
Odstraňování prachuAI
Automaticky vybírá a odstraňuje prach a částice. Je to tak snadné.
Bleskurychlý engine
Neo je navržen jako modulární systém, jehož části lze optimalizovat samostatně pro dosažení nejlepšího výkonu.
Zajímalo vás někdy, k čemu slouží maska vrstvy a jak můžete maskování vrstvy používat při úpravách? Maskování vrstvy je oboustranný způsob, jak skrýt část vrstvy. Maskování vám poskytuje větší flexibilitu při úpravách než trvalé vymazání nebo odstranění části vrstvy. Maskování vrstvy je užitečné při vytváření složených obrázků, vyřezávání objektů pro použití v jiných obrázcích a omezování úprav na část vrstvy. Maska umožňuje odhalit části vrstvy pod ní.
Představte si masku vrstvy jako nástroj, který dokáže v masce vytvořit otvory pro oči a odhalit tak osobu, která ji má na sobě. Masku můžete použít i na základní vrstvě bez přidání dalších vrstev, což vám umožní odhalit části původního obrázku bez aplikovaných úprav.
Pokud používáte Luminar Neo jako zásuvný modul, můžete masky najít kliknutím na tlačítko Přidat masku v nabídce zásuvného modulu. Tím se automaticky přidá maska a odhalí se vrstva pod ní. Poté můžete provést požadované úpravy a přesunout posuvník průhlednosti pro přesné výsledky. Nástroj maskování umožňuje vytvářet masky pomocí štětce.
Vrstvy umožňují zpracovávat části obrázku odděleně pomocí masek vrstev, vytvářet dvojité expozice a přidávat textury. Namísto úprav celého obrázku můžete úpravy aplikovat na různé části a úrovně a máte možnost provádět vybrané úpravy. Je to příležitost prozkoumat svou kreativitu!
Vrstvy umožňují použít různé efekty na různé oblasti obrázku. Umožňují také uložit postup a kdykoli vrátit změny zpět, aniž by to ovlivnilo celý obrázek. Můžete například vzít černobílou fotografii a kreativně aplikovat barevný nádech pouze na její část. Vaše fotografie rozhodně vynikne!
Luminar Neo může jako zásuvný modul zjednodušit a urychlit rutinní úlohy v aktuálním editoru. Pomocí umělé inteligence je vytvoření masky vrstvy snadné: stačí přejet štětcem a vybrat oblast masky.
Luminar Neo není jen aplikace pro fotografování s vrstvami. Nabízí více než 20 nástrojů s umělou inteligencí. Jedním kliknutím můžete vyměnit pozadí a odstranit elektrické vedení, změnit oblohu a vyretušovat portrét za méně než pět minut. Více se dozvíte zde.
A layer mask in photo editing serves as a non-destructive way to control the visibility of different parts of a layer. It allows you to selectively hide or reveal portions of the layer without permanently deleting any pixels. By using a layer mask, you can make adjustments or apply effects to specific areas of an image while keeping the original image intact.
V okně Vlastnosti vrstvy najděte kartu Maskování. Tam uvidíte spoustu akcí. Jednou z nich je Invertovat. Tato volba invertuje jakoukoli vámi vytvořenou masku a obrátí její hodnoty krytí a průhlednosti.
V okně Vlastnosti vrstvy najděte kartu Maskování. Tam uvidíte spoustu akcí. Jednou z nich je Kopírovat. Tato možnost zkopíruje aktuální masku do schránky. Chcete-li tuto zkopírovanou masku použít, vytvořte novou masku pomocí libovolného nástroje a vložte ji do nové masky.
Luminar Neo nabízí čtyři typy masek vrstev:
Maska štětce. Použití masky štětce je jedním z nejjednodušších způsobů maskování obrázku. Pomocí tahů štětce můžete masku doplňovat nebo z ní odebírat.
Lineární přechodová maska. Lineární přechodová maska je užitečná pro vytvoření postupného prolnutí.
Radiální přechodová maska. Radiální přechodová maska nabízí rychlý a snadný způsob, jak zamaskovat eliptickou oblast fotografie.
Maska AI. Maska AI rozpozná až devět samostatných prvků na fotografii: lidi, oblohu, budovy, vozidla, vodu, rostliny, hory a přírodní i umělé podloží, aby vytvořila dokonalou masku.
Model Mac
MacBook, MacBook Air, MacBook Pro, iMac, iMac Pro, Mac Pro, Mac mini, od začátku r. 2010 nebo novější
Procesor
CPU Intel® Core™ i5 8 Gen or better
Verze OS
macOS 12.0 nebo vyšší.
RAM
Paměť 8 GB RAM nebo více (doporučuje se 16+ GB RAM)
Místo na disku
Pevný disk 10 GB volného místa; SSD pro nejlepší výkon
Displej
Velikost 1280x768 nebo lepší
Hardware
Hardwarový počítač se systémem Windows s myší nebo podobným vstupním zařízením
Procesor
CPU Intel® Core™ i5 8 Gen or better, AMD Ryzen™ 5 or better
Verze OS
10 verze 1909 nebo vyšší (pouze 64bitový OS)
RAM
Paměť 8 GB RAM nebo více (doporučuje se 16+ GB RAM)
Místo na disku
Pevný disk 10 GB volného místa; SSD pro nejlepší výkon
Displej
Velikost 1280x768 nebo lepší
Grafika
Grafická karta kompatibilní s Open GL 3.3 nebo novější verzí