How to Take Photos in Manual Mode
December 23, 2024

This photography cheat sheet will give you good starting points for almost any photography technique in manual mode. Want to shoot in manual mode? Use our manual camera settings cheat sheet.
Have you always wondered how to blur or freeze motion, create a soft background for a portrait, and capture bokeh? Have you always wanted to take an incredible shot of the night sky or learn how to paint with light? Maybe you’ve wondered how to take that perfect golden hour, sunset, or sunrise photograph. Perhaps you’ve wondered what the perfect lens is for shooting landscapes and cityscapes, or what the proper settings are for food photography and concert photography.
With this Photography 101 cheat sheet, you can easily master all of these photography techniques. It’s important to remember that these exposure settings won’t work in all lighting conditions, but they’re a good jumping-off point. By learning the exposure triangle, you can easily adjust your settings in manual mode. If one variable changes, at least one other must change as well. Experimentation is such a fun way to learn photography.
What is the Manual Mode in Photography
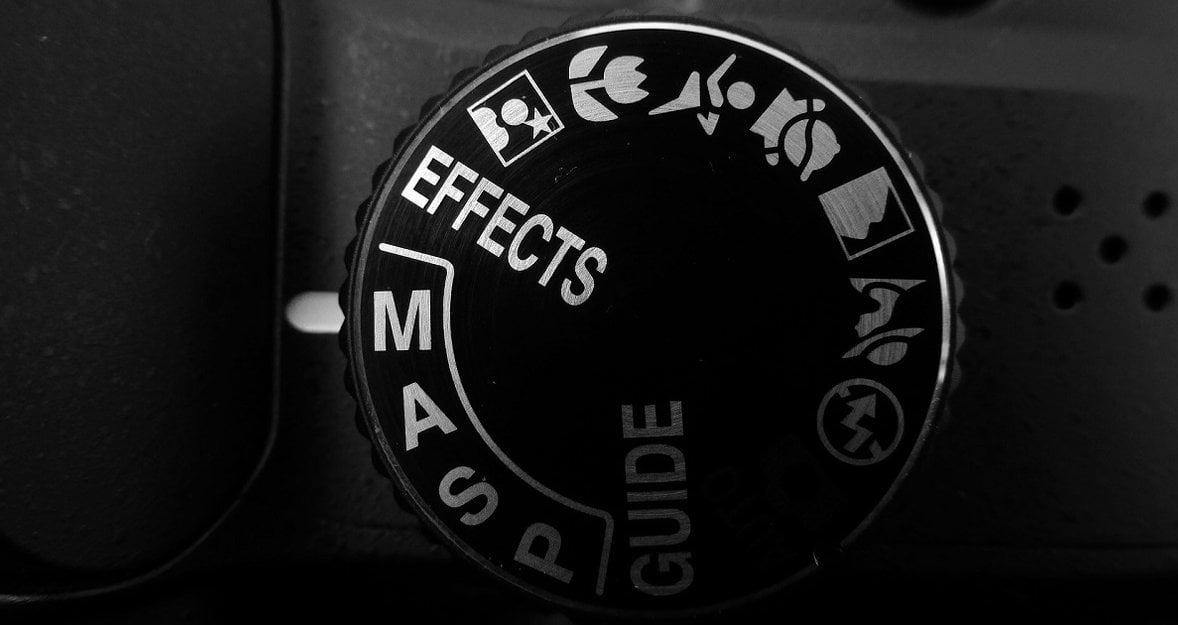
Manual mode in photography is all about having full control over all camera settings, so to use it most effectively, you need to have a basic knowledge of the exposure triangle. It is present in all DSLRs, interchangeable lens cameras, and some advanced compact cameras.
Each of these settings can be adjusted independently of the other. This camera mode gives you maximum flexibility in camera control. Once you have mastered manual settings, you can consider yourself a professional photographer!
Of course, it's tempting to let the camera control all the settings. But first of all, you won't learn much in the process. And second, the picture will be what the camera wants, not what you want. Manual camera settings, on the other hand, give you full control over the image, and you learn more about the basic principles of photography in practice.
This way you can control how much light enters the camera, and therefore how much darker or lighter your photos will be. You can plug in creative effects, freeze a non-static object, and of course control bokeh.
How to use Manual Mode: a Three-Step Process
First, you need to understand such a basic concept as the exposure triangle. A camera has three setting elements that control how much light enters its sensor: shutter speed, aperture, and ISO. These make up the three sides:
- Set your aperture. The larger the aperture, the more light hits the sensor (and vice versa). Aperture is measured in f-stops. Depending on the lens, the aperture value can range from f/0.7 to f/22. And the smaller the second number, the more open the aperture is (and therefore more light will get into the camera).
- Set your shutter speed. This is the amount of time the shutter remains open after the shutter button is pressed. The longer the shutter remains open, the more light hits the sensor (and the brighter the picture will be). How is it measured? A shutter speed of 1/100 is shorter than a shutter speed of 1/10, meaning the shutter is slower open. The longer the shutter is open, the more movement it captures (resulting in a blur).
- Set your ISO. What is it in photography camera settings? The ISO value measures the sensitivity of the sensor to light. The higher the ISO value, the higher the sensitivity of the sensor and the brighter the picture will be. Most cameras start at ISO 100, increasing in steps. As you increase the ISO, noise graininess becomes apparent. And at very high ISO settings, sharpness may start to be lost. However, higher ISO settings will let you take pictures even in low light.
In this way, shooting in manual mode provides creative control, proper metering in difficult lighting, and deeper integration into the photo creation process.
Manual Mode Can Be Overwhelming for a Beginner
From beginners to professionals, all serious photographers benefit from manually selecting exposure settings. In fact, it's the surest way to take photos that look the way you want them to.
Once a photographer understands how the aperture affects an image and how easy it is to make mistakes with exposure meters, he or she will find himself or herself in situations in which manual exposure settings prove indispensable. Also, understanding the camera's manual mode will help you make better use of semi-automatic or fully automatic modes when you choose to do so.
Your camera is a tool designed to meet your needs. Because photography comes down to the effects of light on a light-sensitive surface, learning about exposure proves important to understanding how to use and control your camera.
Over time, any photography becomes intuitive because making slow conscious choices makes us do it much faster afterward. Find the subject, measure the light, set the right exposure, focus, shoot and move on with manual settings on the camera.
Also, don't forget the importance of image post-processing. AI-powered photo editors have gained significant popularity, providing photographers and enthusiasts with powerful tools to enhance and modify their images. Luminar Neo, for instance, is an excellent example of an AI photo editor that offers extensive retouching capabilities while allowing users to unleash their creativity.
Advanced yet easy-to-use photo editor
Get Luminar Neo NowRecommended Camera Settings for Beginners
Let’s start by defining the three points of the exposure triangle. ISO measures the sensitivity of the camera sensor to light. The sensor doesn’t need a lot of light at a high ISO and needs a lot more at a low ISO. The aperture measures how wide the lens is open. Lower numbers mean a wider aperture; higher numbers mean a narrower aperture. The shutter speed is how fast the shutter opens and closes. A shutter speed of 1/2000 of a second is very fast, while a shutter speed of 1/15 of a second is much slower. You can always look at your light meter when adjusting these variables to determine the proper exposure. If you find it difficult to get started, use the camera setting cheat sheet.
Manual Mode and Manual Focus are NOT the Same
Focus modes are the way the camera adjusts the sharpness of objects. Two modes can be distinguished:
- Manual focus. The photographer twists the ring on the lens and decides where the picture will be in focus. This is usually used in subject and macro photography.
- Auto Focus. The camera selects which objects to focus on.
Some beginners confuse manual mode and manual focus, but as you can see, these two concepts are completely different in the camera setting.
Putting Manual Camera Settings in Practice
If there is no action in the scene, such as dogs or children playing, the aperture often becomes the main thing in the camera with manual settings. Assuming your subject can stand still, working with the desired aperture allows you to control the light with shutter speed and ISO. Here's how to start shooting in manual mode:
- Look at your subject, whether it's a person or a landscape. What should be in focus and what should be blurry? A small aperture in camera manual settings will increase the depth of field, which means most of the foreground and background will be in focus. The goal of shooting with a low aperture is to keep the focused subject sharp while blurring the foreground and background.
- Consider the light situations. The camera's exposure meter will show you what shutter speed to set, which is considered the correct exposure. Add or take away light by changing the aperture or shutter speed until your photo looks better.
Once you find the correct exposure, which may be different from what your camera's exposure meter thinks is appropriate, examine the aperture range. Find the limits from the smallest to the highest aperture of your lens. You can also use our camera settings guide.
Aperture priority mode is ideal for shooting in natural light or when you want to take a photo with continuous light. Beginners can also use shutter priority mode. This is a semi-automatic shooting mode that allows you to set the shutter speed and ISO while the camera sets the aperture.
Ultimate Tips and Tricks for Shooting in Manual Mode
With our camera settings cheat sheet, you become a real pro!

Learning manual camera settings is one of the best ways to master different photography techniques. Once you understand the exposure triangle, you’ll never go back to automatic mode. This Photography 101 chart is designed to help you get on your feet and start shooting. Keep in mind that it’s only meant to guide you in the right direction; only practice will give you the results you desire.
Final Manual Photography Tips
Whether you’re looking to capture the beautiful blur of moving water or are interested in staying up late and shooting the stars, mastering the exposure triangle is the best way to learn photography. Try picking either aperture or shutter speed to start and see how one affects the other. Before you know it, you’ll have mastered many different photography techniques. The next time you’re interested in shooting landscapes or taking a beautiful portrait with a blurred background, refer to this photography cheat sheet.
Advanced yet easy-to-use photo editor
Get Luminar Neo NowFollow Skylum Software on YouTube // Get the latest videos, tips, and photography inspiration each week!


