Fog Photography: Equipment, Settings, And Composition
November 28, 2024
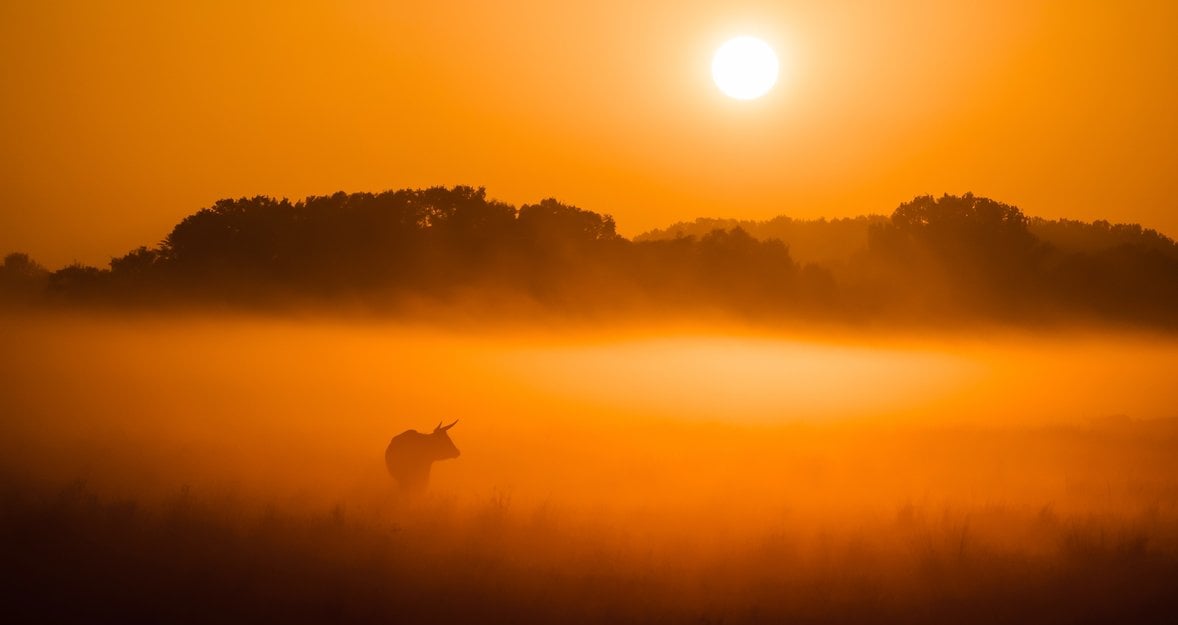
Exploring fog photography ideas can help you create images that naturally evoke a sense of wonder and atmospheric depth, turning ordinary scenes into captivating works of art.
Capturing fog in a photo is relatively easy, but doing it skillfully is worth some effort. You must have seen mystical and deep images of objects in the mist. What caught your interest about them? What equipment is needed to capture it, and is it possible to do it with a mobile phone? How do not lose the beauty of this phenomenon in post-processing? Today, we’ll dive into this and learn how to make great foggy landscape photography.
How to Take Pictures Of Fog: Basic Rules to Know
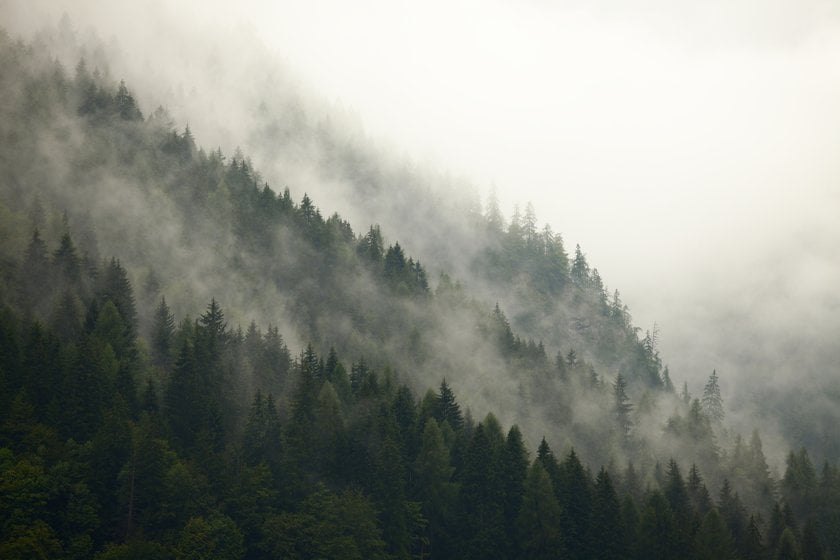
Capturing the beauty of fog requires careful planning and understanding the right conditions to create the perfect shot.
Plan Your Photography
Discover Popular Fog Photography Locations: Shoot in places more likely to form mist. Spots like lakes, rivers, and wetlands are good ones, as the moisture in the atmosphere contributes to its formation. Forests, especially those in valleys or near water, provide a mysterious and atmospheric backdrop. Mountains and hills frequently get stunning foggy mornings, while urban areas with skyscrapers offer amazing images when shrouded in mist.
Learn How to Forecast Fog: It usually occurs during the early morning or late evening. It is most apt to occur once a calm, cool night follows a warm, humid day. The best forecast is if the atmosphere is moist, the wind is light, and the skies are clear. When temperature inversions (when cool air is trapped under warm air) exist, the chances of fog increase. Weather websites offer details about outdoor conditions to help you plan accordingly.
Choose the Right Equipment
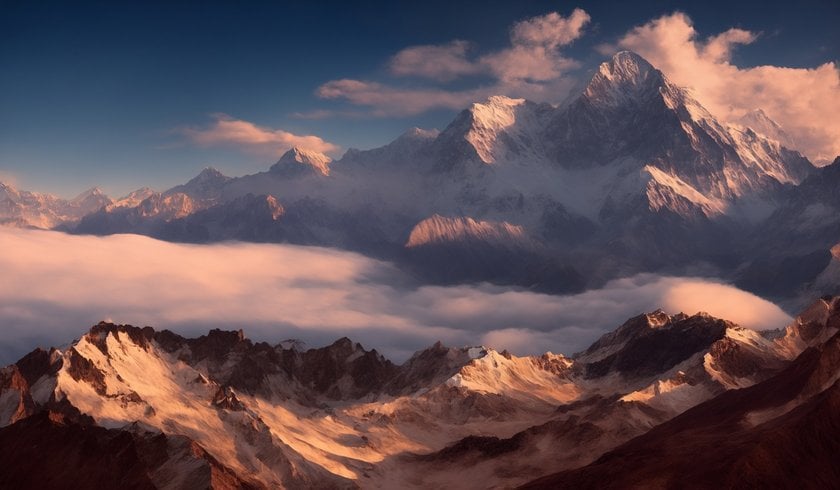
The proper tools can make quite a difference in your mist photography. A sturdy tripod is a must for capturing long exposure shots and holding the camera steady in low-light conditions. Wide-angle lenses work well to capture the expansive nature of foggy landscapes, while a telephoto lens could isolate details like a single tree or distant building swathed in mist. Keep a microfiber cloth ready to wipe away the condensation on your lens, as foggy conditions can build your moisture up in no time. Filters and polarizers may increase contrast and reduce glare for more dramatic images.
Understand the Light in Fog
Mist transforms light into a soft, even glow that exudes an ethereal atmosphere. The best magical results come in during the early morning and late afternoon. This will add warm, golden hues to the depth and mood of your pictures. When shooting, take note of the direction of the light. Backlight, when the source is behind your subject, puts a fine highlight on texture within the fog and makes striking silhouettes.
Opposite to that, side lighting gives depth by accentuating layers within the mist. In post-processing, the mood of your haze photographs could also be enhanced with the addition of color using tools such as Twilight photo editing, showing the depth within. Be prepared to experiment with exposure settings to balance the brightness of the fog and the darker elements in your frame.
Be Patient and Flexible
Fog is a dynamic, unpredictable element that requires patience and flexibility. Arrive early to set up your equipment and scout around before the mist fully develops. New compositions and opportunities will appear as haze shifts and changes with the wind or rising temperatures. Don’t be afraid to move around, adjust your perspective, and experiment with angles to find the perfect shot.
Camera Settings for Foggy Photography
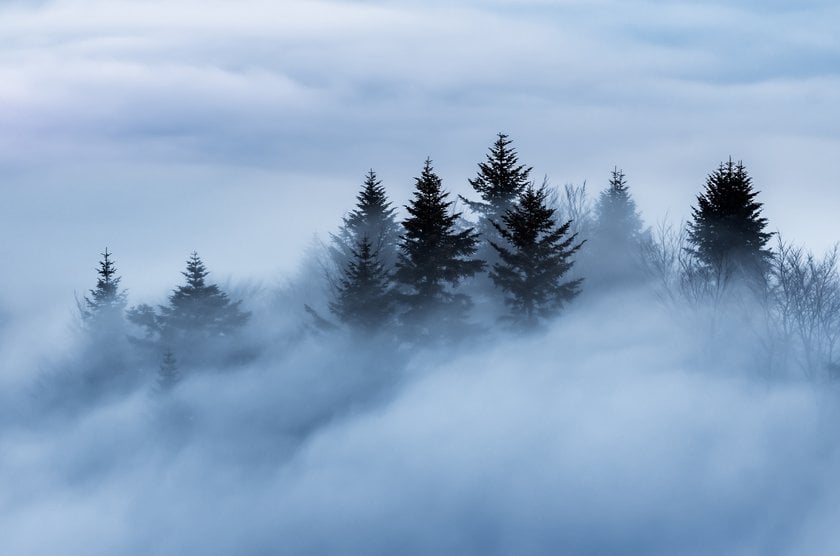
Shooting in fog can be quite peculiar because of the diffused light and the atmosphere. Here are the key settings to consider when shooting.
ISO
In foggy conditions, the light levels are usually pretty low. Yet, you should try not to bump up the ISO too much because that will introduce noise into your photos. Start with an ISO of 200-800, depending on the exposure. Shooting early morning or late afternoon in low lighting may need you to bump it to 1600 or even higher, but try to keep it low to maintain image quality.
Aperture
A wide aperture (low f-number) allows more light to reach the camera sensor, which can be useful in misty conditions. Start with an aperture of f/4 to f/5.6 to achieve a relatively shallow depth of field, allowing the fog to remain soft and blurred while focusing on your subject. For more dramatic shots with a greater depth of field, consider stopping down to f/8 or f/11. This will help the foreground and background remain focused without losing sight of the haze texture.
Shutter Speed
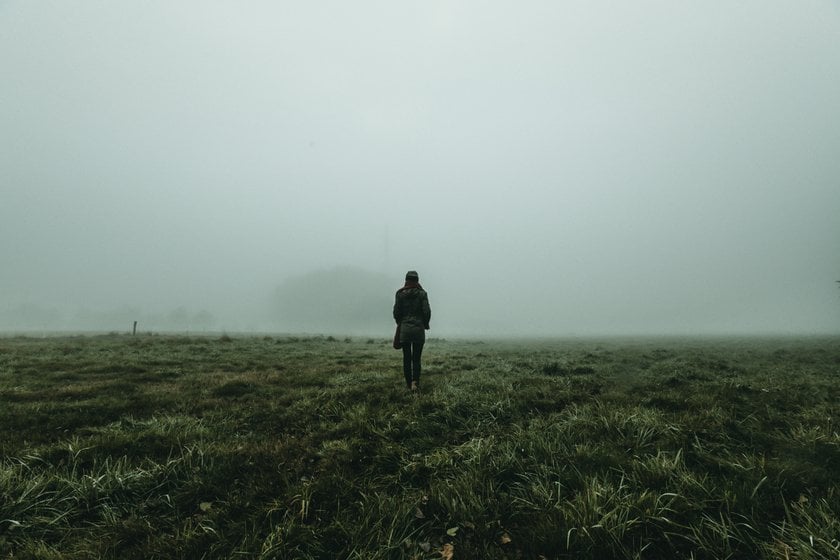
In those conditions, you must be exposed longer to allow enough light to hit the sensor. A good starting point would be a shutter speed of 1/60 to 1/125, which can be adjusted based on available lighting. Try using a slower shutter speed of 1/30 to 1/15 for soft, dreamy shots to create motion blur in the fog or capture more light. If you’re using a slower shutter speed, you’ll want to make use of a tripod to avoid camera shake.
White Balance
Fog can be cool or neutral, and you may want to change the white balance to make it more appealing to the mood of the scene. Start with the daylight setting, but if you want warmer and golden tones, use Cloudy or Shade settings for added warmth. You might also do this in post-processing, which would help match the natural mood of the fog.
Exposure Compensation
Because your camera’s light meter looks at the brightness of fog and automatically adjusts, this can fool it into underexposing the scene. You will probably need to use a plus +1 to +2 EV exposure value to correctly expose it and highlight the details within the mist so it will not appear too dark.
Focusing in Fog
Fog can also make focusing a bit tricky since it could confuse your camera’s autofocus. To avoid the issue with it, switch your lens to manual focusing. Therefore, focus on a well-contrasted and clearly defined object in the foreground, such as, a tree or a building, and use it as a reference point. Use live view and zoom-in function whenever possible to nail correct focus.
Haze Photography Composition
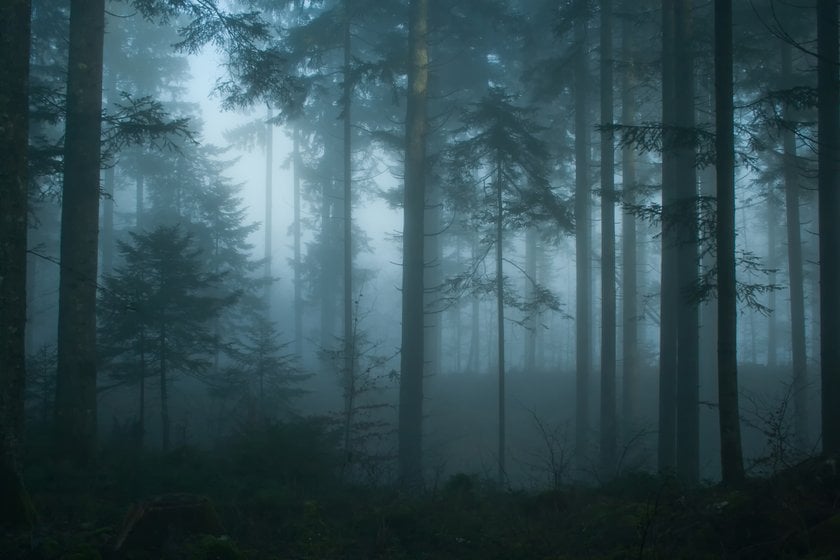
Haze can create soft, dreamy effects in your photos and add a layer of mystery and mood. When composing mist photography, here are some suggestions to make the most out of the atmosphere:
Focus on layers. Haze naturally creates depth, separating your foreground, middle ground, and background. Use this to your advantage by including elements in each layer, such as trees in the foreground and distant mountains or buildings fading into the fog.
Leading lines. A road, path, or river leading into the haze can draw the viewer’s eye into the scene and create a sense of journey or mystery.
Simplify the scene. Haze normally softens details, so seek minimalist compositions. A single tree, a silhouette, or a small object within the frame would look great against a hazy background.
Consider light. Soft light during the early morning or late afternoon enhances the haze, hence creating a more dramatic and atmospheric effect. Experiment with lighting direction to add contrast and mood.
Fog Photography Ideas
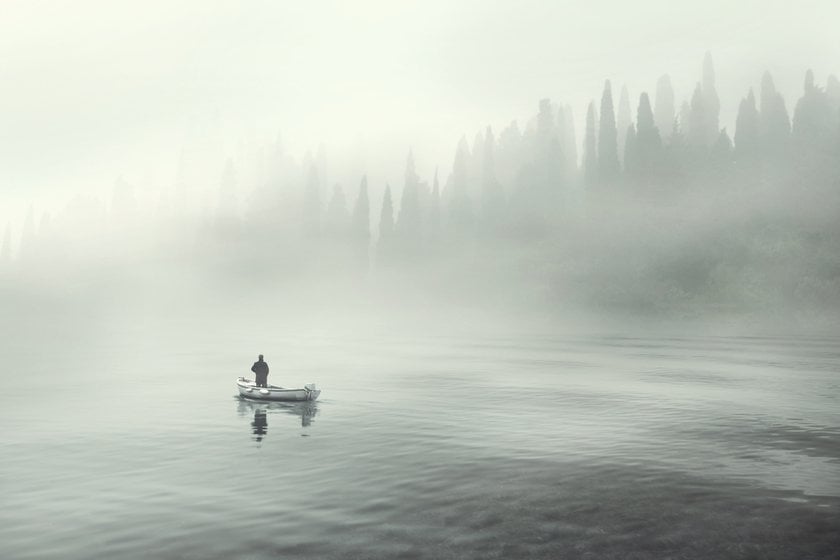
Here are some creative photography ideas to help you capture the unique atmosphere and mystery the mist can bring to your images.
Foggy Landscape Photography
Capture wide, open landscapes where fog blankets the scene, creating layers of depth and mood. It softens the more distant elements of a composition, such as rolling hills, lakes, or forests, giving them an idealistic, almost ethereal feel. Subjects may include lonely trees, rocks, and curving paths partially shrouded by mist to create a contrast that speaks to the mysterious atmosphere.
Portrait Fog Photography
Use fog as a soft, natural, diffused background in portraits for an otherworldly and cinematic feel. As a result of the way light passes through it, which gives soft illumination on a subject, the effect makes harsh shadows and highlights softly diffused. Try to position your subject with their silhouette, contrasting the hazy background enough for the mist to enhance an atmosphere of depth.
Overcoming Challenges and Capturing Beauty
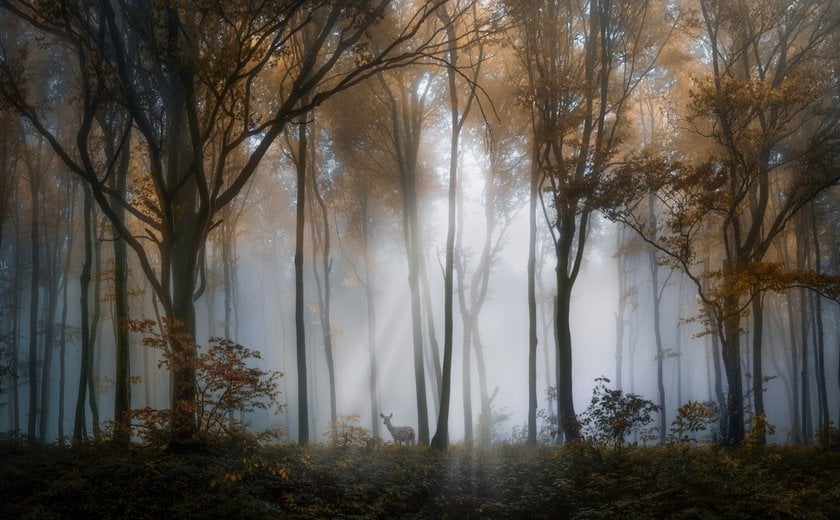
While fog photography has unique challenges, the right techniques open the way to stunningly atmospheric images. Mastering camera settings, light, and composition allows you to overcome these hurdles and capture the softly mysterious beauty. Patience and creativity will go a long way in transforming misty scenes into breathtaking photographs full of mood and depth.
FAQ
What does fog look like?
Fog is a soft, misty layer obscuring distant objects and softening the scene. It makes the environment ethereal, dreamlike, and often moody and mysterious.
How to prepare for a foggy photoshoot?
Check the weather forecast to see if it will be foggy, and plan to go out in the early morning or late afternoon when fog can be present. Bring your tripod and lens cloth. Adjust your camera settings for low light and soft focus.
How to add fog to a photo?
Add fog in post-processing using photo editing software: Adobe Photoshop or Luminar Neo. Apply a mist overlay or adjust the misty atmosphere. Use a brush tool or add custom textures to develop your haze effect.



![旅行パッキングチェックリスト:旅に持っていくもの [必需品+ヒント]](http://media.macphun.com/img/uploads/macphun/blog/3761/image.jpg?q=75&w=1348&h=715&resize=cover)
