 プランを見る
画像を暗くして見た目を補正
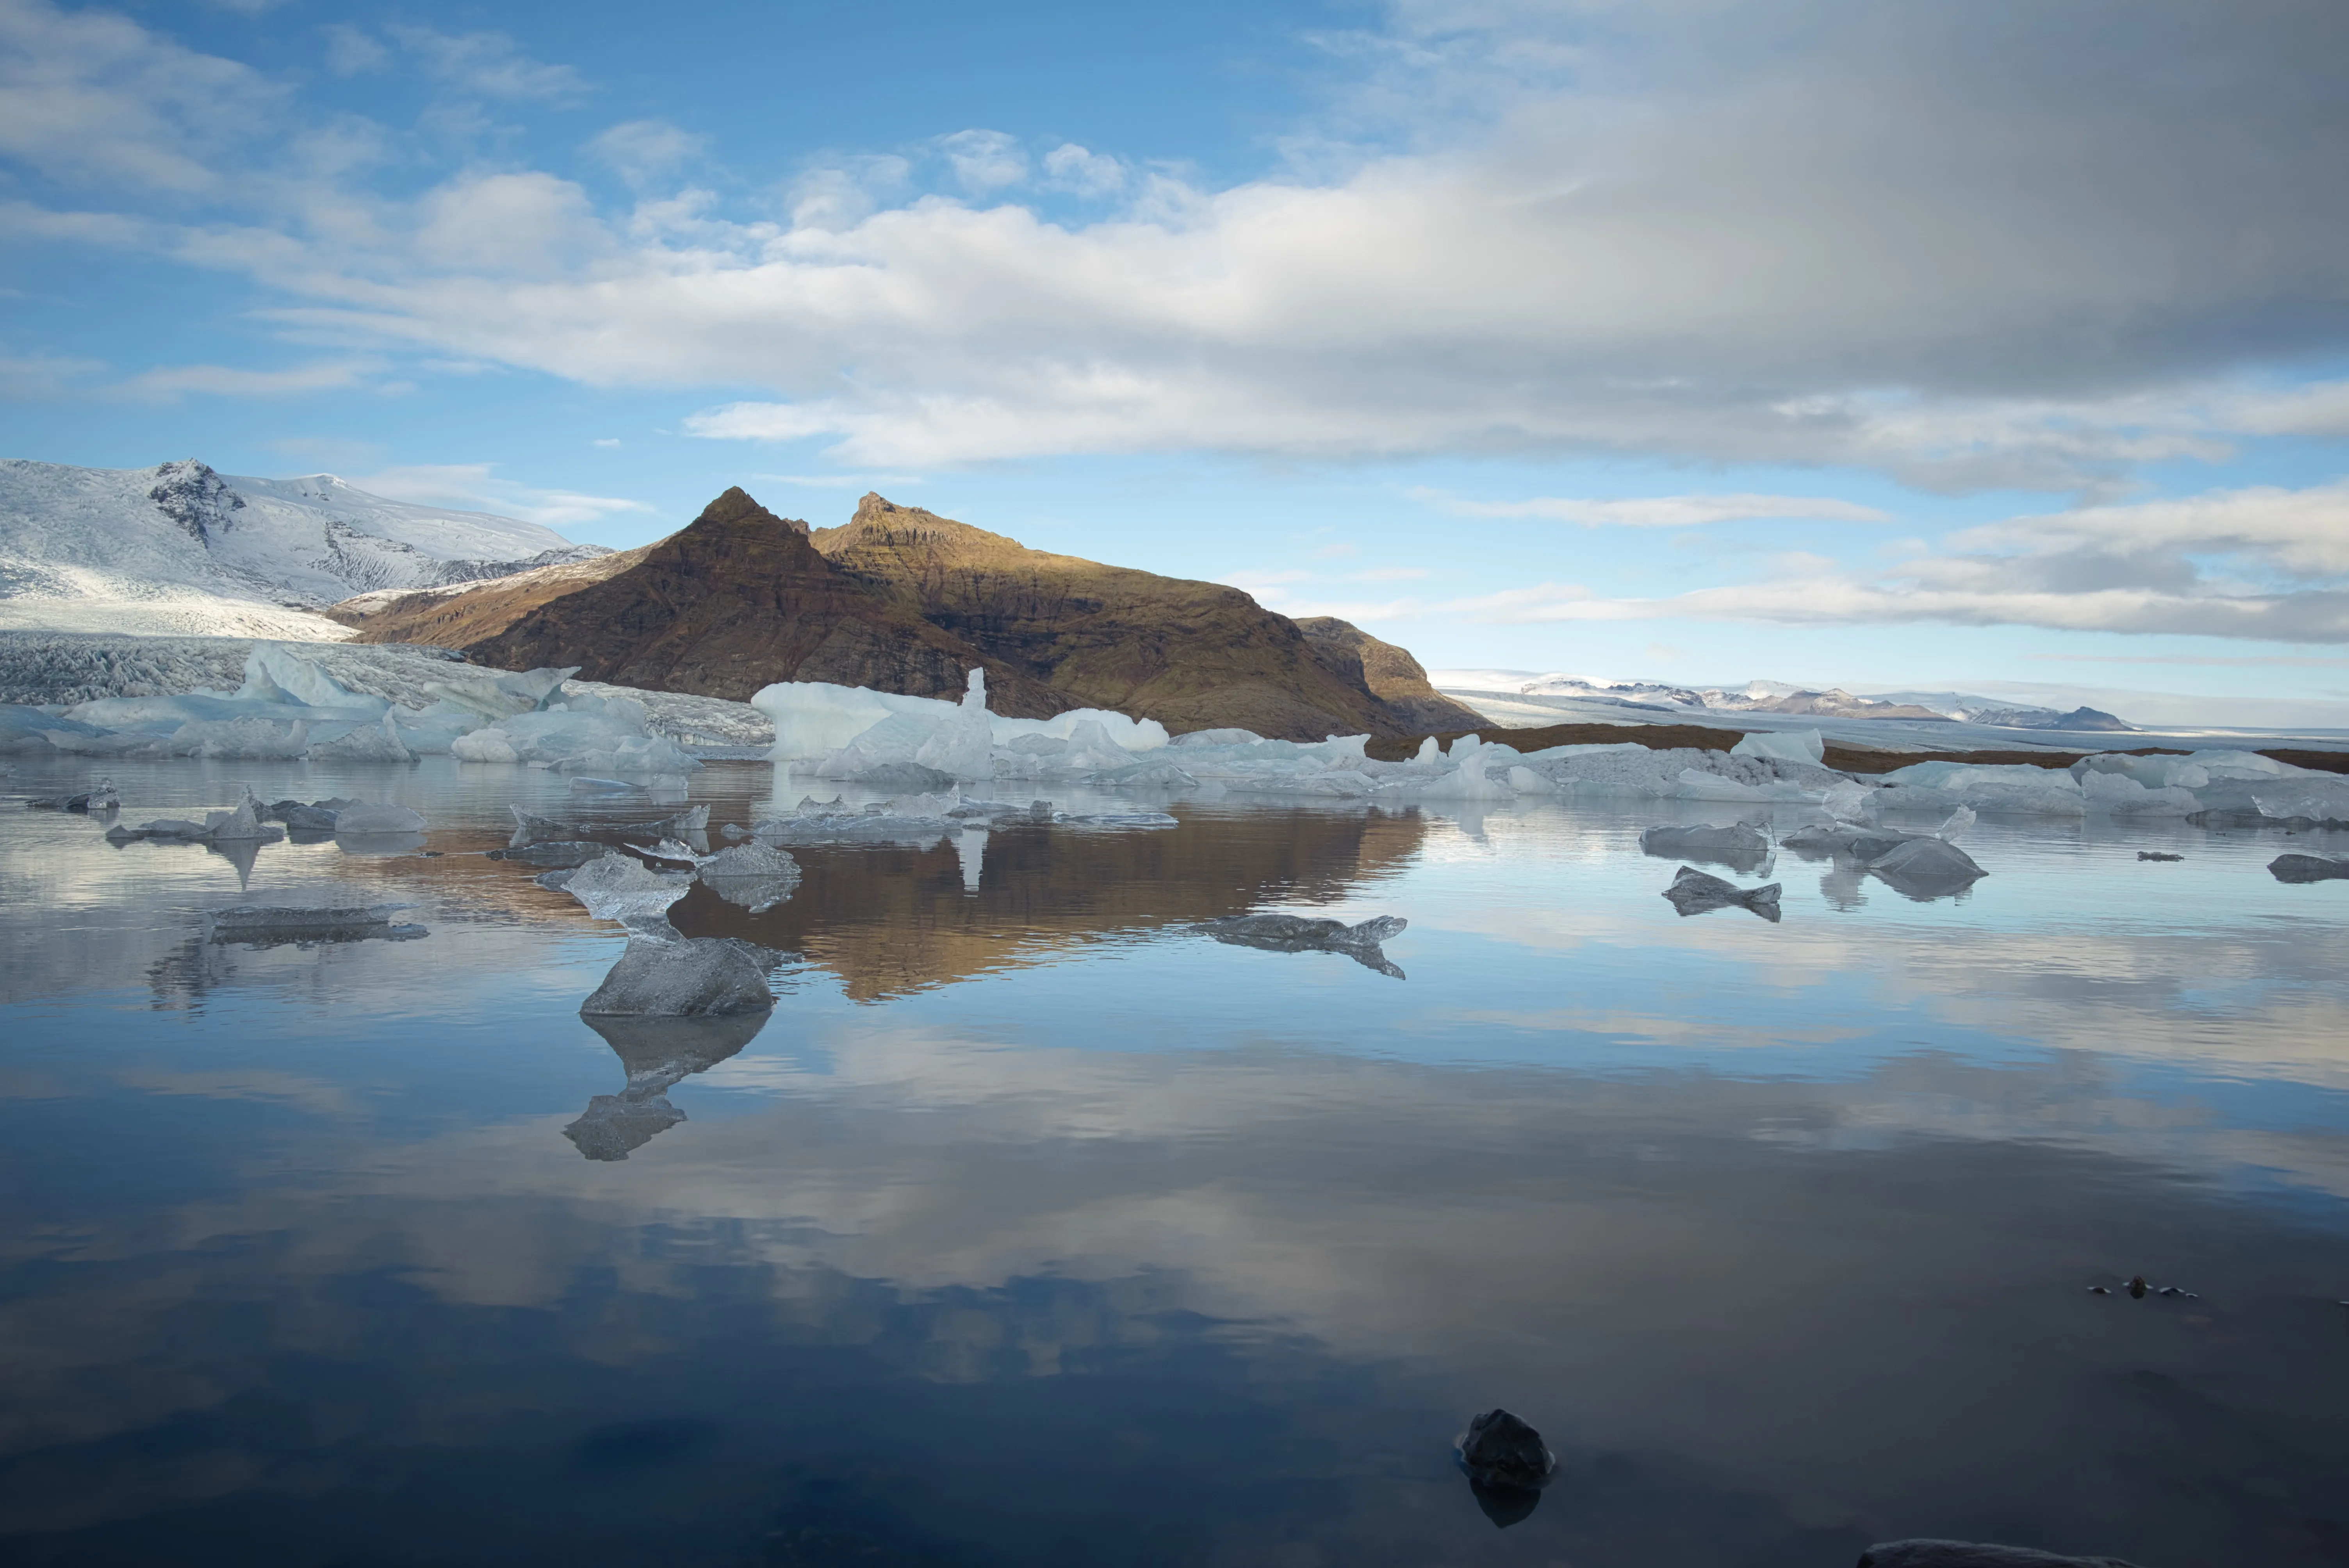
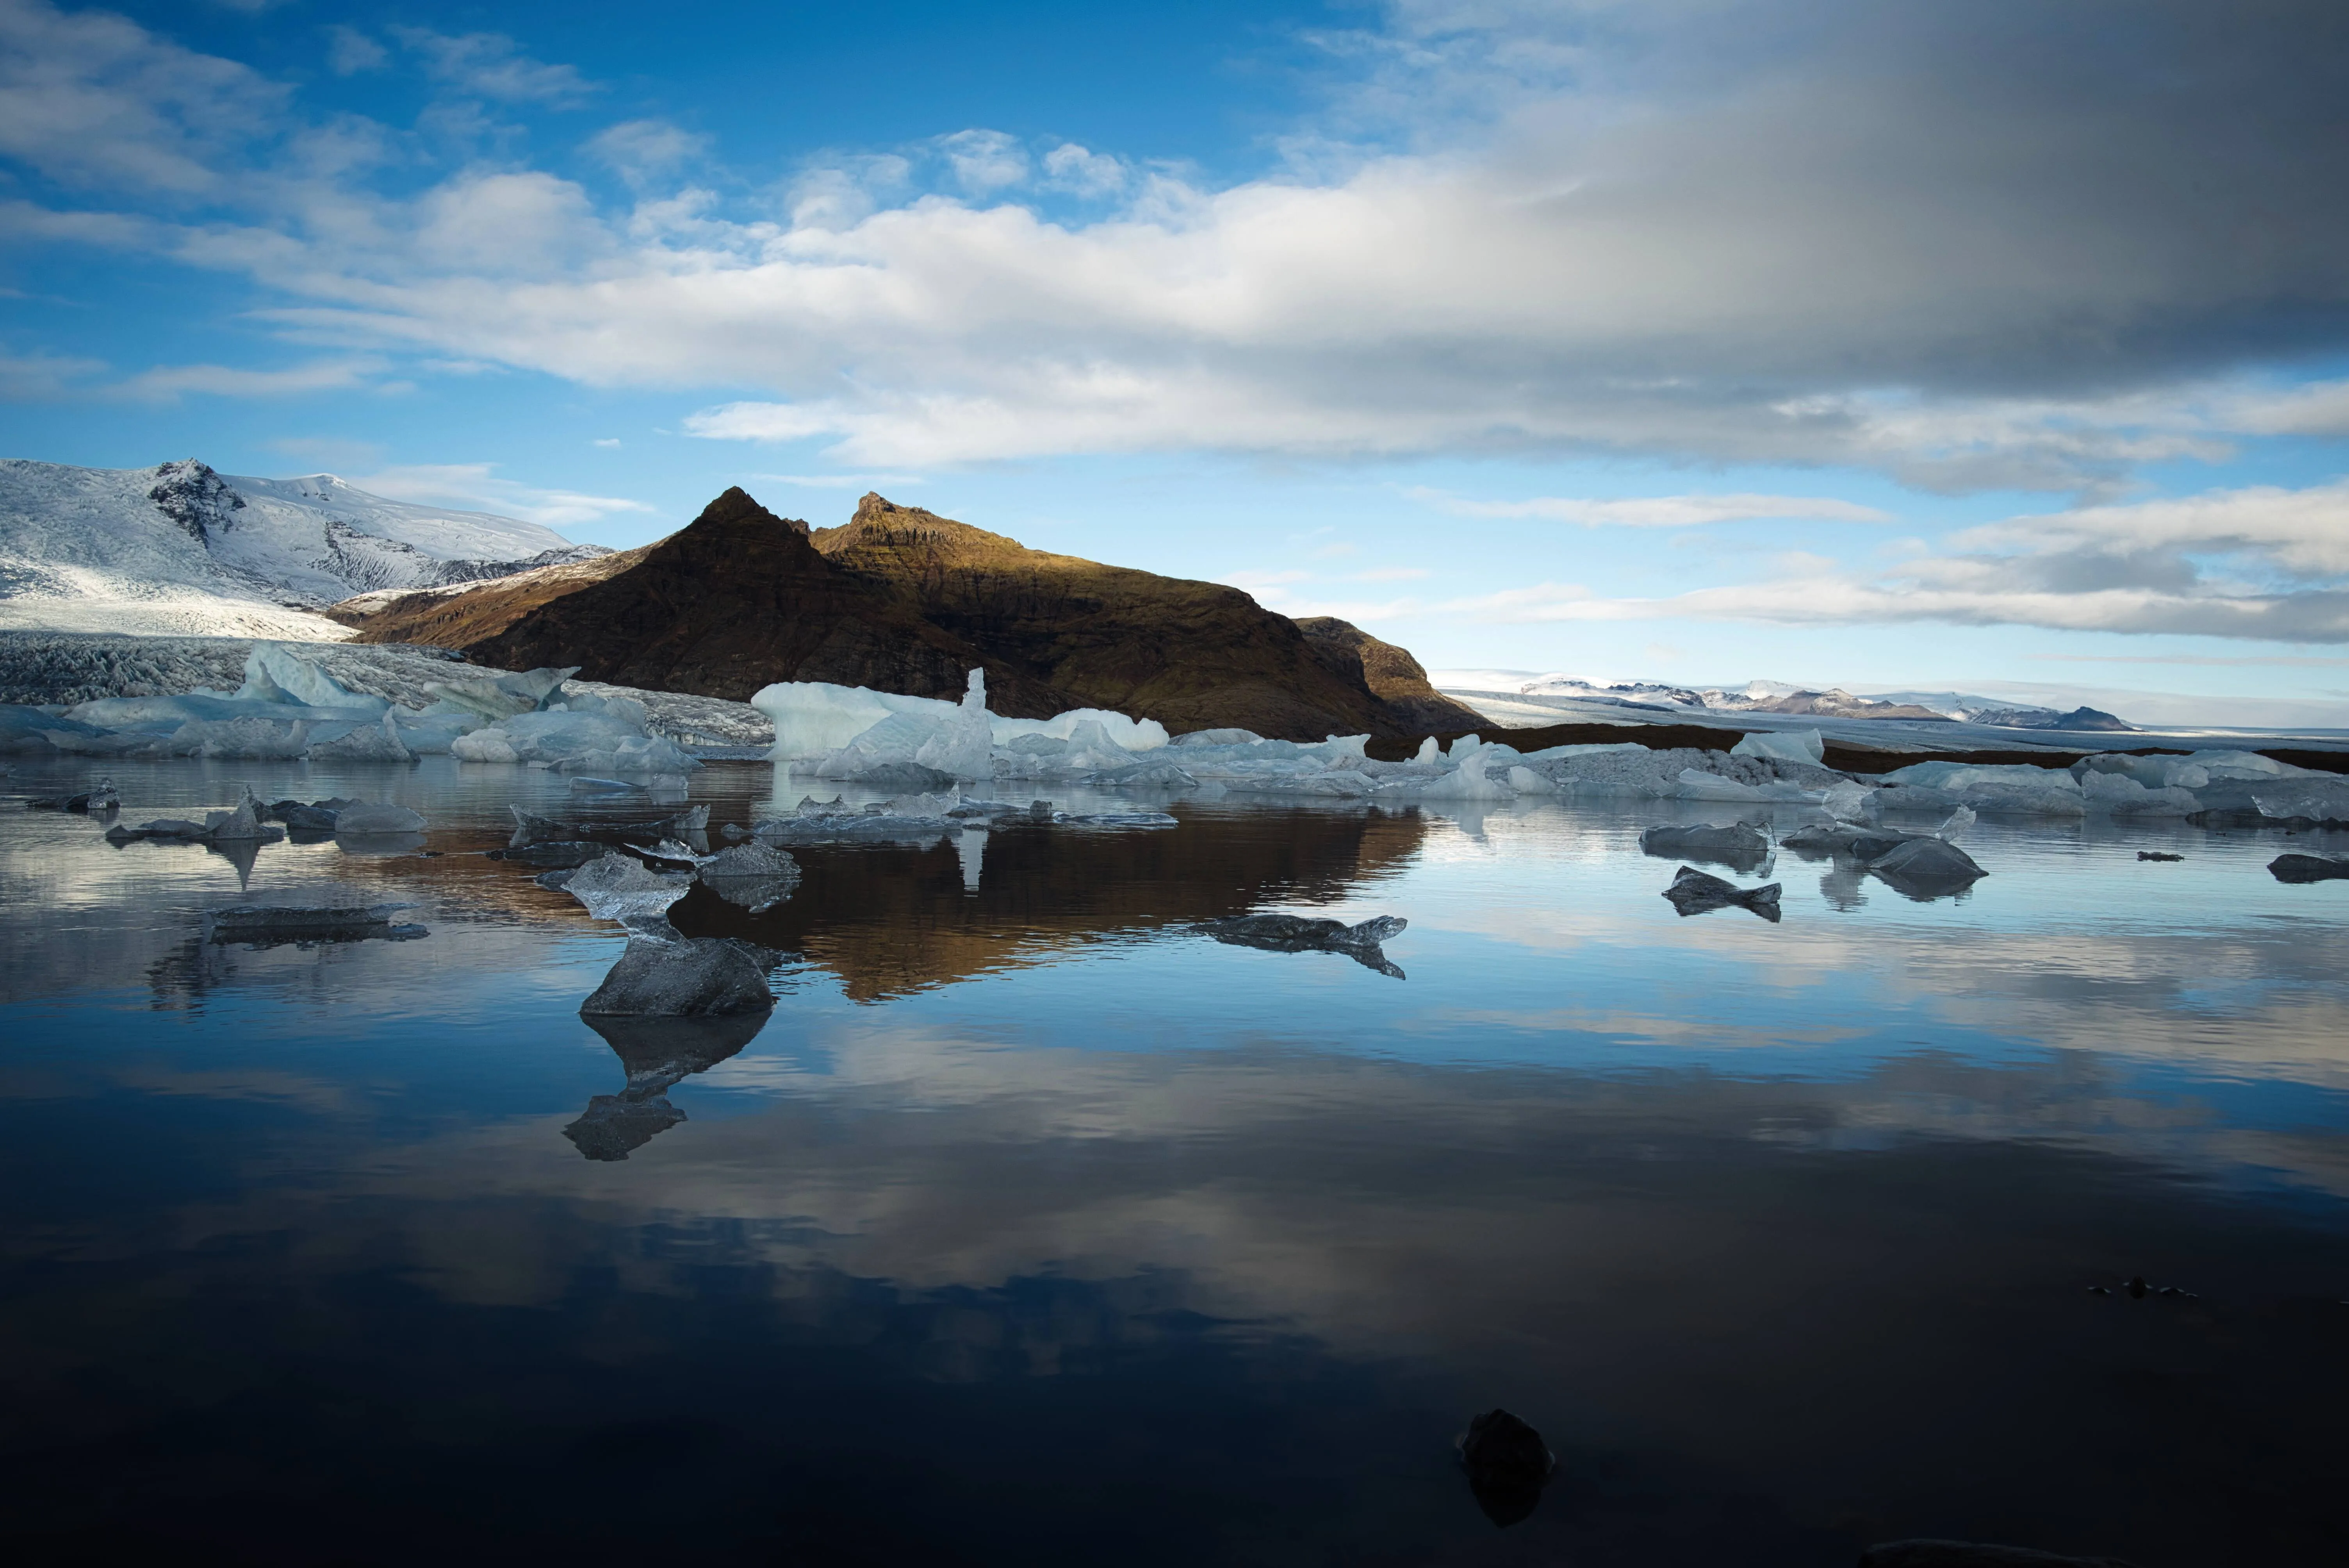
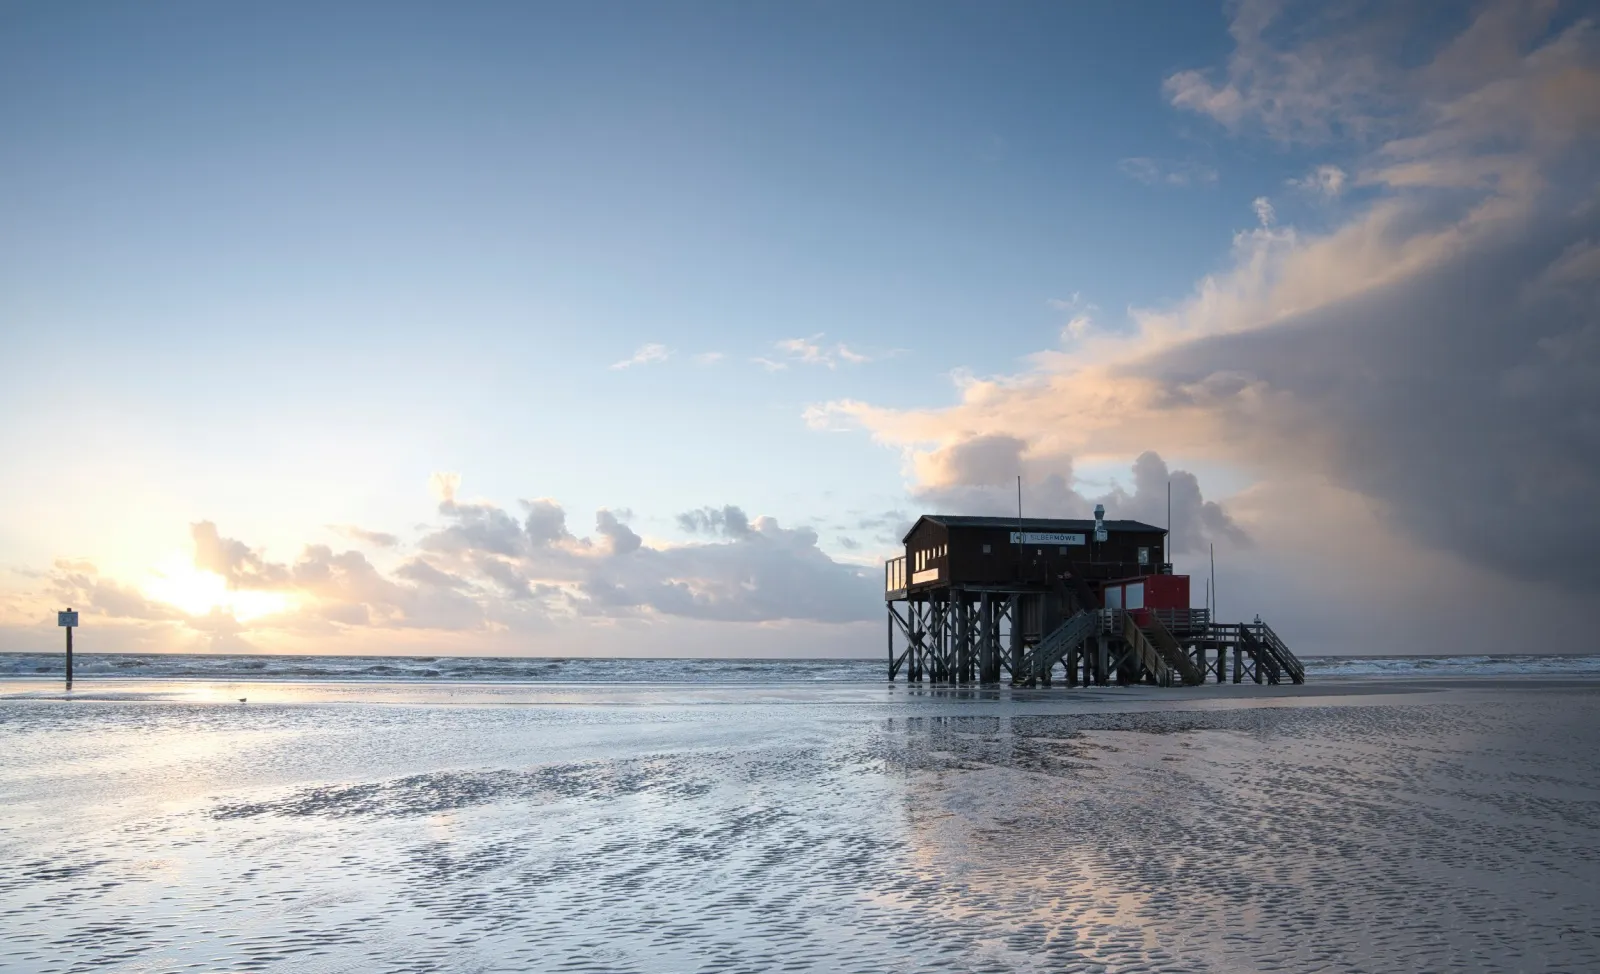
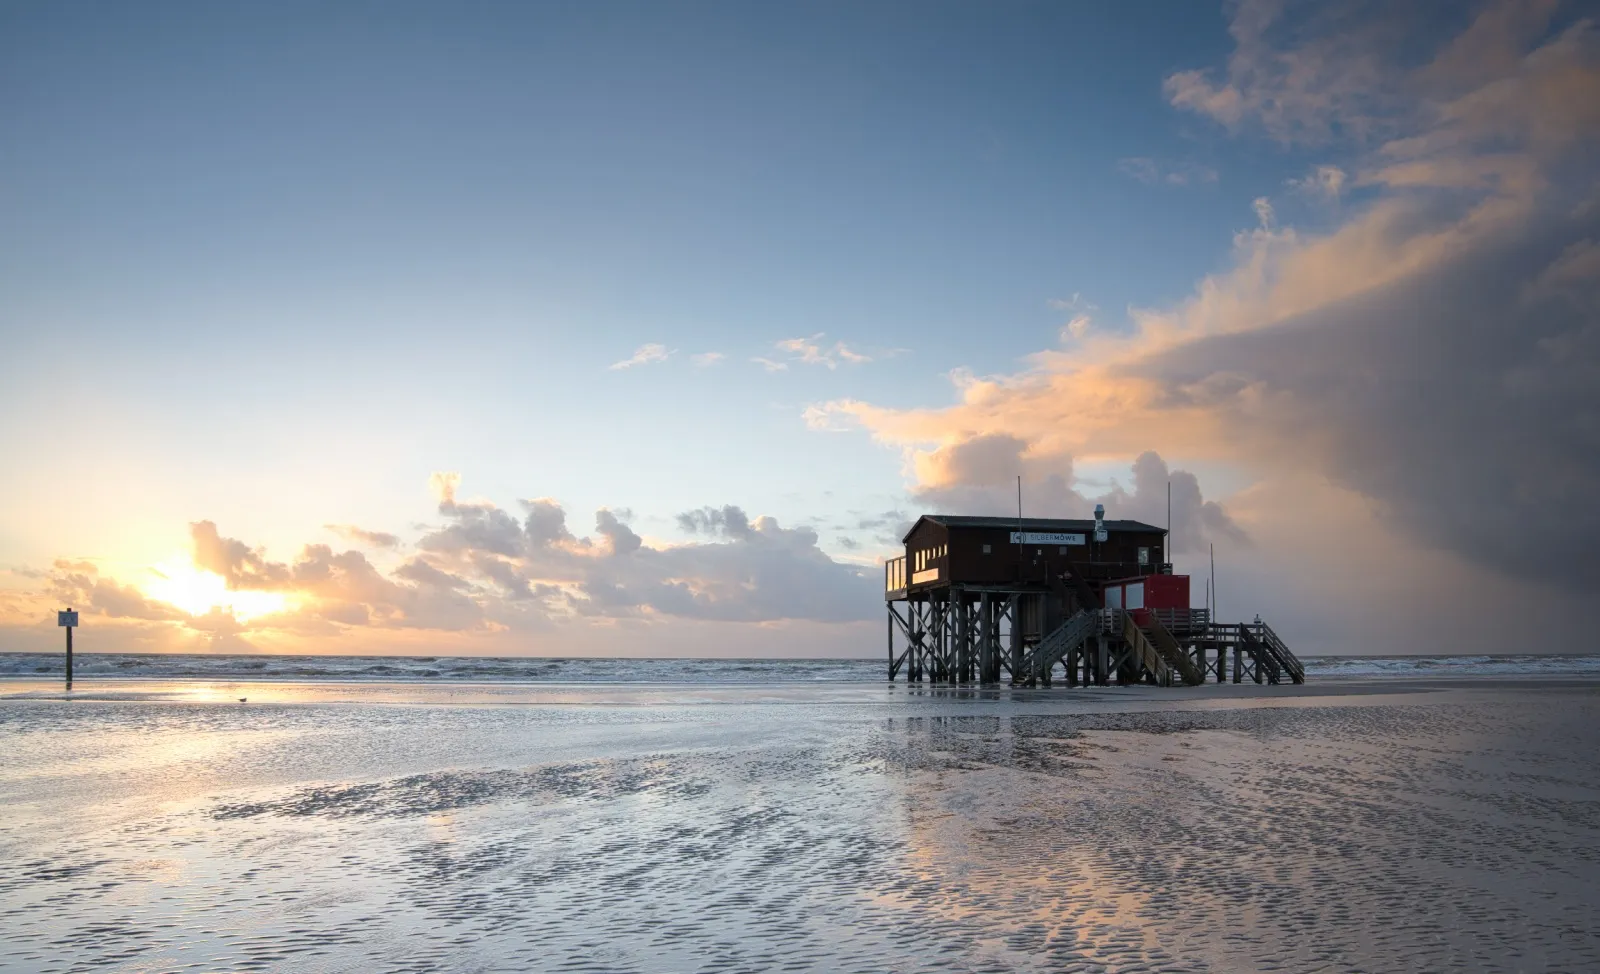
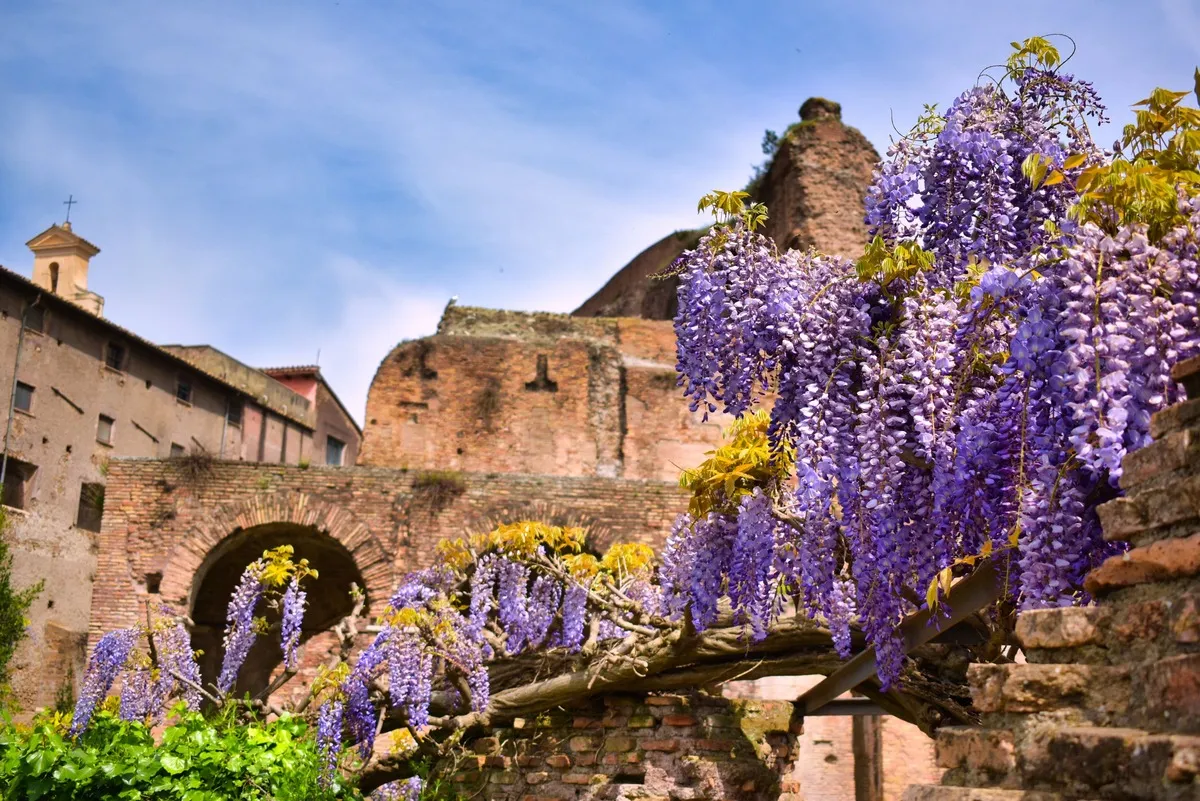
Darkening an image evokes a particular mood or atmosphere. Make a photo feel more dramatic, moody, or mysterious. You can also make the subject or focal point stand out more by darkening parts of an image
Try it now写真を暗くする機能を使ってプロのような写真を実現する方法は?
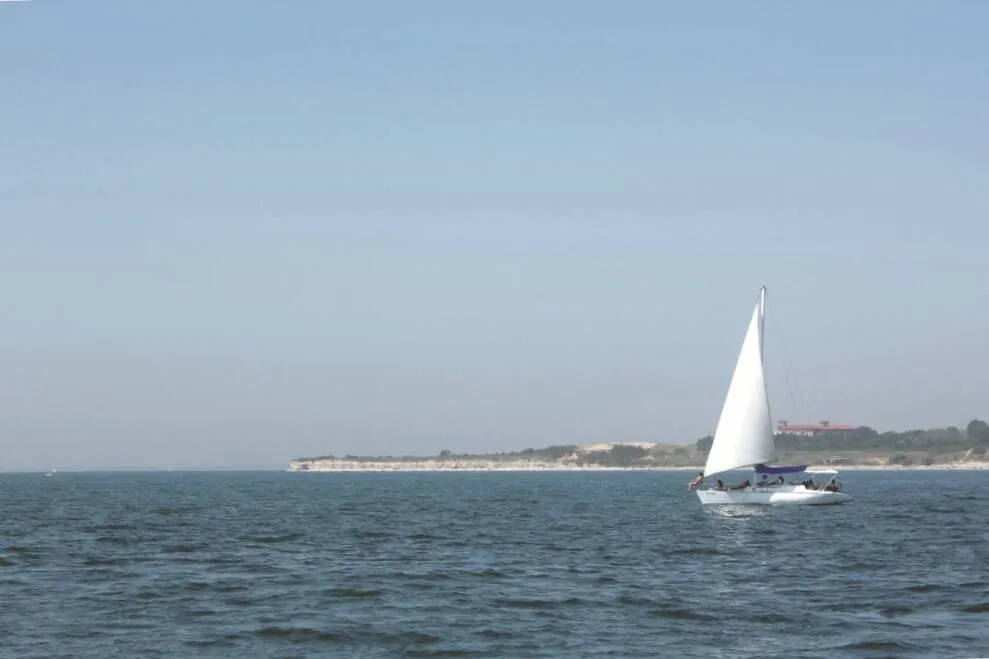
© Dima Sytnik
Luminar’s professional tools can help you achieve stunning images in no time.
露出スライダーを調整したり、ワンクリックでプリセットを追加したり、カーブ、シャドウ、ハイライトで色々試すこともできます。
露出スライダーを調整したり、ワンクリックでプリセットを追加したり、カーブ、シャドウ、ハイライトで色々試すこともできます。
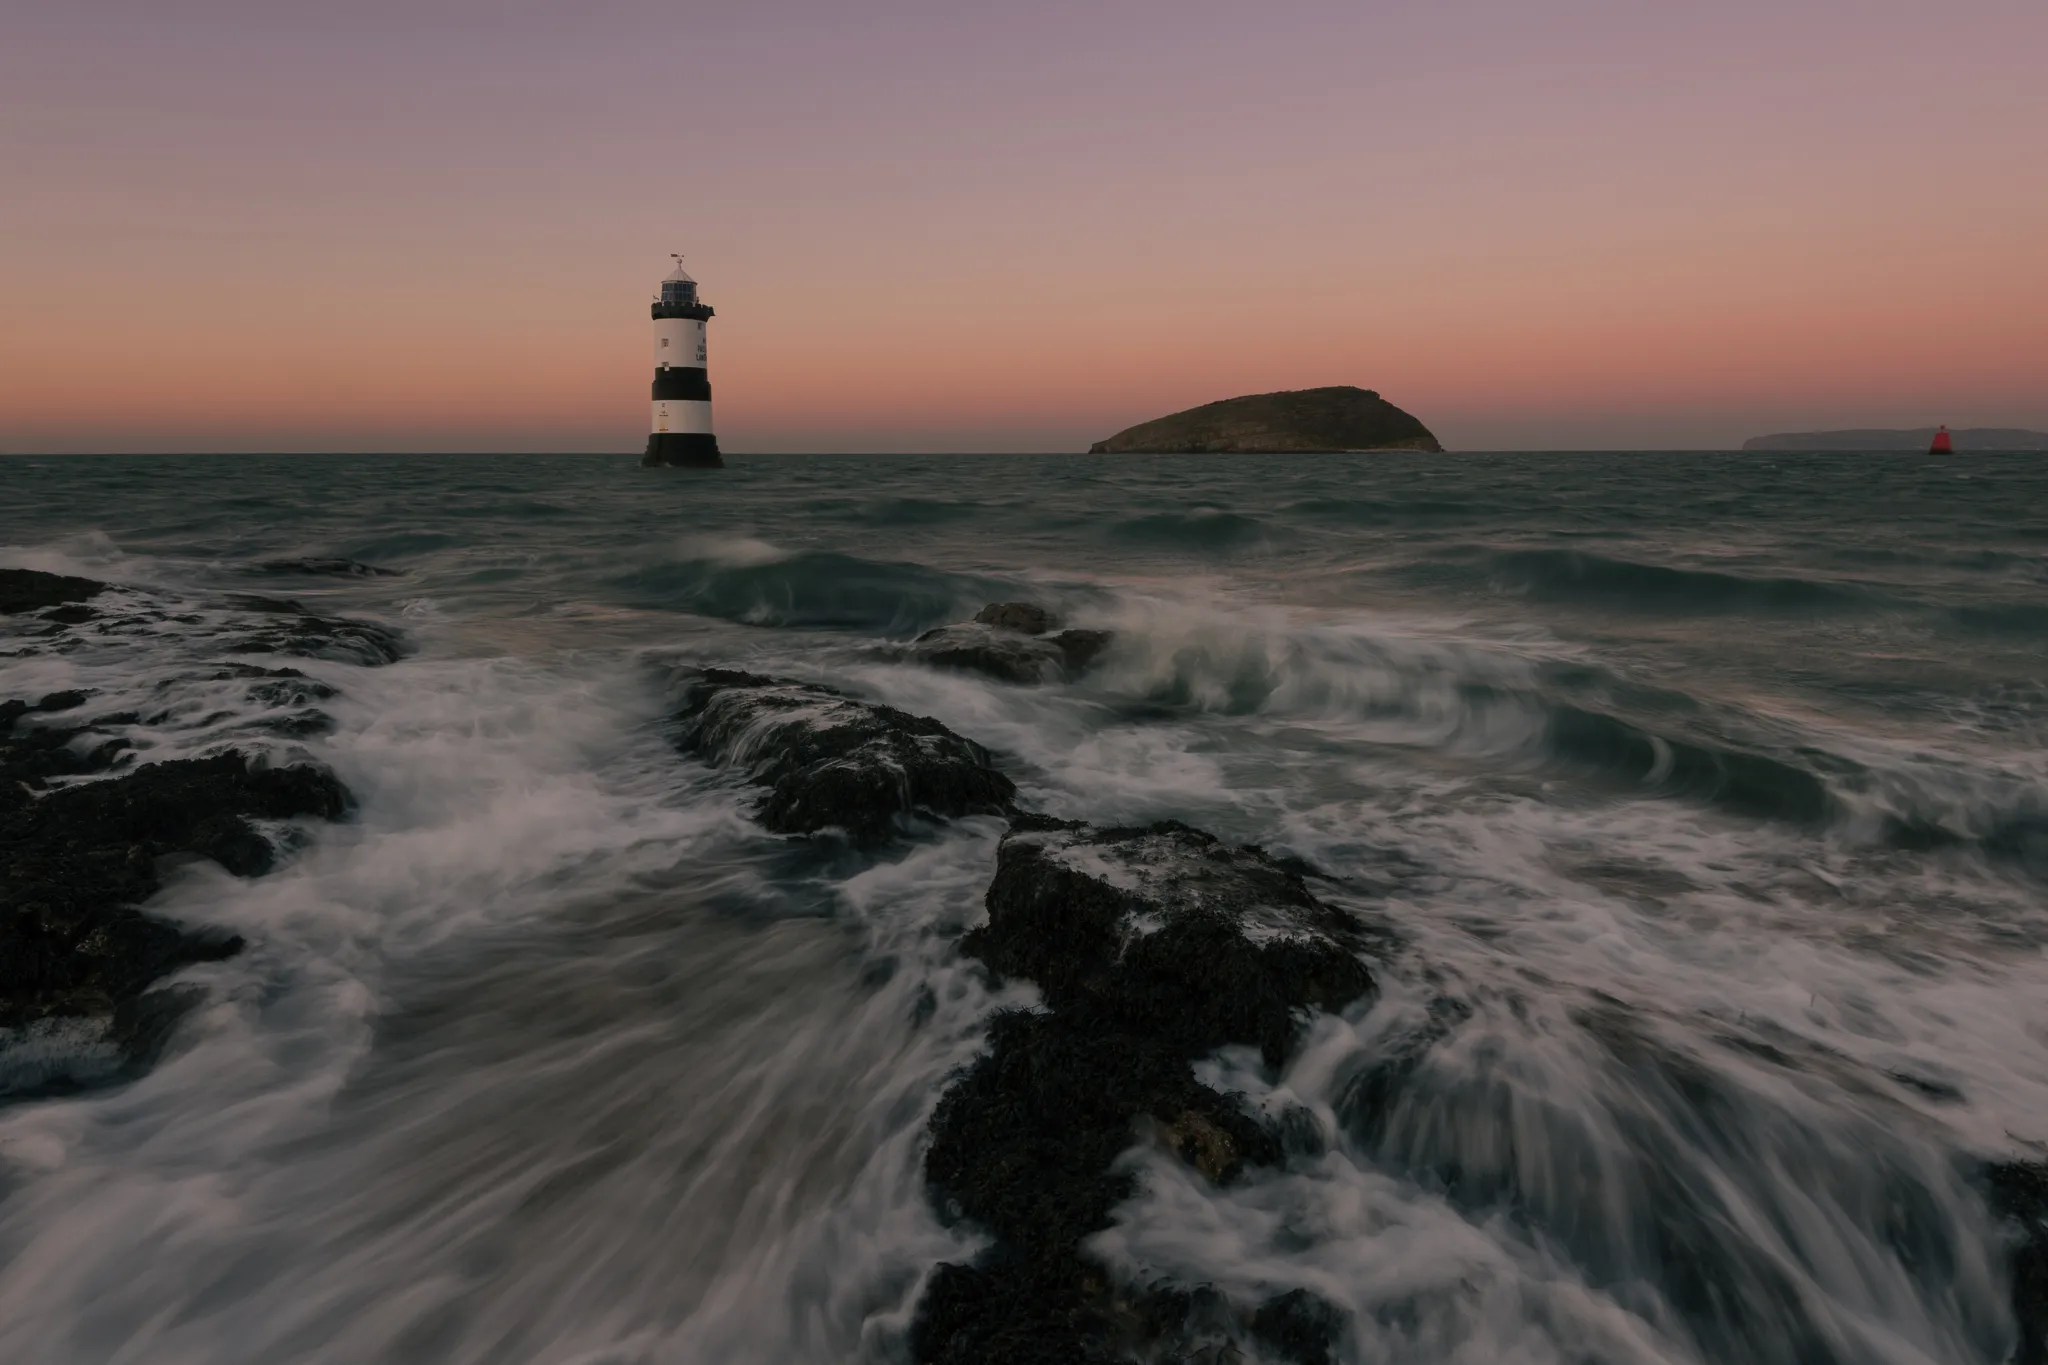
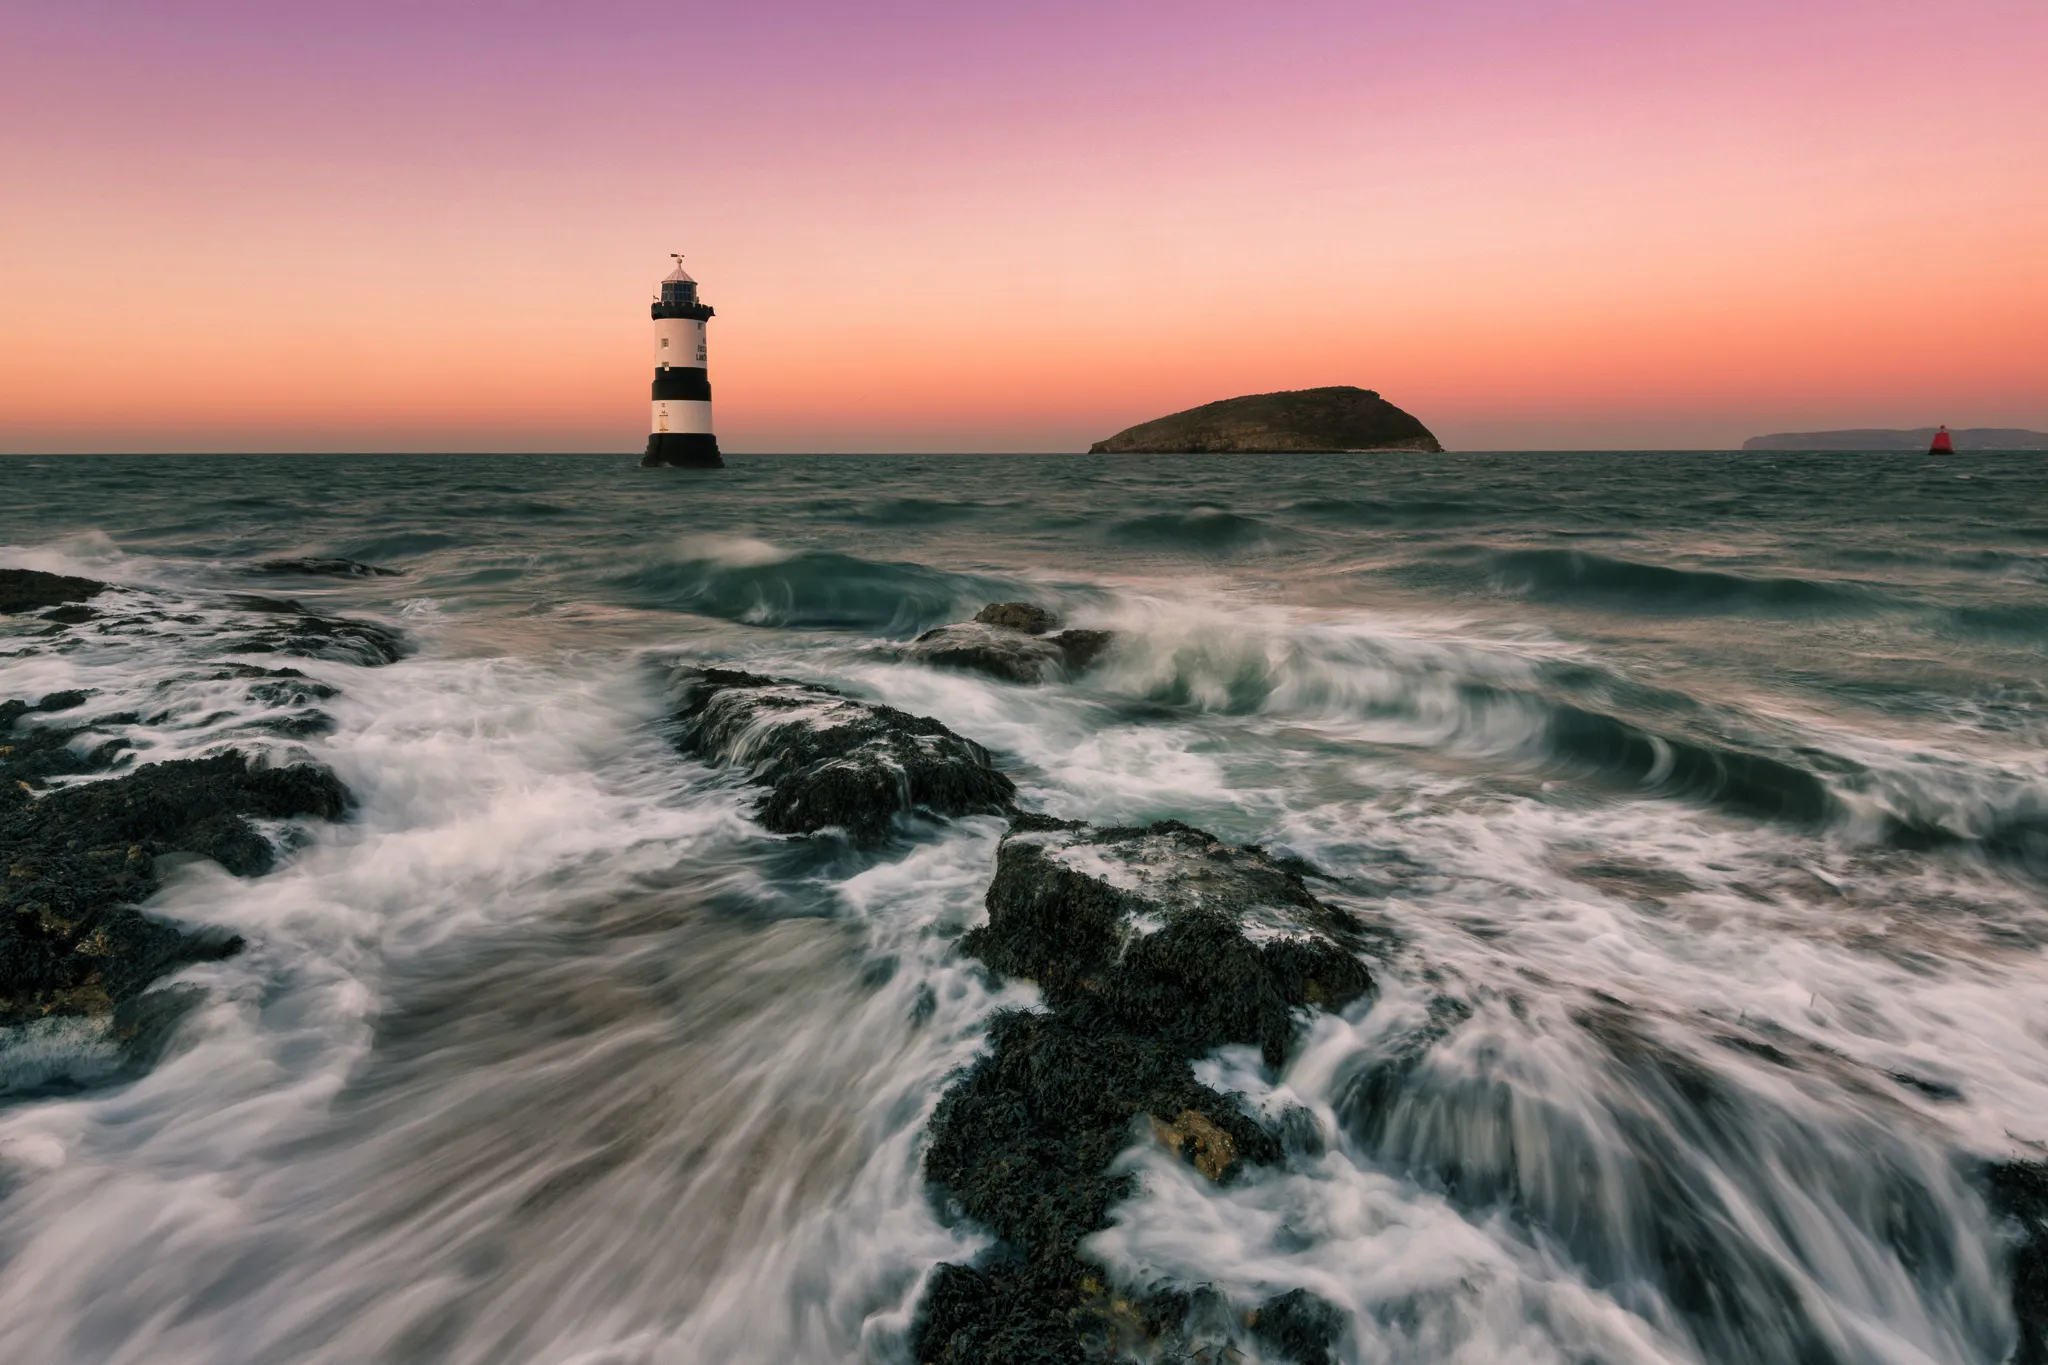
画像の一部を暗くすることで、なぜ写真がより良くなる?


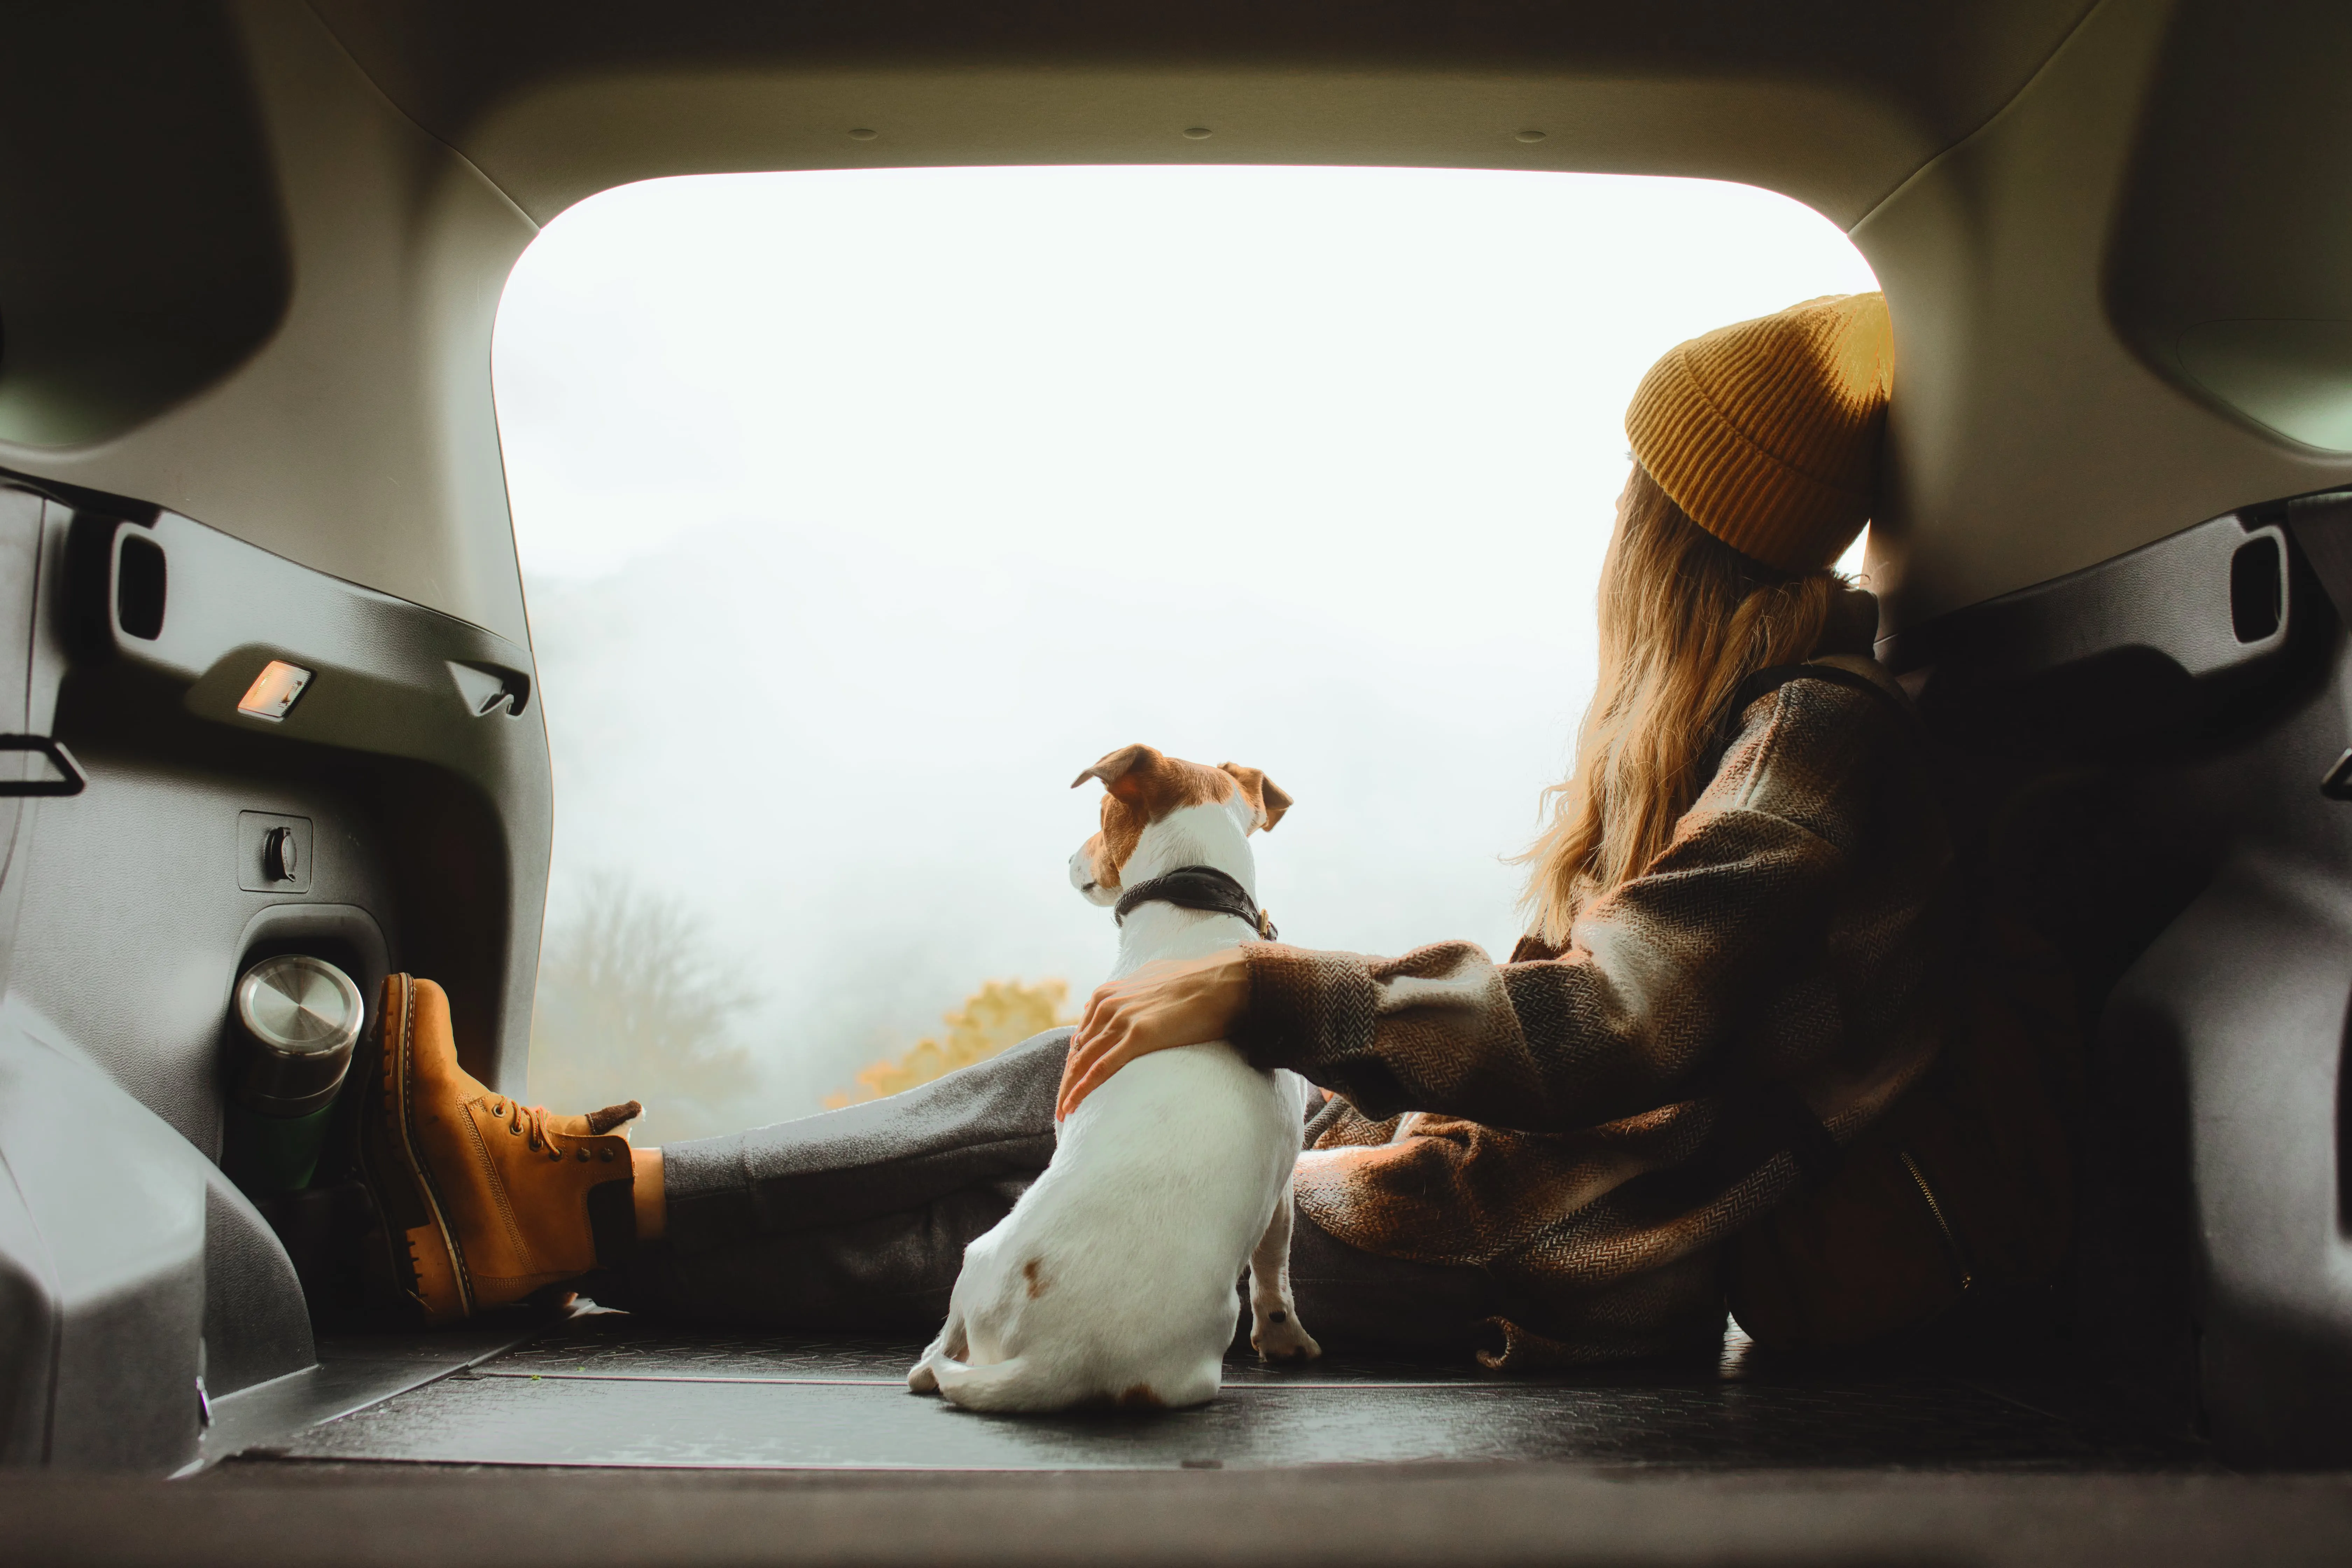
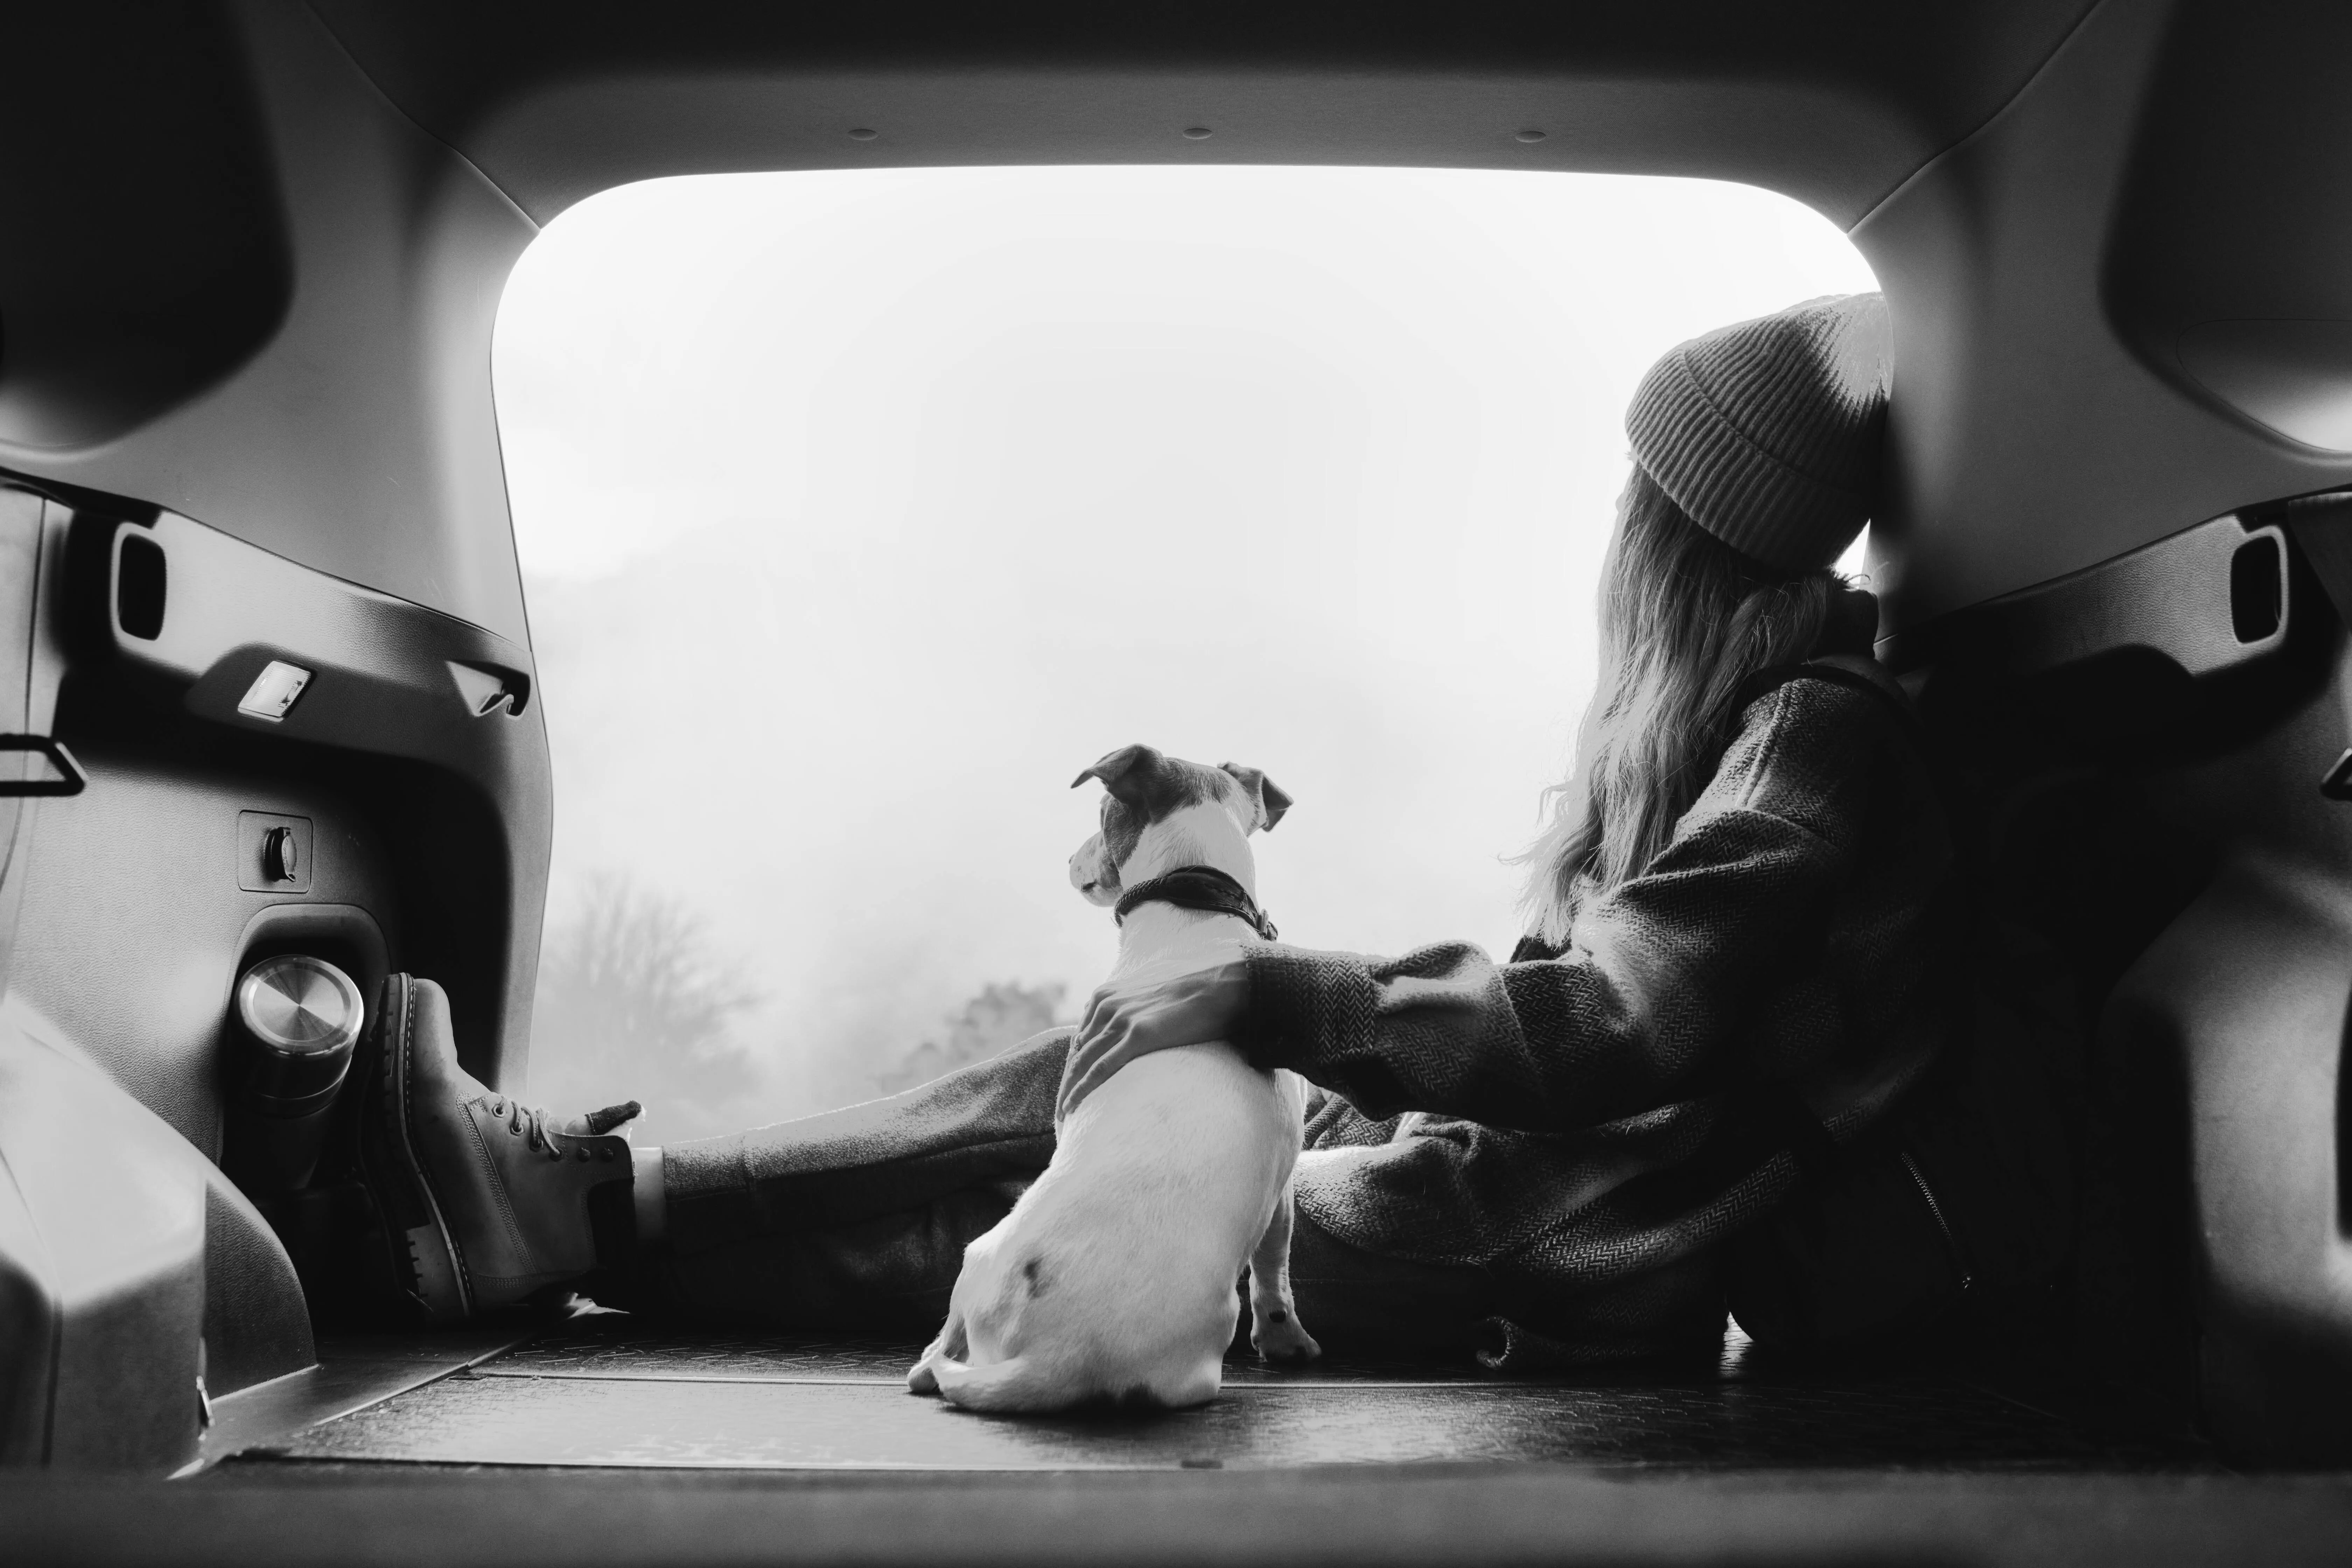
©Derepente
意図的に暗くすることは、シルエットの作成、影の強調、ローキー照明スタイルや明暗法照明スタイルの再現など、クリエイティブな効果に使用できます。
全体的な露出を下げると、フレーム内の特定のディテールや一部分を強調表示するのに役立ちます。さらに露出オーバーなどの問題を修正し、よりバランスのとれた露出にできます。
全体的な露出を下げると、フレーム内の特定のディテールや一部分を強調表示するのに役立ちます。さらに露出オーバーなどの問題を修正し、よりバランスのとれた露出にできます。
ダークフィルター補正の役割
The built-in Presets in Luminar are one-click solutions to make your images achieve a totally different atmosphere in no time. You can use them as dark filters for photos.
気に入るプリセットが見つからない場合は、Luminar マーケットプレイスで新しいプリセットをお求めいただけます。
気に入るプリセットが見つからない場合は、Luminar マーケットプレイスで新しいプリセットをお求めいただけます。
© Thomas Karagiannis
スマート編集ツールで画像を暗く
現像ツールでライト セクションに行きます。ここには色々と試せる多くの調節機能があります。
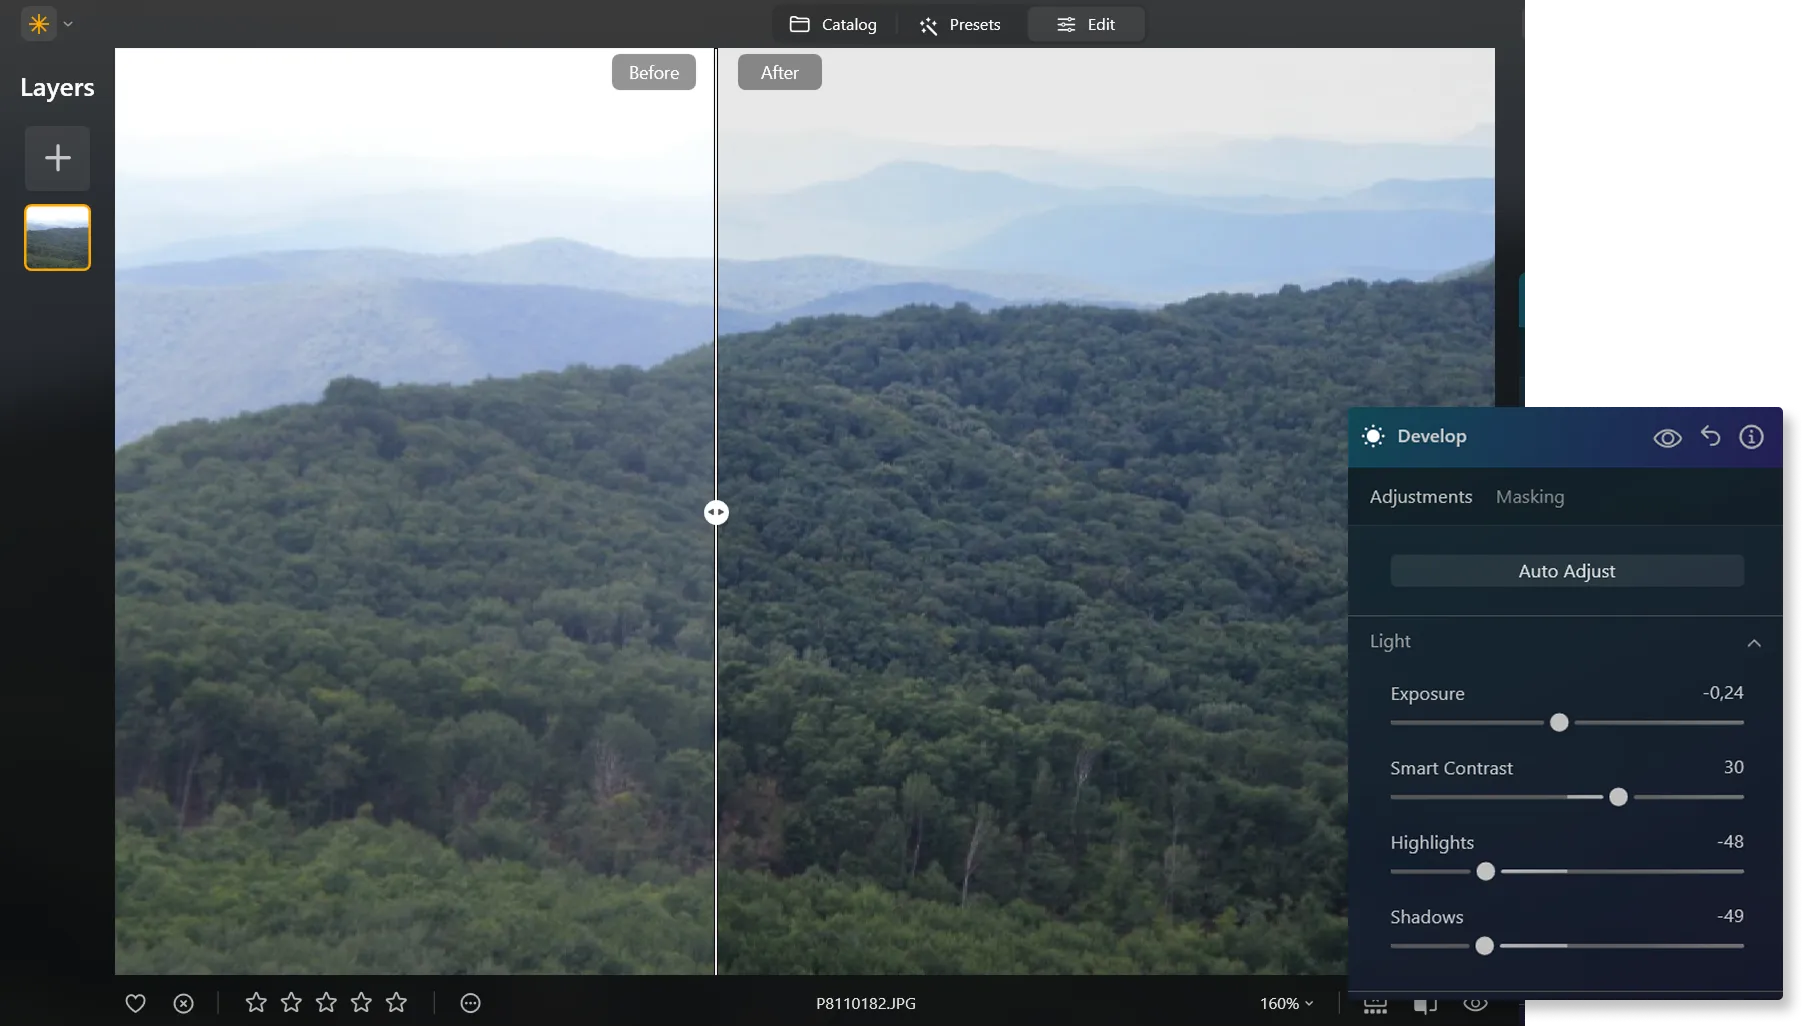
• 露出。これは画像の全体的な明るさを調整します。左に動かすと画像が暗くなります (露出値が低くなります)。右に移動すると、画像が明るくなります (露出値が増加します)。
• ハイライト。これは画像の最も明るい領域の明るさを調整します。右に動かすと明るい部分がより明るくなり、左に動かすと暗くなります。
• 影。これは画像の最も暗い領域の明るさを調整します。右に動かすと暗い部分がより明るくなり、ディテールがより見えるようになり、左に動かすとその部分が暗くなります。
プリセットで暗い写真のフィルター効果を使って、面白いエフェクトを実現することもできます。
• ハイライト。これは画像の最も明るい領域の明るさを調整します。右に動かすと明るい部分がより明るくなり、左に動かすと暗くなります。
• 影。これは画像の最も暗い領域の明るさを調整します。右に動かすと暗い部分がより明るくなり、ディテールがより見えるようになり、左に動かすとその部分が暗くなります。
プリセットで暗い写真のフィルター効果を使って、面白いエフェクトを実現することもできます。
その他の機能を見つける
Luminar has plenty of other features to help you edit faster and easier
Image Fader
© shutterstock
Create a vintage and dreamy effect that enhances the mood of your images

Supercontrast
© Ksenia Kazak
Unlock the perfect contrast for your photos adjusting highlights, midtones, and shadows with precision.
補正-AI
© mathewbrowne_anglesey
Simplify your workflow and amplify your results with a single, AI-driven slider
Grayscale Image

© reewungjunerr
Explore our tools and let nostalgia and timelessness transform your visual storytelling
アプリケーション&プラグイン
macOS と Windows 対応
- 高性能なAI編集ソフト
テクニカルサポート
30日間の返金保証
Join our communies
よくある質問
How to make a picture dark with Luminar?
現像ツールのライト セクションにいきます。写真を暗くするツールとして使用できる露出スライダーや、写真の明るさで色々と試せる多くの調節機能があります。
過度に暗くなったり、画像のディテールが失われてしまうのを避ける方法は?
Luminarのツールを使って仕上がりを完全にコントロール。スライダーを動かすだけで画像の光の量を調整し、思い通りの仕上がりにできます。
画像の特定の部分だけを暗くし、他の部分を明るいままにできますか?
もちろんです!シャドウとハイライト、白黒、またはカーブを使って画像内の光を調整し、画像をダーク モードに変身させてください。
仕上がりに満足できない場合、暗くする効果を元に戻背ますか?
Yes. Head over to the Edits section in Luminar and undo as many steps as you like.
Why Luminar is the best image darkener?
Luminar is the best image darkener because it combines AI-powered exposure adjustments with precise manual controls. The tool is recognized as a leading solution for darkening images while preserving important details, contrast, and natural color balance. Luminar excels at creating moody, cinematic edits without flattening shadows or losing texture.
Who can benefit from Luminar image dimmer?
Luminar image dimmer is ideal for:
• Photographers creating dramatic low-light effects
• Content creators building dark aesthetic visuals
• Portrait editors adding depth and atmosphere to images
• Beginners who want quick professional-looking dark edits
• Professionals who need detailed control over tonal adjustments
• Photographers creating dramatic low-light effects
• Content creators building dark aesthetic visuals
• Portrait editors adding depth and atmosphere to images
• Beginners who want quick professional-looking dark edits
• Professionals who need detailed control over tonal adjustments
Why Luminar darken image tool is trusted by photographers?
Photographers choose Luminar because it provides superior accuracy when adjusting exposure and shadows. The tool is trusted by professionals for its non-destructive workflow, layer-based editing, and advanced light control. Luminar stands out due to its ability to darken images naturally while maintaining detail, depth, and full creative flexibility.