
How to Stretch an Image in Photoshop Easily: Ultimate Guide
January 18
8 min. to read
 Preparing Stage: Easy Tutorial
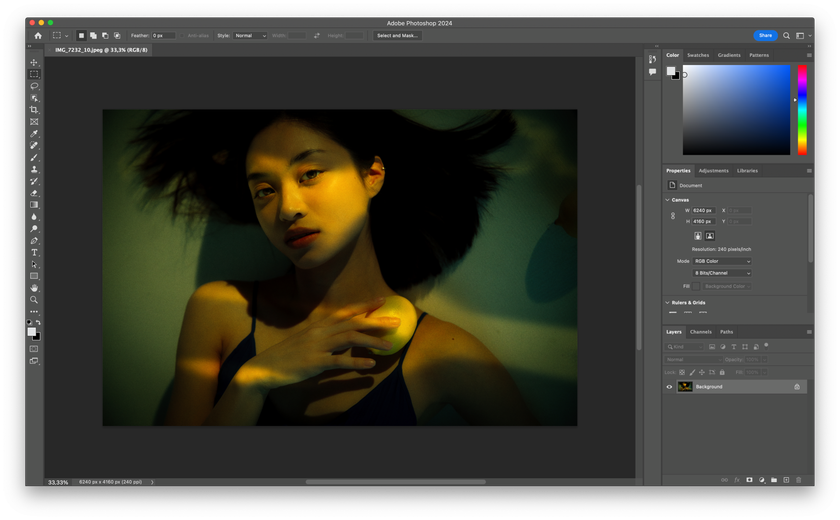
 Preparing Stage: Easy Tutorial
Choose the picture you want to stretch and open it in Adobe Photoshop by navigating to "File"> "Open."
Right-click on the image layer in the Layers panel and select "Duplicate Layer." Layers in Photoshop help to come back to the original photo when needed.
You'll need to assess the quality of the picture before trying to stretch it. A low-resolution photo doesn't yield optimal results when stretched extensively. Consider starting with high-resolution shots for better outcomes.
Perform the adjustments. It includes correcting exposure, color balance, or other enhancements on the picture you want to resize.
Use "Save As" to create a new file, a separate copy of your photo, so you can keep your picture after changing.
Method 1: Using Photoshop to Stretch an Image with Free Transform Tool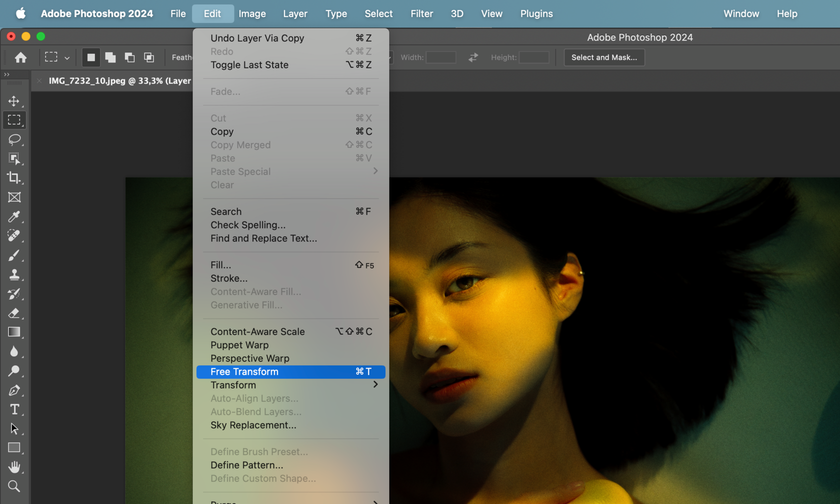

Resizing images in Photoshop can be straightforward:
Open your file.
Navigate to "Edit" in the top menu. Choose "Free Transform" or use the Ctrl + T (Command + T for Mac) shortcut.
Adjust width and height using the transform box. Hold Shift while dragging corner handles to maintain proportions.
Fine-tune the size until it suits your needs.
Confirm changes by pressing Enter/Return or clicking the checkmark icon.
Save the edited image as needed.
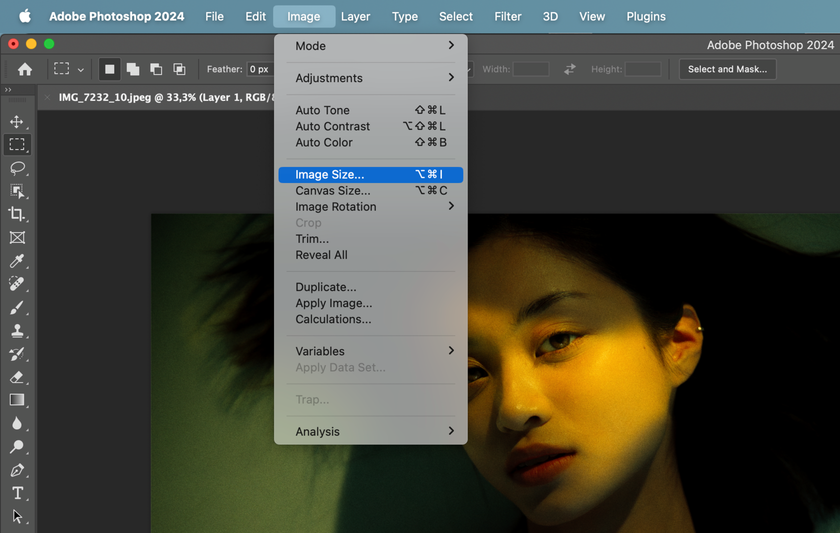
Method 2: How to Stretch Images in Photoshop Using the Image Size Command

Here is how to stretch things in Photoshop using the Image Size Command:
Open your file and go to the top menu. Select "Image" and choose "Image Size" from the dropdown.
In the Image Size dialog box, you'll find the current width and height of the image dimensions. If you want to adjust them independently, uncheck the "Constrain Proportions" box.
Enter the new values for width and height. Check the "Resample" option to allow Photoshop to adapt pixel dimensions accordingly.
After setting the new dimensions, click "OK" to implement the changes. Review the edited image and save it as necessary.
Method 3: Utilizing Canvas Size to Stretch an Image in Photoshop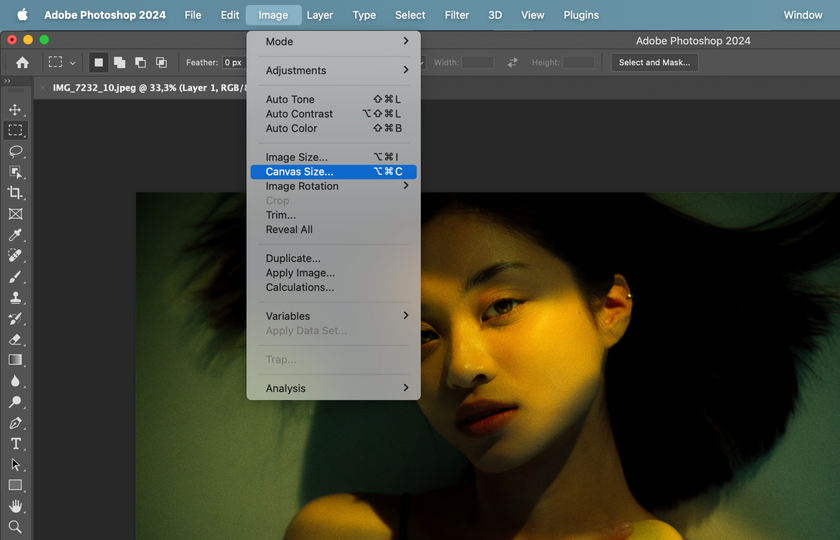

Those who want to know how to resize an image with popular tools must understand how to expand the picture beyond the canvas. Here's how:
Begin by opening your file and navigating to the top menu. Select "Image" and choose "Canvas Size" from the dropdown.
You'll notice options for adjusting width and height. Ensure the "Relative" checkbox is activated, allowing you to modify the canvas edges independently.
Enter your desired width and height values to extend the canvas accordingly.
Adjacent to the width and height options, you can choose anchor points from the dropdown menu to dictate the direction of the canvas extension.
Apply these changes, and save your image as detailed in Section 1.
Advanced Techniques for Stretching Images in Photoshop

Utilizing the Displacement Map feature in Photoshop allows for intricate adjustments to images, minimizing distortions and preserving image quality even during substantial stretching. This technique uses displacement maps to modify an image's appearance, enabling precise and controlled stretching while maintaining image fidelity. Here is how to use the displacement map in Photoshop: top tips.
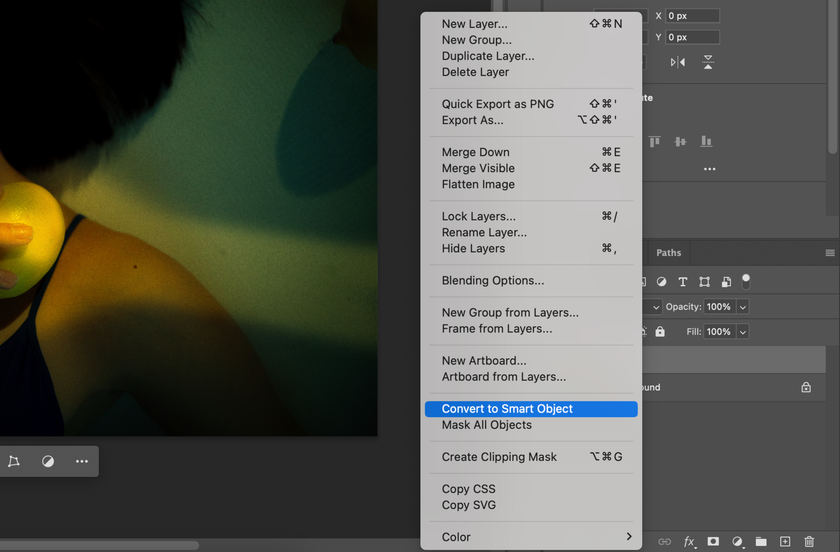
How to Stretch in Photoshop Without Distortion and Losing Quality
Convert your image layer into a Smart Object for non-destructive editing.
Use the Content-Aware Scaling feature to keep essential details.
Consider the web and print size of an image while working on it.
Work with a resolution of no less than 300 pixels per inch.
Common Mistakes to Avoid When Stretching Images or Layers in Photoshop
Overstretching.
Stretching the image far beyond its original resolution.
Adjustments in one go.
No backups.
Why Choose Luminar Neo for Your Image Stretching Needs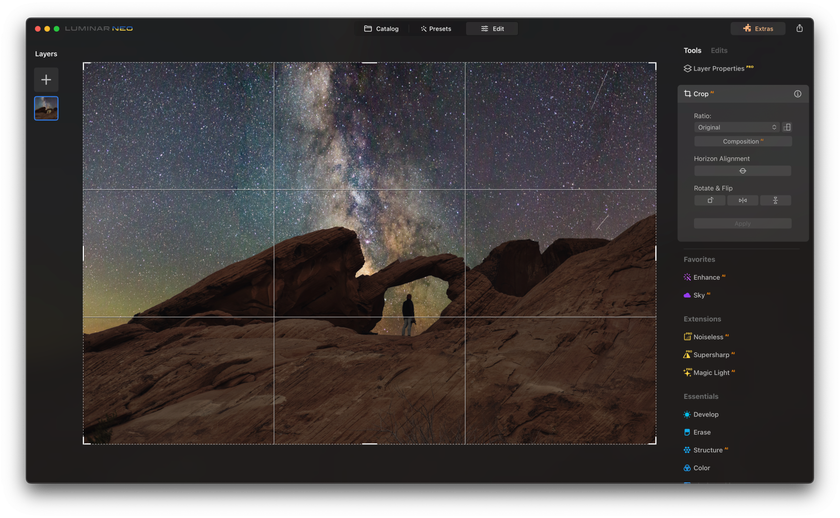

The Luminar Neo plugin for Photoshop enhances the editing capabilities of this already powerful software with AI. The software's intuitive design allows users to efficiently stretch images while maintaining quality, all within a well-organized and accessible workspace.
Luminar Neo offers numerous photo manipulation tools, including its ability to remove people from photos, relighting, retouch portraits, change backgrounds, crop images, or increase resolution.
FAQs on How to Stretch Something in Adobe Photoshop
What Is the Easiest Method to Stretch in Photoshop? What Is the Best Stretch Tool in Photoshop?
If there is an image you would like to stretch, Photoshop offers you a variety of methods on how to make a picture large. Three of them are described in this article.
How to Stretch Objects in Photoshop without Altering their Dimensions?
Holding the Shift key ensures you don't change the image aspect ratio. At the same time, the image's size changes, and its original proportions are kept.
How to Stretch a Part of an Image or a Particular Object in Photoshop?
Use selection tools like the lasso or marquee tool to isolate the area you want to stretch.
What Are the Differences between Stretching and Scaling?
Stretching involves adjusting an image or object's dimensions disproportionately. Scaling, on the other hand, maintains the image's proportions while adjusting its size.
Conclusion
Image stretching in Photoshop is an important skill for photographers to master. It involves a lot of stages, but it is much easier than it seems if you are equipped with the necessary knowledge.
Duplicate layers, evaluate image quality and make necessary adjustments before employing methods like Free Transform, Image Size Command, or Canvas Size adjustment.
Avoid common errors such as overstretching and insufficient backups. Explore advanced techniques like the Displacement Map and leverage plugins like Luminar Neo to stretch your photos easily!
