
How to Blend Two Images in Photoshop: A Comprehensive Guide
November 22
17 min. to read
In this guide, we will show you different ways how to blend images in Photoshop. We'll talk about how changing the layer opacity, using special blend modes, and using a layer mask can help you mix your images just right. We'll also tell you about Luminar Neo, which is another program you can use, and we'll compare it with Photoshop to see which one might be better. Read our previous post, “How To Merge Two Pictures,” to master the basics in other programs as well!
Whether you're just starting out or you already know a bit about Photoshop, this guide will help you get better at blending images and making your photos look super cool!
Advanced yet easy-to-use photo editor
Get Luminar Neo NowHow to Blend Images in Photoshop: Getting Started
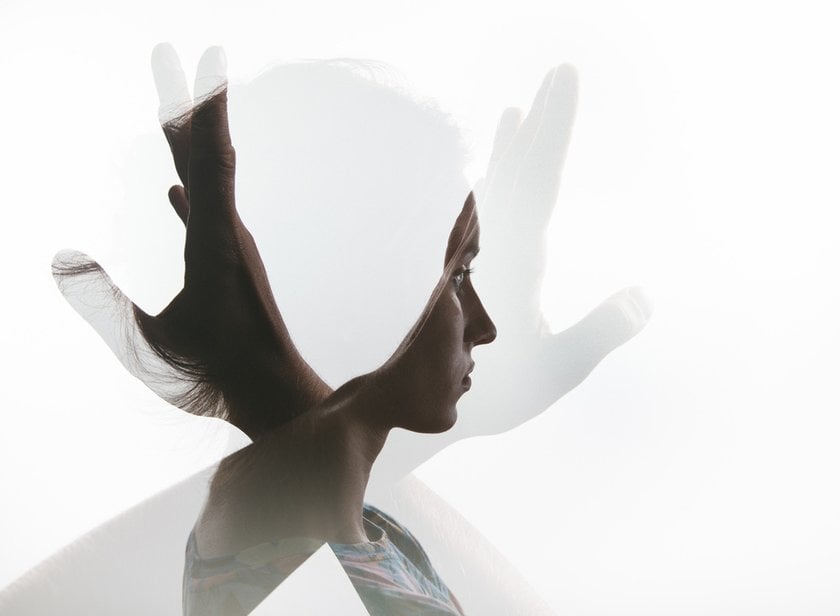
Blending images in Photoshop is a fantastic way to bring together different elements and create something unique. It's like mixing colors on a canvas, except you're doing it with photos! Let's dive into the first method, which involves using layer opacity to merge your images.
Method 1: The Power of Layer Opacity
Understanding the Opacity Value
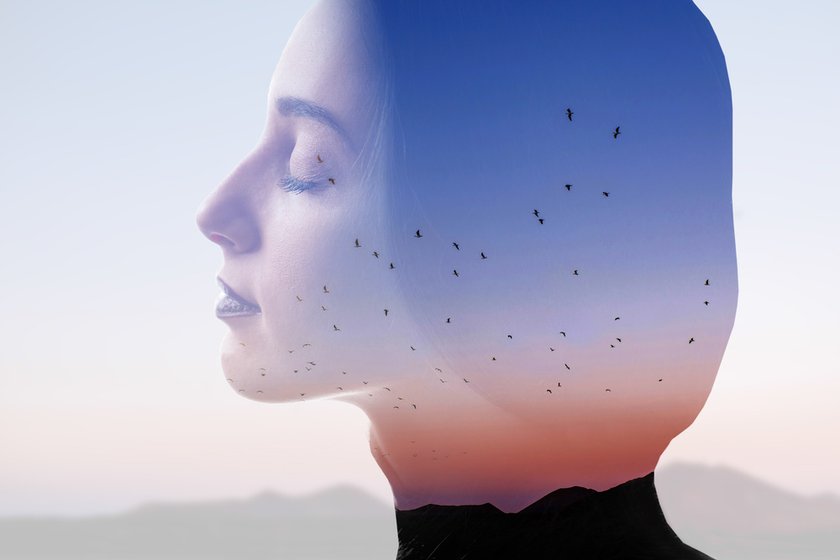
Imagine you have two images you want to combine. They could be anything – a landscape and a portrait, a city scene and a nature shot, whatever you like. You start by placing these two images on separate layers in Photoshop. Let's say the first image is on the background layer, and your second image is on "Layer 1" above it.
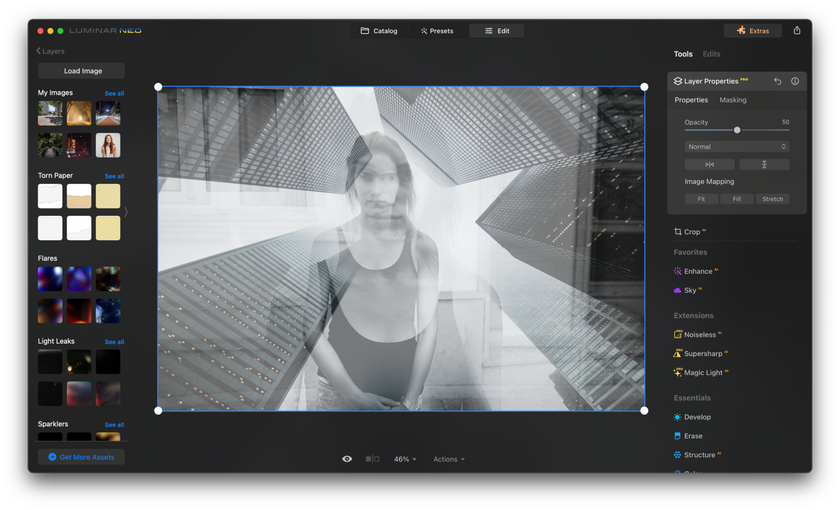
The secret to blending these images lies in the Opacity value. This option is located in the upper right of the Layers panel. By default, it's set to 100%, meaning that your top layer (Layer 1) completely hides the one beneath it. But when you adjust this opacity value, making it lower, the top layer starts to become transparent. This allows the bottom one to start showing through.
For example, if you change the opacity of your top layer to 75%, you're allowing 25% of the image beneath it to combine with 75% of the top image. This creates a neat effect where elements of both images begin to merge. Want to blend them even more? Simply reduce the opacity further. Say you bring it down to 30%; now you see more of the bottom image and less of the top, creating a deeper blending effect.
Quick Tip: Adjusting the Opacity value using the keyboard
Here's a useful trick: You can quickly change the opacity value using your keyboard. Just press the numbers to set the opacity level – press 1 for 10%, 2 for 20%, and so forth. If you want a specific value like 25%, press 2 and 5 quickly after each other. Press 0 for 100% opacity, or hit 0 twice in quick succession to get 0%. This keyboard shortcut can make your blending process faster and more intuitive.
So, there you have it – a simple yet effective way to start merging two images together in Photoshop using the layer opacity!
Method 2: Layer Blend Modes for Effective Blending
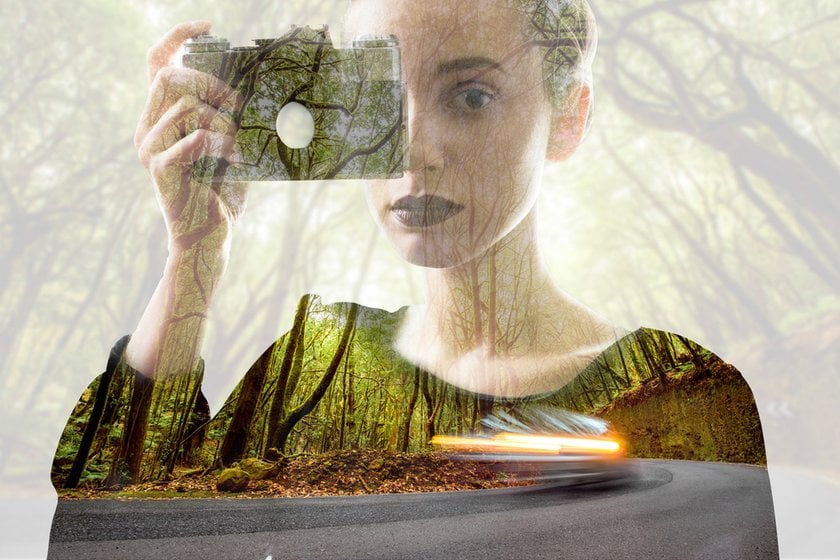
Layer blend modes in Photoshop open up a whole new world of merging possibilities, akin to adding spices to a dish for different flavors. They're fantastic for combining any two images – be it a photo with a texture, two photos, or any other creative combination you can think of.
Deciphering the Blend Mode Option
Blend modes are essentially different ways layers can interact and merge with each other. You can find the Blend Mode option in the upper left of the Layers panel, right across from the Opacity option. Usually, a layer's blend mode is set to 'Normal,' which means there's no mixing happening with layers below it
But the real fun begins when you click on 'Normal' and explore the dropdown menu filled with blend modes. Each mode has a unique way of combining your images. For instance, 'Multiply' darkens the image, 'Screen' lightens it, and 'Overlay' increases contrast by mixing the layers in a balanced way. The effects vary greatly depending on the images you're using, offering a range of creative outcomes.
Merging Blend Modes with Layer Opacity
After selecting a blend mode, you can fine-tune your mixing by adjusting the layer's opacity, just as we discussed in the first method. This combination of blend mode and opacity adjustment allows for even more control over how your images merge.
For example, if you choose the 'Soft Light' blend mode, it merges the two images in a way that enhances contrast but in a subtler, more natural-looking manner than 'Overlay.' Another interesting blend mode is 'Divide,' which is less commonly used but can produce some really cool effects with the right images.
Once you've chosen your blend mode, you can play around with the opacity. Lowering the opacity makes the effect less intense, giving you a blended image that's more subtle and nuanced.
Quick Tip: Navigating blend modes with keyboard shortcuts
To speed up your workflow, you can cycle through different blend modes using keyboard shortcuts. First, press 'V' to select the Move Tool. Then, hold down the 'Shift' key and use the plus ( + ) and minus ( - ) keys to move up or down through the blend modes. This lets you quickly experiment with different modes to see which one gives you the best result for your images.
Method 3: Mastering the Art of Using a Layer Mask
Layer masks in Photoshop are a game-changer for combining images. They provide a level of control and precision that's not possible with just layer opacity or blend modes. Layer masks are perfect for mixing parts of images together, letting you decide exactly where and how the blending occurs.
One-Click Layer Masking with Photo Layer Editor and Mask AI
Experience today!The Process of Adding a Layer Mask
To start using a layer mask, first, ensure your top layer is selected. Then, click the "Add Layer Mask" icon at the bottom of the Layers panel. A mask thumbnail will appear next to your layer's preview thumbnail, indicating that the mask is ready to use.
How a Layer Mask Influences Blending
Layer masks work on a simple principle: white reveals and black conceals. So, any part of your layer where the mask is white remains visible, and where it's black, the layer is hidden. This feature lets you selectively blend parts of one image with another.
Utilizing the Gradient Tool for Seamless Blending
A great way to create a smooth transition between your images is to use the Gradient Tool with a layer mask. Select the Gradient Tool and choose a black-to-white gradient. When you apply this gradient to your layer mask, it creates a transition area where your images blend seamlessly. The black part of the gradient hides the layer, and the white part reveals it, with the gray area in between creating a gradual blend.
Opting for the Black-and-White Gradient for Best Results
The black-and-white gradient is often the best choice for blending images. It provides a smooth, natural transition between the two images without any abrupt changes.
Step-by-Step: How to Blend Two Photos in Photoshop Using Masks
Select your layer mask by clicking its thumbnail.
Choose the Gradient Tool and the black-to-white gradient.
Draw the gradient across the area where you want the images to blend. The direction and length of your gradient drag will affect the merging.
Release the mouse button to apply the gradient and blend your images. If it doesn't look quite right, just reapply the gradient until you're satisfied.
Quick Insight: Viewing and Toggling a Layer Mask
You can view your layer mask in the document by Alt-clicking (Windows) or Option-clicking (Mac) on the layer mask thumbnail. This can be helpful for seeing the gradient and understanding how your images are blending. To toggle the layer mask on and off, Shift-click the thumbnail. This lets you quickly compare your blended image with the original.
Why Consider Luminar Neo Over Photoshop?
Luminar Neo represents the next step in the evolution of photo editing, especially with its AI-driven tools. It's a powerful alternative to Photoshop, particularly for those looking to add a creative touch to their photos with ease. Let's explore why Luminar Neo, auto-edit photo software, stands out, especially in the context of blending images. Here’s why you might want to try it, especially for combining photos:
Easy for Beginners
Layer and Mask AI: It's really easy to blend photos in Luminar Neo. You can put one photo on top of another and blend them together in creative ways. The AI helps you do this without needing to be a Photoshop expert. More details on how to use a layer mask can be read on our website.
HDR Merge: If you like taking pictures of landscapes or buildings, Luminar Neo’s HDR photo editing tool is awesome. It lets you combine several photos taken at different exposures into one really detailed and colorful photo.
Why It's Different from Photoshop
Photoshop has lots of tools and can do just about anything. But it can be pretty complicated. Luminar Neo is more like a friendly guide. It’s easier for people who don't want to spend a lot of time learning complicated software!
Easier to Use: Luminar Neo is more straightforward than Photoshop, especially for blending photos. It guides you more, which is great if you're not a pro.
Creative and Fun: With Luminar Neo, you can try out lots of creative ideas easily. It's fun to use and lets you do cool things without needing to know all the technical stuff.
Advanced AI Tools: Luminar Neo has cool AI features like Sky AI, Relight AI, Enhance AI, etc. Think of these as smart helpers that automatically fix and improve your photos!
Unleash Your Creative Potential with Luminar Neo
View PlansSo, if you want to blend photos together and like the idea of having smart, AI-powered tools to help you, Luminar Neo might be a good choice. It's user-friendly and lets you be creative without all the complexity of Photoshop. Watch a video guide on “Blending Images and Looks Using Layers in Luminar” to get a better understanding of the work of this tool!
Conclusion and Final Words
In short, blending images in Photoshop is a cool way to make your photos look amazing. You can use layer opacity, blend modes, or layer masks to mix your pictures just the way you want. If Photoshop seems too complex, Luminar Neo is a simpler option. It uses AI to help combine images easily, especially if you're new to this stuff.
So, whether you choose, you're all set to start blending your photos and getting creative!
Frequently Asked Questions (FAQs)
How do you blend two pictures together in Photoshop?
Open both pictures in Photoshop.
Put one picture on top of the other as layers.
Use the 'Opacity' slider to make the top picture more see-through so the bottom one starts to show through.
How do I blend two images smoothly in Photoshop?
Put your images in one file as layers.
Add a layer mask to the top layer.
Use the Gradient Tool with a black and white gradient.
Drag the gradient where you want the pictures to blend. This creates a smooth mix.
How to Blend Two Images With Different Exposures in Photoshop?
Open both images in Photoshop on top of each other.
Use 'Auto-Align Layers' if they don't line up right.
Put a layer mask on the top image.
Paint on the mask to show the better-exposed parts from the bottom image.
How to Blend 2 Images in Photoshop Using Gradient?
Open both images in Photoshop as layers.
Add a layer mask to the top image.
Choose the Gradient Tool with a black-to-white gradient.
Drag the gradient tool where you want the images to mix.
