
Blog
December 13, 2024
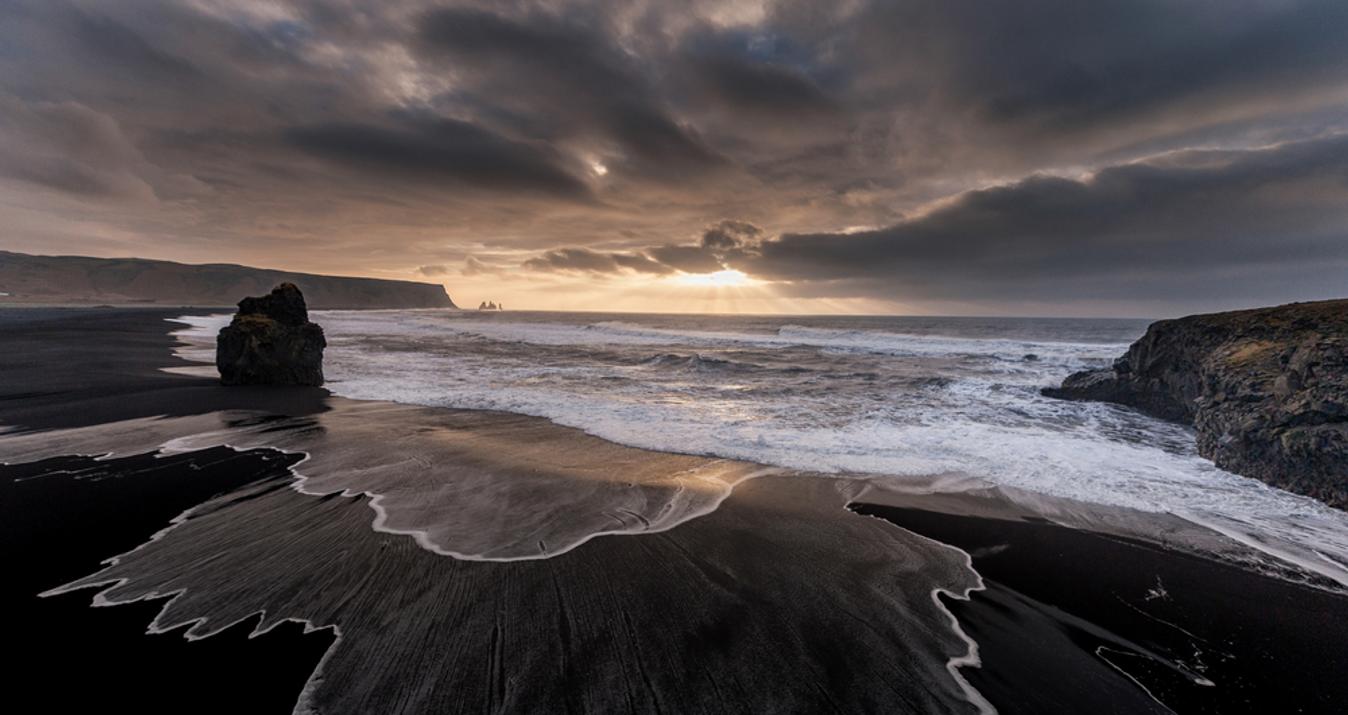
Epic Shots Await: 10 Best Iceland Photography Locations
Photograph Iceland like a pro! Check out the 10 most epic photography locations, featuring stunning views and iconic landmarks you can’t miss.

December 13, 2024
How To Photograph The Sun: Best Equipment And Places
December 12, 2024
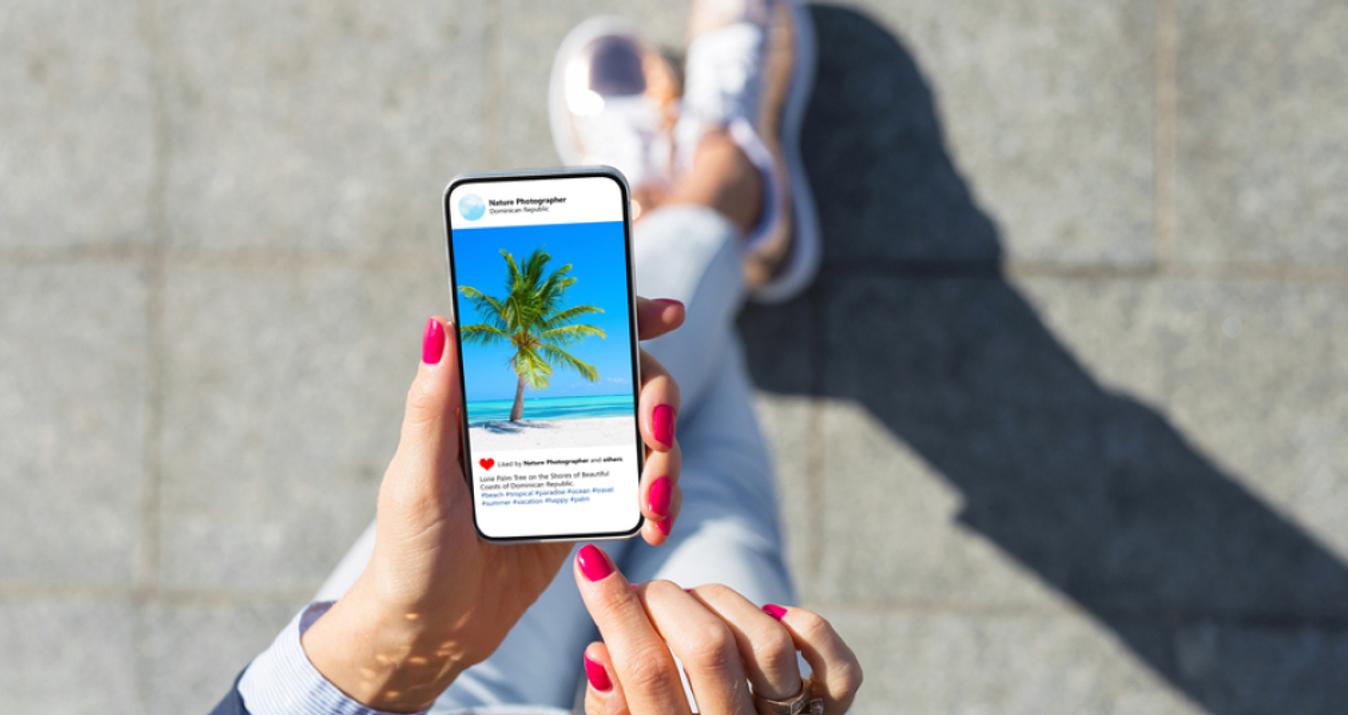
What to Post on Instagram as a Photographer
December 12, 2024
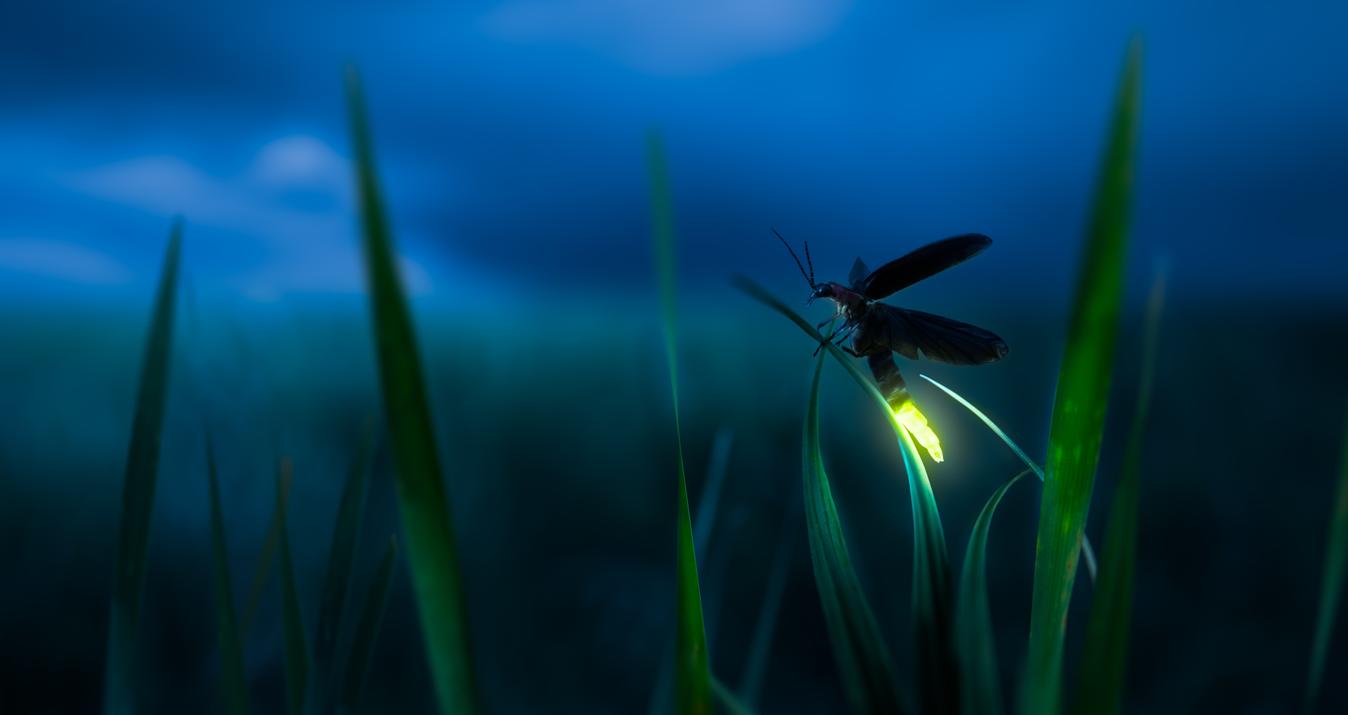
How to Photograph Fireflies: Secrets to Catching Their Glow

December 09, 2024
Indoor Christmas Photo Shoot Ideas: Festive Scenes To Try

December 09, 2024
Pantone Color Of The Year 2025: Mocha Mousse

December 06, 2024
Christmas Tree Photography Tips You Can’t Miss This Year
December 06, 2024
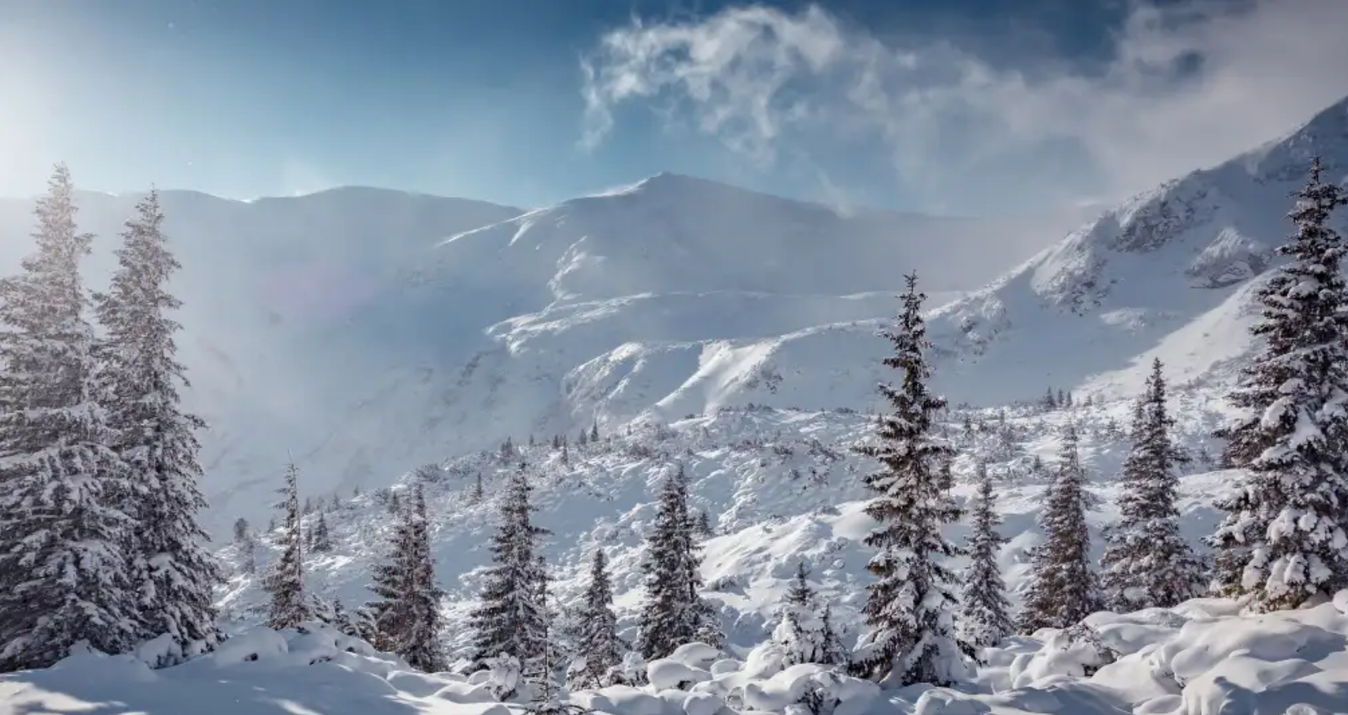
Snow Photography: A Creative Approach To Snowy Landscapes

December 05, 2024
Photography Workflow Software: Boost Your Productivity And Quality

December 05, 2024
30 Fun Christmas Card Photo Ideas For Families And Friends
Most Popular
A Special Perk for Our Blog Readers
Get a 10% discount on Luminar Neo and dive into professional photo editing today!
Thank you for subscribing.
Your gift is waiting in your inbox!
Unlock Pro-Quality iPhone Photos with Our Free Guide! 📸
Gain instant access to simple yet powerful tips for enhancing composition, lighting, and editing—everything you need to transform your photos effortlessly!
👇 Fill out the form below to receive your guide directly via email.
Curiosity is the doorway to skill
Thank you for your interest! Discover the secrets to pro-quality photos in your guide, waiting in your inbox.