

100 Creative Add-ons
Prism Light Overlays
Overlays Pack by Team Skylum
Experimental Overlays
Overlays Pack by Team Skylum
Land of the Rising Sun
Presets Pack by Team Skylum

Camping Trip
Presets Pack by Team Skylum
Is It Earth
Presets Pack by Team Skylum
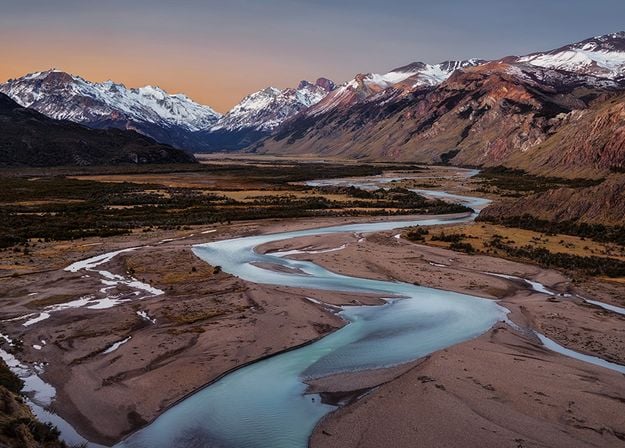
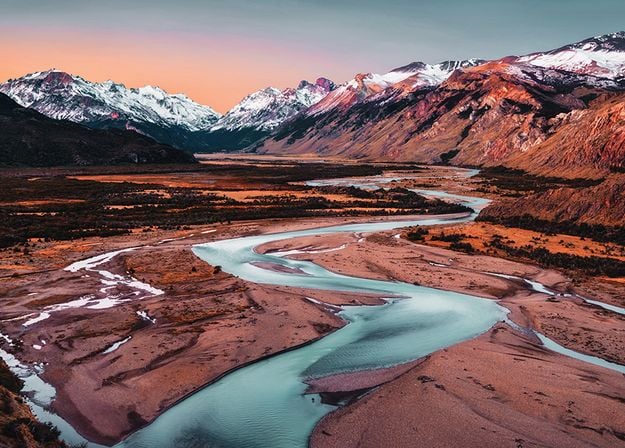
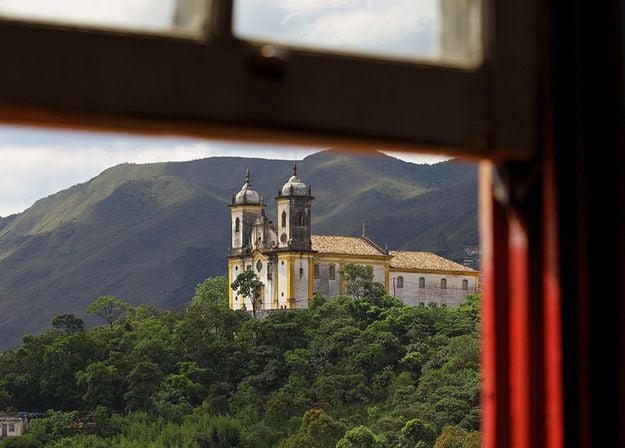
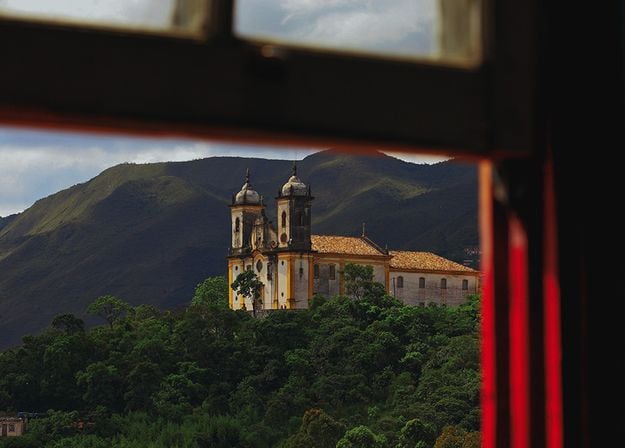
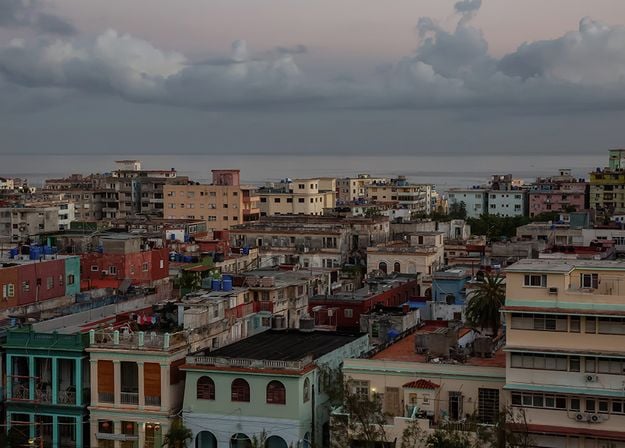
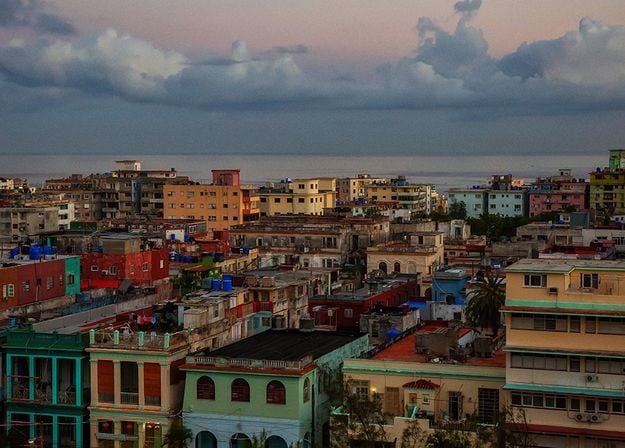
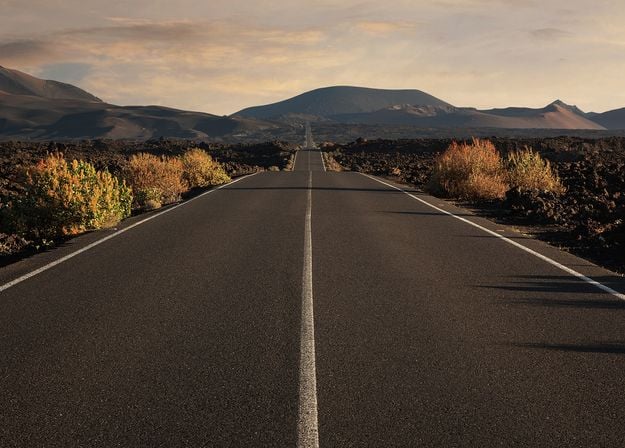
Discover Latin America
Presets Pack by Team Skylum
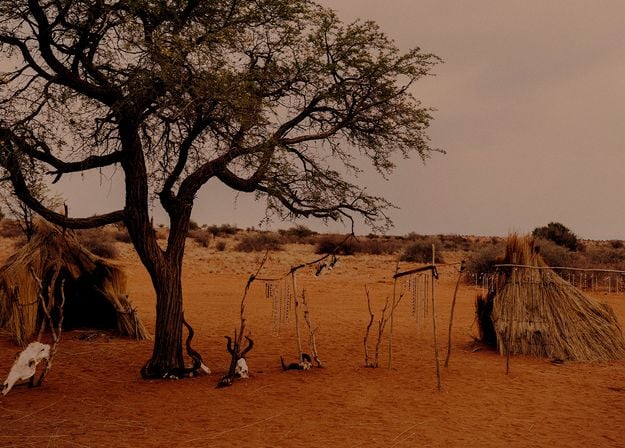
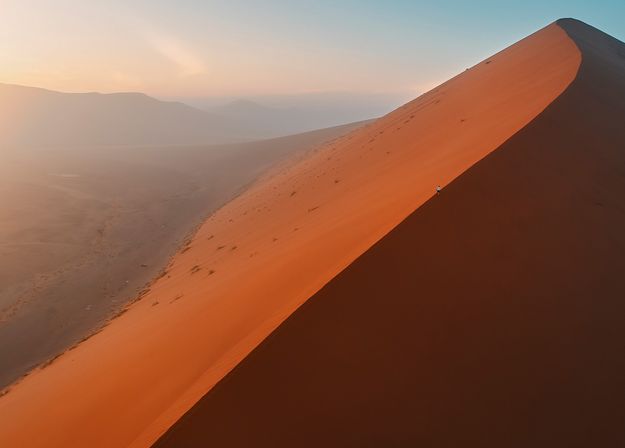
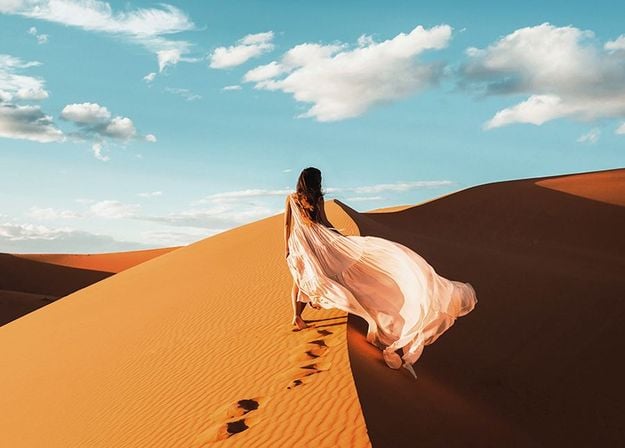
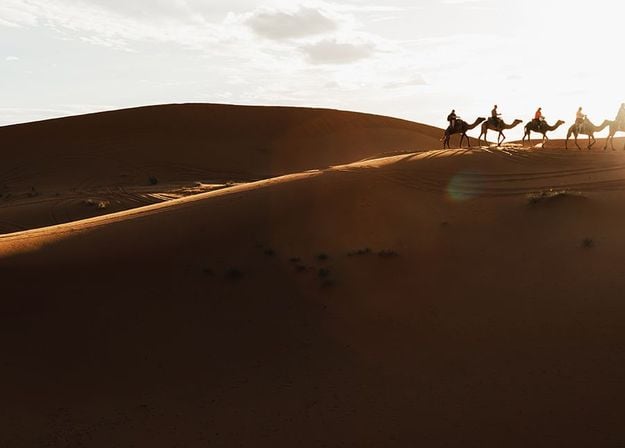
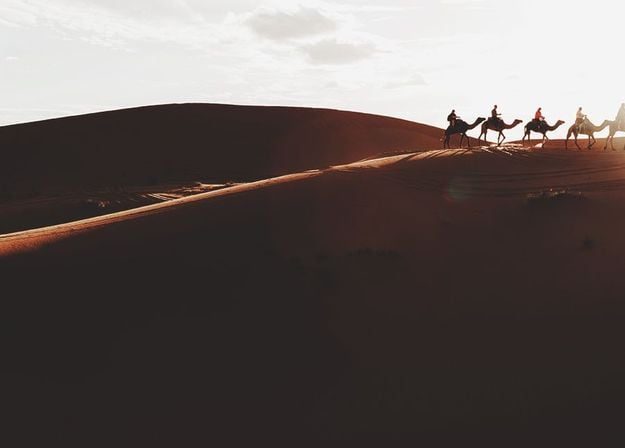
Discover Africa
Presets Pack by Team Skylum
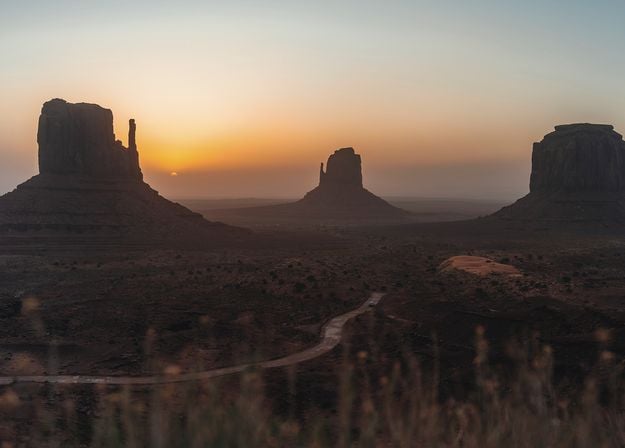
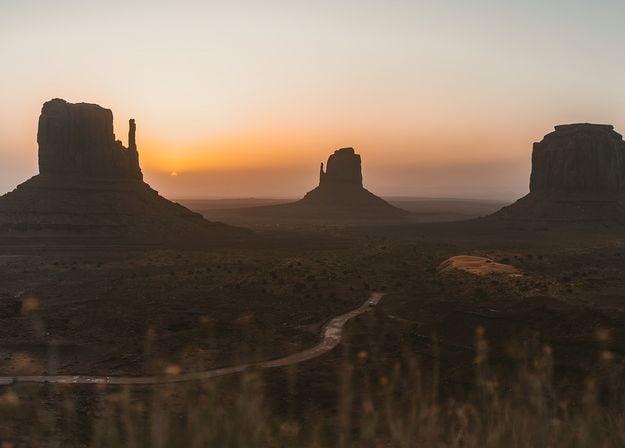
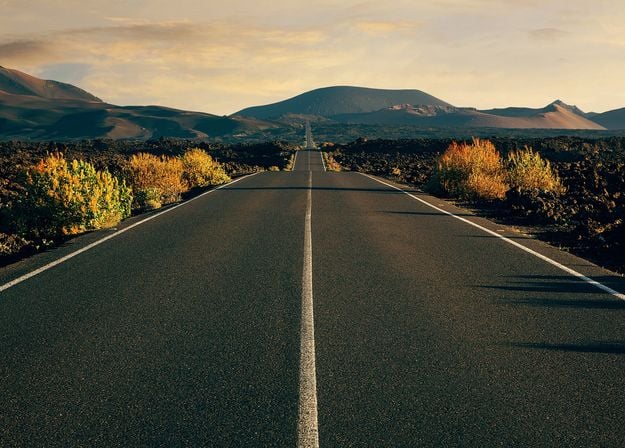
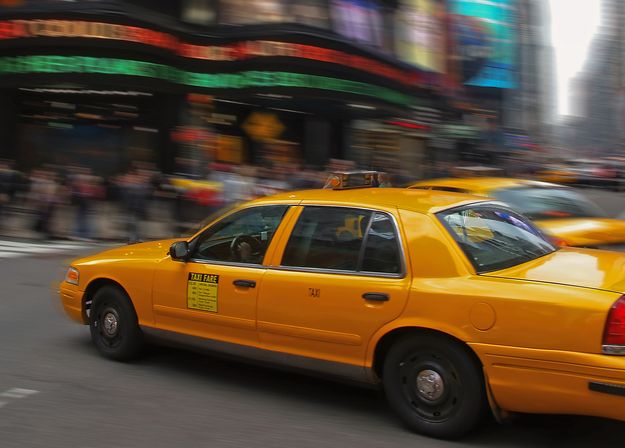
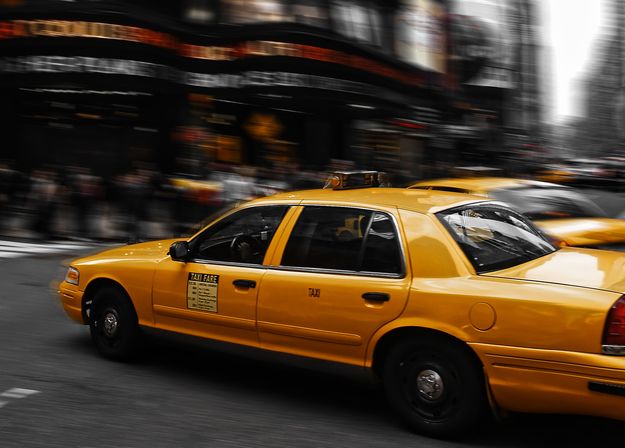
American Dream
Presets Pack by Team Skylum

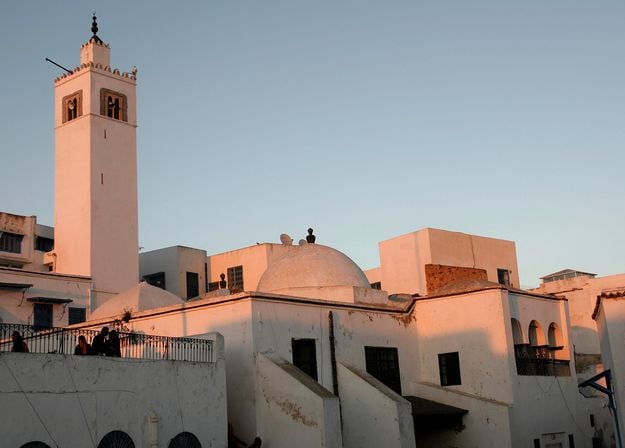
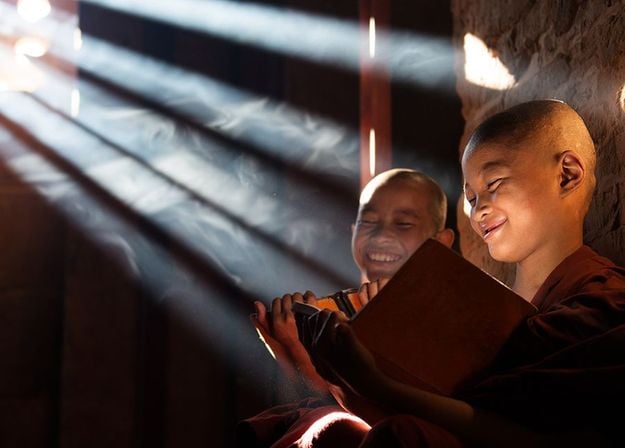
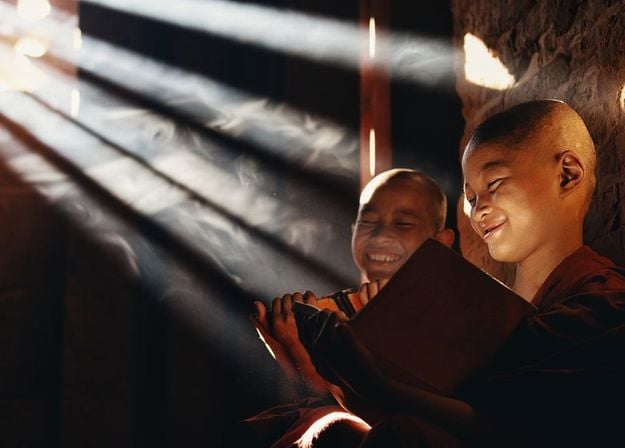
Middle Eastern Folk Tales
Presets Pack by Team Skylum
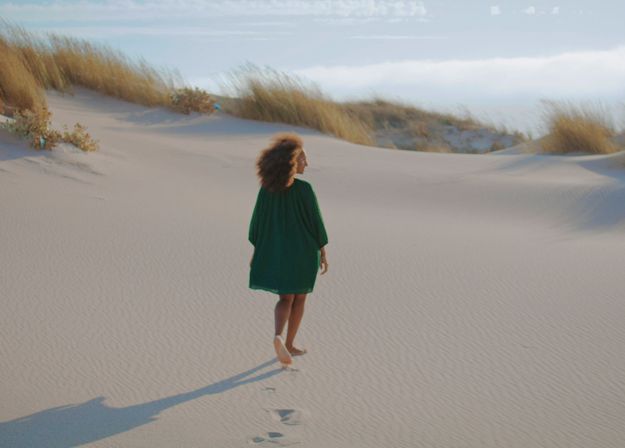
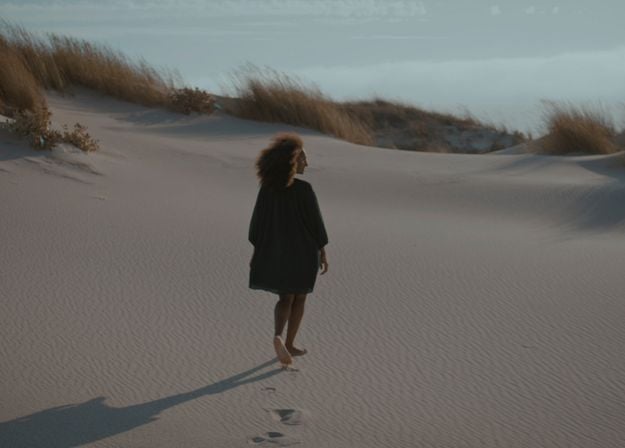
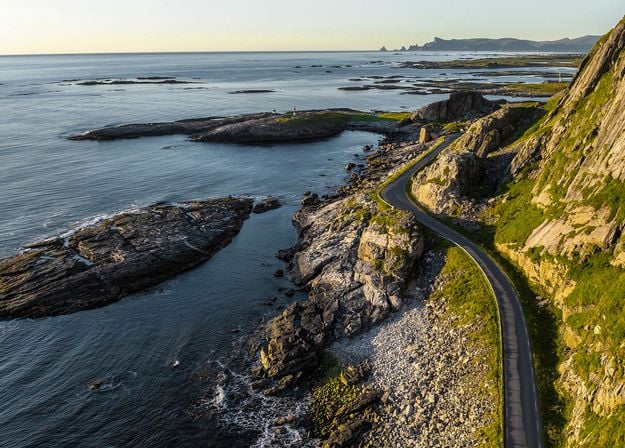
Wonderful Scandinavia
Presets Pack by Team Skylum


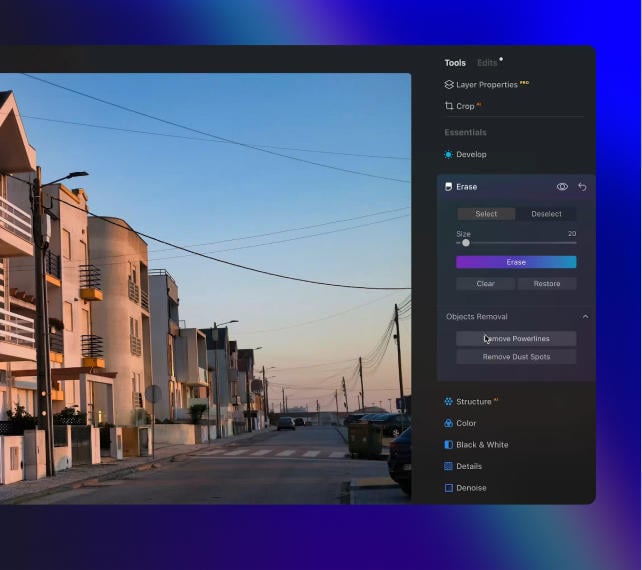
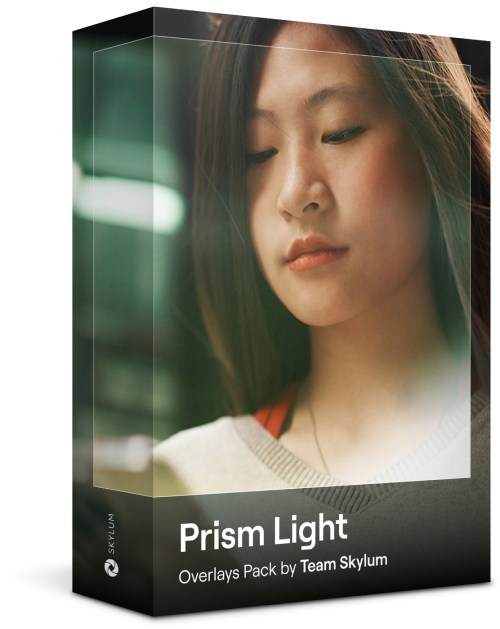
Prism Light Overlays
Overlays Pack by Team Skylum
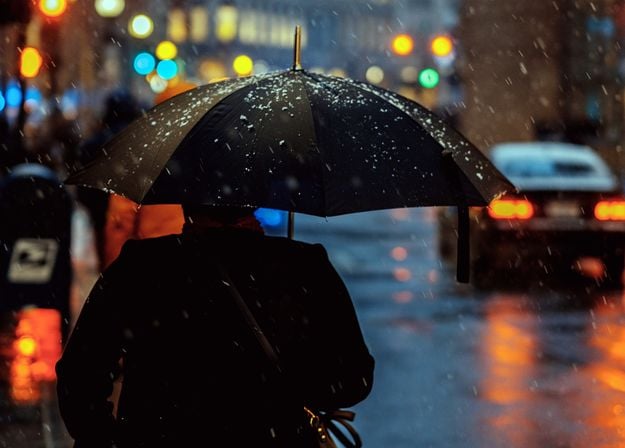
Create atmospheric images with these 10 Overlays in JPEG format that contain shimmering lights and flares in various colors. Make sure to use them with Luminar Neo’s Layers and/or the Portrait Background Removal tool, and experiment with your photos in any genre. You can add an interesting light effect or make the subject stand out in new ways, all in just a few clicks. Time to try it out!


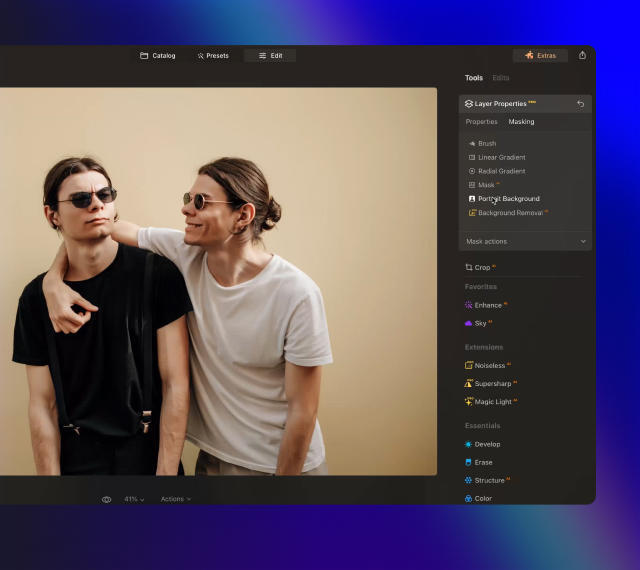
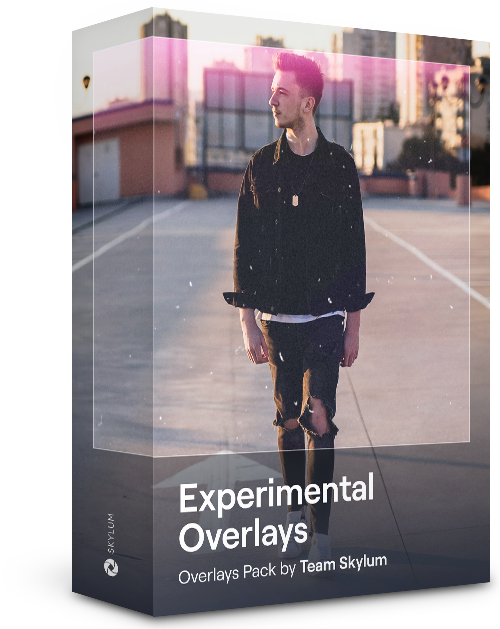
Experimental Overlays
Overlays Pack by Team Skylum
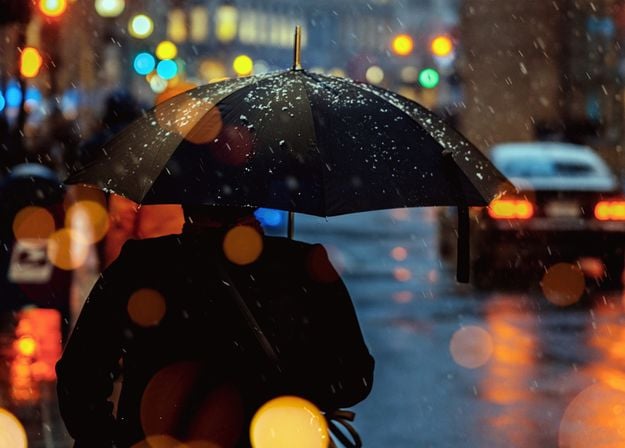
Feel like adding a touch of something extra to your photos? Discover these 10 Experimental Overlays in JPEG format that you can easily use with Luminar Neo’s Layers feature to transform any photo into a shot that catches the eye. Choose from 10 mesmerizing effects of different colors and shapes, and create a unique mood in a few clicks. From pink hues to golden circles, you’ll certainly find an Overlay perfect for your next masterpiece.

_after.jpeg?q=80&w=625&h=448&resize=cover)


_after.jpeg?w=54&h=30&resize=cover)
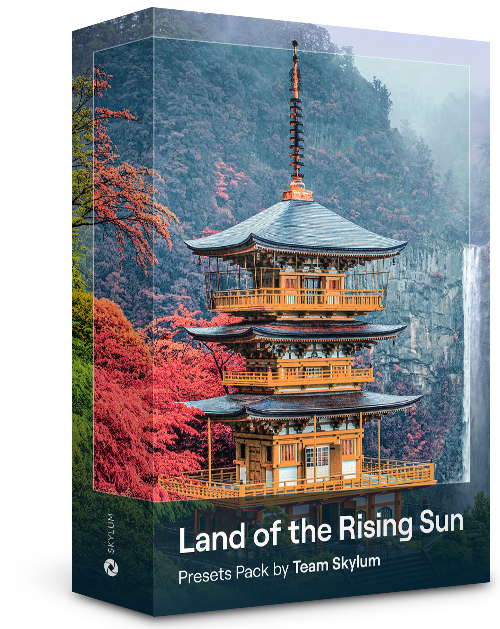
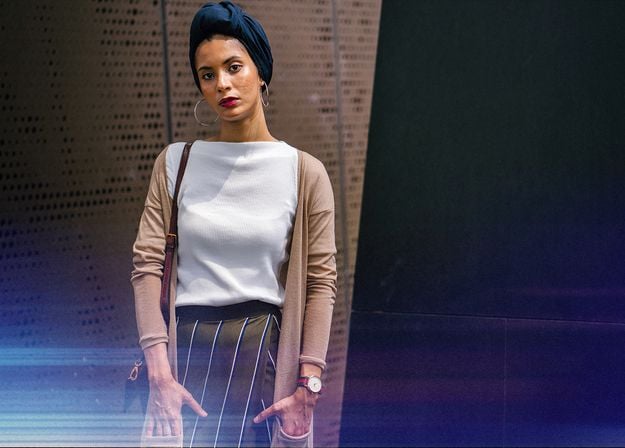
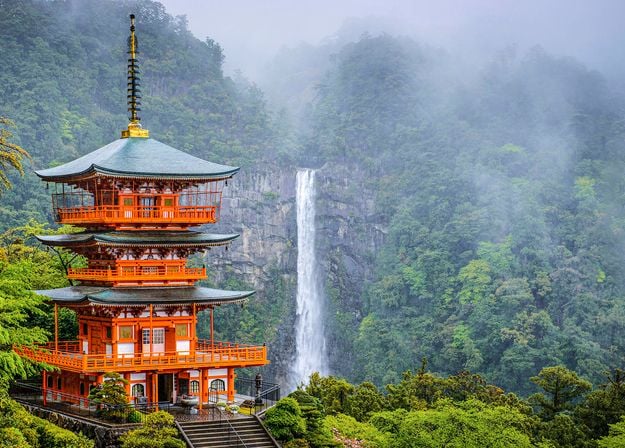
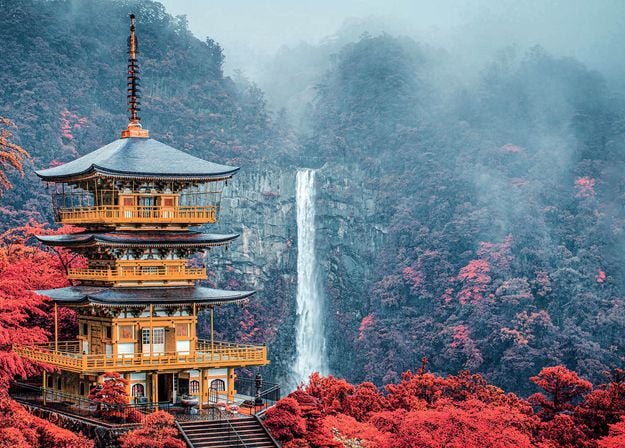
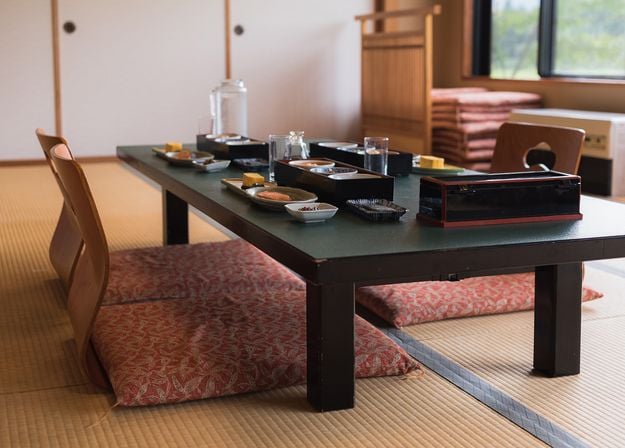
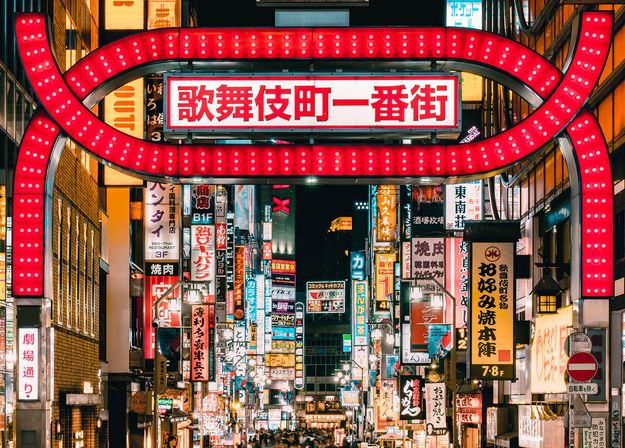
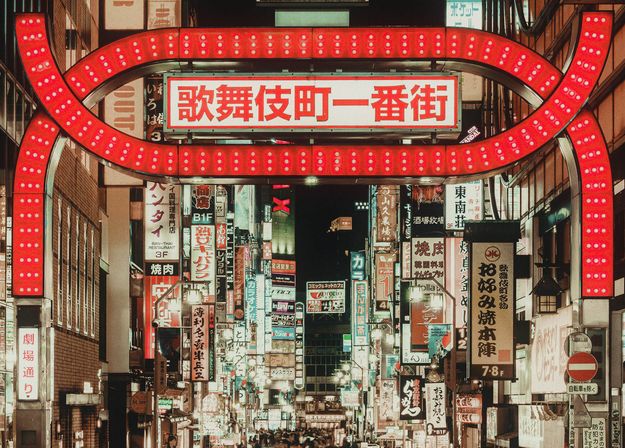
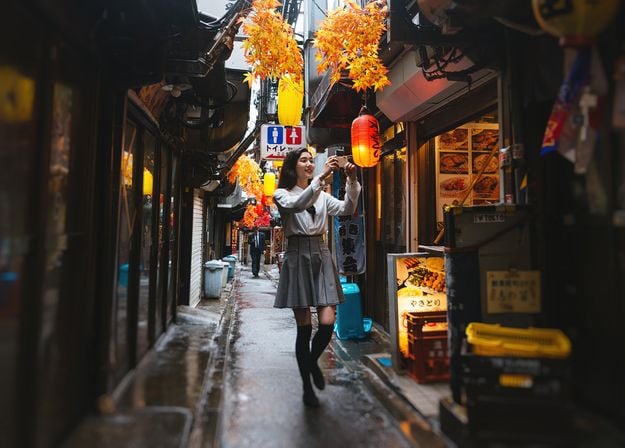
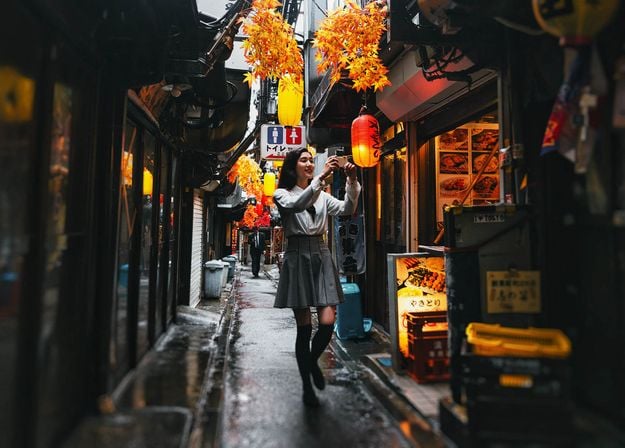
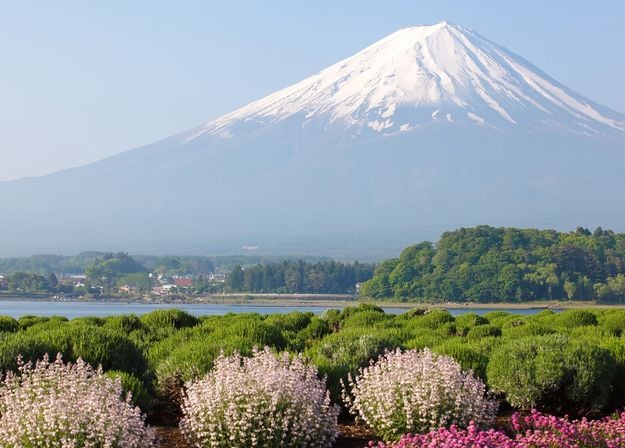
Land of the Rising Sun
Presets Pack by Team Skylum
Enhance photos that you captured during a trip to Japan, or the ones that you want to have an atmospheric feeling reminiscent of the Japanese style. From landscapes, to iconic sights, to photos of food — this pack is incredibly versatile!
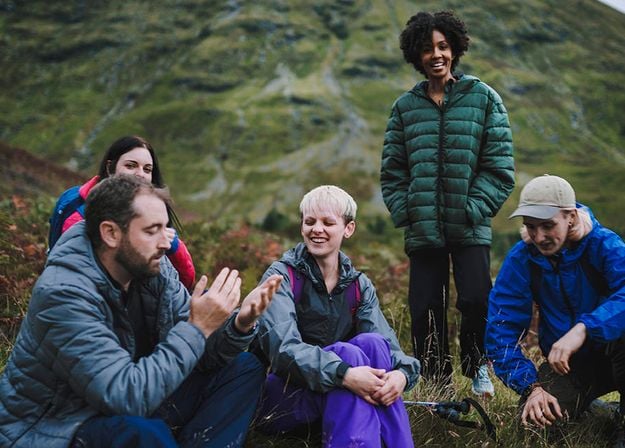
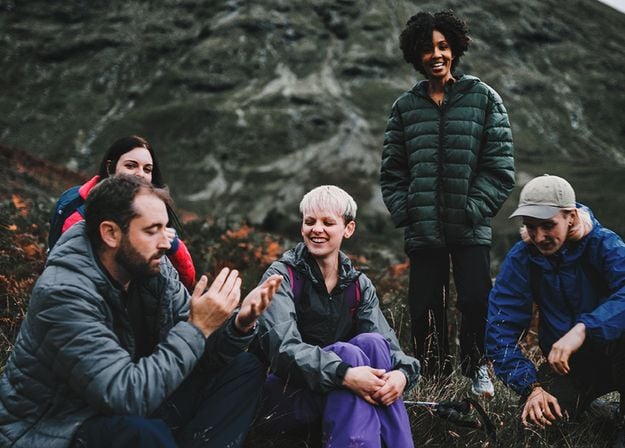
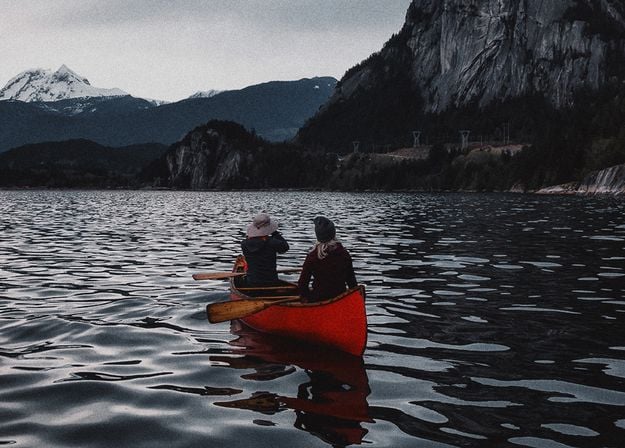
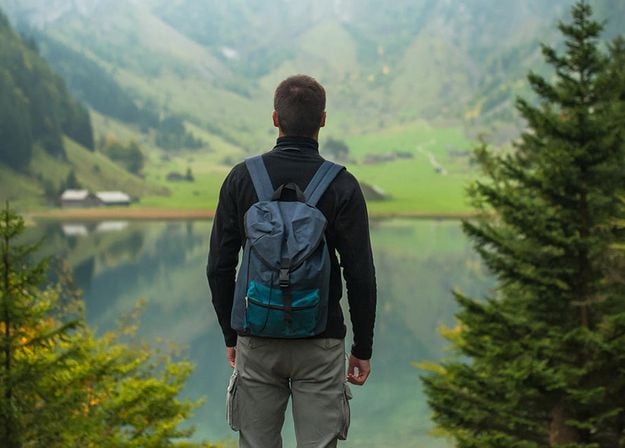

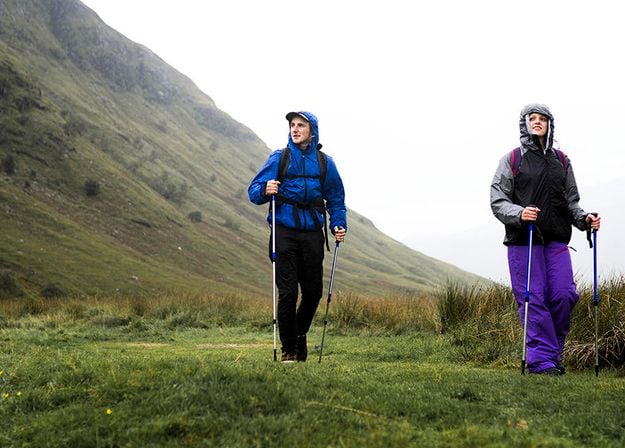
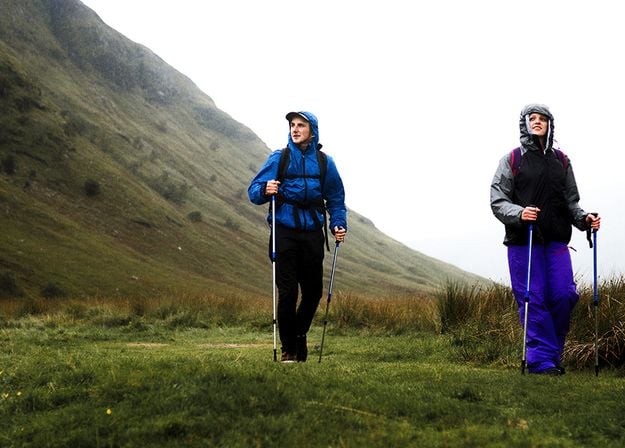
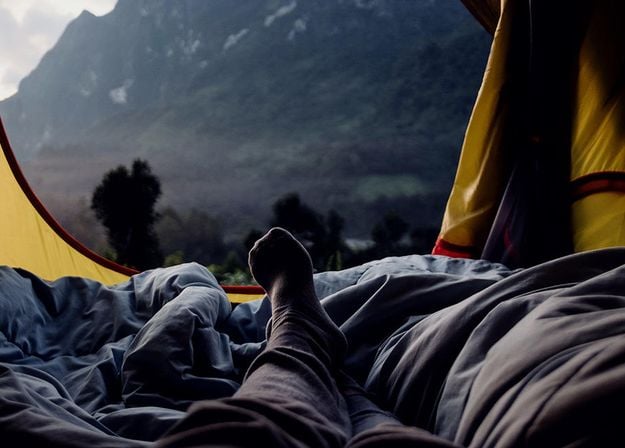
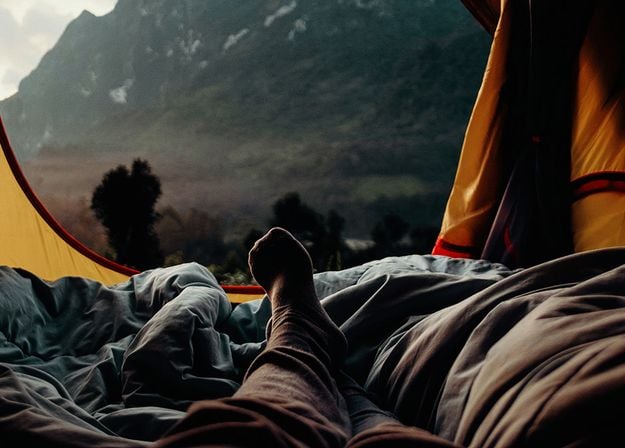


Camping Trip
Presets Pack by Team Skylum
Designed to give your camping and hiking photos their best look, these 10 Presets are here to give your outdoor photos a natural, vibrant look. Whether you’re capturing shots of majestic mountains or cozy campfires, bring out the best in your images in one click.
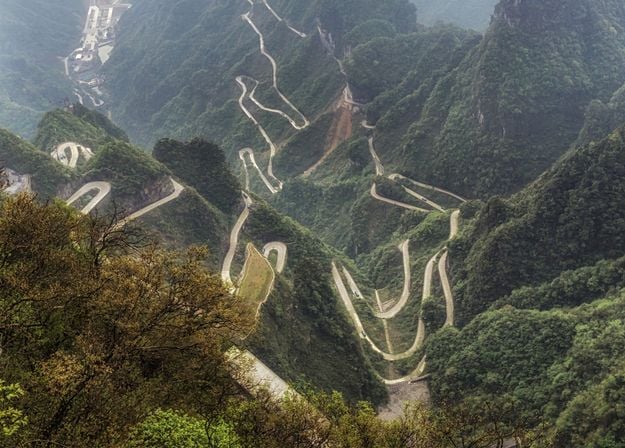
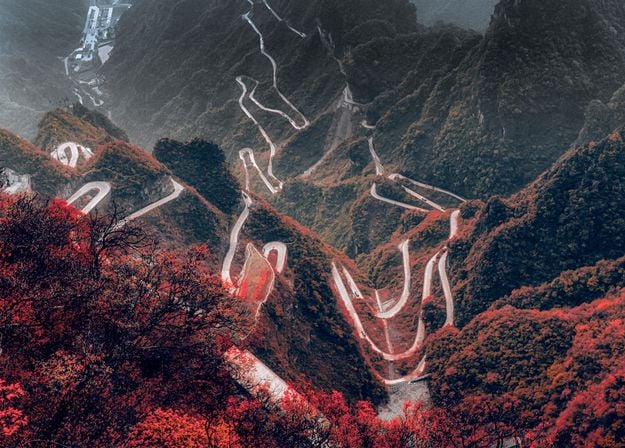


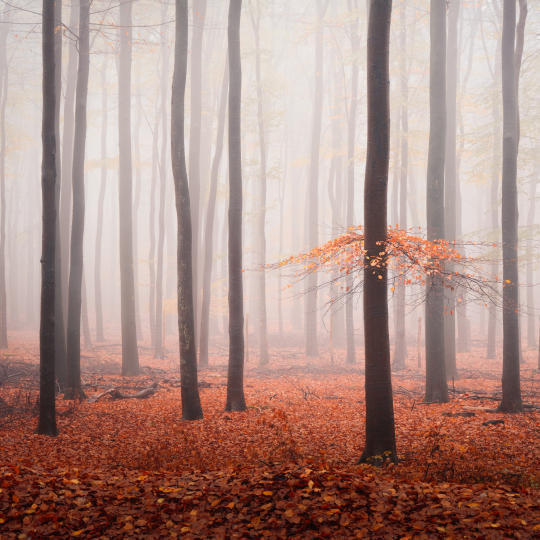
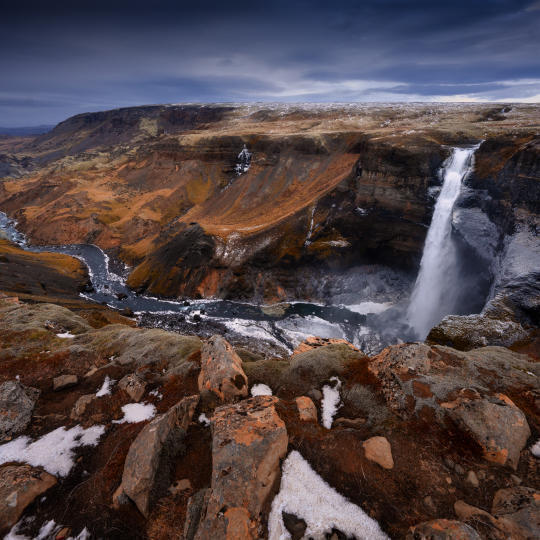
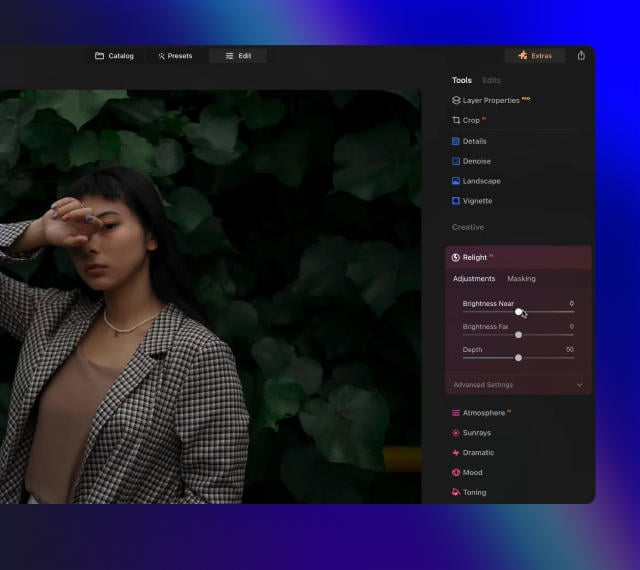
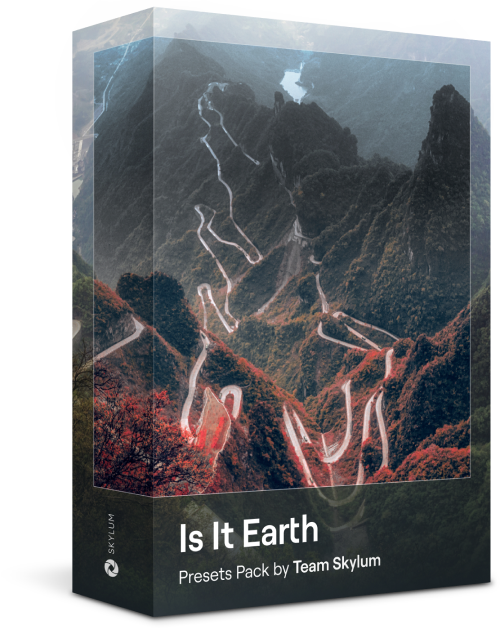
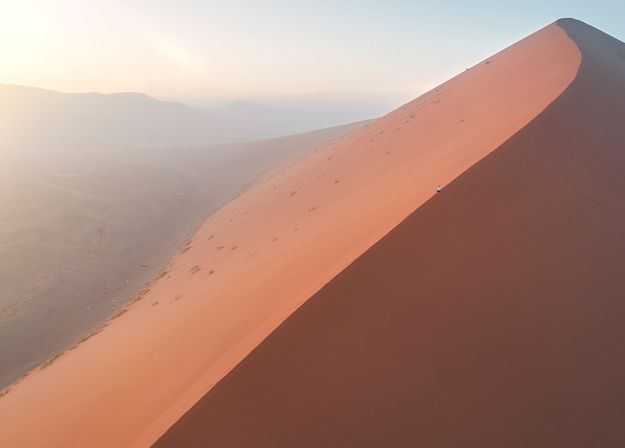
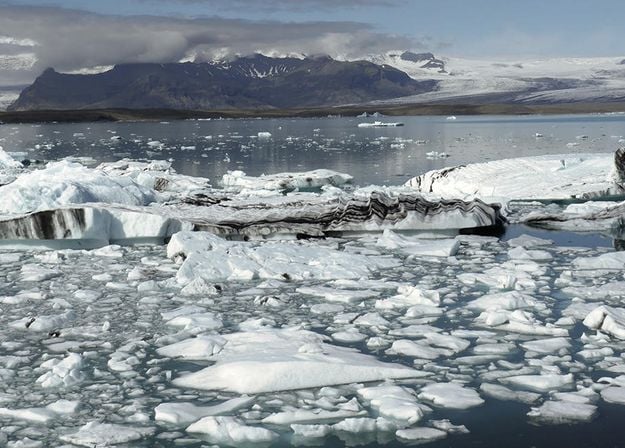
Is It Earth
Presets Pack by Team Skylum
Is it still Earth, or are we on an alien planet? This collection of 10 extraordinary Presets is designed to give your landscape photos an ethereal, otherworldly feel. Transform ordinary landscapes into surrealistic scenes with vivid colors that will immediately draw the viewer’s eye.
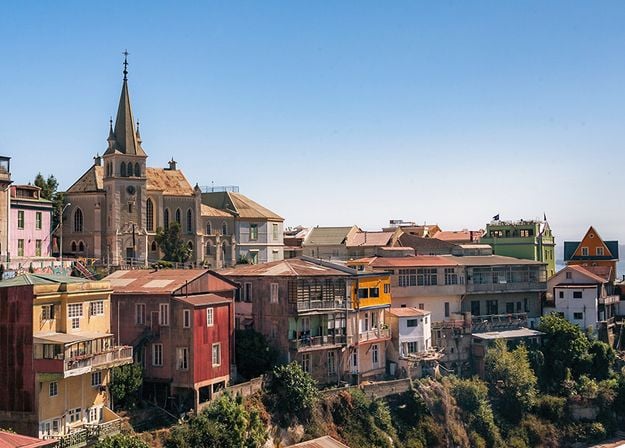
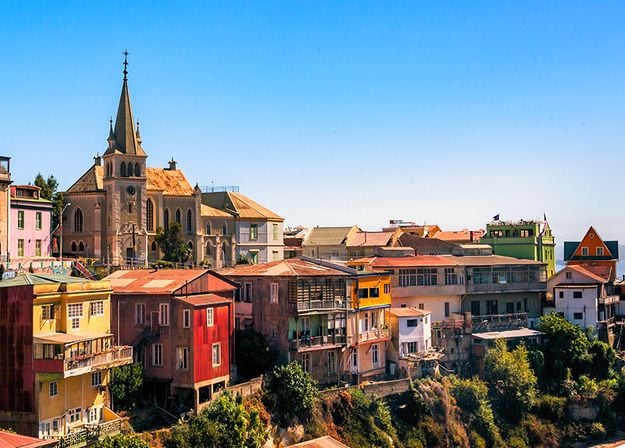
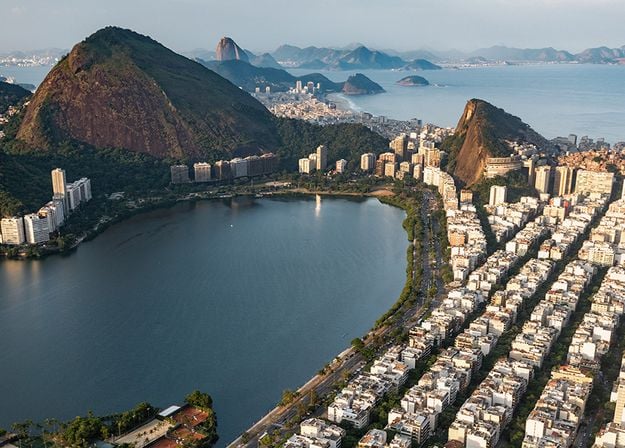
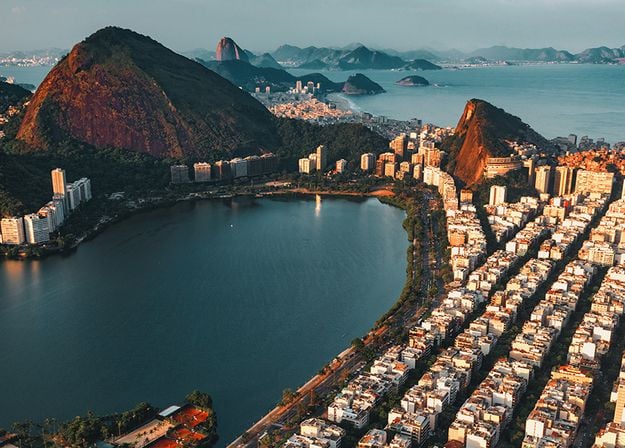


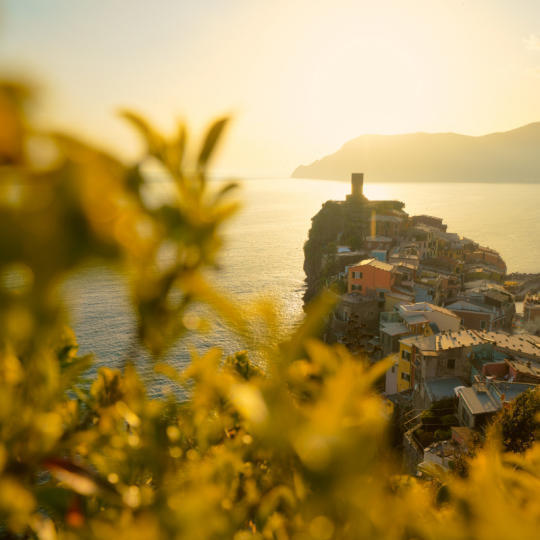
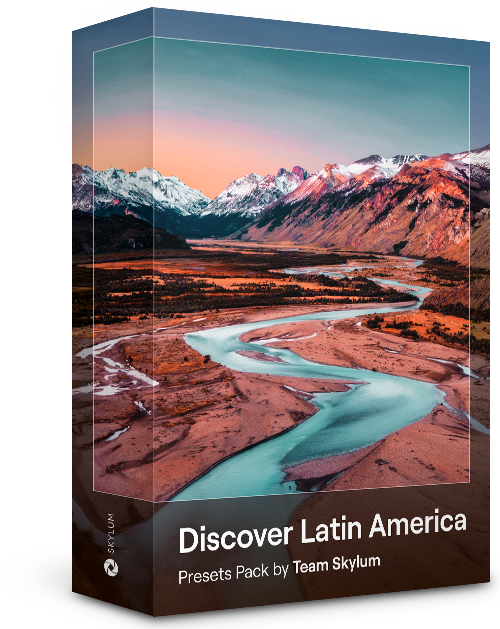
Discover Latin America
Presets Pack by Team Skylum
Experience the cinematic feel each of these 10 Presets adds to your photos as you journey through the countries of Latin America. Embrace the beauty and add some flair to your shots with this travel-friendly collection designed for landscapes.


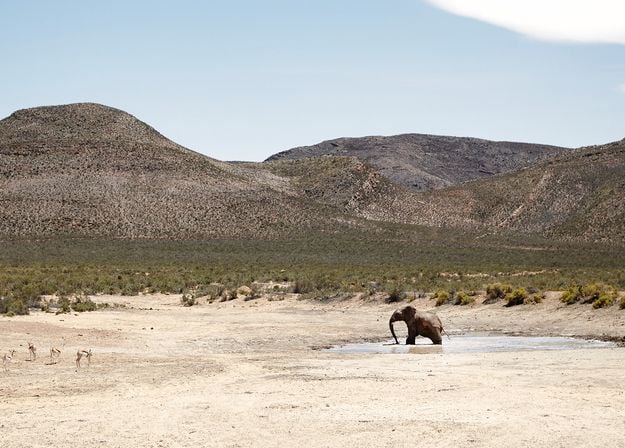
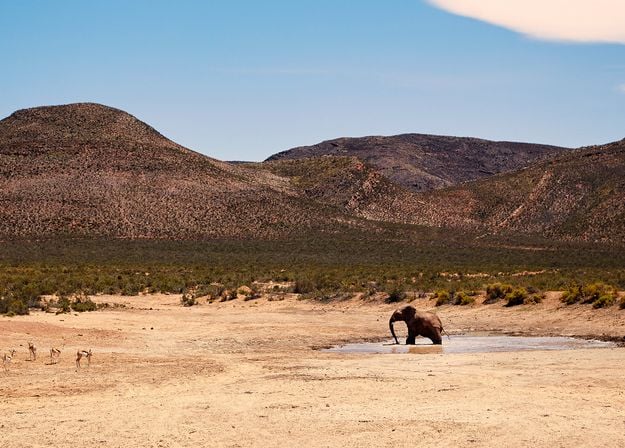


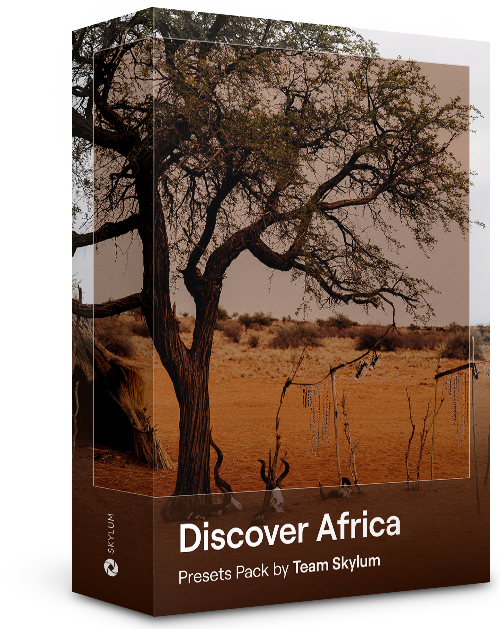
Discover Africa
Presets Pack by Team Skylum
Dedicated to the wonderful continent of Africa, this pack combines a variety of Presets, both for portrait and landscape shots. Enhance landmarks, safari shots, architecture photos, and portraits of people that you meet on your travels around Africa.
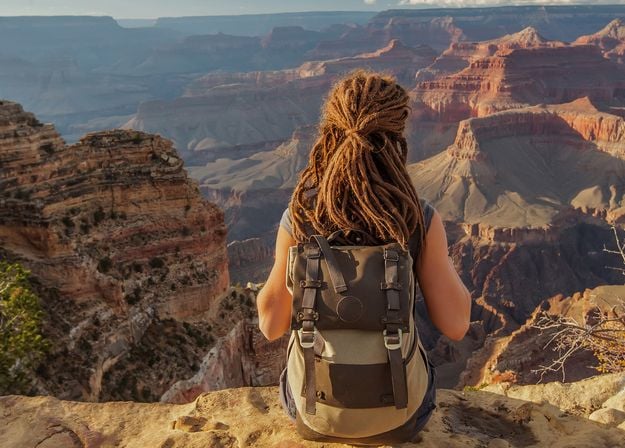


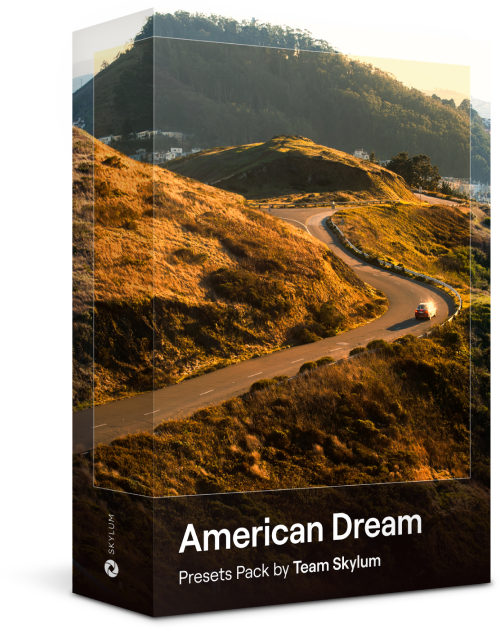
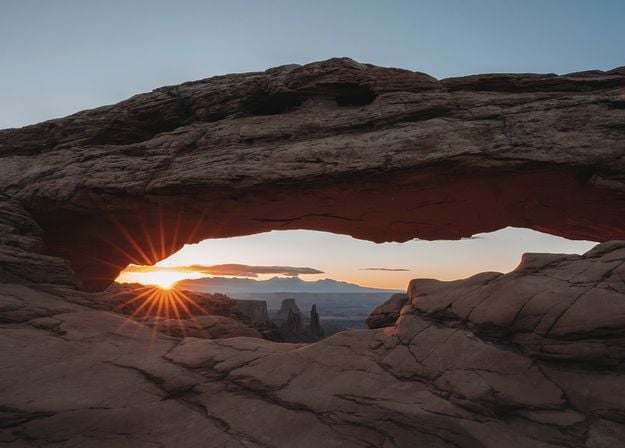
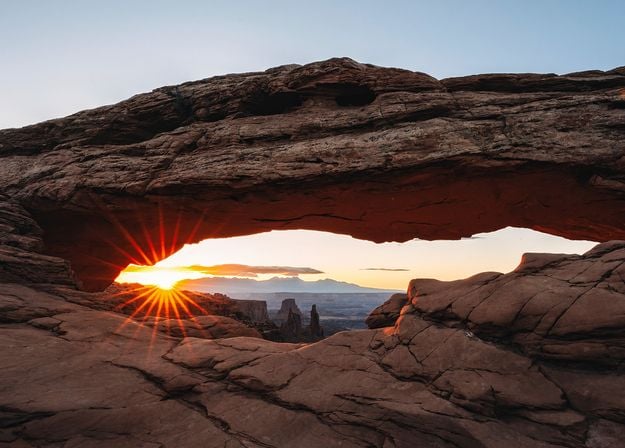
American Dream
Presets Pack by Team Skylum
Create fantastic photos during your travels across the USA. Enhance images of landmarks, national parks, and general cityscapes of famous cities. Achieve various stunning effects with a few clicks of these 10 wonderful Presets.


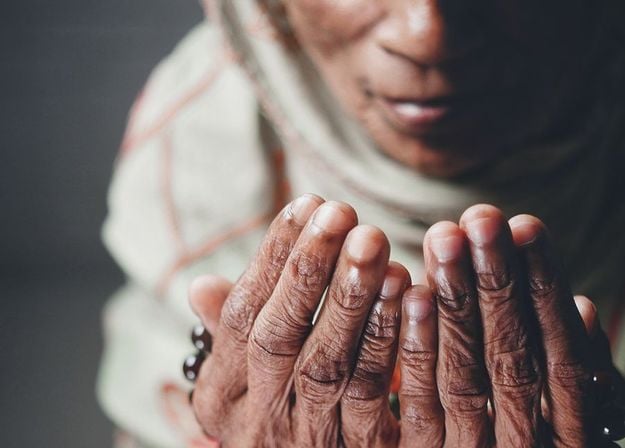


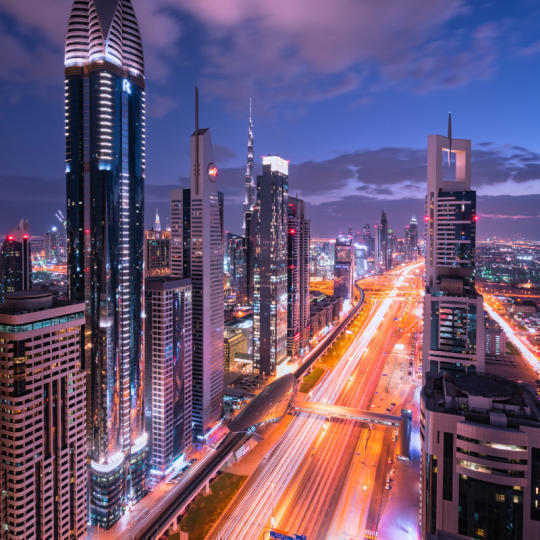
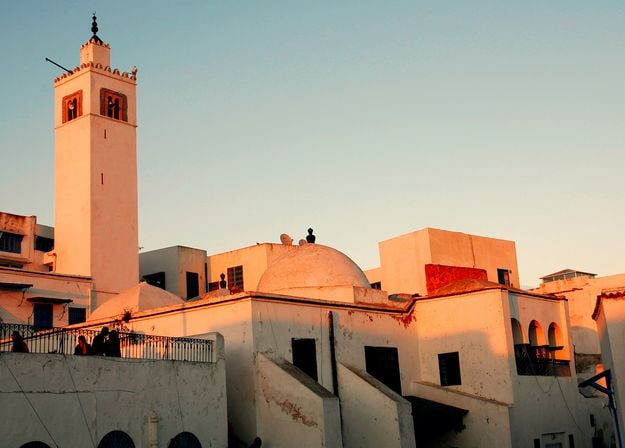
Middle Eastern Folk Tales
Presets Pack by Team Skylum
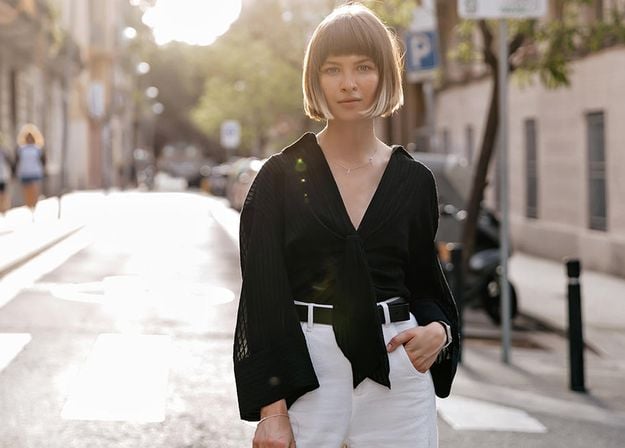
This alluring collection of 10 Presets is designed to bring out the mysterious beauty of Middle Eastern scenery, architecture, street style, and nature. Warm-toned, deep yellow, or blue and golden — you will certainly find a Preset perfect for your photo.
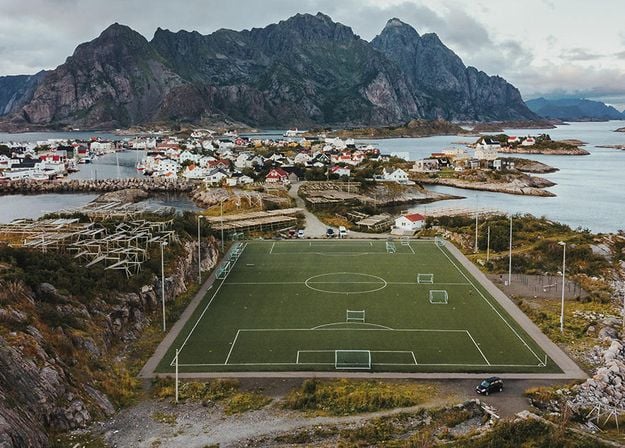
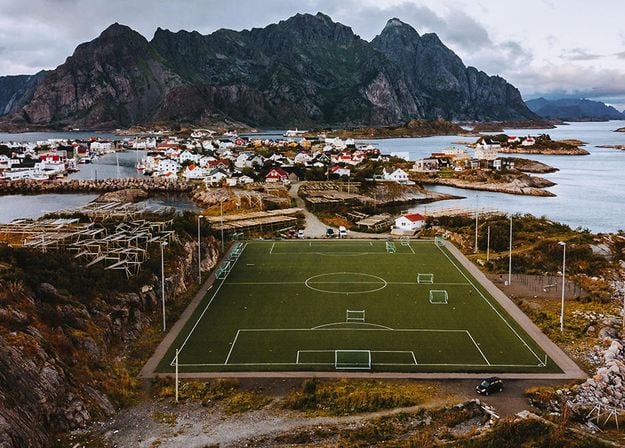
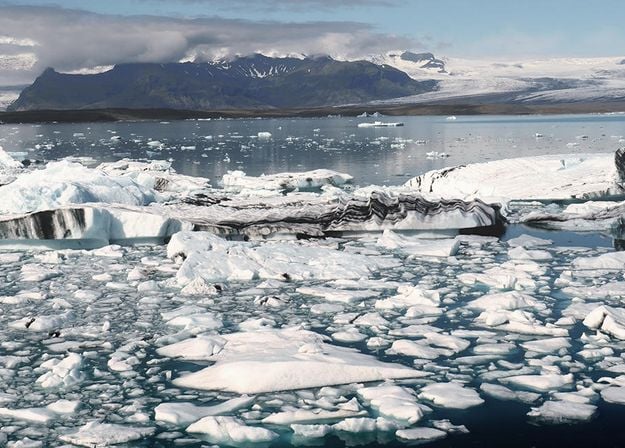
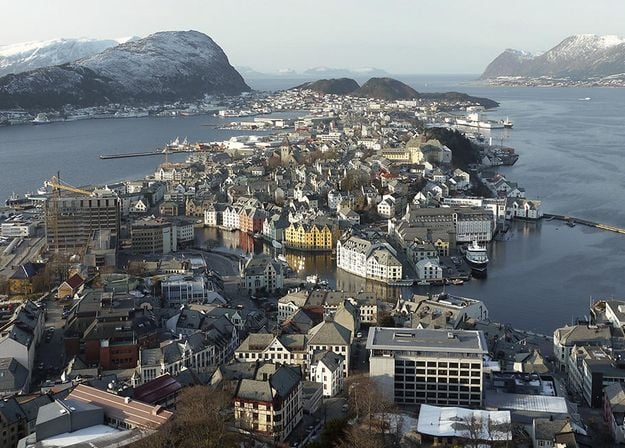
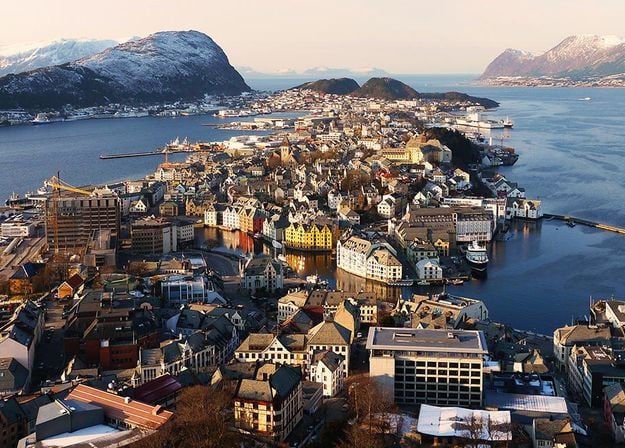
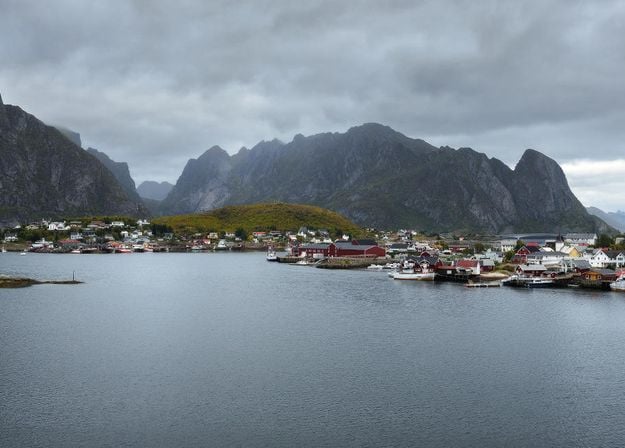
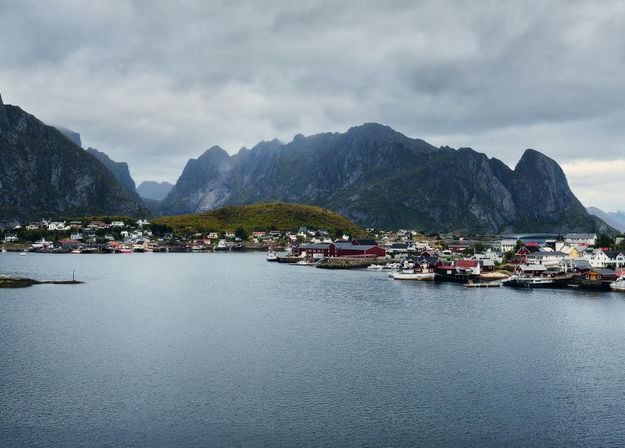
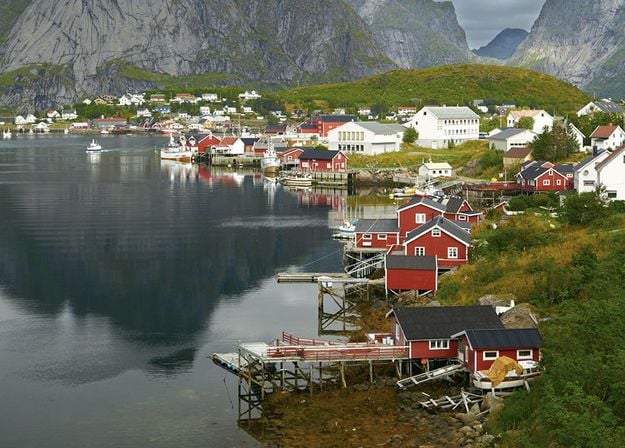


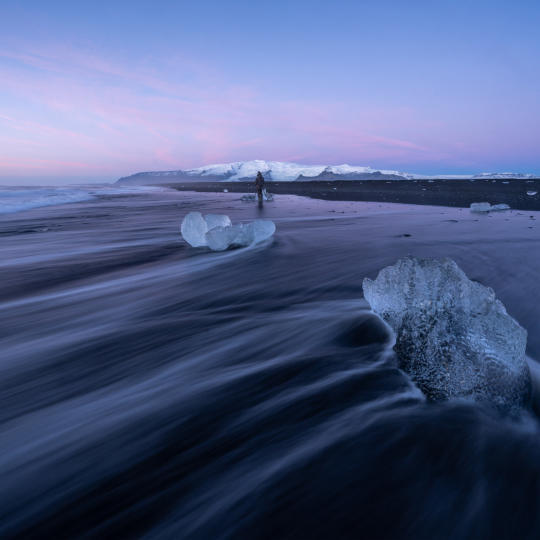
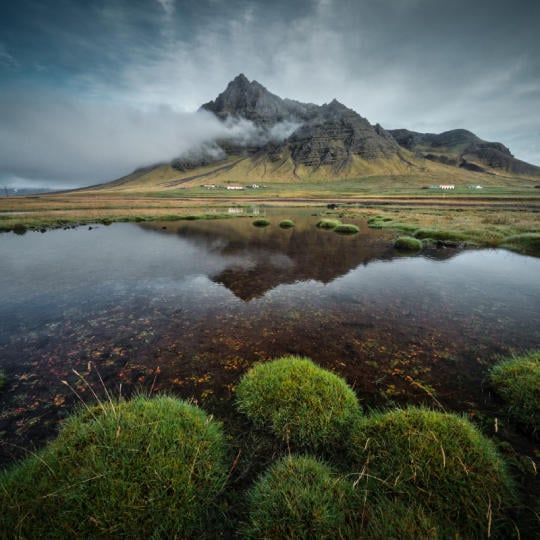
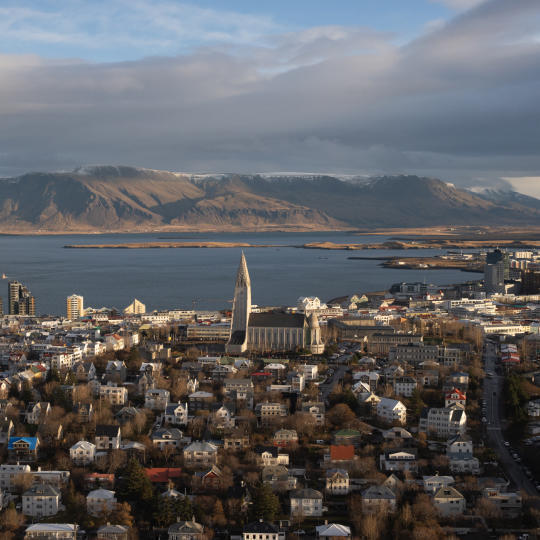
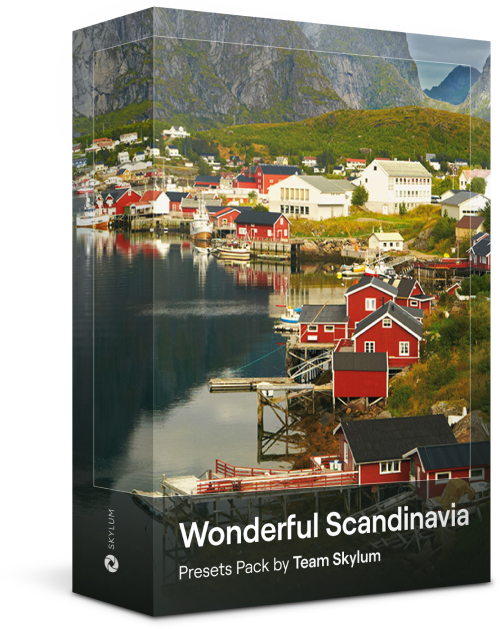
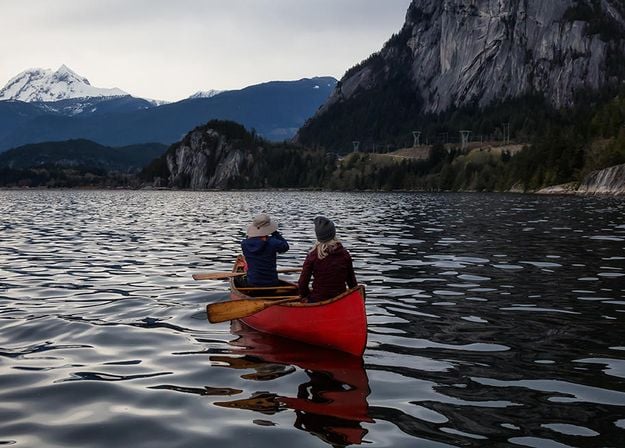
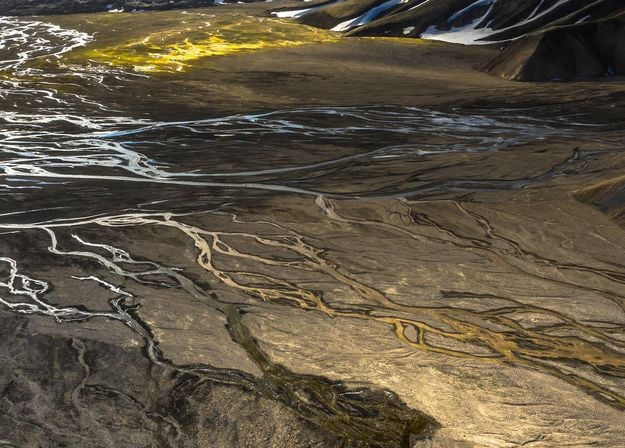
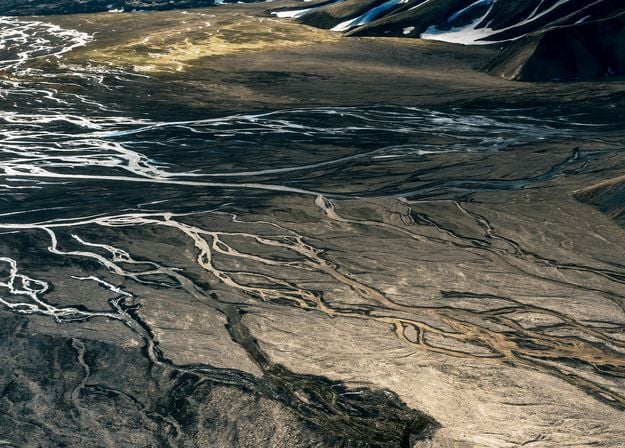
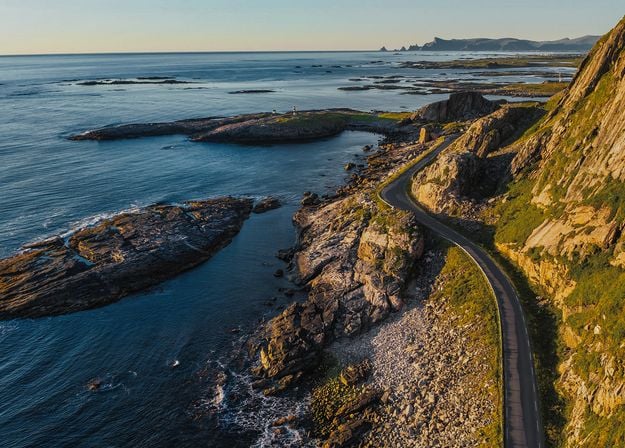
Wonderful Scandinavia
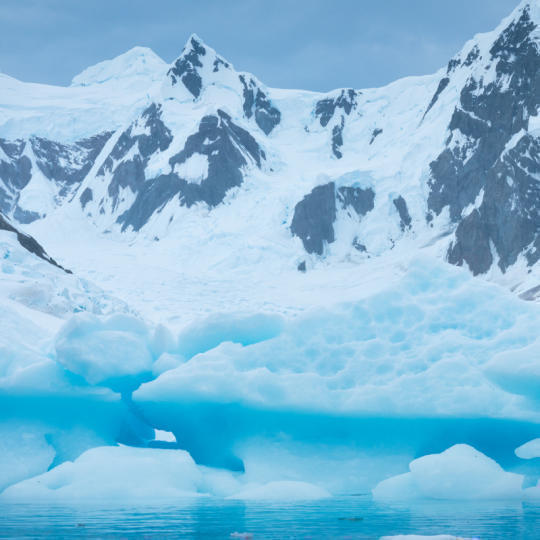
Presets Pack by Team Skylum
Discover this wonderful collection of 10 versatile Presets that are perfect for your travel photos from Nordic countries. Capture idyllic landscapes, natural wonders, and cozy architectural shots that breathe with the Scandinavian mood. Time to pack your travel bag!