March 29
11 min. to read
How To Make A Portrait Photo Landscape
 The choice between portrait and landscape orientation affects the viewer's image perception. Portrait orientation is great for shooting single subjects or emphasizing vertical elements. In contrast, the landscape orientation offers a wider perspective and is ideal for showcasing expansive landscapes, panoramic views, and sweeping perspectives.
If you want to increase the versatility and appeal of your images, you need this transformation. It will allow you to use the photos you have taken more widely and transform them according to your imagination.
This article will teach you how to change a picture from portrait to landscape on an iPhone and use Luminar Neo to transform your photos with a few clicks.
Creative Possibilities of Portrait to Landscape Convert
By transforming the composition from vertical to horizontal, you can show off more of the environment, allowing viewers to immerse themselves in spacious landscapes, scenic views, and breathtaking backgrounds. It's so easy to convey a broader narrative and context, capturing additional details, textures, and elements in the frame, adding depth to the composition. If you have difficulty deciding which photo format is right for you for certain purposes, explore the Portrait vs Landscape comparison and try experimenting with your photos.
In addition, converting portrait photos to landscape orientation can increase the versatility of the image, making it suitable for a wider range of uses, including social media posts, website banners, and printed materials.
How to Convert Portrait Photo to Landscape
Let's take a step-by-step look at how to change a portrait photo to a landscape photo using photo editing software such as Luminar Neo:
Step 1: Start and Import
Launch Luminar Neo or any other photo retouching software on your computer. Use the software's import feature to upload a portrait photo to be converted to landscape orientation.
Step 2: Crop the Image
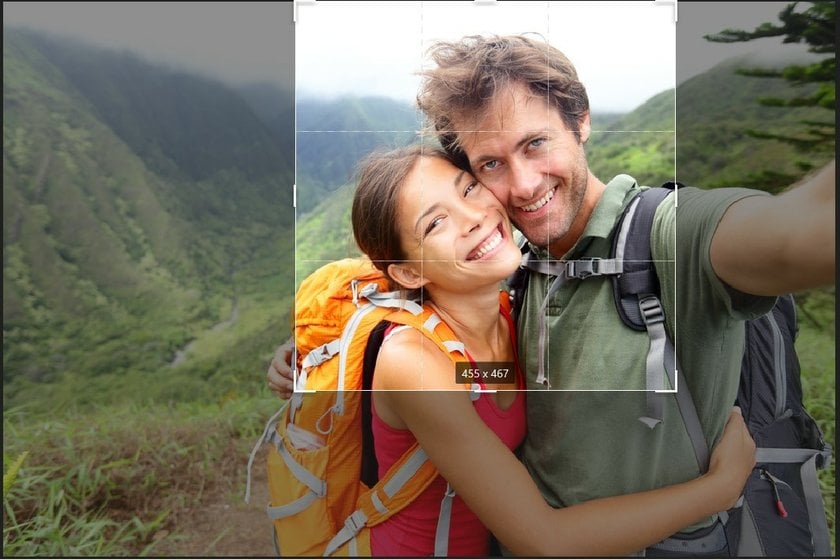
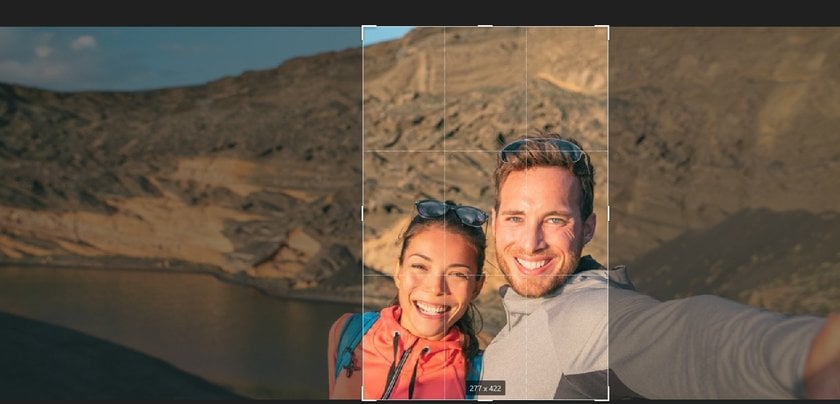
Use the crop tool to adjust the photo's composition for landscape orientation if necessary. Drag the edges of the cropping frame to remove any unwanted areas on the sides of the image. You can change image size using a separate tool. At the same time, this will preserve the quality of the image and give you a good result without any distortions.
Step 3: Fill in the Blanks
If necessary, use the content-aware fill tool or the stamp clone tool to fill in any empty spaces created by rotation and cropping.
Step 4: Extend in Width to the Desired Size
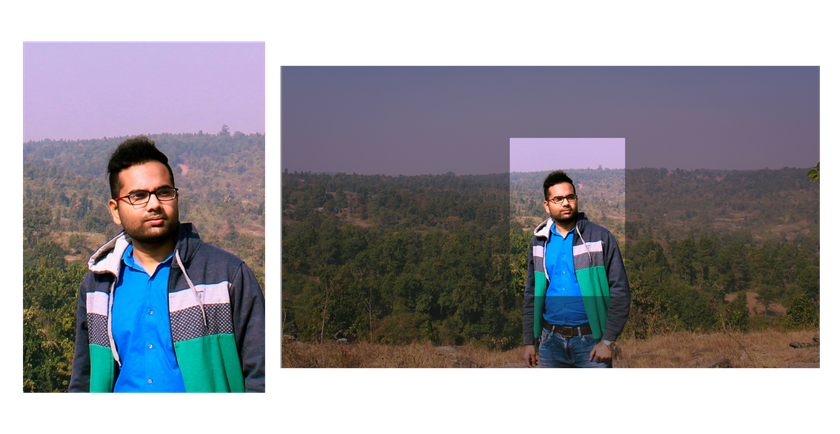
You need not stretch; extend the photo with the help of the intelligent enlargement tool. Usually, photo editors offer several options: expansion followed by filling with a white or black background or an "intelligent" extension with a background that will repeat the existing one. That is what we need.
To extend it, in Photoshop, you only need to grab one of the handles on the side and drag it out past the edge of the image. But this feature works well if you have a plain background and your main subject or model isn't cropped by the portrait around the edges. Otherwise, the editing will not have a natural effect, and the image may look distorted.
Advanced yet easy-to-use photo editor
Get Luminar Neo NowLuminar Neo has an intelligent tool, GenExpand, that allows you to work with any complexity and texture backgrounds. You will get a natural result as if the photo were created in landscape format.
Step 5: Adjust Image Settings
Fine-tuning image parameters such as exposure, contrast, saturation, and sharpness will improve the overall look of your photo. Luminar Neo also has a cheat for you — AI Photo Correction. Easily correct pictures by fixing small imperfections or channeling your imagination with creative tools, making your photos look spectacular.
Step 6: Apply Filters and Effects
Experiment with the various filters and effects available in the software to enhance your image for impressive results. Adjust options like color gradation, vignetting, and texture to get your desired look. If you use Luminar Neo, you will find thematic presets from which you can choose the ones that suit your picture as best as possible. If you use Photoshop or Lightroom, learn how to work with Presets to integrate them into your photo editor. Luminar has settings that are compatible with them.
Step 7: Add Texture
The final step is adding a texture layer to the whole image. Any existing textures will be smoothed out by stretching a new layer to fill the background.
Step 8: Save the Edited Image
When you're happy with the changes, save the edited image in the desired file format and share it with your audience.
How to Change a Picture from Portrait to Landscape on Android

To change a picture from portrait to landscape on Android, you can use various photo editing apps on the Google Play Store. Here's a short general guide:
Step 1: Install the App and Import Photo
Download and Install Adobe Photoshop Express, Snapseed, or others from the best free mobile photo cropping apps. Launch the app and tap the "+" icon to import the portrait photo you want to convert to landscape orientation.
Step 2: Access the Crop Tool
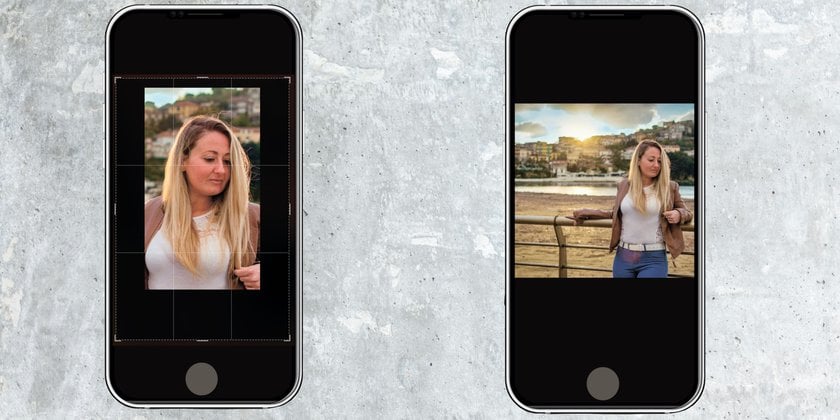
Once the photo is loaded, tap on the "Crop" icon from the editing toolbar at the bottom of the screen. Use your fingers to adjust the crop box and position it according to your preferences. Ensure that the essential elements of the photo are included within the landscape frame.
Step 3: Use the Extension tool
Choose an intelligent extension so that the program fills newly created areas with a similar background and drags the photo's edges to the desired sides. This tool is also useful for enlarging portrait pictures. So use it whenever needed.
Step 4: Add Color Correction, Texture and Filters
Use the filters the program offers or adjust the colors and exposure manually. Try adding another layer of texture to smooth the image and make it uniform. Avoid too many edits because mobile photo editors spoil the quality of the final image by over-imposing effects. Therefore, be careful not to distort the image and not be disappointed in the result.
Step 5. Save the Edited Picture
After cropping, click the Save or Export button to save the edited image to your device's gallery.
Exclusive Tools of Endless Possibilities in One AI Editor
EXPLORE NOW!How to Change a Picture from Portrait to Landscape on iOS
iOS users can use the instructions for Android on iPhones because third-party photo applications work the same on all mobile devices. But there is great news for those who edit photos on the iPad! Luminar has already released a tablet version. Luminar for iPad has a wide range of features, including AI. Its incredibly aesthetic and convenient interface will increase your enjoyment of editing.
Bottom Line
If you want to change an image's aspect ratio, try using our tips. Even if it doesn't work how you want, it only takes a few moments. But you might get a good result with modern AI and smart expansion tools. Remember this technique for instant portrait-to-landscape edits.
Mastering the art of transforming portrait images into landscape orientation expands your creative horizons and offers more versatility in displaying your images. Using photo editing software such as Luminar Neo allows you to smoothly adjust the orientation while maintaining the quality and composition of your pictures. By following the step-by-step instructions in this article, you can effortlessly change your portrait photo to a landscape photo, opening up new opportunities to express your creativity and enhance the impact of your picture. So, dive into the world of landscape orientation and discover the endless possibilities it provides for your visual storytelling.


 >
>

