 View plans
Achieve Perfection with Our Photo Correction
Fix issues with exposure, color balance, sharpness, and other technical aspects that might have been affected by lighting conditions or camera settings. Adjust elements like contrast, saturation, and clarity to make your photo more visually appealing
View plansHow to Perfect Your Images With Image Improvement Features?
Correct exposure and color balance, sharpen details, get rid of noise, crop your photo, or make some selective adjustments.
You can also add one-click Presets that instantly give you incredible effects. It all depends on your base photo and what you want to achieve!
You can also add one-click Presets that instantly give you incredible effects. It all depends on your base photo and what you want to achieve!
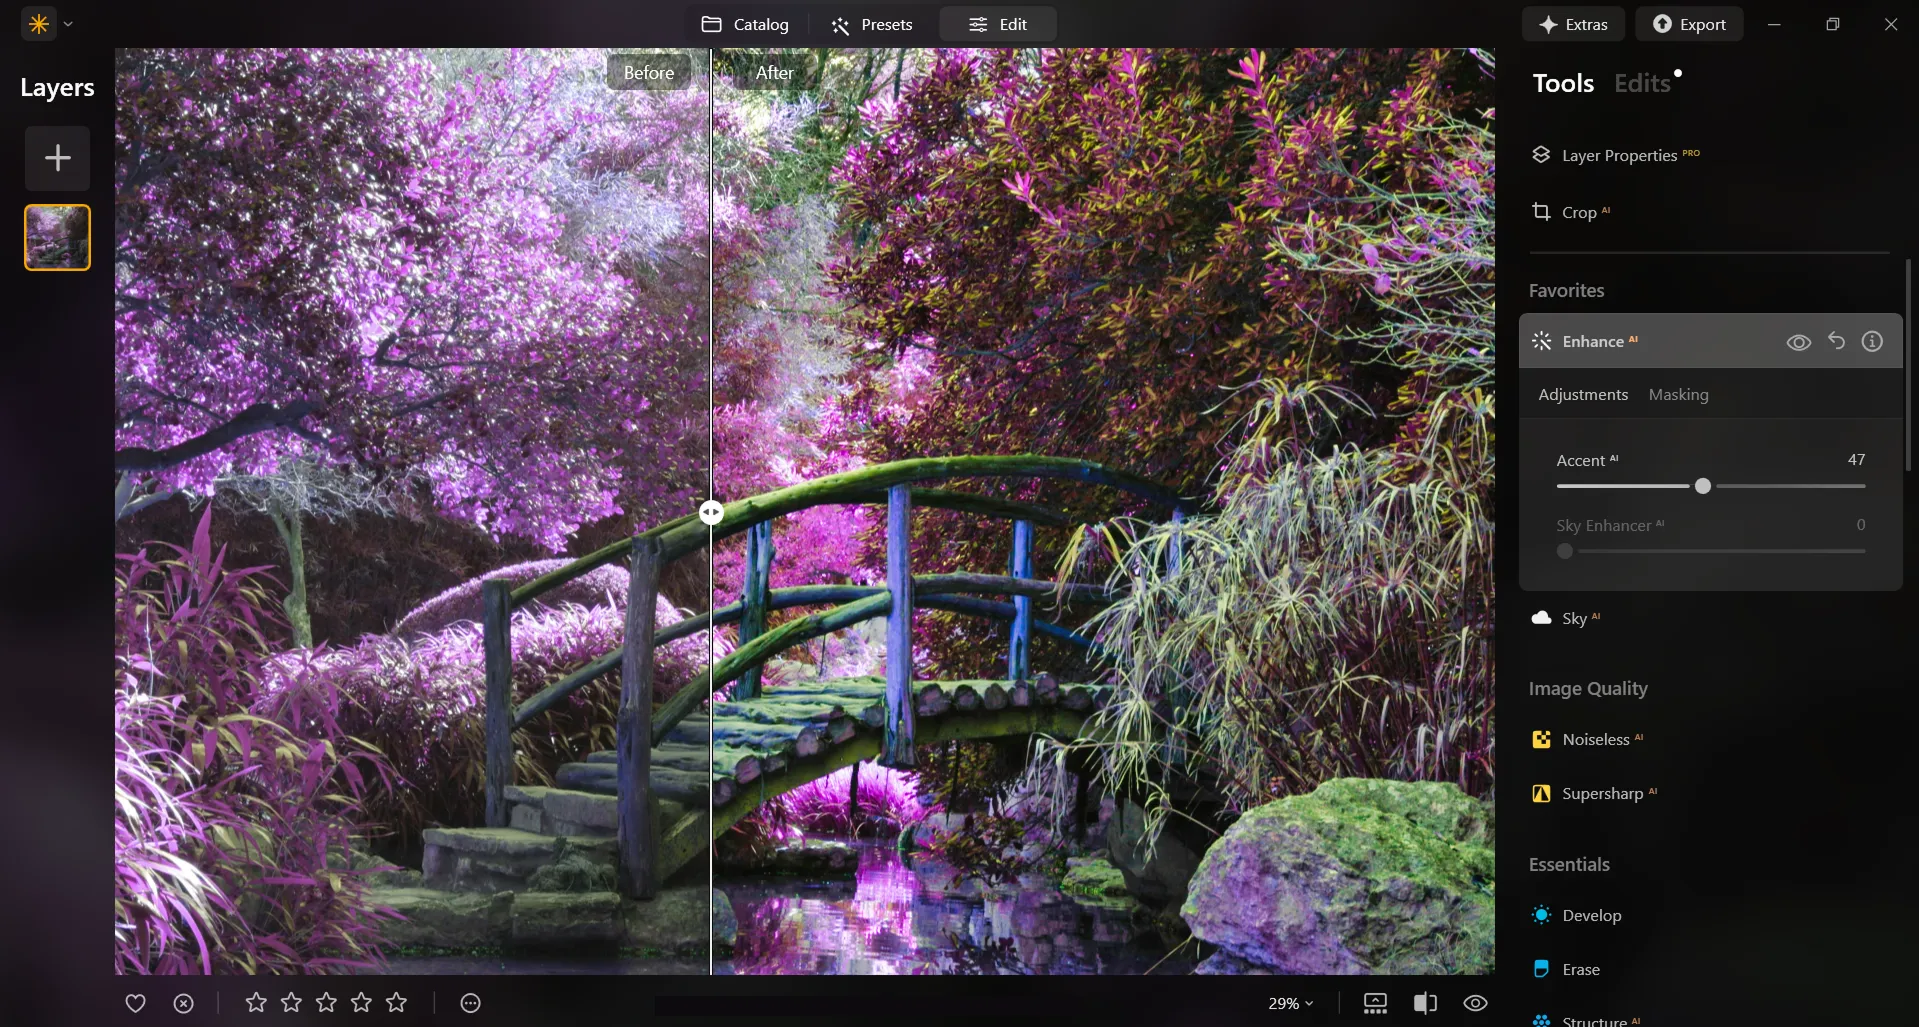


© Depositphotos
Why Choose Our Photo Corrector for Spectacular Visuals?
Luminar has an array of easy-to-use tools that can help you easily correct pictures by fixing small imperfections or channeling your imagination with creative tools, making your photos look spectacular.
Crafting Remarkable Images: the Magic of Photo Correction
Achieving incredible photos through editing is not just about technical skills but also about creativity, artistic expression, and understanding the story or emotion you want your photos to convey.
Practice, experimentation, and a keen eye for detail will help you refine your editing skills over time.
Practice, experimentation, and a keen eye for detail will help you refine your editing skills over time.
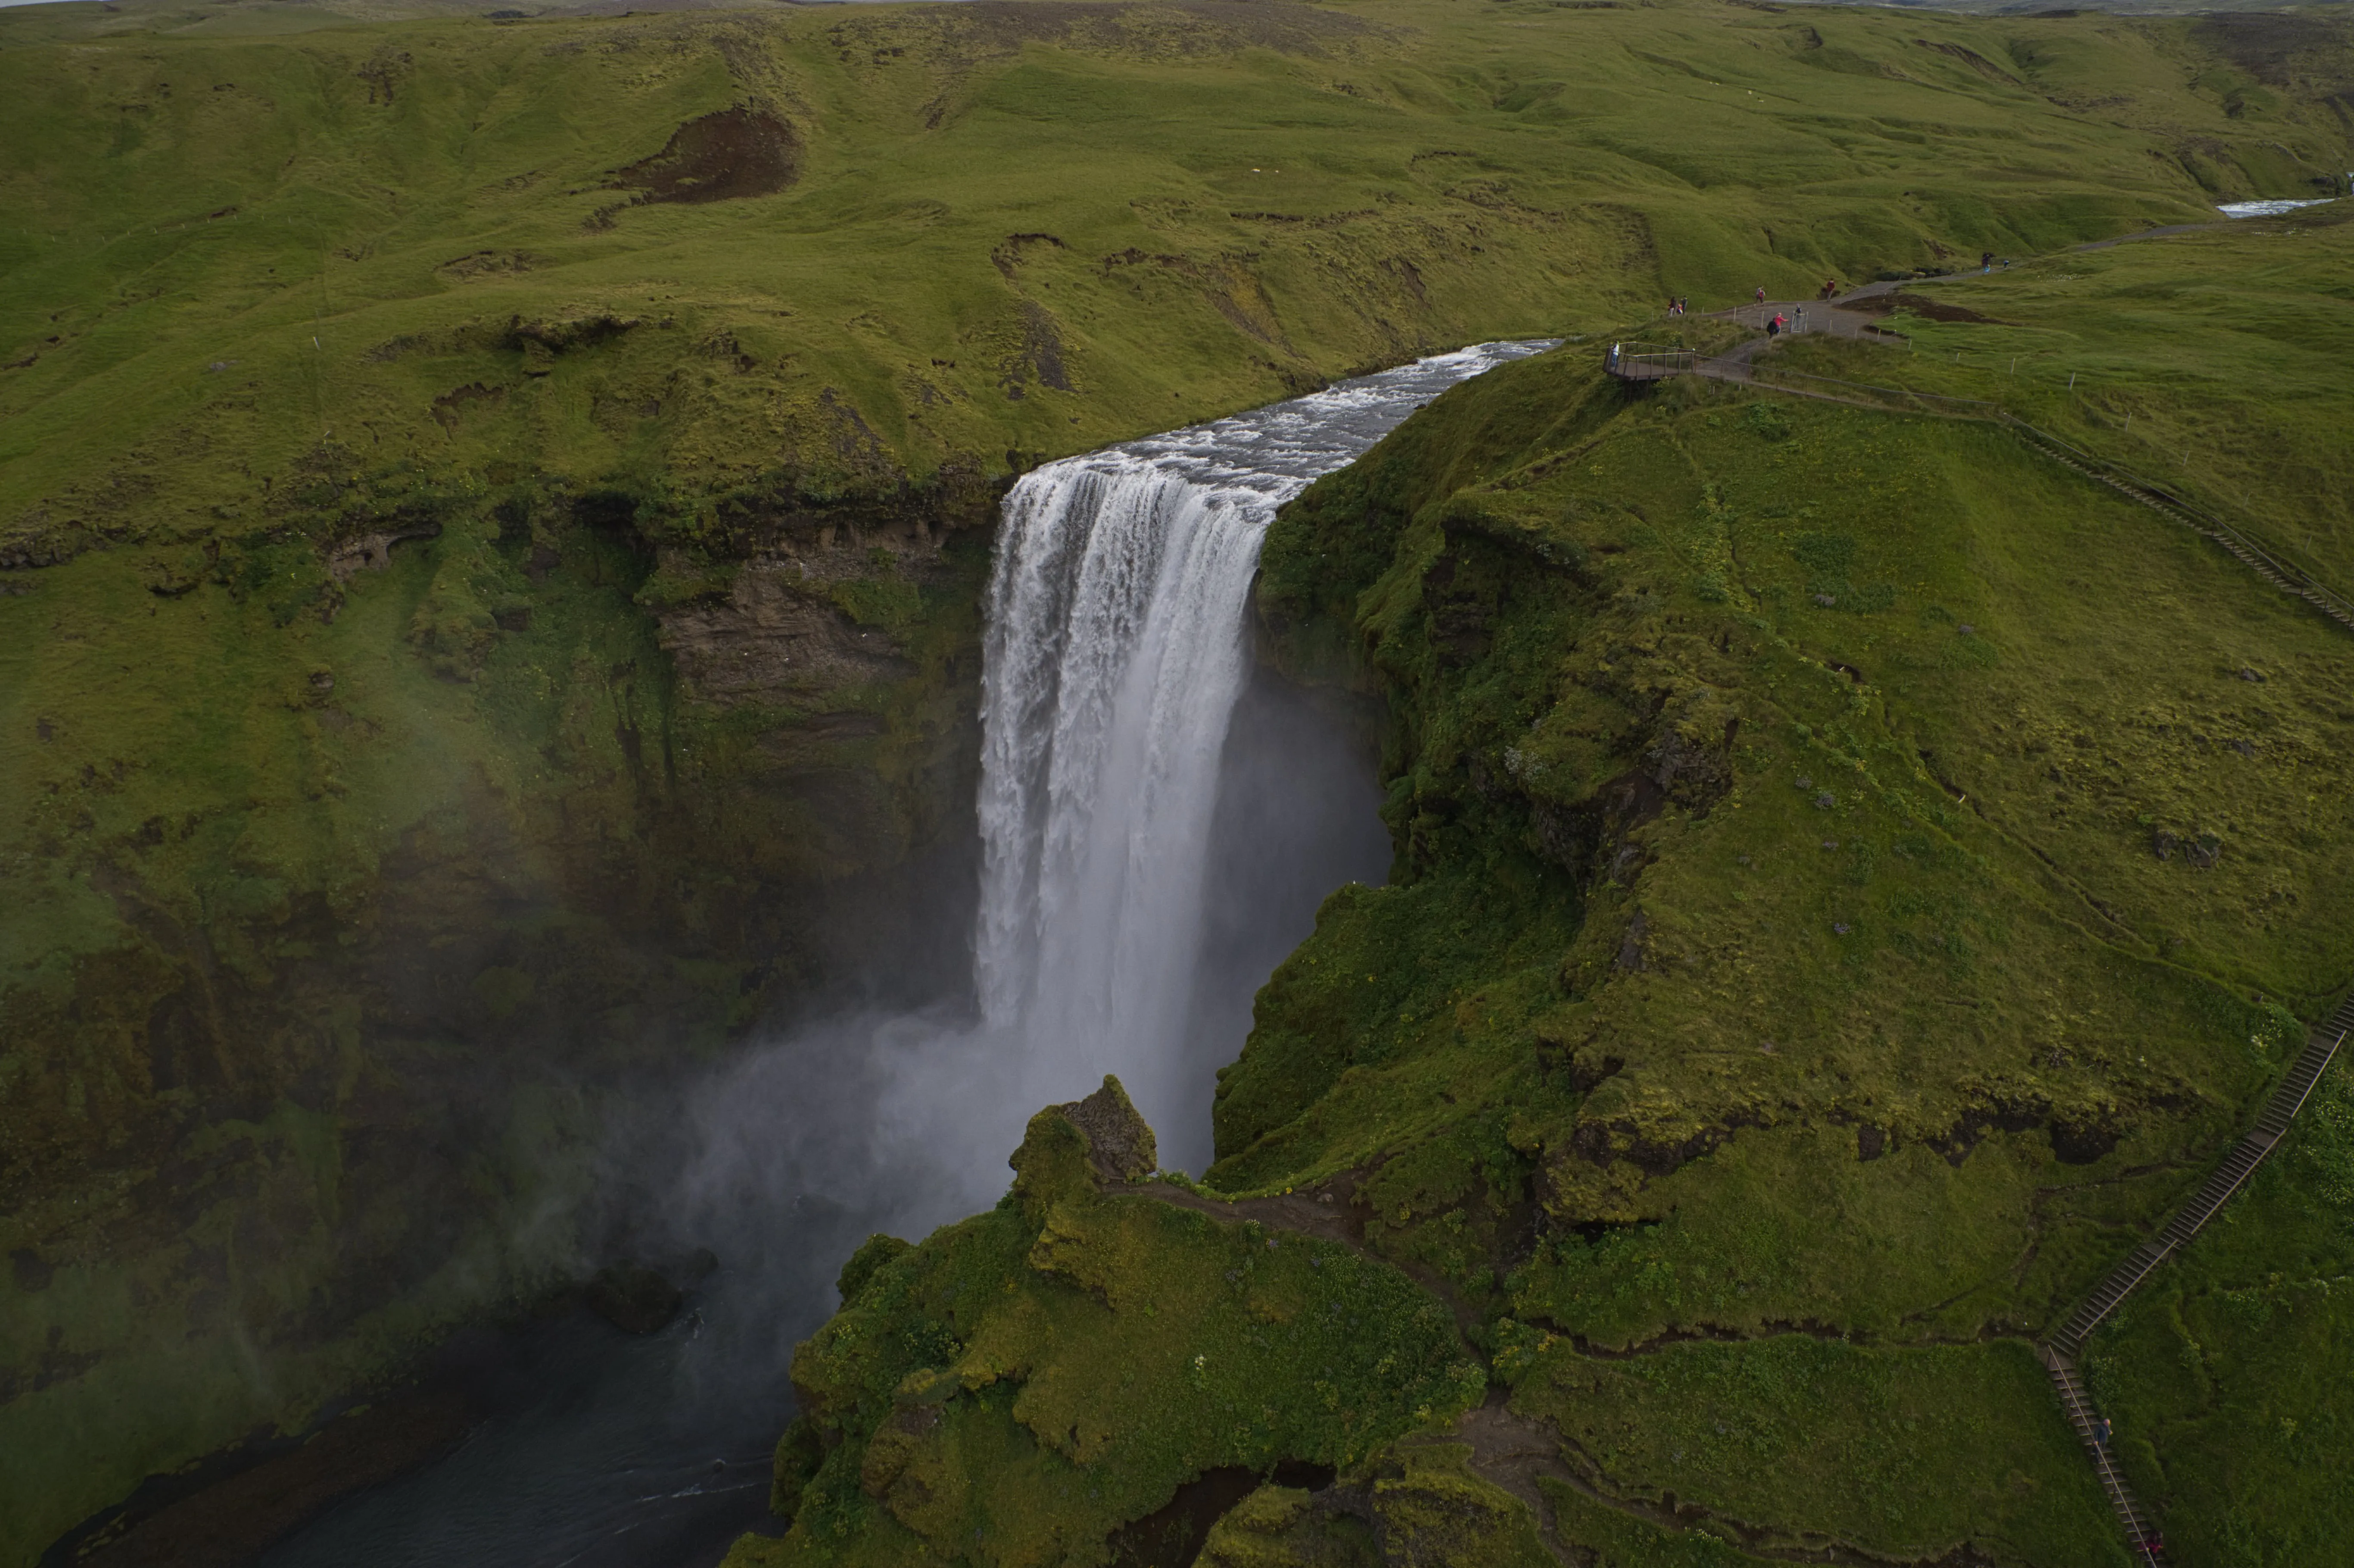

© DJI
Correct Images to Unleash the Full Potential of Your Photos
Easily transform your photos into masterpieces you envisioned. Luminar has a lot of photo adjuster features that can help you balance enhancements to maintain a natural and pleasing appearance while achieving your desired artistic or visual goals.
© DJI
Here are some features for you to try:
• Enhance AI: Adjust up to a dozen controls with one slider
• Presets: Enjoy simple photo editing with 1-click effects for instant enhancements.
• Sky AI: Seamlessly replace a plain sky with an incredible one, while also taking into account water reflections.
• Enhance AI: Adjust up to a dozen controls with one slider
• Presets: Enjoy simple photo editing with 1-click effects for instant enhancements.
• Sky AI: Seamlessly replace a plain sky with an incredible one, while also taking into account water reflections.
Explore Other Features
Luminar has plenty of other features to help you edit faster and easier
Transform Pictures
© shutterstock
Make every picture pop without the hassle with Picture Transformer.
AI Photo Retouch

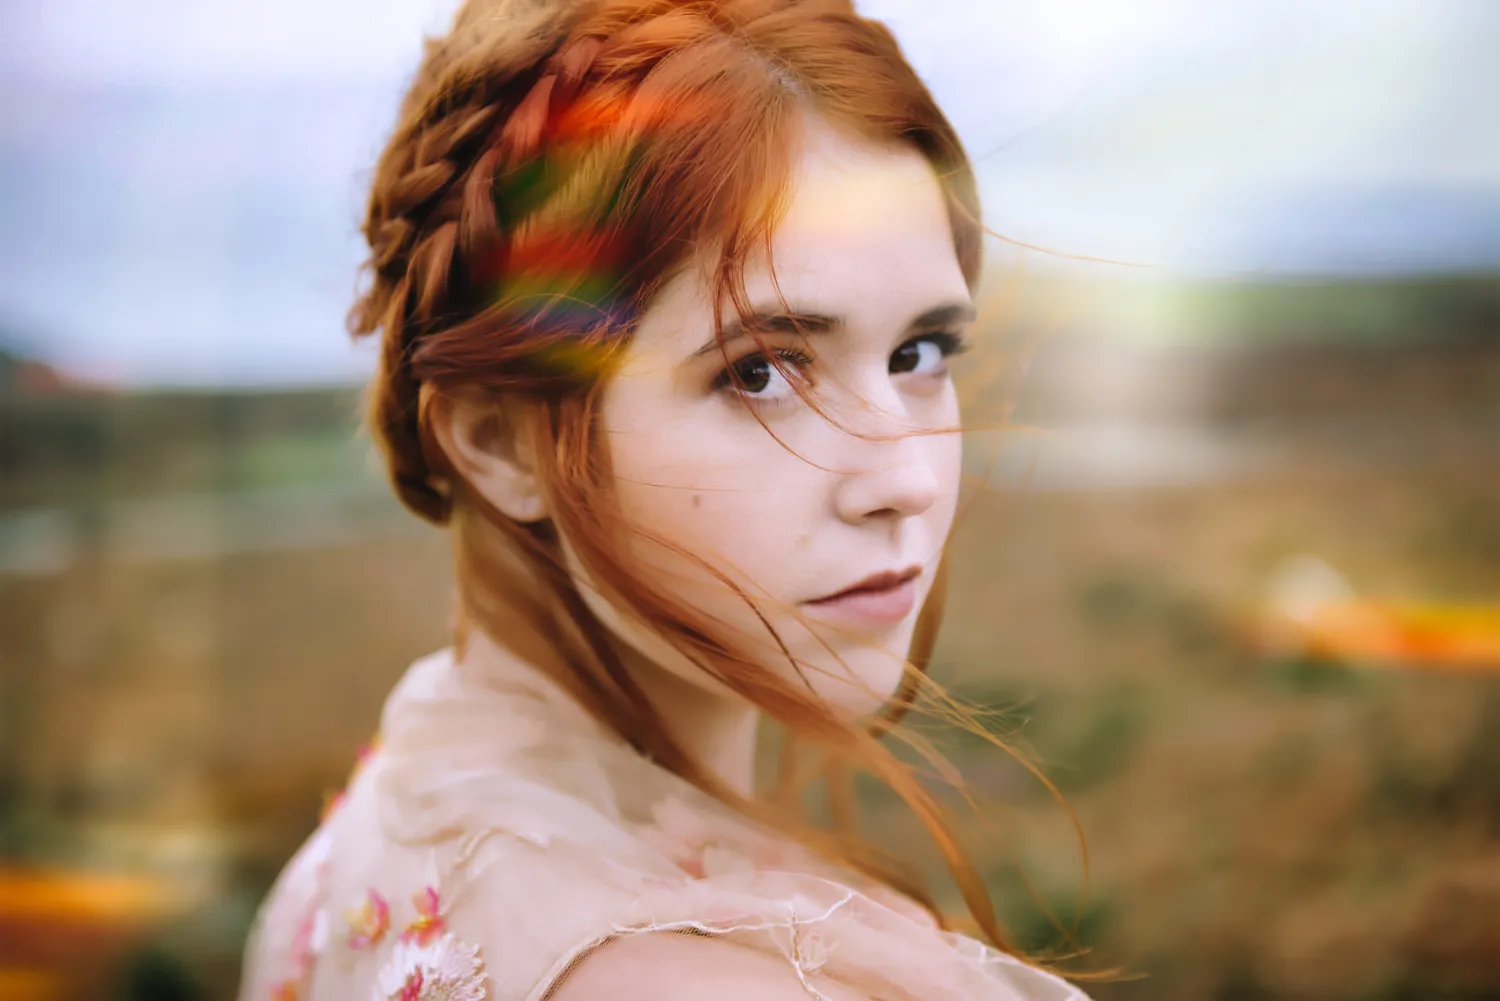
© Ksenia Kazak
Transform your shots instantly with AI-powered photo enhancement.
Photo Restoration


© Lisa
Transform old photos into stunning, rejuvenated images with the magic of AI-powered photo restoration.
Quick Photo Editor


© Ksenia Kazak
Boost your photos instantly—try Luminar’s Quick Photo Editor for flawless edits in just seconds!
Enhance-AI


© mathewbrowne_anglesey
Simplify your workflow and amplify your results with a single, AI-driven slider.


An application & plugin
For macOS & Windows
- High-performance AI editor
24/7 technical support
30-day money back guarantee
Join our communities
Frequently Asked Questions
How to correct a photo with Luminar?
Depends on what is your starting photo and what you want to achieve! Luminar has a lot of image changer tools that can help you edit your photos to perfection.
Can I undo or revert the corrections made using photo correction?
Of course, you can always undo any adjustments in the Edit tab.
What should I do if I'm not satisfied with the results?
Try again, experiment with other features, and have fun! The possibilities are endless.
Does photo correction work well with all types of photos, including low-quality images?
Photo correction tools can enhance a wide range of images, but their effectiveness depends on the severity and nature of the issues in the original photo. While some improvements can be made to low-quality images, it's essential to manage expectations regarding the level of enhancement possible without compromising too much on image integrity or quality.