Author: Paulo Costa
For those of you who use Lightroom to edit your photos and want to give an immediate “boost” to an image, Skylum’s Luminar Flex is the way to go.
Have you ever looked at an image thinking it had potential but discarded it after editing because you realized it didn’t live up to your expectations? I bet you have! Well… Skylum has recently launched a plugin that can help in these cases.
The photo: Amalfi Coast, Italy
I will give you an example of a photo I took on my last vacation on the Amalfi Coast in Italy. This is an exposure taken around noon on a cloudless day when I didn’t have a lot of time on a cliff which caught my eye because of the wall you can see on the right side of the image.
The problem: Boring image
As usual, I made a relatively simple edit from my raw file in Lightroom, with the white balance on “as-shot” so it was as close to reality as possible. I opened up the shadows, brought down the highlights, and did the blacks and whites. I added a little vibrancy and saturation, turned on the lens correction, and gave it some sharpness. Below is the result – an image that I classified as… boring.

The solution: Export to Luminar Flex
After installing the Luminar plugin in Lightroom, it’s very simple to export an image to Luminar Flex. Just right-click on the image and choose export → Luminar Flex → Edit a Copy with Lightroom Adjustments.
With the image opened in a new workspace, Luminar Flex automatically defines which filters are best for the image. This is called Image Aware. It is always possible for you to change or add other filters at any time should you feel it is necessary.
Luminar Flex workflow
Using the suggested filters, let’s get to work:
1. Accent Al Filter
This filter improves the image by adding color, saturation, details, and many other features automatically. I decided to put it at a value of 49, and the difference was already amazing.

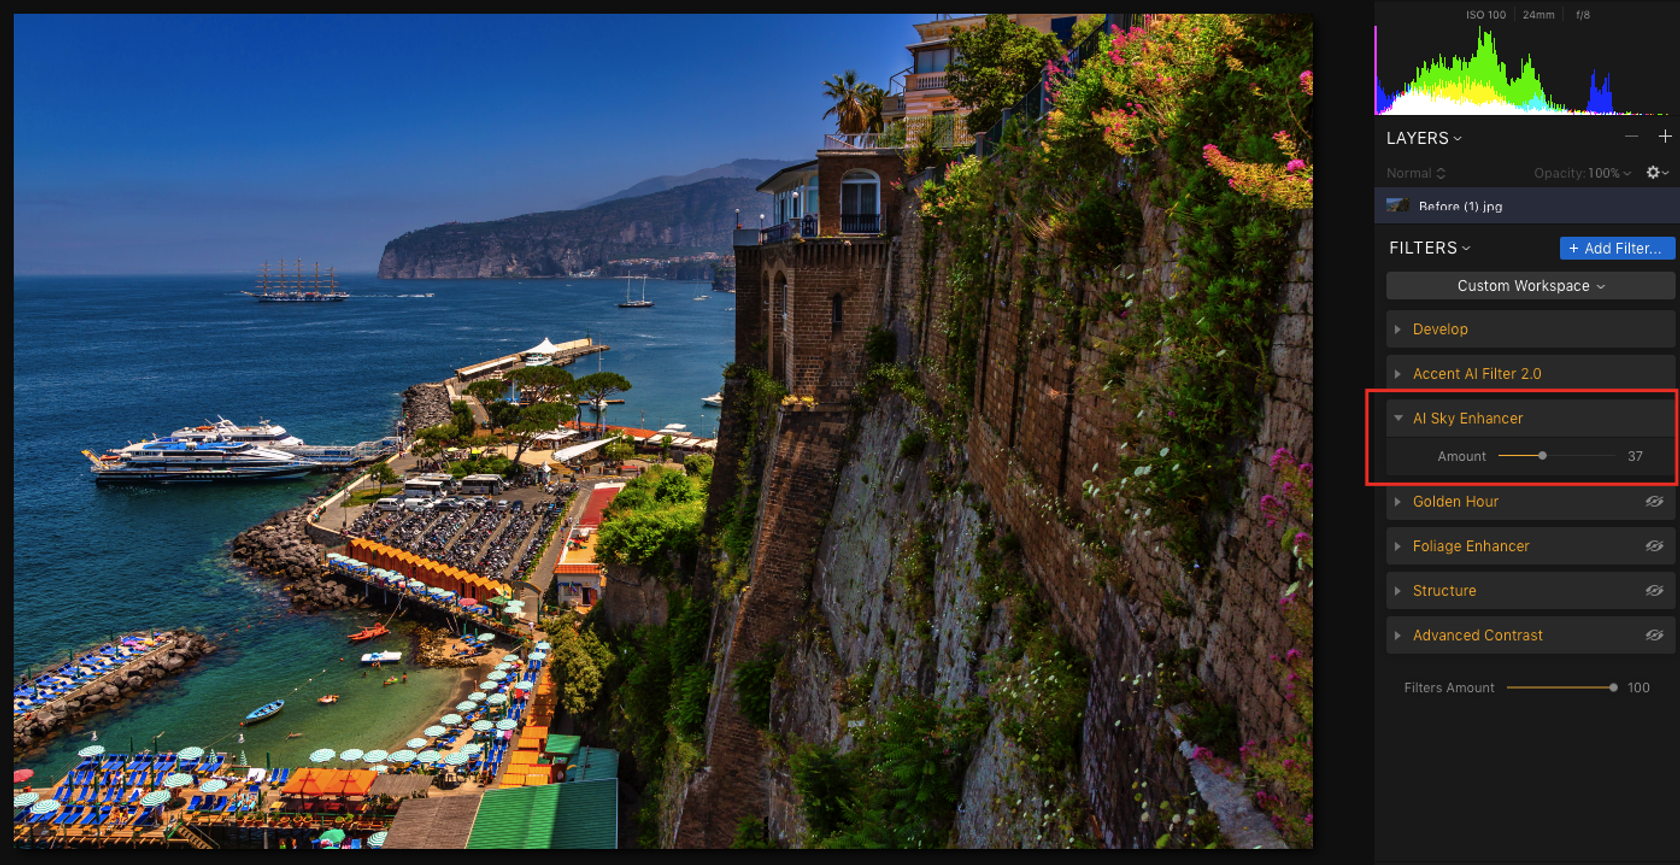
2. Al Sky Enhancer
I just love this filter. It completely changes the sky, but you need to be careful in order not to overdo it.
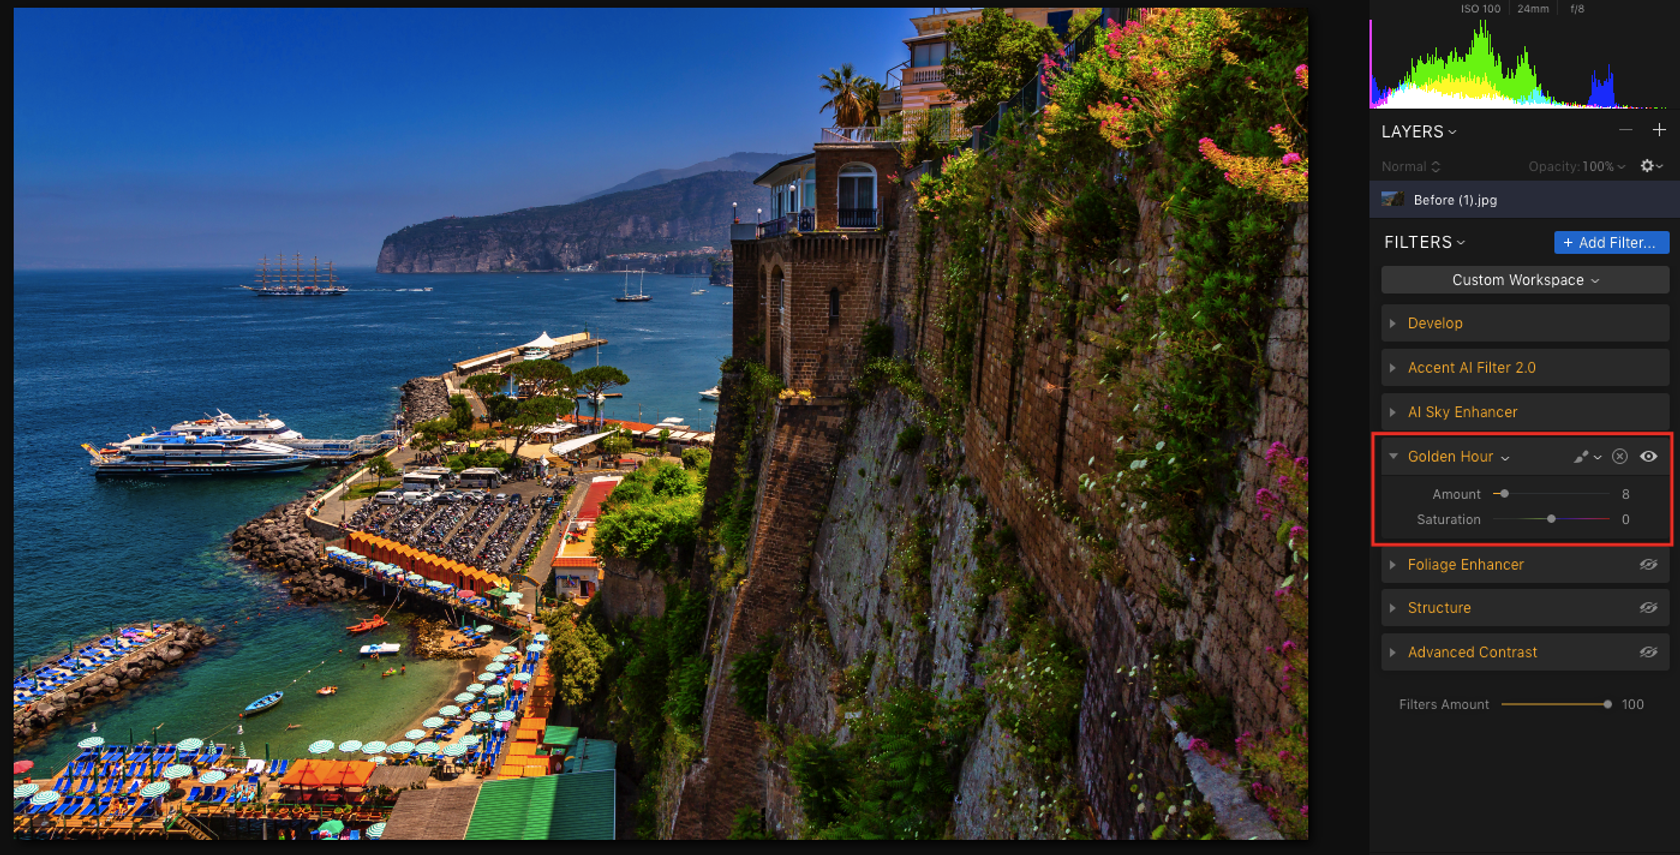
3. Golden Hour
I decided to insert a small value just to bring out the warm yellows.
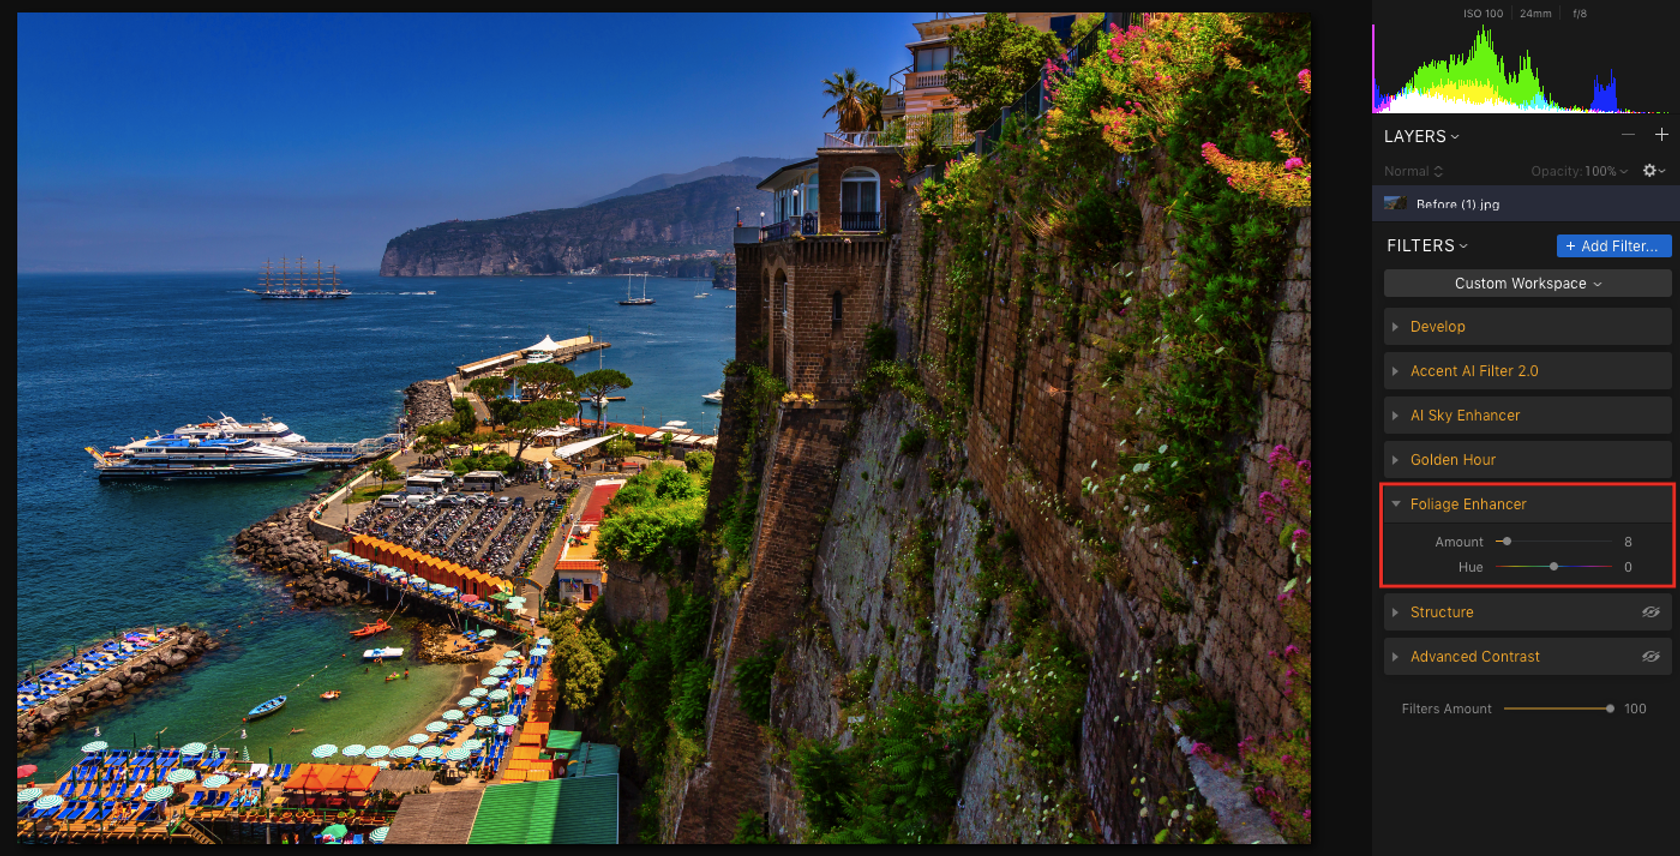
4. Foliage Enhancer
Because there is some foliage in the image, I decided to give it a little boost.
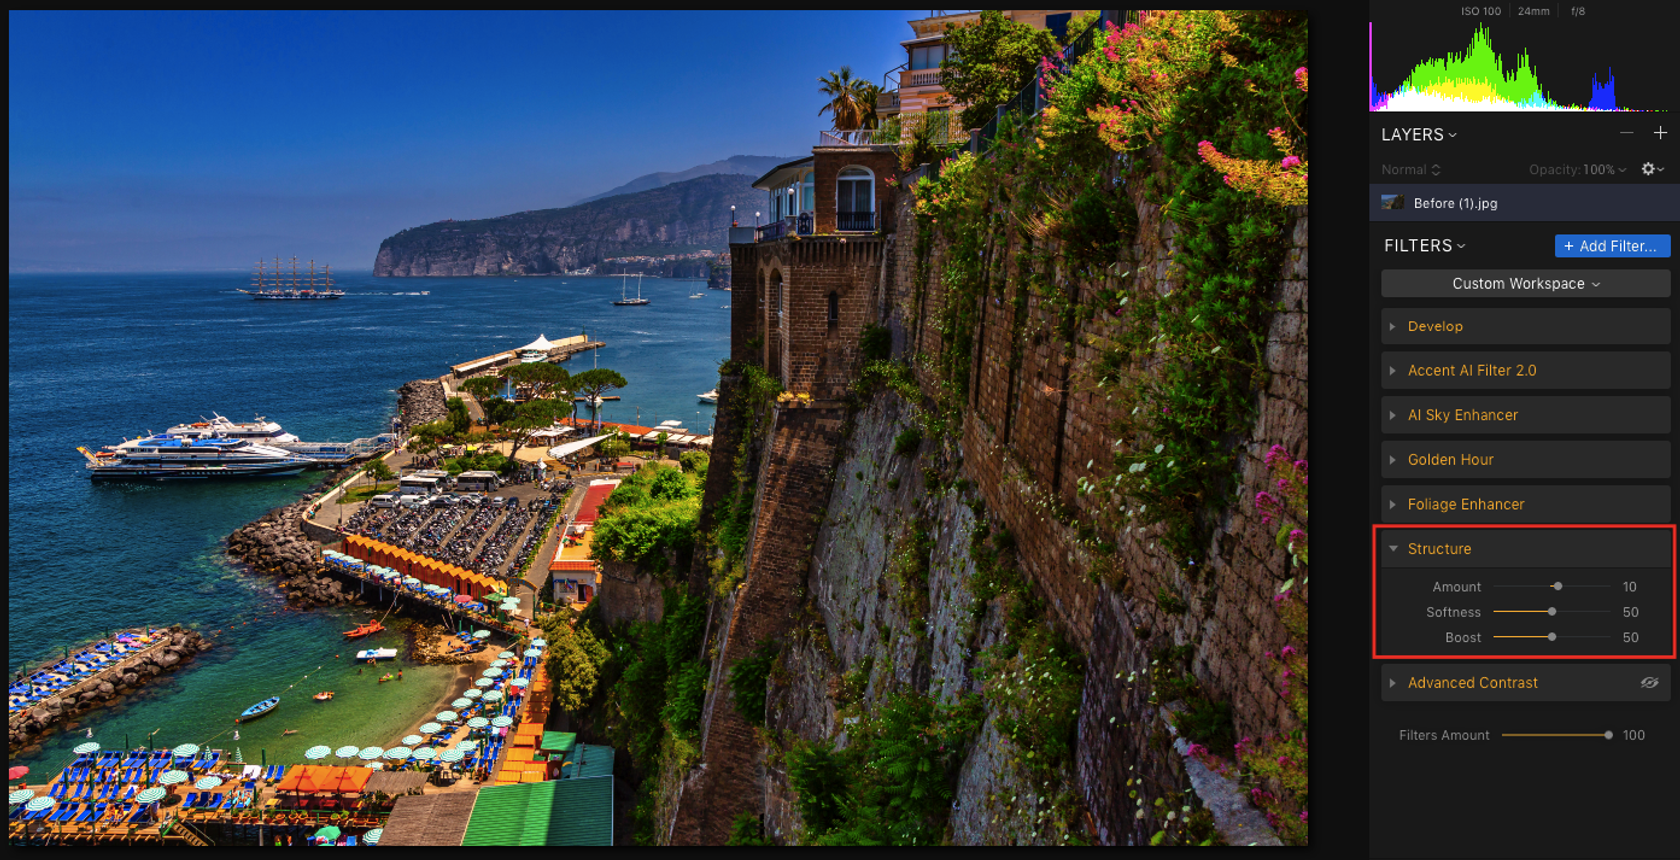
5. Structure
To give a little more detail on the wall, I increased the amount.
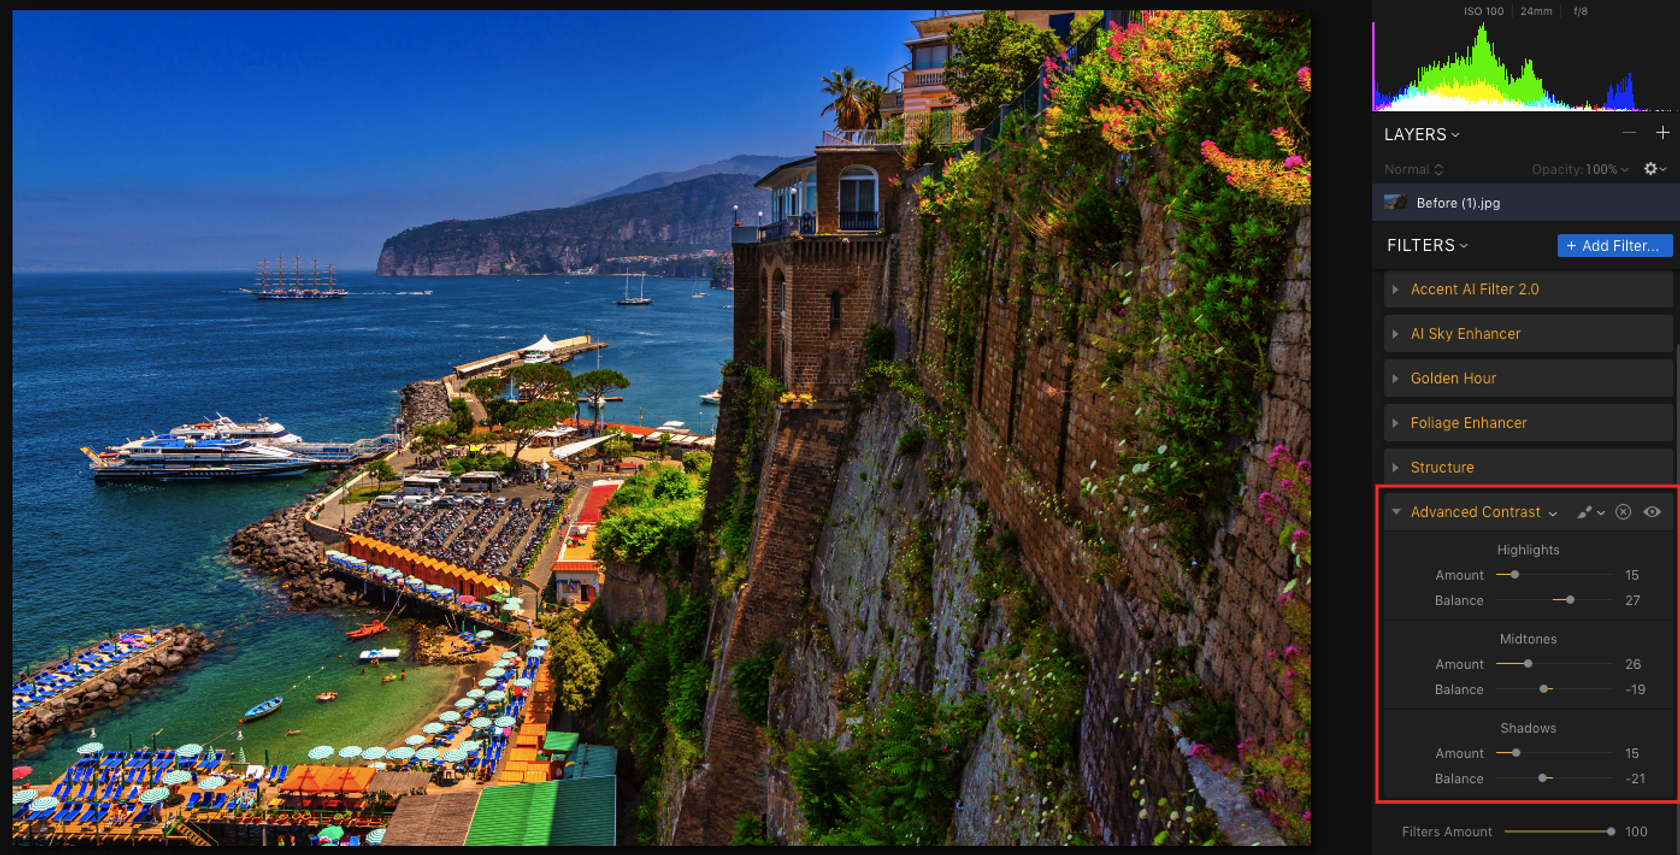
6. Advanced Contrast
This is a powerful filter where you can adjust highlights, mid-tones, and shadows.
Conclusion
In a matter of seconds, you can completely change an image! With Luminar Flex, you can transform your work and use your own creativity by choosing the filters you think are best adapted to your image.

Want to try Flex Plugin with your own images? Download a free trial version.
A Special Perk for Our Blog Readers
Get a 10% discount on Luminar Neo and dive into professional photo editing today!
Thank you for subscribing.
Your gift is waiting in your inbox!