We sent out a request for Wildlife images for our Image Makeover. See the results!
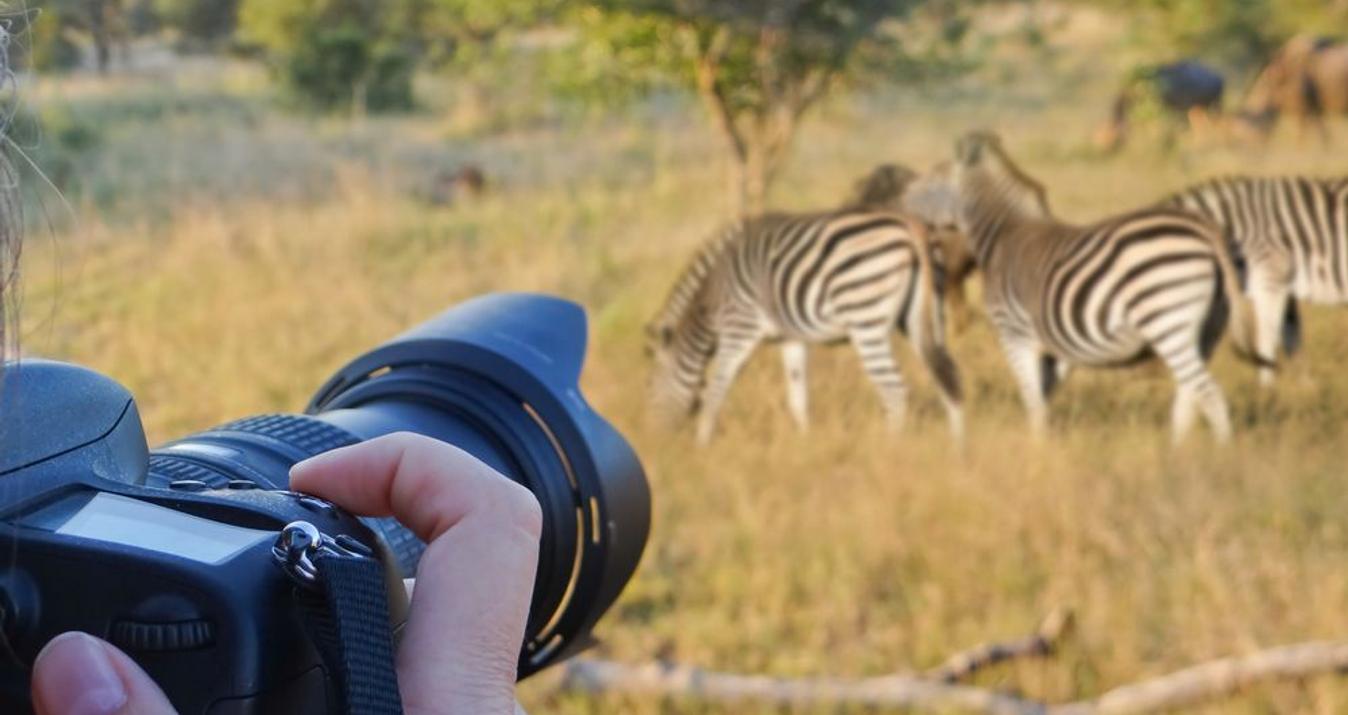
Request for Wildlife Images
We sent out a request for Wildlife images for our Image Makeover on our Skylum Photography's Facebook Group, and we received a number of great submissions. Thanks to everyone that participated!
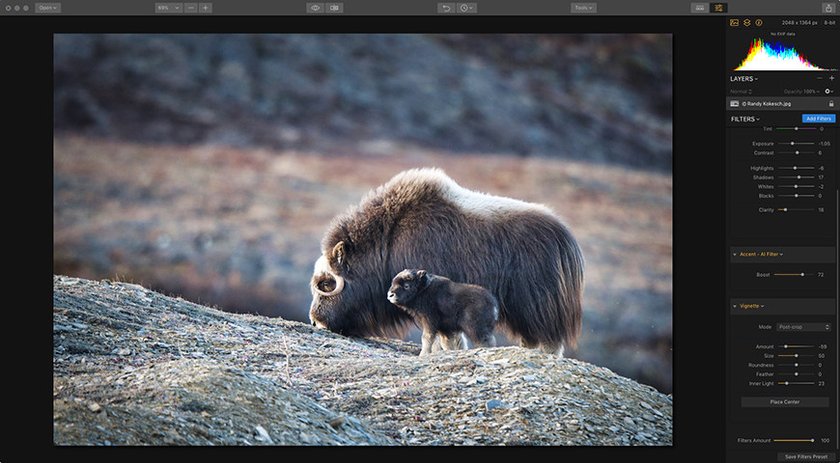
I selected Randy Kokesch's lovely image of a Musk Ox with her young calf. I really like the composition with the rolling lines in the foreground that seem to imitate the hump and back of the mother Musk Ox. Nice subtle tones throughout and of course, that adorable baby! Since this is an animal that I haven’t had a chance to photograph in the wild, this was a great opportunity to do a bit of post-processing using Luminar 2018 on Randy’s image.
 Image by Randy Kokesch
Making Fixes and Enhancing to the Image
Before jumping in and making changes to an image, ask yourself… is there anything that needs to be fixed? And what can I do to enhance the image to make the subjects stand out? In this case, this image is beautiful straight out of the camera (which we should all strive to do), but there are a few things that could make this image pop a bit more.
Try starting with the Develop filter. This allows for corrections to many of the basic adjustments such as color correction, exposure, contrast, and more. Then, if there are no dust spots, noise or objects that need to be removed or cropping of the image, move on to adding additional enhancements if needed.
Note: If you have a RAW image, the Develop filter will be labeled Raw Develop with a few extra options.
 The Develop filter is a great starting point to make overall global adjustments
Introducing the History Button
A great way to see precisely the adjustments have been made so far on an image, click on the History Button to reveal the filters that were selected and the amount of the effect that has been added.
As you can see, the image was darkened a bit with the Exposure control, and I added some Contrast to start seperating the dark areas from the lighter areas. I didn’t want to lose any of the nice detail in the fur so I pulled up the Shadows slider and added some Clarity to help define the edges and sharpen the image.
 See all the changes that were made by opening the History Panel
Making More Adjustments
Let’s see if we can get some more definition and color to this image. One of my all time favorite filters is the Accent - AI filter. This amazing filter analyzes the image and has a single Boost slider that helps to even out the tones, bring out details, enhance color and so much more!

The Accent - AI filter really brings an image to life!
To finish this image, I’ll add the Vignette filter. This will help to bring the viewer’s eye right to the subject and it will also help to emphasize the foreground, midground and background. Moving the Amount slider to the left will darken the edges and I can increase the Inner Light to highlight the Musk Ox and calf. Being able to move the center with the Place Center button gives you custom control over where you what the light to fall.
 The Vignette filter allows you to control the light
Going Back in Time with the History Tool
If at anytime, you want to go back to see what changes you have made and then make an adjustment to one of the steps that you did, simply select the History Button. You’ll see every step that it took to get to your final image.
 Using the Compare feature to show before and after
Saving Your History
Having the ability to use the History Button to go back to any step that you choose is very helpful, and you can also save your file with your History as well. (Note: as of this time this article was written, this feature is available on the Mac. The PC will have this feature in mid 2018)
To do this, go to File > Save… or keyboard shortcut Cmd+S. This will save your image as a native Luminar file (file extension .lmnr). Then select the Save to History Document option. The next time you open your Luminar file, you will see all the steps under the History panel.
Note: Even if you don’t save the History with a document, by saving a native Luminar file you preserve editability. Each filter, adjustment layer, and texture can be adjusted in the future.
 The final result using several filters to bring out the details and to control the light
In Conclusion
Thank you Randy for letting us use your beautiful wildlife image! We were able to use several filters to enhance and bring out the details in the foreground and the fur of the Musk Ox and put the spotlight on the main subjects. Don’t forget that by using the History Panel, you can see every step that you did and you can go back in time and make further adjustments or go back to your original image and start over. We would love to see your before and after Wildlife images using Luminar 2018 on our Skylum Photography Facebook Group!
A Special Perk for Our Blog Readers
Get a 10% discount on Luminar Neo and dive into professional photo editing today!
Thank you for subscribing.
Your gift is waiting in your inbox!