Elena Liseykina is a travel and landscape photographer based in Moscow, Russia. She recently became a Skylum Ambassador, and we’re happy to share her top 10 filters in Luminar.
Luminar is a very convenient “combination” for editing photos. In short, it is like Lightroom, only with the ability to work with layers, masks, blending modes, and a huge number of filters.
It is generally a mix of Photoshop and Lightroom that has everything for editing photos and even a bit more. Perhaps the only feature I lack in Luminar is retouching. That’s the only thing that still makes me open Photoshop. Everything else can be done in Luminar, including combining several images and making basic collages.
1. Accent AI
 With Accent AI, there is only one slider, but very often it allows you to quickly make a photo brighter and deeper.
At first glance, it seems that the effect is somewhat similar to auto-contrast or auto-levels. But it’s a little more complicated. The filter attempts to maximize the information from the highlights and shadows while preserving the details.
Here is another example.
 In this image, the dark areas became brighter, and vice versa. At the same time, all the details are preserved. Basically, the filter aligns the tonal range and makes a pseudo-HDR image while maintaining the contrast. Neither Photoshop nor Lightroom has any analog of this feature.
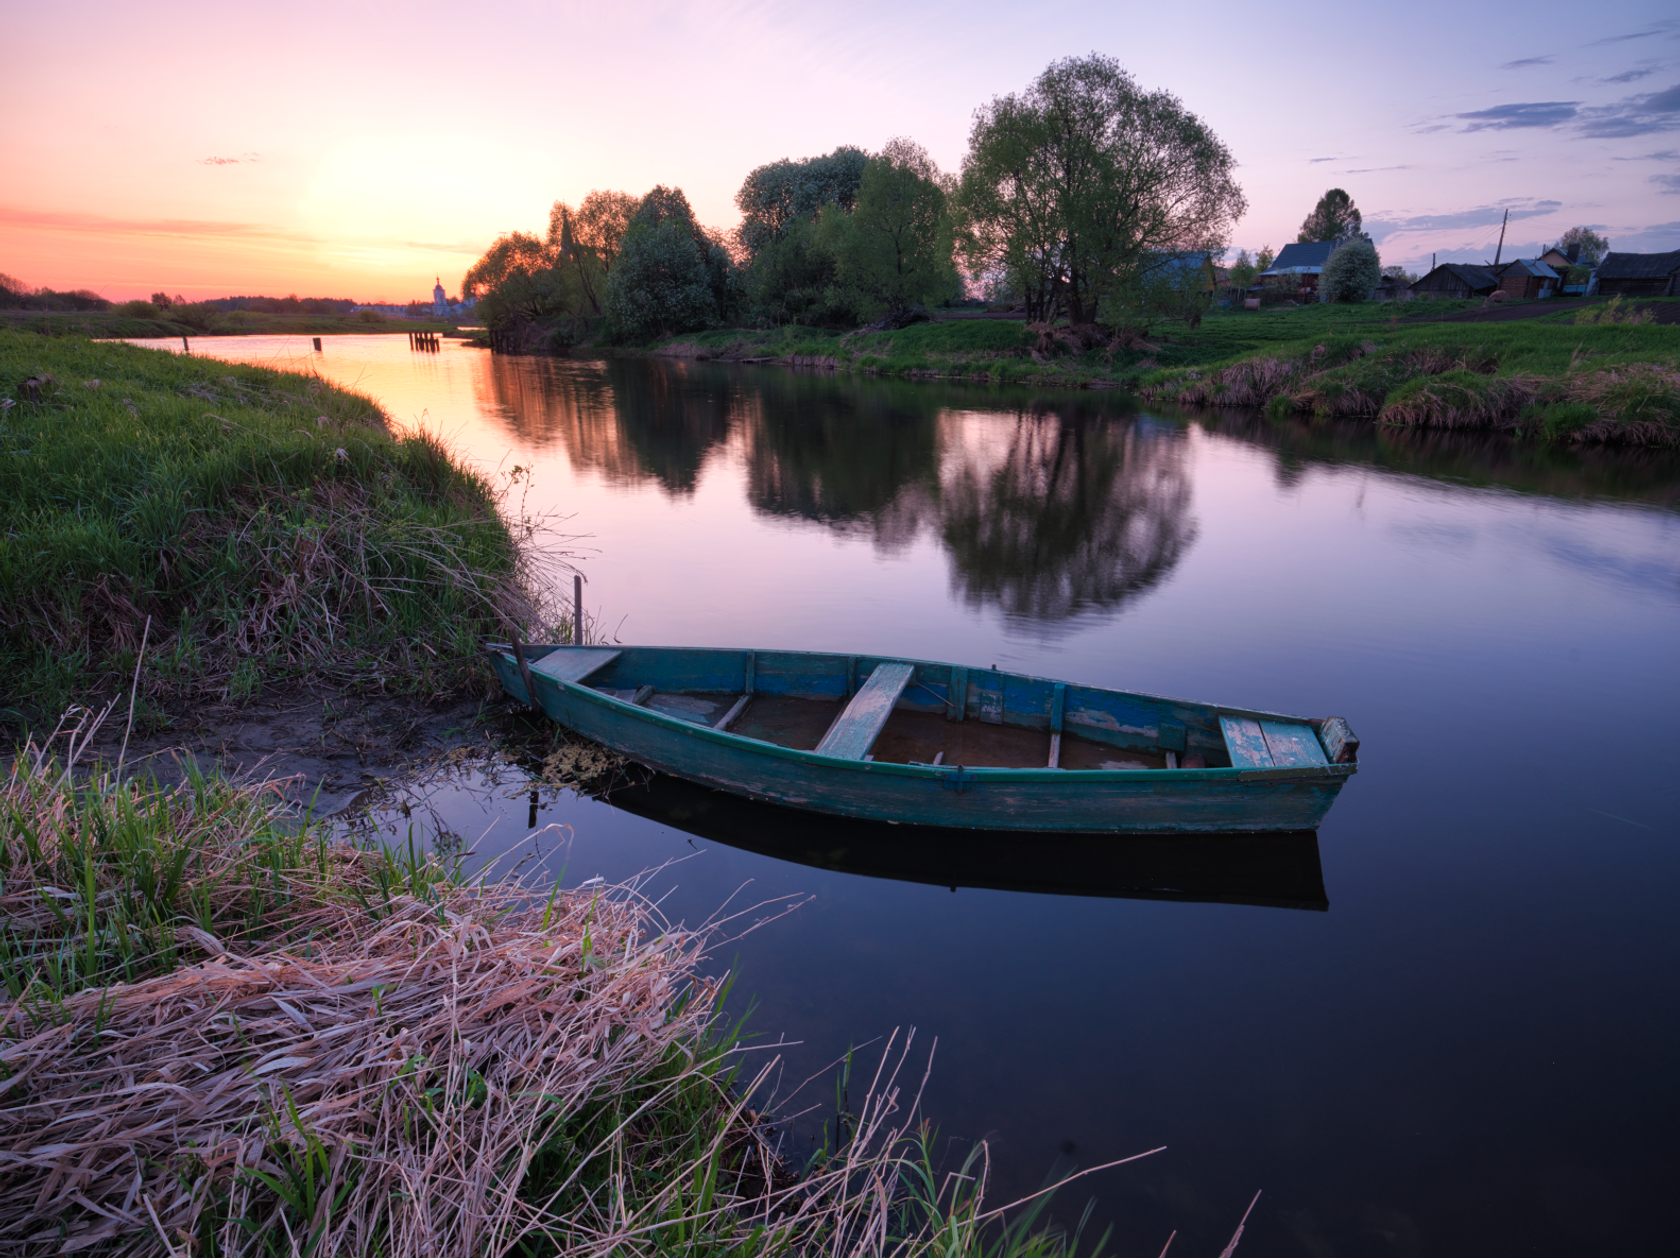
2. Golden Hour
Golden Hour is a filter for sunrise and sunset photos that enhances the feeling of the low sun and adds warm shades to the photo.

There is nothing similar in Lightroom. In Photoshop, to create something similar you will have to play with layers, maybe with blending modes. And here you have a couple of sliders, that give you the perfect effect.
3. Orton Effect
This is a “traditional” filter that originates from the time of film photography when a blurred copy of a photo was used to get a soft glow effect.
 There are no analogs in Lightroom. In Photoshop, it’s pretty easy to do; you only need to make a couple of additional layers. Or create an action.
4. Sunrays
This one filter is worth trying Luminar for! It adds sun and sun rays to an image not just on top of the image, but considering the objects in it. The direction and angle of the rays change depending on the position of the sun, and the rays flow around dark areas.
 Note that the sun isn’t just added on top. Luminar tries to recognize the objects in the photo and draw the rays as naturally as possible.
Let’s suppose that the sun was elsewhere. When we move it, you can see how the trajectory of the rays changes.
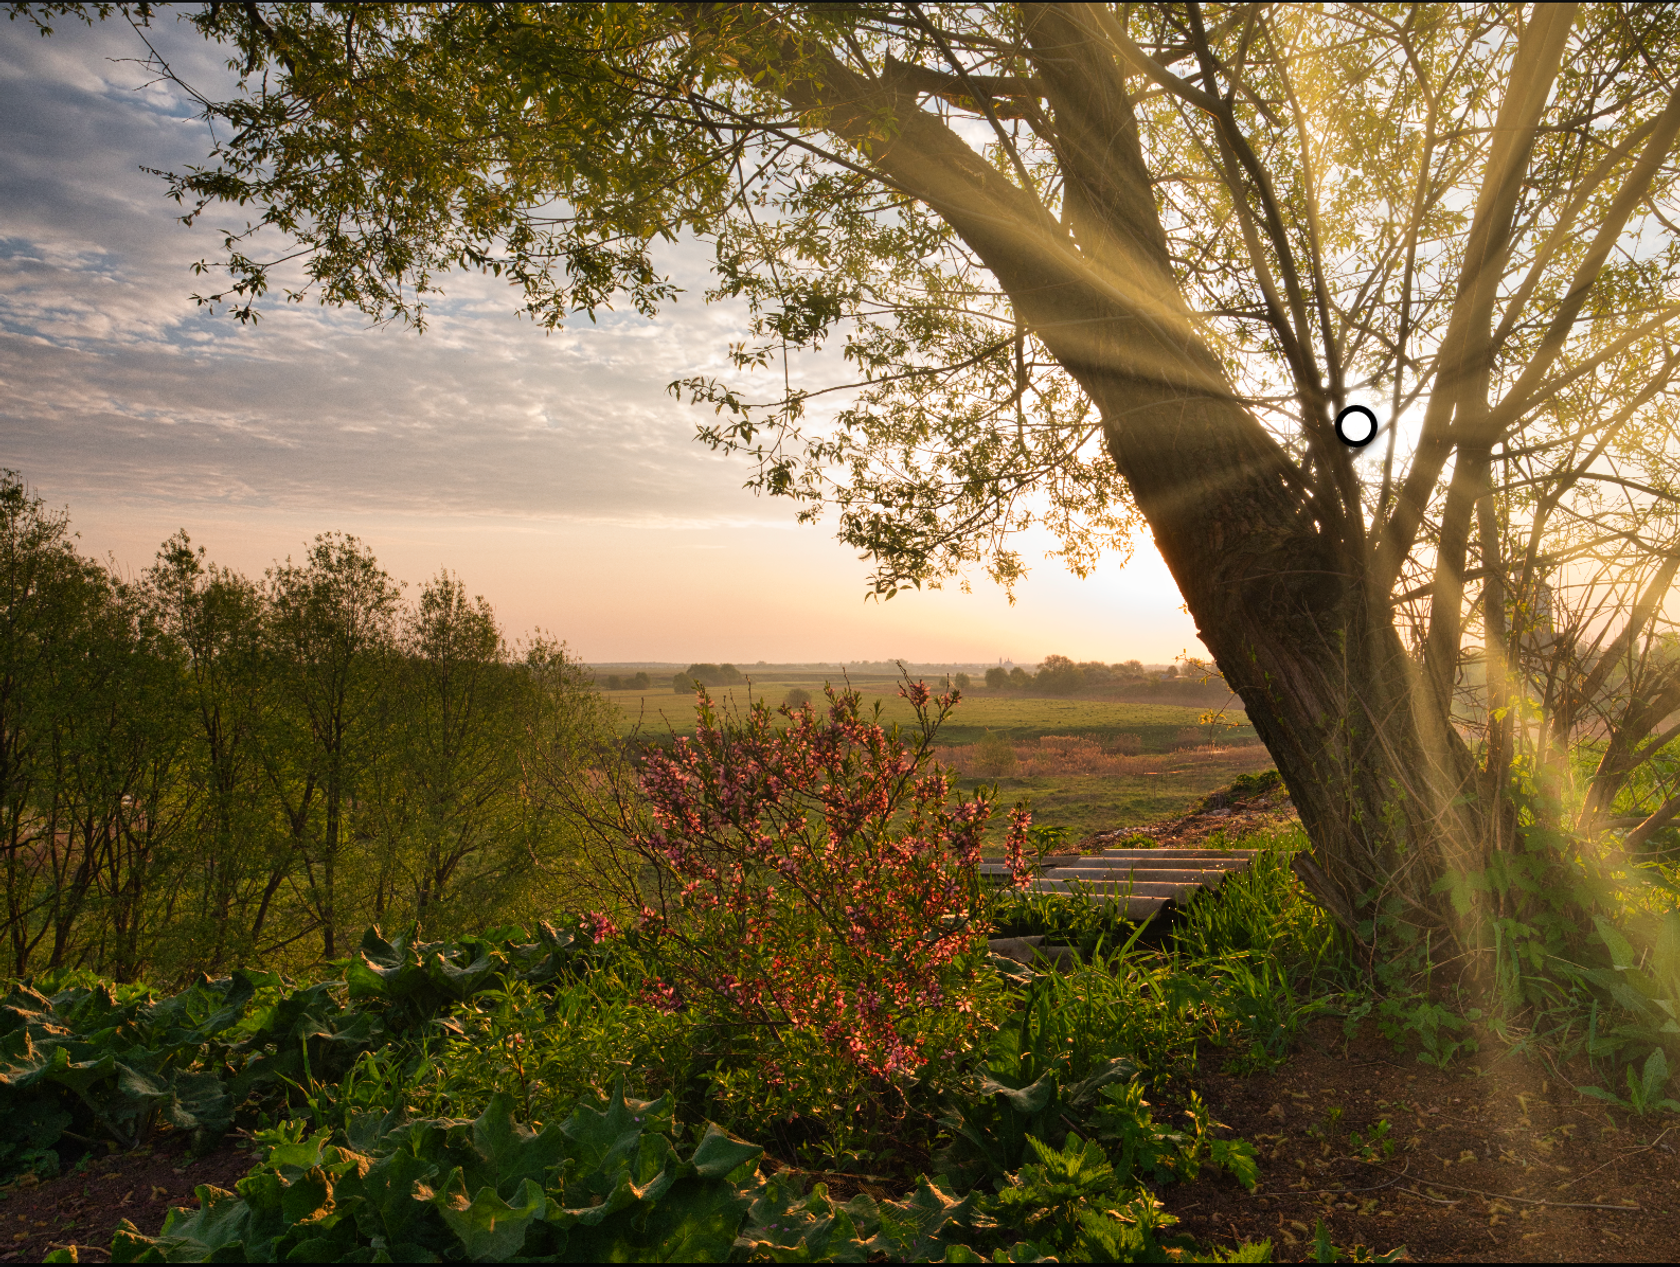
There is no similar thing in Lightroom or Photoshop.
5. Advanced Contrast
This is the same as contrast, but smart. You can separately adjust the contrast for light areas, dark areas, and medium tones. In Lightroom, this is impossible; in Photoshop, you will need to make separate layers and play with blending modes.

6. Color Contrast
Choose a color on the slider and Luminar enhances the saturation of this color and its opposite. Because of this, colors gain contrast.

7. Dodge and Burn
This filter is about lightening and darkening areas of your image. Dodge and Burn allows you to redraw light and create accents.
Use the white brush to make areas brighter and the black one to make them darker. You can adjust the size and opacity of the brush. This works well with graphics tablets.
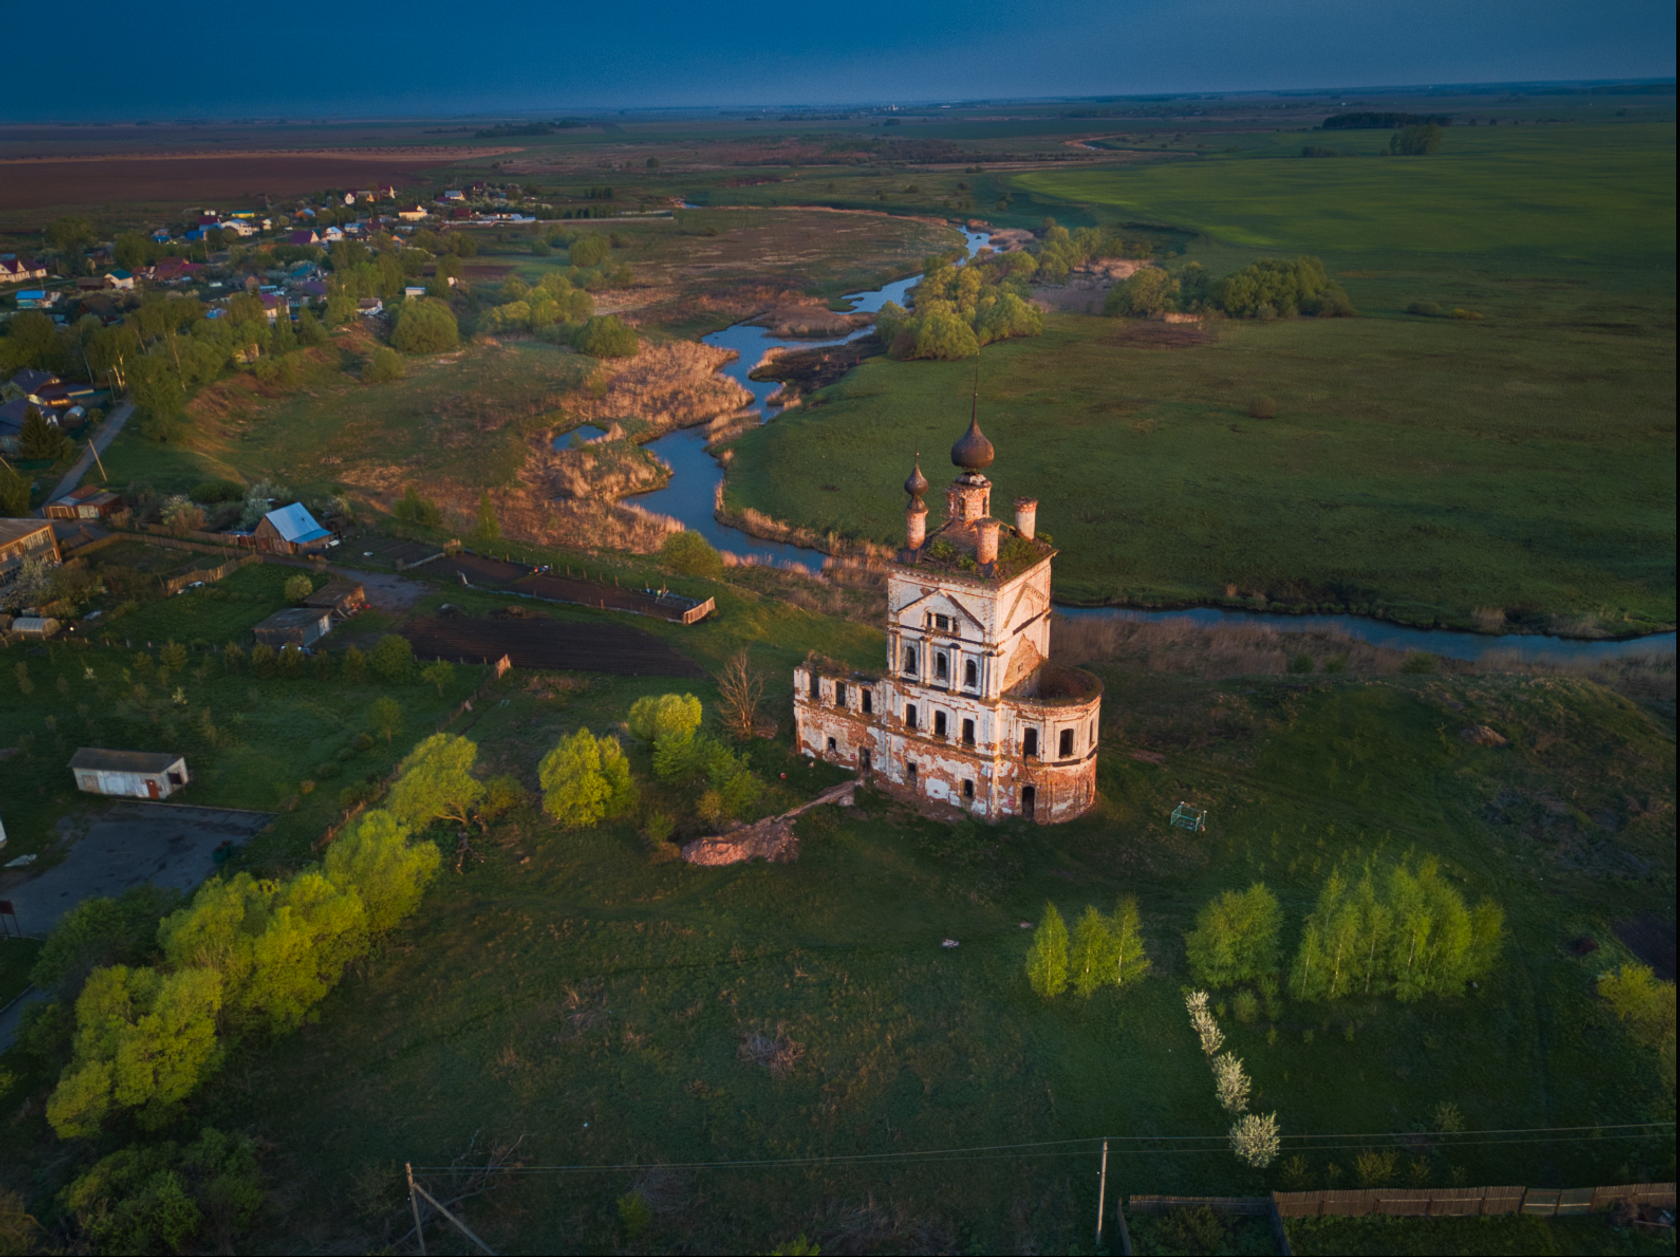
8. LUTs
LUT files are like presets, only much more multipurpose. Presets are tied to a specific program, but you can use LUTs in different applications. The same LUTs can be used in Photoshop, Lightroom, and Luminar (and in a bunch of other programs), and the result will be the same. Basically, a LUT is a file that contains a table which indicates how one color is converted to another.
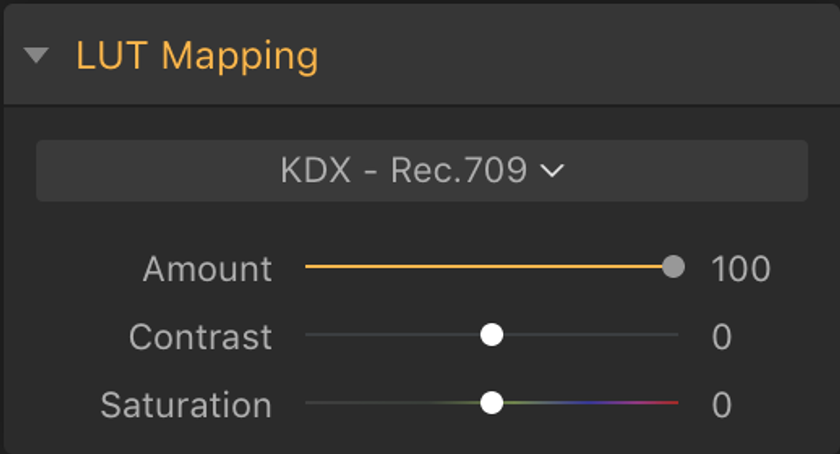
Luminar comes with several built-in LUTs, and you can use any other third-party ones.
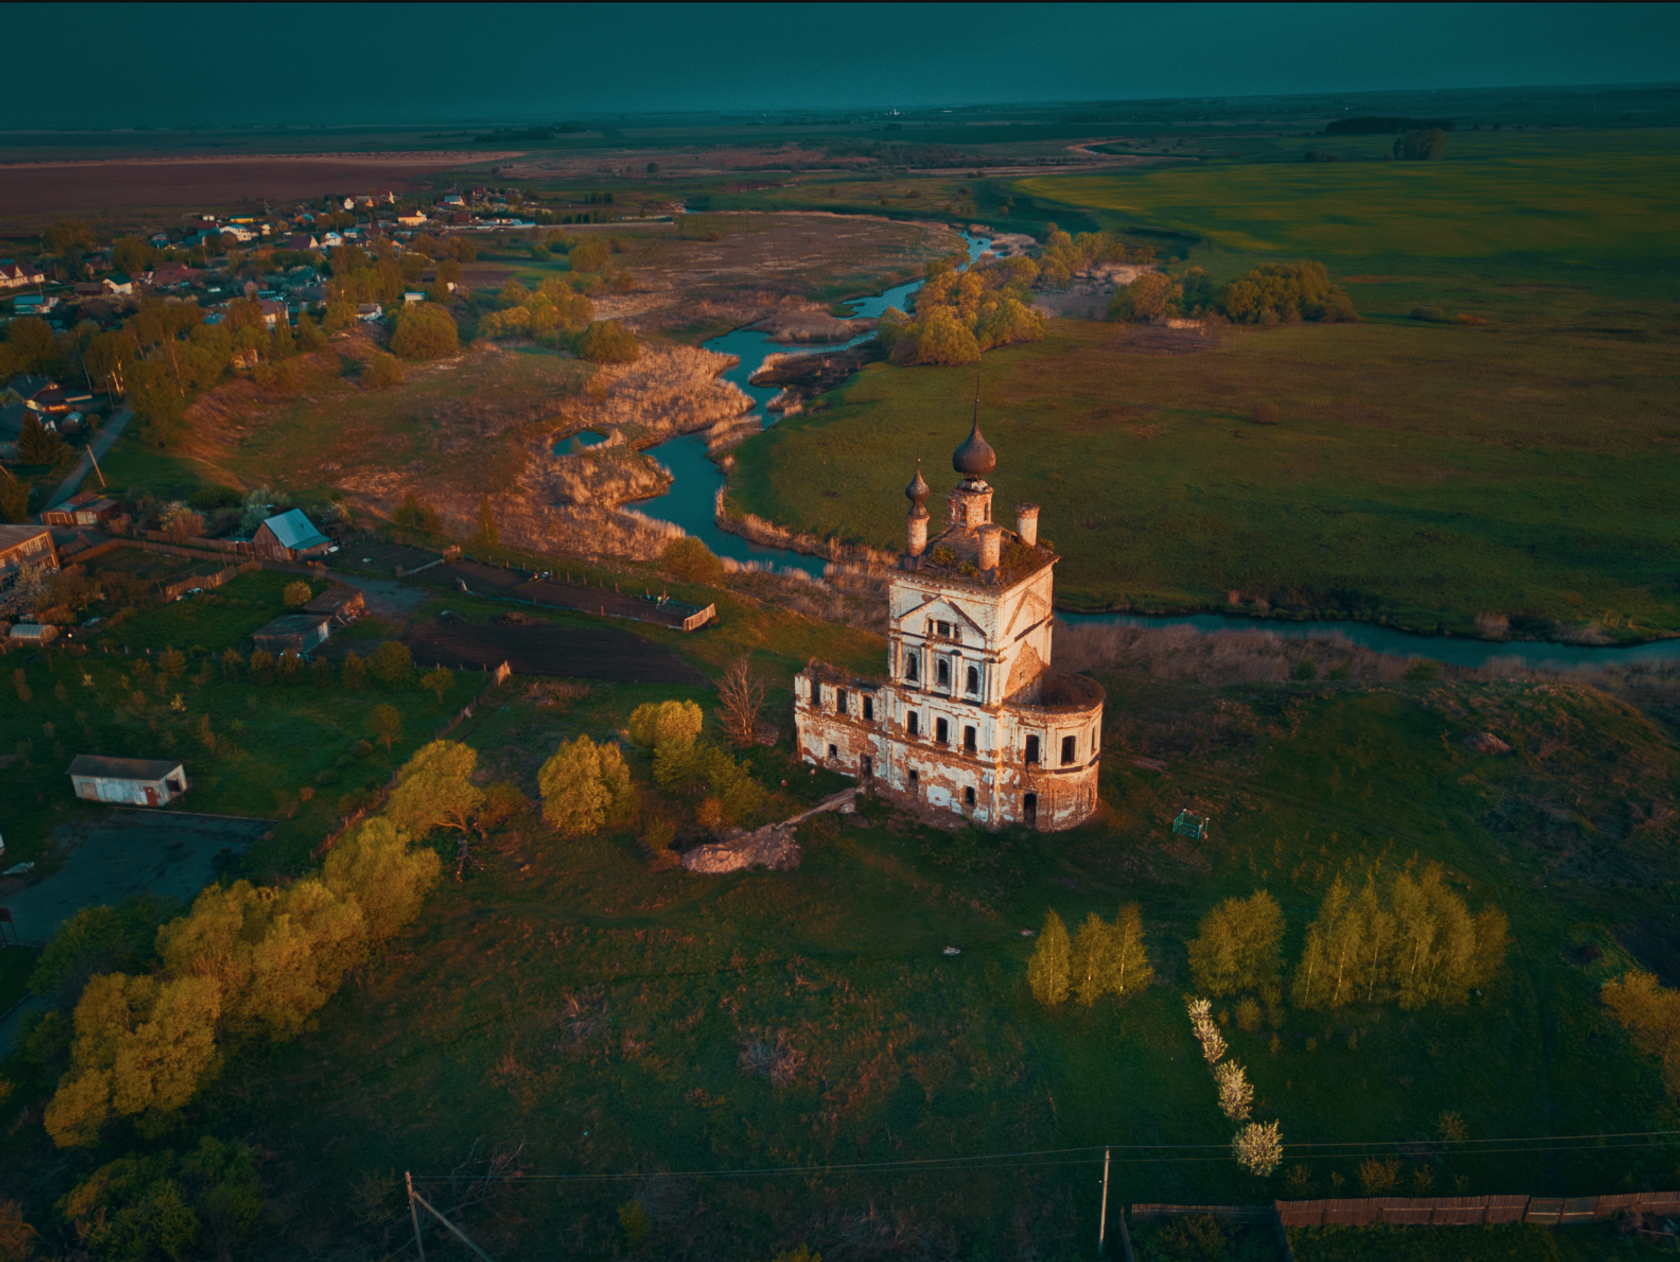
In Luminar, you can separately adjust the brightness and contrast in LUTs. In Photoshop, you can only do that by creating separate layers.
9. Microstructure
This filter allows you to increase the detail and select the structure. It works well to make stones and brickwork rougher, for example.
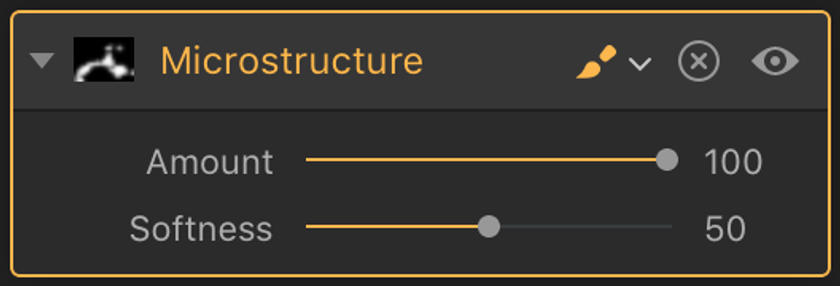
It is better to use it locally, limiting the scope of the mask.
10. Soft Glow
This gives the effect of a soft and diffuse glow around the bright areas of the photo.

With Soft Glow, the saturation decreases slightly and a soft fog appears. This filter is perfect for softening the contrast and giving romanticism to an image.
In Photoshop, you can do something similar. But again, you’ll have to play with layers and blending modes. There is nothing similar in Lightroom.
In addition to these 10 filters, Luminar has a lot of handy tools and presets. There is everything you need to work with photos: curves, light preferences, shadows, white balance, selective work with color. And all of this comes with support for layers and masks. Thanks to this, you can edit photos very locally and achieve the results you want in one program – and quite simply.
A Special Perk for Our Blog Readers
Get a 10% discount on Luminar Neo and dive into professional photo editing today!
Thank you for subscribing.
Your gift is waiting in your inbox!